lock Acura TLX 2016 Navigation Manual
[x] Cancel search | Manufacturer: ACURA, Model Year: 2016, Model line: TLX, Model: Acura TLX 2016Pages: 325, PDF Size: 18.04 MB
Page 29 of 325
28
uuInterface Settings uClock Adjustment
System Setup
Clock Adjustment
H SETTINGS buttonuSystem Settings uClock
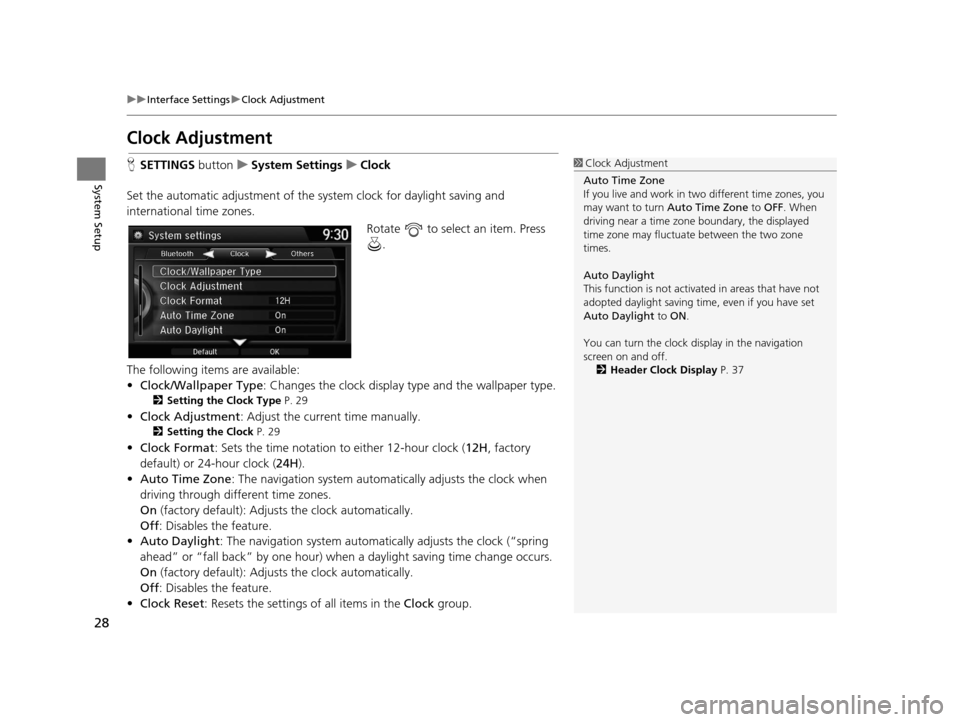
Set the automatic adjustment of the sy stem clock for daylight saving and
international time zones.
Rotate to select an item. Press .
The following items are available:
• Clock/Wallpaper Type : Changes the clock display type and the wallpaper type.
2Setting the Clock Type P. 29
•Clock Adjustment : Adjust the current time manually.
2Setting the Clock P. 29
•Clock Format : Sets the time notation to either 12-hour clock (12H, factory
default) or 24-hour clock ( 24H).
• Auto Time Zone : The navigation system automa tically adjusts the clock when
driving through different time zones.
On (factory default): Adjust s the clock automatically.
Off : Disables the feature.
• Auto Daylight : The navigation system automati cally adjusts the clock (“spring
ahead” or “fall back” by one hour) when a daylight saving time change occurs.
On (factory default): Adjust s the clock automatically.
Off : Disables the feature.
• Clock Reset : Resets the settings of all items in the Clock group.
1Clock Adjustment
Auto Time Zone
If you live and work in tw o different time zones, you
may want to turn Auto Time Zone to OFF. When
driving near a time zone boundary, the displayed
time zone may fluctuat e between the two zone
times.
Auto Daylight
This function is not activated in areas that have not
adopted daylight saving time , even if you have set
Auto Daylight to ON .
You can turn the clock di splay in the navigation
screen on and off.
2 Header Clock Display P. 37
16 ACURA TLX NAVI-31TZ38100.book 28 ページ 2015年7月29日 水曜日 午後4時11分
Page 30 of 325
29
uuInterface Settings uClock Adjustment
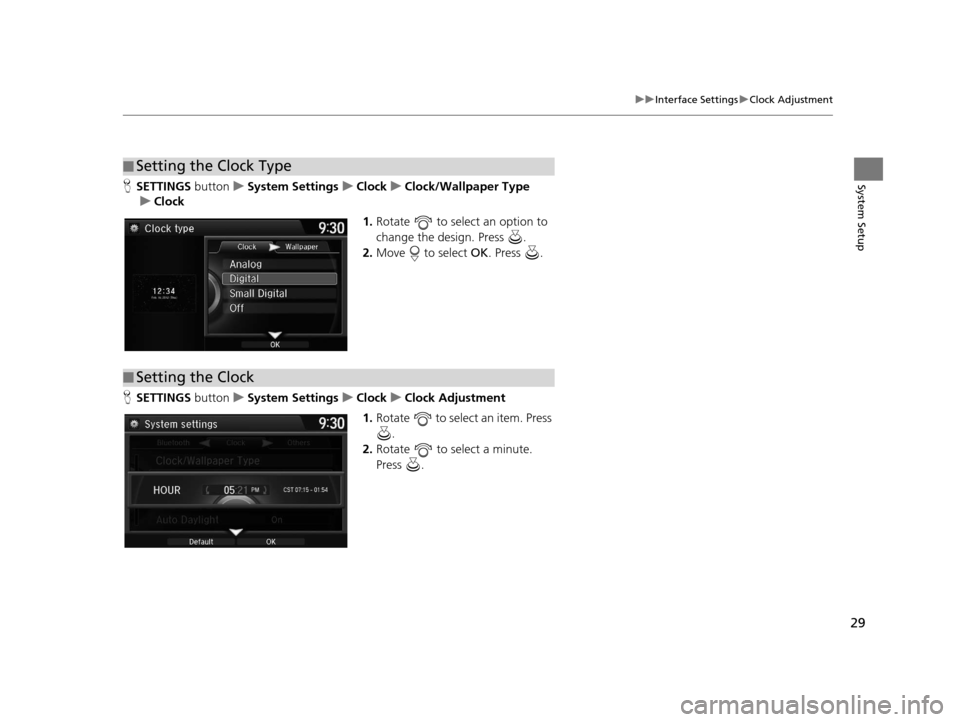
System SetupH SETTINGS buttonuSystem Settings uClock uClock/Wallpaper Type
u Clock
1.Rotate to select an option to
change the design. Press .
2. Move to select OK. Press .
H SETTINGS buttonuSystem Settings uClock uClock Adjustment
1. Rotate to select an item. Press
.
2. Rotate to select a minute.
Press .
■Setting the Clock Type
■Setting the Clock
16 ACURA TLX NAVI-31TZ38100.book 29 ページ 2015年7月29日 水曜日 午後4時11分
Page 31 of 325
30
uuInterface Settings uWallpaper Settings
System Setup
Wallpaper Settings
Select, delete, and import wallpaper pictures for display on the screen.
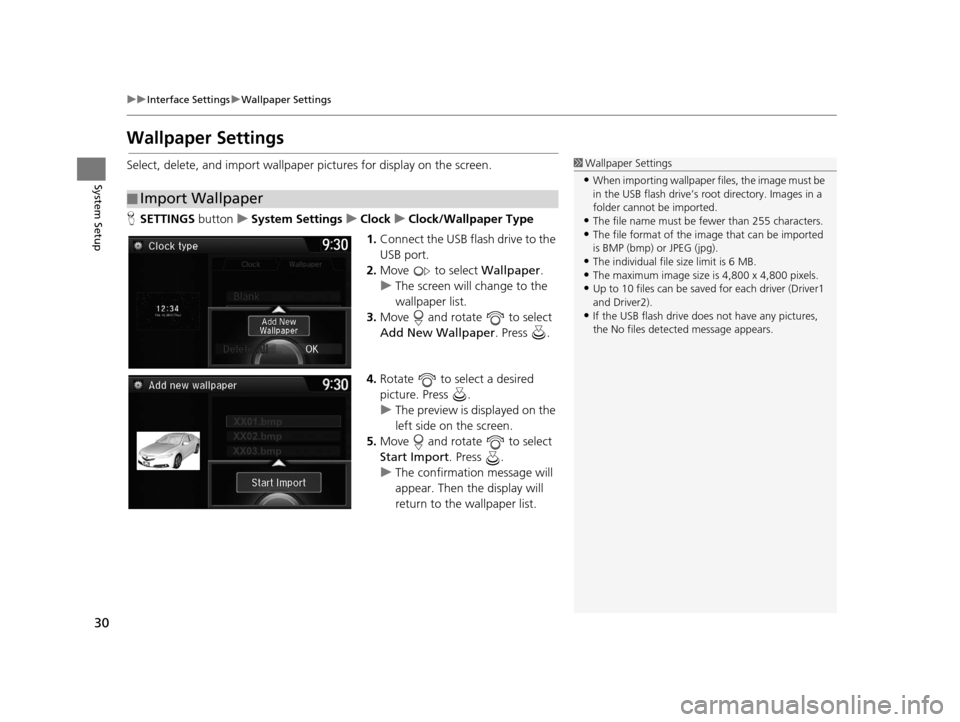
H SETTINGS buttonuSystem Settings uClock uClock/Wallpaper Type
1. Connect the USB flash drive to the
USB port.
2. Move to select Wallpaper.
u The screen will change to the
wallpaper list.
3. Move and rotate to select
Add New Wallpaper. Press .
4. Rotate to select a desired
picture. Press .
u The preview is displayed on the
left side on the screen.
5. Move and rotate to select
Start Import . Press .
u The confirmation message will
appear. Then the display will
return to the wallpaper list.
■Import Wallpaper
1
Wallpaper Settings
•When importing wallpaper files, the image must be
in the USB flash drive’s root directory. Images in a
folder cannot be imported.
•The file name must be fewer than 255 characters.•The file format of the im age that can be imported
is BMP (bmp) or JPEG (jpg).
•The individual file size limit is 6 MB.•The maximum image size is 4,800 x 4,800 pixels.
•Up to 10 files can be saved for each driver (Driver1
and Driver2).
•If the USB flash drive doe s not have any pictures,
the No files detect ed message appears.
16 ACURA TLX NAVI-31TZ38100.book 30 ページ 2015年7月29日 水曜日 午後4時11分
Page 32 of 325
Continued31
uuInterface Settings uWallpaper Settings
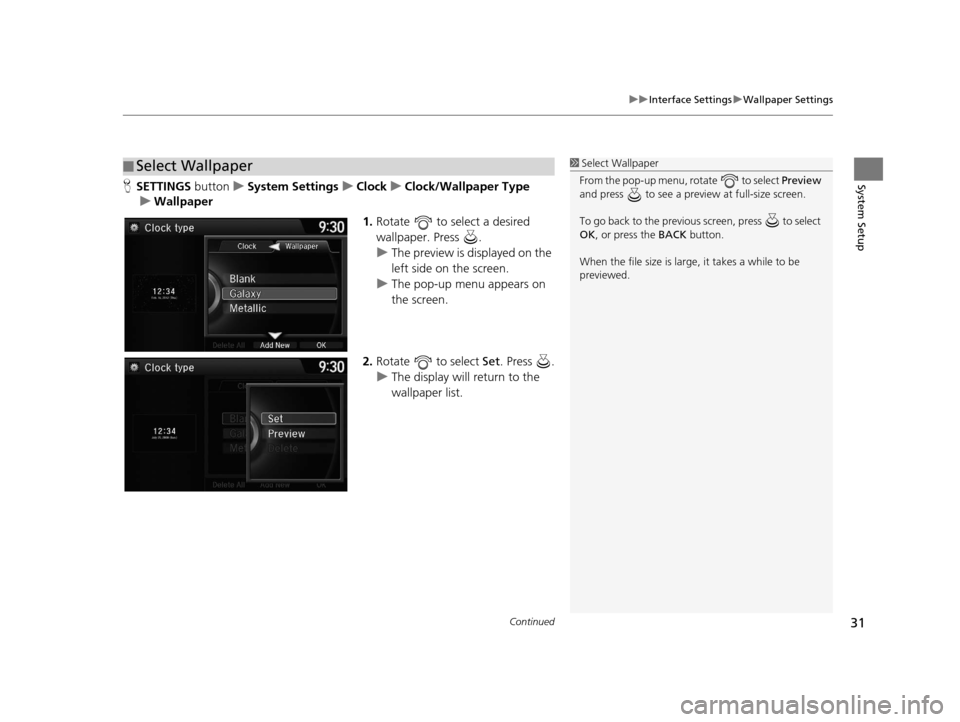
System SetupH SETTINGS buttonuSystem Settings uClock uClock/Wallpaper Type
u Wallpaper
1.Rotate to select a desired
wallpaper. Press .
u The preview is displayed on the
left side on the screen.
u The pop-up menu appears on
the screen.
2. Rotate to select Set . Press .
u The display will return to the
wallpaper list.
■Select Wallpaper1
Select Wallpaper
From the pop-up menu, rotate to select Preview
and press to see a preview at full-size screen.
To go back to the previous screen, press to select
OK , or press the BACK button.
When the file size is large, it takes a while to be
previewed.
16 ACURA TLX NAVI-31TZ38100.book 31 ページ 2015年7月29日 水曜日 午後4時11分
Page 33 of 325
32
uuInterface Settings uWallpaper Settings
System SetupH SETTINGS buttonuSystem Settings uClock uClock/Wallpaper Type
u Wallpaper
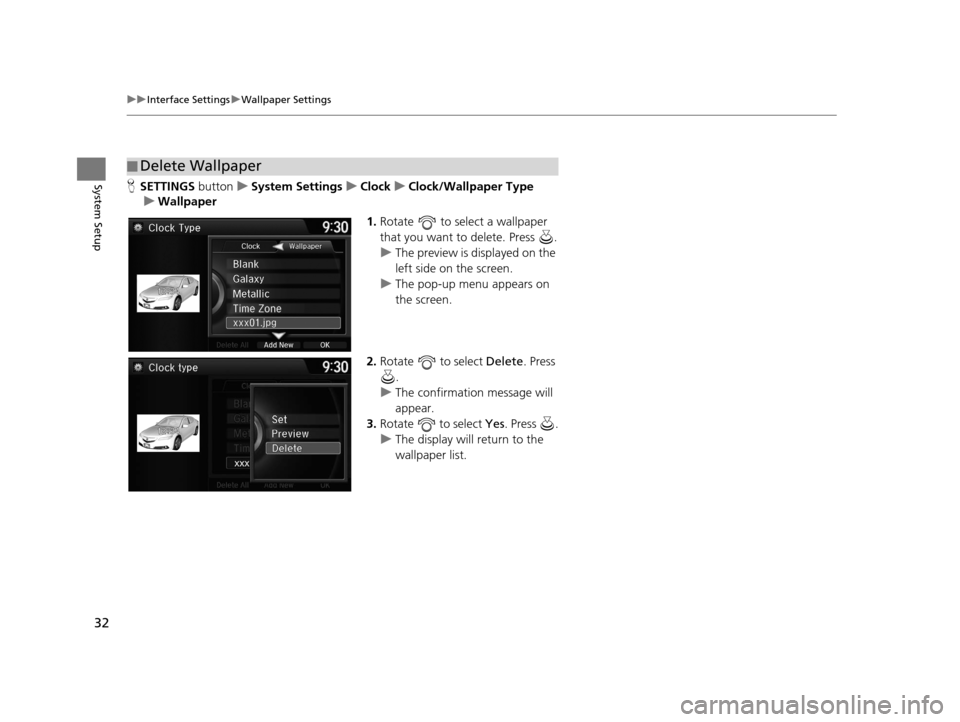
1.Rotate to select a wallpaper
that you want to delete. Press .
u The preview is displayed on the
left side on the screen.
u The pop-up menu appears on
the screen.
2. Rotate to select Delete. Press
.
u The confirmation message will
appear.
3. Rotate to select Yes. Press .
u The display will return to the
wallpaper list.
■Delete Wallpaper
16 ACURA TLX NAVI-31TZ38100.book 32 ページ 2015年7月29日 水曜日 午後4時11分
Page 38 of 325
37
uuInterface Settings uHeader Clock Display
System Setup
Header Clock Display
H SETTINGS buttonuSystem Settings uOthers uHeader Clock Display
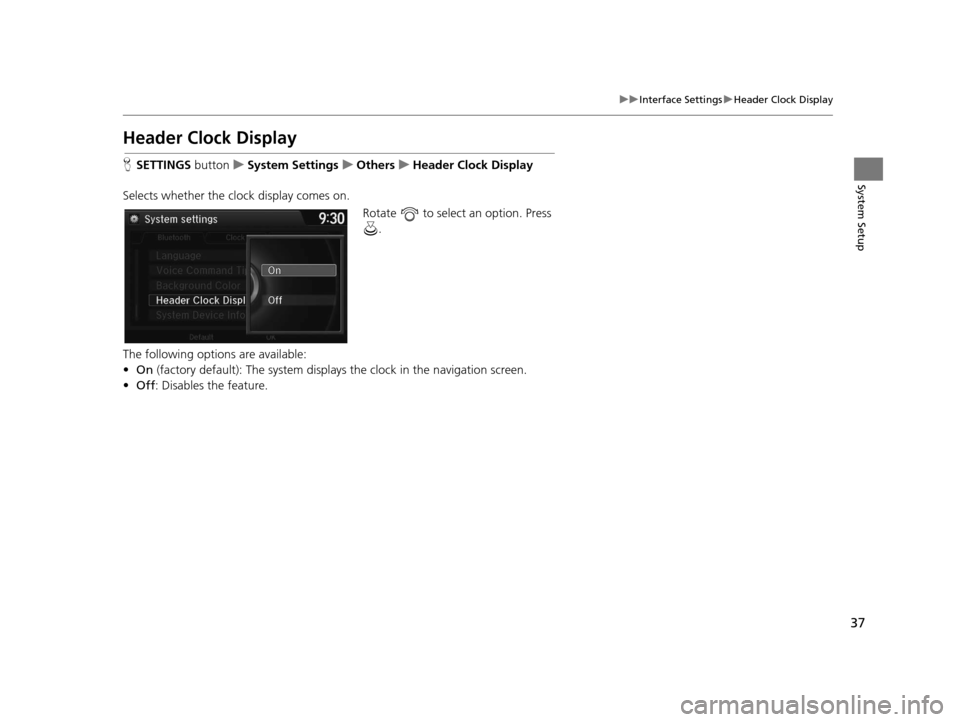
Selects whether the cl ock display comes on.
Rotate to select an option. Press .
The following options are available:
• On (factory default): The system displa ys the clock in the navigation screen.
• Off : Disables the feature.
16 ACURA TLX NAVI-31TZ38100.book 37 ページ 2015年7月29日 水曜日 午後4時11分
Page 75 of 325
uuMap uColor
74
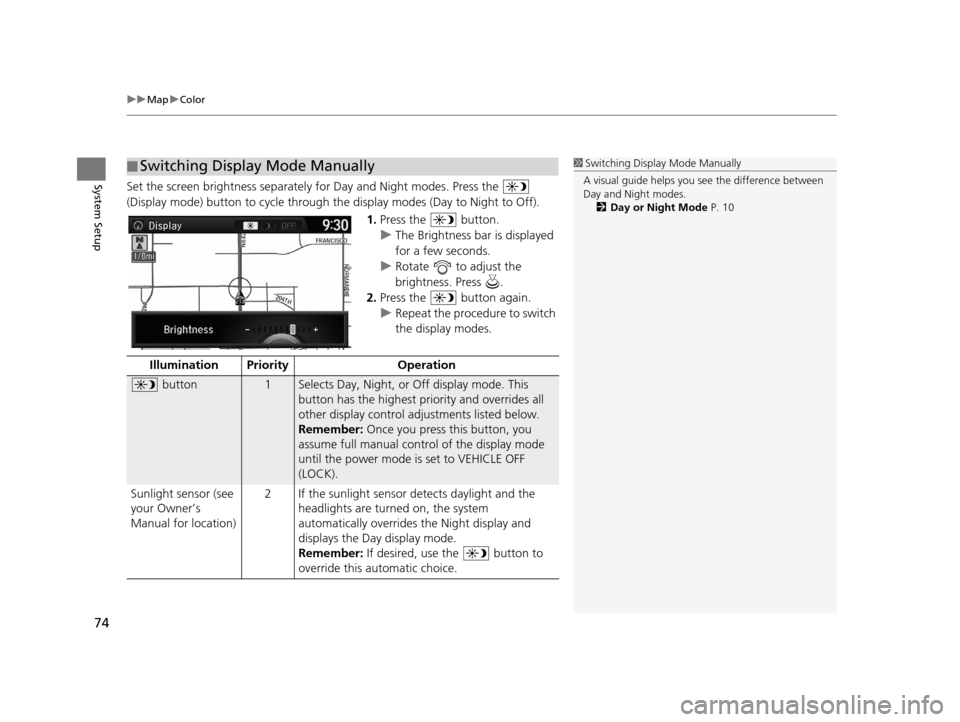
System SetupSet the screen brightness separately for Day and Night modes. Press the
(Display mode) button to cycle through th e display modes (Day to Night to Off).
1.Press the button.
u The Brightness bar is displayed
for a few seconds.
u Rotate to adjust the
brightness. Press .
2. Press the button again.
u Repeat the procedure to switch
the display modes.
■Switching Display Mode Manually1
Switching Display Mode Manually
A visual guide helps you se e the difference between
Day and Night modes.
2 Day or Night Mode P. 10
Illumination Priority Operation
button1Selects Day, Night, or Off display mode. This
button has the highest priority and overrides all
other display control adjustments listed below.
Remember: Once you press this button, you
assume full manual cont rol of the display mode
until the power mode is set to VEHICLE OFF
(LOCK).
Sunlight sensor (see
your Owner’s
Manual for location) 2 If the sunlight sensor detects daylight and the
headlights are turned on, the system
automatically overrides the Night display and
displays the Day display mode.
Remember: If desired, use the button to
override this automatic choice.
16 ACURA TLX NAVI-31TZ38100.book 74 ページ 2015年7月29日 水曜日 午後4時11分
Page 87 of 325
86
uuMap uCorrect Vehicle Position
System Setup
Correct Vehicle Position
H SETTINGS buttonuNavi Settings uMap uCorrect Vehicle Position
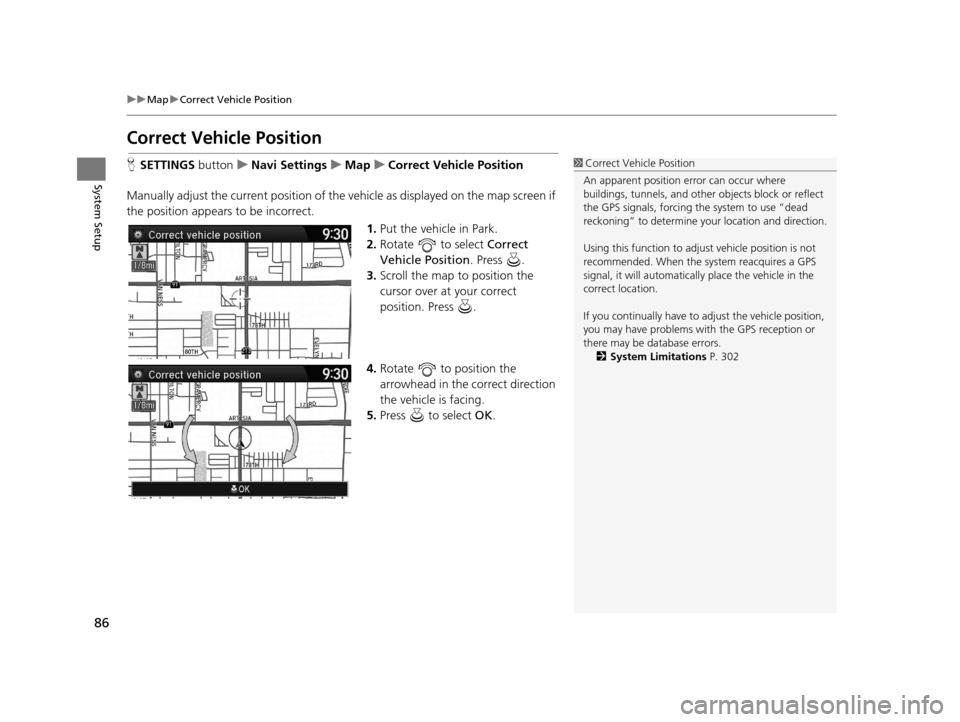
Manually adjust the current position of the vehicle as displayed on the map screen if
the position appears to be incorrect. 1.Put the vehicle in Park.
2. Rotate to select Correct
Vehicle Position . Press .
3. Scroll the map to position the
cursor over at your correct
position. Press .
4. Rotate to position the
arrowhead in the correct direction
the vehicle is facing.
5. Press to select OK.1Correct Vehicle Position
An apparent position error can occur where
buildings, tunnels, and other objects block or reflect
the GPS signals, forcing the system to use “dead
reckoning” to determine your location and direction.
Using this function to adju st vehicle position is not
recommended. When the system reacquires a GPS
signal, it will automaticall y place the vehicle in the
correct location.
If you continually have to adjust the vehicle position,
you may have problems with the GPS reception or
there may be database errors. 2 System Limitations P. 302
16 ACURA TLX NAVI-31TZ38100.book 86 ページ 2015年7月29日 水曜日 午後4時11分
Page 170 of 325
169
uuPlaying SiriusXM ® Radio uSiriusXM ® Radio Service
Continued
Audio
SiriusXM® Radio Service
1.You need your radio ID ready before regist ering for subscription. To see the ID in
the display: Operate the On Demand Multi-Use DisplayTM until channel 0 appears.
2. Have your radio ID and credit card numb er ready, and either call or visit the
SiriusXM ® website to subscribe.
Switch to the SiriusXM ® mode by pressing the SOURCE button repeatedly or
operating the On Demand Multi-Use Display
TM, and stay in this mode for about 30
minutes until the service is activated. Make su re your vehicle is in an open area with
good reception.
■ Subscribing to SiriusXM
® Radio
■ Receiving SiriusXM
® Radio
1 Subscribing to SiriusXM ® Radio
Contact Information for SiriusXM ® Radio:
U.S.: SiriusXM ® Radio at www.siriusxm.com or (800)
852-9696
Canada: SiriusXM ® Canada at www.xmradio.ca , or
(877) 209-0079
1 Receiving SiriusXM ® Radio
The SiriusXM ® satellites are in orbit over the equator;
therefore, objects south of the vehicle may cause
satellite rece ption interruptions. Sa tellite signals are
more likely to be blocked by tall buildings and
mountains the farther north you travel from the
equator.
You may experience rece ption problems under the
following circumstances:
•In a location with an obstruction to the south of
your vehicle
•In tunnels
•On the lower level of a multi-tiered road•Large items carried on the roof rack
16 ACURA TLX NAVI-31TZ38100.book 169 ページ 2015年7月29日 水曜日 午後4時1 1分
Page 208 of 325
207
Audio
Playing a USB Flash Drive
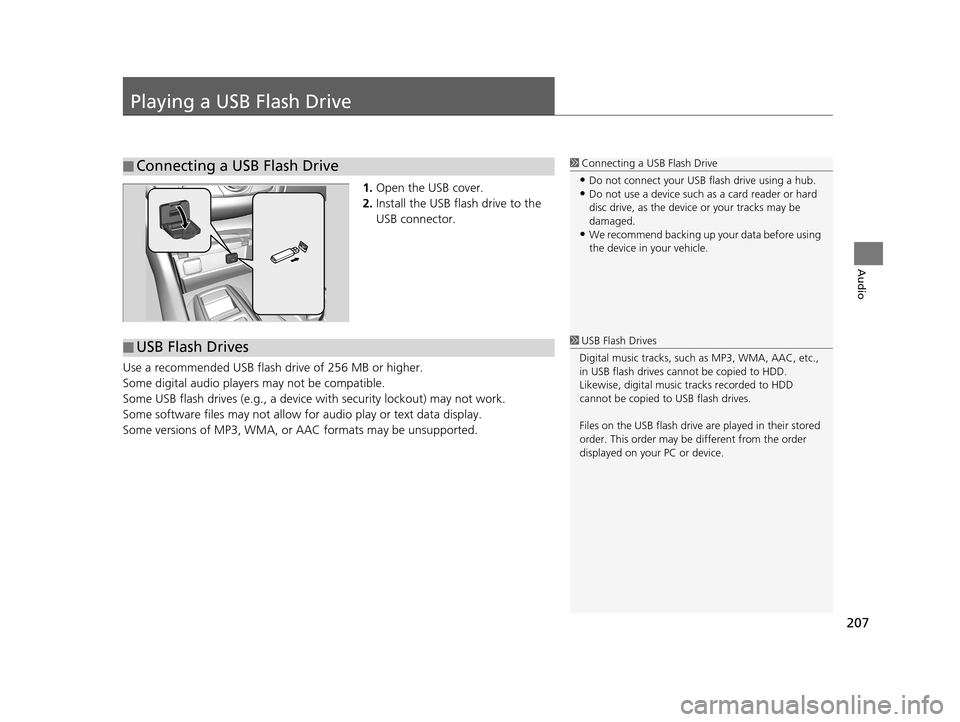
1.Open the USB cover.
2. Install the USB flash drive to the
USB connector.
Use a recommended USB flash drive of 256 MB or higher.
Some digital audio players may not be compatible.
Some USB flash drives (e.g., a device with security lockout) may not work.
Some software files may not allow for audio play or text data display.
Some versions of MP3, WMA, or AAC formats may be unsupported.
■ Connecting a USB Flash Drive1
Connecting a USB Flash Drive
•Do not connect your US B flash drive using a hub.•Do not use a device such as a card reader or hard
disc drive, as the device or your tracks may be
damaged.
•We recommend backing up yo ur data before using
the device in your vehicle.
■ USB Flash Drives1
USB Flash Drives
Digital music tracks, such as MP3, WMA, AAC, etc.,
in USB flash drives cannot be copied to HDD.
Likewise, digital music tracks recorded to HDD
cannot be copied to USB flash drives.
Files on the USB flash drive are played in their stored
order. This order may be different from the order
displayed on your PC or device.
16 ACURA TLX NAVI-31TZ38100.book 207 ページ 2015年7月29日 水曜日 午後4時1 1分