lights Acura TSX 2004 Service Manual
[x] Cancel search | Manufacturer: ACURA, Model Year: 2004, Model line: TSX, Model: Acura TSX 2004Pages: 364, PDF Size: 5.35 MB
Page 287 of 364
Pull the bulb straight out of its
socket.
Push the new bulb straight into
the socket until it bottoms.
Insert the socket back into the
headlight assembly. Turn it
clockwise to lock it in place.
Turn on the lights to make sure
the new bulb is working.
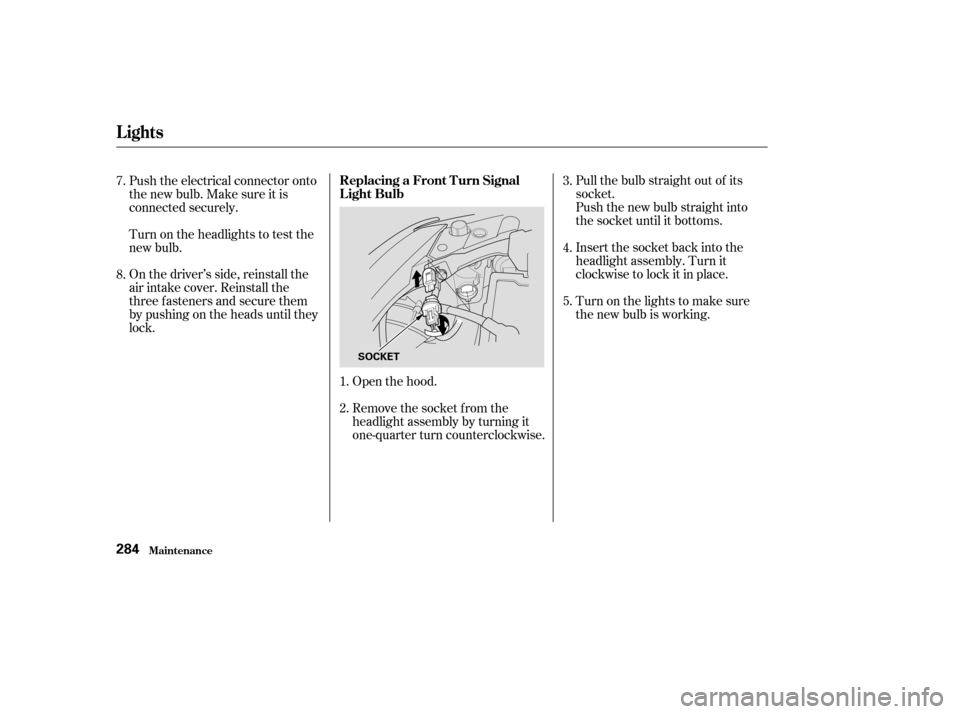
Open the hood.
Remove the socket from the
headlight assembly by turning it
one-quarter turn counterclockwise.
Push the electrical connector onto
the new bulb. Make sure it is
connected securely.
Turn on the headlights to test the
new bulb.
On the driver’s side, reinstall the
air intake cover. Reinstall the
three fasteners and secure them
by pushing on the heads until they
lock.
3.
4.
5.
2. 1.
7.
8.
Lights
Maint enance
Replacing a Front T urn Signal
Light Bulb
284
SOCKET
Page 288 of 364
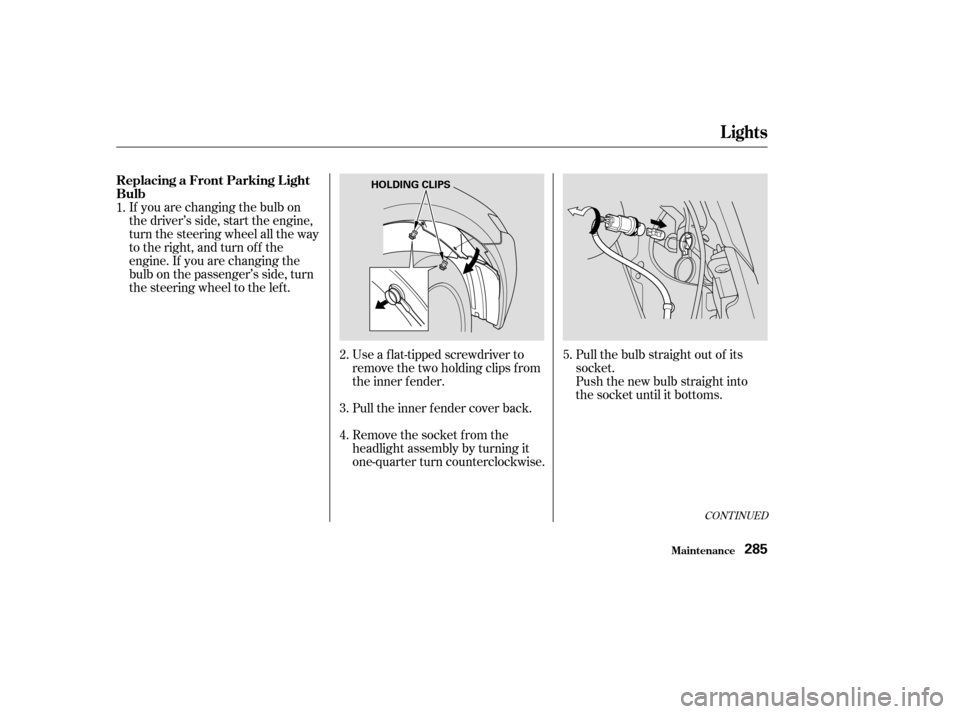
Pull the inner f ender cover back.Pull the bulb straight out of its
socket.
Push the new bulb straight into
the socket until it bottoms.
Use a f lat-tipped screwdriver to
remove the two holding clips f rom
the inner f ender.
If you are changing the bulb on
the driver’s side, start the engine,
turn the steering wheel all the way
to the right, and turn off the
engine. If you are changing the
bulb on the passenger’s side, turn
the steering wheel to the left.
Remove the socket from the
headlight assembly by turning it
one-quarter turn counterclockwise.
4. 5.
2.
1.
3.
CONT INUED
Lights
Maint enance
Replacing a Front Parking L ight
Bulb
285
HOLDING CLIPS
Page 289 of 364
Pull the bulb straight out of its
socket.
Insert the socket back into the
headlight assembly. Turn it
clockwise to lock it in place.
Push the new bulb straight into
the socket until it bottoms.
Put the inner f ender cover in place.
Install the holding clips. Lock each
oneinplacebypushingonthe
center.
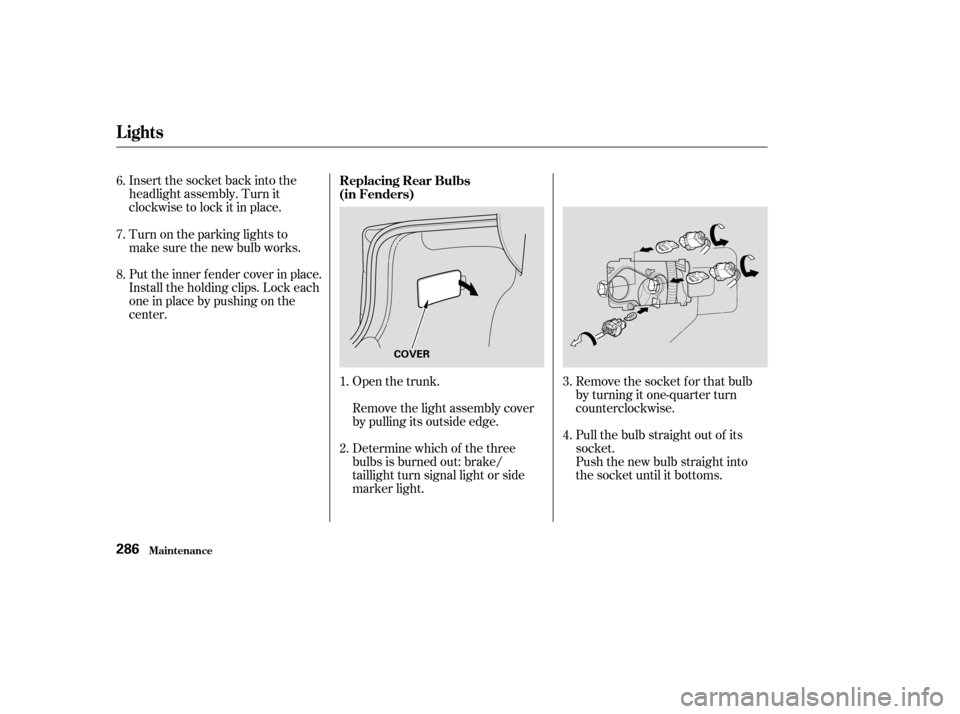
Remove the light assembly cover
by pulling its outside edge.Remove the socket f or that bulb
by turning it one-quarter turn
counterclockwise.
Turn on the parking lights to
make sure the new bulb works.
Open the trunk.
Determine which of the three
bulbs is burned out: brake/
taillight turn signal light or side
marker light.
1.
3.
2.
6.
7.
8.
4.
Replacing Rear Bulbs
(in Fenders)
Lights
Maint enance286
COVER
Page 290 of 364
Reinstall the socket into the light
assembly by turning it clockwise
until it locks.
Install the light assembly cover.
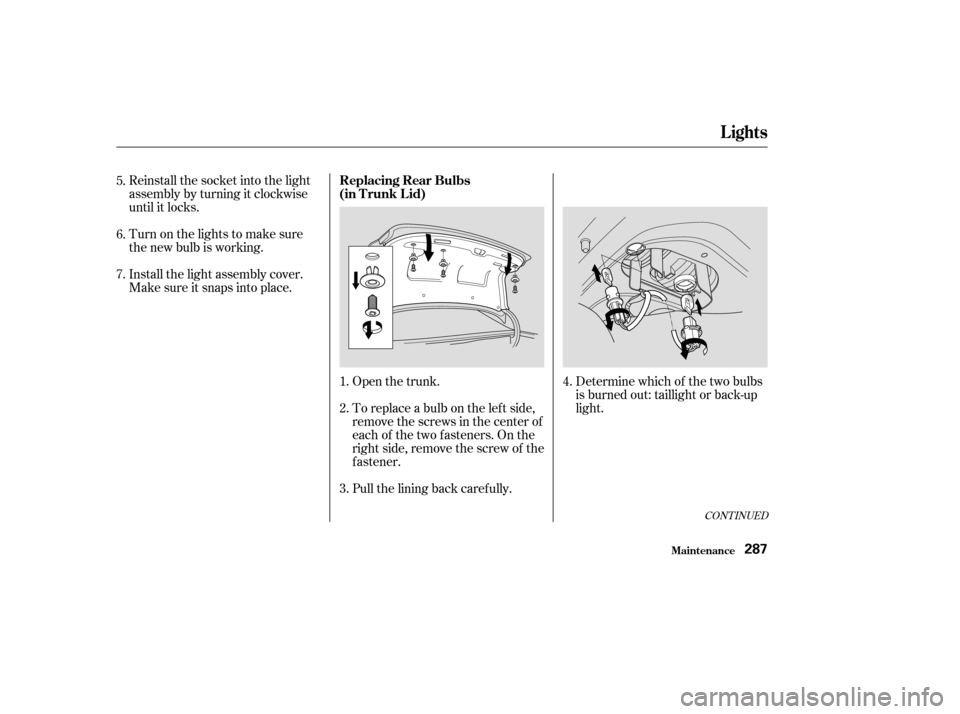
Make sure it snaps into place.To replace a bulb on the lef t side,
remove the screws in the center of
each of the two f asteners. On the
right side, remove the screw of the
f astener.
Pull the lining back caref ully.
Turn on the lights to make sure
the new bulb is working.
Open the trunk. Determine which of the two bulbs
is burned out: taillight or back-up
light.
1.
2.
5.
6.
7.
4.
3.
CONT INUED
Replacing Rear Bulbs
(in T runk L id)
Lights
Maint enance287
Page 291 of 364

Remove the socket by turning it
one-quarter turn counterclockwise.
Pull the bulb straight out of its
socket. Push the new bulb in until
it bottoms in the socket.
Insert the socket back into the
light assembly. Turn it clockwise
to lock it in place.
Turn on the lights to make sure
the new bulb is working.Reinstall the trunk lid trim. Make
sure it is installed under the edge
of the trunk lid seal.
Put each trim clip in the hole on
the trunk lid trim and push on the
center until it locks (the center is
flushwiththehead).
Each outside mirror has side turn
signal lights. The lights should be
replaced by your Acura dealer.
5.
6.
7.
8. 9.
10. Side T urn Signal L ight
Lights
Maint enance288
Page 292 of 364

Open the trunk and remove the
socket f rom the light assembly by
turning it one-quarter turn counter-
clockwise.
Remove the burned-out bulb by
pulling it straight out of the socket.
Install the new bulb and reinstall
the socket. Make sure the new
bulb is working.The license plate has two lights
above it. The bulbs should be
replaced by your Acura dealer.
1. 2.
3. Replacing a High-mount Brake
Light Bulb Rear L icense Plate Bulb
Lights
Maint enance289
Page 293 of 364
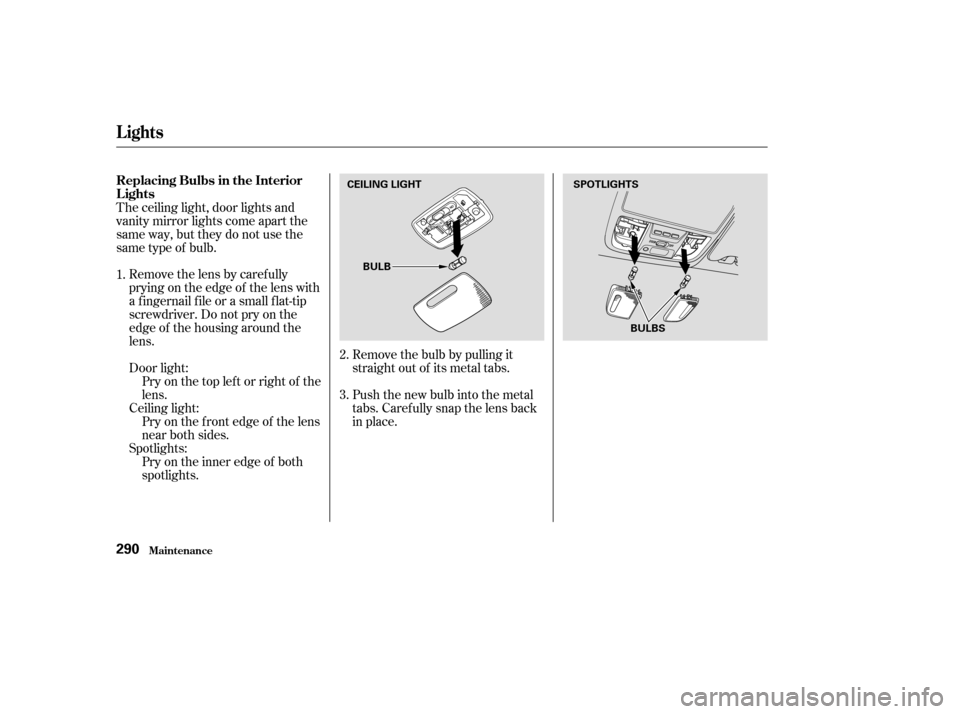
Removethelensbycarefully
prying on the edge of the lens with
a f ingernail f ile or a small f lat-tip
screwdriver. Do not pry on the
edge of the housing around the
lens.
Door light:Pry on the top lef t or right of the
lens.
Ceiling light: Pry on the f ront edge of the lens
near both sides.
Spotlights: Pry on the inner edge of both
spotlights. Remove the bulb by pulling it
straight out of its metal tabs.
Push the new bulb into the metal
tabs. Carefully snap the lens back
in place.
The ceiling light, door lights and
vanity mirror lights come apart the
same way, but they do not use the
same type of bulb.
1.
2.
3.
Lights
Maint enance
Replacing Bulbs in the Interior
Lights
290
CEILING LIGHT
BULB SPOTLIGHTS
BULBS
Page 294 of 364

Lights
Maint enance291
BULB
DOOR COURTESY LIGHT
BULB
VANITY MIRROR LIGHT
Page 295 of 364

Pull the bulb straight out of the
holder. Push the new bulb straight
into the holder until it bottoms.Put the light assembly back into
the hole, left side first. Push on
the right side until it snaps into
place.
Open the trunk.
Put a cloth on the right side edge
of the trunk light assembly.
Remove the trunk light assembly
by using a small f lat-tipped
screwdriver to pry caref ully on the
right edge of the assembly.
1.
2. 3.
Replacing the T runk L ight Bulb
Lights
Maint enance292
Page 308 of 364
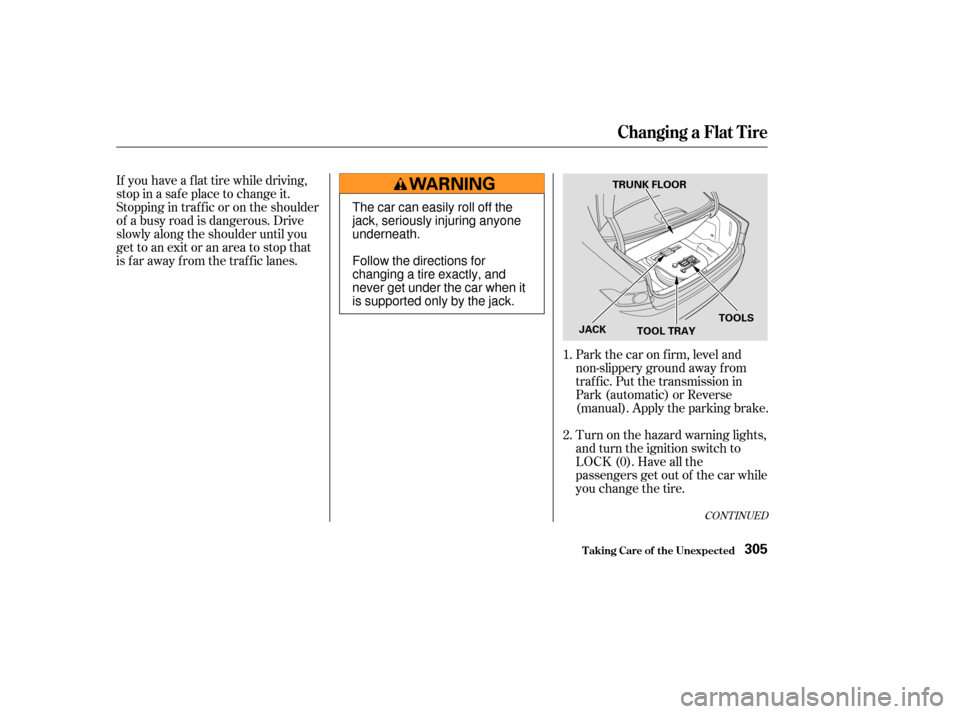
If you have a f lat tire while driving,
stop in a saf e place to change it.
Stopping in traf f ic or on the shoulder
of a busy road is dangerous. Drive
slowly along the shoulder until you
gettoanexitoranareatostopthat
is far away from the traffic lanes.Park the car on f irm, level and
non-slippery ground away f rom
traffic. Put the transmission in
Park (automatic) or Reverse
(manual). Apply the parking brake.
Turn on the hazard warning lights,
and turn the ignition switch to
LOCK (0). Have all the
passengers get out of the car while
you change the tire.
2. 1.
CONT INUED
Changing a Flat T ire
T aking Care of t he Unexpect ed305
TRUNK FLOOR
JACK TOOLS
TOOL TRAY
The car can easily roll off the
jack, seriously injuring anyone
underneath.
Follow the directions for
changing a tire exactly, and
never get under the car when it
is supported only by the jack.