phone Acura TSX 2012 Navigation Manual
[x] Cancel search | Manufacturer: ACURA, Model Year: 2012, Model line: TSX, Model: Acura TSX 2012Pages: 253, PDF Size: 22.15 MB
Page 38 of 253
36System Setup
Personal InformationHINFO/PHONE button
Setup
Personal Information
Use the personal information menu to sele ct and set your address books, home
addresses, and PIN numbers. You can also de lete unwanted destinations from the list
of previously routed destinations.
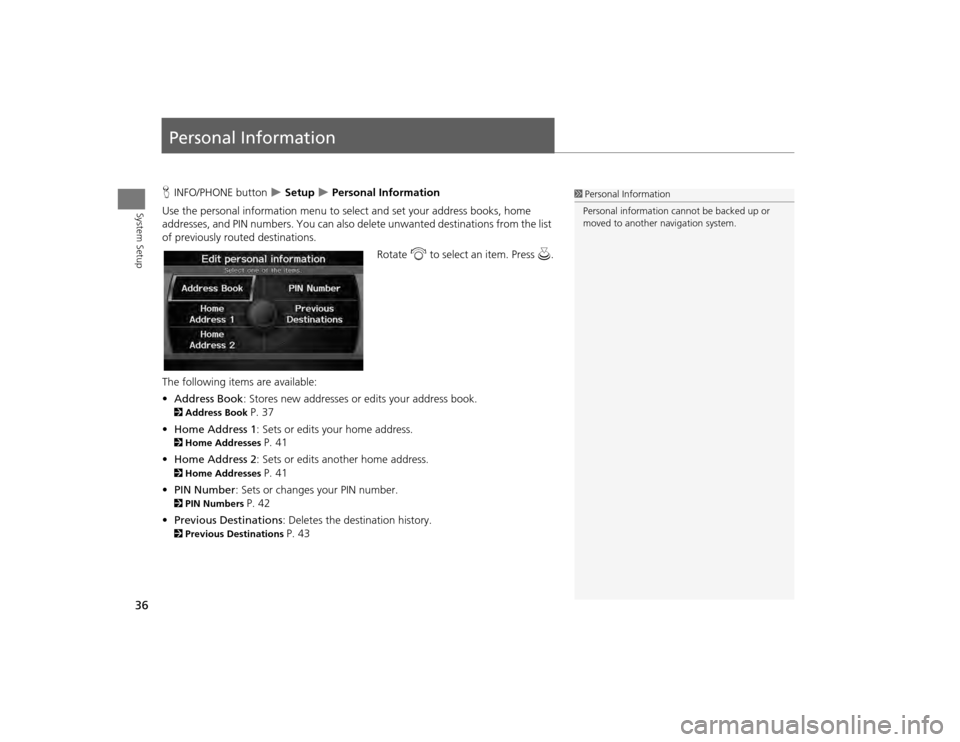
Rotate i to select an item. Press u.
The following item s are available:
• Address Book : Stores new addresses or edits your address book.
2Address Book
P. 37
• Home Address 1: Sets or edits your home address.
2 Home Addresses
P. 41
• Home Address 2: Sets or edits another home address.
2 Home Addresses
P. 41
• PIN Number : Sets or changes your PIN number.
2PIN Numbers
P. 42
• Previous Destinations : Deletes the destination history.
2Previous Destinations
P. 43
1Personal Information
Personal information cannot be backed up or
moved to another navigation system.
TSX_KA-31TL1820.book 36 ページ 2011年6月24日 金曜日 午後3時43分
Page 39 of 253
37
Personal Information
Address Book
System Setup
Address BookHINFO/PHONE button
Setup
Personal Information
Address Book
Store up to 200 address entries in two addr ess books (Driver 1 and Driver 2). You can
add, edit, and delete information in the address books.
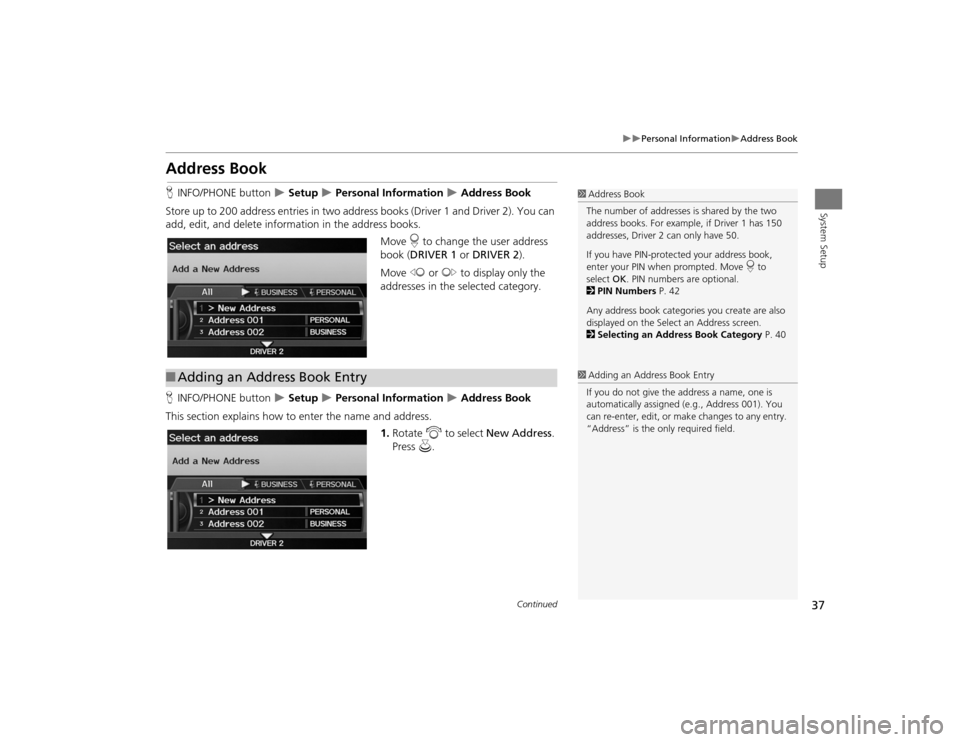
Move r to change the user address
book ( DRIVER 1 or DRIVER 2 ).
Move w or y to display only the
addresses in the selected category.
H INFO/PHONE button
Setup
Personal Information
Address Book
This section explains how to enter the name and address. 1.Rotate i to select New Address .
Press u.
1Address Book
The number of addresses is shared by the two
address books. For example, if Driver 1 has 150
addresses, Driver 2 can only have 50.
If you have PIN-protec ted your address book,
enter your PIN when prompted. Move r to
select OK. PIN numbers are optional.
2 PIN Numbers P. 42
Any address book categories you create are also
displayed on the Select an Address screen.
2 Selecting an Address Book Category P. 40
■Adding an Address Book Entry
1 Adding an Address Book Entry
If you do not give the address a name, one is
automatically assigned (e.g., Address 001). You
can re-enter, edit, or make changes to any entry.
“Address” is the only required field.
Continued
TSX_KA-31TL1820.book 37 ページ 2011年6月24日 金曜日 午後3時43分
Page 40 of 253
38
Personal Information
Address Book
System Setup
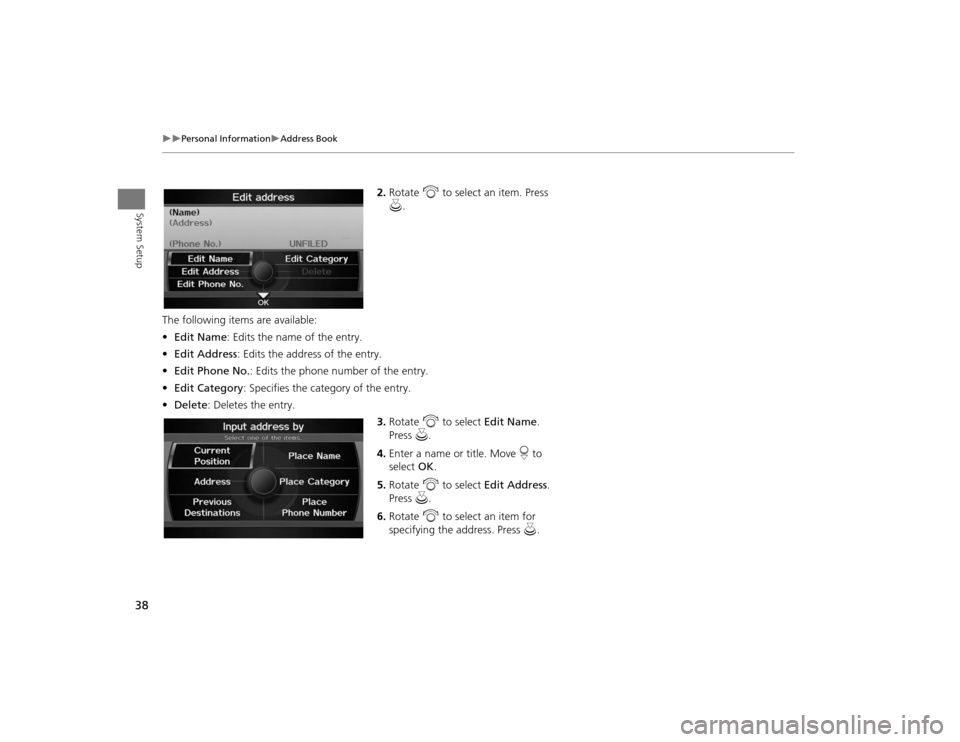
2.Rotate i to select an item. Press
u .
The following item s are available:
• Edit Name : Edits the name of the entry.
• Edit Address : Edits the address of the entry.
• Edit Phone No. : Edits the phone number of the entry.
• Edit Category : Specifies the category of the entry.
• Delete : Deletes the entry.
3.Rotate i to select Edit Name .
Press u.
4. Enter a name or title. Move r to
select OK.
5. Rotate i to select Edit Address .
Press u.
6. Rotate i to select an item for
specifying the address. Press u.
TSX_KA-31TL1820.book 38 ページ 2011年6月24日 金曜日 午後3時43分
Page 41 of 253
39
Personal Information
Address Book
System Setup
The following items are available:
•Current Position: Select your current position.
• Address: Enter an address on the character input screen when prompted.2Address
P. 70
• Previous Destinations: Select a previous destination.
2Previous Destination
P. 76
• Place Name: Enter the name of a place/landmark.
2Place Name
P. 77
• Place Category: Select a category to search for a place/landmark (e.g., Banking,
Lodging).
2 Place Category
P. 80
• Place Phone Number: Enter the phone number of a place/landmark.
2Place Phone Number
P. 84
H INFO/PHONE button Setup
Personal Information
Address Book
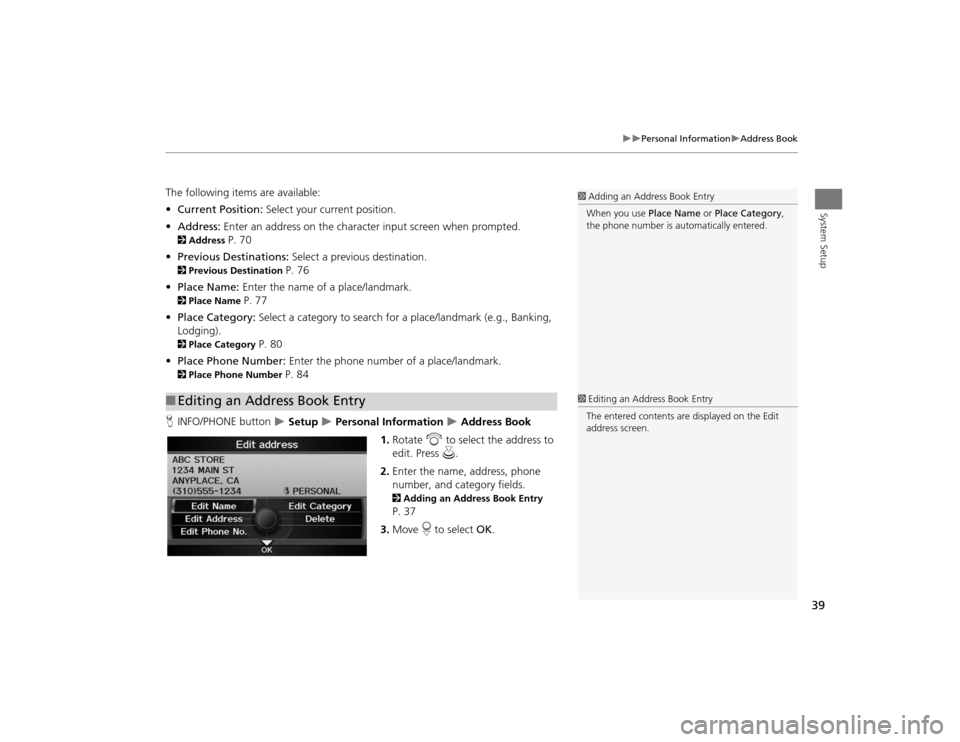
1. Rotate i to select the address to
edit. Press u.
2. Enter the name, address, phone
number, and category fields.
2 Adding an Address Book Entry P. 37
3. Move r to select OK.
■Editing an Address Book Entry
1 Adding an Address Book Entry
When you use Place Name or Place Category ,
the phone number is automatically entered.1 Editing an Address Book Entry
The entered contents are displayed on the Edit
address screen.
TSX_KA-31TL1820.book 39 ページ 2011年6月24日 金曜日 午後3時43分
Page 42 of 253
40
Personal Information
Address Book
System Setup
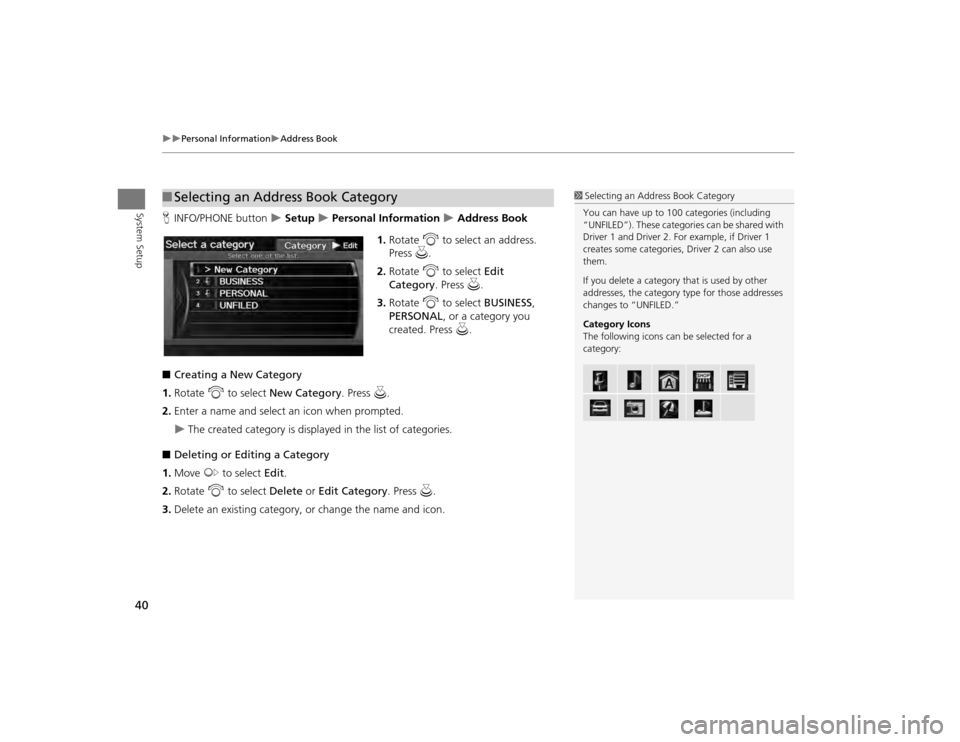
HINFO/PHONE button
Setup
Personal Information
Address Book
1. Rotate i to select an address.
Press u.
2. Rotate i to select Edit
Category . Press u.
3. Rotate i to select BUSINESS ,
PERSONAL , or a category you
created. Press u.
■ Creating a New Category
1. Rotate i to select New Category . Press u.
2. Enter a name and select an icon when prompted.
The created category is displa yed in the list of categories.
■ Deleting or Editing a Category
1. Move y to select Edit.
2. Rotate i to select Delete or Edit Category . Press u.
3. Delete an existing category, or change the name and icon.
■Selecting an Address Book Category
1 Selecting an Addr ess Book Category
You can have up to 100 categories (including
“UNFILED”). These categorie s can be shared with
Driver 1 and Driver 2. Fo r example, if Driver 1
creates some categories, Driver 2 can also use
them.
If you delete a category that is used by other
addresses, the category type for those addresses
changes to “UNFILED.”
Category Icons
The following icons ca n be selected for a
category:
TSX_KA-31TL1820.book 40 ページ 2011年6月24日 金曜日 午後3時43分
Page 43 of 253
41
Personal Information
Home Addresses
System Setup
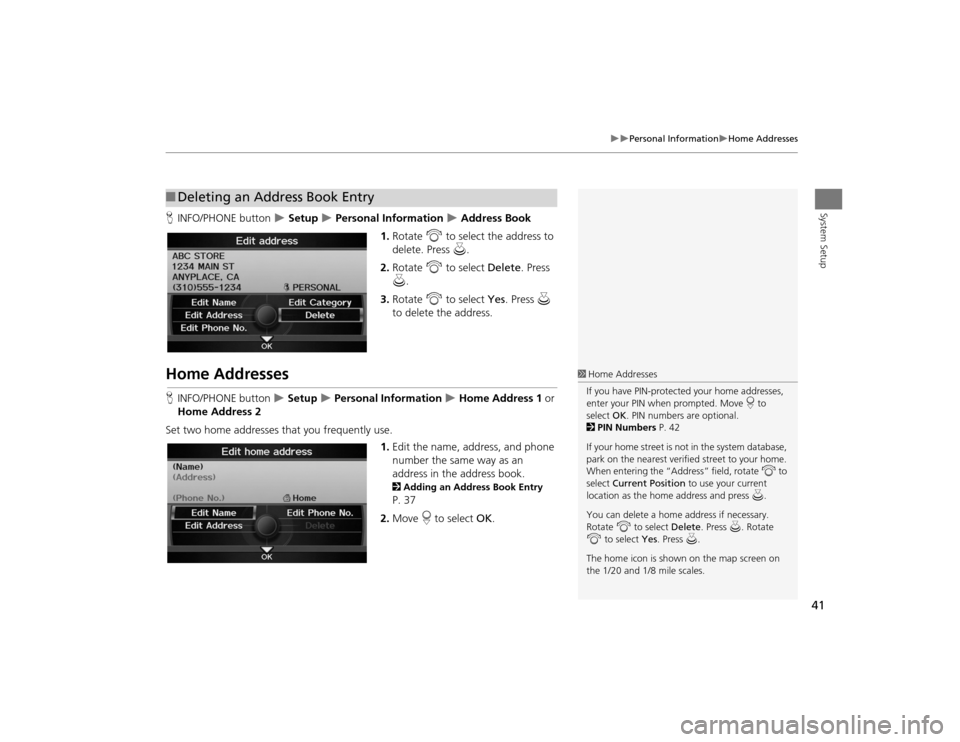
HINFO/PHONE button
Setup
Personal Information
Address Book
1. Rotate i to select the address to
delete. Press u.
2. Rotate i to select Delete. Press
u .
3. Rotate i to select Yes. Press u
to delete the address.
Home AddressesH INFO/PHONE button
Setup
Personal Information
Home Address 1 or
Home Address 2
Set two home addresses that you frequently use. 1.Edit the name, address, and phone
number the same way as an
address in the address book.
2 Adding an Address Book Entry P. 37
2. Move r to select OK.
■Deleting an Address Book Entry
1 Home Addresses
If you have PIN-protecte d your home addresses,
enter your PIN when prompted. Move r to
select OK. PIN numbers are optional.
2 PIN Numbers P. 42
If your home street is not in the system database,
park on the nearest verified street to your home.
When entering the “Address” field, rotate i to
select Current Position to use your current
location as the home address and press u.
You can delete a home address if necessary.
Rotate i to select Delete. Press u . Rotate
i to select Yes. Press u.
The home icon is shown on the map screen on
the 1/20 and 1/8 mile scales.
TSX_KA-31TL1820.book 41 ページ 2011年6月24日 金曜日 午後3時43分
Page 44 of 253
42
Personal Information
PIN Numbers
System Setup
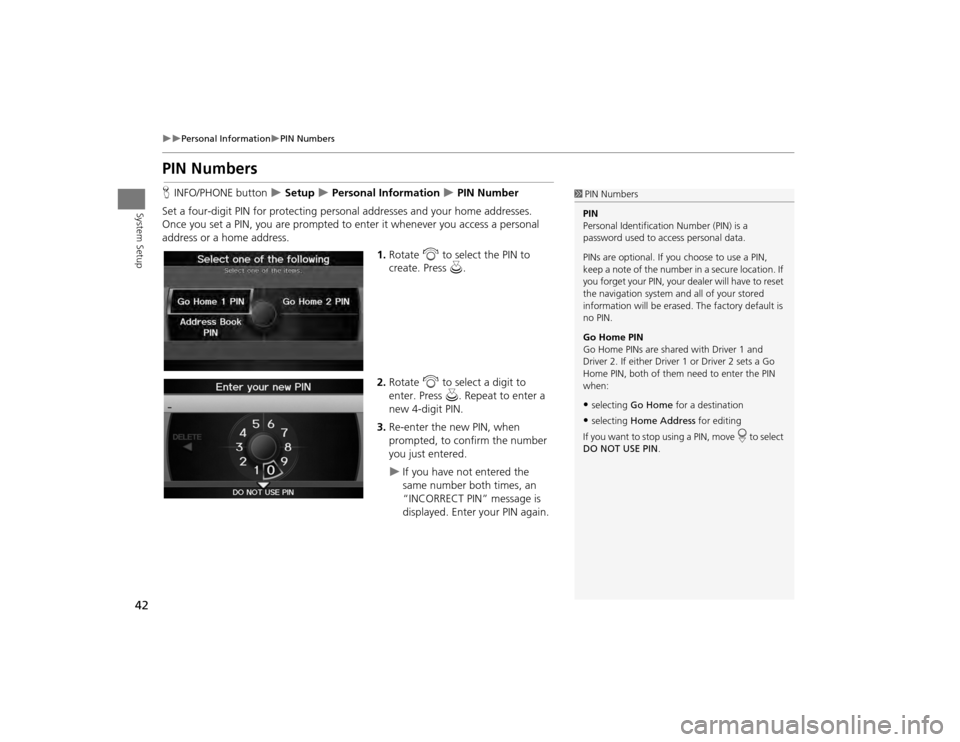
PIN NumbersHINFO/PHONE button
Setup
Personal Information
PIN Number
Set a four-digit PIN for protecting pers onal addresses and your home addresses.
Once you set a PIN, you are prompted to enter it whenever you access a personal
address or a home address.
1.Rotate i to select the PIN to
create. Press u.
2. Rotate i to select a digit to
enter. Press u. Repeat to enter a
new 4-digit PIN.
3. Re-enter the new PIN, when
prompted, to confirm the number
you just entered.
If you have not entered the
same number both times, an
“INCORRECT PIN” message is
displayed. Enter your PIN again.
1PIN Numbers
PIN
Personal Identification Number (PIN) is a
password used to access personal data.
PINs are optional. If you choose to use a PIN,
keep a note of the number in a secure location. If
you forget your PIN, your dealer will have to reset
the navigation system a nd all of your stored
information will be erased . The factory default is
no PIN.
Go Home PIN
Go Home PINs are shared with Driver 1 and
Driver 2. If either Driver 1 or Driver 2 sets a Go
Home PIN, both of them need to enter the PIN
when:•selecting Go Home for a destination•selecting Home Address for editing
If you want to stop using a PIN, move
r to select
DO NOT USE PIN .
TSX_KA-31TL1820.book 42 ページ 2011年6月24日 金曜日 午後3時43分
Page 45 of 253
43
Personal Information
Previous Destinations
System Setup
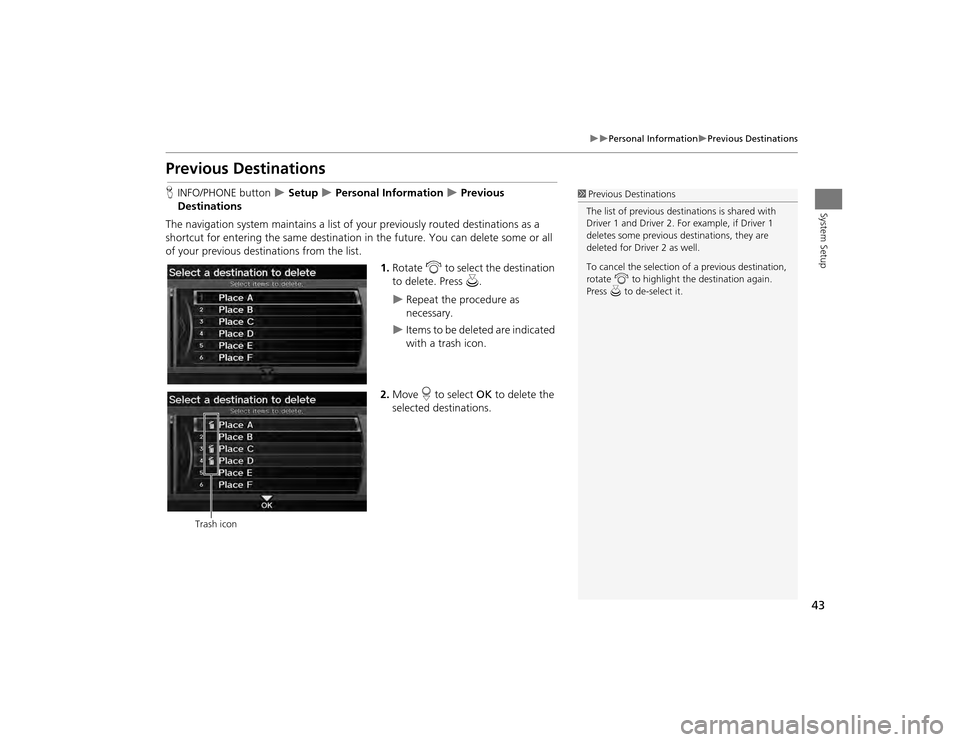
Previous DestinationsHINFO/PHONE button
Setup
Personal Information
Previous
Destinations
The navigation system maintains a list of your previously routed destinations as a
shortcut for entering the same destination in the future. You can delete some or all
of your previous destinations from the list.
1.Rotate i to select the destination
to delete. Press u.
Repeat the procedure as
necessary.
Items to be deleted are indicated
with a trash icon.
2. Move r to select OK to delete the
selected destinations.
1 Previous Destinations
The list of previous dest inations is shared with
Driver 1 and Driver 2. Fo r example, if Driver 1
deletes some previous destinations, they are
deleted for Driver 2 as well.
To cancel the selection of a previous destination,
rotate i to highlight the destination again.
Press u to de-select it.
Trash icon
TSX_KA-31TL1820.book 43 ページ 2011年6月24日 金曜日 午後3時43分
Page 46 of 253
44System Setup
Music SearchHINFO/PHONE button
Setup
Other
Music Search
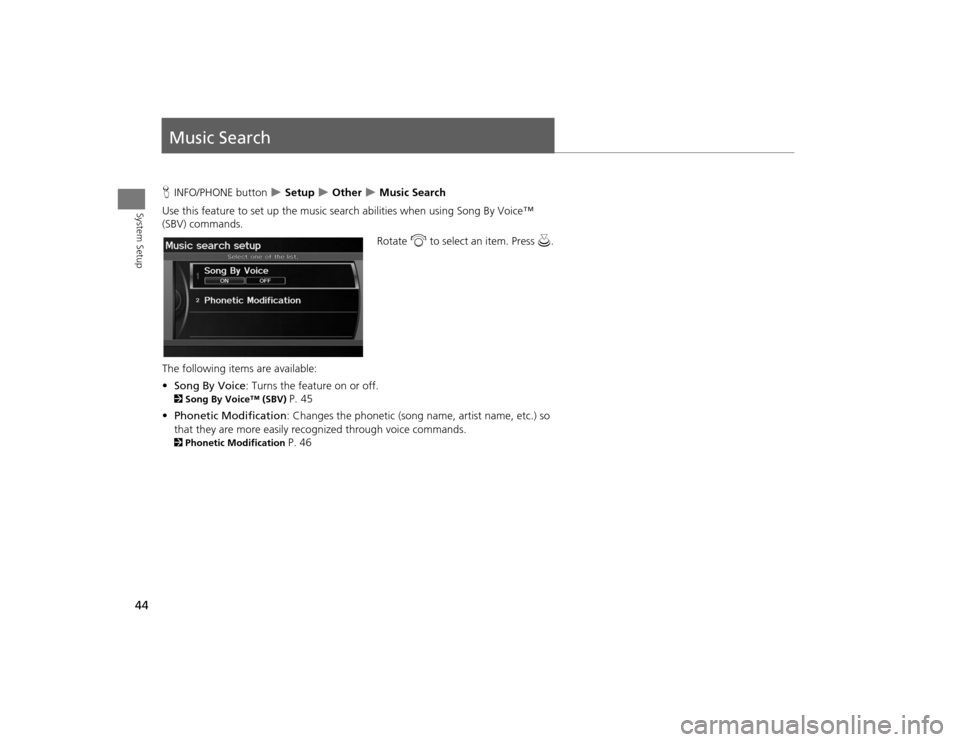
Use this feature to set up the music search abilities when using Song By Voice™
(SBV) commands.
Rotate i to select an item. Press u.
The following item s are available:
• Song By Voice : Turns the feature on or off.
2Song By Voice™ (SBV)
P. 45
• Phonetic Modification : Changes the phonetic (song name, artist name, etc.) so
that they are more easily reco gnized through voice commands.
2Phonetic Modification
P. 46
TSX_KA-31TL1820.book 44 ページ 2011年6月24日 金曜日 午後3時43分
Page 47 of 253
45
Music Search
Song By Voice™ (SBV)
System Setup
Song By Voice™ (SBV)HINFO/PHONE button
Setup
Other
Music Search
Song By Voice
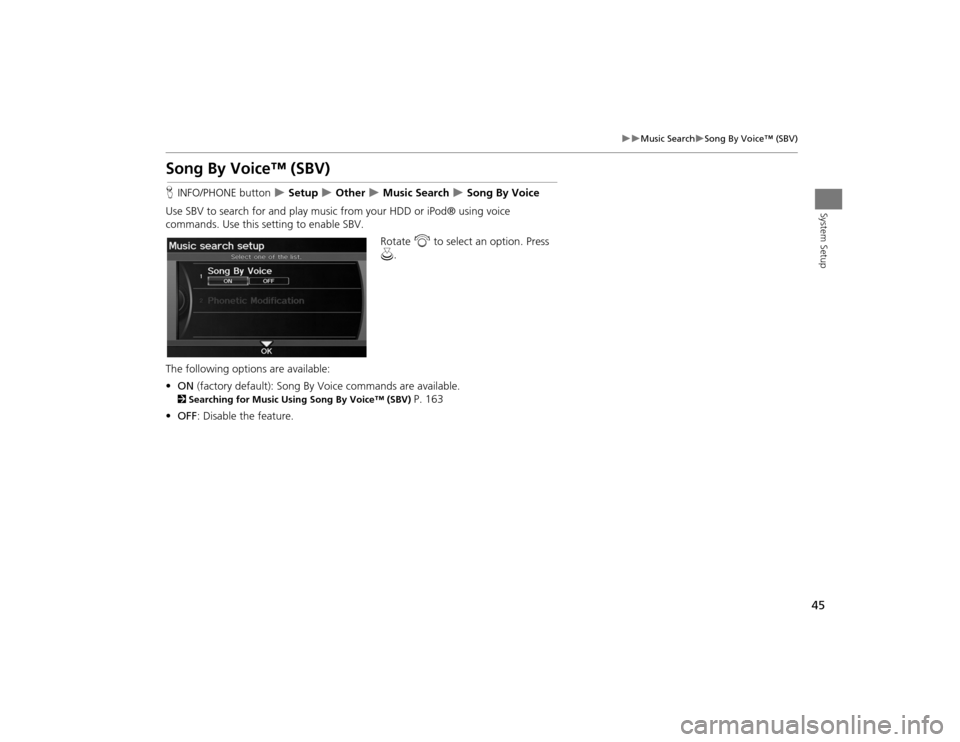
Use SBV to search for and play music from your HDD or iPod® using voice
commands. Use this setti ng to enable SBV.
Rotate i to select an option. Press
u .
The following options are available:
• ON (factory default): Song By Voice commands are available.
2Searching for Music Using Song By Voice™ (SBV)
P. 163
• OFF : Disable the feature.
TSX_KA-31TL1820.book 45 ページ 2011年6月24日 金曜日 午後3時43分