Alfa Romeo 4C Spider 2016 Manual Online
Manufacturer: ALFA ROMEO, Model Year: 2016, Model line: 4C Spider, Model: Alfa Romeo 4C Spider 2016Pages: 371, PDF Size: 2.93 MB
Page 81 of 371
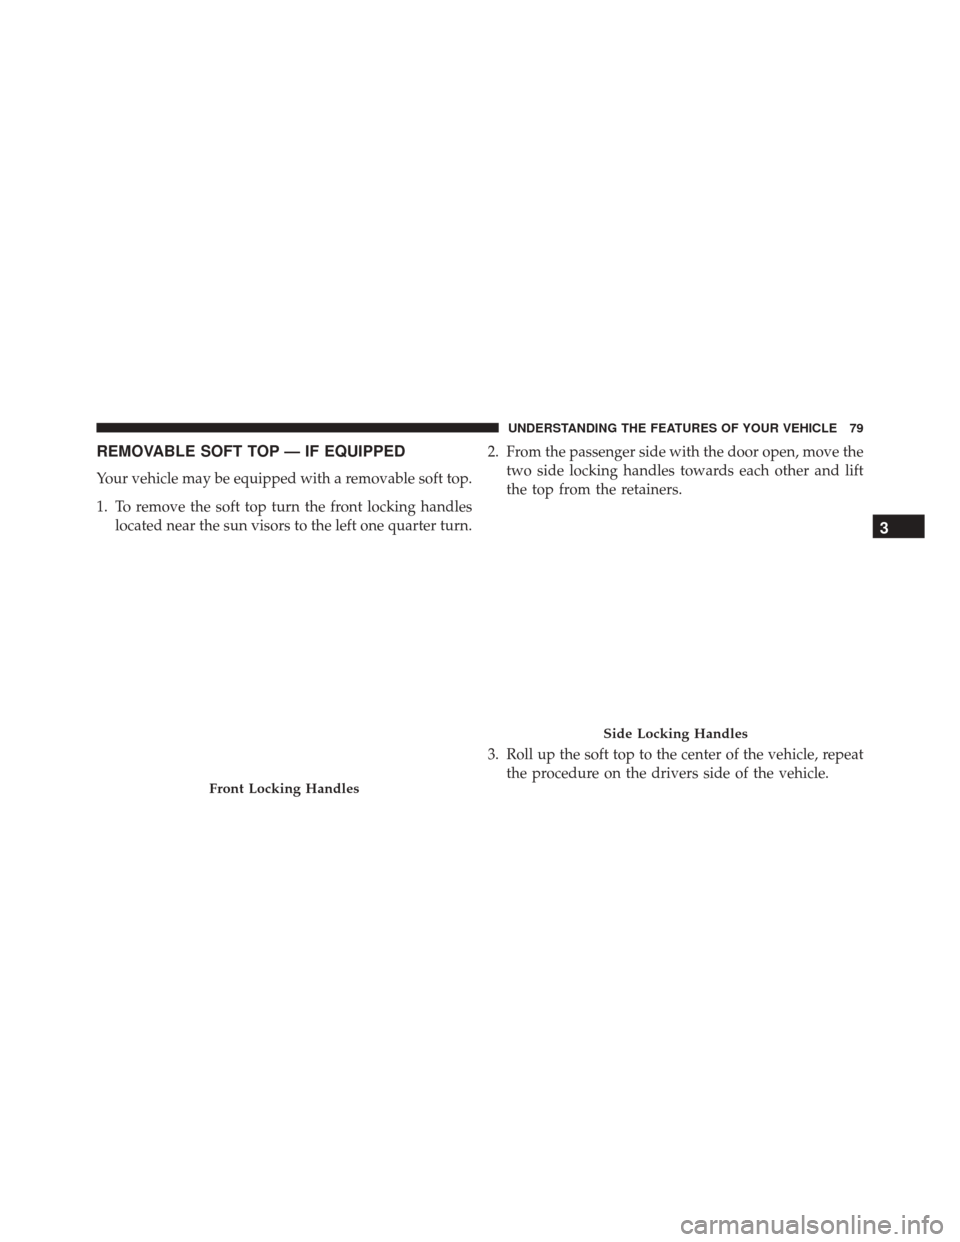
REMOVABLE SOFT TOP — IF EQUIPPED
Your vehicle may be equipped with a removable soft top.
1. To remove the soft top turn the front locking handleslocated near the sun visors to the left one quarter turn. 2. From the passenger side with the door open, move the
two side locking handles towards each other and lift
the top from the retainers.
3. Roll up the soft top to the center of the vehicle, repeat the procedure on the drivers side of the vehicle.
Front Locking Handles
Side Locking Handles
3
UNDERSTANDING THE FEATURES OF YOUR VEHICLE 79
Page 82 of 371
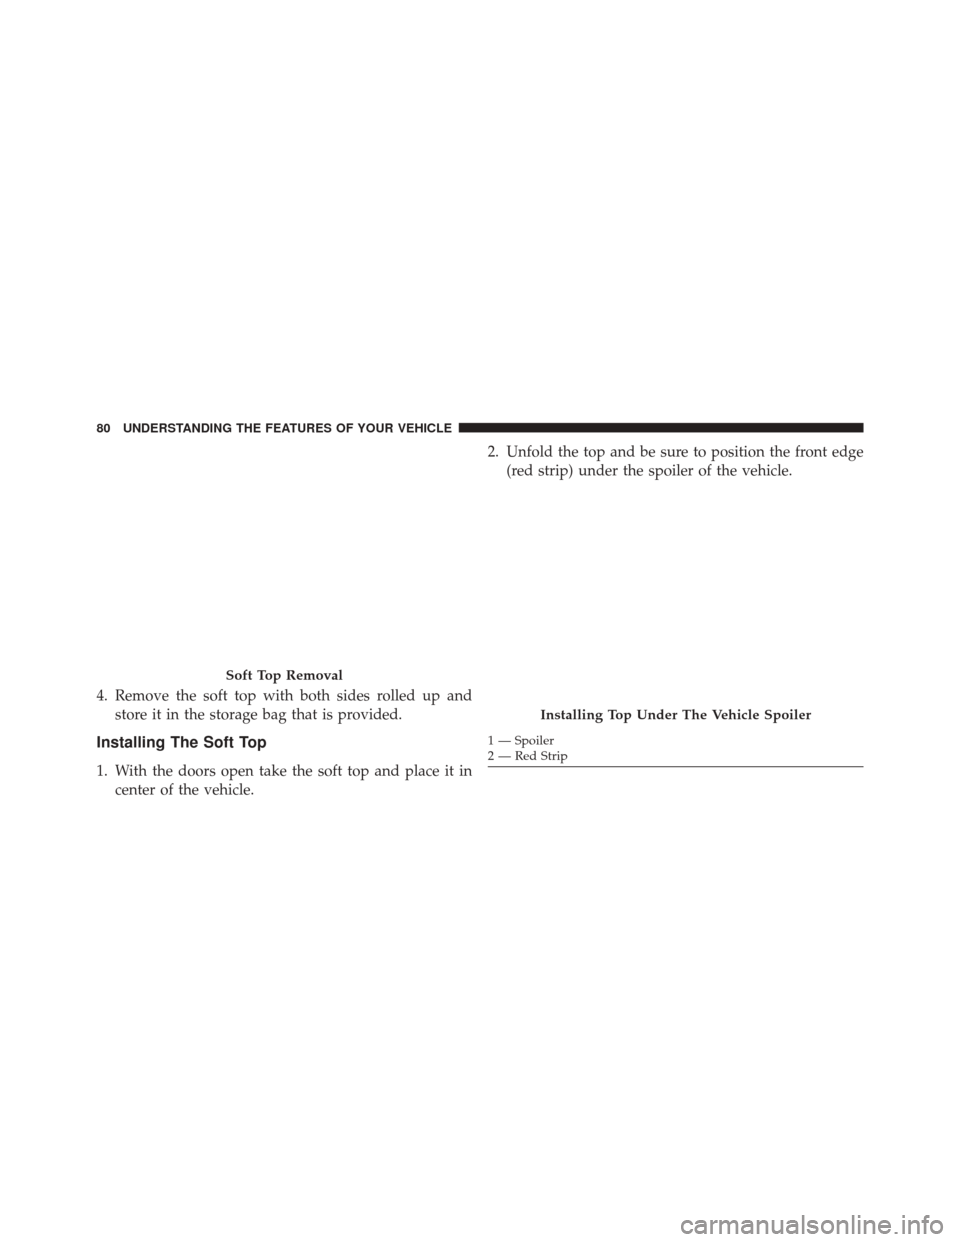
4. Remove the soft top with both sides rolled up andstore it in the storage bag that is provided.
Installing The Soft Top
1. With the doors open take the soft top and place it incenter of the vehicle. 2. Unfold the top and be sure to position the front edge
(red strip) under the spoiler of the vehicle.
Soft Top Removal
Installing Top Under The Vehicle Spoiler
1 — Spoiler
2 — Red Strip
80 UNDERSTANDING THE FEATURES OF YOUR VEHICLE
Page 83 of 371
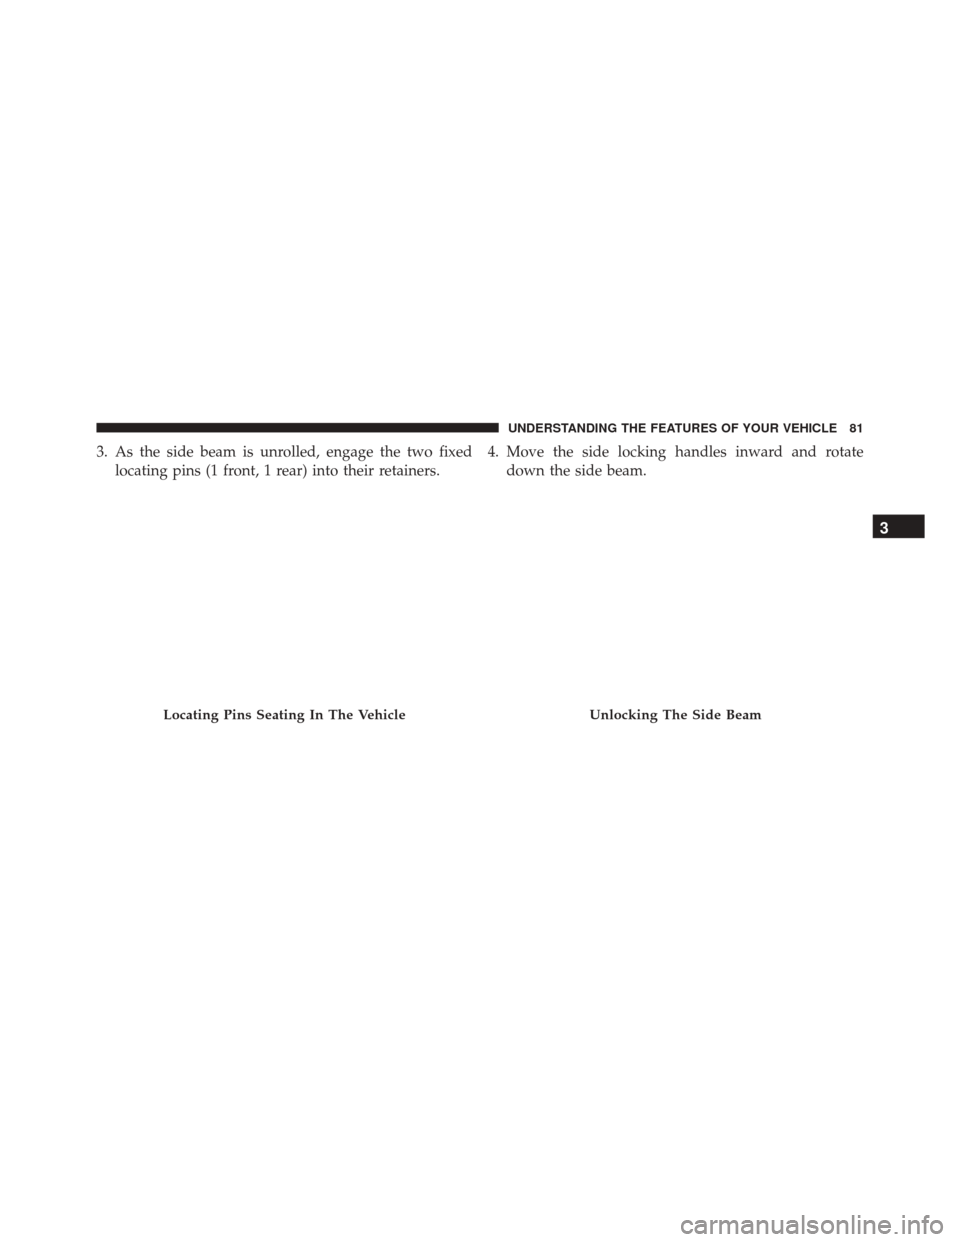
3. As the side beam is unrolled, engage the two fixedlocating pins (1 front, 1 rear) into their retainers. 4. Move the side locking handles inward and rotate
down the side beam.
Locating Pins Seating In The VehicleUnlocking The Side Beam
3
UNDERSTANDING THE FEATURES OF YOUR VEHICLE 81
Page 84 of 371
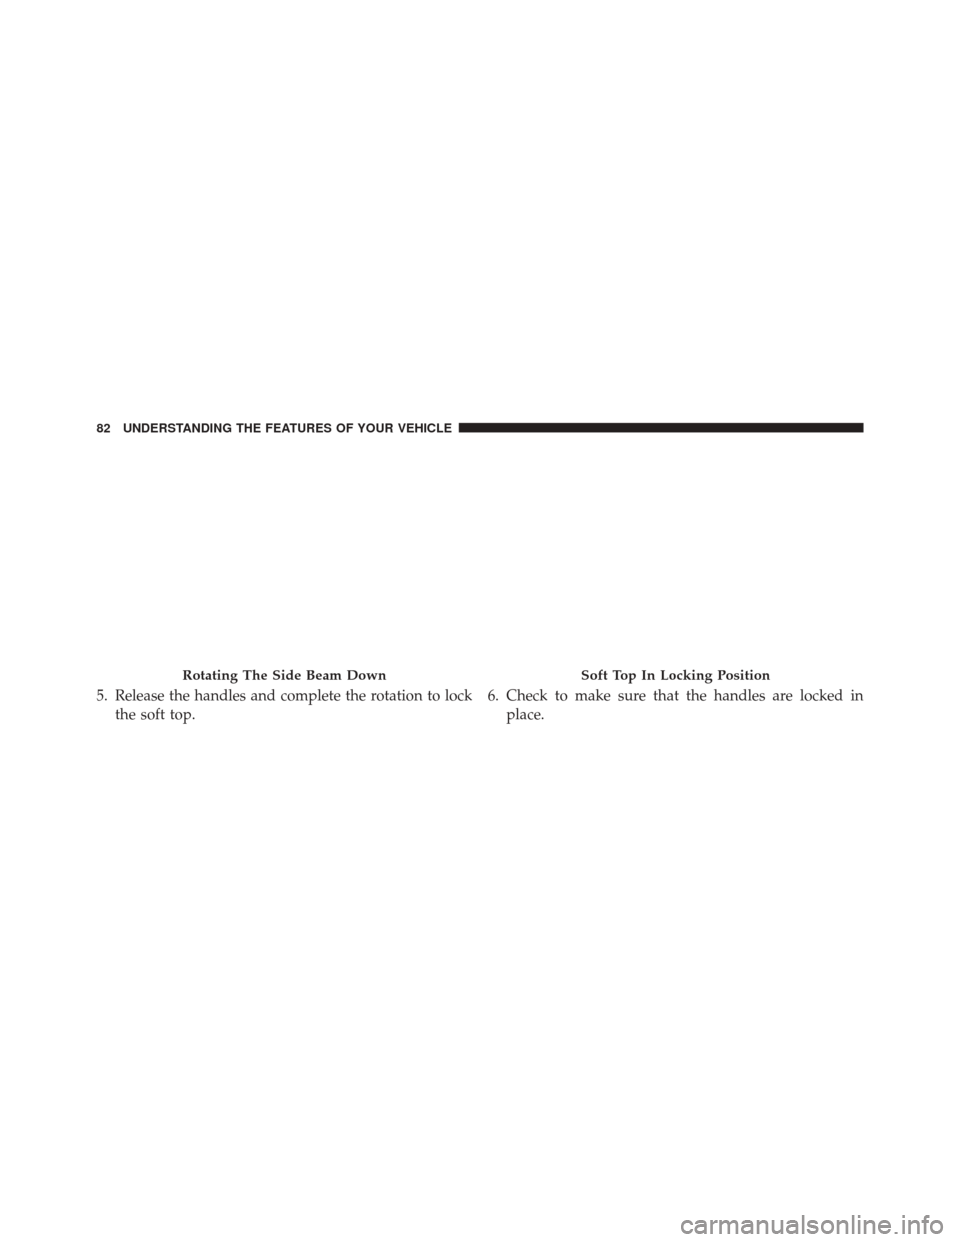
5. Release the handles and complete the rotation to lockthe soft top. 6. Check to make sure that the handles are locked in
place.
Rotating The Side Beam DownSoft Top In Locking Position
82 UNDERSTANDING THE FEATURES OF YOUR VEHICLE
Page 85 of 371
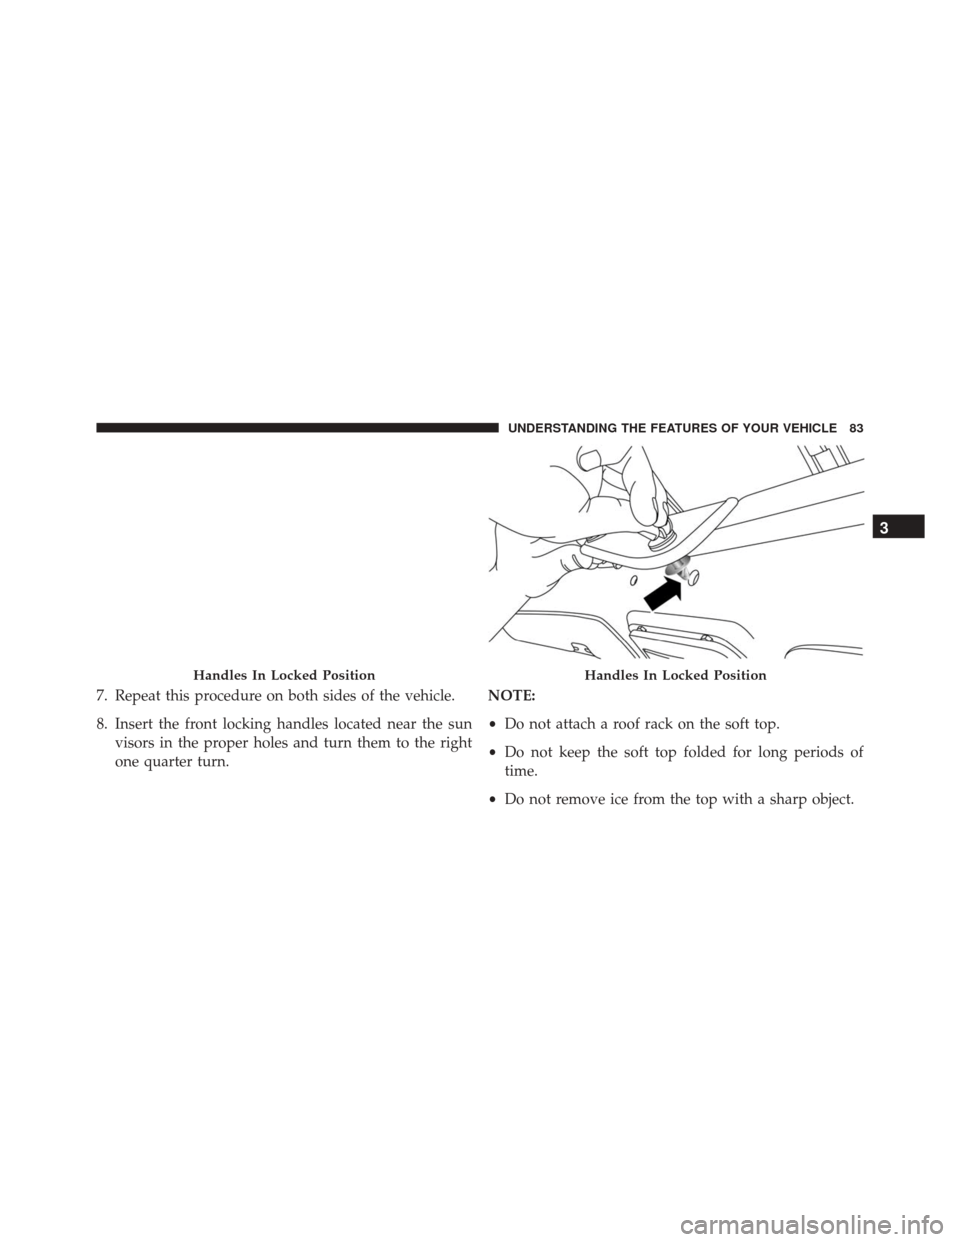
7. Repeat this procedure on both sides of the vehicle.
8. Insert the front locking handles located near the sunvisors in the proper holes and turn them to the right
one quarter turn. NOTE:
•
Do not attach a roof rack on the soft top.
• Do not keep the soft top folded for long periods of
time.
• Do not remove ice from the top with a sharp object.
Handles In Locked PositionHandles In Locked Position
3
UNDERSTANDING THE FEATURES OF YOUR VEHICLE 83
Page 86 of 371
•Do not put objects on the top. The object could fall if
the top is operated causing damage and injury.
• The cooled air flow into the passenger compartment
may decrease if the automatic climate control system is
on and the top is not all the way closed.
• With the top open and the vehicle travelling, the
speech recognition system along with the dial number
command, may not be recognized because of the
background noise if equipped.
• With the top installed at speeds higher than 80 mph
(130 Km/h), optimal comfort may not be achieved.
The top fabric is treated with a special water repellent,
waterproof product. The water-repellent properties will
degrade in time with exposure to the weather elements.
Observe the following instructions for washing: NOTE:
•
Use of specific products is recommended for washing
the top.
• Bird droppings must be washed off immediately and
thoroughly as the acid they contain is particularly
aggressive.
• Never use high-pressure washing systems.
• Hand washing is recommended; modern automatic
washing systems equipped with soft brushes which do
not apply excessive pressure and employ specific soft
top products may be used.
• When using steam washers or high-pressure power
washers, maintain a suitable distance and do not
exceed a maximum temperature of 140 °F (60 °C).
Damage, alterations and water infiltrations may occur
if the distance is too small.
84 UNDERSTANDING THE FEATURES OF YOUR VEHICLE
Page 87 of 371
•If a water jet is used, direct away from the edges of the
fabric to prevent water infiltrations.
• Never use alcohol, petroleum products, chemical
products, detergents, stain removers, wax, solvents,
and “wash and polish” products.
• Remove as much dirt from the surface of the top with
a soft brush or vacuum cleaner before washing it. This
operation will considerably improve the final result. In
lack of specific products, use water and mild soap
applied with a sponge preferably in the shade for
washing. Rinse the top with clean water after having
eliminated all the stains.
• Rinse immediately to remove soap to prevent stains. •
Leave the vehicle in the shade after washing avoiding
direct sunlight.
• Use specific waterproofing products for fabric tops
and follow the instructions on the product container
for best results.
• The rubber seals of the top must be washed with water
only. Apply talcum power or use specific rubber care
products (silicone spray) if the seals are dry or partially
stuck.
SEATS
Seats are a part of the Occupant Restraint System of the
vehicle.
3
UNDERSTANDING THE FEATURES OF YOUR VEHICLE 85
Page 88 of 371
WARNING!
•It is dangerous to ride in a cargo area, inside or
outside of a vehicle. In a collision, people riding in
these areas are more likely to be seriously injured
or killed.
• Do not allow people to ride in any area of your
vehicle that is not equipped with seats and seat
belts. In a collision, people riding in these areas are
more likely to be seriously injured or killed.
• Be sure everyone in your vehicle is in a seat and
using a seat belt properly.
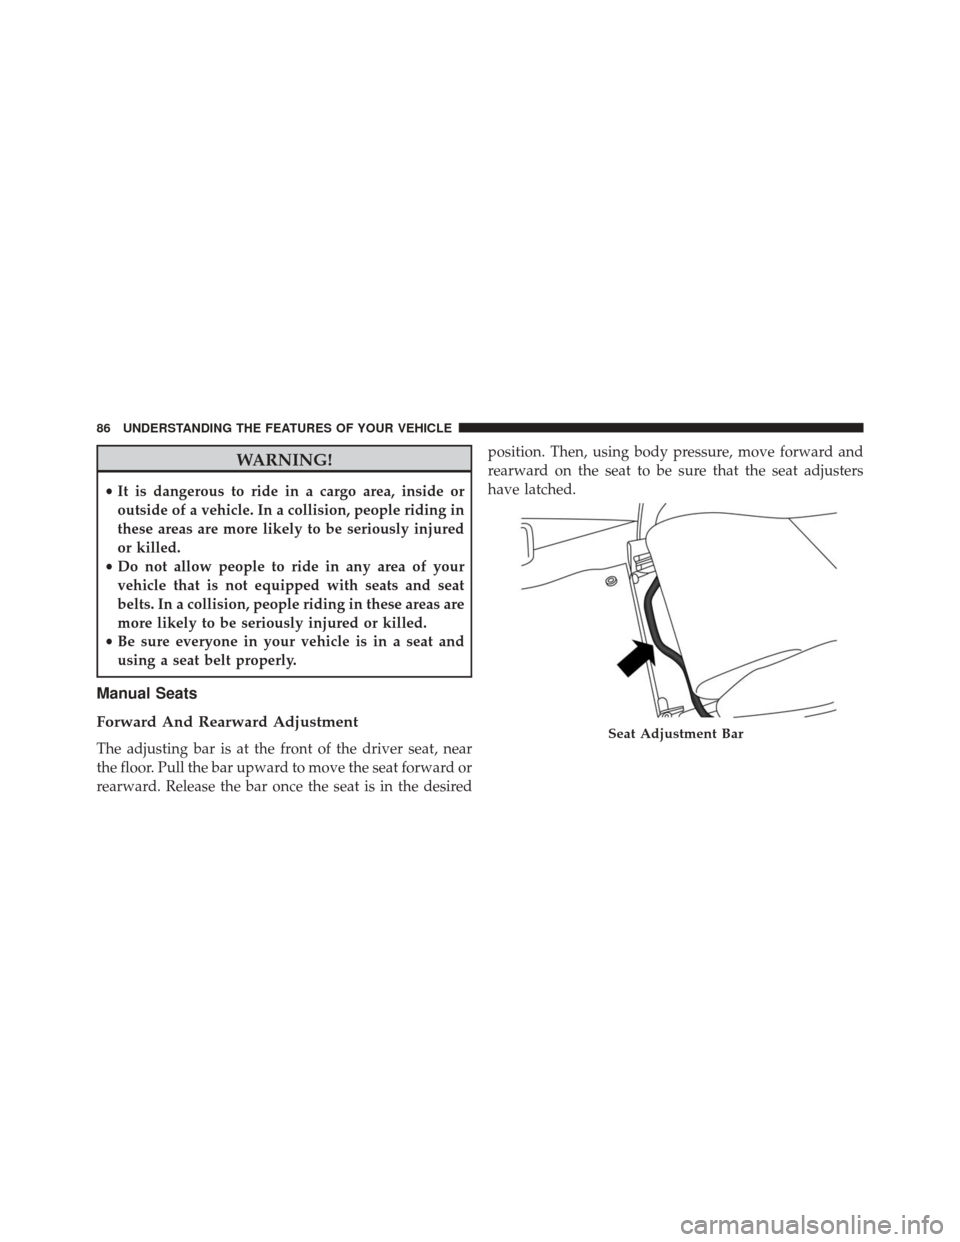
Manual Seats
Forward And Rearward Adjustment
The adjusting bar is at the front of the driver seat, near
the floor. Pull the bar upward to move the seat forward or
rearward. Release the bar once the seat is in the desired position. Then, using body pressure, move forward and
rearward on the seat to be sure that the seat adjusters
have latched.Seat Adjustment Bar
86 UNDERSTANDING THE FEATURES OF YOUR VEHICLE
Page 89 of 371
Seat Height Adjustment
In order to achieve the ideal driving position, the height
of the seats can also be adjusted. Tools are required to
make this height adjustment. Contact your authorized
dealership.
Recliner Adjustment
The recliner lever is located on the outboard side of the
seat. To recline the seat, lean forward slightly, pull the
recliner lever upward, lean backward until the seat is in
the desired position, and release the lever. To return the
seat to its full upright position, lean forward, pull the
recliner lever upward and hold it until the seat returns to
its full upright position.
Recline Lever
3
UNDERSTANDING THE FEATURES OF YOUR VEHICLE 87
Page 90 of 371
WARNING!
•Adjusting a seat while driving may be dangerous.
Moving a seat while driving could result in loss of
control which could cause a collision and serious
injury or death.
• Seats should be adjusted before fastening the seat
belts and while the vehicle is parked. Serious
injury or death could result from a poorly adjusted
seat belt.
• Do not ride with the seatback reclined so that the
shoulder belt is no longer resting against your
chest. In a collision you could slide under the seat
belt, which could result in serious injury or death.
Non-Adjustable Head Restraints
The non-adjustable head restraints are form fitted into
the upper structure of the seatback and are designed to
reduce the risk of injury by restricting head movement in
the event of a rear impact. The seatback should be
properly adjusted to an upright position where the head
restraint is positioned as close as possible to the back of
your head.
WARNING!
Be certain that the seatback is locked securely into
position. Otherwise, the seat will not provide the
proper stability for passengers. An improperly
latched seatback could cause serious injury.
88 UNDERSTANDING THE FEATURES OF YOUR VEHICLE