buttons Alfa Romeo Giulia 2017 Owner's Manual
[x] Cancel search | Manufacturer: ALFA ROMEO, Model Year: 2017, Model line: Giulia, Model: Alfa Romeo Giulia 2017Pages: 268, PDF Size: 18.64 MB
Page 21 of 268
still blocked, try with the other keys
provided. If it is still not possible to start
the engine, contact an authorized
dealer.
If the Engine Immobilizer
Failure/Break-in Attempt
icon is
displayed while driving, this means that
the system is running a self-diagnosis
(e.g. due to a voltage drop). If the
display persists, contact an authorized
dealer.
Important Notes
Do not tamper with the Engine
Immobilizer system. Any modifications
or alterations could cause the
protection function to be deactivated.
The Engine Immobilizer system is not
compatible with certain aftermarket
remote starting systems. The use of
these devices could cause problems
when starting, as well as the
deactivation of the protection function.
All keys provided with the vehicle
have been programmed in accordance
with the electronics on the vehicle itself.
Each key has its own code which
must be stored by the system's control
unit. Contact an authorized dealer to
have new keys (up to eight) stored with
a code.
SECURITY ALARM
SYSTEM — IF
EQUIPPED
Alarm Activation
While armed, the alarm will sound in the
following scenarios:
Opening of doors/hood/deck lid
(perimeter protection)
Operation of ignition with a key which
is not validated
Cutting of the battery cables
Movement inside the passenger
compartment (volumetric protection —
if equipped)
Unexpected lifting/tilting of the car
(anti-lift protection — if equipped)
Activation of the alarm triggers the
acoustic warning and the turn signals.
Note: The alarm system is activated by
the Engine Immobilizer system, which is
automatically activated when you get
out of the vehicle with the key fob and
lock the doors.
To Arm The Alarm
With the doors, hood, and trunk lid
closed and the keyless ignition system
placed in the STOP position, push and
release the lock button on the key fob.
The alarm can also be armed by
pushing the Passive Entry door handle
button, located on the door external handle. For further information, refer to
"Passive Entry" in "Doors.”
When the alarm is armed, the warning
lights on the panels of the interior front
door handles will flash.
The activation of the alarm is preceded
by a self-diagnosis stage: if a fault is
04056S0003EMPassive Entry Door Handle Button
04046S0001EMLock/Unlock Buttons
19
Page 25 of 268
Driver Side Door Emergency
Opening
If the key fob does not work, e.g.
because its battery is discharged or the
vehicle battery is discharged, the
emergency key can be used to unlock
the driver side door.
To remove the emergency key from the
key fob, proceed as follows:
1. Push the sides of the key fob inward
and extract the cover pulling
downwards.
2. Remove the emergency key from
the key fob housing.
3. Insert the emergency key in the
driver side door lock cylinder and turn it
to the left (counter clockwise) to unlock
the door.Note:
The emergency key blade is not
directional and can be inserted
indifferently into the lock.
To avoid leaving the key fob inside
the car accidentally, the Passive Entry
function features an automatic door
unlocking function.
If one of the vehicle doors is open
and the "door locking" button on the
front door handles or lock button in the
interior door lock switch panel is
pushed, a check of the inside and
outside of the vehicle for the presence
of the key fob is made once all the
open doors are closed. While pulling the handle, do not push
the door lock/unlock button on the
handle.
04016S0002EMEmergency Key Release Buttons
04016S0003EMEmergency Key04056S0003EMPassive Entry Door Handle Button
04056S0001EMInterior Lock Switch Panel
23
Page 27 of 268
General Information
The following regulatory statement
applies to all radio frequency (RF)
devices equipped in this vehicle:
This device complies with Part 15 of the
FCC Rules and with Industry Canada
licence-exempt RSS standard(s).
Operation is subject to the following
two conditions:
1. This device may not cause harmful
interference, and
2. This device must accept any
interference received, including
interference that may cause undesired
operation.
Note:
Changes or modifications not expressly
approved by the party responsible for
compliance could void the user’s
authority to operate the equipment.
Power Lock — If
Equipped
The Power Lock is a safety device that
prevents the operation of the interior
door handles and the door locking and
unlocking buttons. The Power Lock
also prevent opening of the doors from
inside the passenger compartment.
It is recommended to lock the vehicle
doors each time the vehicle is parked.Activating The Power Lock
The Power Lock is enabled on all the
doors by quickly pushing the lock
button on the key fob twice.
The turn signals will flash to let you
know that the Power Lock is active.
If one or more of the doors are not
closed correctly, the Power Lock will
not activate, preventing a person from
getting stuck inside the passenger
compartment by entering the vehicle,
and then closing, the open door.
Deactivating The Power Lock
The Power Lock disengages
automatically:
When the doors are unlocked,
pushing the unlock button on the key
fob.
When the keyless ignition is placed in
the ON position.
Child Safety Locks
To provide a safer environment for small
children riding in the rear seats, the rear
doors are equipped with
Child-Protection Door Lock system.
This device can be engaged only with
the doors open.
Lock position: device locked (door
locked)
Unlock position: device unlocked
(door may be opened from the inside)
The Child Safety Locks remain locked
even if the doors are unlocked.
Note: The rear doors cannot be
opened from the inside when the Child
Safety Lock is engaged.
04056S0007EMChild Safety Lock Positions
25
Page 28 of 268
Unlocking The Doors
With A Discharged
Battery
Proceed as follows to unlock the doors
if the vehicle battery is discharged.
Rear Doors And Passenger Door
1. With the doors unlocked insert the
emergency key from the key fob or a
flat bladed screwdriver into the door
lock manual release lock cylinder.
2. Turn the manual release lock
cylinder clockwise for the right door
locks or counterclockwise for the left
door locks.3. Remove the key/screwdriver from
the manual release lock.
Proceed as follows to realign the door
lock device (only when the battery
charge has been restored):
Push the lock button on the
electronic key
Push the unlock button on the door
panel
Unlock driver’s door lock with the
emergency key.
Operate the internal door handle
Note: For the rear doors, if the Child
Safety Locks are engaged, and the
previously described locking procedure
is carried out, operating the internal
handle will not open the door. Instead, it
will only realign the lock release device.
To open the door, the outside handle
must be used. The door central
locking/unlocking buttons are not
deactivated when the emergency lock
is engaged.
SEATS
Warning!
It is dangerous to ride in a cargo area,
inside or outside of a vehicle. In a collision,
people riding in these areas are more likely
to be seriously injured or killed.
Do not allow people to ride in any area
of your vehicle that is not equipped with
seats and seat belts. In a collision, people
riding in these areas are more likely to be
seriously injured or killed.
Be sure everyone in your vehicle is in a
seat and using a seat belt properly.
Front Seats
The front seats can be adjusted to
ensure maximum comfort for the
occupants.
When adjusting the driver’s seat, keep
the shoulders resting firmly against the
backrest, and the wrists within reach of
the top of the steering wheel.
Also, the driver must be able to fully
depress the brake pedal once the seat
has been adjusted.
04056S0008EMDoor Lock Manual Release Lock Cylinder
26
GETTING TO KNOW YOUR VEHICLE
Page 30 of 268
for approximately 30 minutes; vehicle
locking/unlocking or switching on of the
center front overhead light.
Seat Angle Adjustment (Tilting)
The seat angle can be adjusted in four
directions. Lift or push the front part of
seat switch to move the front part of the
seat in the corresponding direction.
Release seat switch when the seat has
reached the desired position.
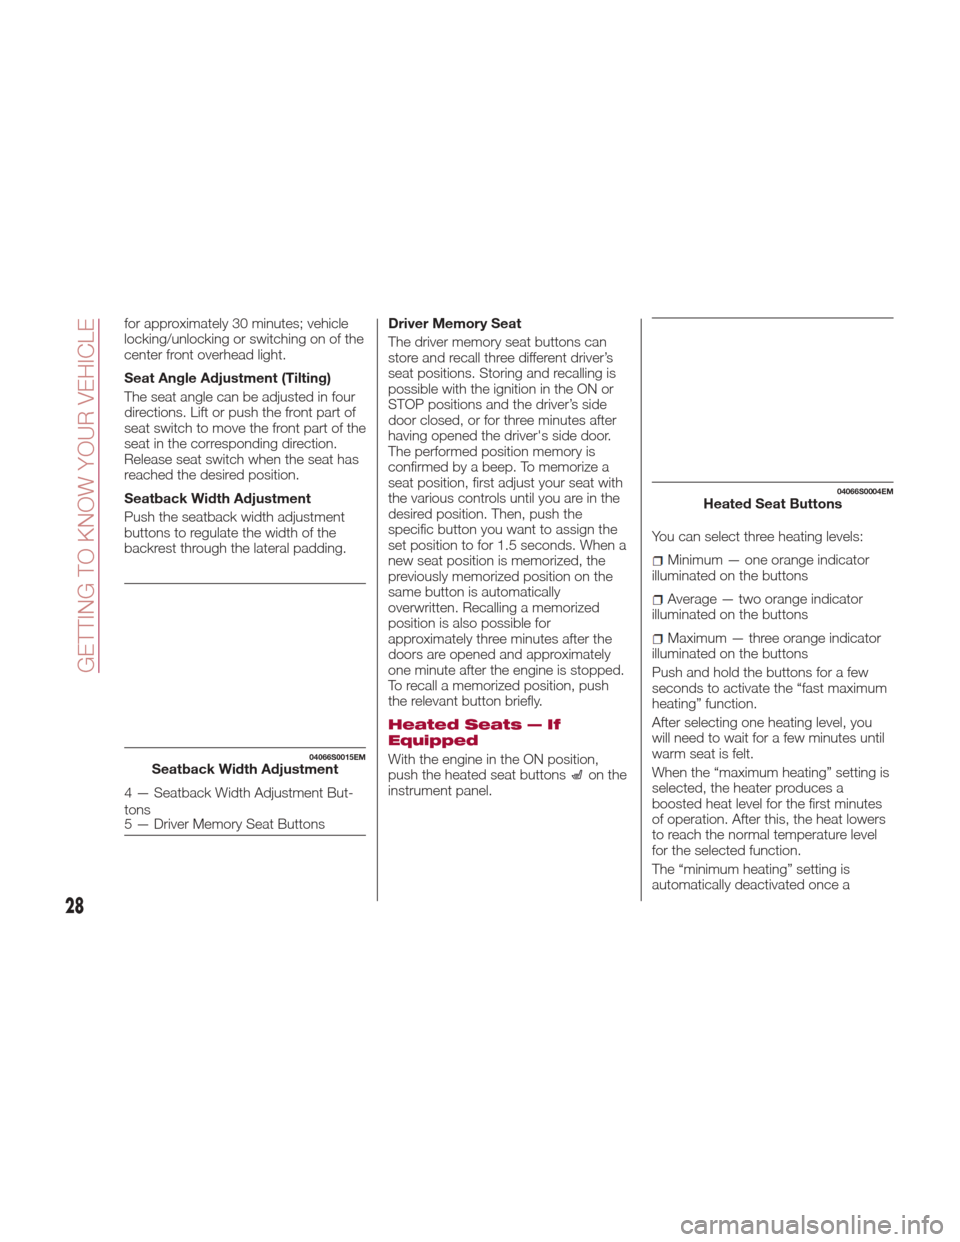
Seatback Width Adjustment
Push the seatback width adjustment
buttons to regulate the width of the
backrest through the lateral padding.Driver Memory Seat
The driver memory seat buttons can
store and recall three different driver’s
seat positions. Storing and recalling is
possible with the ignition in the ON or
STOP positions and the driver’s side
door closed, or for three minutes after
having opened the driver's side door.
The performed position memory is
confirmed by a beep. To memorize a
seat position, first adjust your seat with
the various controls until you are in the
desired position. Then, push the
specific button you want to assign the
set position to for 1.5 seconds. When a
new seat position is memorized, the
previously memorized position on the
same button is automatically
overwritten. Recalling a memorized
position is also possible for
approximately three minutes after the
doors are opened and approximately
one minute after the engine is stopped.
To recall a memorized position, push
the relevant button briefly.
Heated Seats — If
Equipped
With the engine in the ON position,
push the heated seat buttonson the
instrument panel. You can select three heating levels:
Minimum — one orange indicator
illuminated on the buttons
Average — two orange indicator
illuminated on the buttons
Maximum — three orange indicator
illuminated on the buttons
Push and hold the buttons for a few
seconds to activate the “fast maximum
heating” function.
After selecting one heating level, you
will need to wait for a few minutes until
warm seat is felt.
When the “maximum heating” setting is
selected, the heater produces a
boosted heat level for the first minutes
of operation. After this, the heat lowers
to reach the normal temperature level
for the selected function.
The “minimum heating” setting is
automatically deactivated once a
04066S0015EMSeatback Width Adjustment
4 — Seatback Width Adjustment But-
tons
5 — Driver Memory Seat Buttons
04066S0004EMHeated Seat Buttons
28
GETTING TO KNOW YOUR VEHICLE
Page 33 of 268
Head Restraints
(Removal)
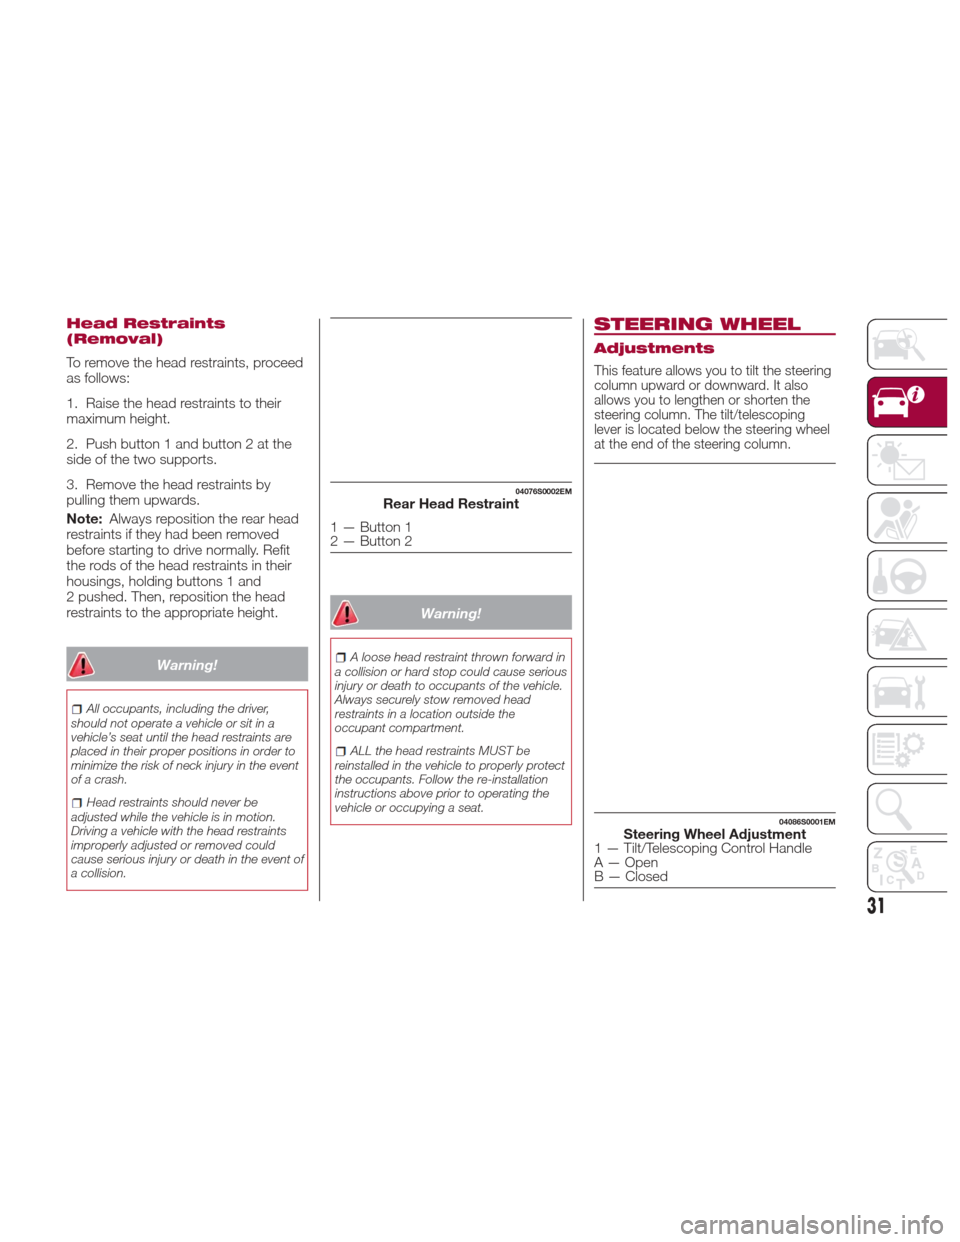
To remove the head restraints, proceed
as follows:
1. Raise the head restraints to their
maximum height.
2. Push button 1 and button 2 at the
side of the two supports.
3. Remove the head restraints by
pulling them upwards.
Note:Always reposition the rear head
restraints if they had been removed
before starting to drive normally. Refit
the rods of the head restraints in their
housings, holding buttons 1 and
2 pushed. Then, reposition the head
restraints to the appropriate height.
Warning!
All occupants, including the driver,
should not operate a vehicle or sit in a
vehicle’s seat until the head restraints are
placed in their proper positions in order to
minimize the risk of neck injury in the event
of a crash.
Head restraints should never be
adjusted while the vehicle is in motion.
Driving a vehicle with the head restraints
improperly adjusted or removed could
cause serious injury or death in the event of
a collision.
Warning!
A loose head restraint thrown forward in
a collision or hard stop could cause serious
injury or death to occupants of the vehicle.
Always securely stow removed head
restraints in a location outside the
occupant compartment.
ALL the head restraints MUST be
reinstalled in the vehicle to properly protect
the occupants. Follow the re-installation
instructions above prior to operating the
vehicle or occupying a seat.
STEERING WHEEL
Adjustments
This feature allows you to tilt the steering
column upward or downward. It also
allows you to lengthen or shorten the
steering column. The tilt/telescoping
lever is located below the steering wheel
at the end of the steering column.
04076S0002EMRear Head Restraint
1—Button1
2—Button2
04086S0001EMSteering Wheel Adjustment1 — Tilt/Telescoping Control Handle
A — Open
B — Closed
31
Page 36 of 268
Automatic Dimming Mirrors — If
Equipped
Like the electrochromic mirror, an
automatic dimming feature is also
available on the outside rear view
mirrors to prevent glare. The automatic
dimming button is the same for all rear
view mirrors.
Warning!
Vehicles and other objects seen in an
outside convex mirror will look smaller and
farther away than they really are. Relying
too much on side convex mirrors could
cause you to collide with another vehicle or
other object. Use your inside mirror when
judging the size or distance of a vehicle
seen in a side convex mirror.
Heated Mirrors
Push the rear defrostbutton in the
climate controls to activate the heated
mirrors.
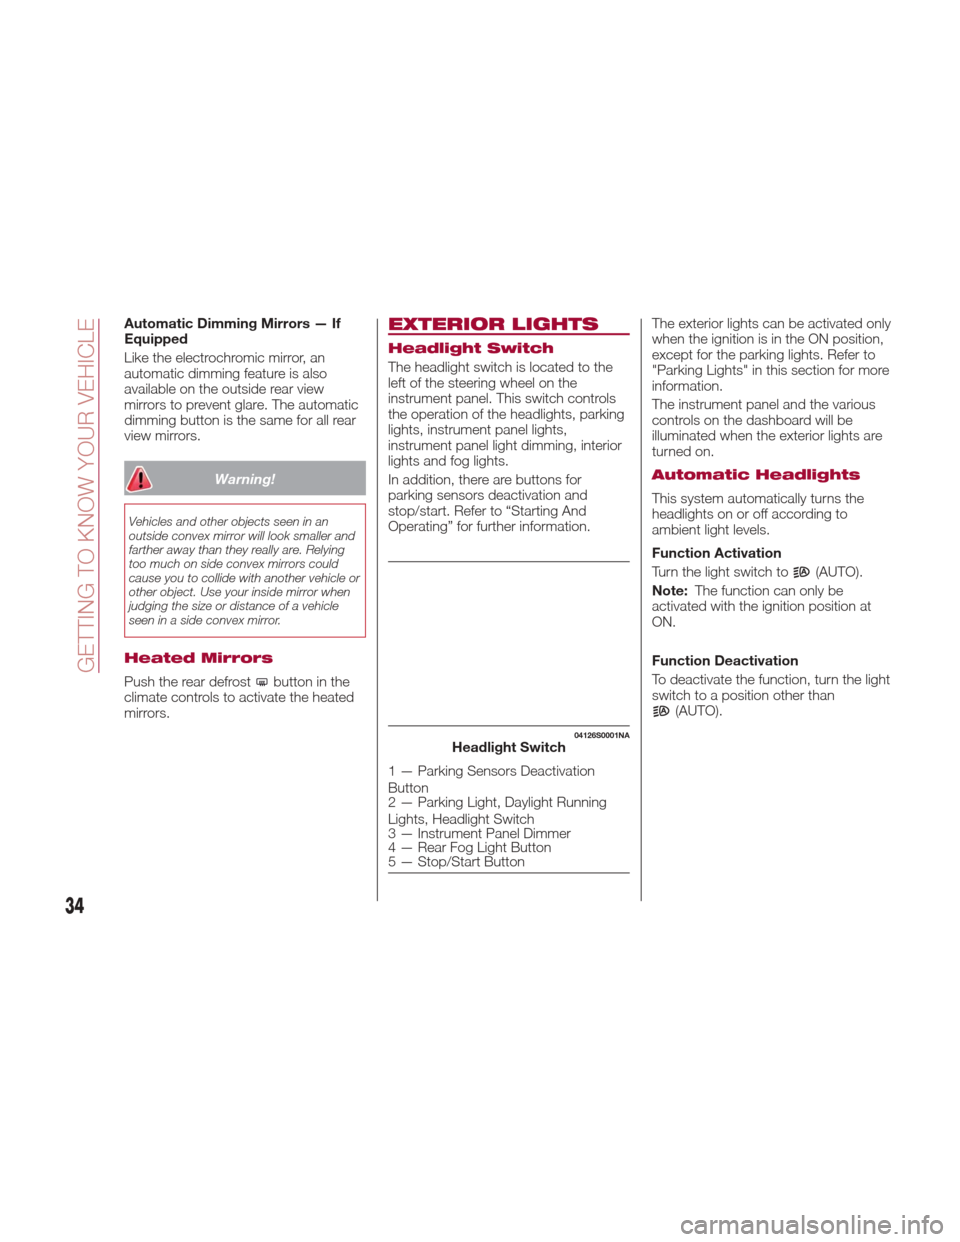
EXTERIOR LIGHTS
Headlight Switch
The headlight switch is located to the
left of the steering wheel on the
instrument panel. This switch controls
the operation of the headlights, parking
lights, instrument panel lights,
instrument panel light dimming, interior
lights and fog lights.
In addition, there are buttons for
parking sensors deactivation and
stop/start. Refer to “Starting And
Operating” for further information. The exterior lights can be activated only
when the ignition is in the ON position,
except for the parking lights. Refer to
"Parking Lights" in this section for more
information.
The instrument panel and the various
controls on the dashboard will be
illuminated when the exterior lights are
turned on.
Automatic Headlights
This system automatically turns the
headlights on or off according to
ambient light levels.
Function Activation
Turn the light switch to
(AUTO).
Note: The function can only be
activated with the ignition position at
ON.
Function Deactivation
To deactivate the function, turn the light
switch to a position other than
(AUTO).
04126S0001NAHeadlight Switch
1 — Parking Sensors Deactivation
Button
2 — Parking Light, Daylight Running
Lights, Headlight Switch
3 — Instrument Panel Dimmer
4 — Rear Fog Light Button
5 — Stop/Start Button
34
GETTING TO KNOW YOUR VEHICLE
Page 41 of 268
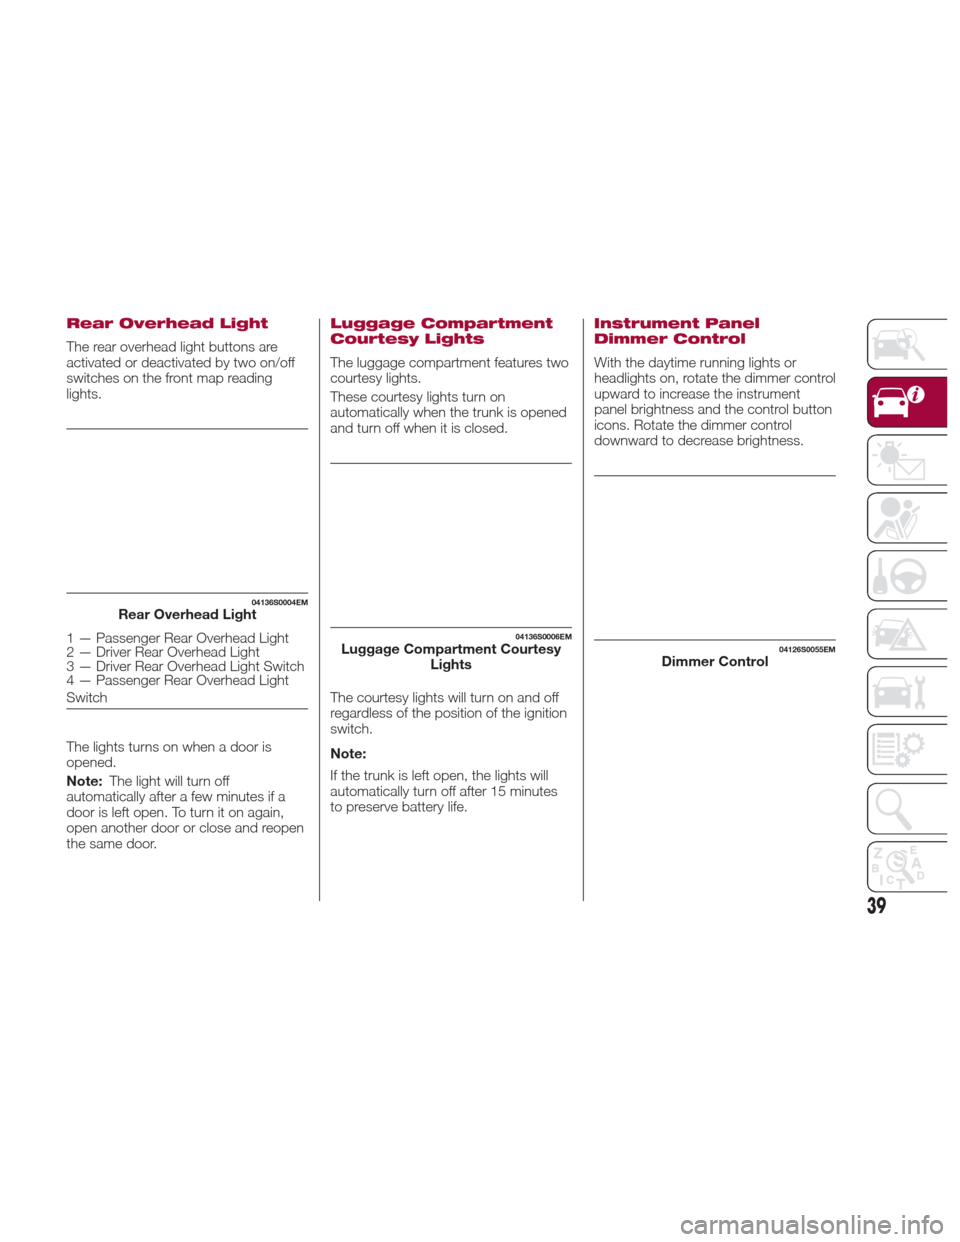
Rear Overhead Light
The rear overhead light buttons are
activated or deactivated by two on/off
switches on the front map reading
lights.
The lights turns on when a door is
opened.
Note:The light will turn off
automatically after a few minutes if a
door is left open. To turn it on again,
open another door or close and reopen
the same door.
Luggage Compartment
Courtesy Lights
The luggage compartment features two
courtesy lights.
These courtesy lights turn on
automatically when the trunk is opened
and turn off when it is closed.
The courtesy lights will turn on and off
regardless of the position of the ignition
switch.
Note:
If the trunk is left open, the lights will
automatically turn off after 15 minutes
to preserve battery life.
Instrument Panel
Dimmer Control
With the daytime running lights or
headlights on, rotate the dimmer control
upward to increase the instrument
panel brightness and the control button
icons. Rotate the dimmer control
downward to decrease brightness.
04136S0004EMRear Overhead Light
1 — Passenger Rear Overhead Light
2 — Driver Rear Overhead Light
3 — Driver Rear Overhead Light Switch
4 — Passenger Rear Overhead Light
Switch04136S0006EMLuggage Compartment Courtesy Lights04126S0055EMDimmer Control
39
Page 46 of 268
Caution!
The system uses R1234yf refrigerant,
which does not pollute the environment in
the event of accidental leakage. Under no
circumstances, use R134a and R12 fluids,
which are incompatible with the
components of this system.
Description
The Automatic Dual Zone Climate
Control System adjusts the temperature
and air distribution independently
between the driver and passenger.
The system maintains the set
temperature inside the passenger
compartment and compensates for
outside temperature change.
The automatic setting will adjust the
following to maintain comfort within the
passenger compartment:
Air temperature from the driver/front
passenger side vents
Air distribution from the driver/front
passenger side vents
Fan speed (continuous variation of
the air flow)
Compressor variations (for
cooling/dehumidifying the air)
Air recirculation The Climate Control System can also
be operated manually by using the
buttons and knobs on the faceplate.
Manual selections will override the
automatic settings, which are stored
until the AUTO button is pushed. If the
system intervenes for safety reasons,
the automatic setting will take control of
the system.
The below operations will not
deactivate the automatic (AUTO)
function:
Air Recirculation activation/
deactivation
A/C activation/deactivation
SYNC function activation
Rear Window Defrost activation/
deactivation
When in AUTO mode, the vehicle’s
internal temperature is controlled
according to the set temperature.
The following can be manually set or
adjusted:
Driver/passenger air temperature
Blower speed (continuous variation)
Air distribution (seven positions for
driver and passenger)
A/C activation
Front Defroster
Air recirculation
Rear Defroster
System deactivation
Operating Mode
The Climate Control system can be
activated in different ways. It is
recommended to use the automatic
function. Push the AUTO button and
set the desired temperatures.
The automatic system adjusts the
temperature, quantity, and distribution
of air introduced into the passenger
compartment. It also controls air
recirculation and the activation of the air
conditioner.
At any time during automatic operation,
you can change the temperature,
activate or deactivate the Rear
Defroster, activate SYNC, activate or
deactivate the air conditioner, and
activate or deactivate air recirculation.
The system will automatically adjust to
the new settings.
44
GETTING TO KNOW YOUR VEHICLE
Page 47 of 268
Climate Control Display
Settings
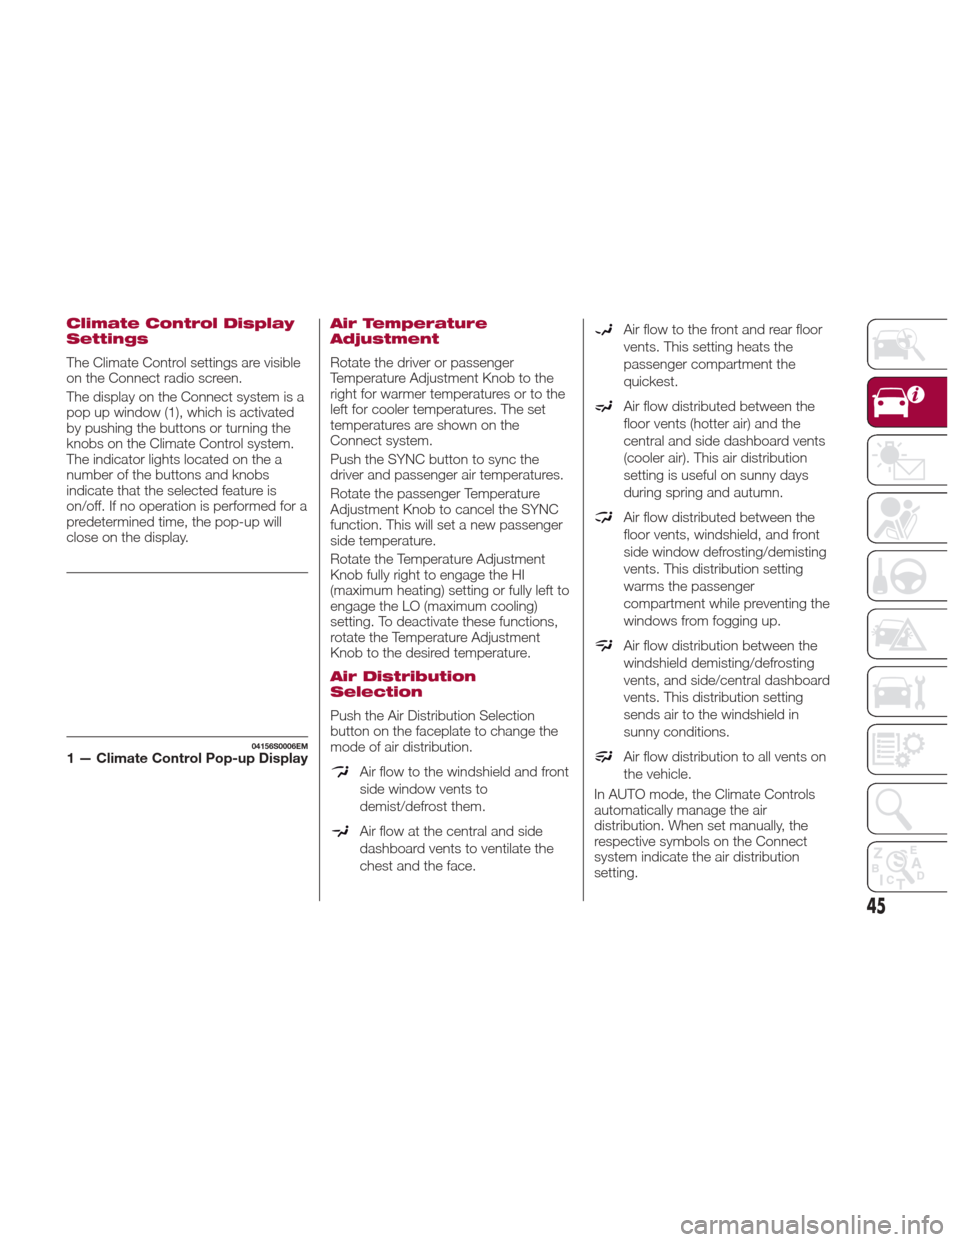
The Climate Control settings are visible
on the Connect radio screen.
The display on the Connect system is a
pop up window (1), which is activated
by pushing the buttons or turning the
knobs on the Climate Control system.
The indicator lights located on the a
number of the buttons and knobs
indicate that the selected feature is
on/off. If no operation is performed for a
predetermined time, the pop-up will
close on the display.
Air Temperature
Adjustment
Rotate the driver or passenger
Temperature Adjustment Knob to the
right for warmer temperatures or to the
left for cooler temperatures. The set
temperatures are shown on the
Connect system.
Push the SYNC button to sync the
driver and passenger air temperatures.
Rotate the passenger Temperature
Adjustment Knob to cancel the SYNC
function. This will set a new passenger
side temperature.
Rotate the Temperature Adjustment
Knob fully right to engage the HI
(maximum heating) setting or fully left to
engage the LO (maximum cooling)
setting. To deactivate these functions,
rotate the Temperature Adjustment
Knob to the desired temperature.
Air Distribution
Selection
Push the Air Distribution Selection
button on the faceplate to change the
mode of air distribution.
Air flow to the windshield and front
side window vents to
demist/defrost them.
Air flow at the central and side
dashboard vents to ventilate the
chest and the face.
Air flow to the front and rear floor
vents. This setting heats the
passenger compartment the
quickest.
Air flow distributed between the
floor vents (hotter air) and the
central and side dashboard vents
(cooler air). This air distribution
setting is useful on sunny days
during spring and autumn.
Air flow distributed between the
floor vents, windshield, and front
side window defrosting/demisting
vents. This distribution setting
warms the passenger
compartment while preventing the
windows from fogging up.
Air flow distribution between the
windshield demisting/defrosting
vents, and side/central dashboard
vents. This distribution setting
sends air to the windshield in
sunny conditions.
Air flow distribution to all vents on
the vehicle.
In AUTO mode, the Climate Controls
automatically manage the air
distribution. When set manually, the
respective symbols on the Connect
system indicate the air distribution
setting.
04156S0006EM1 — Climate Control Pop-up Display
45