flat tire Alfa Romeo Giulia 2017 Owner's Manual
[x] Cancel search | Manufacturer: ALFA ROMEO, Model Year: 2017, Model line: Giulia, Model: Alfa Romeo Giulia 2017Pages: 268, PDF Size: 18.64 MB
Page 77 of 268
Warning LightWhat It Means What To Do
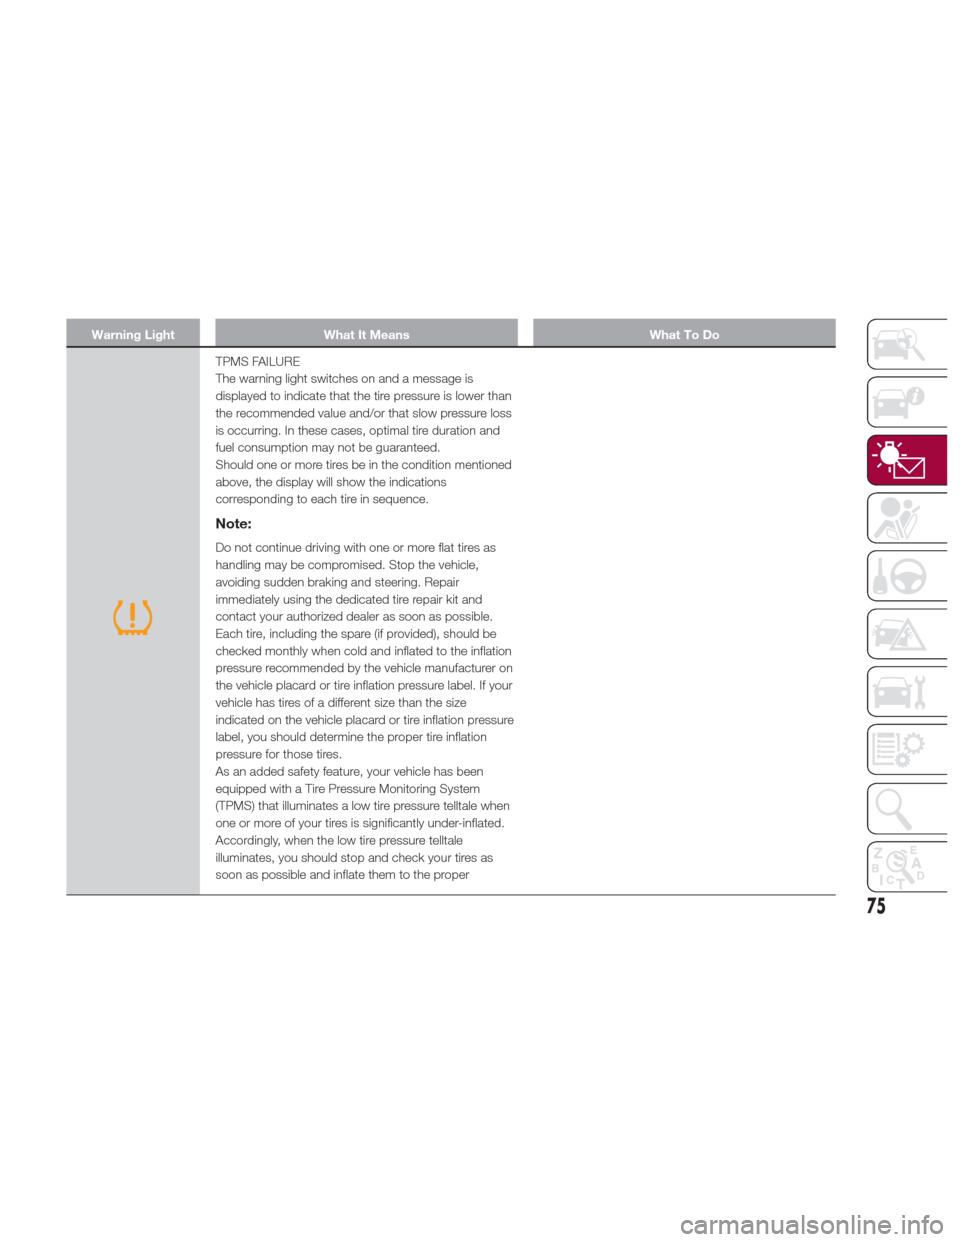
TPMS FAILURE
The warning light switches on and a message is
displayed to indicate that the tire pressure is lower than
the recommended value and/or that slow pressure loss
is occurring. In these cases, optimal tire duration and
fuel consumption may not be guaranteed.
Should one or more tires be in the condition mentioned
above, the display will show the indications
corresponding to each tire in sequence.
Note:
Do not continue driving with one or more flat tires as
handling may be compromised. Stop the vehicle,
avoiding sudden braking and steering. Repair
immediately using the dedicated tire repair kit and
contact your authorized dealer as soon as possible.
Each tire, including the spare (if provided), should be
checked monthly when cold and inflated to the inflation
pressure recommended by the vehicle manufacturer on
the vehicle placard or tire inflation pressure label. If your
vehicle has tires of a different size than the size
indicated on the vehicle placard or tire inflation pressure
label, you should determine the proper tire inflation
pressure for those tires.
As an added safety feature, your vehicle has been
equipped with a Tire Pressure Monitoring System
(TPMS) that illuminates a low tire pressure telltale when
one or more of your tires is significantly under-inflated.
Accordingly, when the low tire pressure telltale
illuminates, you should stop and check your tires as
soon as possible and inflate them to the proper
75
Page 78 of 268
Warning LightWhat It Means What To Do
pressure. Driving on a significantly under-inflated tire
causes
the tire to overheat and can lead to tire failure.
Under-inflation also reduces fuel efficiency and tire tread
life, and may affect the vehicle’s handling and stopping
ability.
Please note that the TPMS is not a substitute for proper
tire maintenance, and it is the driver’s responsibility to
maintain correct tire pressure, even if under-inflation has
not reached the level to trigger illumination of the TPMS
low tire pressure telltale.
Your vehicle has also been equipped with a TPMS
malfunction indicator to indicate when the system is not
operating properly. The TPMS malfunction indicator is
combined with the low tire pressure telltale. When the
system detects a malfunction, the telltale will flash for
approximately one minute and then remain continuously
illuminated. This sequence will continue upon
subsequent vehicle start-ups as long as the malfunction
exists. When the malfunction indicator is illuminated, the
system may not be able to detect or signal low tire
pressure as intended. TPMS malfunctions may occur
for a variety of reasons, including the installation of
replacement or alternate tires or wheels on the vehicle
that prevent the TPMS from functioning properly. Always
check the TPMS malfunction telltale after replacing one
or more tires or wheels on your vehicle, to ensure that
the replacement or alternate tires and wheels allow the
TPMS to continue to function properly.
76
GETTING TO KNOW YOUR INSTRUMENT PANEL
Page 79 of 268
Warning LightWhat It Means What To Do
Caution!The TPMS has been optimized for the original
equipment tires and wheels. TPMS pressures and
warning have been established for the tire size
equipped on your vehicle. Undesirable system
operation or sensor damage may result when using
replacement equipment that is not of the same size,
type, and/or style. Aftermarket wheels can cause
sensor damage. Using aftermarket tire sealants may
cause the Tire Pressure Monitoring System (TPMS)
sensor to become inoperable. After using an
aftermarket tire sealant it is recommended that you
take your vehicle to an authorized dealership to have
your sensor function checked.
Do not continue driving with one or more flat tires as
handling may be compromised. Stop the vehicle,
avoiding sharp braking and steering. Immediately
restore the correct inflation pressure using the Tire
Repair Kit (refer to “Tire Repair Kit” in “In Case Of
Emergency”) and contact an authorized dealer as soon
as possible.
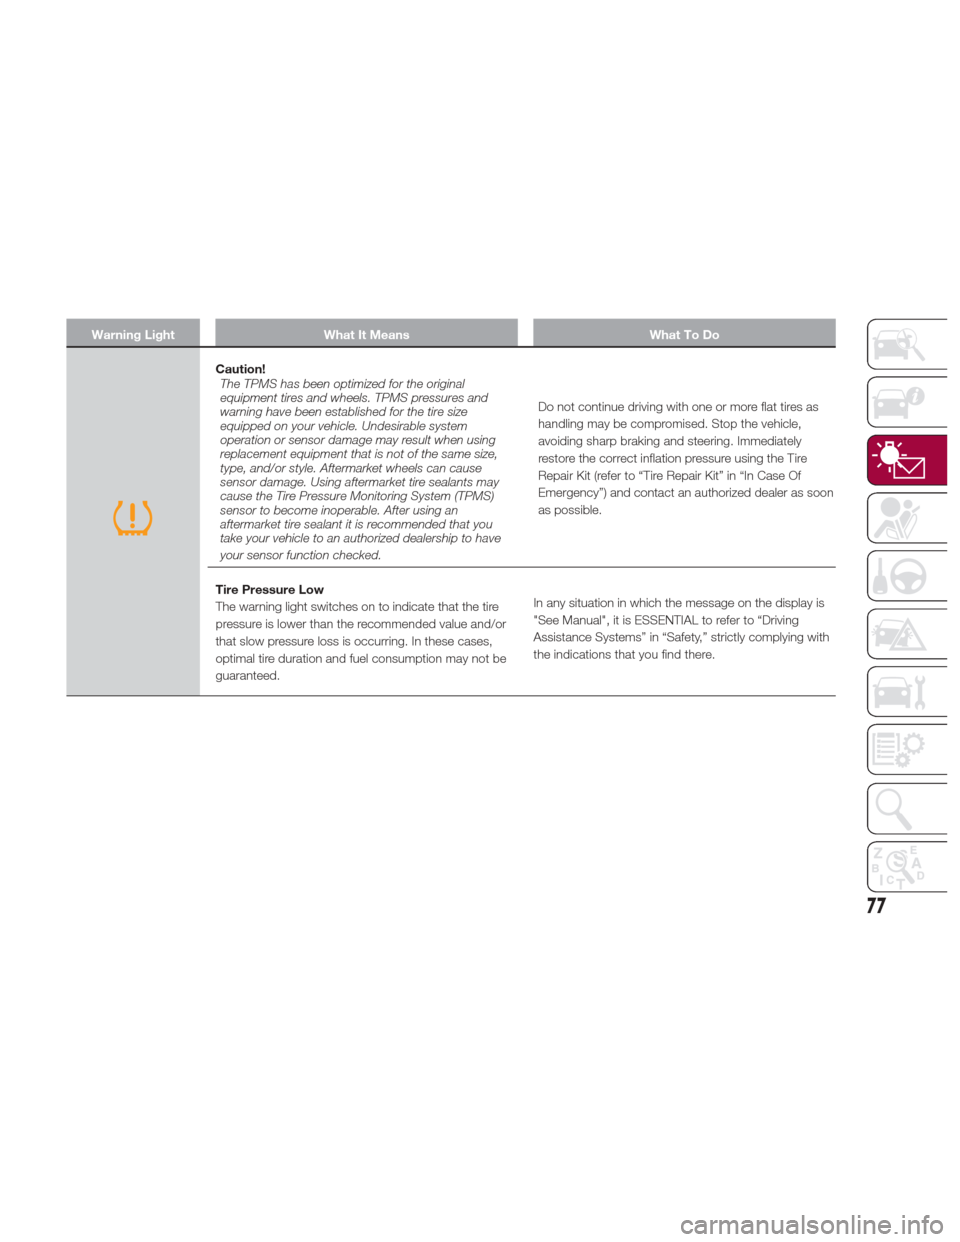
Tire Pressure Low
The warning light switches on to indicate that the tire
pressure is lower than the recommended value and/or
that slow pressure loss is occurring. In these cases,
optimal tire duration and fuel consumption may not be
guaranteed. In any situation in which the message on the display is
"See Manual", it is ESSENTIAL to refer to “Driving
Assistance Systems” in “Safety,” strictly complying with
the indications that you find there.
77
Page 99 of 268

and environmental conditions are such
that they wouldn't cause the tires to
slip. When the road and environmental
conditions require better traction, the
vehicle automatically goes to AWD
mode.
The driving mode, RWD or AWD, is
shown on the instrument cluster
display.
Note:If the system failure symbol
switches on, after starting the engine or
while driving, it means that the AWD
system is not working properly. If the
warning message activates frequently, it
is recommended to carry out the
maintenance operations.
Electronic Stability
Control (ESC) System
The ESC system improves the
directional control and stability of the
car in various driving conditions.
The ESC system corrects the car’s
understeer and oversteer, distributing
the brake force on the appropriate
wheels. The torque supplied by the
engine can also be reduced in order to
maintain control of the vehicle.
The ESC system uses sensors installed
on the car to determine the path that
the driver intends to follow and
compares it with the car’s effective
path. When the real path deviates from
the desired path, the ESC system
intervenes to counter the vehicle’s
understeer or oversteer.
Oversteer occurs when the car is
turning more than it should according
to the angle of the steering wheel.
Understeer occurs when the vehicle
is turning less than it should according
to the angle of the steering wheel.
System Intervention
The intervention of the system is
indicated by the flashing of the ESC
warning light on the instrument panel,
to inform the driver that the vehicle
stability and grip are critical.
Warning!
Electronic Stability Control (ESC) cannot
prevent the natural laws of physics from
acting on the vehicle, nor can it increase
the traction afforded by prevailing road
conditions. ESC cannot prevent accidents,
including those resulting from excessive
speed in turns, driving on very slippery
surfaces, or hydroplaning. ESC also cannot
prevent accidents resulting from loss of
vehicle control due to inappropriate driver
input for the conditions. Only a safe,
attentive, and skillful driver can prevent
accidents. The capabilities of an ESC
equipped vehicle must never be exploited
in a reckless or dangerous manner which
could jeopardize the user’s safety or the
safety of others.
Vehicle modifications, or failure to
properly maintain your vehicle, may change
the handling characteristics of your vehicle,
and may negatively affect the performance
of the ESC system. Changes to the
steering system, suspension, braking
system, tire type and size or wheel size
may adversely affect ESC performance.
Improperly inflated and unevenly worn tires
may also degrade ESC performance. Any
vehicle modification or poor vehicle
maintenance that reduces the effectiveness
of the ESC system can increase the risk of
loss of vehicle control, vehicle rollover,
personal injury and death.
Traction Control System
(TCS)
The system automatically operates in
the event of slipping, loss of grip on wet
roads (hydroplaning), and acceleration
on one or both drive wheels on roads
that are slippery, snowy, icy, etc.
Depending on the slipping conditions,
two different control systems are
activated:
If the slipping involves both drive
wheels, the system intervenes, reducing
the power transmitted by the engine.
If the slipping only involves one of the
drive wheels, the Brake Limited
Differential (BLD) function is activated,
automatically braking the wheel which
is slipping (the behavior of a self-locking
differential is simulated). This will
increase the engine torque transferred
to the wheel which isn't slipping.
97
Page 108 of 268
The system may activate, assessing the
trajectory of the vehicle, for the presence of
reflecting metal objects different from other
vehicles, such as safety barriers, road
signs, barriers before parking lots, tollgates,
level crossings, gates, railways, objects
near road constructions sites or higher than
the vehicle (e.g. a fly-over). In the same
way, the system may intervene inside
multi-story parking lots or tunnels, or due
to a glare on the road surface. These
possible activations are a consequence of
the real driving scenario coverage by the
system and must not be regarded as
faults.
The system has been designed for road
use only. If the vehicle is driven on a track,
the system must be deactivated to avoid
unnecessary warnings. Automatic
deactivation is signaled by the dedicated
warning light/symbol switching on in the
instrument panel (refer to the instructions in
the "Warning Lights And Messages On The
Instrument Panel" in "Getting To Know Your
Instrument Panel" for further information).
Tire Pressure
Monitoring System
(TPMS)
The vehicle is equipped with a Tire
Pressure Monitoring System (TPMS)
that sends the inflation pressure
information of each tire to the control
unit, and will signal the driver in the
event of insufficient tire pressure.
Tire pressure will vary with temperature
by approximately 1 psi (7 kPa) for every
12°F (6.5°C). This means that when the outside temperature decreases, the tire
pressure will also decrease. Tire
pressure should always be set based
on cold inflation tire pressure. This is
defined as the tire pressure after the
vehicle has not been driven for at least
three hours, or driven less than 1 mile
(1.6 km) after a three hour period. The
cold tire inflation pressure must not
exceed the maximum inflation pressure
molded into the tire sidewall. Refer to
“Tires” in “Servicing And Maintenance”
for information on how to properly
inflate the vehicle’s tires. The tire
pressure will also increase as the
vehicle is driven. This is normal, and
there should be no adjustment for this
increased pressure.
The TPMS will signal the driver if
pressure falls below the warning limit for
any reason, including the effects of low
temperature and normal loss of
pressure from the tire.
The TPMS will stop indicating
insufficient tire pressure when pressure
is equal to or greater than the
prescribed cold inflation level.
Therefore, if insufficient tire pressure is
indicated by the () warning light
displaying in the instrument cluster,
increase the inflation pressure up to the
prescribed cold inflation value.
The system will automatically update,
and the “Tire Pressure Monitoring
Telltale Light” will turn off once the
system receives the updated tire
pressures. The vehicle may need to be driven for up to 20 minutes above
15 mph (24 km/h) in order for the TPMS
to receive this information.
Operating Example
For example, your vehicle may have a
recommended cold (parked for more
than three hours) placard pressure of
33 psi (227 kPa). If the ambient
temperature is 68°F (20°C), and the
measuredtirepressureis28psi
(193 kPa), a temperature drop to 20°F
(-7°C) will decrease the tire pressure to
approximately 24 psi (165 kPa). This tire
pressure is low enough to turn ON the
“Tire Pressure Monitoring Telltale Light.”
Driving the vehicle may cause the tire
pressure to rise to approximately 28 psi
(193 kPa), but the “Tire Pressure
Monitoring Telltale Light” will still be on.
In this situation, the “Tire Pressure
Monitoring Telltale Light” will turn off
only after the tires are inflated to the
vehicle’s recommended cold placard
pressure value.
106
SAFETY
Page 109 of 268
Caution!
The TPMS has been optimized for the
original equipment tires and wheels. TPMS
pressures and warning have been
established for the tire size equipped on
your vehicle. Undesirable system operation
or sensor damage may result when using
replacement equipment that is not of the
same size, type, and/or style. Aftermarket
wheels can cause sensor damage.
Using aftermarket tire sealants may
cause the Tire Pressure Monitoring System
(TPMS) sensor to become inoperable. After
using an aftermarket tire sealant it is
recommended that you take your vehicle to
an authorized dealership to have your
sensor function checked.
After inspecting or adjusting the tire
pressure always reinstall the valve stem
cap. This will prevent moisture and dirt
from entering the valve stem, which could
damage the TPMS sensor.
INSUFFICIENT TIRE PRESSURE
INDICATION
If an insufficient pressure value is
detected on one or more tires, the
warning light in the instrument
cluster will display alongside the
dedicated messages, the system will
highlight the tire or tires with insufficient
pressure graphically, and an acoustic
signal will be emitted. In this case, stop the car, check the
inflation pressure of each tire, and
inflate the necessary tire or tires to the
correct cold inflation pressure value,
shown on the display or in the
dedicated TPMS menu.
TPMS TEMPORARILY DISABLED
TPMS Check Message
When a system fault is detected, the
“Tire Pressure Monitoring Telltale Light”
will flash on and off for 75 seconds, and
then remain on solid. The system fault
will also sound a chime. If the ignition is
cycled, this sequence will repeat,
provided that the system fault still
exists. The “Tire Pressure Monitoring
Telltale Light” will turn off when the fault
condition no longer exists. A system
fault can occur due to any of the
following:
Jamming due to electronic devices
or driving next to facilities emitting the
same radio frequencies as the TPMS
sensors.
Installing some form of aftermarket
window tinting that affects radio wave
signals.
Lots of snow or ice around the
wheels or wheel housings.
Using tire chains on the vehicle.
Using wheels/tires not equipped with
TPMS sensors. After the punctured tire has been
repaired with the original tire sealant
contained in the TireKit, the previous
condition must be restored so that the
warning light is off during normal
driving.
TPMS Deactivation
The TPMS can be deactivated by
replacing all four wheel and tire
assemblies (road tires) with wheel and
tire assemblies that do not have TPMS
Sensors, such as when installing winter
wheel and tire assemblies on your
vehicle.
To deactivate the TPMS, first replace all
four wheel and tire assemblies (road
tires) with tires not equipped with Tire
Pressure Monitoring (TPM) Sensors.
Then, drive the vehicle for 10 minutes
above 15 mph (24 km/h). The TPMS
will chime, the "TPM Telltale Light" will
flash on and off for 75 seconds and
then remain on. The instrument cluster
will display the “SERVICE TPM
SYSTEM” message and then display
dashes (--) in place of the pressure
values.
Beginning with the next ignition switch
cycle, the TPMS will no longer chime or
display the “SERVICE TPM SYSTEM”
message in the instrument cluster.
Instead, dashes (--) will remain in place
of the pressure values.
To reactivate the TPMS, replace all four
wheel and tire assemblies (road tires)
with tires equipped with TPM sensors.
107
Page 110 of 268
Then, drive the vehicle for up to
10 minutes above 15 mph (24 km/h).
The TPMS will chime, the "TPM Telltale
Light" will flash on and off for
75 seconds and then turn off. The
instrument cluster will display the
“SERVICE TPM SYSTEM” message
and then display pressure values in
place of the dashes. On the next
ignition switch cycle the "SERVICE TPM
SYSTEM" message will no longer be
displayed, as long as no system fault
exists.
Note:
The TPMS is not intended to
replace normal tire care and
maintenance, or to provide warning of
a tire failure or condition.
The TPMS should not be used as a
tire pressure gauge while adjusting
your tire pressure.
Driving on a significantly
underinflated tire will cause the tire to
overheat, and can lead to tire failure.
Underinflation also reduces fuel
efficiency and tire tread life, and may
affect the vehicle’s handling and
stopping ability.
The TPMS is not a substitute for
proper tire maintenance, and it is the
driver’s responsibility to maintain
correct tire pressure using an accurate
tire pressure gauge, even if
underinflation has not reached the level to trigger illumination of the “Tire
Pressure Monitoring Telltale Light”.
Seasonal temperature changes will
affect tire pressure, and the TPMS will
monitor the actual tire pressure in the
tire.
General Information
The following regulatory statement
applies to all radio frequency (RF)
devices equipped in this vehicle:
This device complies with Part 15 of the
FCC rules and RSS-210 of Industry
Canada. Operation is subject to the
following two conditions:
(1) This device may not cause harmful
interference.
(2) This device must accept any
interference received, including
interference that may cause undesired
operation.
Note:
Changes or modifications not expressly
approved by the party responsible for
compliance could void the user’s
authority to operate the equipment.
OCCUPANT
RESTRAINT
SYSTEMS
Some of the most important safety
features in your vehicle are the restraint
systems:
Occupant Restraint
Systems Features
Seat Belt Systems
Supplemental Restraint Systems
(SRS) Air Bags
Child Restraints
Some of the safety features described
in this section may be standard
equipment on some models, or may be
optional equipment on others. If you are
not sure, ask your authorized dealer.
Important Safety
Precautions
Please pay close attention to the
information in this section. It tells you
how to use your restraint system
properly, to keep you and your
passengers as safe as possible.
Here are some simple steps you can
take to minimize the risk of harm from a
deploying air bag:
1. Children 12 years old and under
should always ride buckled up in a
vehicle with a rear seat.
108
SAFETY
Page 124 of 268
Customer Action Customer Will See
Note:
Each
step MUST BE held for at least
2 seconds
1. Turn ignition
STOP/OFF/LOCK.
(Turn Signal Must be
placed in Neutral
State).
2. Turn ignition
ON/RUN. Right turn light
BLINKS.
Left turn light is OFF.
3. Turn right turn
signal switch ON. Right turn light is ON
SOLID.
Left turn light
BLINKS.
4. Place turn signal
in neutral state. Right turn light is
OFF.
Left turn light
BLINKS.
5. Turn left turn
signal switch ON. Right turn light
BLINKS.
Left turn light is ON
SOLID.
6. Place turn signal
in neutral state. Right turn light
BLINKS.
Left turn light is OFF.
7. Turn right turn
signal switch ON. Right turn light is ON
SOLID.
Left turn light
BLINKS.
Customer Action Customer Will See
Note:
Each
step MUST BE held for at least
2 seconds
8. Place turn signal
in neutral state. Right turn light is
OFF.
Left turn light
BLINKS
9. Turn left turn
signal switch ON. Right turn light is ON
SOLID.
Left turn light is ON
SOLID.
10. Turn left turn
signal switch OFF.
(Turn Signal Switch
Must be placed in
Neutral State). Right turn light is
OFF.
Left turn light is OFF.
11. Turn ignition
STOP/OFF.
12. Turn ignition
ON/RUN. (Entire
sequence needs to
be completed within
one minute or
sequence will need
to be repeated). System is now reset
and the engine may
be started.
Turn hazard flashers
OFF (Manually)
If a reset procedure step is not
completed within 60 seconds, then the
turn signal lights will blink and the reset
procedure must be performed again in
order to be successful.
Maintaining Your Air Bag
System
Warning!
Modifications to any part of the air bag
system could cause it to fail when you
need it. You could be injured if the air bag
system is not there to protect you. Do not
modify the components or wiring, including
adding any kind of badges or stickers to
the steering wheel hub trim cover or the
upper right side of the instrument panel.
Do not modify the front bumper, vehicle
body structure, or add aftermarket side
steps or running boards.
It is dangerous to try to repair any part
of the air bag system yourself. Be sure to
tell anyone who works on your vehicle that
it has an air bag system.
Do not attempt to modify any part of
your air bag system. The air bag may
inflate accidentally or may not function
properly if modifications are made. Take
your vehicle to an authorized dealer for any
air bag system service. If your seat,
including your trim cover and cushion,
needs to be serviced in any way (including
removal or loosening/tightening of seat
attachment bolts), take the vehicle to your
authorized dealer. Only manufacturer
approved seat accessories may be used.
If it is necessary to modify the air bag
system for persons with disabilities,
contact your authorized dealer.
122
SAFETY
Page 176 of 268
Payload
The payload of a vehicle is defined as
the allowable load weight a truck can
carry, including the weight of the driver,
all passengers, options and cargo.
Gross Axle Weight Rating
(GAWR)
The GAWR is the maximum permissible
load on the front and rear axles. The
load must be distributed in the cargo
area so that the GAWR of each axle is
not exceeded.
Each axle GAWR is determined by the
components in the system with the
lowest load carrying capacity (axle,
springs, tires or wheels). Heavier axles
or suspension components sometimes
specified by purchasers for increased
durability does not necessarily increase
the vehicle's GVWR.
Tire Size
The tire size on the Vehicle Certification
Label represents the actual tire size on
your vehicle. Replacement tires must be
equal to the load capacity of this tire
size.
Rim Size
This is the rim size that is appropriate
for the tire size listed.
Inflation Pressure
This is the cold tire inflation pressure for
your vehicle for all loading conditions up
to full GAWR.
Curb Weight
The curb weight of a vehicle is defined
as the total weight of the vehicle with all
fluids, including vehicle fuel, at full
capacity conditions, and with no
occupants or cargo loaded into the
vehicle. The front and rear curb weight
values are determined by weighing your
vehicle on a commercial scale before
any occupants or cargo are added.
Loading
The actual total weight and the weight
of the front and rear of your vehicle at
the ground can best be determined by
weighing it when it is loaded and ready
for operation.The entire vehicle should first be
weighed on a commercial scale to
insure that the GVWR has not been
exceeded. The weight on the front and
rear of the vehicle should then be
determined separately to be sure that
the load is properly distributed over the
front and rear axle. Weighing the vehicle
may show that the GAWR of either the
front or rear axles has been exceeded
but the total load is within the specified
GVWR. If so, weight must be shifted
from front to rear or rear to front as
appropriate until the specified weight
limitations are met. Store the heavier
items down low and be sure that the
weight is distributed equally. Stow all
loose items securely before driving.
Improper weight distributions can have
an adverse effect on the way your
vehicle steers and handles and the way
the brakes operate.
Caution!
Do not load your vehicle any heavier than
the GVWR or the maximum front and rear
GAWR. If you do, parts on your vehicle can
break, or it can change the way your
vehicle handles. This could cause you to
lose control. Also overloading can shorten
the life of your vehicle.
174
STARTING AND OPERATING
Page 181 of 268
IN CASE OF EMERGENCY
Have a flat tire or a burnt-out bulb?
At times, a problem such as these may
interfere with your driving experience.
The pages on emergencies can help
you to deal with critical situations
independently and with calm.
In an emergency, we recommend that
you call the phone number found in the
Warranty Book.
You may also consider contacting your
nearest authorized dealer.HAZARD WARNING LIGHTS . . . .180
BULB REPLACEMENT.........180
FUSES .................. .186
TIRE REPAIR KIT —
IF EQUIPPED ..............192
EMERGENCYSTARTING ......196
REFUELING IN EMERGENCY . . . .198
ENGINE OVERHEATING .......199
TOWING A DISABLED VEHICLE . .200
TOW HOOKS ..............201
ENHANCED ACCIDENT
RESPONSE SYSTEM (EARS) . . . .203
EVENT DATA RECORDER (EDR) . .203
179