Table Alfa Romeo Giulietta 2014 Owner's Manual
[x] Cancel search | Manufacturer: ALFA ROMEO, Model Year: 2014, Model line: Giulietta, Model: Alfa Romeo Giulietta 2014Pages: 280, PDF Size: 6.65 MB
Page 22 of 280
Recalling a memorised position is also
possible for about 3 minutes after
the doors are opened and about 1
minute after the ignition key is turned to
the STOP position.
To recall a memorised position, press
the relevant button briefly.
SEAT HEATING
(for versions/markets, where provided)
With the ignition key at MAR-ON,
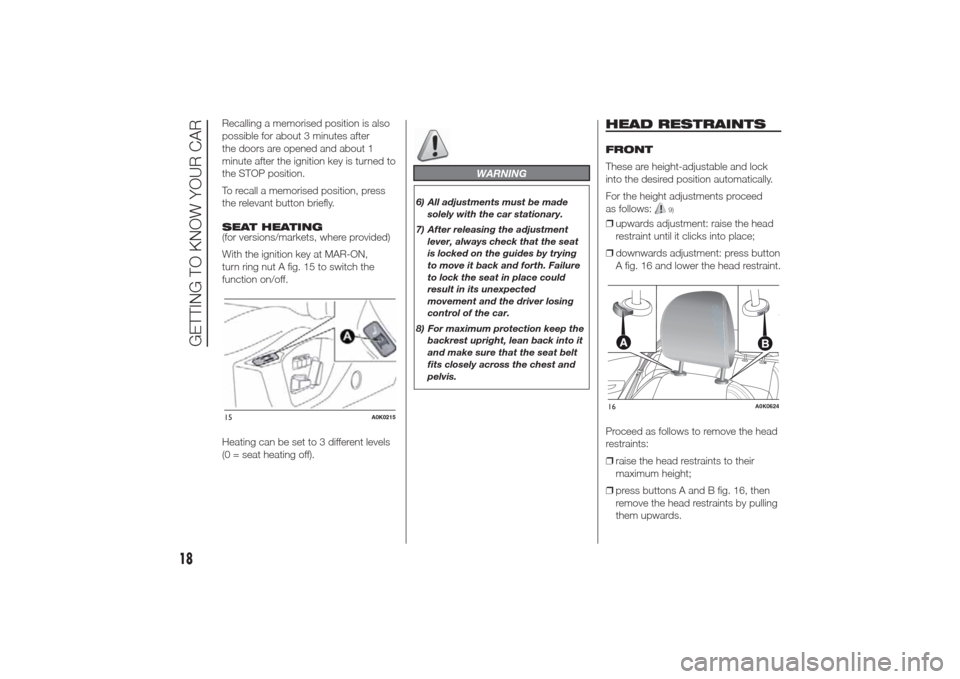
turn ring nut A fig. 15 to switch the
function on/off.
Heating can be set to 3 different levels
(0 = seat heating off).
WARNING
6) All adjustments must be made
solely with the car stationary.
7) After releasing the adjustment
lever, always check that the seat
is locked on the guides by trying
to move it back and forth. Failure
to lock the seat in place could
result in its unexpected
movement and the driver losing
control of the car.
8) For maximum protection keep the
backrest upright, lean back into it
and make sure that the seat belt
fits closely across the chest and
pelvis.
HEAD RESTRAINTSFRONT
These are height-adjustable and lock
into the desired position automatically.
For the height adjustments proceed
as follows:
9)
❒upwards adjustment: raise the head
restraint until it clicks into place;
❒downwards adjustment: press button
A fig. 16 and lower the head restraint.
Proceed as follows to remove the head
restraints:
❒raise the head restraints to their
maximum height;
❒press buttons A and B fig. 16, then
remove the head restraints by pulling
them upwards.
15
A0K0215
16
A0K0624
18
GETTING TO KNOW YOUR CAR
Page 23 of 280
“Anti-Whiplash” device
The head restraints are equipped with
an “Anti-Whiplash” device, which
reduces the distance between head
and head restraint in the event of a rear
impact, thus mitigating the “whiplash”
effect.
The head restraint may move when the
backrest is pressed by the occupant's
torso or hand: this behaviour is caused
by the system and should not be
considered a malfunction.
REAR
Two height-adjustable head restraints
are provided for the back seats (for the
adjustment see the previous
paragraph).
On some versions a head restraint is
also provided for the central seat.
Proceed as follows to remove the head
restraints:
❒raise the head restraints to their
maximum height;
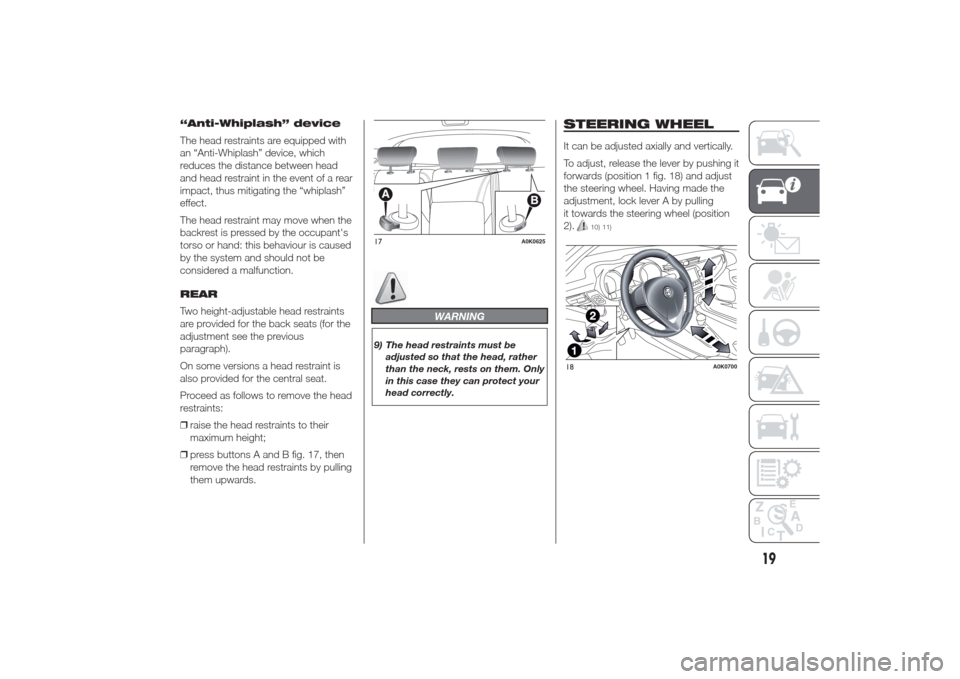
❒press buttons A and B fig. 17, then
remove the head restraints by pulling
them upwards.
WARNING
9) The head restraints must be
adjusted so that the head, rather
than the neck, rests on them. Only
in this case they can protect your
head correctly.
STEERING WHEELIt can be adjusted axially and vertically.
To adjust, release the lever by pushing it
forwards (position 1 fig. 18) and adjust
the steering wheel. Having made the
adjustment, lock lever A by pulling
it towards the steering wheel (position
2).
10) 11)
17
A0K0625
18
A0K0700
19
Page 26 of 280
CLIMATE CONTROLSIDE AIR DIFFUSERS
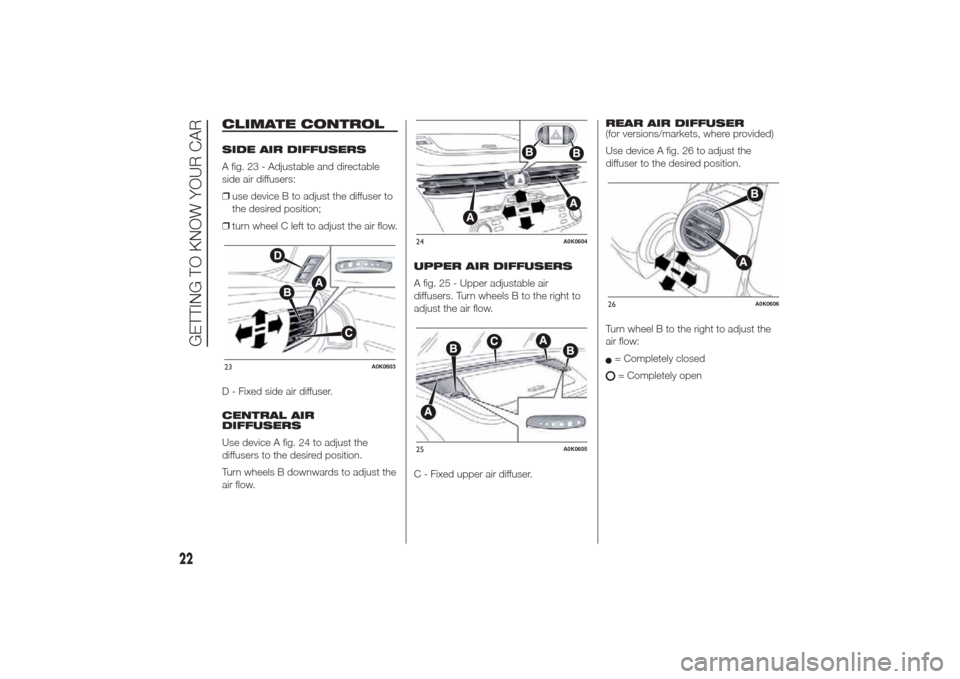
A fig. 23 - Adjustable and directable
side air diffusers:
❒use device B to adjust the diffuser to
the desired position;
❒turn wheel C left to adjust the air flow.
D - Fixed side air diffuser.
CENTRAL AIR
DIFFUSERS
Use device A fig. 24 to adjust the
diffusers to the desired position.
Turn wheels B downwards to adjust the
air flow.UPPER AIR DIFFUSERS
A fig. 25 - Upper adjustable air
diffusers. Turn wheels B to the right to
adjust the air flow.
C - Fixed upper air diffuser.REAR AIR DIFFUSER
(for versions/markets, where provided)
Use device A fig. 26 to adjust the
diffuser to the desired position.
Turn wheel B to the right to adjust the
air flow:
= Completely closed= Completely open
23
A0K0603
24
A0K0604
25
A0K0605
26
A0K0606
22
GETTING TO KNOW YOUR CAR
Page 27 of 280
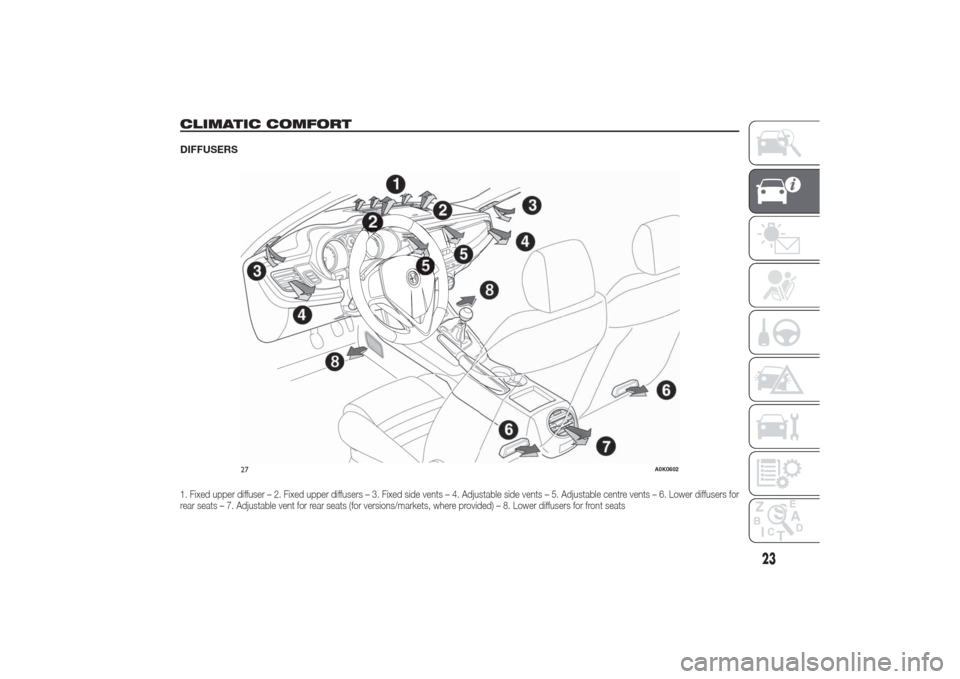
CLIMATIC COMFORTDIFFUSERS1. Fixed upper diffuser – 2. Fixed upper diffusers – 3. Fixed side vents – 4. Adjustable side vents – 5. Adjustable centre vents – 6. Lower diffusers for
rear seats – 7. Adjustable vent for rear seats (for versions/markets, where provided) – 8. Lower diffusers for front seats
27
A0K0602
23
Page 37 of 280
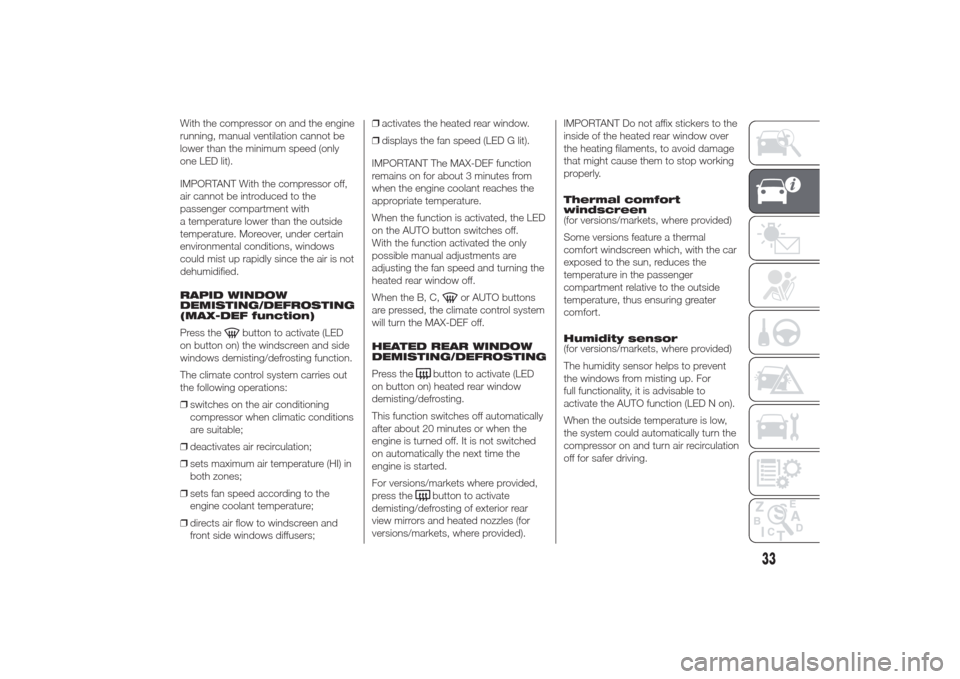
With the compressor on and the engine
running, manual ventilation cannot be
lower than the minimum speed (only
one LED lit).
IMPORTANT With the compressor off,
air cannot be introduced to the
passenger compartment with
a temperature lower than the outside
temperature. Moreover, under certain
environmental conditions, windows
could mist up rapidly since the air is not
dehumidified.
RAPID WINDOW
DEMISTING/DEFROSTING
(MAX-DEF function)
Press the
button to activate (LED
on button on) the windscreen and side
windows demisting/defrosting function.
The climate control system carries out
the following operations:
❒switches on the air conditioning
compressor when climatic conditions
are suitable;
❒deactivates air recirculation;
❒sets maximum air temperature (HI) in
both zones;
❒sets fan speed according to the
engine coolant temperature;
❒directs air flow to windscreen and
front side windows diffusers;❒activates the heated rear window.
❒displays the fan speed (LED G lit).
IMPORTANT The MAX-DEF function
remains on for about 3 minutes from
when the engine coolant reaches the
appropriate temperature.
When the function is activated, the LED
on the AUTO button switches off.
With the function activated the only
possible manual adjustments are
adjusting the fan speed and turning the
heated rear window off.
When the B, C,
or AUTO buttons
are pressed, the climate control system
will turn the MAX-DEF off.
HEATED REAR WINDOW
DEMISTING/DEFROSTING
Press the
button to activate (LED
on button on) heated rear window
demisting/defrosting.
This function switches off automatically
after about 20 minutes or when the
engine is turned off. It is not switched
on automatically the next time the
engine is started.
For versions/markets where provided,
press thebutton to activate
demisting/defrosting of exterior rear
view mirrors and heated nozzles (for
versions/markets, where provided).IMPORTANT Do not affix stickers to the
inside of the heated rear window over
the heating filaments, to avoid damage
that might cause them to stop working
properly.
Thermal comfort
windscreen
(for versions/markets, where provided)
Some versions feature a thermal
comfort windscreen which, with the car
exposed to the sun, reduces the
temperature in the passenger
compartment relative to the outside
temperature, thus ensuring greater
comfort.
Humidity sensor
(for versions/markets, where provided)
The humidity sensor helps to prevent
the windows from misting up. For
full functionality, it is advisable to
activate the AUTO function (LED N on).
When the outside temperature is low,
the system could automatically turn the
compressor on and turn air recirculation
off for safer driving.
33
Page 38 of 280
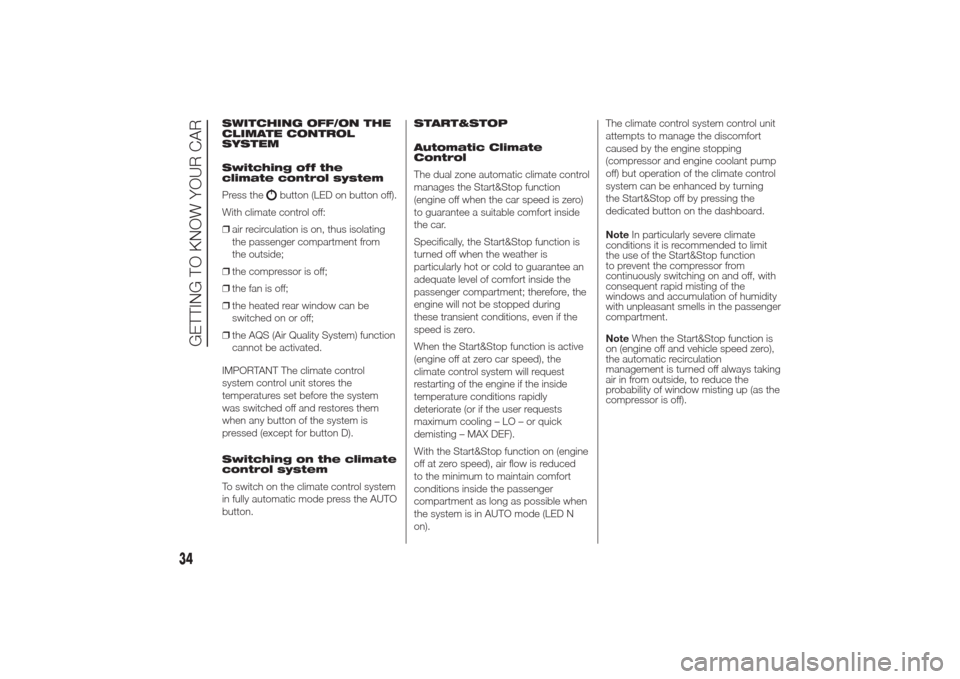
SWITCHING OFF/ON THE
CLIMATE CONTROL
SYSTEM
Switching off the
climate control system
Press the
button (LED on button off).
With climate control off:
❒air recirculation is on, thus isolating
the passenger compartment from
the outside;
❒the compressor is off;
❒the fan is off;
❒the heated rear window can be
switched on or off;
❒the AQS (Air Quality System) function
cannot be activated.
IMPORTANT The climate control
system control unit stores the
temperatures set before the system
was switched off and restores them
when any button of the system is
pressed (except for button D).
Switching on the climate
control system
To switch on the climate control system
in fully automatic mode press the AUTO
button.START&STOP
Automatic Climate
Control
The dual zone automatic climate control
manages the Start&Stop function
(engine off when the car speed is zero)
to guarantee a suitable comfort inside
the car.
Specifically, the Start&Stop function is
turned off when the weather is
particularly hot or cold to guarantee an
adequate level of comfort inside the
passenger compartment; therefore, the
engine will not be stopped during
these transient conditions, even if the
speed is zero.
When the Start&Stop function is active
(engine off at zero car speed), the
climate control system will request
restarting of the engine if the inside
temperature conditions rapidly
deteriorate (or if the user requests
maximum cooling – LO – or quick
demisting – MAX DEF).
With the Start&Stop function on (engine
off at zero speed), air flow is reduced
to the minimum to maintain comfort
conditions inside the passenger
compartment as long as possible when
the system is in AUTO mode (LED N
on).The climate control system control unit
attempts to manage the discomfort
caused by the engine stopping
(compressor and engine coolant pump
off) but operation of the climate control
system can be enhanced by turning
the Start&Stop off by pressing the
dedicated button on the dashboard.
NoteIn particularly severe climate
conditions it is recommended to limit
the use of the Start&Stop function
to prevent the compressor from
continuously switching on and off, with
consequent rapid misting of the
windows and accumulation of humidity
with unpleasant smells in the passenger
compartment.
NoteWhen the Start&Stop function is
on (engine off and vehicle speed zero),
the automatic recirculation
management is turned off always taking
air in from outside, to reduce the
probability of window misting up (as the
compressor is off).
34
GETTING TO KNOW YOUR CAR
Page 41 of 280
When the lights have been activated
automatically and are then switched off
by the sensor, the dipped beam
headlights are switched off first,
followed by the side lights a few
seconds later.
If the sensor is activated but is
malfunctioning, the side lights and
dipped beam headlights are switched
on irrespective of the outside light
level and the sensor failure is indicated
on the display.
It is also possible to deactivate the
sensor and switch on the side lights
and dipped beam headlights.MAIN BEAM HEADLIGHTS
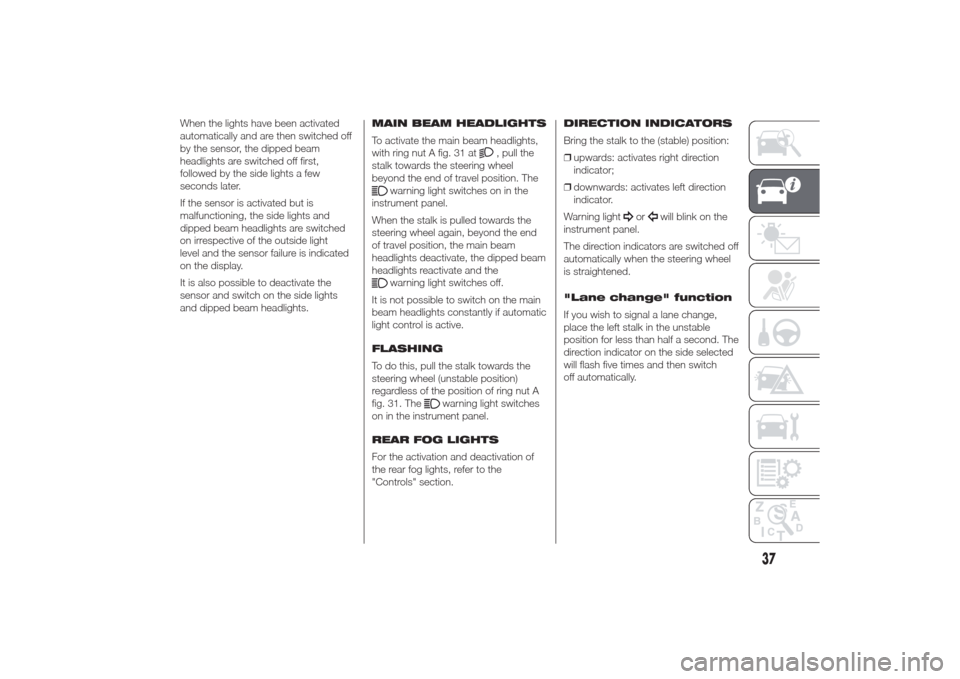
To activate the main beam headlights,
with ring nut A fig. 31 at
, pull the
stalk towards the steering wheel
beyond the end of travel position. The
warning light switches on in the
instrument panel.
When the stalk is pulled towards the
steering wheel again, beyond the end
of travel position, the main beam
headlights deactivate, the dipped beam
headlights reactivate and thewarning light switches off.
It is not possible to switch on the main
beam headlights constantly if automatic
light control is active.
FLASHING
To do this, pull the stalk towards the
steering wheel (unstable position)
regardless of the position of ring nut A
fig. 31. The
warning light switches
on in the instrument panel.
REAR FOG LIGHTS
For the activation and deactivation of
the rear fog lights, refer to the
"Controls" section.DIRECTION INDICATORS
Bring the stalk to the (stable) position:
❒upwards: activates right direction
indicator;
❒downwards: activates left direction
indicator.
Warning light
or
will blink on the
instrument panel.
The direction indicators are switched off
automatically when the steering wheel
is straightened.
"Lane change" function
If you wish to signal a lane change,
place the left stalk in the unstable
position for less than half a second. The
direction indicator on the side selected
will flash five times and then switch
off automatically.
37
Page 43 of 280
WINDOW CLEANING
IN BRIEF
The right stalk controls screen
wiper/washer operation.
This operates only with the ignition
key turned to MAR.
WINDSCREEN
WASHER/WIPER
Operation
13) 14)
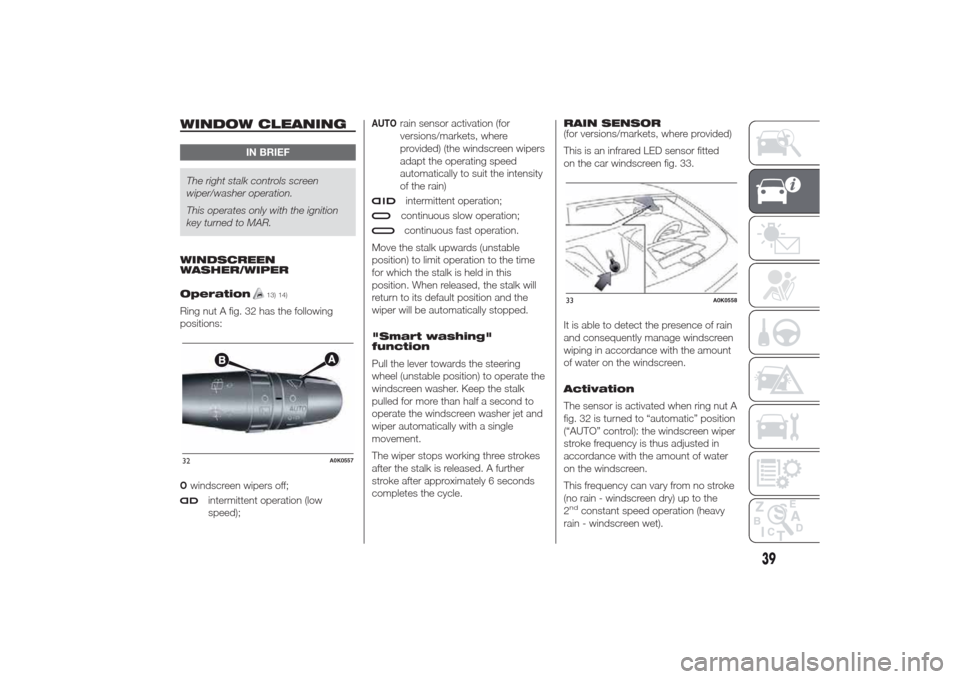
Ring nut A fig. 32 has the following
positions:Owindscreen wipers off;
intermittent operation (low
speed);
AUTO
rain sensor activation (for
versions/markets, where
provided) (the windscreen wipers
adapt the operating speed
automatically to suit the intensity
of the rain)intermittent operation;continuous slow operation;continuous fast operation.
Move the stalk upwards (unstable
position) to limit operation to the time
for which the stalk is held in this
position. When released, the stalk will
return to its default position and the
wiper will be automatically stopped.
"Smart washing"
function
Pull the lever towards the steering
wheel (unstable position) to operate the
windscreen washer. Keep the stalk
pulled for more than half a second to
operate the windscreen washer jet and
wiper automatically with a single
movement.
The wiper stops working three strokes
after the stalk is released. A further
stroke after approximately 6 seconds
completes the cycle.RAIN SENSOR
(for versions/markets, where provided)
This is an infrared LED sensor fitted
on the car windscreen fig. 33.
It is able to detect the presence of rain
and consequently manage windscreen
wiping in accordance with the amount
of water on the windscreen.
Activation
The sensor is activated when ring nut A
fig. 32 is turned to “automatic” position
(“AUTO” control): the windscreen wiper
stroke frequency is thus adjusted in
accordance with the amount of water
on the windscreen.
This frequency can vary from no stroke
(no rain - windscreen dry) up to the
2
nd
constant speed operation (heavy
rain - windscreen wet).
32
A0K0557
33
A0K0558
39
Page 44 of 280
The sensitivity of the rain sensor can be
adjusted through the Setup menu
(see paragraph “Menu Items” in the
“Knowing the instrument panel”
section).
If the engine is stopped with the lever in
“automatic” position, when it is next
started no wiping cycle will take place
even if it is raining. This prevents
accidental activation of the rain sensor
when the engine is started (e.g. when
the windscreen is being washed by
hand or the wipers are stuck to the
windscreen when there is ice).
To restore automatic operation of the
rain sensor, turn the ring nut on the
right stalk A fig. 32 from automatic
position (AUTO) toOposition and then
turn A ring nut back to the AUTO
position.
When the rain sensor is reactivated
using any of the manoeuvres described
above, reactivation is indicated by a
single stroke of the windscreen wipers,
regardless of the condition of the
windscreen.
If the sensitivity is changed whilst the
rain sensor is operating, a windscreen
wiper stroke is carried out to confirm
the change.In the event of malfunction of the rain
sensor whilst it is active, the
windscreen wiper operates
intermittently at a speed consistent with
the sensitivity setting of the rain sensor,
regardless of whether there is rain on
the glass (sensor failure is indicated on
the display).
The sensor continues to operate and it
is possible to set the windscreen wiper
to continuous mode (1
stor 2
nd
speed).
The failure indication remains for as
long as the sensor is active.
REAR WINDOW
WASHER/WIPER
(for versions/markets, where provided)
Activation
This operates only with the ignition key
turned to MAR.
Turn ring nut B fig. 32 from positionO
to position
to operate the rear
window wiper as follows:
❒in intermittent mode when the
windscreen wiper is not operating;
❒in synchronous mode (at half the
speed of the windscreen wiper) when
the windscreen wiper is operating;
❒in continuous mode with reverse gear
engaged and the control active.With reverse gear engaged and
windscreen wiper on, the rear window
wiper is activated in continuous mode.
Pushing the stalk towards the
dashboard (unstable position) will
activate the rear window washer jet.
Keep the stalk pushed for more than
half a second to activate the rear
window wiper as well. Releasing the
stalk will activate the smart washing
function, as described for the
windscreen wiper.
WARNING
13) Do not use the screen wiper to
remove layers of snow or ice
from the windscreen. In such
conditions, the windscreen wiper
may be subjected to excessive
stress and the motor cut-out
switch, which prevents operation
for a few seconds, may intervene.
If operation is not restored (even
after restarting that car with the
key), contact an Alfa Romeo
Dealership.
14) Do not operate the windscreen
wiper with the blades lifted from
the windscreen.
40
GETTING TO KNOW YOUR CAR
Page 53 of 280
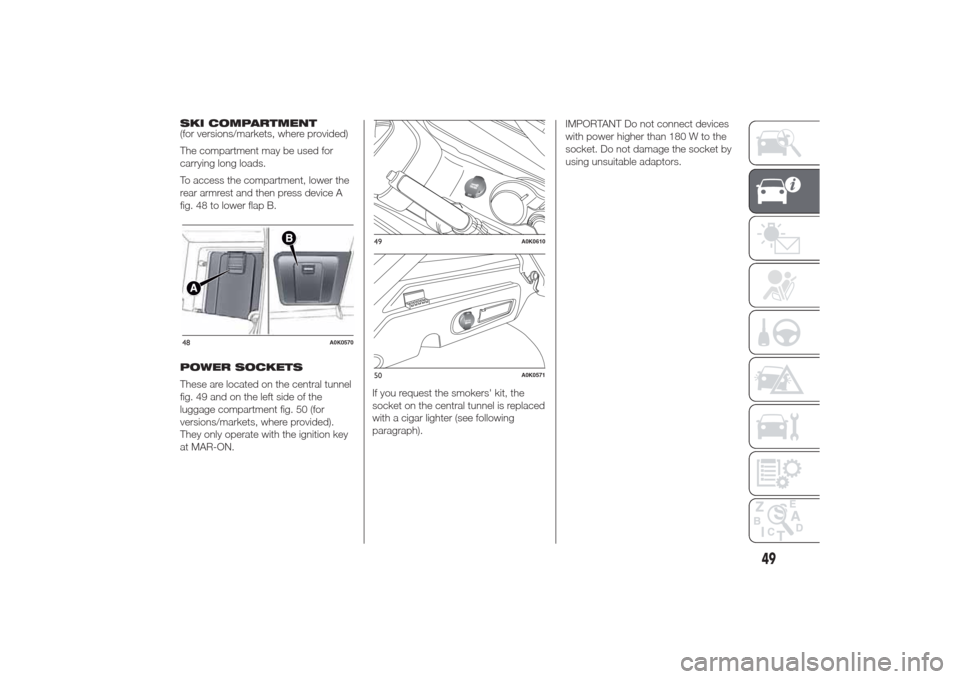
SKI COMPARTMENT
(for versions/markets, where provided)
The compartment may be used for
carrying long loads.
To access the compartment, lower the
rear armrest and then press device A
fig. 48 to lower flap B.
POWER SOCKETS
These are located on the central tunnel
fig. 49 and on the left side of the
luggage compartment fig. 50 (for
versions/markets, where provided).
They only operate with the ignition key
at MAR-ON.If you request the smokers' kit, the
socket on the central tunnel is replaced
with a cigar lighter (see following
paragraph).IMPORTANT Do not connect devices
with power higher than 180 W to the
socket. Do not damage the socket by
using unsuitable adaptors.48
A0K0570
49
A0K0610
50
A0K0571
49