warning light Alfa Romeo MiTo 2012 Owner handbook (in English)
[x] Cancel search | Manufacturer: ALFA ROMEO, Model Year: 2012, Model line: MiTo, Model: Alfa Romeo MiTo 2012Pages: 262, PDF Size: 6.46 MB
Page 48 of 262
GETTING TO KNOW YOUR CAR47
1
Warning light Ycomes on when driving
❍If the Ywarning light comes on, this means that the sys-
tem is running a self-diagnosis test (caused, for example, by
a voltage drop).
❍If the Ywarning light remains on, contact an Alfa Romeo Au-
thorised Service.
THE KEYS
CODE CARD
(for versions/markets, where provided)
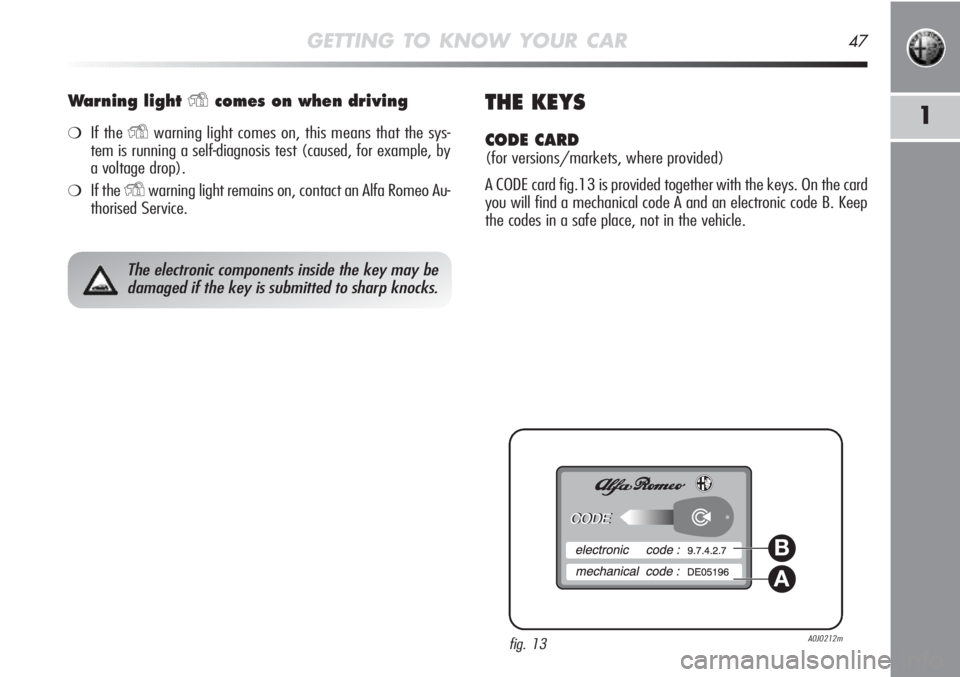
A CODE card fig.13 is provided together with the keys. On the card
you will find a mechanical code A and an electronic code B. Keep
the codes in a safe place, not in the vehicle.
The electronic components inside the key may be
damaged if the key is submitted to sharp knocks.
fig. 13A0J0212m
A
B
Page 77 of 262
76GETTING TO KNOW YOUR CAR
SIDE LIGHTS/DIPPED BEAM HEADLIGHTS
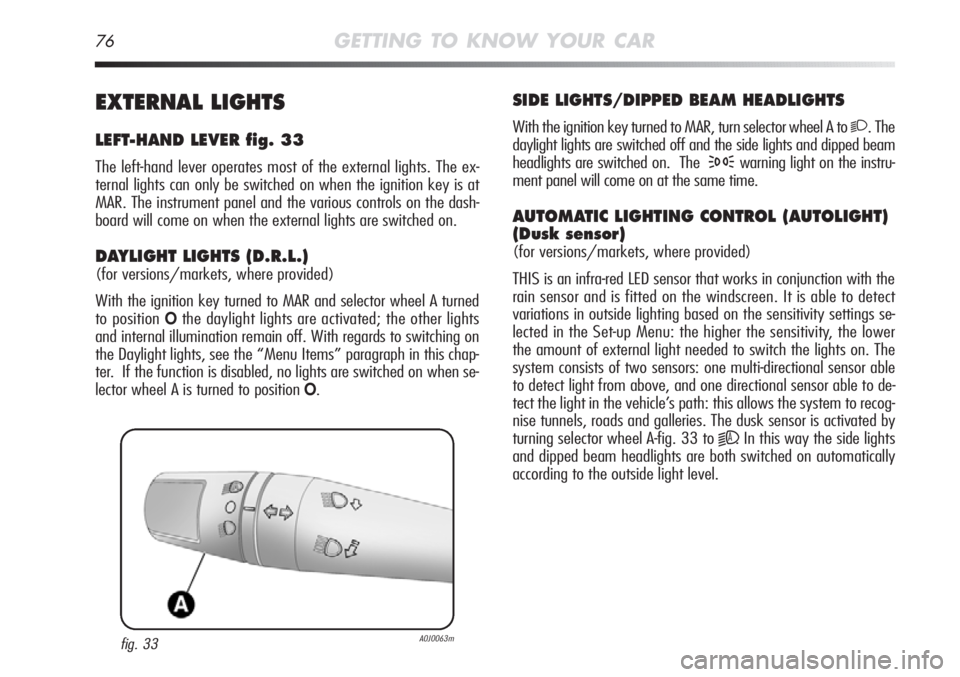
With the ignition key turned to MAR, turn selector wheel A to 2. The
daylight lights are switched off and the side lights and dipped beam
headlights are switched on. The
3warning light on the instru-
ment panel will come on at the same time.
AUTOMATIC LIGHTING CONTROL (AUTOLIGHT)
(Dusk sensor)
(for versions/markets, where provided)
THIS is an infra-red LED sensor that works in conjunction with the
rain sensor and is fitted on the windscreen. It is able to detect
variations in outside lighting based on the sensitivity settings se-
lected in the Set-up Menu: the higher the sensitivity, the lower
the amount of external light needed to switch the lights on. The
system consists of two sensors: one multi-directional sensor able
to detect light from above, and one directional sensor able to de-
tect the light in the vehicle’s path: this allows the system to recog-
nise tunnels, roads and galleries. The dusk sensor is activated by
turning selector wheel A-fig. 33 to
2A. In this way the side lights
and dipped beam headlights are both switched on automatically
according to the outside light level.
EXTERNAL LIGHTS
LEFT-HAND LEVER fig. 33
The left-hand lever operates most of the external lights. The ex-
ternal lights can only be switched on when the ignition key is at
MAR. The instrument panel and the various controls on the dash-
board will come on when the external lights are switched on.
DAYLIGHT LIGHTS (D.R.L.)
(for versions/markets, where provided)
With the ignition key turned to MAR and selector wheel A turned
to position
Othe daylight lights are activated; the other lights
and internal illumination remain off. With regards to switching on
the Daylight lights, see the “Menu Items” paragraph in this chap-
ter. If the function is disabled, no lights are switched on when se-
lector wheel A is turned to position
O.
fig. 33A0J0063m
Page 78 of 262
GETTING TO KNOW YOUR CAR77
1
MAIN BEAM HEADLIGHTS
With selector wheel A in position 2pull the lever towards the
steering wheel (stable position). The
1warning light will come
on in the instrument panel. To turn the main beams off, pull the
lever again towards the steering wheel (dipped beams will remain
on). It is not possible to switch on the main beam headlights in
fixed mode if the automatic lighting control system is active.
FLASHING THE HEADLIGHTS
Pull the lever towards the steering wheel (unstable position) re-
gardless of the position of selector wheel A. The
1warning light
will come on in the instrument panel.
DIRECTION INDICATORS
Push the lever to (stable) position:
❍upward adjustment: right-hand indicator ON;
❍downward adjustment: left-hand indicator ON.
Warning light
Îor¥will blink on the instrument panel. The di-
rection indicators are switched off automatically when the steering
wheel is straightened.
Lane change function
If you want to signal that you are changing lane, hold the left lever
in the unstable position for less than half a second. The direction
indicator on the selected side flashes three times and then switch-
es off automatically. IMPORTANT the sensor is not able to detect the presence of fog.
The fog lights must therefore be switched on manually if required.
When the lights are switched on by the sensor, the front and rear
fog lights ((for versions/markets, where provided) can also be
switched on. When the lights are automatically switched off, the
front and rear fog lights (if activated) are also switched off. The
next time the lights are switched on automatically, the fog lights
must be reactivated manually (if required).
With the sensor active, it is possible to flash the headlights but
the main beam headlights cannot be switched on. If you wish to
switch on the main beam headlights, rotate selector wheel
A-fig. 33 to
1and activate the fixed main beam headlights.
When the lights have been activated automatically and are then
switched off by the sensor, the dipped beam headlights are switched
off first, followed by the side lights a few seconds later.
If the sensor is activated but is malfunctioning, the side lights and
dipped beam headlights are switched on independently of the out-
side light level and the sensor failure is indicated on the instrument
panel display. It is also possible to deactivate the sensor and switch
on the side lights and dipped beam headlights.
Page 79 of 262
78GETTING TO KNOW YOUR CAR
EXTERIOR COURTESY LIGHTS
This function lights up the vehicle and the space around it when
the doors are unlocked.
Activation
When the vehicle is parked and the doors are unlocked by press-
ing the
Ëbutton on the remote control (or the luggage compart-
ment is unlocked by pressing
R), the dipped beam headlights,
side lights and number plate lights are activated.
The lights remain lit for approximately 25 seconds unless the doors
and luggage compartment are locked once again, the doors or lug-
gage compartment are opened and closed or the instrument pan-
el is activated. In this case they go out after 5 seconds.
The exterior courtesy lights can be enabled/disabled using the Set-
up Menu (see the paragraph on“Menu Items” in this chapter).
“FOLLOW ME HOME” DEVICE
This device allows you to illuminate the area in front of the car
for a certain amount of time.
Activation
With the ignition key on STOP or removed, pull lever A-fig. 33 to-
wards the steering wheel within 2 minutes of switching off the
engine.
The amount of time the lights remain on is extended by 30 sec-
onds at each movement of the lever, up to a maximum of 210 sec-
onds; after this the lights are switched off automatically.
The
3warning light on the instrument panel will light up (and
the corresponding message will appear on the display) as long as
the function is active.
The warning light comes on when the lever is operated and stays
on until the function is automatically deactivated. Each movement
of the lever increases the amount of time the lights stay on.
Deactivation
Keep the lever pulled towards the steering wheel for more than 2
seconds.
Page 83 of 262
82GETTING TO KNOW YOUR CAR
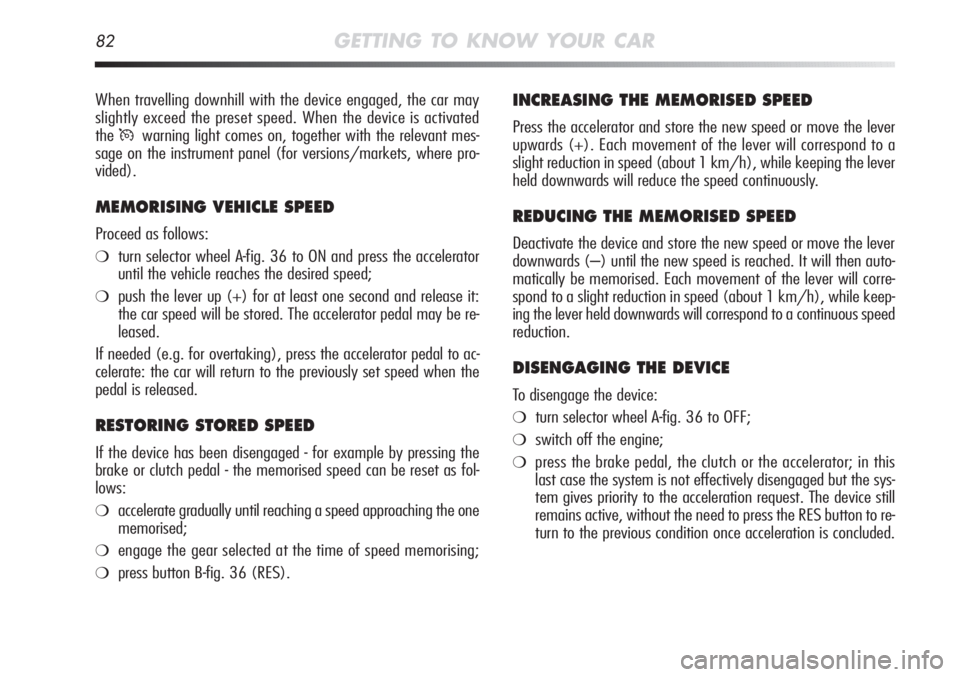
INCREASING THE MEMORISED SPEED
Press the accelerator and store the new speed or move the lever
upwards (+). Each movement of the lever will correspond to a
slight reduction in speed (about 1 km/h), while keeping the lever
held downwards will reduce the speed continuously.
REDUCING THE MEMORISED SPEED
Deactivate the device and store the new speed or move the lever
downwards (–) until the new speed is reached. It will then auto-
matically be memorised. Each movement of the lever will corre-
spond to a slight reduction in speed (about 1 km/h), while keep-
ing the lever held downwards will correspond to a continuous speed
reduction.
DISENGAGING THE DEVICE
To disengage the device:
❍turn selector wheel A-fig. 36 to OFF;
❍switch off the engine;
❍press the brake pedal, the clutch or the accelerator; in this
last case the system is not effectively disengaged but the sys-
tem gives priority to the acceleration request. The device still
remains active, without the need to press the RES button to re-
turn to the previous condition once acceleration is concluded. When travelling downhill with the device engaged, the car may
slightly exceed the preset speed. When the device is activated
the
Üwarning light comes on, together with the relevant mes-
sage on the instrument panel (for versions/markets, where pro-
vided).
MEMORISING VEHICLE SPEED
Proceed as follows:
❍turn selector wheel A-fig. 36 to ON and press the accelerator
until the vehicle reaches the desired speed;
❍push the lever up (+) for at least one second and release it:
the car speed will be stored. The accelerator pedal may be re-
leased.
If needed (e.g. for overtaking), press the accelerator pedal to ac-
celerate: the car will return to the previously set speed when the
pedal is released.
RESTORING STORED SPEED
If the device has been disengaged - for example by pressing the
brake or clutch pedal - the memorised speed can be reset as fol-
lows:
❍accelerate gradually until reaching a speed approaching the one
memorised;
❍engage the gear selected at the time of speed memorising;
❍press button B-fig. 36 (RES).
Page 87 of 262
86GETTING TO KNOW YOUR CAR
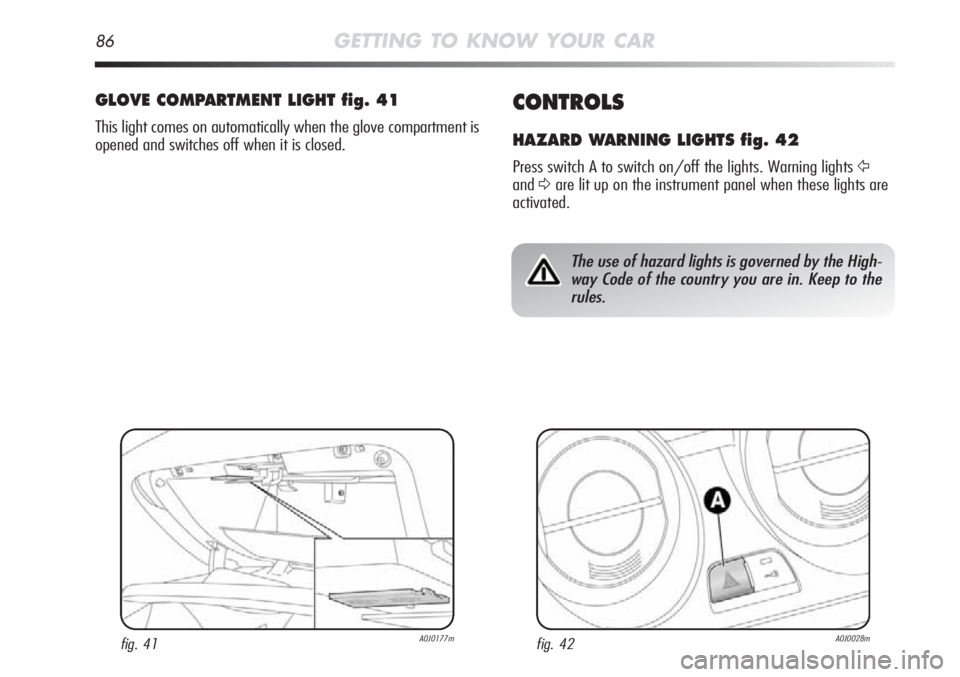
CONTROLS
HAZARD WARNING LIGHTS fig. 42
Press switch A to switch on/off the lights. Warning lights Ÿ
andΔare lit up on the instrument panel when these lights are
activated.
GLOVE COMPARTMENT LIGHT fig. 41
This light comes on automatically when the glove compartment is
opened and switches off when it is closed.
fig. 41A0J0177mfig. 42A0J0028m
The use of hazard lights is governed by the High-
way Code of the country you are in. Keep to the
rules.
Page 88 of 262
GETTING TO KNOW YOUR CAR87
1
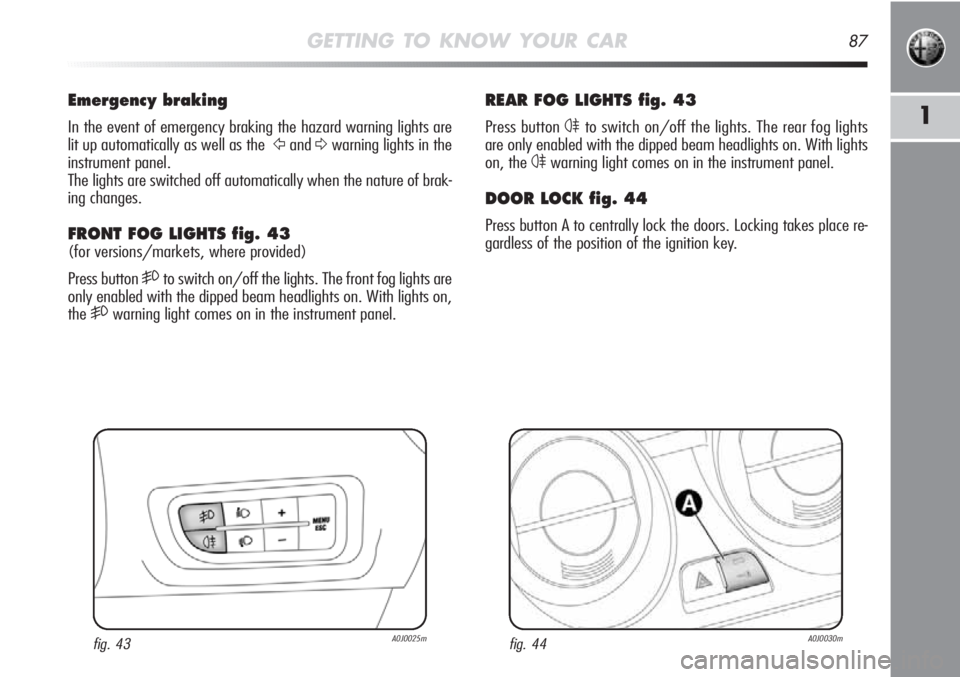
REAR FOG LIGHTS fig. 43
Press button 4to switch on/off the lights. The rear fog lights
are only enabled with the dipped beam headlights on. With lights
on, the
4warning light comes on in the instrument panel.
DOOR LOCK fig. 44
Press button A to centrally lock the doors. Locking takes place re-
gardless of the position of the ignition key.
Emergency braking
In the event of emergency braking the hazard warning lights are
lit up automatically as well as the
ŸandΔwarning lights in the
instrument panel.
The lights are switched off automatically when the nature of brak-
ing changes.
FRONT FOG LIGHTS fig. 43
(for versions/markets, where provided)
Press button
5to switch on/off the lights. The front fog lights are
only enabled with the dipped beam headlights on. With lights on,
the
5warning light comes on in the instrument panel.
fig. 43A0J0025mfig. 44A0J0030m
Page 109 of 262
108GETTING TO KNOW YOUR CAR
VDC SYSTEM
(Vehicle Dynamics Control)
This is an electronic system that controls car stability in the event
of tyre grip loss.
The VDC system also includes the following systems:
❍Hill Holder
❍ASR
❍Brake Assist
❍MSR
❍CBC
❍“ELECTRONIC Q2” (“E-Q2”)
❍DST
SYSTEM INTERVENTION
This is indicated by the áwarning light flashing in the instru-
ment panel: this indicates that the vehicle is in critical stability
and tyre grip conditions.
SYSTEM ACTIVATION
The VDC system switches on automatically each time the engine
is started and cannot be switched off.
HILL HOLDER SYSTEM
This system is an integral part of the VDC system and it is provided
to facilitate starting on slopes.
It is activated automatically in the following instances:
❍uphill: car at a standstill on a road with a gradient higher than
5%, engine running, clutch and brake pedal pressed, gearbox
to neutral or engaged gear other than reverse;
❍downhill: car at a standstill on a road with a gradient higher
than 5%, engine running, clutch and brake pedal pressed and
reverse gear engaged.
At take-off the VDC system control unit will keep brake force on
the wheels until reaching the torque suitable for starting, or in
any case for 1 second in order to move easily from the brake ped-
al to the accelerator pedal.
If the vehicle has not departed after this time, the system will de-
activate automatically by gradually releasing the brake force. A
sound may be heard during this stage: this indicates that the ve-
hicle is about to move off.
IMPORTANT the Hill Holder system should not be used as a hand-
brake. Do not leave the vehicle without having engaged the hand-
brake, switched off the engine and engaged a gear.
Page 110 of 262
GETTING TO KNOW YOUR CAR109
1
ASR SYSTEM (AntiSlip Regulation)
This is an integral part of the VDC system. It automatically cuts in
in the event of one or both drive wheels slipping, loss of grip on
wet roads (aquaplaning) and acceleration on slippery, snowy or icy
roads etc.
According to slipping conditions, two different control systems are
activated:
❍if slipping involves both drive wheels, the ASR function inter-
venes by reducing the power transmitted by the engine;
❍if the slipping involves only one drive wheel, the ASR system
intervenes by automatically braking the wheel that is slipping.
If the spare wheel is in use the ASR system does
not work. in this case the
áwarning light will come
on in the instrument panel.
In order for the ESP and ASR systems to operate
correctly, it is essential that the tyres are of the
same brand and type on all wheels, in perfect con-
dition and, above all, of the specified type, brand and size.
If the spare wheel is used, the VDC system keeps
operating. Be aware however that the spare wheel,
being smaller than the original wheel, provides less
grip.
The performance of the VDC and ASR systems
should not encourage the driver to take unneces-
sary risks. Your driving style should always take
road conditions, visibility and traffic into account. The dri-
ver is ultimately responsible for road safety.
Page 114 of 262
GETTING TO KNOW YOUR CAR113
1
ENGAGEMENT/DISENGAGEMENT
OF “All Weather” MODE
Engagement
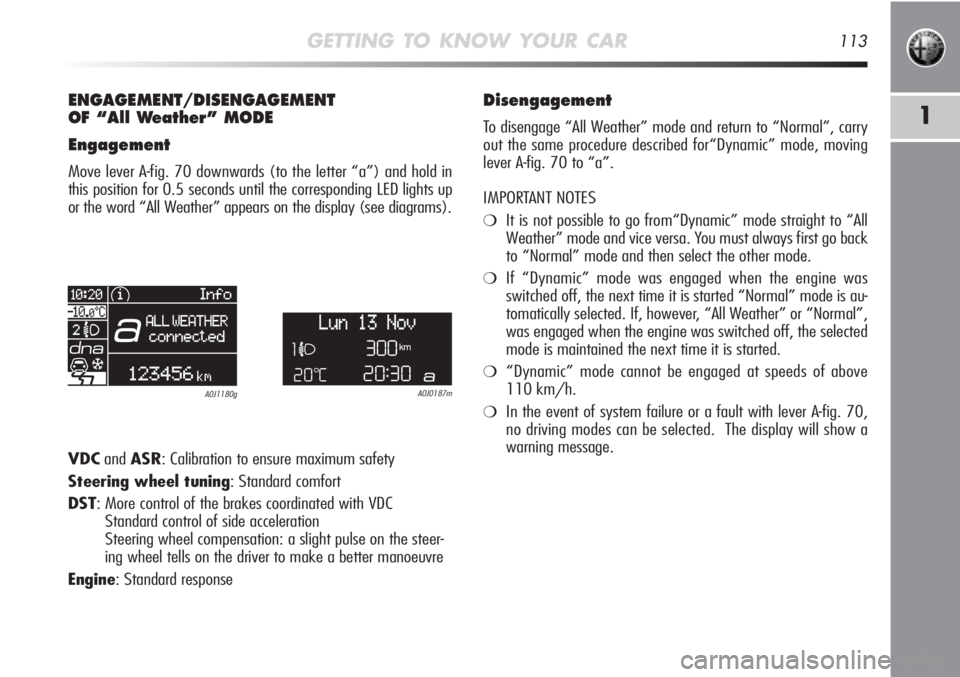
Move lever A-fig. 70 downwards (to the letter “a”) and hold in
this position for 0.5 seconds until the corresponding LED lights up
or the word “All Weather” appears on the display (see diagrams).
A0J0187mA0J1180g
Disengagement
To disengage “All Weather” mode and return to “Normal”, carry
out the same procedure described for“Dynamic” mode, moving
lever A-fig. 70 to “a”.
IMPORTANT NOTES
❍It is not possible to go from“Dynamic” mode straight to “All
Weather” mode and vice versa. You must always first go back
to “Normal” mode and then select the other mode.
❍If “Dynamic” mode was engaged when the engine was
switched off, the next time it is started “Normal” mode is au-
tomatically selected. If, however, “All Weather” or “Normal”,
was engaged when the engine was switched off, the selected
mode is maintained the next time it is started.
❍“Dynamic” mode cannot be engaged at speeds of above
110 km/h.
❍In the event of system failure or a fault with lever A-fig. 70,
no driving modes can be selected. The display will show a
warning message.
VDCandASR: Calibration to ensure maximum safety
Steering wheel tuning: Standard comfort
DST: More control of the brakes coordinated with VDC
Standard control of side acceleration
Steering wheel compensation: a slight pulse on the steer-
ing wheel tells on the driver to make a better manoeuvre
Engine: Standard response