ignition AUDI A3 2011 Owner´s Manual
[x] Cancel search | Manufacturer: AUDI, Model Year: 2011, Model line: A3, Model: AUDI A3 2011Pages: 320, PDF Size: 75.79 MB
Page 24 of 320
Driver information display
Distance
The elapsed distance since the last time the memory was cleared
appears in the display. The maximum distance that can be recorded is
9,999.9 m iles (9,999 .9 kilometers).
[ i ] Tips
All stored values will be lost if the vehicle battery is disconnected. •
Operation
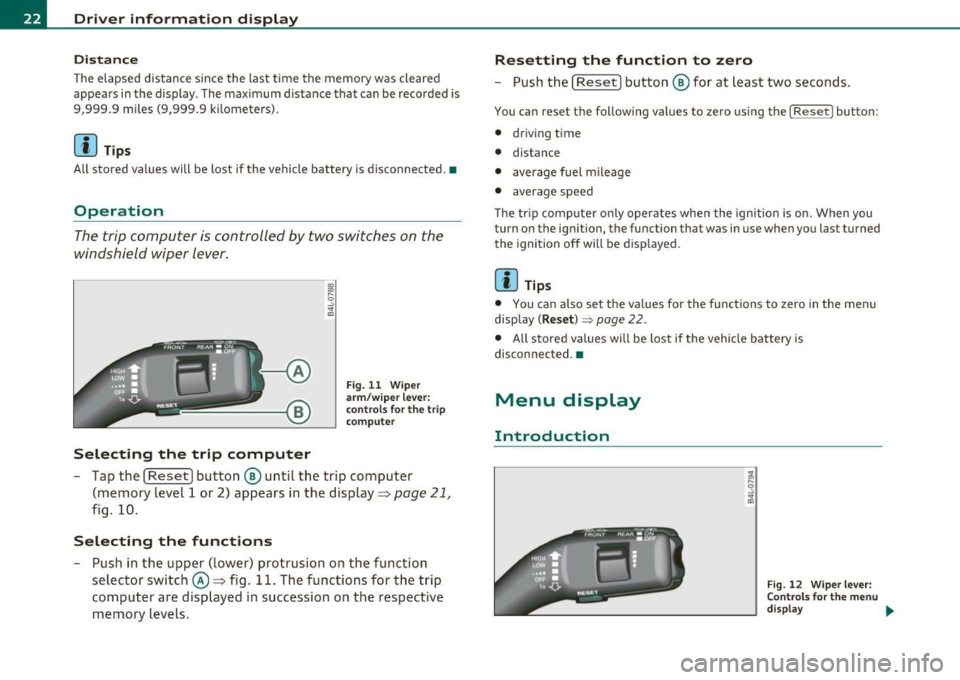
The trip computer is controlled by two switches on the
windshield wiper lever.
Selecting the trip computer
Fig. 11 Wiper
arm/w iper lever:
controls for the trip
co mputer
- Tap the [ Reset] button® until the trip computer
(memory level 1 or 2) appears in the display=>
page 21,
fig. 10.
Selecting the functions
-Push in the upper (lower) protrusion on the function
selector switch@=> fig. 11. The functions for the trip
computer are displayed in succession on the respective
memory levels.
Resetting the function to zero
- Push the [ Reset I button ® for at least two seconds.
You can reset the following values to zero using the [ Reset l button:
• driving time
• distance
• average fuel mileage
• average speed
The trip computer only operates when the ign ition is on. When you
turn on the ignition, the function that was in use when you last turned
the ignition off will be displayed.
[ i ] Tips
• You can also set the values for the functions to zero in the menu
display
( Reset )~ page 22.
• All stored values will be lost if the vehicle battery is
disconnected. •
Menu display
Introduction
Fig. 12 Wiper lever:
Controls for the menu
display ..
Page 28 of 320
Driver information displ ay
Applie s to veh icles : wi th tr ip co mpute r wi th effic ie ncy pr ogra m
Other equipment
Fig. 18 Dis play: o th er
equip ment
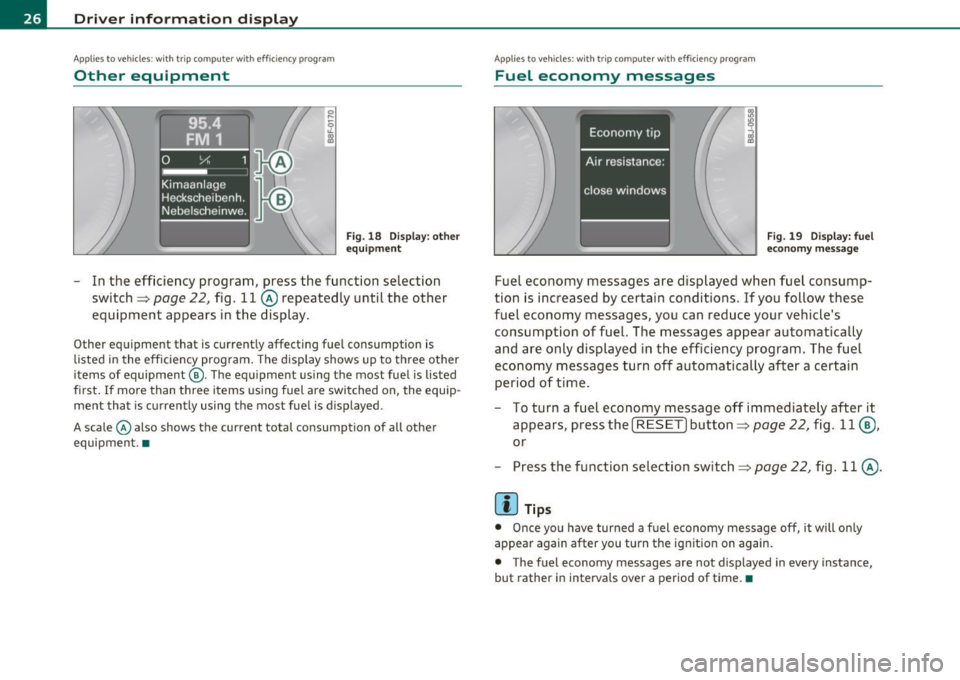
- In the efficiency program, press the function selection
switch~
page 22, fig. 11 @ repeatedly until the other
equipment appears in the display.
Other equipment that is currently affecting fuel consumption is
listed in the efficiency program . The disp lay shows up to three other
items of equipment @. The equipment us ing the most fuel is listed
first.
If more than three items using fuel a re switched on, the equip
ment that is currently using the most fuel is displayed .
A scale © also shows the current total consumption of all other
equipment .•
A ppli es to vehicles : wit h trip co mpute r w ith effi ciency pro gra m
Fuel economy messages
Fig . 1 9 D is p lay: fuel
economy messa ge
Fuel economy messages are displayed when fuel consump
tion is increased by certain conditions . If you follow these
fuel economy messages, you can reduce your vehicle's consumption of fuel. The messages appear automatica lly
and are only displayed in the efficiency program. The fuel
economy messages turn off automatically after a certain period of time .
- To turn a fuel economy message off immediately after it
appears, press the [
RESET] button~ page 22, fig. 11 @ ,
or
- Press the function selection switch~
page 22, fig. 11 @.
(I) Tips
• Once you have turned a fuel economy message off, it will only
appear again after you turn the ignition on again.
• The fuel economy messages are not displayed in every instance,
but rather in intervals over a period of time. •
Page 29 of 320
Service interval display
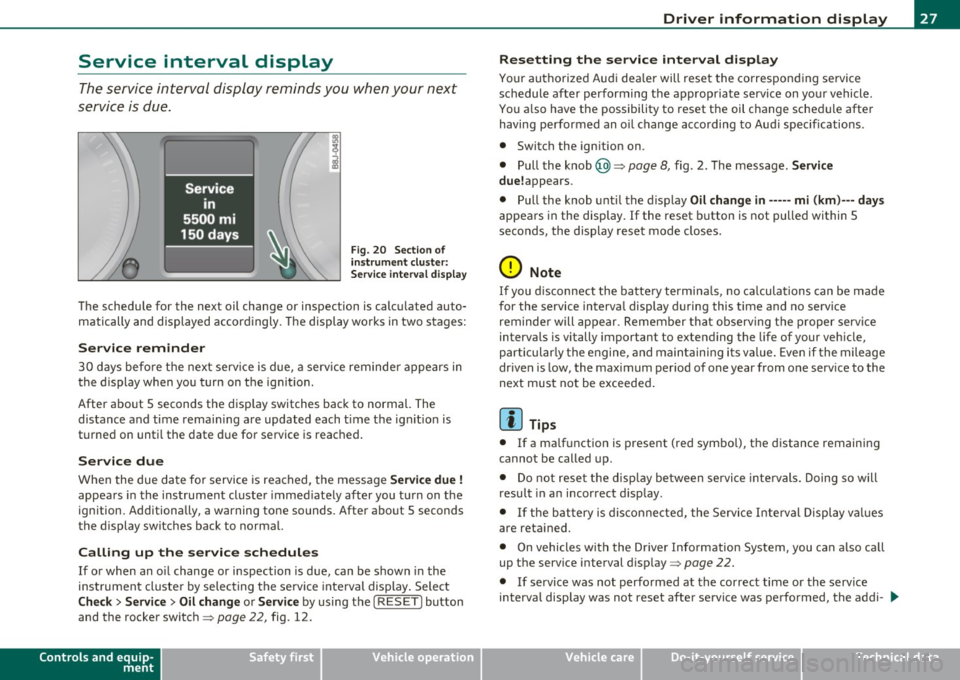
The service interval display reminds you when your next
service is due.
Fi g. 20 Sec tio n of
in strum ent clu ste r:
Se rvice inte rv a l displ ay
The schedu le for the next oil change or inspection is calcu lated auto
matically and displayed accor dingly. The display works in two s tages:
Service rem inder
30 days befo re the nex t serv ice is d ue, a serv ice reminde r appears in
the display when you turn on the ignit ion .
After abo ut 5 seconds the d isp lay switches back to normal. The
distance and time rema ining are updated each t ime t he ig nitio n is
t u rne d on unti l the date due for service is reac hed.
Service due
When the due da te for service is rea ched, t he mess age Service due!
appea rs in the instrument cl uste r immed iate ly after you t urn on t he
ignition . Additionally, a warning tone sounds. Afte r abo ut 5 seconds
t he display sw itches back to normal.
Calling up the service schedules
If or when an o il change or inspec tion is due, can be s hown in the
ins trumen t cluste r by se lec ting the se rvice inte rval display . Select
Check > Service > Oil change or Service by using the [ RESET] button
and the rocke r switch =>
page 22, fig. 12 .
Controls and equip
ment Safety first
Driver information display
Resetting the service interval display
You
r authori ze d Au di dea ler will reset the correspon ding se rvice
schedule after performing the a pprop ria te serv ice on you r vehicle.
Yo u also have t he possibility to reset t he oil c hange sche dule afte r
having performed an o il change according to Aud i specif ications .
• Switch the ign ition on .
• Pull the knob @=>
page 8, fig. 2 . T he m essag e. Service
due! appears.
• P ull the knob unti l the d is p lay
Oil change in----- mi (km) --- days
appea rs in the display. If the reset b utton is not pulled within 5
seco nds, the display reset mode closes.
0 Note
If you d isconn ect the batte ry termina ls, no ca lcula tions can b e mad e
for the service interva l display during this time and no serv ice
reminde r will appear. Remember that observing t he pr oper serv ice
interva ls is vitally important to extending the life of your veh icle,
p a rti cul arly the e ngine, and main taini ng it s v alue. Eve n if the mileage
dr ive n is low, the maximum per iod of one year from one serv ice to the
next must not be exceeded .
[ i ] Tips
• If a ma lf u nction is present ( red sym bo l), the d istance remaining
canno t be called up .
• D o not rese t the disp lay be tween servi ce int ervals . Doing so w ill
resu lt in a n incor rect d isp lay.
• If the b attery is di sconne cte d, the Se rvice Interval Di spl ay val ue s
are reta ined .
• On vehicles wit h the Dr ive r Info rm ation Syste m, you can a lso ca ll
up t he service interval disp lay =>
page 22.
• If se rv ic e was not perfo rmed at th e correc t time or the s erv ice
interval display was not reset after service was pe rformed, the addi- .,,_
Vehicle care Technical data
Page 31 of 320
Speed warning 1: setting a speed Limit
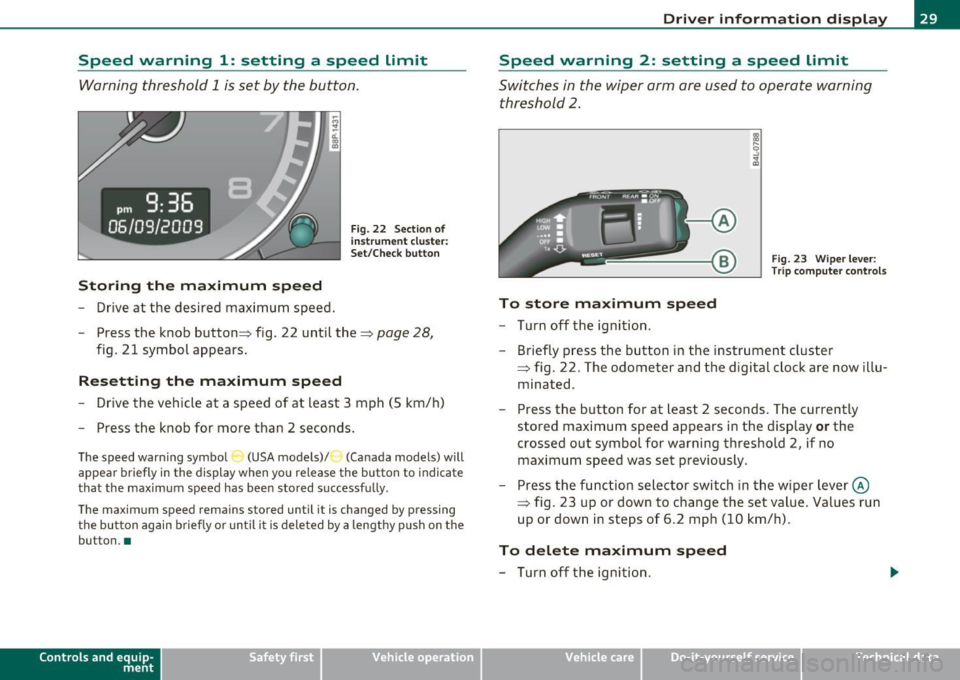
Warning threshold 1 is set by the button.
Storing the maximum speed
- Drive at the desired maximum speed.
Fig. 22 Section o f
in st rum ent cluster:
Set/Check button
- Press the knob button :::} fig. 22 until the :::} page 28,
fig. 21 symbol appears.
Resetting the maximum speed
- Drive the vehicle at a speed of at least 3 mph (5 km/h)
- Press the knob for more than 2 seconds.
The speed warning symbo l (USA models) /') (Canada models) will
appear briefly in the display when you release the button to indicate
that the maximum speed has been stored successfully .
The maximum speed remains stored until it is changed by pressing the button again briefly or until it is deleted by a lengthy push on the
button. •
Contro ls a nd e quip
m en t Vehicle
OP-eration
Driver information display
Speed warning 2: setting a speed Limit
Switches in the wiper arm are used to operate warning
threshold
2.
Fig. 23 Wiper lever:
Trip computer controls
To store maximum speed
- Turn off the ignition.
- Briefly press the button in the instrument cluster
=> fig. 22. The odometer and the d igital clock are now illu
minated .
- Press the button for at least 2 seconds. The currently
stored maximum speed appears in the display
or the
crossed out symbol for warning threshold 2, if no maximum speed was set previously .
- Press the function selector switch in the wiper lever@
=> fig. 23 up or down to change the set value . Values run
up or down in steps of 6.2 mph (10 km/h).
To delete maximum speed
- Turn off the ignition.
Vehicle care Do-it-yourselt service iTechnical data
Page 40 of 320
Opening and closing
Opening and closing
Keys
Key set
®
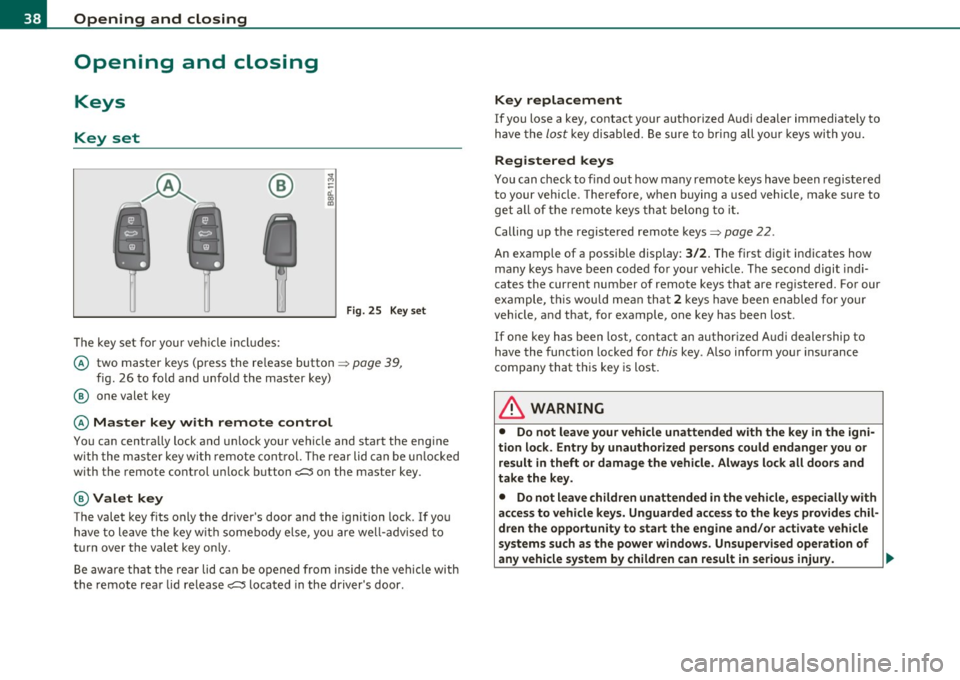
The key set for your ve hicle in cl ude s:
F ig. 2 5 Key set
© two master keys (press the re lease button => page 39,
fig. 26 to fo ld and unfold the master key)
@ one valet key
© Master key with remote control
You can centra lly lock and u nlock your vehicle and start the eng ine
w ith the mas ter key wi th remote cont rol. T he re a r lid can be u nlocked
w ith the remote control un lock button
c:::::5 on the master key .
@Valet key
The valet key f its only the driver's door and the ignition lock. I f yo u
have to leave the key w it h some bod y e lse, y ou are we ll-adv ise d t o
turn over the valet key on ly.
Be awa re t hat th e rear lid can be o pened from inside the veh icle with
the remote rear lid release
c:::::5 l ocated in the driver's door .
Key replacement
If you lose a key, contact your authorized Aud i dealer immediately to
h ave the
lo st key di sable d . B e sure to bri ng all you r keys wi th y ou.
Registered keys
You can check to find out how many remote keys have been regis tered
to your vehicle. Therefore, when buying a used veh icle, make sure to
get all of the remote keys th at belo ng t o it.
Calling up the registered remote keys=>
page 22.
An example of a possible display:
3/2. The first digit in dicates how
ma ny keys have been coded fo r you r vehicle . T he second digit indi
cates the current number of remote keys that are registered. Fo r our
example , thi s w ould m ean t hat
2 key s have been en abled for your
vehicle , and that, for example, one key has been lost .
If on e key h as been lost, con tact an a uthor ized A udi d eale rship to
hav e the func tion locked for this key . Also inform yo ur insurance
compa ny that t his key is lost .
& WARNING
• Do not leave your vehicle unattended with the key in the igni
tion lock. Entry by unauthorized persons could endanger you or
result in theft or damage the vehicle. Alway s lock all doors and
take the key.
• Do not leave children unattended in the vehicle, especially with
access to vehicle keys. Unguarded access to the keys provides chil
dren the opportunity to start the engine and/or a ctivate vehicle
systems such as the power windows. Unsupervised operation of
any vehicle system by children can result in se rious injury . ._
Page 42 of 320

Open ing and closing
Master key battery replacement
Each master key contains a battery housed under the
cover.
Fig. 2 8 Mas ter key :
opening the cover
We recommend having the battery changed by a qualified
workshop . However , if you wish to replace the dead battery
yourself, proceed as follows:
- Pry apart the base~ fig. 28 @and the cover @carefull y
with a coin .
- Remove the cover (arrow) .
- Remove the dead battery from the cover .
- Install the new battery. Please make certain that the"+"
sign on the bat tery faces down in the cover. Correct
polarity is shown on the cover.
- Place the cover with the new battery on the key base and
press both parts together.
For the sake of the environment
Dispose of dead batteries p roperly so as not to po llute the environ ·
ment .
[I] Tips
The replacement battery must be the same specification as the
original. •
Electronic immobilizer
The immobilizer helps to prevent unauthorized use of
your vehicle .
A computer chip inside your key automatically deactivates the elec
tronic immobilizer when you insert the key in the ignition lock . When
you remove the key from the ignition lock, the electron ic immobilizer
is automatica lly activated once again .
[I] Tips
• The veh icle cannot be started if an unauthorized key is used. The
vehicle may not start if another radio device such as a key for another
vehicle o r transponder is located on the key ring.
• For Declarat ion of Compliance to United States FCC and Industry
Canada regulations
~ page 303. •
Power locking system
General description
The power locking system locks or unlocks all doors and
the rear lid simultaneously.
The power locking system in you r vehicle incorpo rates the following
functions :
• Central locking funct ion
• Remote con trol feature ~
page 39.
• Anti -theft alarm system~ page 48.
Page 43 of 320

All the doors and the rear lid are locked by the central locking system
when you lock the vehicle.
The unlock ing and locking mode* can be changed in the driver infor
mation system~
page 22.
Unlocking the vehicle
You can unlock the vehicle from outside either by using the remote
control
or by inserting and turning the key in the driver's door lock .
When you
unlock your vehicle:
• Th e anti-theft alarm system is deactivated briefly.
• The vehicle interior lights illuminate for approximately 30
seconds .
• All turn signa l lights will flash twice when the car is unlocked .
• After unlocking the vehicle, you have 30 seconds to open a door or
the rear lid. Afte r 30 seconds, the vehicle automatica lly locks and the
anti-theft alarm system activates again.
The rear lid can be locked or unlocked either by using the remote
control or by inserting and turning the key in the dr iver's door lock.
Unlocking the vehicle with the remote control~ will only
unlock the
rear lid, to
open it, the lid handle needs to be pressed.
Locking the vehicle
You can lock the vehicle from outside either by using the remote
control
or by inserting and turning the key in the drivers's door lock.
When you
lock the vehicle:
• All doors and the rear lid are locked.
• All turn signal lights will flash once when the car is locked.
• Th e anti-theft alarm system is activated. The horn of the anti
theft alarm system will sound and the anti-theft alarm system readi
ness light, located in the center of the instrument panel below the
windshield on the right side of the air vent, will start to blink.
• Th e vehicle interior lights turn off.
Controls and equip
ment Safety first
Opening and closing
Automat
ic locking*
The automatic locking feature locks all the vehicle doors and the rear
lid when you drive faster than 9 mph (15 km/h).
You can unlock the vehicle from the inside by:
• removing the key from the ignition switch (the vehicle wi ll auto
matically unlock itself) or
• pressing the unlock part of the power lock switch
ll::D or
• pulling the inside handle for that door (once - the front door is
unlocked and opened at the same time, twice to open the rear door).
If you wish, you can have an authorized Audi dealer convert your
power door lock system to automatic locking.
& WARNING
• When you lock your vehicle from outside, nobody· especially
children - should remain inside the vehicle. Remember, when you
lock the vehicle from the outside the windows cannot be opened
from the inside .
• When you leave the vehicle, always remove the ignition key
and take it with you. This will prevent passengers (children, for
example) from accidentally being locked in the vehicle should
they accidentally press the power locking switch on the center
console.
• Do not leave children inside the vehicle unsupervised. In an
emergency it would be impossible to open the doors from the
outside without the key.
[ i ] Tips
• In the event of a crash with airbag deployment all locked doors
will be automatically unlocked to give access to the vehicle occupants
from the outside .
• If the power locking system sho uld fail, you can still open the fuel
tank flap in an emergency~
page 224 . .,_
Vehicle care Technical data
Page 44 of 320
Opening and closing
• You are well advised not to keep valuables inside an unattended
vehicle, v isible or not . Even a properly locked vehicle cannot provide
the security of a safe! •
Unlocking and Locking the vehicle with the
remote control
How the remote control works.
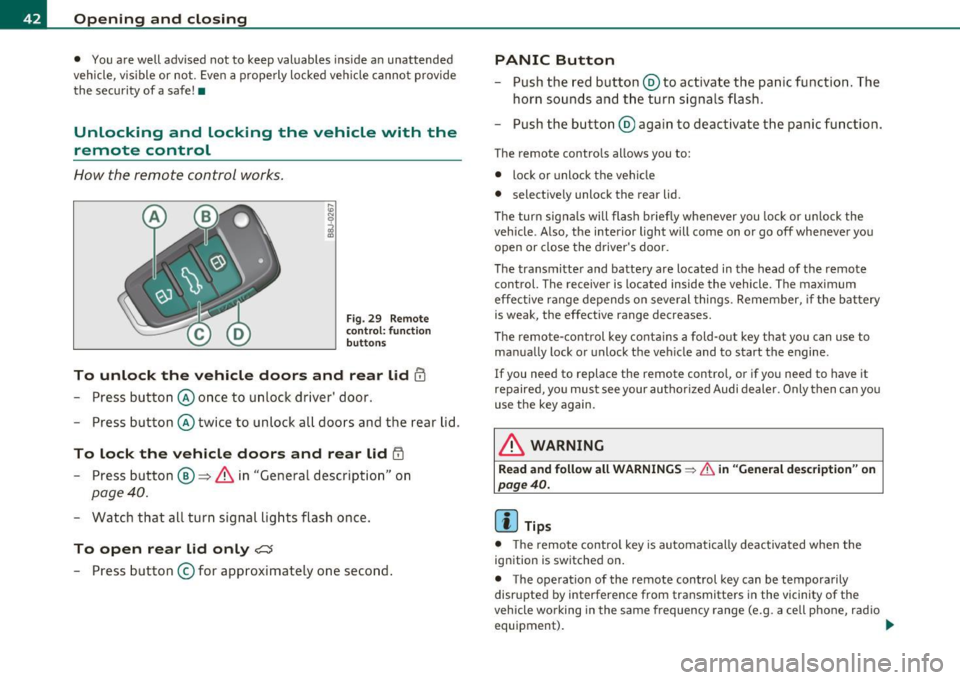
Fig. 29 Remote
control : function
buttons
To unlock the vehicle doors and rear lid !TI
- Press button @once to unlock d river' door.
- Press button @twice to unlock all doors and the rear lid.
To lock the vehicle doors and rear lid iTI
- Press button ®~ & in "General description" on
page 40.
-Watch that all turn signal lights flash once.
To open rear lid only?:$
-Press button © for approximately one second .
PANIC Button
-Push the red button @to activate the panic function. The
horn sounds and the turn signals flash.
- Push the button @ again to deactivate the panic function.
The remote contro ls allows you to:
• lock or unlock the vehicle
• selective ly unlock the rear lid.
Th e turn signa ls will flash briefly whenever you lock or unlock the
vehicle. Also, the interior light will come on or go off whenever you
open or close the driver's door.
The transmitter and battery are located in the head of the remote
control. The receiver is located inside the vehicle. The maximum
effect ive range depends on several things. Remember, if the battery
is weak, the effective range decreases.
Th e remo te-control key contains a fold-out key that you can use to
manually lock or unlock the vehicle and to start the engine.
If you need to replace the remote control, or if you need to have it
repaired, you must see your authorized Audi dealer . Only then can you
use the key again.
& WARNING
Read and follow all WARNINGS ~ & in "General description" on
page 40.
(I] Tips
• The remote contro l key is automatically deactivated when the
ignition is switched on .
• The operation of the remote control key can be tempora rily
disr upted by interference from transmitters in the vicinity of the
vehicle wo rking in the same frequency range (e.g. a cell phone, radio
equipment). _..
Page 49 of 320
-Place the key in the round opening behind the cover@
and turn the key in the direct ion of the arrow . This unlocks
the lock and the rear lid opens a crack.
- Open the rear lid from the outside and put the ignition key
in a safe place. •
Manual door locking
If the power locking system fails (power failure), you will
need to lock the passenger door separately.
i a:.
"' "'
F ig. 3 7 Em ergency
lo cking devic e in the
doo rs
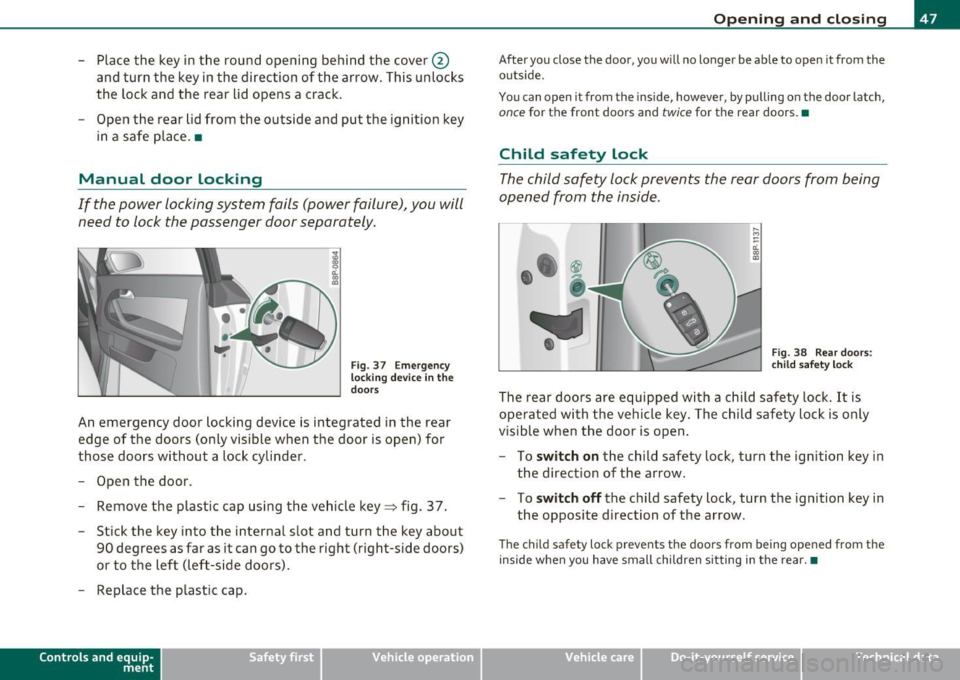
An emergency door locking device is integrated in the rear
edge of the doors (only visible when the door is open) for
those doors without a lock cylinder .
- Open the door.
- Remove the plastic cap using the veh icle key~ fig. 37 .
- Stick the key into the internal slot and turn the key about
90 degrees as far as it can go to the righ t (right-side doors)
or to the left (left-side doors).
- Replace the plastic cap.
Con tro ls a nd e quip
m en t Vehicle
OP-eration
Opening and closing
After you close the door, you will no longer be able to open it from the
outs ide.
You can open it from the inside, however, by pulling on the door latch,
once for the front doors and twice for the rear doors.•
Child safety lock
The child safety lock prevents the rear doors from being
opened from the inside.
,._ M
-
-a:. a, (0
Fig. 38 Rear doors:
c h ild safety loc k
The rear doors are equipped with a child safety lock. It is
operated with the vehicle key . The child safety lock is only
visible when the door is op en .
- To
switch on the child safety lock, turn the ignition key in
the direction of the arrow.
- To
switch off the child safety lock, turn the ignition key in
the opposite direction of the arrow.
The child safety lock prevents the doors from being opened from the
inside when you have small children sitting in the rear. •
Vehicle care Do-it-yourselt service iTechnical data
Page 50 of 320
Opening and closing
Anti-theft alarm system
The anti-theft alarm triggers an alarm if anyone
attempts to break in to the ve hicle .
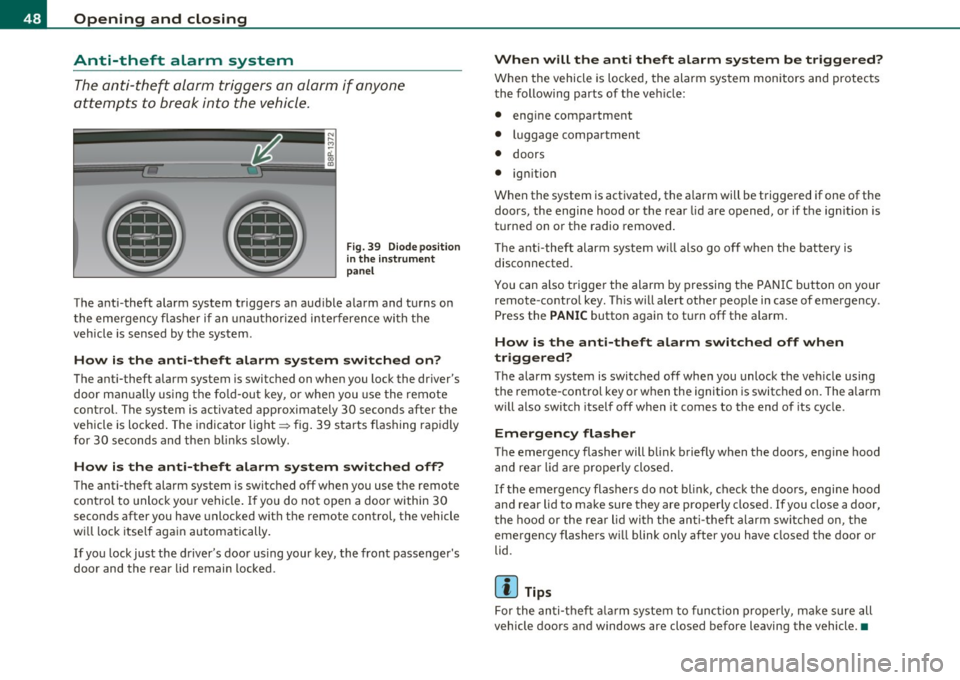
Fig . 3 9 Dio de po sition
in the in strum ent
panel
The anti -theft alarm system trigge rs an audible a larm and turns on
t he emergency flasher if an unauthori zed i nter feren ce wi th th e
veh icle is sensed by t he system .
How is the anti-theft alarm system switched on?
The anti-theft alarm system is switched on when you lock the dr iver's
door m anually using t he fo ld-ou t key, o r whe n you use the remote
control. The sys tem is activated approximately 30 seconds after the
vehicle is lo cked. The indicato r lig ht ~ fig . 39 sta rts flash ing rapi dly
for 30 seconds and then blinks s lowly.
How is the anti -theft alarm sy stem switched off?
The anti-theft alarm sys tem is switched off when you use the remote
c on trol to unlock yo ur vehi cle. If you do no t open a door within 30
seconds after you have unlocked with t he remote control, the vehicle
w ill l ock itse lf aga in automat ically .
If you lock just the d river's door us ing your key, the front passenger's
door and the rear lid remain locked .
When will the anti theft alarm system be triggered?
When the vehicle is locke d, the alarm sys tem monitors and protects
t he following parts of t he veh icle:
• eng ine compa rtment
• luggage compartment
• doors
• ignition
When the system is activated, the a larm will be t rigge red if one of the
doors, the engine hood or the rear lid are opened, or if t he ign it ion is
t u rned on or t he radio removed .
Th e a nti-t hef t alarm system w ill also go o ff w hen the bat tery i s
disconnected.
You can also t rigge r the alarm by pressing the PA NI C but ton on your
remote -co ntro l key. T his w ill alert other peop le in case of emergency .
Press the
PANIC button aga in to t urn off the a la rm .
How is the anti-theft alarm switched off when
triggered?
T he a larm system is switched off when you unlock the ve hicle using
the remote-cont ro l key or when the ignition is switched on. The a la rm
w ill also switch itself off when it comes to the end of its cycle .
Emergency flasher
The emergency flasher will b link briefly when the doors, eng ine hood
and re ar lid ar e pr oper ly closed .
If the emergency flashers do not blink, check the doo rs , engi ne hood
and rear lid to ma ke sure they are properly closed. If you close a door,
t he hood or the rea r lid wi th the an ti- theft a la rm sw itched on, the
eme rgency flashers w ill blink on ly after you have closed the door or
lid .
[ i ] Tips
For the an ti-t heft a larm system to func tion p roperly, m ake su re all
vehicle doors and windows are closed before leaving the vehicle. •