AUDI A4 1995 B5 / 1.G AWM Engine Cooling System Components Owner's Manual
A4 1995 B5 / 1.G
AUDI
AUDI
https://www.carmanualsonline.info/img/6/931/w960_931-0.png
AUDI A4 1995 B5 / 1.G AWM Engine Cooling System Components Owner's Manual
Page 27 of 38
19-24
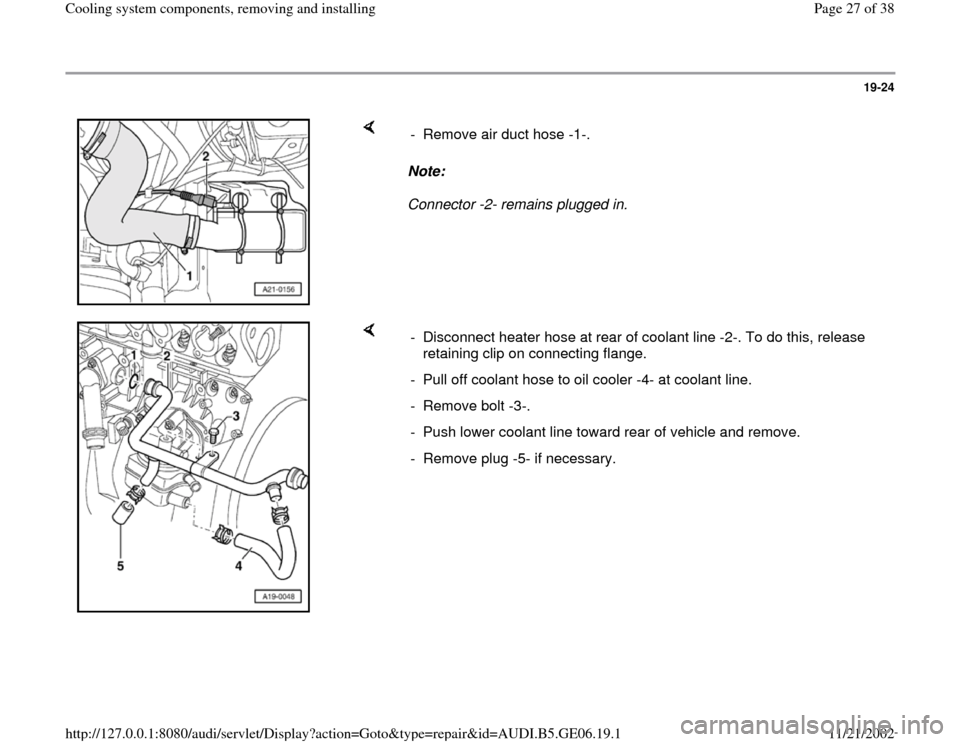
Note:
Connector -2- remains plugged in. - Remove air duct hose -1-.
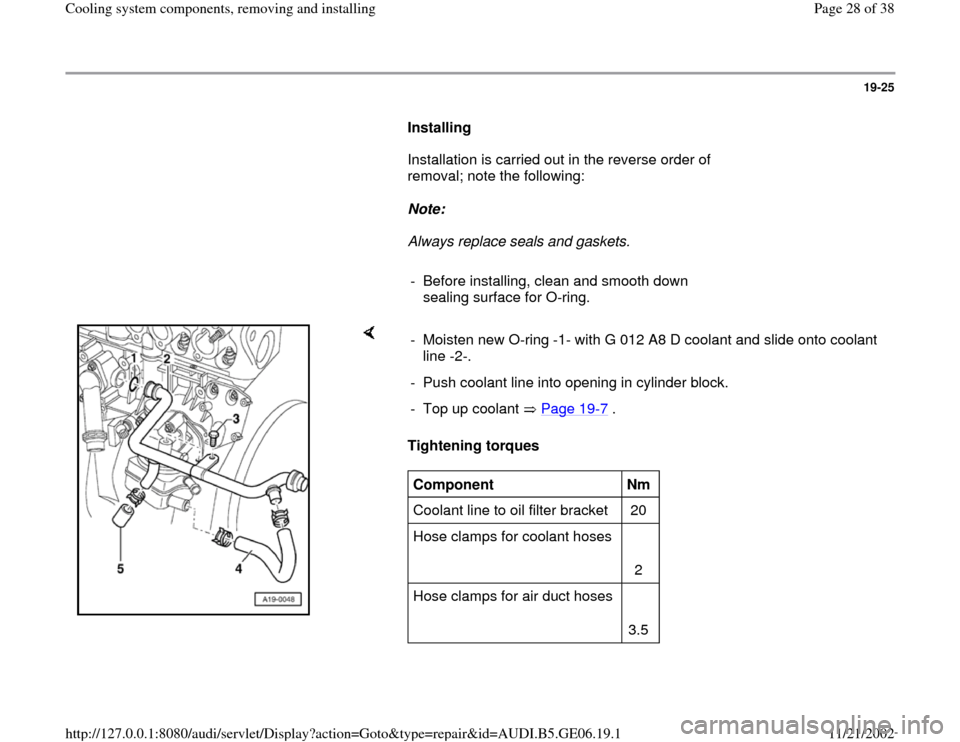
- Disconnect heater hose at rear of coolant line -2-. To do this, release
retaining clip on connecting flange.
- Pull off coolant hose to oil cooler -4- at coolant line.
- Remove bolt -3-.
- Push lower coolant line toward rear of vehicle and remove.
- Remove plug -5- if necessary.
Pa
ge 27 of 38 Coolin
g system com
ponents, removin
g and installin
g
11/21/2002 htt
p://127.0.0.1:8080/audi/servlet/Dis
play?action=Goto&t
yp
e=re
pair&id=AUDI.B5.GE06.19.1
Page 28 of 38
19-25
Installing
Installation is carried out in the reverse order of
removal; note the following:
Note:
Always replace seals and gaskets.
- Before installing, clean and smooth down
sealing surface for O-ring.
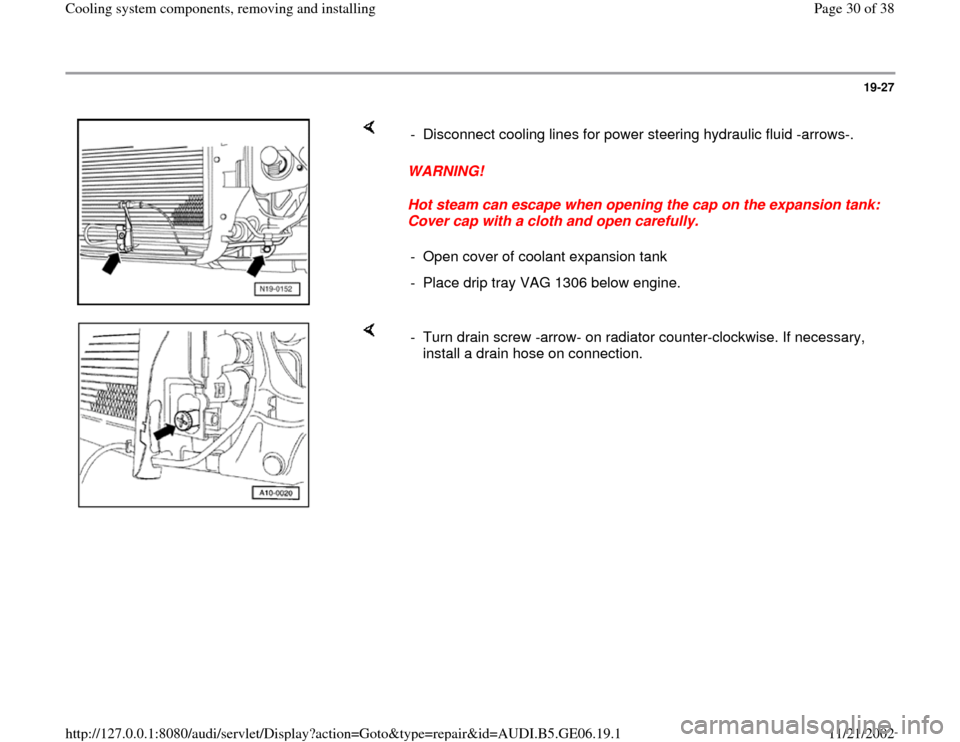
Tightening torques - Moisten new O-ring -1- with G 012 A8 D coolant and slide onto coolant
line -2-.
- Push coolant line into opening in cylinder block.
- Top up coolant Page 19
-7 .
Component
Nm
Coolant line to oil filter bracket 20
Hose clamps for coolant hoses
2
Hose clamps for air duct hoses
3.5
Pa
ge 28 of 38 Coolin
g system com
ponents, removin
g and installin
g
11/21/2002 htt
p://127.0.0.1:8080/audi/servlet/Dis
play?action=Goto&t
yp
e=re
pair&id=AUDI.B5.GE06.19.1
Page 30 of 38
19-27
WARNING!
Hot steam can escape when opening the cap on the expansion tank:
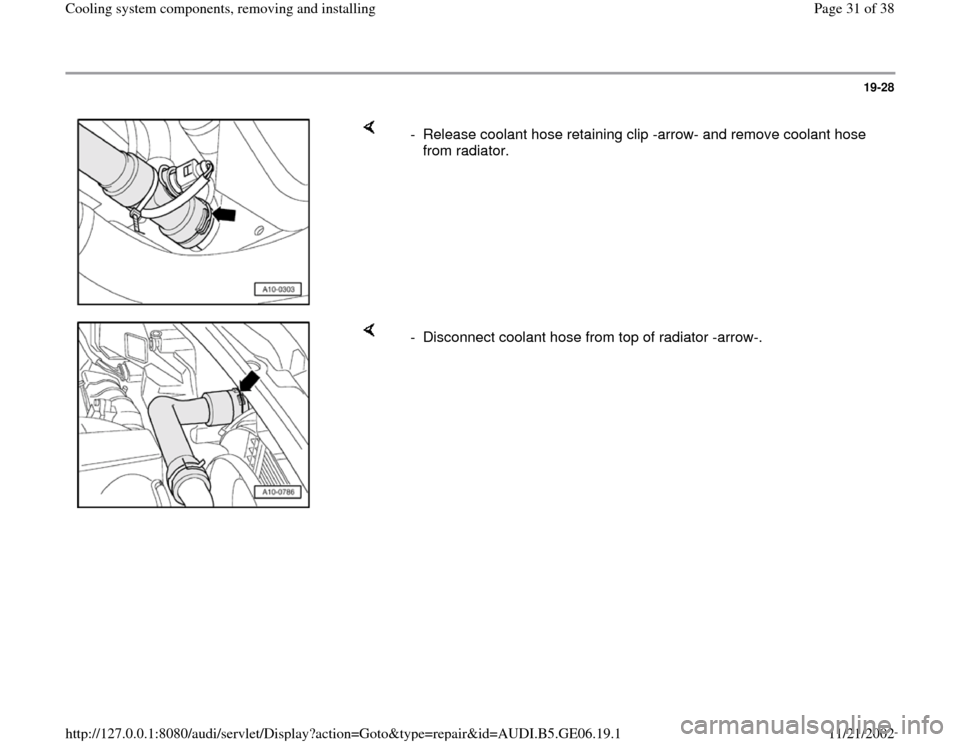
Cover cap with a cloth and open carefully. - Disconnect cooling lines for power steering hydraulic fluid -arrows-.
- Open cover of coolant expansion tank
- Place drip tray VAG 1306 below engine.
- Turn drain screw -arrow- on radiator counter-clockwise. If necessary,
install a drain hose on connection.
Pa
ge 30 of 38 Coolin
g system com
ponents, removin
g and installin
g
11/21/2002 htt
p://127.0.0.1:8080/audi/servlet/Dis
play?action=Goto&t
yp
e=re
pair&id=AUDI.B5.GE06.19.1
Page 31 of 38
19-28
- Release coolant hose retaining clip -arrow- and remove coolant hose
from radiator.
- Disconnect coolant hose from top of radiator -arrow-.
Pa
ge 31 of 38 Coolin
g system com
ponents, removin
g and installin
g
11/21/2002 htt
p://127.0.0.1:8080/audi/servlet/Dis
play?action=Goto&t
yp
e=re
pair&id=AUDI.B5.GE06.19.1
Page 34 of 38
19-31
Installing
Installation is carried out in the reverse order of
removal; note the following:
- Install front bumper:
Repair Manual, Body Exterior, Repair Group
63
- Top up coolant Page 19
-7 .
Vehicles with automatic transmission:
- Attach ATF lines.
Repair Manual, 5 Spd. Automatic
Transmission 01V, Repair Group 37
- Check ATF level:
Repair Manual, 5 Spd. Automatic
Transmission 01V, Repair Group 37
Tightening torques
Pa
ge 34 of 38 Coolin
g system com
ponents, removin
g and installin
g
11/21/2002 htt
p://127.0.0.1:8080/audi/servlet/Dis
play?action=Goto&t
yp
e=re
pair&id=AUDI.B5.GE06.19.1
Page 35 of 38
Component
Nm
Condenser to radiator 10
Cooling lines to radiator 10
Hose clamps for coolant hoses 2
Pa
ge 35 of 38 Coolin
g system com
ponents, removin
g and installin
g
11/21/2002 htt
p://127.0.0.1:8080/audi/servlet/Dis
play?action=Goto&t
yp
e=re
pair&id=AUDI.B5.GE06.19.1
Page 37 of 38
19-33
Test requirements:
Engine at operating temperature.
WARNING!
Hot steam can escape when opening the cap
on the expansion tank: Cover cap with a cloth
and open carefully.
- Open cover of coolant expansion tank
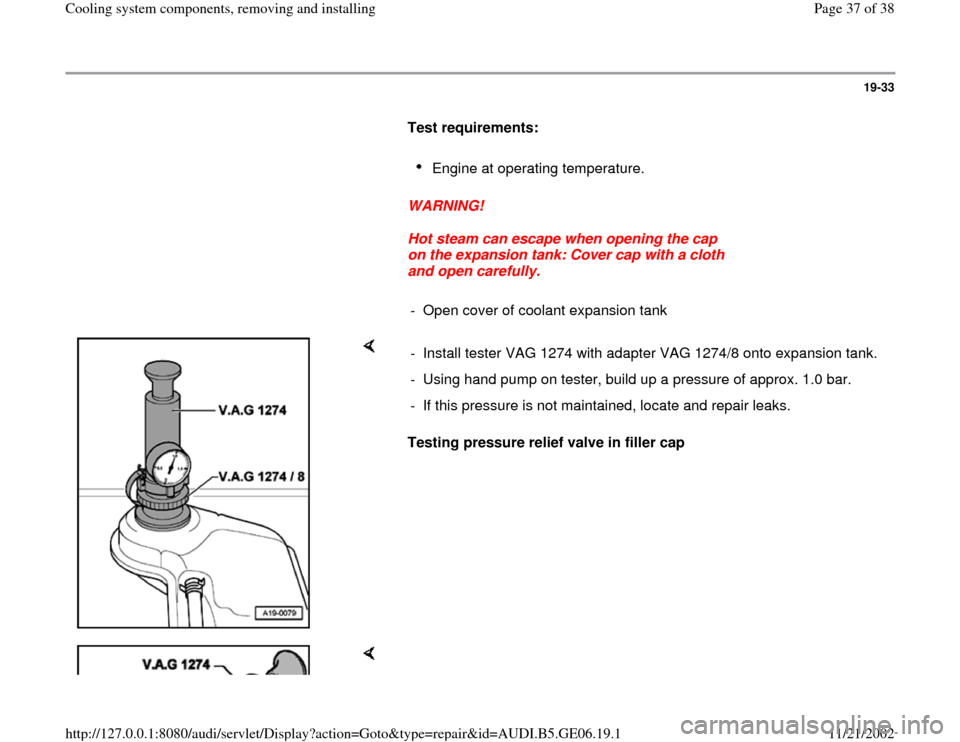
Testing pressure relief valve in filler cap - Install tester VAG 1274 with adapter VAG 1274/8 onto expansion tank.
- Using hand pump on tester, build up a pressure of approx. 1.0 bar.
- If this pressure is not maintained, locate and repair leaks.
Pa
ge 37 of 38 Coolin
g system com
ponents, removin
g and installin
g
11/21/2002 htt
p://127.0.0.1:8080/audi/servlet/Dis
play?action=Goto&t
yp
e=re
pair&id=AUDI.B5.GE06.19.1
