sensor AUDI A4 1996 B5 / 1.G AFC Engine Lock Carrier Removing For Service Workshop Manual
[x] Cancel search | Manufacturer: AUDI, Model Year: 1996, Model line: A4, Model: AUDI A4 1996 B5 / 1.GPages: 35, PDF Size: 0.44 MB
Page 5 of 35
15-11
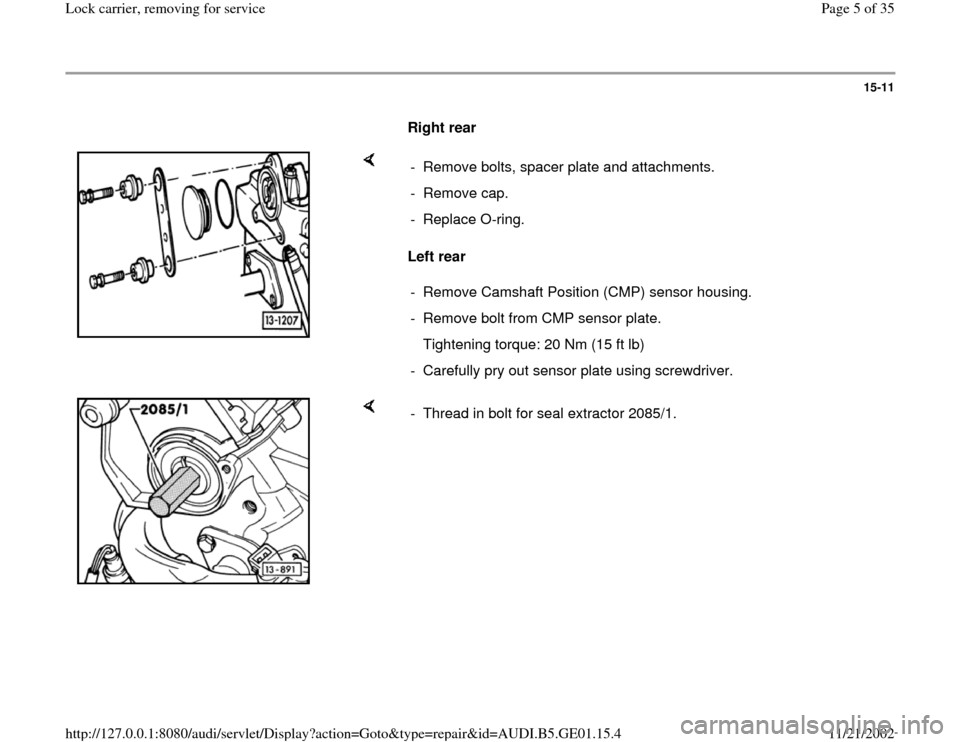
Right rear
Left rear - Remove bolts, spacer plate and attachments.
- Remove cap.
- Replace O-ring.
- Remove Camshaft Position (CMP) sensor housing.
- Remove bolt from CMP sensor plate.
Tightening torque: 20 Nm (15 ft lb)
- Carefully pry out sensor plate using screwdriver.
- Thread in bolt for seal extractor 2085/1.
Pa
ge 5 of 35 Lock carrier, removin
g for service
11/21/2002 htt
p://127.0.0.1:8080/audi/servlet/Dis
play?action=Goto&t
yp
e=re
pair&id=AUDI.B5.GE01.15.4
Page 6 of 35
15-12
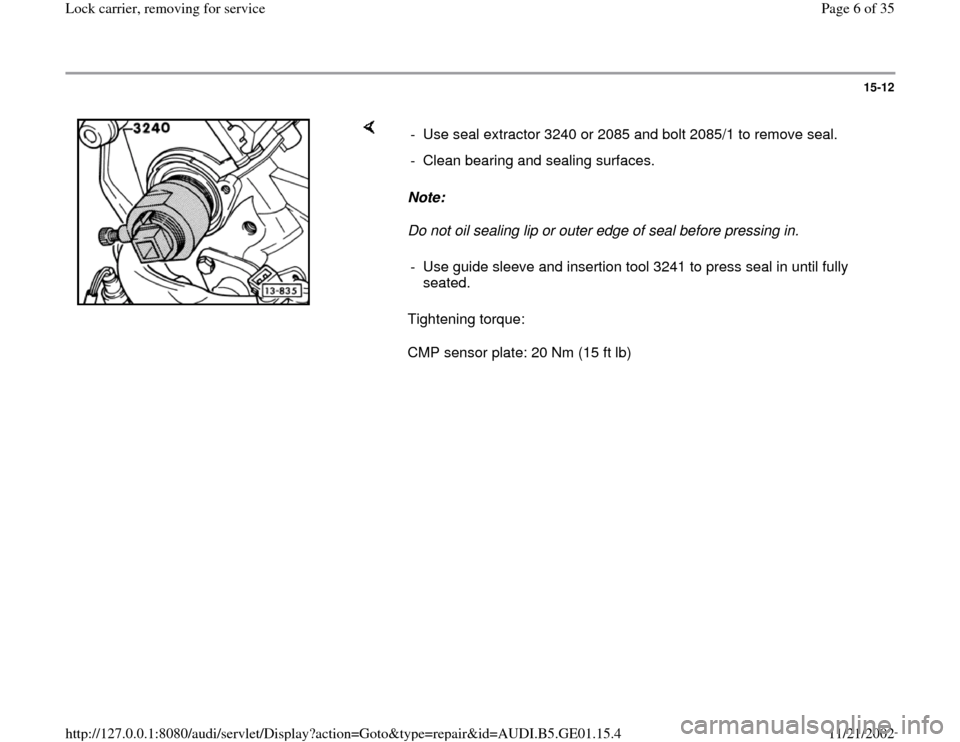
Note:
Do not oil sealing lip or outer edge of seal before pressing in.
Tightening torque:
CMP sensor plate: 20 Nm (15 ft lb) - Use seal extractor 3240 or 2085 and bolt 2085/1 to remove seal.
- Clean bearing and sealing surfaces.
- Use guide sleeve and insertion tool 3241 to press seal in until fully
seated.
Pa
ge 6 of 35 Lock carrier, removin
g for service
11/21/2002 htt
p://127.0.0.1:8080/audi/servlet/Dis
play?action=Goto&t
yp
e=re
pair&id=AUDI.B5.GE01.15.4
Page 7 of 35
15-13
Cylinder head, removing and installing
Engine installed
This removal procedure refers to the left cylinder
head
Removing
- Remove ribbed belt page 13
-9
- Remove toothed belt page 13
-11
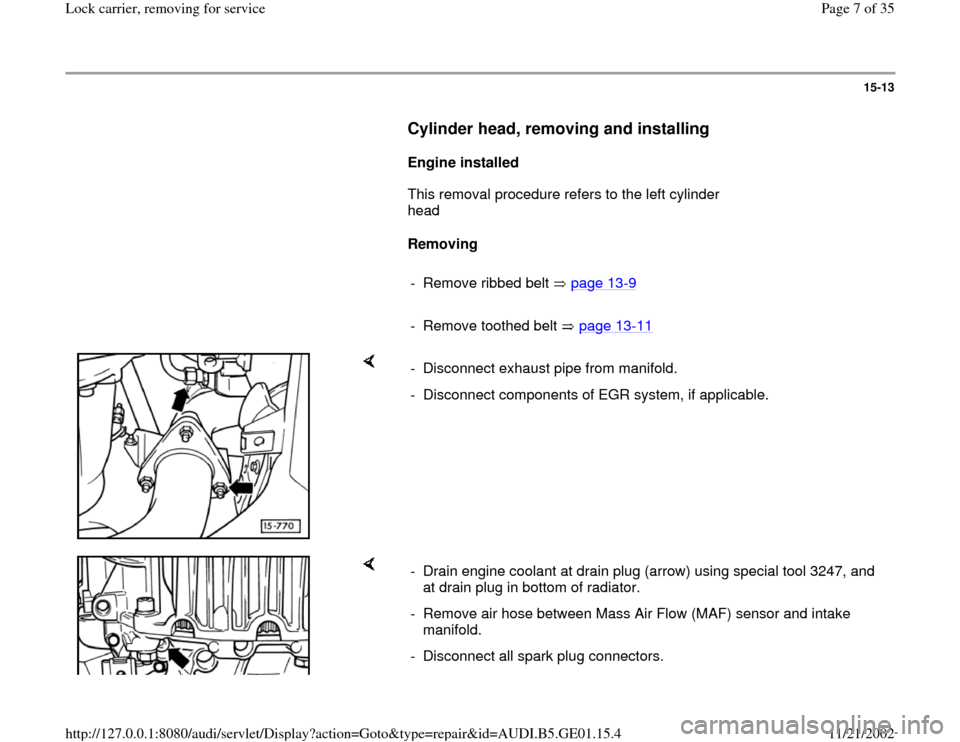
- Disconnect exhaust pipe from manifold.
- Disconnect components of EGR system, if applicable.
- Drain engine coolant at drain plug (arrow) using special tool 3247, and
at drain plug in bottom of radiator.
- Remove air hose between Mass Air Flow (MAF) sensor and intake
manifold.
- Disconnect all spark plug connectors.
Pa
ge 7 of 35 Lock carrier, removin
g for service
11/21/2002 htt
p://127.0.0.1:8080/audi/servlet/Dis
play?action=Goto&t
yp
e=re
pair&id=AUDI.B5.GE01.15.4
Page 9 of 35
15-14
- Disconnect positive crankcase ventilation
connections on left and right cylinder head
covers.
- Disconnect fuel supply and return lines.
- Unclip cover on intake air housing.
- Remove both screws under cover.
- Push back and lift intake air housing upward.
- Pull vacuum hose off left side and remove
housing.
- Remove left-side cover for fuel injector lines.
- Detach accelerator pedal cable and lay clear.
- Disconnect line from Idle Air Control (IAC) valve
at throttle body.
- Disconnect harness connector at IAC valve and
throttle position sensor.
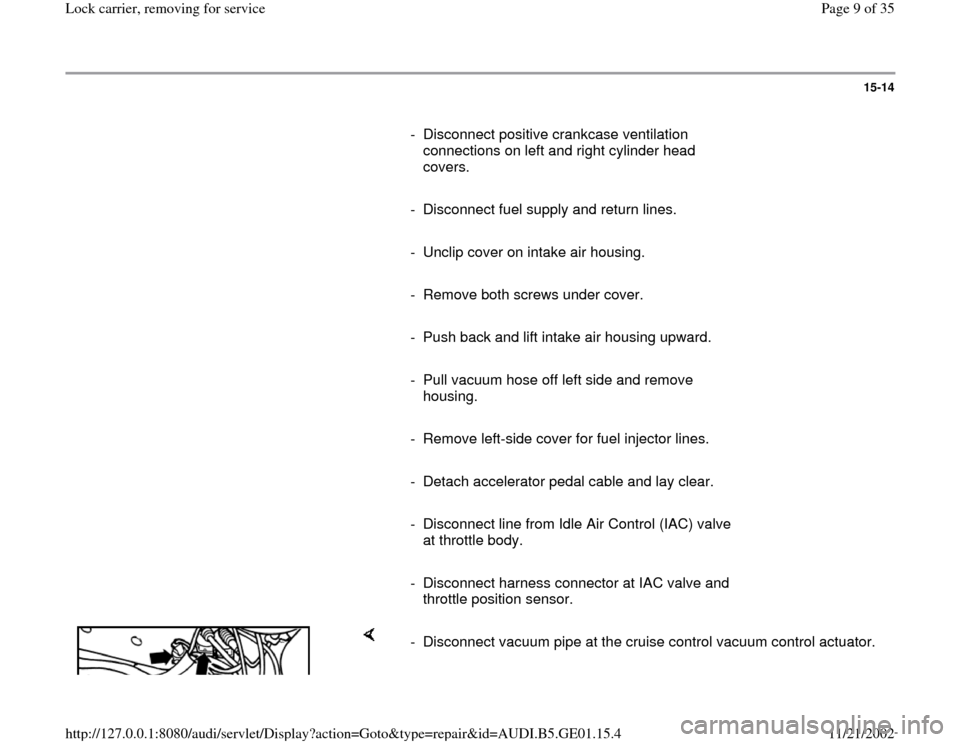
- Disconnect vacuum pipe at the cruise control vacuum control actuator.
Pa
ge 9 of 35 Lock carrier, removin
g for service
11/21/2002 htt
p://127.0.0.1:8080/audi/servlet/Dis
play?action=Goto&t
yp
e=re
pair&id=AUDI.B5.GE01.15.4
Page 10 of 35
- Disconnect harness connector at oil pressure sensor and at oil
pressure switch.
- Disconnect harness connector at the Camshaft Position (CMP) sensor
housing.
- Disconnect vacuum pipe at intake manifold changeover valve (blue)
and also at EGR valve (brown).
Pa
ge 10 of 35 Lock carrier, removin
g for service
11/21/2002 htt
p://127.0.0.1:8080/audi/servlet/Dis
play?action=Goto&t
yp
e=re
pair&id=AUDI.B5.GE01.15.4
Page 11 of 35
15-15
- Disconnect harness connectors for Heated
Oxygen Sensors (H02S) and oxygen sensor
heaters at engine compartment bulkhead, and
move to one side.
- Disconnect vacuum line to EGR vacuum
regulator solenoid valve at throttle body.
- Remove EGR valve from intake manifold.
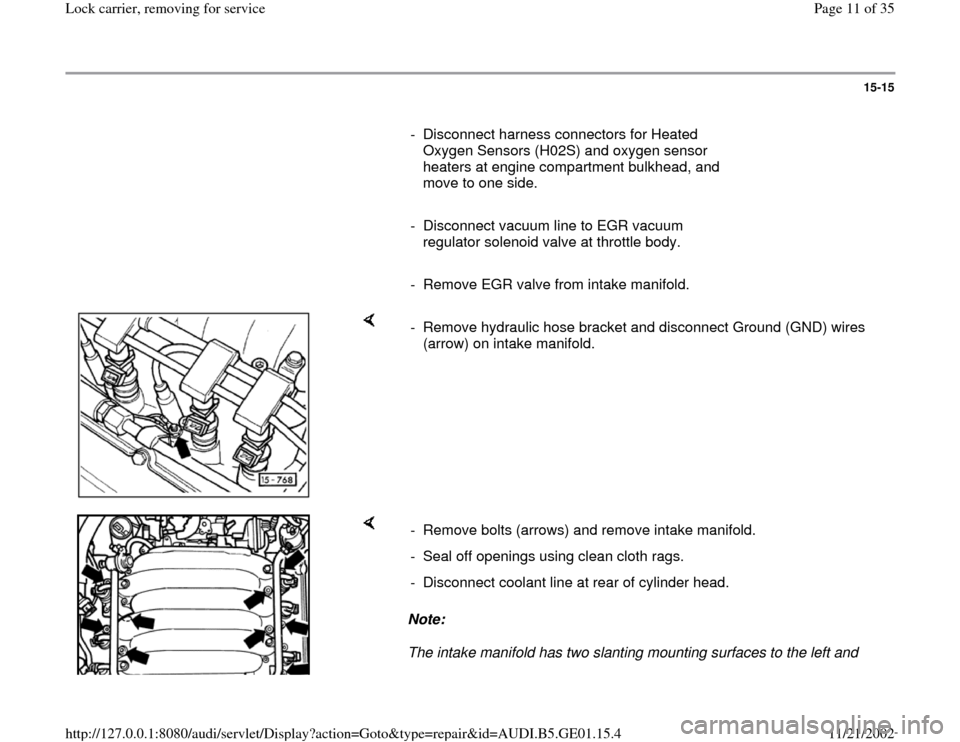
- Remove hydraulic hose bracket and disconnect Ground (GND) wires
(arrow) on intake manifold.
Note:
The intake manifold has two slanting mounting surfaces to the left and - Remove bolts (arrows) and remove intake manifold.
- Seal off openings using clean cloth rags.
- Disconnect coolant line at rear of cylinder head.
Pa
ge 11 of 35 Lock carrier, removin
g for service
11/21/2002 htt
p://127.0.0.1:8080/audi/servlet/Dis
play?action=Goto&t
yp
e=re
pair&id=AUDI.B5.GE01.15.4
Page 13 of 35
15-16
- Remove heated oxygen sensors.
- Remove exhaust manifold heat shield.
- Remove cylinder head cover.
- Remove rear toothed-belt guard.
- Disconnect hose from hydraulic reservoir to
pump.
- Remove cylinder head.
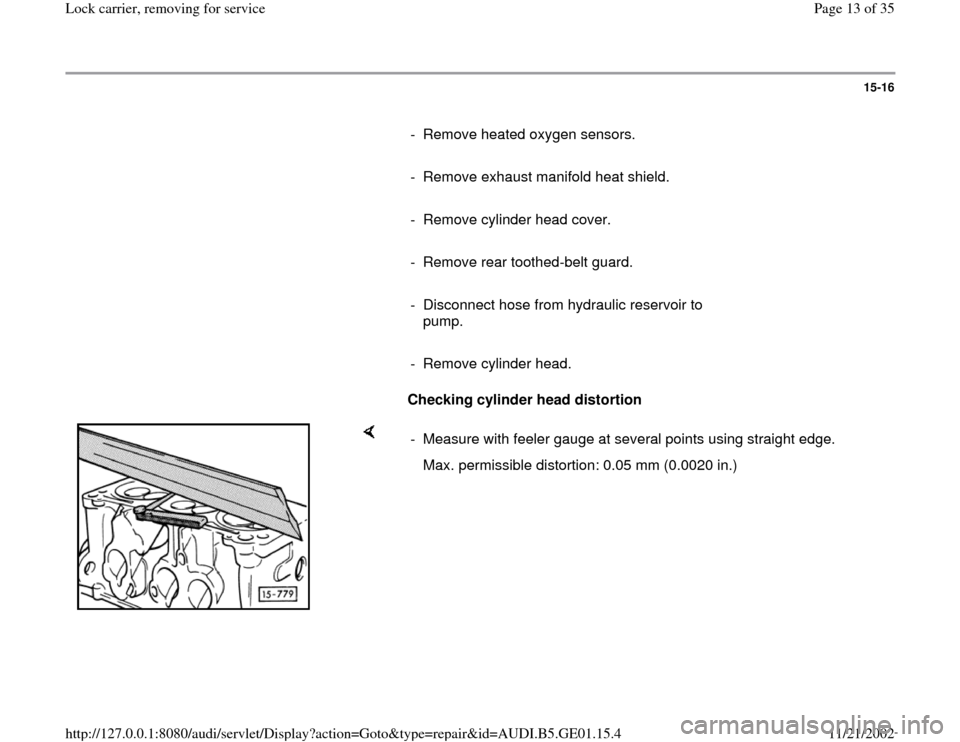
Checking cylinder head distortion
- Measure with feeler gauge at several points using straight edge.
Max. permissible distortion: 0.05 mm (0.0020 in.)
Pa
ge 13 of 35 Lock carrier, removin
g for service
11/21/2002 htt
p://127.0.0.1:8080/audi/servlet/Dis
play?action=Goto&t
yp
e=re
pair&id=AUDI.B5.GE01.15.4
Page 18 of 35
15-19
Camshaft, removing and installing
Removing
- Removing ribbed drive belt page 13-9 .
- Remove toothed camshaft drive belt page 13
-
11
.
- Remove cylinder head cover.
_________________________________________________________
Left side:
- Remove housing for camshaft position sensor.
Right side:
- Remove plug/cover on cylinder head.
_________________________________________________________
- Remove toothed belt camshaft sprocket.
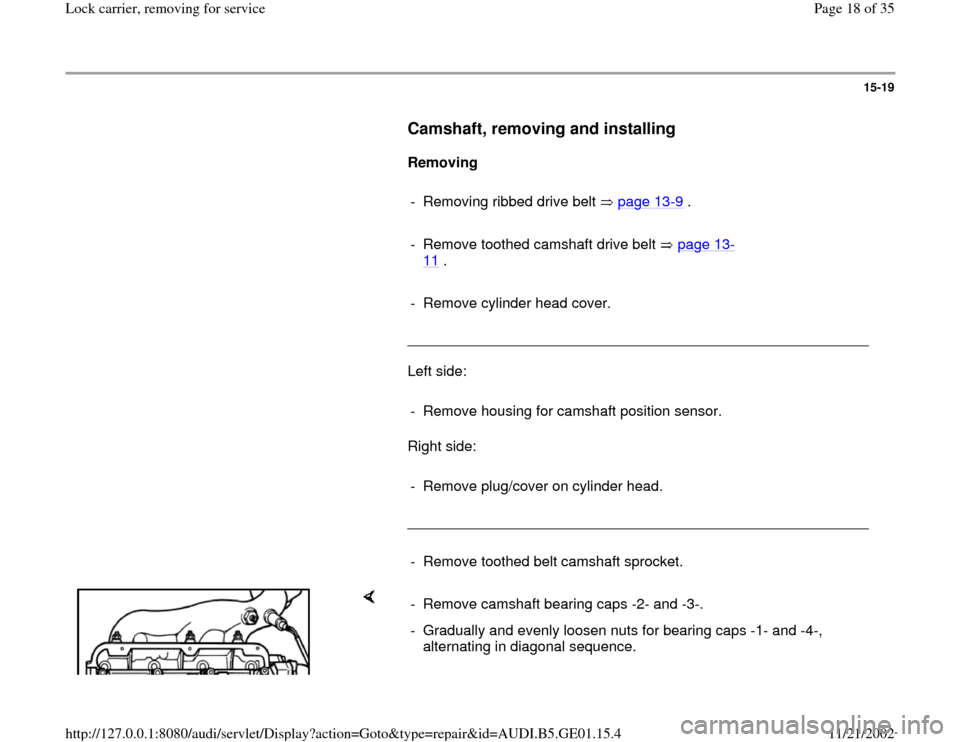
- Remove camshaft bearing caps -2- and -3-.
- Gradually and evenly loosen nuts for bearing caps -1- and -4-,
alternating in diagonal sequence.
Pa
ge 18 of 35 Lock carrier, removin
g for service
11/21/2002 htt
p://127.0.0.1:8080/audi/servlet/Dis
play?action=Goto&t
yp
e=re
pair&id=AUDI.B5.GE01.15.4
Page 21 of 35
15-21
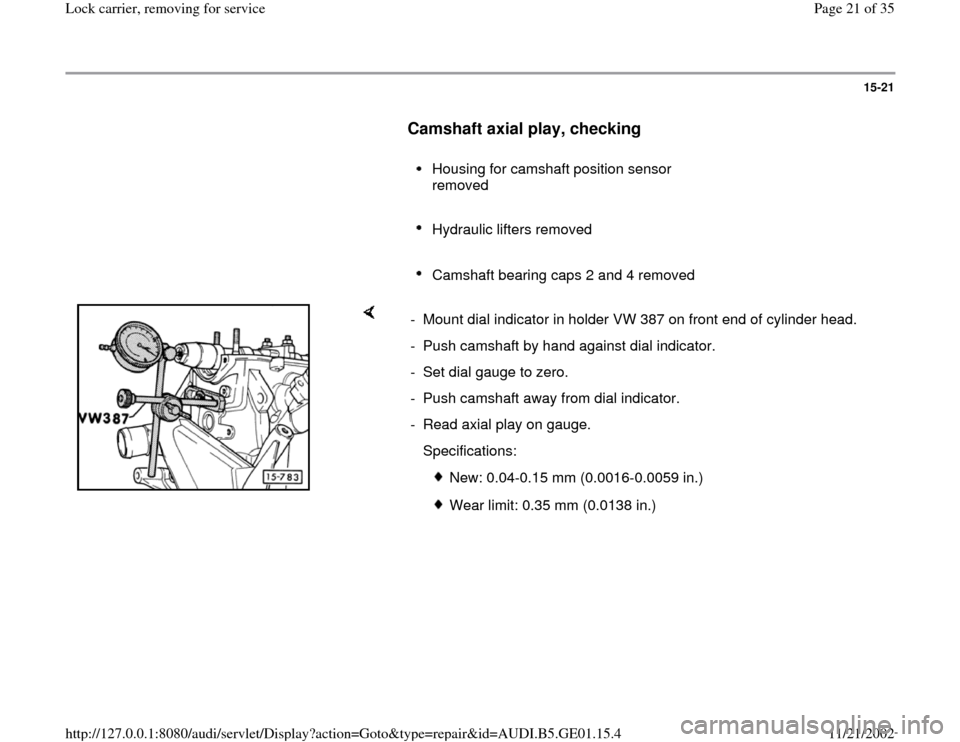
Camshaft axial play, checking
Housing for camshaft position sensor
removed
Hydraulic lifters removed
Camshaft bearing caps 2 and 4 removed
- Mount dial indicator in holder VW 387 on front end of cylinder head.
- Push camshaft by hand against dial indicator.
- Set dial gauge to zero.
- Push camshaft away from dial indicator.
- Read axial play on gauge.
Specifications:
New: 0.04-0.15 mm (0.0016-0.0059 in.)
Wear limit: 0.35 mm (0.0138 in.)
Pa
ge 21 of 35 Lock carrier, removin
g for service
11/21/2002 htt
p://127.0.0.1:8080/audi/servlet/Dis
play?action=Goto&t
yp
e=re
pair&id=AUDI.B5.GE01.15.4