mirror controls AUDI A4 2013 Owners Manual
[x] Cancel search | Manufacturer: AUDI, Model Year: 2013, Model line: A4, Model: AUDI A4 2013Pages: 302, PDF Size: 75.61 MB
Page 53 of 302

Turn the knob to the desired position:
Q/ P -In this position , you can adjust the
driver's and front passenger's exterior mirrors
by turning the knob in the desired direction.
(ijjl -The mirrors are heated depending on the
outside temperature.
8 -The exterior mirrors fold in*. You can ad
just whether or not the mirrors fold in auto
matically when locking the vehicle using the
radio/MM I*
c::> page 3 7.
Passenger exterior mirror tilt function*
(only with memory for exterior mirrows)
To help you see the curb when backing into a
parking space, the surface of the mirror tilts
slightly . The knob must be in the
P position
for this to happen .
You can adjust the tilted mirror surface by
turning the knob in the desired direction .
When you move out of reverse and into anoth
er gear, the new mirror position is stored and
assigned to the key you are using.
The mirror goes back into its original position
once you d rive forward faster than 9 mph
(15 km/h) or switch the ignition off .
,&. WARNING
Curved mirror surfaces (convex or spheri
cal*) increase your field of view. Remem
ber that vehicles or other objects will ap
pear smaller and farther away than when
seen in a flat mirror. If you use this mirror
to estimate distances of following vehicles
when changing lanes, you could estimate incorrectly and cause an accident.
(D Note
- If the mirror housing is moved uninten
tionally (for example, while parking your
vehicle), then you must first fold the mir ror electrically. Do not readjust the mir
ror housing manually. You could damage
the motor which controls the mirror .
-If you wash the vehicle in an automatic
car wash, you must fold the exterior mir
rors in to reduce the risk of damage to
-
Clear vision 51
the mirrors . Never fold power folding ex
terior mirrors* by hand. Only fold them
in and out using the power controls.
(D Tips
- The exterior mirror settings are stored
with the memory function*
c::> page 62.
- If there should be a malfunction in the
electrical system, you can still adjust the
exterior mirrors by pressing the edge of
the mirror.
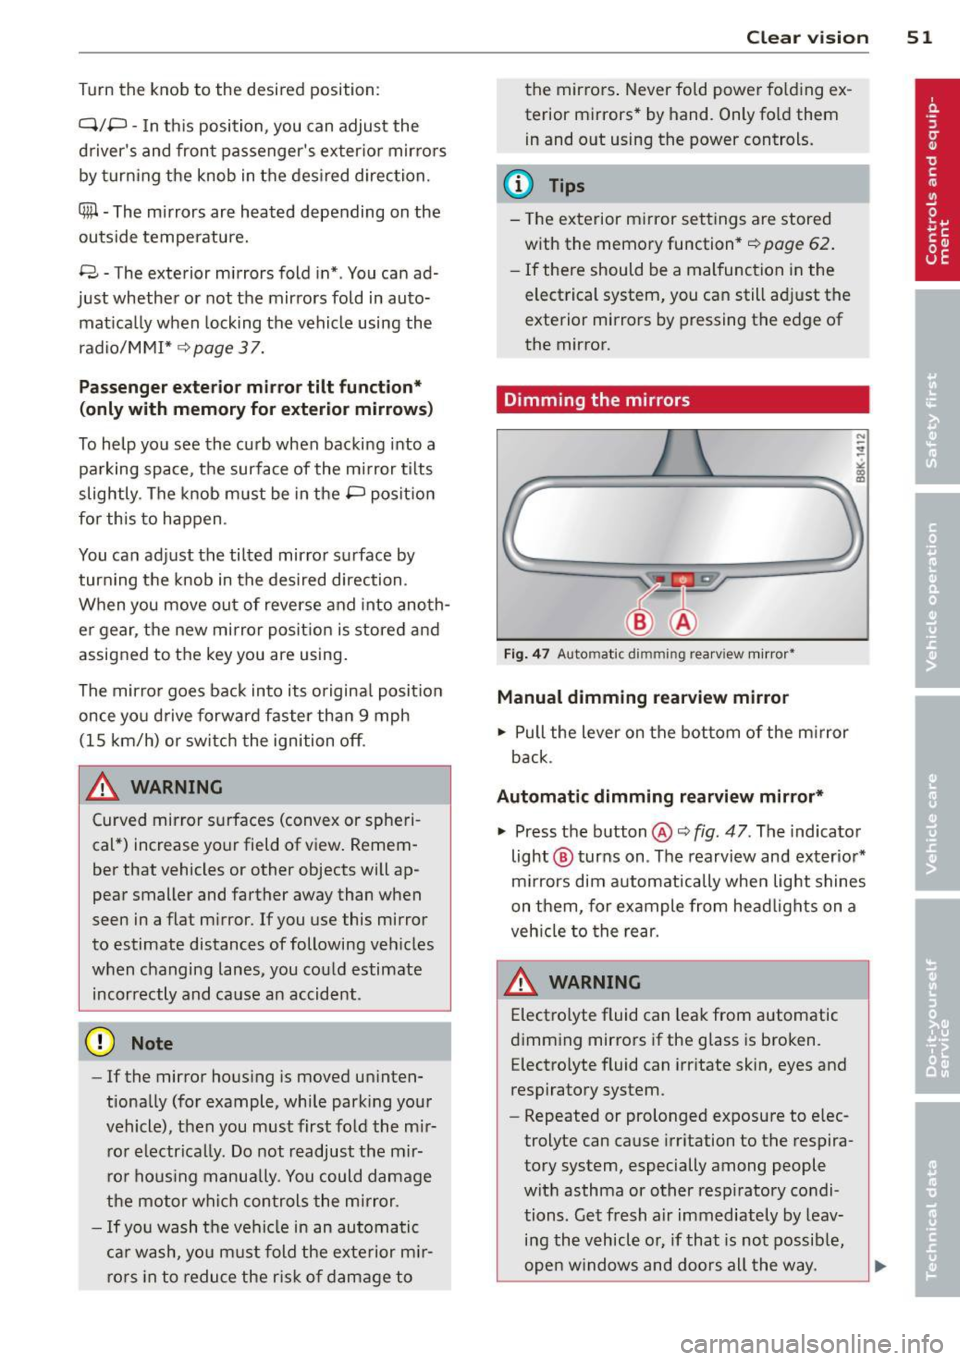
Dimming the mirrors
N
:!
"' ~:::====~~=~====~ :ll
Fig. 47 Auto mat ic dimming re arv iew mirror*
Manual dimming rearview mirror
.. Pull the lever on the bottom of the mirror
back .
Automatic dimming rearview mirror*
.. Press the button @c::> fig. 47. The indicator
light @ turns on . The rearview and exterior*
mirrors dim automatically when light shines
on them, for example from headlights on a
vehicle to the rear.
A WARNING -
Electrolyte fluid can leak from automatic
dimming mirrors if the glass is broken. Electrolyte fluid can irritate skin, eyes and
respiratory system .
- Repeated or prolonged exposure to elec
trolyte can cause irritation to the respira
tory system, especially among people
with asthma or other respiratory condi
tions. Get fresh a ir immediately by leav
ing the vehicle or, if that is not possible,
open windows and doors all the way.
Page 58 of 302

56 Clear vis ion
Attach ing th e wiper blade
.,. Press the wiper blade holder in the arrow d i
rection ¢
fig. 55 into the mount.
.,. Fo ld the windshield wiper arm back onto
the windsh ie ld .
A WARNING
- If the windshield wipers smear the wind
shield, clean the w iper blades with w ind
shield washer fluid. If the wiper blades are extremely d irty, you can also clean
them w ith a soft sponge or cloth.
- For safety reasons, the windsh ield wiper
blades should be replaced once or twice
each year.
Digital compass
Switching the compass on and off
Applies to vehicles: with digita l compass
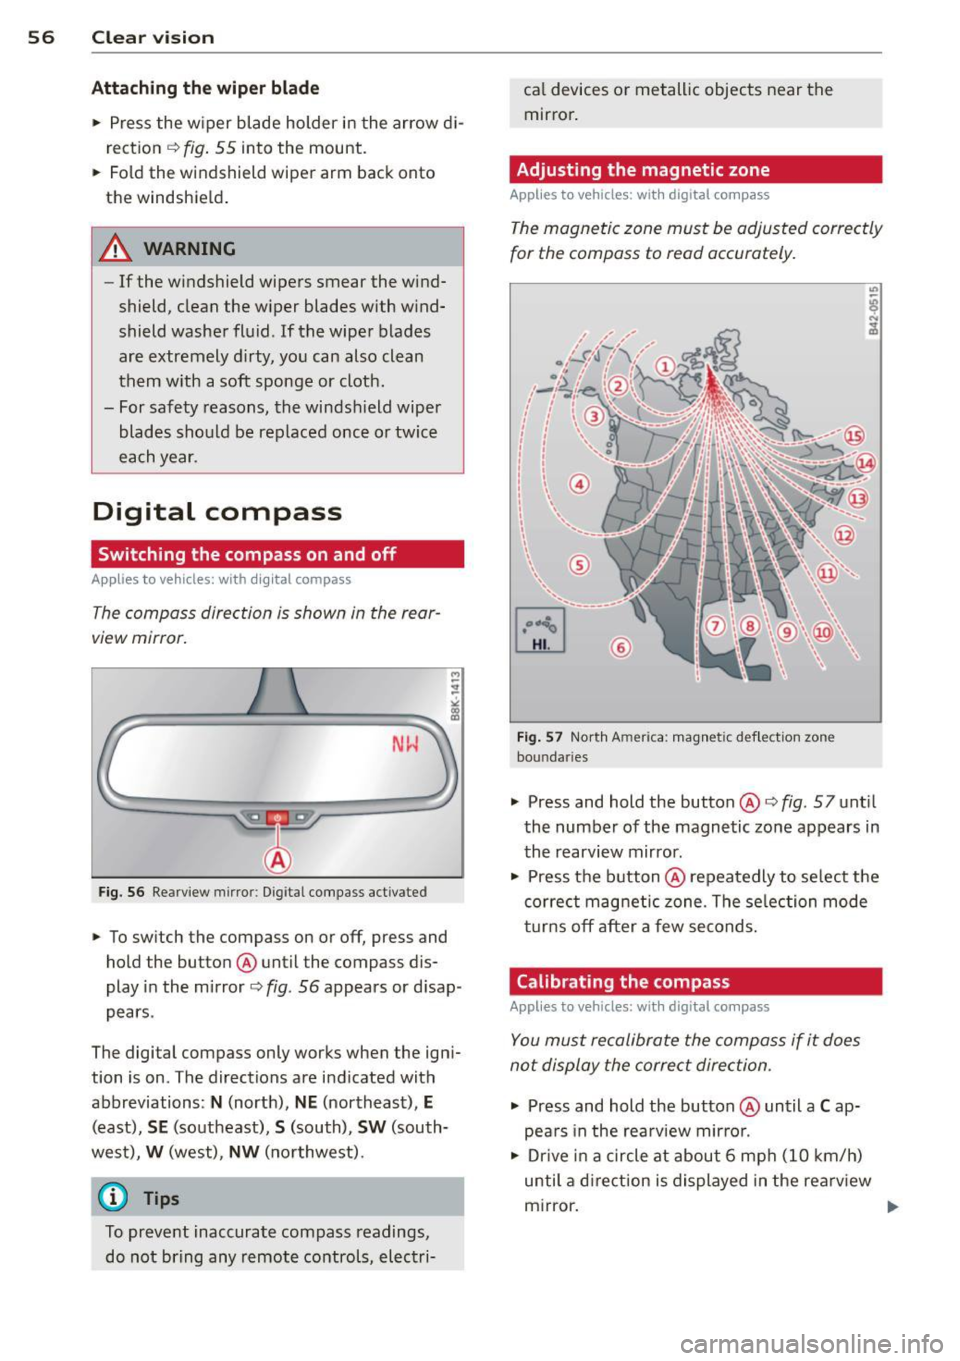
The compass direction is shown in the rear
view mirror.
NI--I
Fig. 56 Rearview mirro r: D ig ital compass act ivated
.,. To sw itch the compass on or off, press and
hold the button @ until the compass dis
play in the mirror ¢
fig. 56 appears or d isap
pears .
The digital compass only works when the igni
tion is on . The directions are indicated with
abbreviations :
N (north), NE (northeast), E
(east), SE (southeast), S (south), SW (south
west),
W (west), NW (no rthwest).
(D Tips
To prevent inaccurate compass readings,
do not bring any remote controls, elect ri- ca
l devices or metallic objects near the
mirror .
Adjusting the magnetic zone
Applies to vehicles: with digital compass
The magnetic zone must be adjusted correctly
for the compass to read accurately.
F ig . 5 7 Nor th A merica : magn etic d ef le ction zo ne
bo un daries
"'
.,. Press and hold the button @¢fig. 57 unt il
the number of the magnetic zone appears in
the rearview mirror .
.,. Press the button @repeatedly to se lect the
correct magnetic zone . The se lec tion mode
t u rn s off after a few seconds .
Calibrating the compass
Applies to vehicles: with digital compass
You must recalibrate the compass if it does
not display the correct direction .
.,. Press and hold the button @ until a Cap
pears in the rea rv iew mirro r.
.,. Drive in a c ircle at about 6 mph (10 km/h)
until a d irection is displayed in the rea rv iew
mirror.
II>-
Page 289 of 302

_______________________________ ___:I~n ~d ~e:.::x 287
Changin g engine oi l
Chass is 225
U ndercoat ing ............ .... .. .. . 208
Checking
Eng ine coolant level ........ . .. .. .. .
226
Checking tire pressure .............. . 241
Ch ild restraints
D anger of usin g child restraints in the
front seat . . . . . . . . . . . . . . . . . . . . . . . .
146
Where can I get additional information
about child restraints and their use? ..
184
Child restraint system anchors . .. ... .. 180
Ch ild safety .. ............. .... .. ... 166
Convertible locking retractor . . . . . . . . . 176
Important safety instructions for using
ch ild safety seats .... ... .. .. .. .. .. .
169
Impo rtant th ings to know when driv in g
wi th children ............ .... .. ...
166
Insta lling a chi ld res traint using the
L A TCH system ............ .. .. .. .. .
18 1
Mounting and releasing the ancho rage
hook .... .. .. ............. .. .. ...
18 1
Tether anchors . . . . . . . . . . . . . . . . . . . . 182
Tether straps . . . . . . . . . . . . . . . . . . . . . 182
Child safety loc ks
Power windows .......... .. .. .. ....
42
Rear doors ... ........... .. .. ...... 42
Child safety seats .......... .... .. .. . 172
Booster seats ................ .. .. . 17 4
Convertible child seats .... .. .. .. .. .
173
Convertible locking retractor .. .. .. .. . 176
Danger of using child restra ints in the
front seat . . . . . . . . . . . . . . . . . . . . . . . .
146
How do I properly install a child safety
seat in my vehicle? ........ .. .. .. .. .
169
Infant seats . . . . . . . . . . . . . . . . . . . . . . 172
Installing ............ ...... .... .. 176
LATC H system ......... ...... .... .. 18 1
Saf ety inst ruc tions ........ .. .. .. .. . 169
Unused safety belts on the rear seat 17 1
Ch ild seats
L ower ancho rages ........... .. ....
18 1
Cigarette lighter . . . . . . . . . . . . . . . . . . . . . 63
Cleaning
Alcantara® (syn thetic suede) .. .. .. .. .
212
En gine compartment .............. . 213
Exhaust tail pipes ............... .. . 209
Fabr ics and fabric coverings ......... 209
Instrument panel ... . .......... .. .. 210
Interior ... .. .. .. .. . .. .......... .. 209
Leather . . . . . . . . . . . . . . . . . . . . . . . . . . 211
Matte finish paint ................. 204
MMI display/controls ... ......... ... 209
Plastic and vinyl .. .. . .. .. .. ... ... .. 206
Plastic parts ..... .. .. .. .. ......... 210
Safety belts ... .. .. . .............. 21 2
Trim strips .. .. .. .... ........... .. 206
Cleaning and protection . .. .......... . 202
Climate controls ..... . .. .......... .. . 76
Climate control system
Au tom atic recir culat ion ......... .. .. .
79
Supplementary heater ............... 79
synchronizing . . . . . . . . . . . . . . . . . . . . . . 79
Clock .. ... ... .. .... .. .. ...... ... .. . 12
Closing
Power w indows ................... .
42
Sliding/tilting sunroof ............... 44
Sunshade ....... .. . .. ......... ... . 44
Closing/opening
at the lock cylinder .. ........... .... .
38
by remote control ............. .. .. . 35
with the centra l locking sw itch ........
36
with the conven ience key . .......... .. 36
Cold tire inflation pressure .......... .. 238
Coming home ... .. .... ........... .. . 48
Compact spare tire .................. 256
also refer to Spare tire ....... ... .. .. 256
Compartments . . . . . . . . . . . . . . . . . . . . . . 66
Compass in the mirror ... ......... ... . 56
Compliance . . . . . . . . . . . . . . . . . . . . . . . . 283
Consumer Information . . . . . . . . . . 135, 280
Contacting NHTSA .... .. ......... ... 135
Convenience key
Ind icator lights .. ................. .
84
Starting engine (START ENGINE STOP
button) . .. .. .. .. .. . .. .. ..... ..... .
83
Stopping the engine (START ENGINE
STOP button) . . . . . . . . . . . . . . . . . . . . . .
84
Switching on ignition ............... . 83
un locking/loc king ............. ..... 36
Convenience opening/clos ing .......... 43
Convertible child safety seats ......... 173
•
•
Page 292 of 302

290 Index
Floor mats ........ ......... ... .... . 132
Fog lights/rear fog light(s) ..... .. .. .. . . 47
Folding the rear seats . . . . . . . . . . . . . . . . . 69
F oot pedals ....................... . 132
For the sake of the environment Gasoline fumes and the environment .. 217
L ett ing the engine warm up . . . . . . 80, 83
Refueling ............... .. .. .... . 217
Saving fue l by early upshift ing .. ...... 11
Front airbags Descr ipt ion .... .... ...... .. .. .. .. . 149
H ow they work . . . . . . . . . . . . . . . . . . . . 154
Frontal collisions and the laws of physics 138
Fr ont passenger's door emergency locking 38
Front seats Adjusting .. ..... ........... ... .. . 129
Ch ild restraints in the front seat . .. .. . 146
Fuel Additives . ... ............ .. .. .. .. . 214
Blended gasoline ............. .. ... 214
Consumpt ion . . . . . . . . . . . . . . . . . . . . . . 25
Filler neck .. ... . ...... ... .. .. .. .. . 216
Fu el gauge ... ........... .. .. .... .. 12
Gasoline . ... ............ .. .. .. .. . 214
Gasoline additives ................ . 216
Low fuel level symbol . . . . . . . . . . . . . . . 21
Octane rating .................... . 214
Recommendation ........... .. .... . 214
Refuelling .... ........... .. .. .... . 217
Reserve .. ... ... .... ..... .. .. .. .. .. 12
Tank capacity ............. ... .. ... 277
Tank system .......... .... ... .. .. .. 21
Un lock ing the fuel fi ller flap by hand .. 218
Fuel economy messages (efficiency pro-
gram) . .. .. .. ... .. ..... ... .... .. .. .. 29
Fuel filler flap
Unlocking the fuel filler flap by hand .. 218
Fuses Assignment . . . . . . . . . . . . . 265, 266, 267
Replacing . ................. ..... . 265
G
Garage door opener (HomeL ink) .. .. ... 123
Garment hooks . . . . . . . . . . . . . . . . . . . . . . 66
Gas discharge lamps ......... ... .... . 268 Gauges
Engine coolant temperature . . . . . . . . . . 10
Fuel gauge . . . . . . . . . . . . . . . . . . . . . . . . 12
Tachometer . . . . . . . . . . . . . . . . . . . . . . . 11
Gear recommendation . . . . . . . . . . . . . . . . 28
Gearshift indicator ...... ........... .. 27
Gearshift lever
6-speed manual transmission .... .... . 91
General illustration
Instruments and controls ....... .... .. 8
Generator Warning/ind icator lights ........... .. 17
G lossary of tire and loading terminology 235
G love compartment . . . . . . . . . . . . . . . . . . 65
Valet parking .... ................ .. 45
GPS controlled clock ................ .. 12
Gross Vehicle Weight Rating (GVWR) . .. 275
Ground clearance .. ... .......... .... 198
H
Headlights
Cleaning system . . . . . . . . . . . . . . . . . . . . 53
Defective . . . . . . . . . . . . . . . . . . . . . . . . . 21
Headlight range control ............. 22
Left hand drive, right hand drive .. .. .. . 49
Travel mode . . . . . . . . . . . . . . . . . . . . . . . 49
Headlight washer reservoir ..... .. .... 233
Head restraints .. .. ............. .... 131
Adjusting . . . . . . . . . . . . . . . . . . . . 61, 131
Removing/installing .............. .. 61
Heated exterior mirrors . . . . . . . . . . . . . . . . . . . . SO
rear window . . . . . . . . . . . . . . . . . . . . . . . 78
seats .... ... .. .. .. ...... ....... .. . 78
windshield washer spray nozzles . . . . . . 53
Heating ... ..... .. .. .............. .. 76
Heavy clothing and safety be lts ...... .. 140
High beam .. .... ... ................ . 48
High voltage warning label ........ ... 275
Hill descent control ................ .. 95
Homelink (remote control)
Hood 123
Opening . ..... .. ................ . 219
Re lease lever .... ............. .... 219
Hooks ... .. .. .. .. ............... .. . 72
Horn ...... .. .. .. .. ............... .. 8