tow AUDI A4 2017 Owners Manual
[x] Cancel search | Manufacturer: AUDI, Model Year: 2017, Model line: A4, Model: AUDI A4 2017Pages: 386, PDF Size: 96.32 MB
Page 4 of 386
Table of contents
About this Owner's Manual ... .. .
Cockpit ... .. ............... .... .. .
Cockpit overview ................ .
Controls at a glance ... .......... .. .. .
Instrument cluster .. .......... .. .. .. .
Multifunction steering wheel plus ... .. .
Multifunction steering wheel ......... .
Driver Informat ion System ..... .. .... .
H ead-up Display .... .. .. ..... ... .. .. .
Camera-based traff ic sign recognition .. .
O n Board Diagnostic System (OBD) .... .
I ndicator l ights .............. .... .. .
Starting and driving
Opening and closing Cent ral Lock ing .............. .... .. .
L uggage compa rtment lid ... ..... .. .. .
Child safety lock .... .......... .. .. .. .
Power window ... .. .......... .. .. .. .
Sliding/tilting sunroof ......... .... .. .
Valet parking function ............. .. .
Garage door opener (Homelink) . .. .. .. .
L ights and Vision .............. .. .
Exterior lighting . .. . .......... .. .. .. .
Interior lighting ...... ........... ... .
V1s1on ....... .. ................ ... .
Windshield wipers . ... .... .... .. .. .. .
Digital compass . ............. .... .. .
Seats and storage ............ ... .
General information .......... .. .. .. . 6
8
8
8
10
12
15
16
23
24
25
26
37
37
3 7
43
45
45
47
47
48
so so
53
54
56
58
6 1
61
Front seats . . . . . . . . . . . . . . . . . . . . . . . . . 61
H ead restraints . . . . . . . . . . . . . . . . . . . . . 62
Memory function . . . . . . . . . . . . . . . . . . . . 63
Sockets . . . . . . . . . . . . . . . . . . . . . . . . . . . . 64
Storage . . . . . . . . . . . . . . . . . . . . . . . . . . . . 64
Luggage compartment . . . . . . . . . . . . . . . 65
Roof rack . . . . . . . . . . . . . . . . . . . . . . . . . . 66
Warm and cold . . . . . . . . . . . . . . . . . . . 68
Climate control system . . . . . . . . . . . . . . . 68
3 zone deluxe automatic climate control . 69
Steer ing whee l heating . . . . . . . . . . . . . . .
7 1
2
Driving ..... .. .. .. .. ... .......... . .
General information . ... ........... . .
Steering .......... .. .. . .......... . .
Start ing and stopping the eng ine ..... . .
Start/Stop system .. .. ............. . .
E le ctromechanical parking brake ...... .
Automat ic transmission
Trailer towing ... .. ... .. ..... ... . .
Driving with a trailer .. ........ ..... . .
Trailer towing information
Driver assistance .. ............ .. .
Assist ........... ... .............. .
Electronic speed limiter ... .. ... ... .. . . 73
73
75
76
78
81
83
90
90
91
93
93
93
Speed warning system . . . . . . . . . . . . . . . . 93
Cruise control system . . . . . . . . . . . . . . . . 93
Predictive efficiency assist . . . . . . . . . . . . . 95
Audi adaptive cruise control . . . . . . . . . . . 96
Predictive control (efficiency assist) . . . . .
102
Congestion assist . . . . . . . . . . . . . . . . . . . . 104
Distance ind icator and distance warning 105
Messages . . . . . . . . . . . . . . . . . . . . . . . . . . 106
Audi pre sense . . . . . . . . . . . . . . . . . . . . . . 107
Audi pre sense basic. . . . . . . . . . . . . . . . . . 108
Audi pre sense front . . . . . . . . . . . . . . . . . 108
Audi pre sense rear . . . . . . . . . . . . . . . . . . 110
Audi pre sense city . . . . . . . . . . . . . . . . . . . 110
Settings in the Infotainment system . . . . 111
Driver messages . . . . . . . . . . . . . . . . . . . . . 111
Audi active lane assist . . . . . . . . . . . . . . . . 112
Audi sid e ass ist . . . . . . . . . . . . . . . . . . . . . 115
Audi drive select . . . . . . . . . . . . . . . . . . . . . 121
Parking systems . . . . . . . . . . . . . . . . . 124
Genera l information . . . . . . . . . . . . . . . . . 124
Rear parking system . . . . . . . . . . . . . . . . . 125
Parking system plus . . . . . . . . . . . . . . . . . . 125
Rearview camera . . . . . . . . . . . . . . . . . . . . 126
Peripheral cameras . . . . . . . . . . . . . . . . . . 128
Adjusting park assist . . . . . . . . . . . . . . . . . 131
Error messages . . . . . . . . . . . . . . . . . . . . . 132
T railer hitch . . . . . . . . . . . . . . . . . . . . . . . . 132
Intelligent Technology . . . . . . . . . . 134
Electronic Stabilization Control (ESC) . . . . 134
Braking . . . . . . . . . . . . . . . . . . . . . . . . . . . . 136
Page 6 of 386
Table of content s
Multimedia connections . . . . . . . . . . . . . . 215
P laying m edia . . . . . . . . . . . . . . . . . . . . . . . 217
Addit iona l sett ings . . . . . . . . . . . . . . . . . . 220
Suppo rted media and file formats . . . . . . 223
Troubleshoot ing. . . . . . . . . . . . . . . . . . . . . 224
Audi smartphone interface . . . . . . 227
Setup . . . . . . . . . . . . . . . . . . . . . . . . . . . . . 227
Operating . . . . . . . . . . . . . . . . . . . . . . . . . . 227
Troubleshoot ing . . . . . . . . . . . . . . . . . . . . . 228
System settings . . . . . . . . . . . . . . . . . . 229
Sett ing the date and time . . . . . . . . . . . . . 229
MMI sett ings . . . . . . . . . . . . . . . . . . . . . . . 229
Con nection manager . . . . . . . . . . . . . . . . . 230
System update . . . . . . . . . . . . . . . . . . . . . . 23 2
So und setti ngs .. .... ......... .... .. .
Volume sett ings .... .. ..... ... .. .. .. .
R estarting the M MI . .. ..... ... .. .. .. .
Software license information 233
233
234
235
Safety first .
.. ... .. ..... ... .. .. ... 23 6
Driving safety . . . . . . . . . . . . . . . . . . . . 236
General notes . . . . . . . . . . . . . . . . . . . . . . . 236
Correct seating position for passengers . . 23 7
Driver's and fron t passenger's footwell . . 240
Pedal area . . . . . . . . . . . . . . . . . . . . . . . . . . 241
Storing cargo co rrectly . . . . . . . . . . . . . . . 242
Repo rting Safety Defects . . . . . . . . . . . . . . 243
Safety belts . . . . . . . . . . . . . . . . . . . . . . 245
Gene ral information . . . . . . . . . . . . . . . . . 24 5
W hy use safety belts? . . . . . . . . . . . . . . . . 246
Safety bel ts . . . . . . . . . . . . . . . . . . . . . . . . 248
B el t tensioner ... ... ... .... ... .. .. ... 251
Airbag system . . . . . . . . . . . . . . . . . . . . 25 3
I mportant inform ation . . . . . . . . . . . . . . . 253
Fr ont ai rbags . . . . . . . . . . . . . . . . . . . . . . . 257
M onitoring the Advanced Airbag System . 265
K nee airbags. . . . . . . . . . . . . . . . . . . . . . . . 269
Side airbags . . . . . . . . . . . . . . . . . . . . . . . . 271
Side curtain airbags ........... .... ... 274
Child safety . . . . . . . . . . . . . . . . . . . . . . 277
Important information . . . . . . . . . . . . . . . 277
Ch ild seats . . . . . . . . . . . . . . . . . . . . . . . . . 283
Secur ing ch ild seats . . . . . . . . . . . . . . . . . . 288
4
LATCH system (Lower anchorages and
tethers for c hildren) . . . . . . . . . . . . . . . . . 291
Additional informat ion . . . . . . . . . . . . . . . 295
Maintenance and Care . . . . . . . . . . . 296
Checking and Filling . . . . . . . . . . . . . 296
Gasoline . . . . . . . . . . . . . . . . . . . . . . . . . . . 296
Diesel fuel . . . . . . . . . . . . . . . . . . . . . . . . . 297
Refueling . . . . . . . . . . . . . . . . . . . . . . . . . . 298
Se lective catalytic reduction (AdBlue) . . . 300
Emissions control systems . . . . . . . . . . . . 303
En gine compartment .. ............. . .
E ngine o il ... .. .. .. .. .. ........... . .
Cooli ng sys tem . .. .. .. ............. . .
B rake fl uid . ... .. .. .. .. .. .. .... ... . .
Battery ... .. .. .. .. .. ... . .. .... ... . .
Windshie ld washer system .. ..... ... . .
Service interva l display 304
306
3
10
311
312
316
316
Wheels .. .. .. .. .. .. ... . .. .... ... .. 317
Wheels and t ires . .. .. ............... 317
Tire pressure monitoring indicator . . . . . . 334
Care and cleaning . . . . . . . . . . . . . . . . 337
General information . . . . . . . . . . . . . . . . . 337
Car washes . . . . . . . . . . . . . . . . . . . . . . . . . 337
Cleaning and care information . . . . . . . . . 338
Plac ing your vehicle out of serv ice . . . . . . 342
Troubleshooting . . . . . . . . . . . . . . . . . 343
Emergency assistance . . . . . . . . . . . 343
T runk escape latch . . . . . . . . . . . . . . . . . . . 343
Genera l information . . . . . . . . . . . . . . . . . 343
E q ui pment . . . . . . . . . . . . . . . . . . . . . . . . . 343
T ire mobility kit . . . . . . . . . . . . . . . . . . . . . 343
Replacing wheels . . . . . . . . . . . . . . . . . . . . 3 45
Space -sav ing spa re tire . . . . . . . . . . . . . . . 349
Fuses and bulbs ... ... . .. .... ... .. 351
Fuses.. ... .. .. .. .. .. .. .. .. .... ... .. 351
Bul bs. . . . . . . . . . . . . . . . . . . . . . . . . . . . . . 355
Emergency situations . . . . . . . . . . . . 356
Genera l . . . . . . . . . . . . . . . . . . . . . . . . . . . . 356
Start ing by push ing or tow ing . . . . . . . . . . 356
Start ing with j umper cables . . . . . . . . . . . 356
Using the jump start cable . . . . . . . . . . . . 357
Page 7 of 386
<( a, .... N ,....
N .... 0 0
3 a,
Towing wit h a tow tr uck . . . . . . . . . . . . . . 358
Raising the vehicle . . . . . . . . . . . . . . . . . . . 359
Accessories and Technical Data . 361
Technical data . . . . . . . . . . . . . . . . . . . . 361
Ve hicle specifications . . . . . . . . . . . . . . . . 361
We ights . . . . . . . . . . . . . . . . . . . . . . . . . . . 361
Dimensions . . . . . . . . . . . . . . . . . . . . . . . . . 362
Capac it ies . . . . . . . . . . . . . . . . . . . . . . . . . . 362
Consumer information ... .. .... . 363
Warranty coverages . . . . . . . . . . . . . . . . . . 363
Operating your veh icle outs ide the U .S .A.
or Ca nada . . . . . . . . . . . . . . . . . . . . . . . . . . 363
Aud i Serv ice Repair Ma nuals and
Li ter ature . . . . . . . . . . . . . . . . . . . . . . . . . . 363
M ain tenance . . . . . . . . . . . . . . . . . . . . . . . . 363
Accessories and technical changes . . . . . . 365
Declarat ion of Compliance,
Telecommun ications and E lectronic
Systems . . . . . . . . . . . . . . . . . . . . . . . . . . . 366
Index ... .. .. .. .. .. .... ... .. .. .... . 367
Table of contents
5
Page 19 of 386
Fuel consumption
The current fuel consumption can be shown us
ing a bar graph¢
fig. 13. The average consump
tion stored in the short-term memory is also dis
played. If the bars are green or the gray tone on
the bars changes (depending on the equipment),
your vehicle is saving fuel by the following func
tion :
-Recuperation : electrical energy can be stored in
the battery when the vehicle is coasting or driv
ing downhill. The bar will move toward 0/0.
(D Tips
-The date, time of day and time and date for
mat can be set in the Infotainment system
¢page 229.
- If the vehicle battery is disconnected, all
memory values are erased.
Energy consumers
Fig. 14 Instrument cluste r: energy consu mers
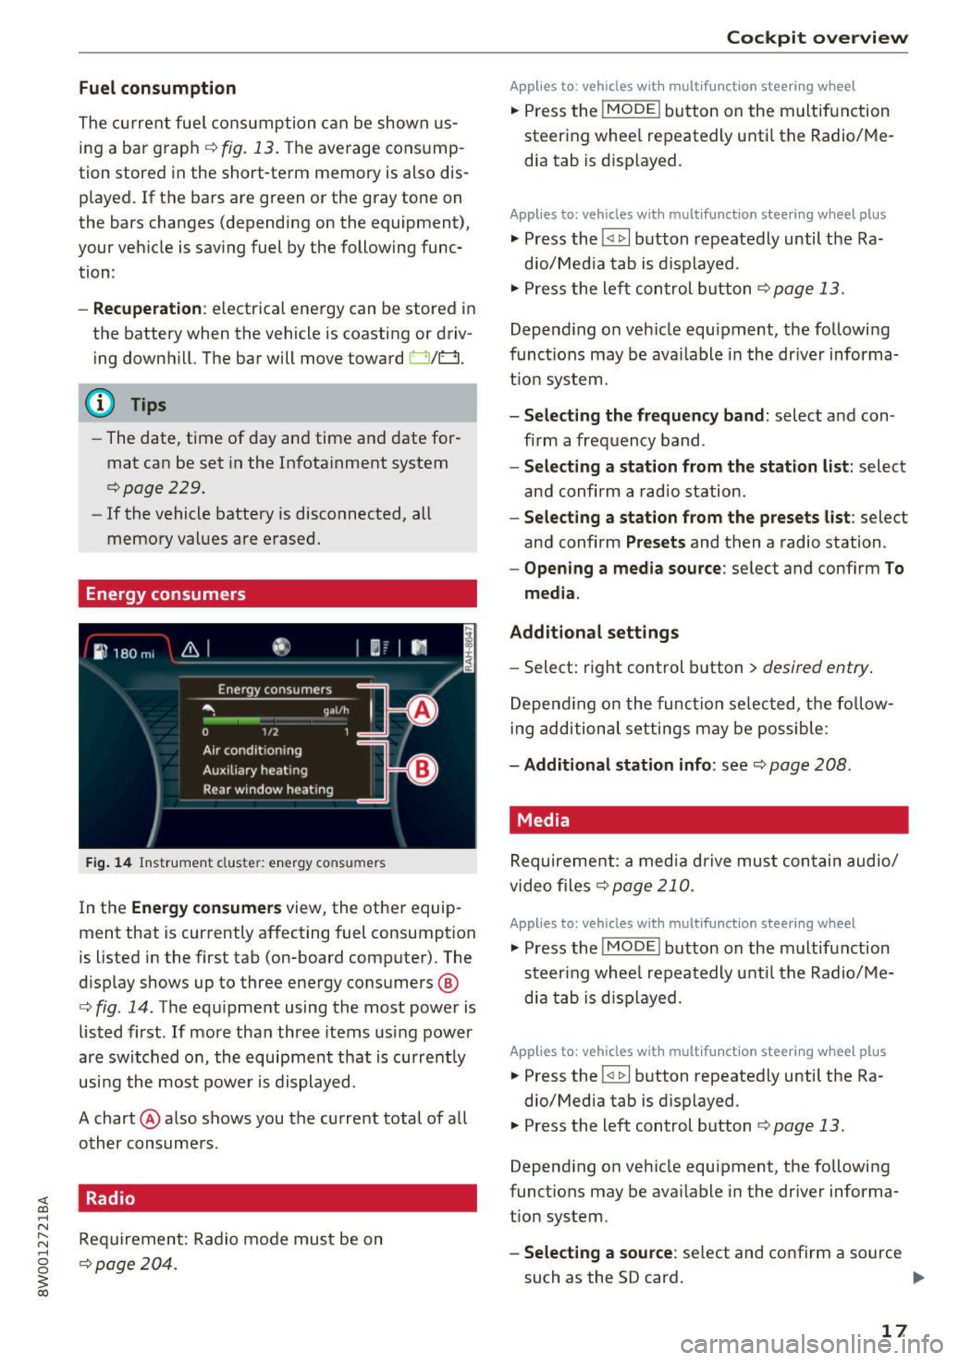
In the Energy consumers view, the other equip
ment that is currently affecting fuel consumption
is listed in the first tab (on-board computer) . The
display shows up to three energy consumers @
¢ fig. 14. The equipment using the most power is
listed first . If more than three items using power
are switched on, the equipment that is currently
using the most power is displayed.
A chart @ also shows you the current total of all
other consumers .
Radio
Requirement: Radio mode must be on
¢page 204.
Cockpit overview
Applies to : vehicles with mult ifunction steering wheel
.,. Press the !MODE ! button on the multifunction
steering wheel repeatedly until the Radio/Me
dia tab is displayed.
Applies to: vehicles with mult ifunction steering wheel plus
.,. Press the !<11>1 button repeatedly until the Ra-
dio/Media tab is displayed .
.,. Press the left control button ¢
page 13.
Depending on vehicle equipment, the following
functions may be available in the driver informa
tion system.
- Selecting the frequency band: select and con
firm a frequency band.
-Selecting a station from the station list: select
and confirm a radio station.
-Selecting a station from the presets list: select
and confirm
Presets and then a radio station.
-Opening a media source: select and confirm To
media.
Additional settings
- Select: right control button > desired entry.
Depending on the function selected, the follow
ing additional settings may be possible:
-Additional station info: see¢ page 208 .
Media
Requirement: a media drive must contain audio/
video files¢
page 210.
Applies to: vehicles with multifunct ion steering wheel
.,. Press the !MODE ! button on the multifunction
steering wheel repeatedly until the Radio/Me
dia tab is displayed.
Applies to: vehicles with multifunction steering wheel plus
.,. Press the !<1 1>I button repeatedly until the Ra-
dio/Media tab is displayed .
.,. Press the left control button ¢
page 13.
Depending on vehicle equipment, the following
functions may be available in the driver informa
tion system.
- Selecting a source : select and confirm a source
such as the SD card.
lli>-
17
Page 34 of 386
Cockpit overview
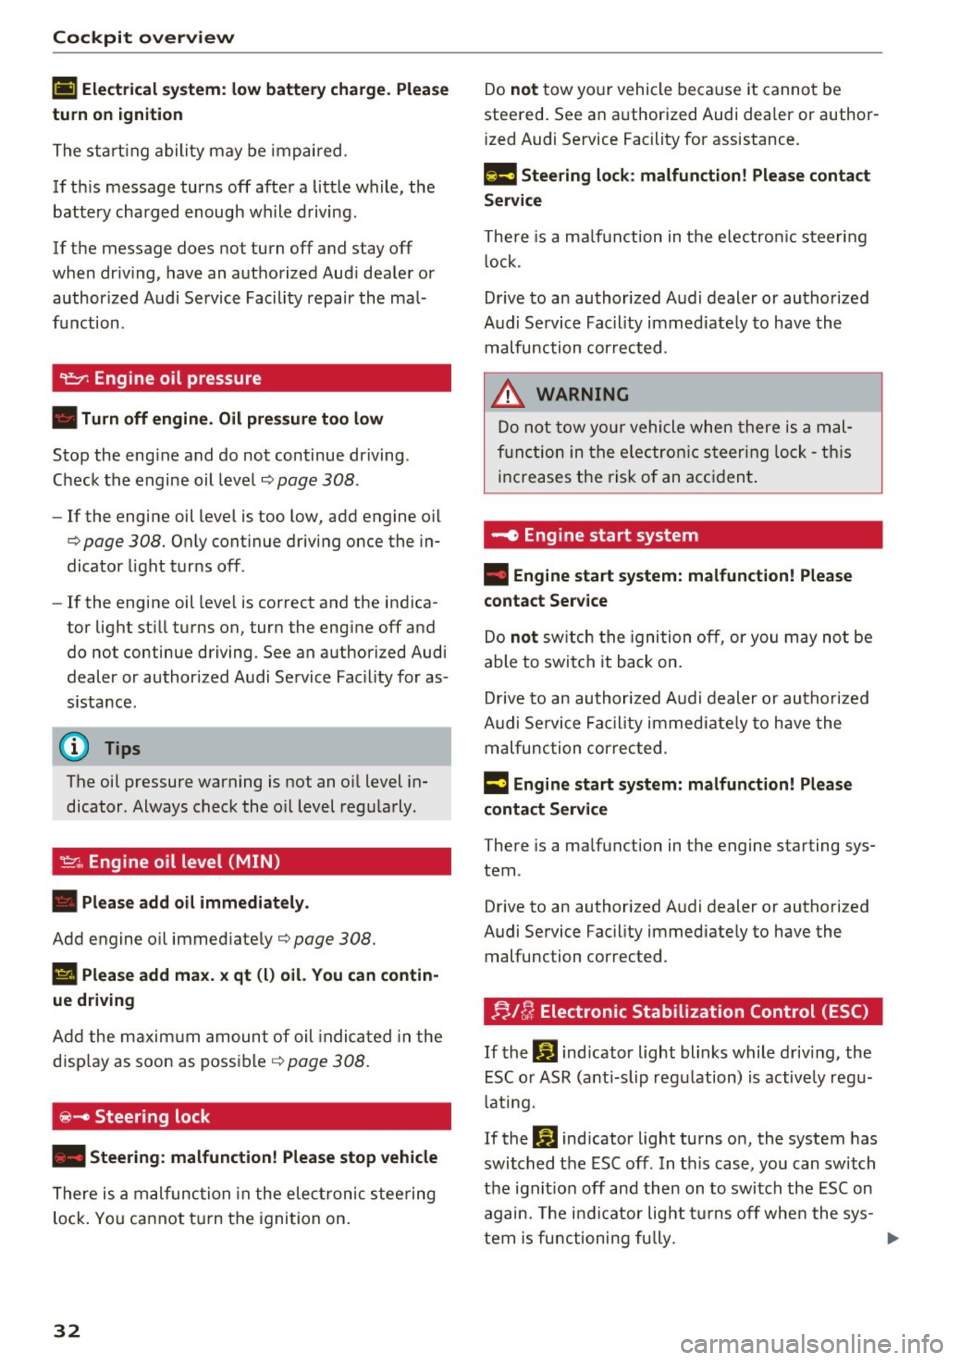
(•) Electrical system: low battery charge. Plea se
turn on ignition
The start ing ability may be impaired.
If th is message turns off after a little while , the
battery charged enough while driving.
If the message does not turn off and stay off
when dr iv ing, have an authorized Aud i dea ler or
author ized Audi Service Facility repair the mal
function .
~ Engine oil pressure
• Turn off engine. Oil pressure too low
Stop the eng ine and do not continue driving .
Check the engine oil leve l¢
page 308 .
- If the engine oil level is too low, add engine o il
c=>page 308. Only cont inue driving once the in
dicator light turns off.
- If the engine oil leve l is correct and the indica
tor light st ill turns on, turn the eng ine off and
do not continue driving. See an authorized Audi
dealer or authorized Audi Service Fac ility for as
sistance .
(D Tips
The oil pressure warning is not an o il level in
dicator . Always check the o il level regularly .
~ Engine oil level (MIN)
• Please add oil immediately.
Add engine o il immed iate ly ¢page 308 .
l!I Please add max. x qt (l) oil. You can contin
ue driving
Add the maximum amount of oil indicated in the
display as soon as possible
¢page 308.
~- Steering lock
• Steering : malfunction! Please stop vehicle
There is a malfunction in the elect ronic steering
lock . You cannot turn the ignition on.
32
Do not tow your vehicle because it cannot be
steered. See an authorized Audi dealer or author
i zed Audi Service Facility for assistance.
1!11 Steering lock: malfunction! Please contact
Service
There is a malfunction in the electron ic steering
lo ck.
Drive to an authorized Audi dealer or authorized
Audi Service Facility immed iate ly to have the
malfunction corrected .
& WARNING
Do not tow your vehicle when there is a mal
function in the electron ic steering lock -this
increases the risk of an accident .
-e Engine start system
• Engine start system: malfunction! Please
contact Service
-
Do not switch the ignition off, or you may not be
able to switch it back on.
Drive to an authorized Audi dealer or authorized
Audi Service Facility immediately to have the
malfunction corrected .
13 Engine start system: malfunction! Please
contact Service
There is a ma lfunction in the engine starting sys
tem .
Drive to an authorized Audi dealer or authorized
Audi Service Facility immediate ly to have the
malfunction corrected.
f;. 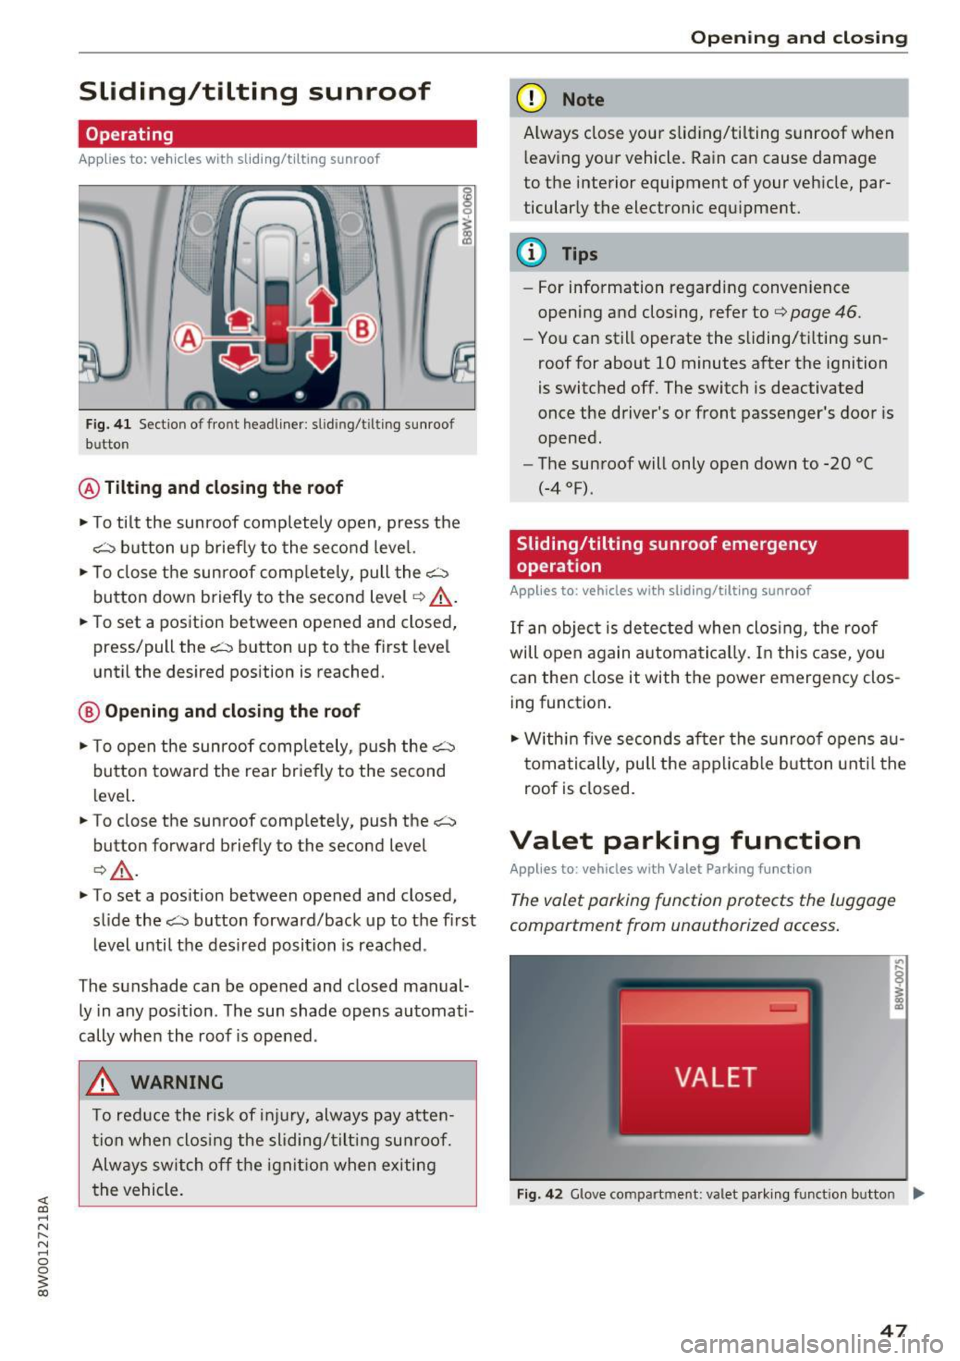
Sliding/tilting sunroof
Operating
Applies to: vehicles with sliding/ti lting sunroof
F ig. 41 Sect io n of fro nt headl iner : s lid in g/t ilt in g sunroo f
b utto n
® Tilting and closing the roof
.. To tilt the sunroof completely open, press the
~ button up briefly to the second level.
.. To close the sunroof comp letely, pull the~
button down briefly to the second level
¢ .&,. .
.. To set a position between opened and closed,
press/pull the~ button up to the first level
until the desired position is reached.
@ Opening and clos ing the roof
.. To open the sunroof completely, push the G'.'.-:::i
button toward the rear briefly to the second
level.
.. To close the sunroof completely, push the~
button forward briefly to the second level
Q .&,. .
.. To set a position between opened and closed,
slide the~ button forward/back up to the first
level until the desired position is reached .
The sunshade can be opened and closed manual ly in any position . The sun shade opens automati
cally when the roof is opened .
A WARNING
To reduce the risk of injury, always pay atten
tion when closing the sliding/tilting sunroof.
Always sw itch off the ignition when exiting
the vehicle.
Open ing and closing
(D Note
Always close your sliding/tilting sunroof when
l eaving your vehicle. Rain can cause damage
to the interior equipment of your vehicle, par
ticularly the electronic equipment.
(D Tips
- For information regarding conven ience
opening and closing, refer to
¢ page 46.
-You can still operate the sliding/tilting sun
roof for about 10 minutes after the ignition
is switched off. The switch is deactivated
once the driver's or front passenger's door is
opened.
- The sunroof will only open down to -20
°(
(-4 °F) .
Sliding/tilting sunroof emergency
operation
Applies to: vehicles with sliding/tilt ing sunroof
If an object is detected when closing , the roof
will open again automatical ly. In this case, you
can then close it with the power emergency clos
ing function.
.,. Within five seconds after the sunroof opens au
tomatically, pull the applicable button until the
roof is closed.
Valet parking function
Applies to: vehicles with Valet Parking function
The valet parking function protects the luggage
compartm ent from unauthorized access.
Fig. 42 G love compart ment: va let parking funct ion b utto n ....
47
Page 54 of 386
Lights and Vi sion
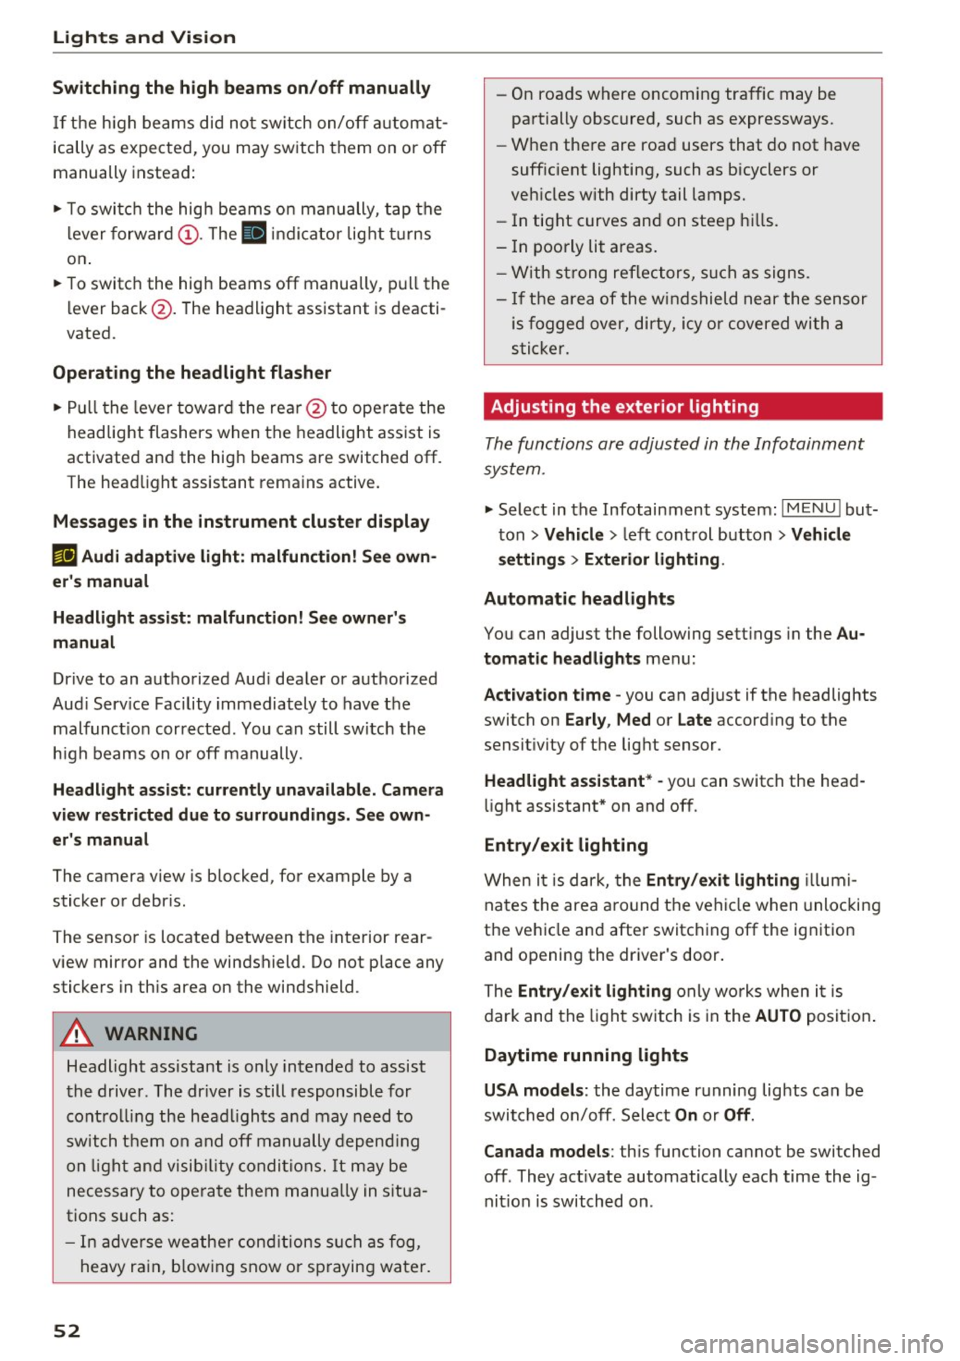
Switching the h igh beams on/off manually
If th e h igh beams did no t swi tch on/off automat
ically as expec ted, you may sw itch them on or off
manually instead :
~ To swi tch the hig h beams o n manually, tap th e
l ever forw ard @ . The
Bl in di cator lig ht turns
on .
~ To switc h the hig h beams off manually , pull the
l ever back @. T he headlight assistant is deacti
vated.
Operating the headlight flasher
~ P ull t he leve r towar d the rear @ to ope ra te the
headlight flashers when the headlight ass ist is
activated an d the high beams a re switched off.
The head light assistant rema ins active.
Messages in the instrument cluster display
r!/1 Audi adaptive light: malfunction! See own
er's manual
Headlight assist: malfunction! See owner' s
manual
Drive to an a uth o rized Aud i dea le r or authorized
Aud i Serv ice Facility immediately to have the
malfunct io n corrected. You can still sw itc h t he
h igh beams on or off ma nually.
Headlight assist: currently unavailable. Camera
view restricted due to surroundings. See own
er' s manual
The camera view is blocked, for example by a
sticker o r debr is .
The senso r is locate d between the interior rear
view mir ror and the win dshield. Do not place any
sticke rs in th is area on the windshield.
A WARNING
Headlight assistant is only intended to assist
t he driv er. The dr iver is still r esp onsible for
cont ro llin g th e headl igh ts a nd may ne ed to
switch them on an d off manu ally depe ndin g
o n lig ht a nd visib ility con dition s.
It m ay be
necess ary to ope ra te them manually in s itu a
tions such as :
- In ad verse we ather conditi ons such as fo g,
h eavy r ain, b low in g snow or sp rayin g wa te r.
52
- On roads where oncomin g tra ffic may be
pa rtially obscured, such as expressways.
- W hen the re are roa d users that do not have
suff icient lighting, such as b icyclers or
veh icles with dirty tail lamps.
- In tig ht curves an d on steep h ills.
- In poorly li t areas.
- Wi th st ro ng ref le ctor s, such as s igns .
- If th e area of the w inds hield ne ar the sensor
is fogged over, di rty, icy or covered with a
s tick er.
Adjusting the exterior lighting
Th e functions are adjust ed in th e Infotainment
sys tem .
~ Select in the Infotainment system : IMENU! but
t on
> Vehicle > left cont rol b utton > Vehicle
settings > Exterior lighting .
Automat ic headlights
You can adjust the following sett ings in the Au
tomatic headlights
men u:
Acti vation time -you can adjust if the headlights
switch on
Early , Med or Late accord ing to the
sensit ivity of t he lig ht sensor.
Headlight assistant * -you can switch the hea d
li ght assistant * on and off.
Entry/exit lighting
Whe n it is da rk , the Entry/exit lighting ill um i
na tes the area a ro und t he vehi cle when unlo cki ng
the ve hicle an d after switc hing off the ig nitio n
and o pening the dr iver's door.
The
Entry/exit lighting only wo rks when i t is
d ar k and the light sw itch is in the
AUTO p osit io n.
Daytime running lights
USA models:
the dayti me r unning lig hts can be
swi tched on/off. Select
On or Off.
Canada models : this function ca nnot be switched
off . They act ivate automatically eac h time the ig
nit ion is switched on .
Page 55 of 386
Emergency flashers
--
J -(rm -
Fig. 48 Center co nsole: e merge ncy flasher b utto n
The emergency flashers makes other drivers
aware of your vehicle in dangerous situat ions .
.. Press the~ button to switch the emergency
flashers on or off.
You can indicate a lane change or a turn when the
emergency flashers are switched on by using the
turn signal lever. The emergency flashers stop
temporarily.
The emergency flashers also work when the igni
tion is turned off.
(D Tips
You shou ld switch the emergency flashers on
if:
- You are the last car in a traffic jam so that
a ll other vehicles approaching from behind
can see you, or if
- Your vehicle has broken down or you are
having an emergency, or if
- Your vehicle is being towed or if yo u are
towing another vehicle.
Lights and V ision
Interior lighting
Front interior lighting
The interior lighting consists of the interior lights
and the reading lights for the driver and front
passenger .
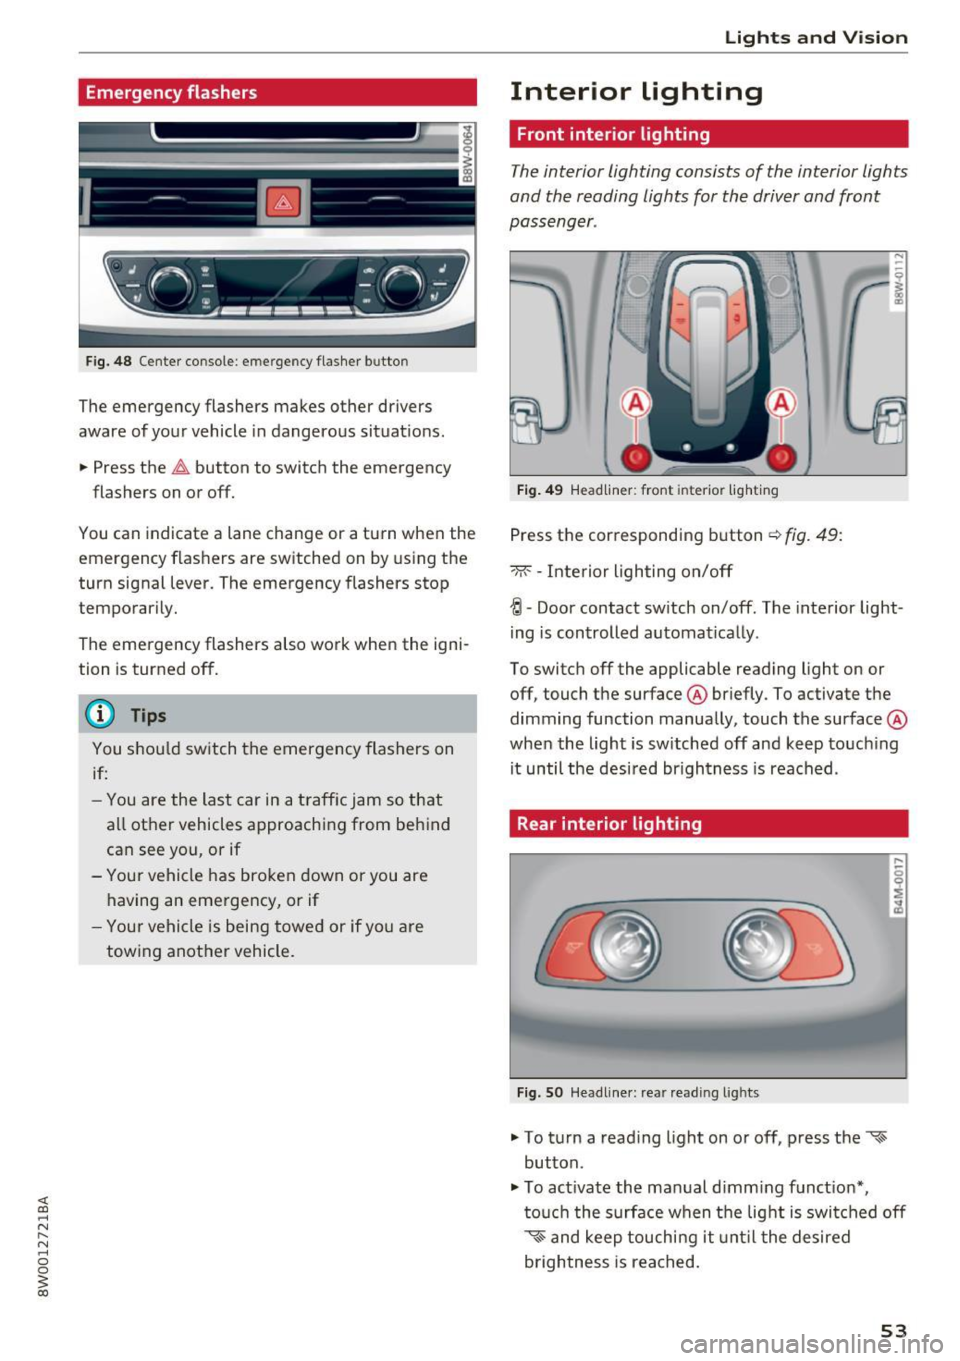
Fig. 49 Headliner: front interio r light ing
Press the corresponding button¢ fig. 49:
-M --Inte rior lighting on/off
{! -Door contact sw itch on/off . The interior light
ing is controlled automat ically .
To switch off the applicable reading light on or off, touch the surface @briefly. To activate the
dimming function manually, touch the surface @
when the light is sw itched off and keep touching
it until the desired br igh tness is reached .
Rear interior lighting
Fig. SO Headliner: rea r readi ng l ig hts
.. To turn a read ing light on or off, press the '<-s
button .
.. To act ivate the manual d imm ing funct ion*,
touch the surface when the light is switched off
~~ and keep touchi ng it unt il the desired
brightness is reached.
53
Page 56 of 386
Lights and Vision
Interior lighting
Applies to: ve hicles w ith amb ient light ing
.,. Select in the Infotainment system: IMENU I but
ton
> Vehi cle> left contro l bu tton > Vehicle
settings > Interior lighting.
The interior lighting turns on when you switch
the head ligh ts on while the igni tion is on .
Version 1
To adjust the brightness of individua l zones, se
lect
Front brightness *, Door brightne ss or Foot
w ell brightness .
Turn the control knob to the left
or to the right. Press the contro l knob to confirm
the br igh tness.
Version 2
Select and confirm one of the displayed profiles.
Individual: you can customize the brightness and
color of individual zones.
Press the right control button. Se lect and con
fi rm one of the disp layed options. To change the
brightness or the color, turn the control knob to
the left or right . Press the control knob to con
f irm the brightness or the color.
drive select : the interior and conto ur lighting col
or changes in drive se lect depending on these
lected driving mode in drive select*
¢ page 121.
To adjust t he brightness of other profiles, press
the contro l knob to confirm the profile again.
T urn the contro l knob to the left or to the right.
Press the control knob to confirm the brightness .
(D Tips
The setting is a utomatica lly stored and as
signed to the remote control key that is be ing
used.
54
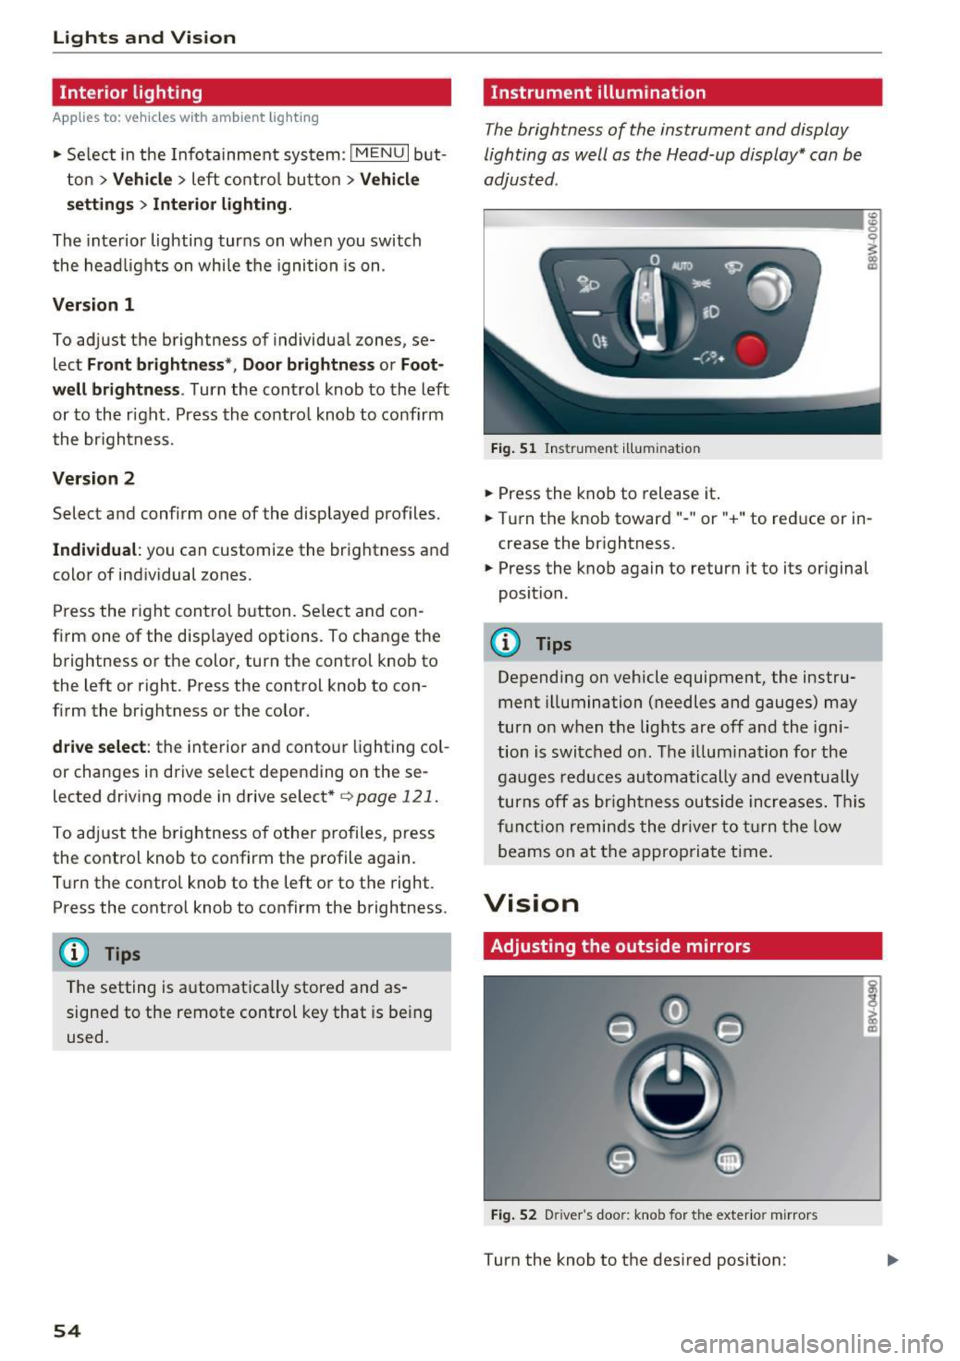
Instrument illumination
The brightness of the instrument and display
lighting as well as the Head-up display* can be
adjusted.
ID __ ________ _.:g
Fig. 51 Ins trumen t ill umi nat ion
.,. Press the knob to release it .
0
~
"° CD
.,. Turn the knob toward" -" or" +" to reduce or in
crease the br ightness.
.,. Press the knob again to return it to its original
position.
(!) Tips
Depending on vehicle equipment, the instru
ment illumination (needles and gauges) may
turn on when t he lig hts are off and the igni
tion is switched o n. T he i llum ination for the
gaug es reduces automa tically and eve ntua lly
turn s off a s br igh tne ss ou tside increases. Thi s
f u nct io n remin ds the dr ive r to tur n the low
b eams on at the appropria te t ime.
Vision
Adjusting the outside mirrors
Fi g. 52 D river 's doo r: knob for the exter io r mirrors
Turn the knob to the des ired position:
Page 66 of 386
Sea ts and stor age
button or the buttons @or@ <* page 61,
fig. 59.
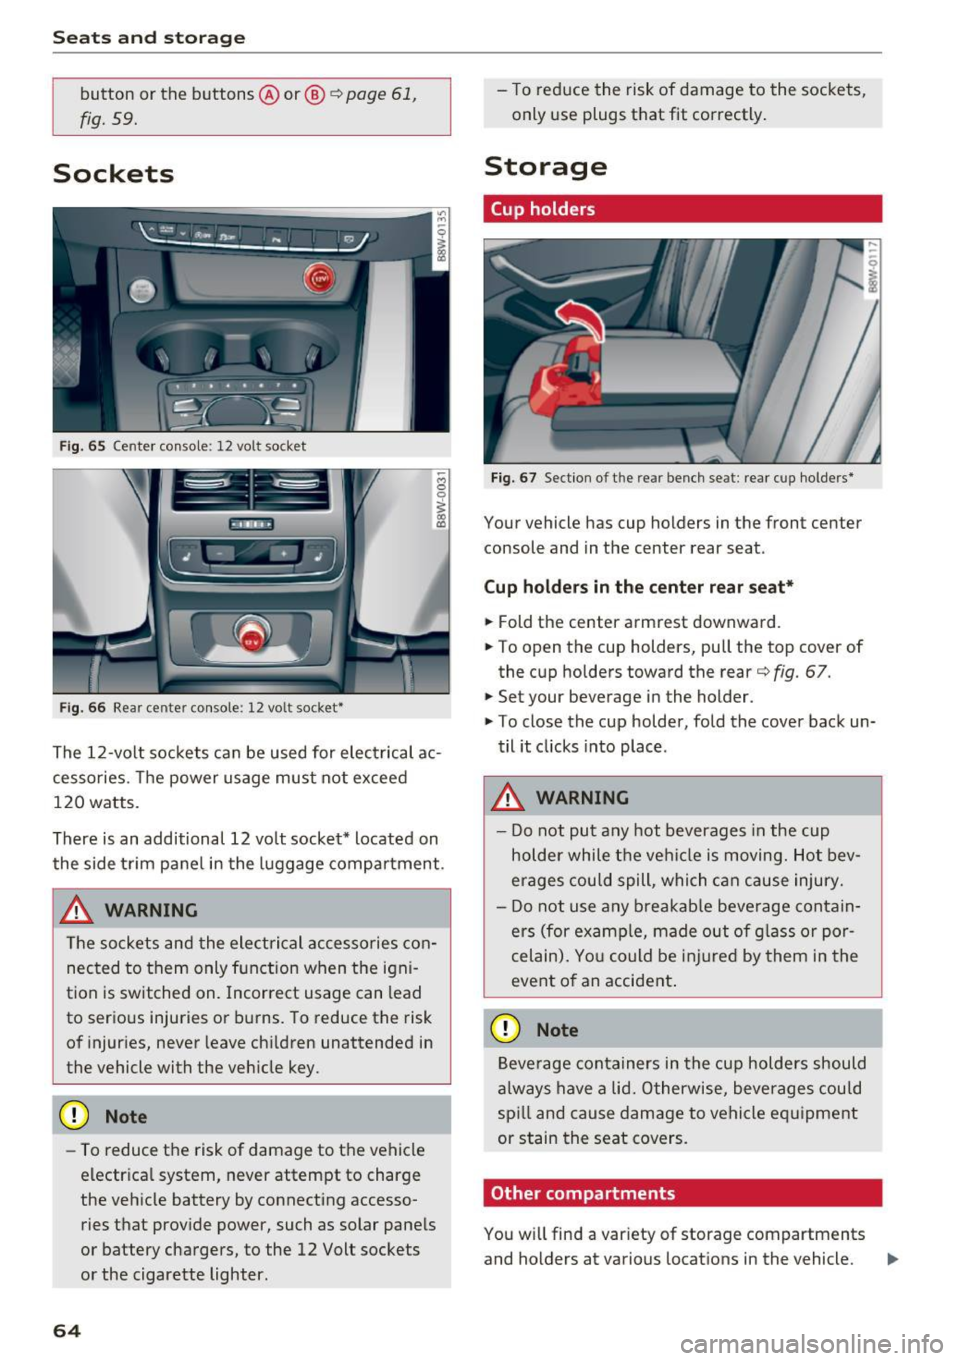
Sockets
Fig. 65 Center console: 12 volt socket
Fig. 66 Rear center console: 12 volt socket*
The 12 -volt sockets can be used for electrical ac
cessories. The power usage must not exceed
120 watts.
There is an additional 12 vo lt socket* located on
the side trim panel in the luggage compartment .
_& WARNING
The sockets and the electrical accessories con
nected to them only function when the igni
tion is switched on. Incorrect usage can lead
to serious injuries or burns. To reduce the risk
of injuries, never leave ch ildren unattended in
the vehicle with the veh icle key.
(D Note
- To reduce the risk of damage to the vehicle
electr ica l system, never attempt to charge
the vehicle battery by connecting accesso ries that provide power, such as solar pane ls
or battery chargers, to the 12 Volt sockets
or the cigarette lighter.
64
- To reduce the risk of damage to the sockets,
only use plugs that fit correctly .
Storage
Cup holders
Fig. 67 Section o f th e rear bench seat: rear cup holde rs *
Your vehicle has cup holders in the front center
console and in the center rear seat .
Cup ho ld ers in the cent er rear seat*
.,. Fold the center armrest downward .
.,. To open the cup holders, pull the top cover of
the cup holders toward the rear<=>
fig. 67 .
.,. Set your beverage in the holder.
.,. To close the cup holder, fold the cover back un
til it clicks into place .
_& WARNING
-
-Do not put any hot beverages in the cup
holder while the vehi cle is moving. Hot bev
erages could spill, which c an cause injury.
- Do not use any b reakab le beve rage contain
ers (for examp le, made out of g lass or por
celain). Yo u co uld be injured by them in the
event o f an accident .
(D Note
Beverage containers in the cup holders should
a lways have a lid. Otherwise, beve rages could
sp ill and cause damage to vehicle eq uipment
or stain the seat covers.
Other compartments
You will find a var iety of storage compartments
and holders at various locations in the vehicle. ..,.