differential AUDI A6 1999 C5 / 2.G 01V Transmission Service Notes Workshop Manual
[x] Cancel search | Manufacturer: AUDI, Model Year: 1999, Model line: A6, Model: AUDI A6 1999 C5 / 2.GPages: 10, PDF Size: 0.06 MB
Page 3 of 10

00-28
When installing transmission, make sure
centering sleeves are correctly seated.
Place parts that have been removed on a clean
surface and cover. Use foils and paper. Use
lint-free cloths only!
Carefully cover over opened components or
seal, if repairs are not carried out immediately.
Only install clean components: Only unpack
replacement parts immediately prior to
installation.
Check, and if necessary correct amount of the
following fluids when replacing the automatic
transmission. ATF in planetary gear page 37
-
133
, Gear oil in front final drive page 39
-1 ,
Transmission oil in center differential page
39
-40
. Capacities and specifications page
00
-22
onward.
When replacing the rear final drive, check and if
necessary, correct oil level in rear final drive
page 39
-94
Capacities and specifications
page 00
-23
.
O-rings, gaskets, seals
Pa
ge 3 of 10 Servicin
g, notes
11/20/2002 htt
p://127.0.0.1:8080/audi/servlet/Dis
play?action=Goto&t
yp
e=re
pair&id=AUDI.B5.AT01.00.5
Page 5 of 10

00-29
Thoroughly clean housing joint surfaces before
assembling and apply sealing compound AMV
188 200 03.
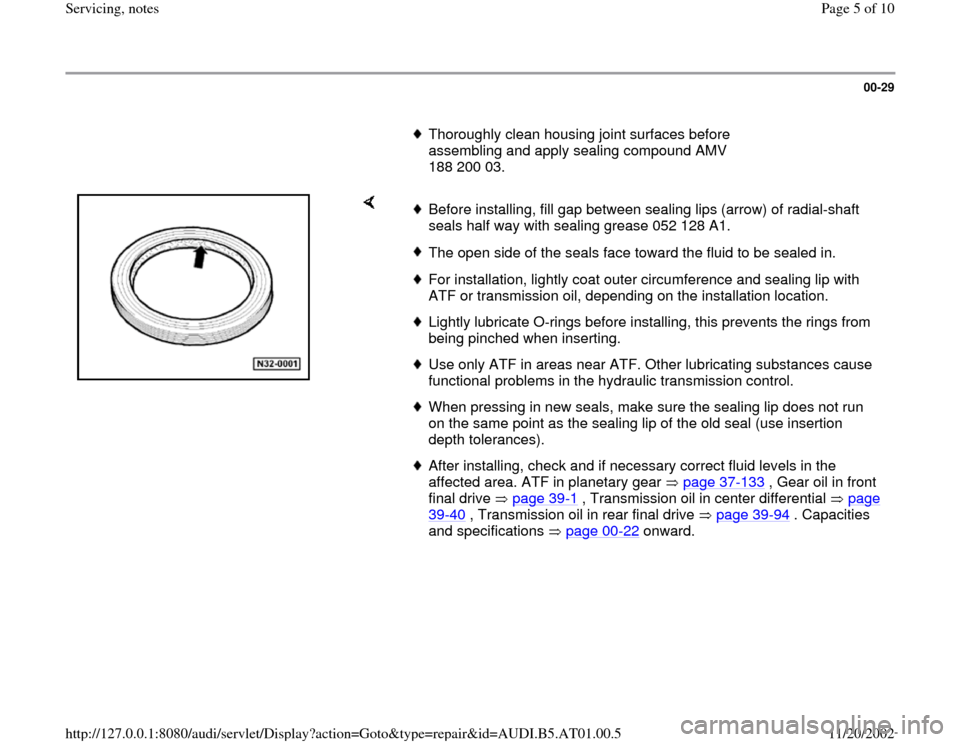
Before installing, fill gap between sealing lips (arrow) of radial-shaft
seals half way with sealing grease 052 128 A1. The open side of the seals face toward the fluid to be sealed in.For installation, lightly coat outer circumference and sealing lip with
ATF or transmission oil, depending on the installation location. Lightly lubricate O-rings before installing, this prevents the rings from
being pinched when inserting. Use only ATF in areas near ATF. Other lubricating substances cause
functional problems in the hydraulic transmission control. When pressing in new seals, make sure the sealing lip does not run
on the same point as the sealing lip of the old seal (use insertion
depth tolerances). After installing, check and if necessary correct fluid levels in the
affected area. ATF in planetary gear page 37
-133
, Gear oil in front
final drive page 39
-1 , Transmission oil in center differential page
39
-40
, Transmission oil in rear final drive page 39
-94
. Capacities
and specifications page 00
-22
onward.
Pa
ge 5 of 10 Servicin
g, notes
11/20/2002 htt
p://127.0.0.1:8080/audi/servlet/Dis
play?action=Goto&t
yp
e=re
pair&id=AUDI.B5.AT01.00.5
Page 8 of 10

00-31
Mounts
Install needle bearings with the lettering on the
bearing (the side with thicker metal) facing the
drift.
Insert bearing with transmission oil or ATF,
depending on installation location.
Tapered roller bearings for output shaft and
differential in rear final drive are low-friction
bearings. Do not grease new tapered roller
bearings additionally for friction torque
measurement. The bearings are already
greased with a special oil from the factory for
this reason.
Do not interchange inner and outer bearing
races with those from other bearings of the
same size.
Tapered roller bearings are allocated to the
date of transmission manufacture and code
letters in the parts catalog.
Always replace tapered roller bearings on one
shaft together and use new bearings from the
same manufacturer.
Pa
ge 8 of 10 Servicin
g, notes
11/20/2002 htt
p://127.0.0.1:8080/audi/servlet/Dis
play?action=Goto&t
yp
e=re
pair&id=AUDI.B5.AT01.00.5