stop start AUDI A6 2012 User Guide
[x] Cancel search | Manufacturer: AUDI, Model Year: 2012, Model line: A6, Model: AUDI A6 2012Pages: 298, PDF Size: 74.43 MB
Page 74 of 298
7 2 On the road
-If yo u leave the vehicle wi th the ignition
switched on, the ignition will switch off
after a certa in period of time . Please
note that e lectrica l equipment such as
exter ior lights w ill switch off as well
when that happens .
Stopping the engine
.,. Bring your vehicle to a complete stop .
.,. Move the selector lever to the
P o r N posi
t ion.
.,. Press the
!S TAR T ENGINE S TOPI button
9 page 70, fig. 72 .
Emergency off
If necessary, the eng ine can be sw itched off
with the selector leve r in the
R or D /S posi
tion . The engine stops if you press the
I START ENGINE STOP! button at speeds below
6 mph (10 km/h) and press the brake pedal.
A WARNING
- Never turn off the engine unti l the vehi
cle has come to a complete stop.
- The brake booster and power steering
only work when the engine is running. If
the engine is off, you have to use more
force when steering or braking. Because
you cannot steer and brake as you usua l
ly wou ld, this could lead to crashes and
serious injur ies.
- For safety reasons, you should always
park your vehicle with the selector lever
in P. Othe rwise, the veh icle could inad
vertent ly roll away.
- After the engi ne has been switched off,
the radiator fan can continue to run fo r
up to 10 m in utes - even with the ig nitio n
swit ched off.
It can a lso switch on ag ain
afte r some time if the coolant tempera"
t u re rises as the result of a heat buildup
or if the engine is hot and the engine compartment is addit ionally heated by
the sun's rays.
(D Note
Do not stop the eng ine immediately after
hard or extended driving . Keep the engine
running for approximate ly two minutes to
prevent excessive heat bu ild-up .
Starting the engine if there is a
malfunction
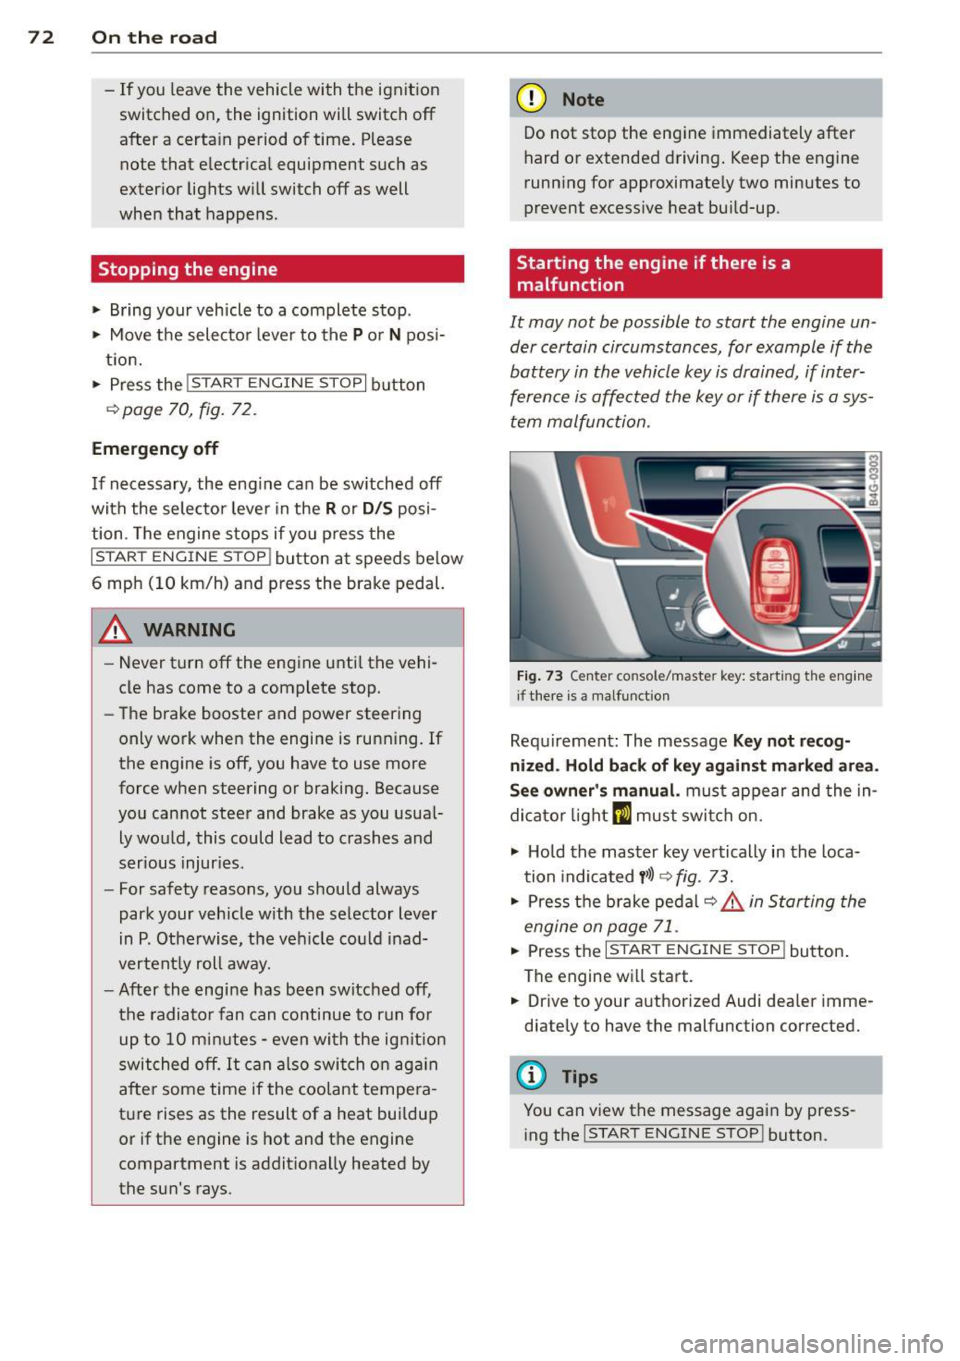
It may not be possible to start the engine un
der certain circumstances, for example if the battery in the vehicle key is drained, if inter
ference is affe cted the key or if there is a sys
tem malfunction.
F ig. 73 Center co nsole/master key: start ing the eng ine
i f there is a malfunct io n
Requ irement: The message Key not r ecog
nized . H old back of key ag ainst marked are a.
See owner 's manual.
must appear and the in
dicator light
m must swi tch on.
.,. Ho ld the mas ter key vertically in the loca
tion indicated
y >l) 9 fig. 73.
.,. Press t he b rake pedal ~ .&. in Starting the
engine on page 71 .
... Press the ..., IS"'T :,-,A -,,R "'T ,.., E"" N...,..,,, G""IN ,-,-: E-,s"'T ,...,O ,.., P,..,I button .
The engine wi ll start.
.,. Dr ive to your authorized Audi dea ler imme
diately to have the malfunction corrected.
(D Tips
You can v iew the message again by press
ing the
I STAR T ENGINE STOP ! button.
Page 76 of 298

74 On the road
Parking
Various rules apply to prevent the parked ve
hicle from rolling away accidentally.
P a rking
.. Stop the vehicle with the foot brake .
.. Pu ll the switch <®l to apply the park ing
brake.
.. Se lect the
P se lector lever position
~ page 101.
• Turn the eng ine off ~.&.
In addition on incline s and grade s
.. Turn the steering wheel so that your vehicle
will roll against the curb in case it should
start to move .
A WARNING
-When you leave your veh icle - even if on
ly b rief ly - always take the ignition key
with you. This app lies par ticu la rly when
children remain in the veh icle . Otherw ise
the ch ildren could start the engine, re
lease the parking brake or ope rate e lec
trical equipment (e.g. power windows) .
There is the risk of an accident .
- When the vehicle is locked, no one - par
t icu larly not ch ildren should remain in
the vehicle. Locked doors make it more
difficult for emergency workers to get in
to the vehicle -putt ing lives at risk .
Starting from rest
The starting assis t function ensures tha t the
parking brake is released automatically upon
starting .
Stopping and appl ying park ing br ake
.. Pull the switch(®) to apply the parking
brake.
Starting and automatically releasing the par king brake
.. When you start to drive as usua l, the park
ing brake is automatically re leased and your
vehicle begins to move. When stopping at a traffic signal or stopping
in city t raffic, the parking brake can be ap
plied . T he vehicle does not have to be he ld
with the footbrake . The parking brake elimi
nates the tendency to creep w ith a dr ive range
engaged . As soon as you d rive off as usual,
the pa rking brake is released automat ically
and the vehicle starts to move .
Starting on slopes
When starting on inclines, the starting assist
prevents the vehicle from u nintent ionally roll
ing back . The braking force of the parking
brake is not released until suff ic ient driving
force has been built up at the wheels .
(D Tips
For safety reasons, the parking brake is re
leased automatically o nly when the d riv
er's safety belt is engaged in the buckle.
Starting off with a trailer
To prevent rolling back unintentionally on an
incline, do the following:
.. Keep the sw itch <®l pulled and depress the
accelerator. The parking brake stays applied
and prevents the vehicle from roll ing back
ward .
.. You can release the switch
<®l once you are
sure that you are developing enoug h for
ward momentum at the whee ls as you de
press the acce lerator .
Depend ing on the we ight of the rig (vehi cle
and t railer) and the severity of the incline, yo u
may ro ll backwards as yo u start . You can pre
vent rolling backwards by holding the parking
brake switch <®l pulled out and accelerating -
just as you wou ld when starting on a hill with
a conventiona l hand brake.
Page 78 of 298
76 On the road
Cruise control
Switching on
Applies to vehicles: wit h crui se contro l
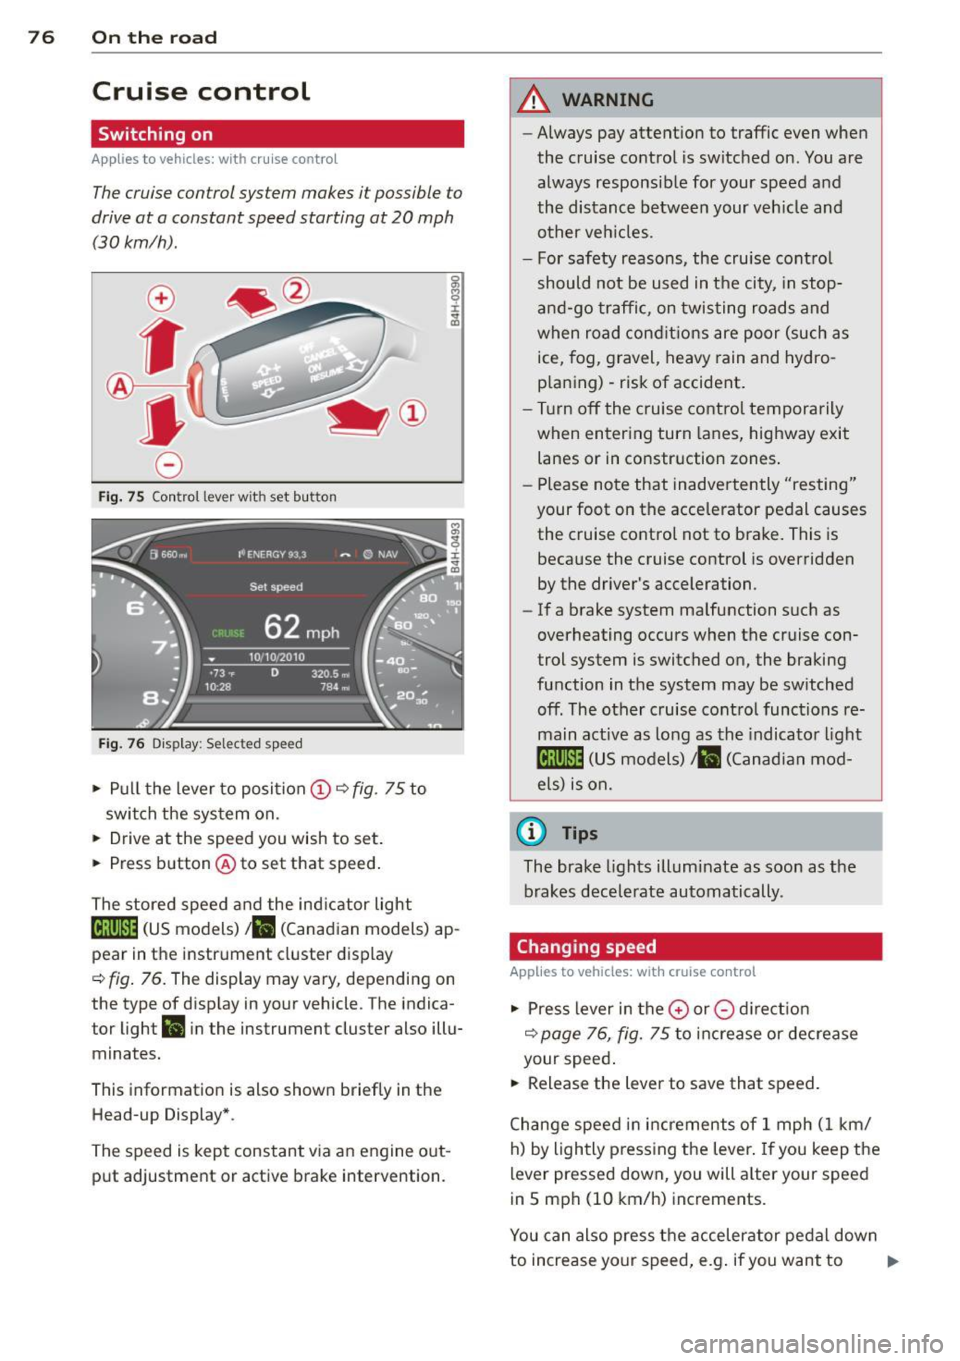
The cruise control system makes it possible to
drive at a constant speed starting at 20 mph
(30 km/h).
0
f
~
0
Fig. 75 Control lever with set b utto n
Fig. 76 Display: Selected speed
• Pull the lever to position @~ fig. 75 to
switch the system on.
• Drive at the speed you wish to set.
• Press button @to set that speed.
The stored speed and the indicator light
18;\0~1~ (US models)/ . (Canadian models) ap
pear in the instrument cluster display
~ fig. 76. The display may vary, depending on
the type of display in your vehicle . T he indica
tor light
ll in the instrument cluster also illu
minates.
This information is also shown briefly in the
Head-up Display* .
The speed is kept constant via an engine out
put adjustment or active brake intervention.
A WARNING
-- Always pay attention to traffic even when
the cruise control is switched on. You are always responsible for your speed and
the distance between your vehicle and
other veh icles.
- For safety reasons, the cruise contro l
should not be used in the city, in stop
and-go traffic , on twisting roads and
when road condit ions are poor (such as
ice, fog, gravel, heavy rain and hydro
p laning) - risk of accident.
- Turn off the cruise control temporarily
when entering turn lanes, highway exit
lanes or in construction zones.
- Please note that inadvertently "resting"
your foot on the accelerator pedal causes the cruise control not to brake. This is
because the cruise control is overridden
by the driver's acceleration.
- If a brake system malfunction such as
overheating occurs when the cruise con
trol system is switched on, the braking
function in the system may be switched
off. The other cruise control functions re
main active as long as the indicator light
mmJI (US models)/ . (Canadian mod
els) is on.
(D Tips
The brake lights illuminate as soon as the
brakes decelerate automatically .
Changing speed
Applies to vehicles: w ith cruise co ntrol
• Press lever in the 0 or 0 direct ion
~ page 76, fig. 75 to increase or decrease
your speed .
• Release the lever to save that speed.
Change speed in increments of 1 mph (1 km/
h) by lightly pressing the lever . If you keep the
lever pressed down, you will alter your speed
in 5 mph (10 km/h) increments.
You can also press the accelerator pedal down
to increase your speed, e.g . if you want to .,..
Page 80 of 298
78 Adaptive cruise control and braking guard
Adaptive cruise control
and braking guard
Introduction
Applies to vehicles: with adaptive cruise co ntrol
The adaptive cruise control system assists the
driver by regulating vehicle speed and helping
to maintain a set distance to the vehicle
ahead, within the limits of the system . If the
system detects a moving vehicle up ahead,
adaptive cruise control can brake and then ac
celerate your vehicle . This helps to make driv
ing more comfortable both on long highway
stretches and in stop -and-go traffic.
Aud i braking guard can warn you about an im
pending collision with a vehicle up ahead that
is slower or has slowed down and start slow
ing your vehicle down with the brakes
<::> page 84.
Adaptive cruise control and Audi braking
guard have technical limitations that you
must know, so please read this section care
fully, understand how the system works and
use them properly at all times.
General information
General information
Applies to vehicles: with adaptive cruise control
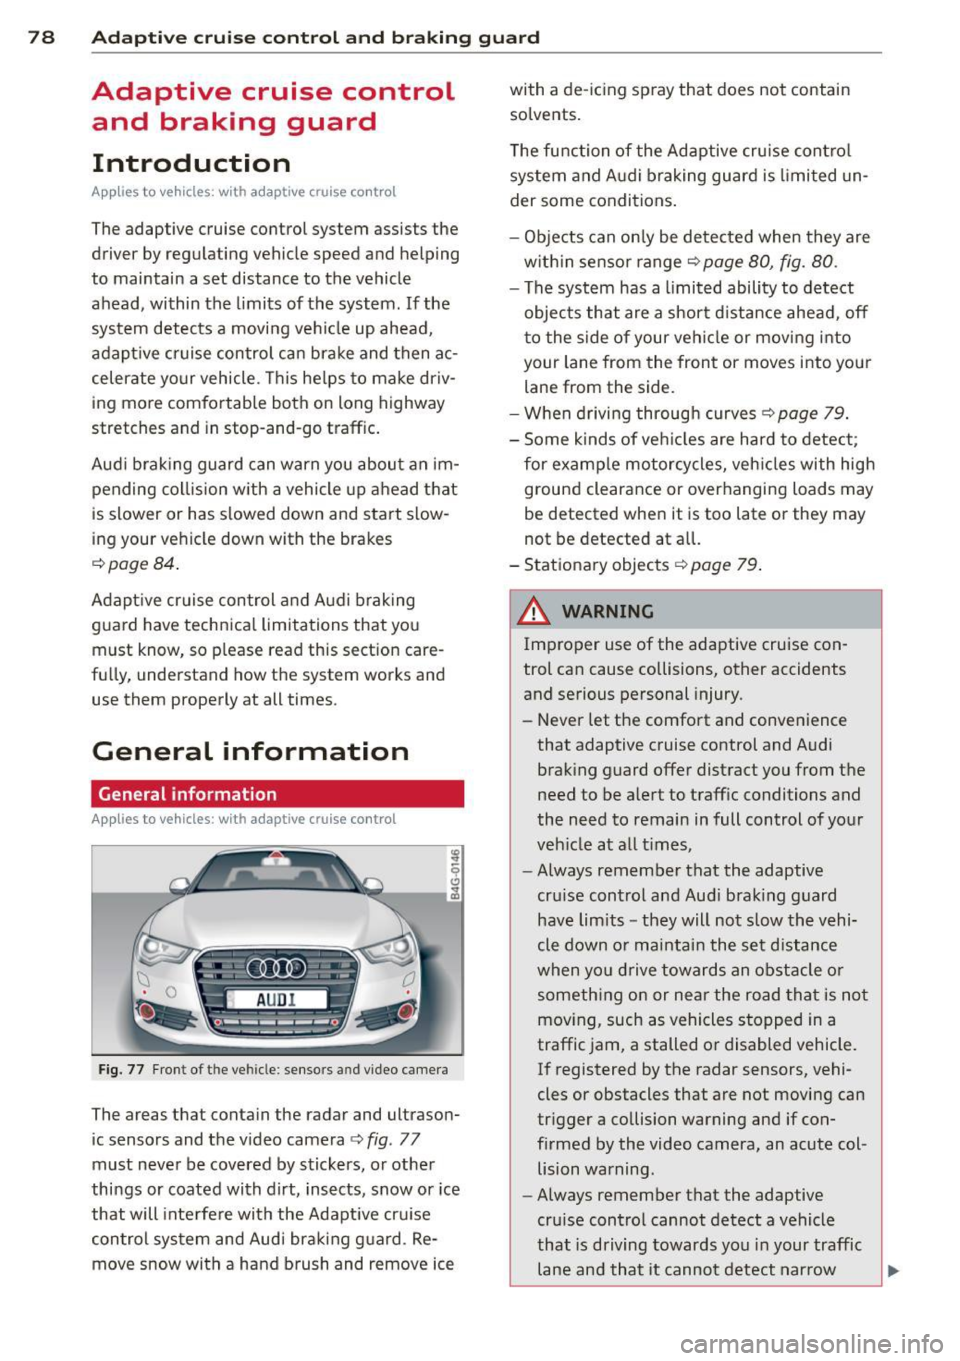
Fig. 77 Front of th e ve hicle : senso rs a nd vi deo camera
The areas that contain the radar and ultrason
ic sensors and the video camera
c::> fig . 77
must never be covered by stickers, or other
things or coated with dirt, insects, snow or ice
that will interfere with the Adaptive cruise
control system and Audi braking guard . Re
move snow with a hand brush and remove ice with a de-icing spray that does not contain
solvents.
The function of the Adaptive cruise control
system and Audi braking guard is limited un
der some conditions.
- Objects can only be detected when they are
within sensor range
c::> page 80, fig. 80.
- The system has a limited ability to detect
objects that are a short d istance ahead, off
to the side of your vehicle or moving into
your lane from the front or moves into your
lane from the side.
-When driving through curves
r=;>page 79.
- Some kinds of vehicles are hard to detect;
for examp le motorcycles, vehicles with high
ground clearance or overhanging loads may
be detected when it is too late or they may
not be detected at all.
- Stationary objects
c::> page 79 .
A WARNING
Improper use of the adaptive cruise con
trol can cause collisions, other accidents
and serious personal injury. -
-Never let the comfort and convenience
that adaptive cruise control and Audi
braking guard offer distract you from the
need to be alert to traffic conditions and
the need to remain in full control of your
vehicle at all times,
- Always remember that the adaptive
cru ise control and Audi braking guard
have lim its -they will not slow the vehi
cle down or maintain the set distance
when you drive towards an obstacle or
something on or near the road that is not
moving, such as vehicles stopped in a
traffic jam, a stalled or disabled vehicle.
If registered by the radar sensors, vehi
cles or obstacles that are not moving can
trigger a collision warning and if con
firmed by the video camera, an acute col lision warning.
- Always remember that the adaptive
cruise control cannot detect a vehicle
that is driving towards you in your traffic
lane and that it cannot detect narrow
~
Page 82 of 298
80 Adaptive cruise control and braking guard
The adaptive cruise control system on ly reacts
to objects that are moving or that the system has already detected and reg istered as mov
ing.
Adaptive cruise control
Description
Applies to vehicles: with adaptive cruise control
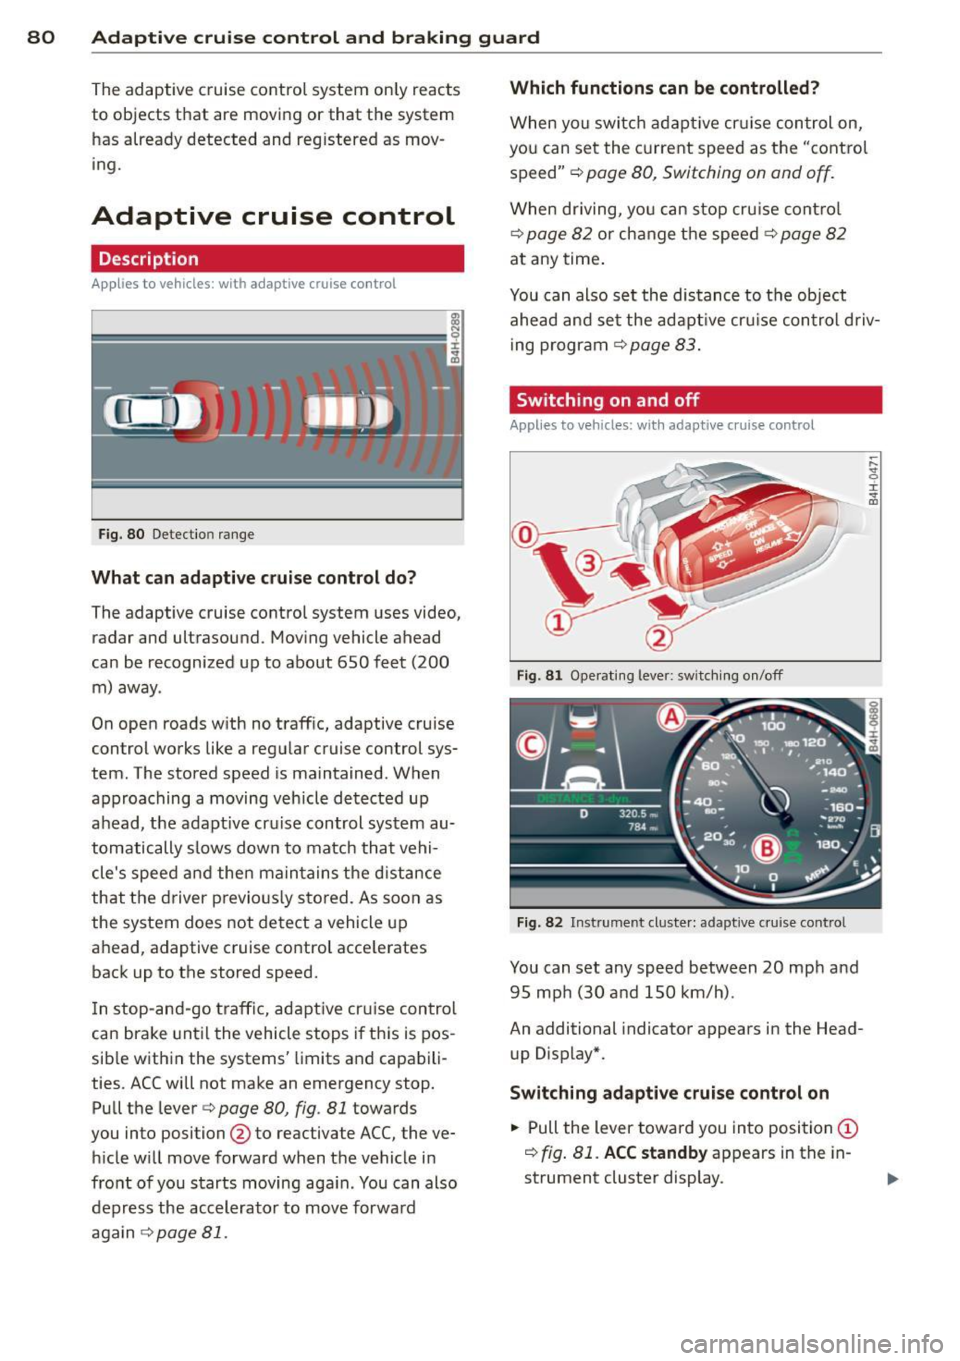
Fig . 80 Detection range
What can adaptive cruise control do?
The adaptive cruise control system uses video,
radar and ultrasound. Moving vehicle ahead
can be recognized up to about 650 feet (200 m) away.
On open roads with no traffic, adaptive cruise
control works like a regu lar cruise control sys
tem. The stored speed is maintained. When
approaching a moving vehicle detected up
ahead, the adapt ive cruise control system au
tomatically slows down to match that vehi
cle's speed and then ma intains the distance
that the driver previously stored. As soon as
the system does not detect a vehicle up
ahead, adaptive cruise control acce lerates
back up to the stored speed.
I n stop-and-go traffic, adaptive cruise control
can brake unt il the vehicle stops i f this is pos
sible with in the systems' limits and capabili
ties. ACC will not make an emergency stop.
Pull the lever<=>
page 80, fig. 81 towards
you into position @to reactivate ACC, the ve
hicle will move forward when the vehicle in
front of you starts moving aga in. You can also
depress the accelerator to move forwa rd
again <=>
page 81 .
Which functions can be controlled?
When you switc h adaptive cruis e control on,
you can set the current speed as the "control
speed" <=>
page 80, Switching on and off.
When driving, you can stop cruise contro l
<=>
page 82 or change the speed r::!> page 82
at any time.
You can also set the distance to the object
ahead and set the adaptive cruis e control driv
ing program
r::!> page 83.
Switching on and off
Applies to vehicles: with adaptive cruise control
Fig . 81 Operating lever: swit c hin g on/off
Fig . 82 Inst rument clus te r: adap tive cruise control
You can set any speed between 20 mph and
95 mph (30 and 150 km/h) .
An additional indicator appears in the Head
up Display*.
Switching adaptive cruise control on
.,. Pull the lever toward you into position (D
~ fig. 81. ACC standby appears in the in
strument cluster display.
Page 83 of 298
Adaptive cruise control and braking guard 81
Setting the speed and activating
regulation
~ To set the current speed, press the !SET !
button ¢ fig. 81. The set speed is shown in
the tachometer @and in the display
¢
fig . 82. You must also press the brake
pedal when the vehicle is stopped .
Switching adaptive cruise control off
~ Push the lever away from you into position
@ until it clicks into p lace. The message
ACC off appears.
Indicator lamps and messages in the instru
ment cluster display inform you about the cur
rent system status and settings.
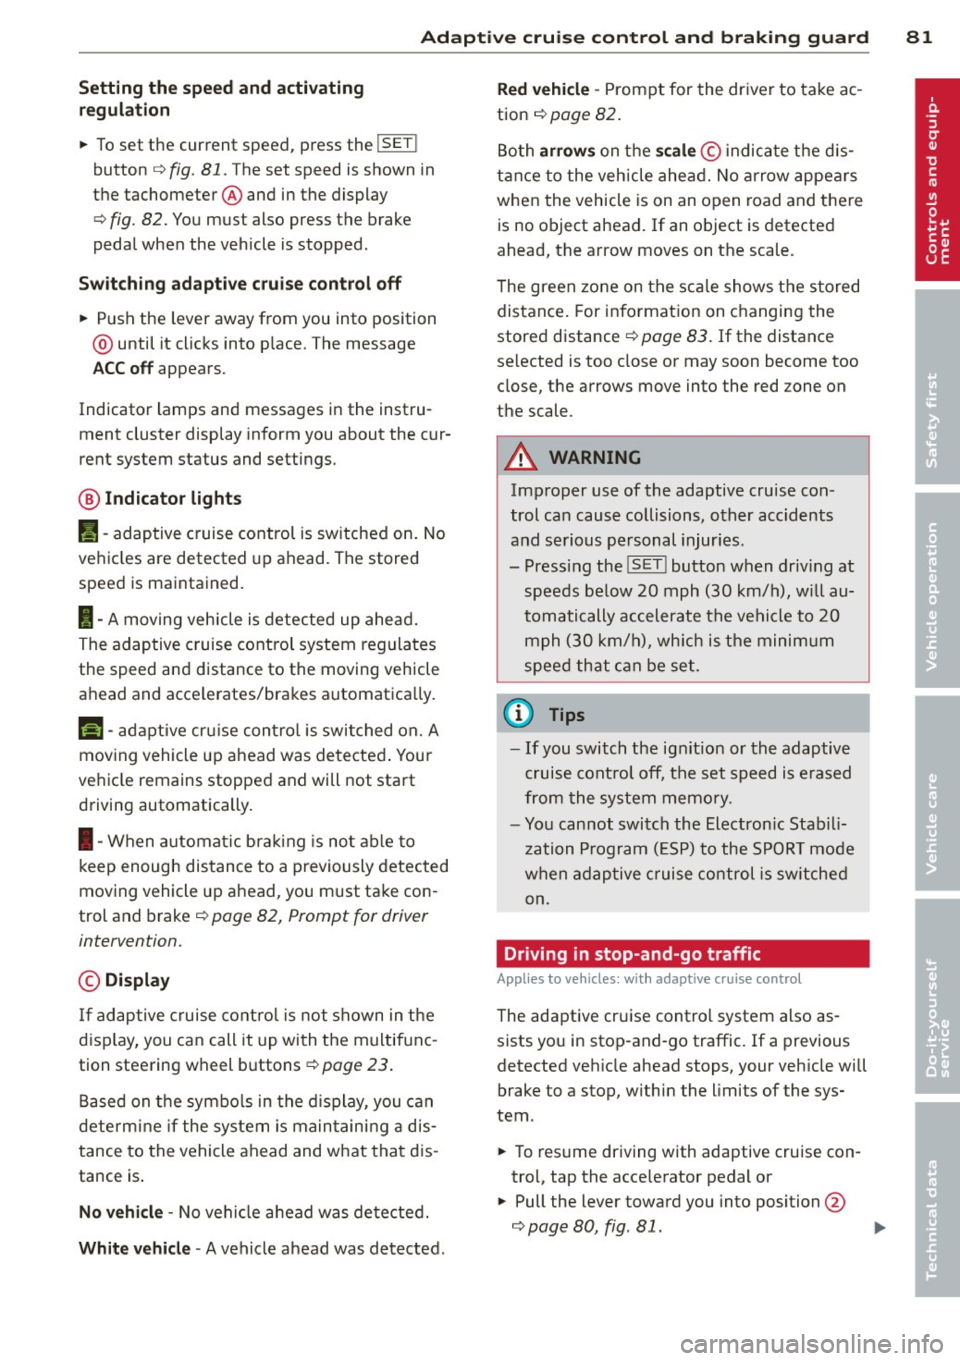
@ Indicator lights
Pl -adaptive cruise control is switched on. No
vehicles are detected up ahead . The stored
speed is ma intained.
I -A moving vehicle is detected up ahead.
The adaptive cruise control system regulates
the speed and distance to the moving vehicle
ahead and acce lerates/brakes automatica lly.
Mi -adaptive cruise control is swit ched on. A
moving vehicle up ahead was detected . Your
vehicle remains stopped and will not start
driving automatically.
I -When automat ic brakin g is not able to
keep enough distance to a previously detected
moving vehicle up ahead, you must take con
trol and brake¢
page 82, Prompt for driver
intervention.
© Display
If adaptive cruise control is not shown in the
disp lay, you can call it up with the multifunc
tion steering wheel buttons
¢page 23.
Based on the symbo ls in the display, you can
determine if the system is maintaining a dis
tance to the vehicle ahead and what that dis
tance is .
No vehicle -No veh icle ahead was detected.
White vehicle -A vehicle ahead was detected .
Red vehicle -Prompt for the driver to take ac
tion ¢
page 82.
Both arrows on the scale© indicate the dis
tance to the vehicle ahead. No arrow appears
when the vehicle is on an open road and there
is no object ahead. If an object is detected
ahead, the arrow moves on the scale.
T he green zone on the scale shows the stored
distance . For information on changing the
stored distance ¢
page 83. If the distance
selected is too close or may soon become too
close, the arrows move into the red zone on
the scale .
A WARNING
Improper use of the adaptive cruise con
trol can cause collisions, other accidents
and serious personal injur ies.
- Pressing the
! SET ! button when driv ing at
speeds below
20 mph (30 km/h), will au
tomatically accelerate the vehicle to
20
mph (30 km/h), which is the minimum
speed that can be set.
(D Tips
-If you switch the ignit ion or the adaptive
cruise control off, the set speed is erased
from the system memory.
- You cannot switch the Electronic Stabili
zation Program (ESP) to the SPORT mode
w hen adaptive cruise control is switched
on.
Driving in stop-and-go traffic
Applies to veh icles: w ith adaptive c ruise control
The adaptive cruise contro l system also as
sists you in stop-and-go traffic. If a previous
detected vehicle ahead stops, your veh icle will
brake to a stop, within the limits of the sys
tem .
~ To resume driving with adaptive cruise con
trol, tap the acce lerator pedal or
~ Pull the lever toward you into position @
¢ page 80, fig. 81. ..,_
Page 84 of 298
82 Adaptive cruise control and braking guard
@ Tips
-If adaptive cruise contro l is active and
your vehicle does not start dr iving as ex
pected after pulling the lever once, you
can start out aga in by tapp ing the accel
erator pedal.
- If an obstacle is detected when your ve
hicle starts dr iv ing, the system w ill
prompt you to take over
c> page 82.
Your vehicle w ill dr ive more slowly when
starting. This may a lso happen in some
situations when there no obstacle is ap
parent.
Interrupting cruise control
Applies to vehicles: with adaptive cruise control
Requirement: adaptive cruise control must be
switched on.
Overriding cruise control
., To accelerate manually, pull the lever to
ward you into position @~
page 80, fig. 81
and hold it there. The message ACC override
appears . Or
.. press the accelerator peda l.
.. To resume cruise control, release the lever
or take your foot off the accelerator pedal.
Canceling cruise control while driving
.. Move the lever into position @. The mes
sage
ACC standby appears. Or
.. press the brake peda l.
.. To resume the stored speed, move the lever
into position @.
Canceling cruise control when stopped
.. Push the lever away from you into position
· @ . The message
ACC standby appears .
.. To resume cruise control, press the brake
pedal and pull the lever toward you into po
sition @.
A WARNING
Improper use of the adaptive cruise con
trol can cause collisions, othe r acc idents
and serious personal injuries. -
Never resume t he stored speed if the
speed is too high for prevailing road,
traffic or weather conditions.
Prompt for driver intervention
Applies to vehicles: with adaptive cruise control
Fig. 83 Instrument cluster: requ est for driv er interve n·
tion
In certa in situations, the system will prompt
you to take action . For example, braking by
the adaptive cruise control system is not enough to mainta in enough distance to the
vehicle ahead.
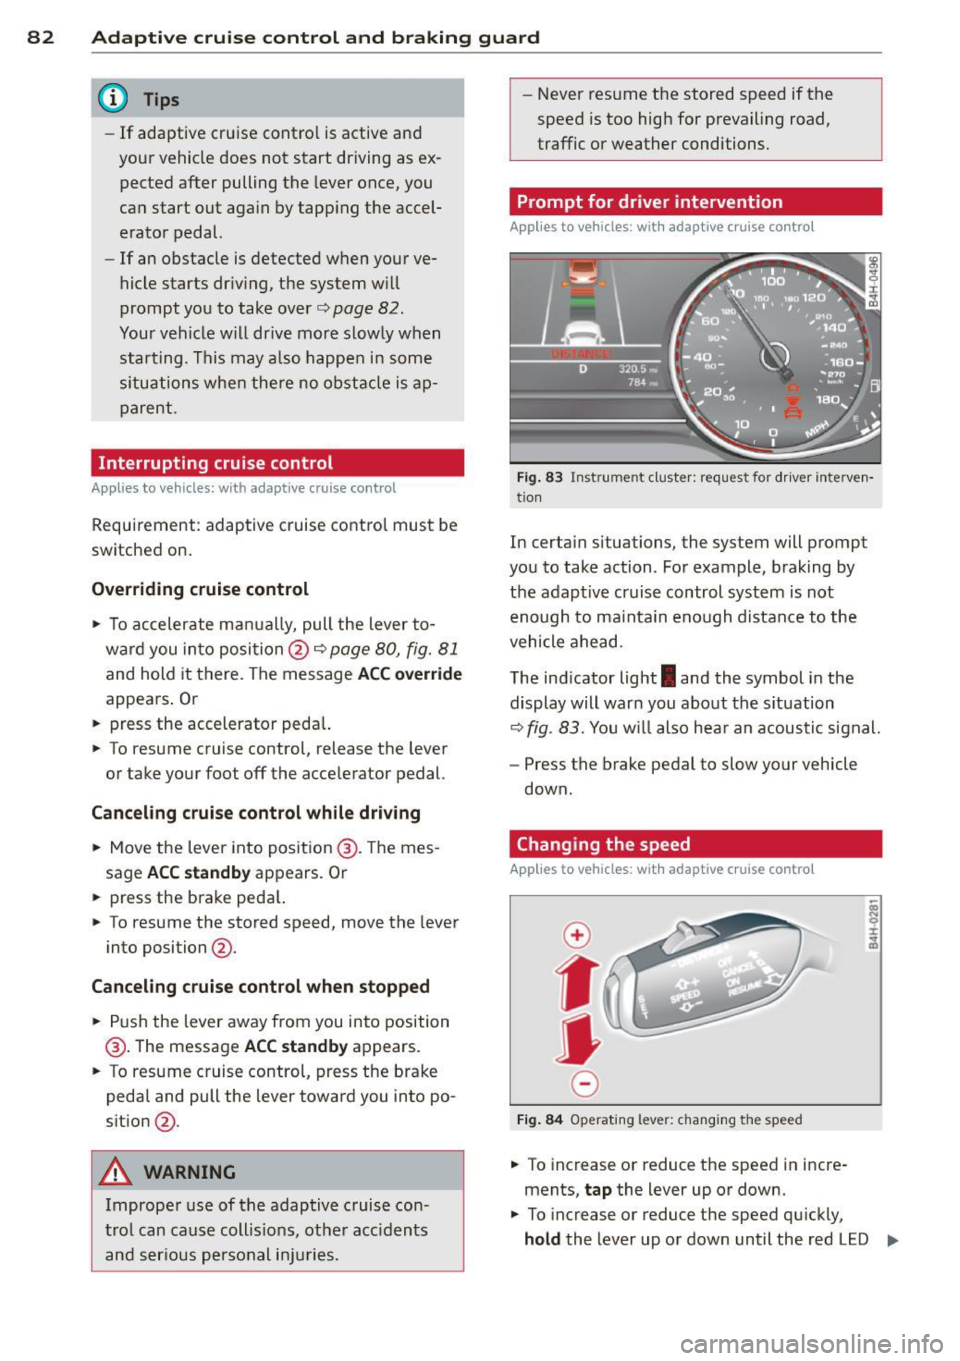
The indicator light
I and the symbol in the
display will warn you about the situation
~ fig. 83. You wi ll also hear an acoustic signal.
- Press the brake pedal to slow your vehicle
down.
Changing the speed
Applies to vehicles: with adaptive cruise control
0
f
jJ
0
Fig. 84 Operating lever: changing the speed
.. To increase or reduce the speed in incre
ments,
tap the lever up or down.
.. To increase or reduce the speed qu ickly,
hold the lever up or down until the red LED ..,.
Page 103 of 298
Automatic Transmission
multitronic ®
Introduction
Appl ies to vehicles: with multitr oni c
Your veh icle is equipped with an electronically
controlled,
continuously variable transmis
sion
(multitronic ®). In contrast to convention
al automatic transmi ssions using shifting op
erations, the transmission ratio in the contin
uously variab le transmission is changed con
tinuously. This optimizes the comfort level
and conserves fuel.
The gear ratio in the transmission is selected
(upshift and downshift) completely automati
cally as a function of the defined driving pro
grams.
If desired, the driver can also select the gears
manually (tiptronic mode).
Instead of the torque converter in convention
al automatic transmissions, your multitronic ®
transmission uses a multidisk clutch for pow
er transmission . Therefore, the "creep behav
ior" of the veh icle dur ing idling when tempo
rarily stopped in selecto r lever pos it ion 0/S or
R is less pronounced.
Driving the automatic transmission
A ppl ies to vehicles: with multitr onic
Fig . 105 Shift gate on the cente r console: se lecto r lev
er wi th release button
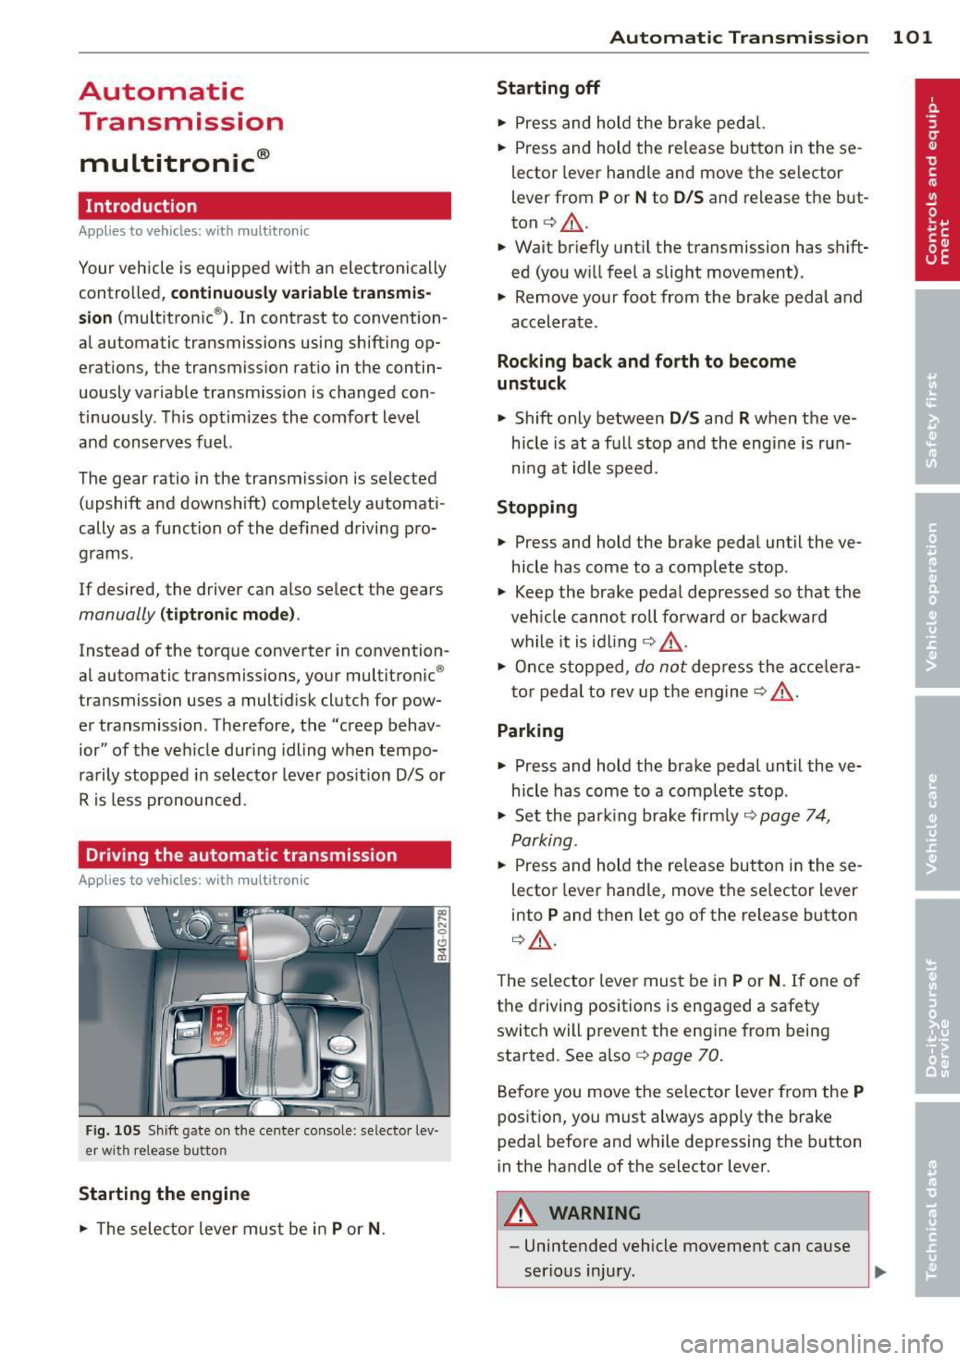
Starting the engine
• The selector leve r must be in P or N. Automatic Transmission 101
Starting off
•
Press and hold the brake pedal.
• Press and hold the re lease button in these
lector lever handle and move the selector
lever from
P or N to D/S and release the but
ton
c:> _&. .
.,. Wait briefly until the transmission has shift
ed (you will feel a slight movement) .
.,. Remove your foot from the brake pedal and
accelerate .
Rocking back and forth to become
unstuck
.,. Shift only between D/S and R when the ve
hicle is at a full stop and the engine is run
ni ng at idle speed .
Stopping
.,. Press and hold the brake pedal until the ve
hicle has come to a complete stop .
• Keep the brake pedal depressed so that the
veh icle cannot roll forward or backward
while it is idling
c:> _&. .
• Once stopped, do not depress the acce le ra
tor peda l to rev up the engine
c:> _&. .
Parking
.,. Press and hold the brake pedal until the ve
hicle has come to a complete stop .
• Set the park ing brake firmly
c:> page 7 4,
Parking .
• Press and hold the release button in these
lector lever handle, move the se lector lever
into
P and then let go of the release button
c:> _&..
The selector lever must be in P or N. If one of
the driving positions is engaged a safety
switch will prevent the eng ine from being
started . See also co
page 70.
Before you move the selector lever from the
P
position, you must always app ly the brake
pedal before and while depressing the button
in the handle of the selector lever.
A WARNING
-- Unintended vehicle movement can cause
serious injury.
Page 109 of 298
Driving the automatic transmission
Applies to vehicles: with tiptronic
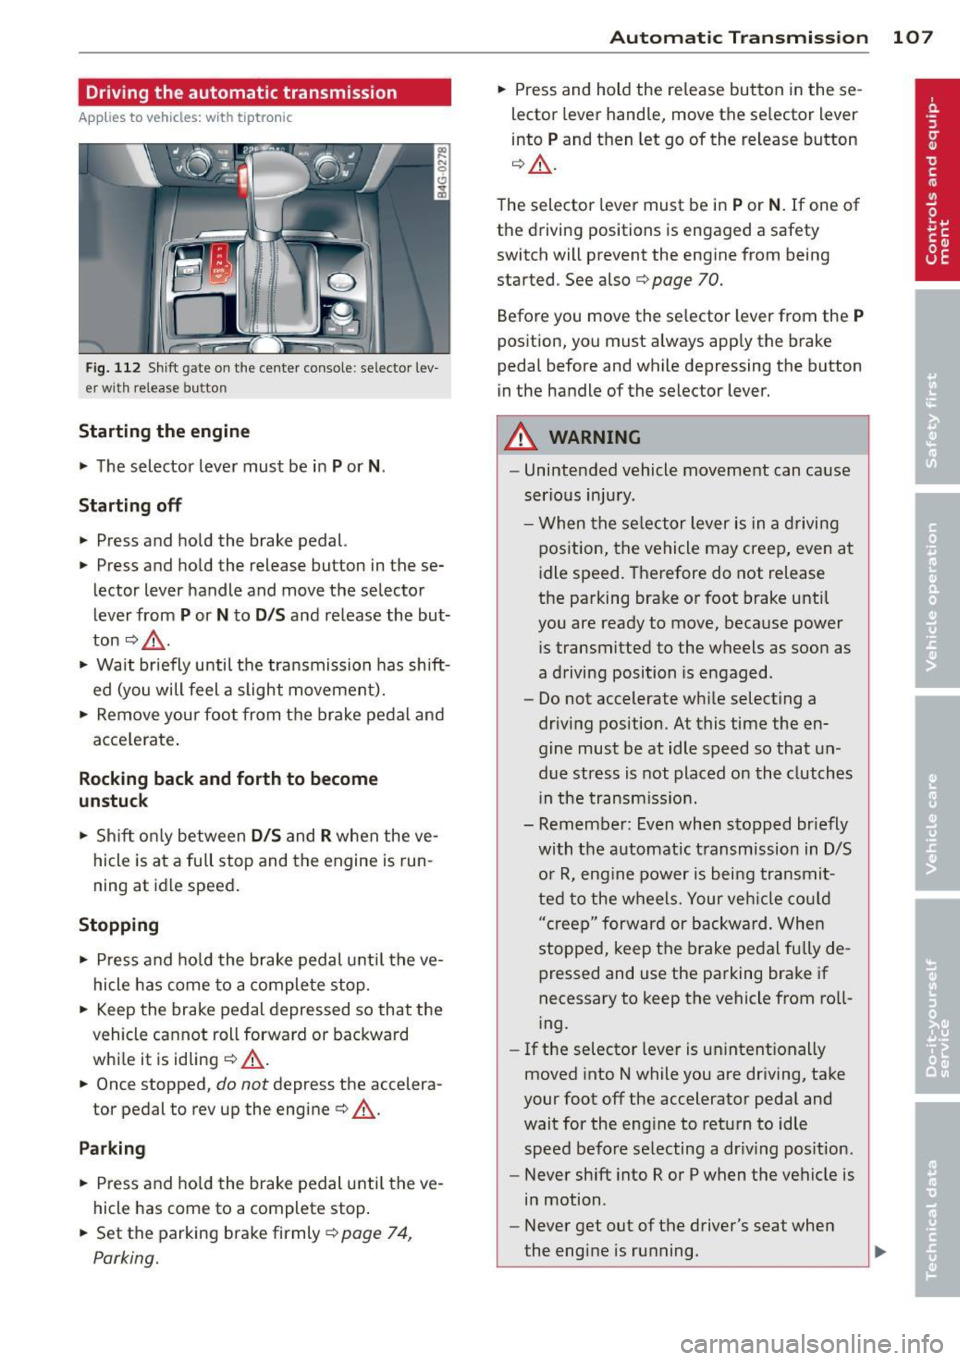
Fig. 112 Shift gate on the center conso le: selector lev
er w ith release button
Startin g the engine
~ The selector lever must be in P or N.
St arting off
~ Press and hold the brake pedal.
~ Press and hold the release button in these
lector lever handle and move the selector
lever from
P or N to D /S and release the but
ton
c:> _& .
~ Wait briefly until the transmission has shift
ed (you will feel a slight movement).
~ Remove your foot from the brake pedal and
acce lerate .
Rocking back and forth to become
un stu ck
~ Shift on ly between D /S and R when the ve
hicle is at a fu ll stop and the engine is run
ning at idle speed.
St opping
~ Press and ho ld the brake pedal unti l the ve
hicle has come to a complete stop.
~ Keep the brake pedal depressed so that the
vehicle cannot roll forward or backward
whi le it is idling
c:> .&._ .
~ Once stopped, do not depress the accelera
tor pedal to rev up the engine
c:> .&._ .
Park ing
~ Press and ho ld the brake pedal unti l the ve
hicle has come to a complete stop .
~ Set the parking brake firmly r=;,page 74,
Parking.
Automatic Tra nsmi ssi on 10 7
~ Press and hold the re lease button in these
lector lever handle, move the se lector lever
into
P and then let go of the release button
q A .
The selector lever must be in P or N . If one of
the driving positions is engaged a safety
switch will prevent the engine from being
started . See also
r=;, page 70.
Before you move the se lector lever from the
P
position, you must always app ly the brake
pedal before and while depressing the button
in the handle of the selector lever.
A WARNING
- Unintended vehicle movement can cause
serious injury .
- When the se lector lever is in a d riving
position, the vehicle may creep, even at
idle speed. Therefore do not release
the parking brake or foot brake until
you are ready to move, because power
i s transmitted to the wheels as soon as
a driving position is engaged.
- Do not accelerate while selecting a
driv ing position. At this time the en
gine must be at idle speed so that un
due stress is not placed on the clutches
i n the transmiss io n.
- Remember: Even when stopped br iefly
with the automatic t ransmission in D/S
o r R, eng ine power is bei ng transmit
ted to the wheels. Your veh icle cou ld
"creep" forward or backward. Whe n
stopped, keep the b rake pedal fully de
pressed and use the parking brake if
necessary to keep the vehicle from ro ll
i ng.
- If the selector lever is un intent ionally
moved into N while you are driving, take
your foot off the accelerator peda l and
wait for the eng ine to retu rn to idle
speed before selecting a dr iv ing pos ition.
- Never sh ift into R or P when the vehicle is
in motion .
- Never get out of the driver's seat when
the eng ine is ru nning.
Page 120 of 298

118 Parking system
The following steps app ly only when there is
no obstacle such as a wall near the parking
spot. Otherwise, please read the informat ion
prov ided in the "Parking Next to Obstacles"
section <=>
page 118.
.. Activate the turn signal.
.. Position your vehicle parallel to the edge of
the street, approximately 3 ft (1 meter)
from a parked vehicle.
.. Switch the MM I on and se lect reverse gear .
The parking aid turns on and parking mode
1 appears on the display .
.. Press the cont ro l button @<=>
fig. 12 7 on
t h e M MI con trol conso le. Par kin g mode 2
appears .
.. Back up and align yo ur vehicle so the b lue
area @ borders on the rear end of the vehi
cle or on the parking spot line. The bl ue area
represents an extension of the veh icle's out
li ne by approximate ly 16 ft (5 meters) to the
rear . The long side of the blue area should
be o n the cu rb. The entire blue area must fit
into the parking spot .
.. Wi th the veh icle stopped, turn the s teer ing
wheel to the right as far as it w ill go.
.. Back into the park ing spot until the blue
c ur ve to uches the curb<=>
fig. 128. Stop the
vehicle.
.. With the veh icle stopped, turn the steer ing
wheel to the left as far as it will go.
.. Co nti nue to back in to the parking spot until
the veh icle is parked para llel to the curb .@
marks the rear bumper . Stop the vehicle
when the red orientation line@ borders an
obje ct ¢
& -Keep an eye on the front of
yo ur vehicle while doing this ¢0 .
Parking n ext to obstacles
When t here is an obstacle (such as a wall)
next to the pa rk ing spot, choose a spot w ith
mo re space on t he sides. Pos ition the long
side of the blue area so that there is sufficie nt
sp ace from the curb. The area m ust no t be on
the c urb. Yo u will also need to start turning
the steering wheel much earlier. There should
be a suffic ient amo unt of space between the
curb and the b lue curve, and the blue c urve
c;> fig. 128 mus t not touch the curb.
A WARNING
- The rear view camera does not show the
entire area behind the vehicle
c::;, page 115, fig . 123 . Watch out espe
cially fo r small ch ildren and anima ls . T he
rea r view came ra ca nnot always de te ct
them, posing ris k of an acciden t!
- P lease note that objects not touching the
g round can appear to be further away
t han they really are (for examp le, the
bumper of a par ked vehicle, a trai ler
hitch, or the rea r of a truck) . In this case,
you shou ld not use the help lines to help
with parking, wh ic h poses danger of an
accident!
(D Note
In the MMI display, the direction of travel
of the vehicle rear is represented depend
i ng on the steering wheel angle . The vehi
cle front swings out more than the vehicle rear . Maintain plenty of dista nce so that
your outside mi rror or a corner of you r ve
hicle does not col lide with any obstacles.
This can damage to your ve hicle .
(D Tips
The left o r right orie ntation lines and su r
faces will be disp layed, depending on t he
tu rn s ignal being used .
Adjusting the display
and warning tones
Applies to vehicles: with parking system plus or parking
system plus with rear view camera
The display and warning tones can be adjust
ed in the MMI.
.. Select: !CAR ! function b utton> Car sy stems
cont ro l but to n > Driver a ssi st > Parking aid
> Setting s control b utton .
Display
On* -turns on the visual d isplay for pa rking
system p lus and shows the rearview came ra
i mage fo r the park ing system p lus w ith rea r
view camera*. ..,_