coolant reservoir AUDI A6 2014 Owners Manual
[x] Cancel search | Manufacturer: AUDI, Model Year: 2014, Model line: A6, Model: AUDI A6 2014Pages: 304, PDF Size: 76.32 MB
Page 226 of 304
224 Checking and filling
Checking and filling Engine hood
Releasing the engine hood
The engine hood is released from inside the
vehicle .
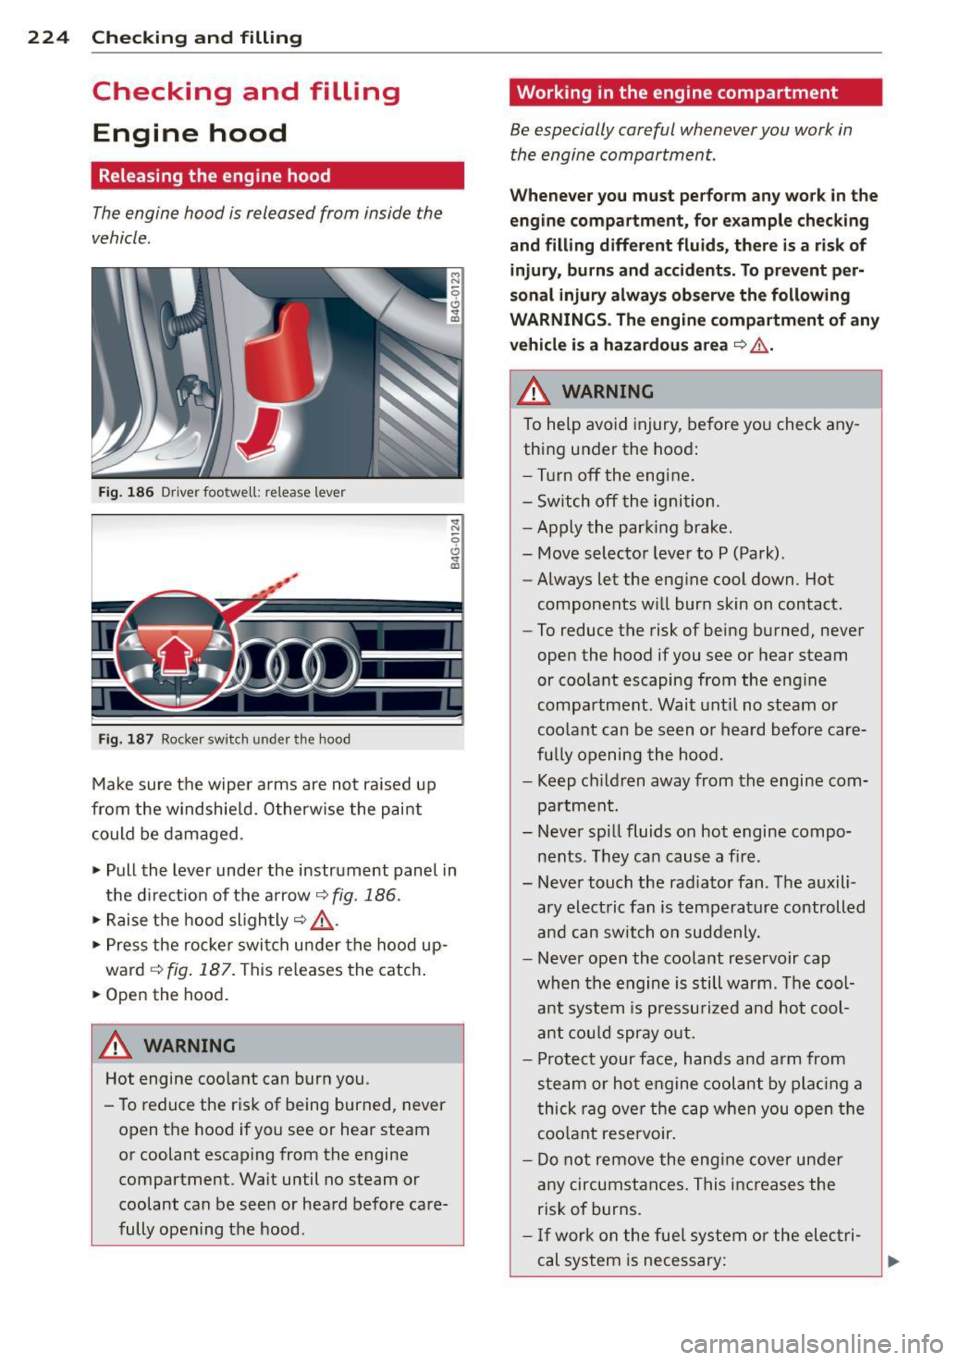
Fig. 186 Driver foo twell: release lever
Fig. 187 Rocker switch un der the hood
Make sure the wiper arms are not raised up
from the windshield. Otherwise the paint
could be damaged .
.,. Pull the lever under the instrument panel in
the direction of the arrow
¢ fig. 186.
.,. Raise the hood slightly¢,&. .
... Press the rocker switch under the hood up
ward
~ fig. 187. This releases the catch.
• Open the hood.
&_ WARNING
Hot engine coolant can burn you.
- To reduce the risk of being burned,
never
open the hood if you see or hear steam
or coolant escaping from the engine compartment . Wait until no steam or
coolant can be seen or heard before care
fully opening the hood .
'Working in the engine compartment
Be especially careful whenever you work in
the engine compartment.
Whenever you must perform any work in the
engine compartment, for example checking
and filling different fluids, there is a risk of injury, burns and accidents. To prevent per
sonal injury always observe the following
WARNINGS. The engine compartment of any
vehicle is a hazardous area
¢ ,&. .
A WARNING
To help avoid injury, before you check any
thing under the hood:
- Turn off the engine.
- Switch off the ignition .
- Apply the parking brake.
- Move selector lever to P (Park).
- Always let the engine cool down. Hot
components will burn skin on contact.
- To reduce the risk of being burned, never
open the hood if you see or hear steam
or coolant escaping from the engine
compartment. Wait until no steam or
coolant can be seen or heard before care
fully opening the hood.
- Keep children away from the engine com
partment.
- Never spill fluids on hot engine compo
nents . They can cause a fire .
- Never touch the radiator fan. The auxili
ary electric fan is temperature controlled
and can switch on suddenly .
- Never open the coolant reservoir cap
when the engine is still warm . The cool
ant system is pressurized and hot cool
ant could spray out.
- Protect your face, hands and arm from
steam or hot engine coolant by placing a
thick rag over the cap when you open the
coolant reservoir.
- Do not
remove the engine cover under
any circumstances. This increases the
risk of burns.
- If work on the fuel system or the electri
cal system is necessary:
Page 228 of 304
226 Checking and filling
Engine compartment
Engine compartment overview
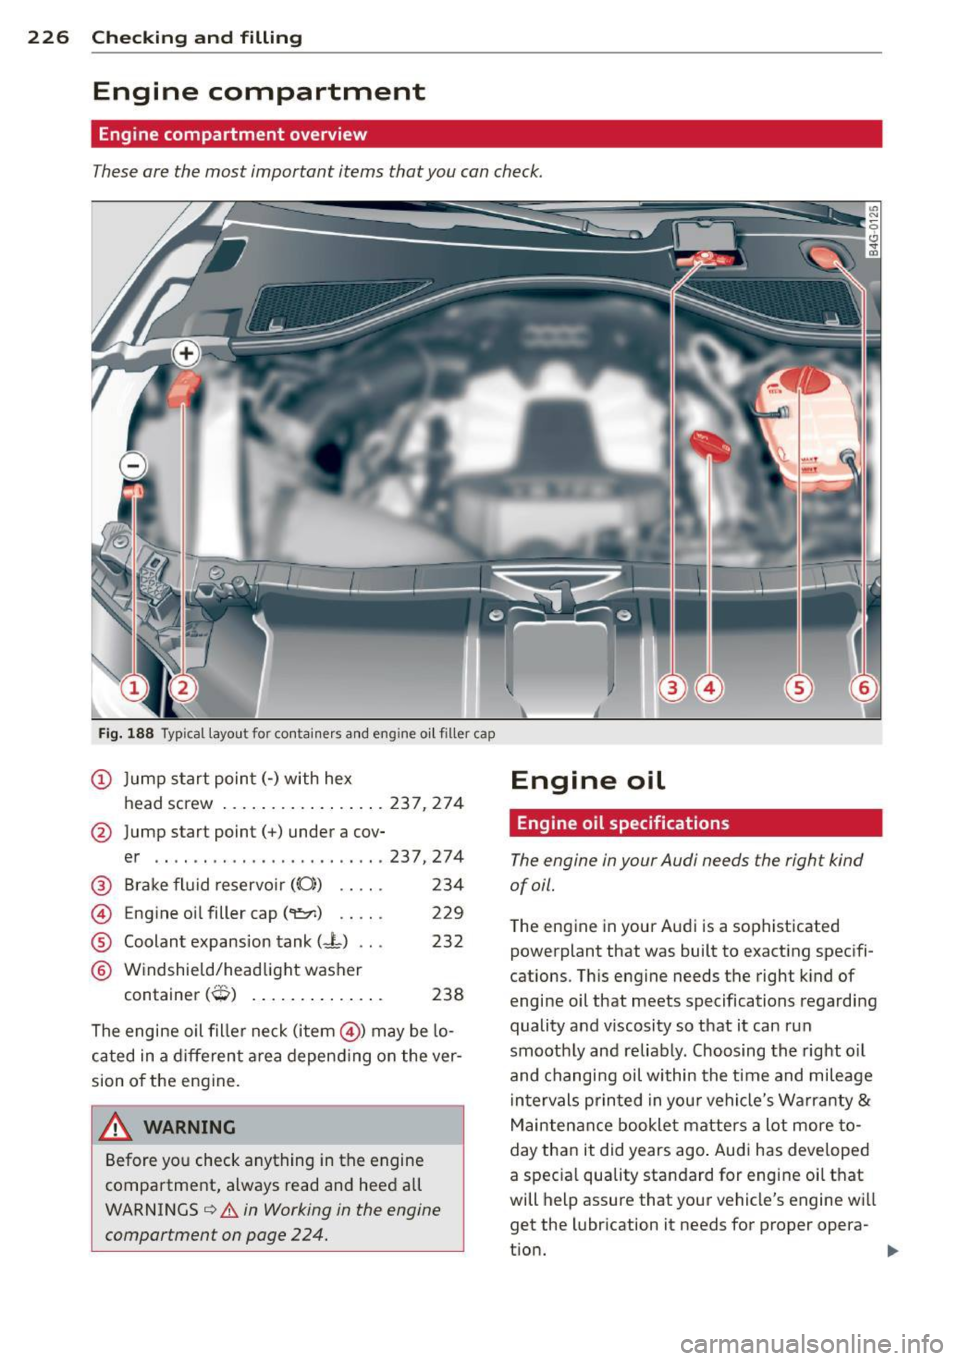
These are the most important items that you can check .
Fig. 188 Typi cal layout for conta iner s and en gine o il filler cap
(D Jump start point(-) with hex
head screw .................
237,274
@ Jump start point(+) under a cov-
er .. .. .. .. ........ .. ..... .
237,274
®
©
®
®
Brake fluid reservoir ((0)) . . . . . 234
Engine oi l fille r cap (
Windshield/headlight washer
232
t . (.'R ) con ainer ,,.., ...... ....... . 238
The engine oil filler neck (item @) may be lo
cated in a different area depending on the ver
sion of the engine.
~ WARNING
Before yo u check anything in the engine
compartment, always read and heed all
WARNINGS
¢ &. in Working in the engine
compartment on page 224.
-
Engine oil
Engine oil specifications
The engine in your Audi needs the righ t kind
of oil.
The engin e in your Audi is a sophisticated
powerpl ant that was bu ilt to exacting spe cifi
cations . Thi s engine needs the righ t kind of
engine oil that meets specification s regarding
quality and v iscosity so that it can run
smoothly and reliably . Choosing the right oil
and changing oil within the tim e and mileage
intervals printed in you r vehicle's Warra nty
&
Maintenance booklet matters a lot more to
day than it did years ago . Audi has developed
a special quality standard for engine oil that
will h elp assur e that your vehicle's engine wi ll
get the lubr ication it need s for proper opera -
tion. ..,.
Page 236 of 304
234 Checking and filling
continue to run until the coolant temper
ature drops.
Brake fluid
Checking brake fluid level
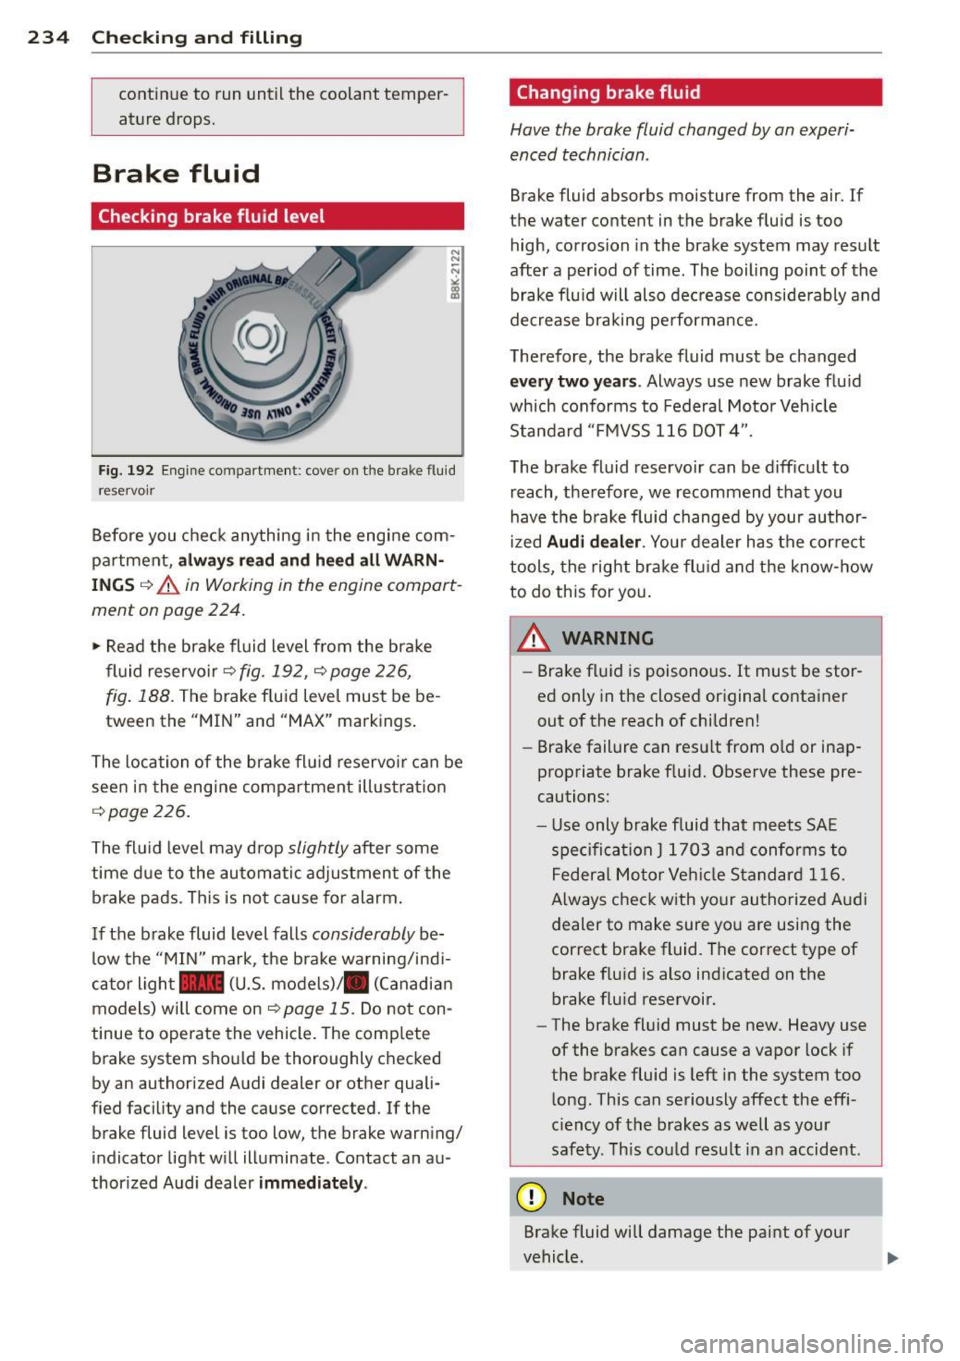
Fig. 192 Engine compartment : cove r on the brake fl uid
reservo ir
Before you check anything in the engine com
partment,
always read and heed all WARN
INGS ~ .&. in Working in the engine compart
ment on page 224.
.,. Read the brake fluid level from the brake
fluid reservoir~
fig. 192 , ~ page 226,
fig.
188. The brake fluid leve l must be be
tween the "MIN" and "MAX" markings .
The location of the brake flu id reservoir can be
seen in the engine compartment illustrat ion
~ page 226.
The fluid level may drop slightly after some
time due to the automatic adjustment of the
brake pads . Th is is not cause for alarm.
I f the brake fluid level falls
considerably be
lo w the "MIN" mark, the brake wa rning/indi
cator light
1111 (U.S. models)/ . (Canadian
models) will come on~
page 15. Do not con
tinue to operate the vehicle. The comp lete
brake system should be thoroughly checked
by an authorized Audi dealer or other quali
fied facility and the ca use corrected. If the
brake fluid level is too low, the brake warning/
indicator light w ill illuminate . Contact an au
thorized Audi dealer
immediately .
Changing brake fluid
Have the brake fluid changed by an experi
enced technician .
Brake fluid absorbs moisture from the air. If
the water content in the brake fluid is too
high, corrosion in the brake system may result
after a period of time . The boiling point of the
brake fluid will also decrease considerably and
decrease braking pe rformance .
Therefore, the brake fluid must be changed
every two years. Always use new brake flu id
which conforms to Federal Motor Vehicle
Standard "FM VSS 116 DOT 4".
The brake fluid reservoir can be diff icult to
reach, therefore, we recommend that you
have the brake fluid changed by your author
ized
Audi dealer . Your dealer has the correct
tools, the right brake fluid and the know-how
to do this for you.
A WARNING
- Brake fluid is poisonous . It must be stor
ed only in the closed original container
out of the reach of children!
- Brake failure can resu lt from o ld or inap
propriate brake fluid. Observe these pre
cautions:
- Use only brake fluid that meets SA E
specification
J 1703 and conforms to
Federal Motor Vehicle Standard 116.
Always check with your authorized Audi
dealer to make sure you are using the
correct brake fluid. The correct type of
brake flui d is also ind icated on the
brake fluid reservoir.
- The brake fluid must be new. Heavy use
of the brakes can cause a vapor lock if
the brake fluid is left in the system too
long. This can seriously affect the effi
c ie ncy of the brakes as well as your
safety. This could result in an accident.
(D Note
Brake fluid will damage the paint of your
vehicle .
Page 241 of 304
The washer fluid container is marked with the
symbol~ on its cap
¢fig . 194, ¢page 226,
fig. 188 .
.,. Before you check anyth ing in the engine
compartment,
always read and h eed all
WARNINGS ¢ A in Working in the engine
compartment on page 224 .
.,. Lift the filler cap tongue to add washer flu
id. You can fill the container to the top .
.,. Press the cap back onto the filler neck after
fill ing the container .
You can f ind the reservoir
capa city in the table
in
¢ page 281.
C lean water sho uld be used when filling up. If
possible, use soft water to prevent sca ling on
washer jets. Always add a glass cleaner solu
tion (with frost protection in the winter).
CJ) Note
Do not mix engine coolant antifreeze or
any other add itives to fill up the wind
shie ld washer reservoir.
Checkin g and fillin g 239
•
•
Page 295 of 304
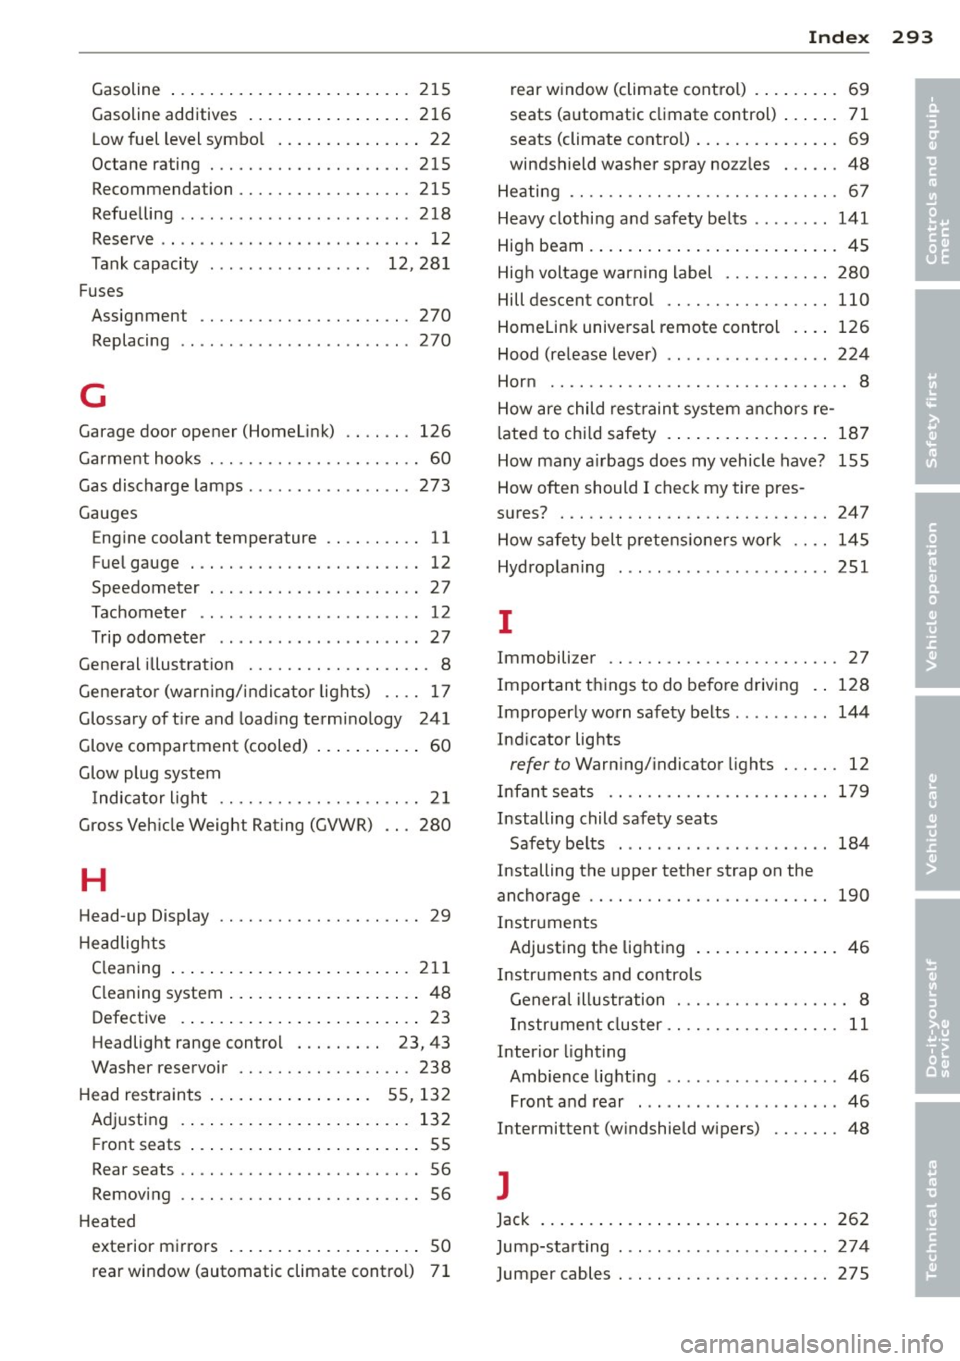
Gasoline ... .. .... .... ... .. .. .. ... 215
Gasoline additives ..... ... .. .. .. .. . 2 16
L ow fuel level symbo l .. ... .. .. .. .. .. 22
Octane rating ............ .... .. ... 215
Recommendation ......... .. .. .. .. . 215
Refue lling .. ................ ... ... 218
Reserve . ... ... .. .. ...... .. .. .. .. .. 12
Tank capacity . . . . . . . . . . . . . . . . . 12, 28 1
Fuses Assig nment ............. .... .. ... 270
Replacing ............ ...... .... .. 270
G
Garage door opener (Homel ink) .. .. .. . 126
Garment hoo ks . . . . . . . . . . . . . . . . . . . . . . 60
Gas discharge lamps ........... .... .. 273
Gauges Engine coolant temperature .. .. .. .. .. 11
F uel gauge . .. .. ......... .. .. .. .... 12
Speedometer ... .... ... .. .. .. .. .. .. 27
Tac hometer .. ........ ...... ... ... . 12
Trip odometer ........ .... ... ... ... 27
Gene ral illustration . . . . . . . . . . . . . . . . . . . 8
G ene ra to r (wa rn ing/ indic ator lights) .. .. 17
Glossary of t ire and load ing termi no logy 241
Glove com partment (cooled) . . . . . . . . . . . 60
G low plug system
Indicator ligh t . . . . . . . . . . . . . . . . . . . . . 21
Gross Veh icle Weight Rating (GVWR) .. . 280
H
Head -up Display . . . . . . . . . . . . . . . . . . . . . 29
H eadlights
C leaning ... .. ... ..... ... .. .. .. ... 211
C leaning system ... .... ... .. .. .. .. .. 48
Defective . ... .... .... ... .. .. .. .... 23
Headlig ht range contro l . . . . . . . . . 23, 43
Washer reservoir ......... .. .. .. .. . 238
H ead res train ts . . . . . . . . . . . . . . . . . 5 5, 13 2
A dju sting . ... .. ... . .. ... .. .. .. ... 132
Fr ont seats . . . . . . . . . . . . . . . . . . . . . . . . 55
Rear seats .. .. .. ......... .. .. .. .... 56
Removing .. ............. .... .. .. .. 56
H ea ted
exte rior m irrors ... .... ... .. .. .. .. .. 50
rear window (automatic climate cont ro l) 7 1
Index 293
rear w indow (climate cont rol) . ... .. .. . 69
seats (a utomatic climate control) ... .. . 71
seats (climate cont ro l) . . . . . . . . . . . . . . . 69
windshield washer spray no zzles ... .. .
48
He ating .... .. .. .. ................. . 67
Heavy clothi ng a nd safety be lts ... .... .
141
High beam . ... .. .... . ... ...... ... .. . 45
Hig h voltage warn ing label ....... .. .. 280
Hill descent contro l .... ............. 110
Homelin k unive rsal remote con trol . ... 126
Hood (re lease lever) .. .............. . 224
Hor n .......... .. .... ............. .. 8
How are child rest raint syste m anchors re-
lated to ch ild safety . .. .. .. ..... ... .. 18 7
How many a irbags does my vehicle have? 155
How ofte n should I check my tire pres -
s u res? ..... .. .. .. .. .. ........... .. 247
H ow safety belt pretens io ne rs wor k . . . . 1 45
Hydrop la ning ..... .. ..... .......... 251
I
Immobilize r . . . . . . . . . . . . . . . . . . . . . . . . 27
Impo rtant t hings to do be fore driving . . 128
Improperly worn safe ty belts .. ... ... .. 144
Ind icator lights
refer to Warn ing/ indicator lights . .. .. . 12
Infan t seats . . . . . . . . . . . . . . . . . . . . . . . 17 9
Installing child safety seats Safety be lts . . . . . . . . . . . . . . . . . . . . . . 184
Installing the upper tether strap on the
anchorage .... .. ...... ............. 190
Instruments Adjusting the light ing .. ..... ... .. .. . 46
Instrum ents and controls
Genera l illustration . . . . . . . . . . . . . . . . . . 8
Instr ument cluster . . . . . . . . . . . . . . . . . .
11
Interior lighting
Amb ience lighti ng .. .. .. ...... .... .. 46
Front and rear .... ................. 46
Intermittent (w indshie ld wipers) ...... . 48
J
Jack 262
Jump-starting . .. ................... 274
Jumper cables . .. ................... 275
•
•