torque AUDI A8 1997 D2 / 1.G 01V Transmission Remove And Install Workshop Manual
[x] Cancel search | Manufacturer: AUDI, Model Year: 1997, Model line: A8, Model: AUDI A8 1997 D2 / 1.GPages: 64, PDF Size: 1.44 MB
Page 11 of 64
37-81
All except 2.7 Liter 5V turbo engine:
- Remove starter.
Repair Manual, Electrical Equipment, Repair
Group 27; Starter, removing and installing
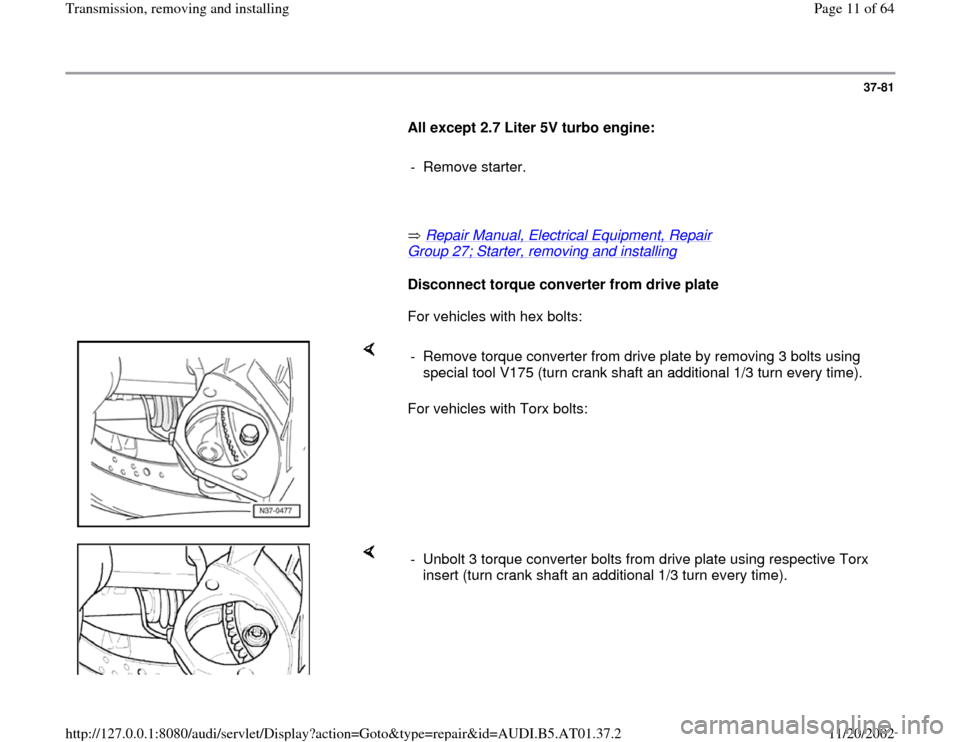
Disconnect torque converter from drive plate
For vehicles with hex bolts:
For vehicles with Torx bolts: - Remove torque converter from drive plate by removing 3 bolts using
special tool V175 (turn crank shaft an additional 1/3 turn every time).
- Unbolt 3 torque converter bolts from drive plate using respective Torx
insert (turn crank shaft an additional 1/3 turn every time).
Pa
ge 11 of 64 Transmission, removin
g and installin
g
11/20/2002 htt
p://127.0.0.1:8080/audi/servlet/Dis
play?action=Goto&t
yp
e=re
pair&id=AUDI.B5.AT01.37.2
Page 17 of 64
37-87
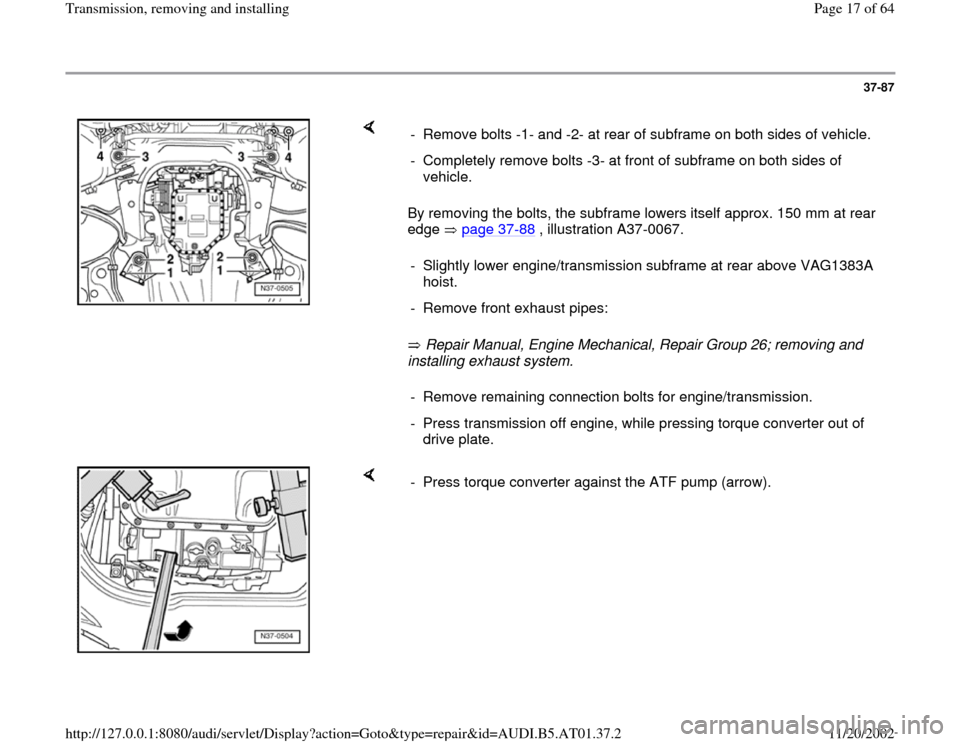
By removing the bolts, the subframe lowers itself approx. 150 mm at rear
edge page 37
-88
, illustration A37-0067.
Repair Manual, Engine Mechanical, Repair Group 26; removing and
installing exhaust system. - Remove bolts -1- and -2- at rear of subframe on both sides of vehicle.
- Completely remove bolts -3- at front of subframe on both sides of
vehicle.
- Slightly lower engine/transmission subframe at rear above VAG1383A
hoist.
- Remove front exhaust pipes:- Remove remaining connection bolts for engine/transmission.
- Press transmission off engine, while pressing torque converter out of
drive plate.
- Press torque converter against the ATF pump (arrow).
Pa
ge 17 of 64 Transmission, removin
g and installin
g
11/20/2002 htt
p://127.0.0.1:8080/audi/servlet/Dis
play?action=Goto&t
yp
e=re
pair&id=AUDI.B5.AT01.37.2
Page 19 of 64
37-89
Installing
Installation is reverse of removal, noting the
following:
Before installing:
All-wheel-drive vehicles
- Clean threads in driveshaft flange!
Continuation for all vehicles
- Clean ATF lines page 37
-158
.
- Insert torque converter into transmission page
32
-8 .
WARNING!
Check installation dimension of torque
converter before installing transmission
page 32
-8
- Make sure bushings are correctly seated.
Note:
If the bushings get stuck in the transmission
housing, they must be removed and new
bushings must be installed on the engine.
Pa
ge 19 of 64 Transmission, removin
g and installin
g
11/20/2002 htt
p://127.0.0.1:8080/audi/servlet/Dis
play?action=Goto&t
yp
e=re
pair&id=AUDI.B5.AT01.37.2
Page 23 of 64
37-93
Note:
If installed, place intermediate plate onto
bushings.
Make sure that wires do not get pinched as
transmission is docked at engine.
Check whether the torque converter is still
properly installed and has not slid out of the
converter housing toward the font:
- It must be possible to easily turn torque
converter by hand without much force.
WARNING!
In case of an incorrectly inserted torque
converter, the coupling plate of the torque
converter or the ATF-pump will be destroyed,
if the transmission is flanged to the engine.
- If the torque converter is difficult to move, check
installation dimension once again page 32
-8 .
Pa
ge 23 of 64 Transmission, removin
g and installin
g
11/20/2002 htt
p://127.0.0.1:8080/audi/servlet/Dis
play?action=Goto&t
yp
e=re
pair&id=AUDI.B5.AT01.37.2
Page 24 of 64
37-94
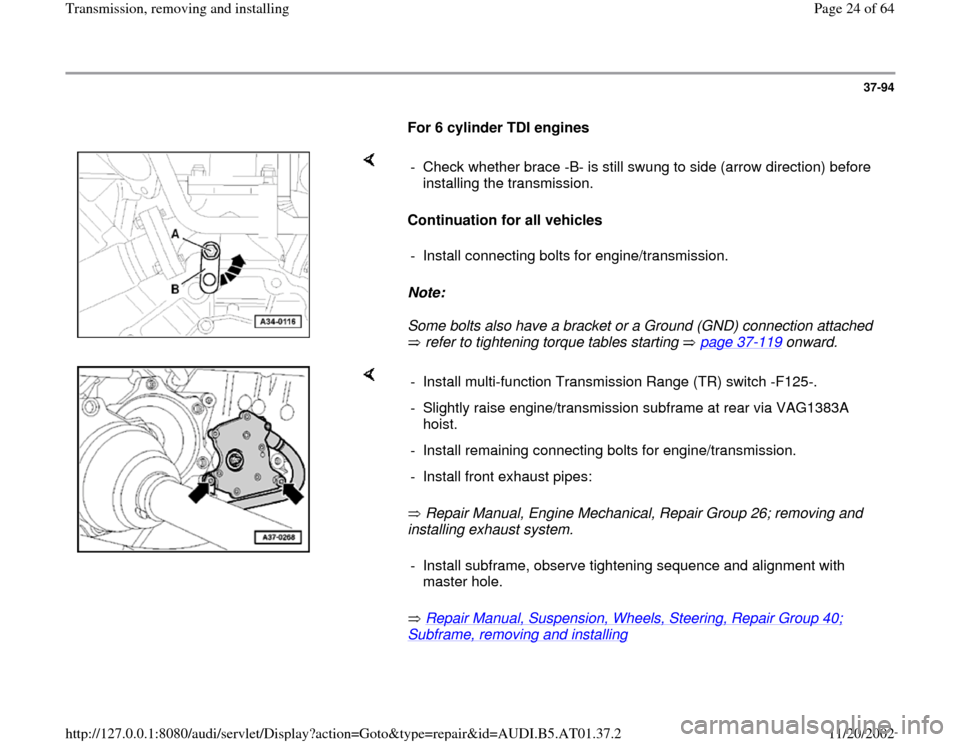
For 6 cylinder TDI engines
Continuation for all vehicles
Note:
Some bolts also have a bracket or a Ground (GND) connection attached
refer to tightening torque tables starting page 37
-119
onward. - Check whether brace -B- is still swung to side (arrow direction) before
installing the transmission.
- Install connecting bolts for engine/transmission.
Repair Manual, Engine Mechanical, Repair Group 26; removing and
installing exhaust system.
Repair Manual, Suspension, Wheels, Steering, Repair Group 40;
Subframe, removing and installing
- Install multi-function Transmission Range (TR) switch -F125-.
- Slightly raise engine/transmission subframe at rear via VAG1383A
hoist.
- Install remaining connecting bolts for engine/transmission.
- Install front exhaust pipes:
- Install subframe, observe tightening sequence and alignment with
master hole.
Pa
ge 24 of 64 Transmission, removin
g and installin
g
11/20/2002 htt
p://127.0.0.1:8080/audi/servlet/Dis
play?action=Goto&t
yp
e=re
pair&id=AUDI.B5.AT01.37.2
Page 25 of 64

37-95
- Only perform vehicle alignment if necessary.
Repair Manual, Suspension, Wheels,
Steering, Repair Group 44; Vehicle alignment
- Install transmission supports at left and right with
transmission mount page 37
-125
Bolt torque converter to drive plate
For vehicles with hex bolts: - Remove bolt -A- after transmission is bolted to engine.
- Apply corrosion protection to contact surface between bolt -A- and oil
pan.
- Bolt torque converter to drive plate via 3 bolts using special tool V175
(turn crank shaft an additional 1/3 turn every time).
Pa
ge 25 of 64 Transmission, removin
g and installin
g
11/20/2002 htt
p://127.0.0.1:8080/audi/servlet/Dis
play?action=Goto&t
yp
e=re
pair&id=AUDI.B5.AT01.37.2
Page 26 of 64
37-96
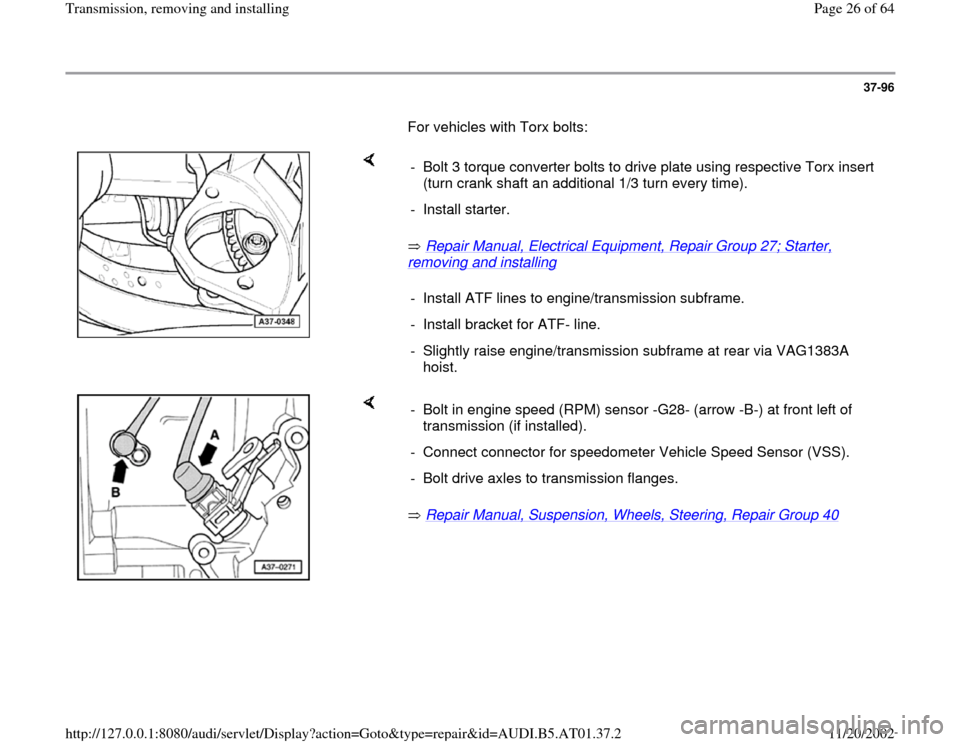
For vehicles with Torx bolts:
Repair Manual, Electrical Equipment, Repair Group 27; Starter,
removing and installing
- Bolt 3 torque converter bolts to drive plate using respective Torx insert
(turn crank shaft an additional 1/3 turn every time).
- Install starter.
- Install ATF lines to engine/transmission subframe.
- Install bracket for ATF- line.
- Slightly raise engine/transmission subframe at rear via VAG1383A
hoist.
Repair Manual, Suspension, Wheels, Steering, Repair Group 40
- Bolt in engine speed (RPM) sensor -G28- (arrow -B-) at front left of
transmission (if installed).
- Connect connector for speedometer Vehicle Speed Sensor (VSS).
- Bolt drive axles to transmission flanges.
Pa
ge 26 of 64 Transmission, removin
g and installin
g
11/20/2002 htt
p://127.0.0.1:8080/audi/servlet/Dis
play?action=Goto&t
yp
e=re
pair&id=AUDI.B5.AT01.37.2
Page 28 of 64
37-98
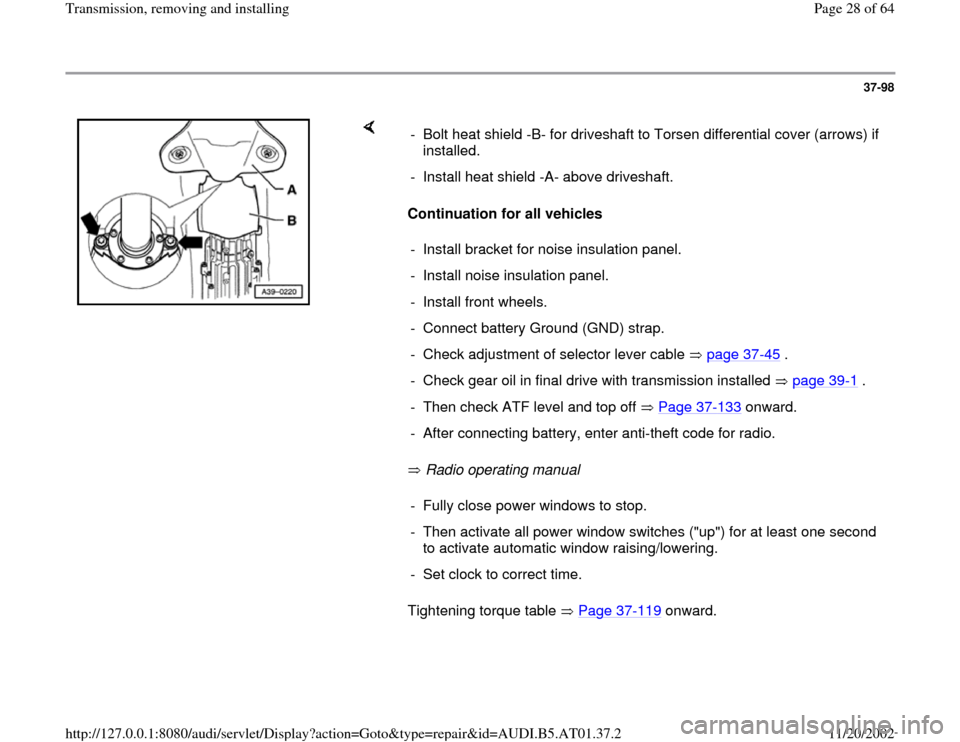
Continuation for all vehicles
Radio operating manual
Tightening torque table Page 37
-119
onward. - Bolt heat shield -B- for driveshaft to Torsen differential cover (arrows) if
installed.
- Install heat shield -A- above driveshaft.
- Install bracket for noise insulation panel.
- Install noise insulation panel.
- Install front wheels.
- Connect battery Ground (GND) strap.
- Check adjustment of selector lever cable page 37
-45
.
- Check gear oil in final drive with transmission installed page 39
-1 .
- Then check ATF level and top off Page 37
-133
onward.
- After connecting battery, enter anti-theft code for radio.- Fully close power windows to stop.
- Then activate all power window switches ("up") for at least one second
to activate automatic window raising/lowering.
- Set clock to correct time.
Pa
ge 28 of 64 Transmission, removin
g and installin
g
11/20/2002 htt
p://127.0.0.1:8080/audi/servlet/Dis
play?action=Goto&t
yp
e=re
pair&id=AUDI.B5.AT01.37.2
Page 40 of 64
37-110
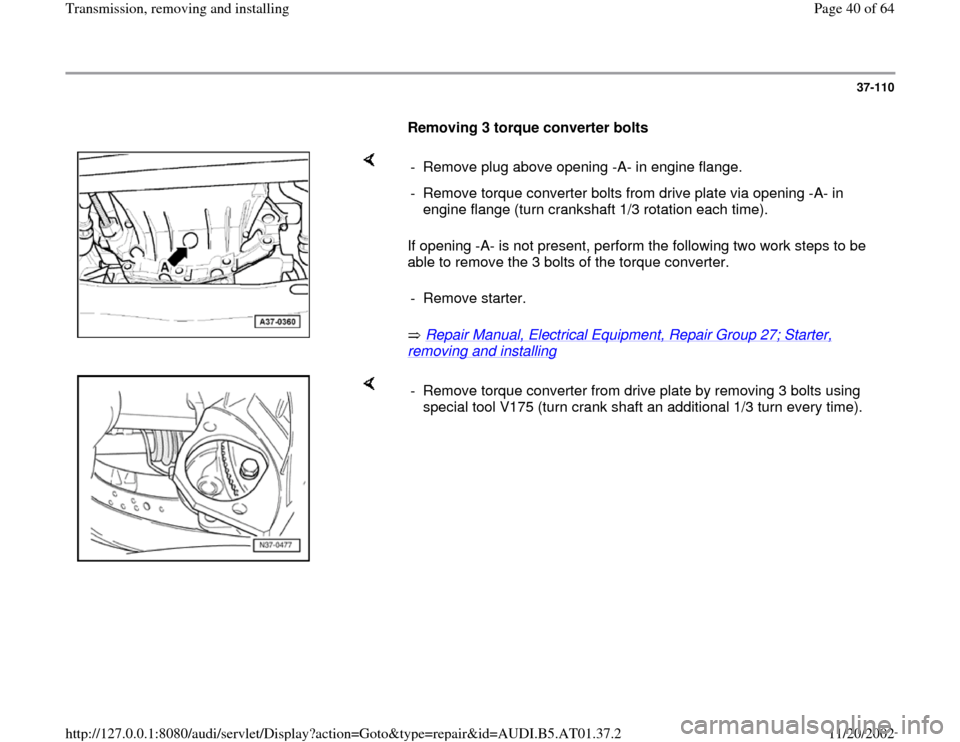
Removing 3 torque converter bolts
If opening -A- is not present, perform the following two work steps to be
able to remove the 3 bolts of the torque converter.
Repair Manual, Electrical Equipment, Repair Group 27; Starter, removing and installing
- Remove plug above opening -A- in engine flange.
- Remove torque converter bolts from drive plate via opening -A- in
engine flange (turn crankshaft 1/3 rotation each time).
- Remove starter.
- Remove torque converter from drive plate by removing 3 bolts using
special tool V175 (turn crank shaft an additional 1/3 turn every time).
Pa
ge 40 of 64 Transmission, removin
g and installin
g
11/20/2002 htt
p://127.0.0.1:8080/audi/servlet/Dis
play?action=Goto&t
yp
e=re
pair&id=AUDI.B5.AT01.37.2
Page 42 of 64
37-112
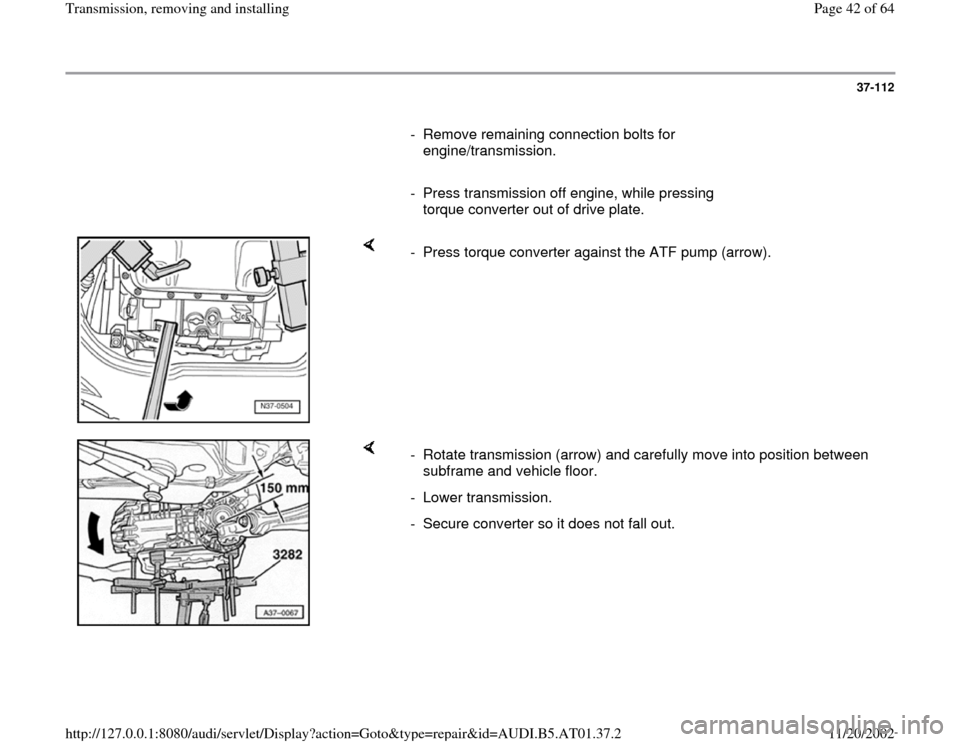
- Remove remaining connection bolts for
engine/transmission.
- Press transmission off engine, while pressing
torque converter out of drive plate.
- Press torque converter against the ATF pump (arrow).
- Rotate transmission (arrow) and carefully move into position between
subframe and vehicle floor.
- Lower transmission.
- Secure converter so it does not fall out.
Pa
ge 42 of 64 Transmission, removin
g and installin
g
11/20/2002 htt
p://127.0.0.1:8080/audi/servlet/Dis
play?action=Goto&t
yp
e=re
pair&id=AUDI.B5.AT01.37.2