battery capacity AUDI Q3 2018 Owners Manual
[x] Cancel search | Manufacturer: AUDI, Model Year: 2018, Model line: Q3, Model: AUDI Q3 2018Pages: 230, PDF Size: 57.03 MB
Page 167 of 230

0 co ......
"' ,....
"' ...... 0 0 :::,
00
@ Tips
- Only charge the vehicle battery through the
connections in the engine compartment.
- Read all of the manufacturer's instructions
for the charger before charging the vehicle
battery.
Windshield washer system
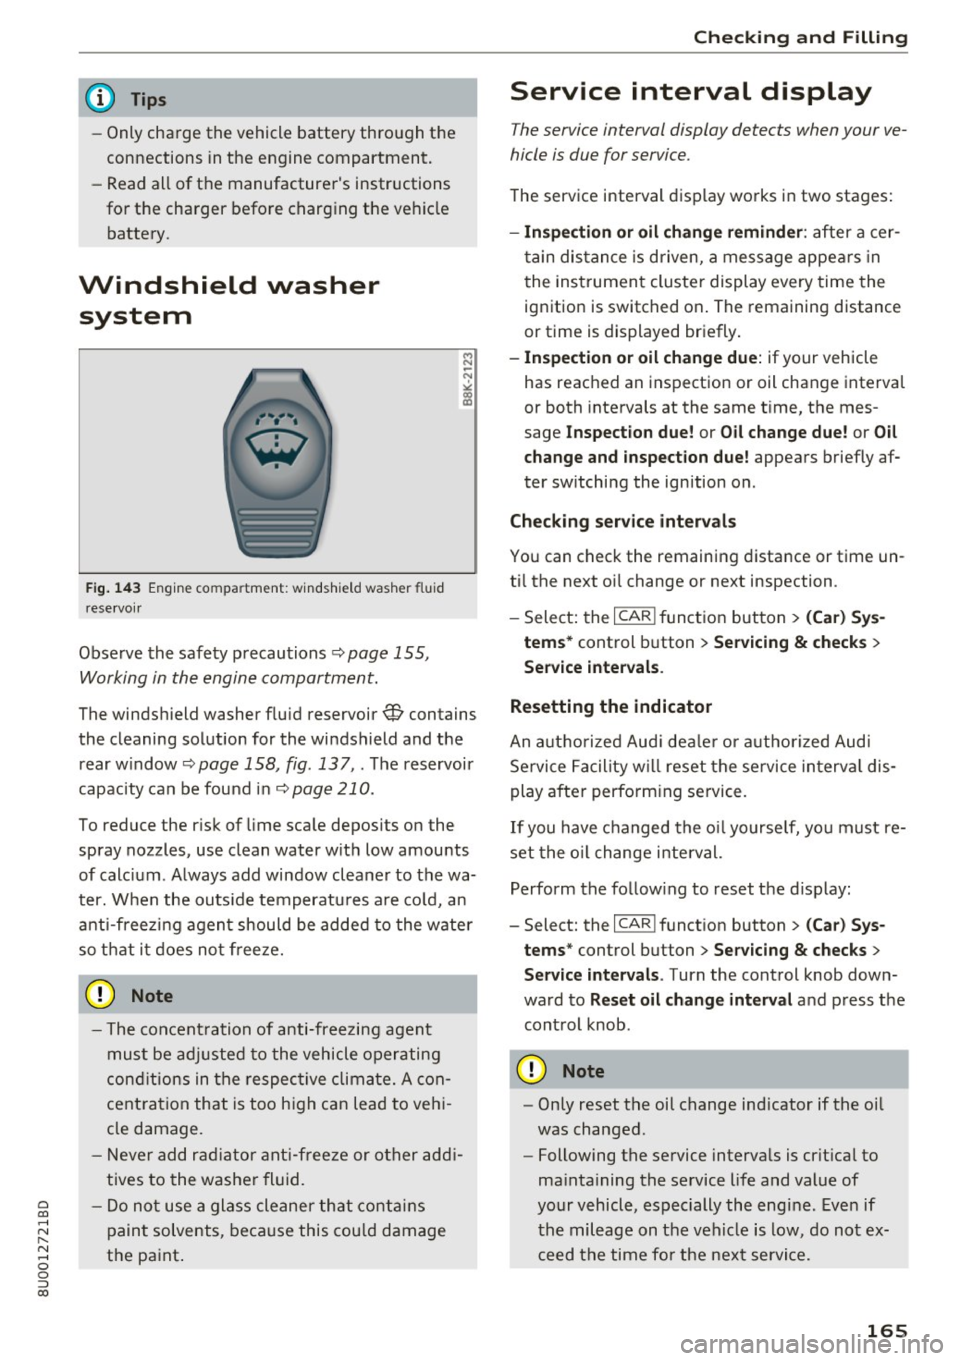
Fig. 143 Engine compartment: windshield washer fluid
reservoir
Observe the safety precautions q page 155,
Working in the engine compartment.
M N ~ N
"' a) ID
The windshield washer fluid reservoir W contains
the cleaning solution for the windshield and the rear w indow
q page 158, fig . 137,. The reservoir
capacity can be found in
qpage 210.
To reduce the risk of lime scale deposits on the
spray nozzles, use clean water with low amounts
of calc ium . Always add window cleaner to the wa
ter. When the outside temperatures a re cold, an
anti-freezing agent should be added to the water
so that it does not freeze.
- The concent ration of anti-freezing agent
must be adjusted to the vehicle operating
conditions in the respective climate. A con
cent ration that is too high can lead to vehi
cle damage.
- Never add radiator anti-freeze or other addi
tives to the washer fluid.
- Do not use a glass cleaner that contains
paint solvents, because this could damage
the paint .
Checking and Filling
Service interval display
The service interval display detects when your ve
hicle is due for service .
The service interval display works in two stages:
-Inspection or oil change reminder : after a cer-
tain distance is driven, a message appears in
t he instrument cluster display every time the
ignition is switched on. The remaining distance
or time is displayed br iefly.
- Inspection or oil change due: if your vehicle
has reached an inspection or oil change interval
or both intervals at the same time, the mes
sage
Inspection due! or Oil change due! or Oil
change and inspection due!
appears briefly af
ter sw itching the ignition on.
Checking service intervals
You can check the remaining distance or time un
ti l the next oi l change or next inspection .
- Select: the
I CARI function button > (Car) Sys
tems*
control button > Servicing & checks >
Service intervals .
Resetting the indicator
An autho rized Aud i dea ler or a uthorized Audi
Service Facility will reset the service in terva l dis
play after performing service .
If you have changed the o il yourself, you must re
set the oil change interval.
Perform the follow ing to reset the d isplay:
- Select: the
I CAR I function button > (Car) Sys
tems *
control button > Servicing & checks >
Service intervals . Turn the control knob down
ward to
Reset oil change interval and press the
control knob .
~ Note
-Only reset the oil change ind icator if the oil
was changed.
- Following the service intervals is crit ica l to
ma intaining the service life and value of
your vehicle, especially the engine . Even if
the mileage on the vehicle is low, do not ex
ceed the time for the next service.
165
Page 205 of 230

0 co ......
"' ,....
"' ...... 0 0 :::,
00
Emergency situations
General
This chapter is intended for trained emergency
crews and working personnel who have the nec
essary tools and equipment to perform these
operations.
Starting by pushing or
towing
CD Note
Vehicles with an automatic transmission
cannot be started by pushing or towing.
Starting with jumper
cables
If necessary, the engine can be started by con
necting it to the battery of another vehicle.
If the engine should fail to start because of a dis
charged or weak battery, the battery can be con
nected to the battery of
another vehicle, using a
pair of jumper cables to start the engine.
Jumper cables
Use only jumper cables of sufficiently large cross
section
to carry the starter current safely. Refer
to the manufacturer's specifications.
Use only jumper cables with
insulated terminal
clamps which are distinctly marked:
plus(+) cable in most cases colored red
minus(·) cable
in most cases colored black.
A WARNING
Batteries contain electricity, acid, and gas.
Any of these can cause very serious or fatal in
jury. Follow the instructions below for safe
handling of your vehicle's battery.
-Always shield your eyes and avoid leaning
over the battery whenever possible.
-A dead battery can freeze at temperatures
around 32 °F (0 °C). If the vehicle battery is
frozen, you must thaw it before connecting
the jump start cables. If you do not, this in-
Emergency situations
creases the risk of an explosion and chemi
cal burns. After jump starting the vehicle,
drive to an authorized Audi dealer or author
ized Audi Service Facility immediately to
have the vehicle battery checked.
- Do not allow battery acid to contact eyes or
skin . Flush any contacted area with water
immediately.
- Improper use of a booster battery to start a
vehicle may cause an explosion .
- Vehicle batteries generate explosive gases.
Keep sparks, flame and lighted cigarettes
away from batteries.
- Do not try to jump start any vehicle with a
low acid level in the battery .
- The voltage of the booster battery must also
have a 12-Volt rating. The capacity (Ah) of
the booster battery should not be lower
than that of the discharged battery. Use of
batteries of different voltage or substantial
ly different "Ah" rating may cause an explo
sion and personal injury.
- Never charge a frozen battery. Gas trapped
in the ice may cause an explosion.
- Never charge or use a battery that has been
frozen . The battery case may have be weak
ened.
- Use of batteries of different voltage or sub
stantially different capacity (Ah) rating may
cause an explosion and injury. The capacity (Ah) of the booster battery should not be
lower than that of the discharged battery.
- Before you check anything in the engine
compartment, always read and heed all
WARNINGS
qpage 155.
CD Note
-Applying a higher voltage booster battery
will cause expensive damage to sensitive electronic components, such as control
units, relays, radio, etc.
- There must be no electrical contact between
the vehicles as otherwise current could al
ready start to flow as soon as the positive
(+) terminals are connected.
203
Page 222 of 230

Index
Current consumption . . . . . . . . . . . . . . . . . . 19
Fuel gauge . . . . . . . . . . . . . . . . . . . . . . . . . 8, 9
Fuel tank capacity ................... 210
Gasoline . . . . . . . . . . . . . . . . . . . . . . . . . . . 152
Gasoline additives . . . . . . . . . . . . . . . . . . . 153
Saving fuel . . . . . . . . . . . . . . . . . . . . . . . 57, 81
Fuel economy messages (efficiency program) .21
Fueling Fuel filler door emergency release . . . . . . 155
F uel gauge . . . . . . . . . . . . . . . . . . . . . . . . . . . 9
F uel tank capacity . . . . . . . . . . . . . . . . . . . 210
Opening the fuel filler door . . . . . . . . . . . . 153
Fuses . . . . . . . . . . . . . . . . . . . . . . . . . . . . . . . 199
G
Garment hooks . . . . . . . . . . . . . . . . . . . . . . . . 46
Gas discharge lamps . . . . . . . . . . . . . . . . . . . 201
Gasoline . . . . . . . . . . . . . . . . . . . . . . . . . . . . 152
Octane rating . . . . . . . . . . . . . . . . . . . . . . . 152
Recommendation . . . . . . . . . . . . . . . . . . . . 152
Generator (indicator light) . . . . . . . . . . . . . . . 13
Glossary of tire and loading terminology . . 169
Glove compartment . . . . . . . . . . . . . . . . . . . . 45
Gross Vehicle Weight Rating (GVWR) . . . . . 209
Ground clearance . . . . . . . . . . . . . . . . . . . . . . 66
H
Headlight range control . . . . . . . . . . . . . . . . . 33
Headlights Cleaning . . . . . . . . . . . . . . . . . . . . . . . . . . . 186
H eadlight range control . . . . . . . . . . . . . . . 33
Head restraints . . . . . . . . . . . . . . . . . . . . . . . 100
Adjusting .. .. ................ 43, 44, 100
Removing and installing . . . . . . . . . . . . . . . 44
Heated Exterior mirrors . . . . . . . . . . . . . . . . . . . . . . 36
Rear window (automatic climate control sys-
tem) . . . . . . . . . . . . . . . . . . . . . . . . . . . . . . . 55
Rear window (manual climate control sys -
tem) . . . . . . . . . . . . . . . . . . . . . . . . . . . . . . . 53
Seats (automatic climate control system) . 55
Washer nozzles . . . . . . . . . . . . . . . . . . . . . . 38
Heavy clothing and safety belts . . . . . . . . . . 108
High beams . . . . . . . . . . . . . . . . . . . . . . . . . . . 34
Hill descent assist ... . .. .. ...... .. .. .. .. 91
Hill descent control . . . . . . . . . . . . . . . . . . . . 70
220
Hill hold assist . . . . . . . . . . . . . . . . . . . . . . . . 65
also refer to Hill hold assist . . . . . . . . . . . . 65
Hold ass ist (hill) . . . . . . . . . . . . . . . . . . . . . . . 65
Horn . . . . . . . . . . . . . . . . . . . . . . . . . . . . . . . . . 6
How are child restraint system anchors relat-
ed to child safety . . . . . . . . . . . . . . . . . . . . . 147
How many a irbags does my vehicle have? . . 120
How safety belt pretensioners work 112
I
Ignition
Switching on and off (convenience key) . . . 61
Switching on and off (ignition lock) . . . . . . 60
Imbalance (wheels) . . . . . . . . . . . . . . . . . . . 175
Immobilizer . . . . . . . . . . . . . . . . . . . . . . . . . . 23
Important things to do before driving . . . . . 97
Improperly worn safety belts . . . . . . . . . . . 112
Indicator lights . . . . . . . . . . . . . . . . . . . . . . . . 10
Airbag system . . . . . . . . . . . . . . . . . . 124, 125
PASSENGER AIR BAG OFF . . . . . . . . . . . . . 125
Infant seats . . . . . . . . . . . . . . . . . . . . . . . . . 140
Inspection interval . . . . . . . . . . . . . . . . . . . . 165
Installing child safety seats Safety belts . . . . . . . . . . . . . . . . . . . . . . . . 144
Installing the upper tether strap on the an
chorage . . . . . . . . . . . . . . . . . . . . . . . . . . . . . 150
Instrument cluster . . . . . . . . . . . . . . . . . . . . . . 8
Cleaning . . . . . . . . . . . . . . . . . . . . . . . . . . . 187
Instruments . . . . . . . . . . . . . . . . . . . . . . . . . . . 8
Adjusting the lighting . . . . . . . . . . . . . . . . . 35
Interior lighting . . . . . . . . . . . . . . . . . . . . . . . 35
Interior lighting . . . . . . . . . . . . . . . . . . . . . . 35
Interval mode (windshield wipers) . . . . . . . . 38
J
Jack . . . . . . . . . . . . . . . . . . . . . . . . . . . . . . . . 194
Jump-starting . . . . . . . . . . . . . . . . . . . . . . . . 203
Jumper cables . . . . . . . . . . . . . . . . . . . . . . . . 204
K
Key........ .. .. .. .. .. ... .......... ... 23
Key not recognized . . . . . . . . . . . . . . . . . . . 63
Key recognition . . . . . . . . . . . . . . . . . . . . . . 51
Key replacement . . . . . . . . . . . . . . . . . . . . . 23
Replacing the battery . . . . . . . . . . . . . . . . . 23