check engine AUDI Q7 2020 Owner´s Manual
[x] Cancel search | Manufacturer: AUDI, Model Year: 2020, Model line: Q7, Model: AUDI Q7 2020Pages: 316, PDF Size: 113.87 MB
Page 6 of 316
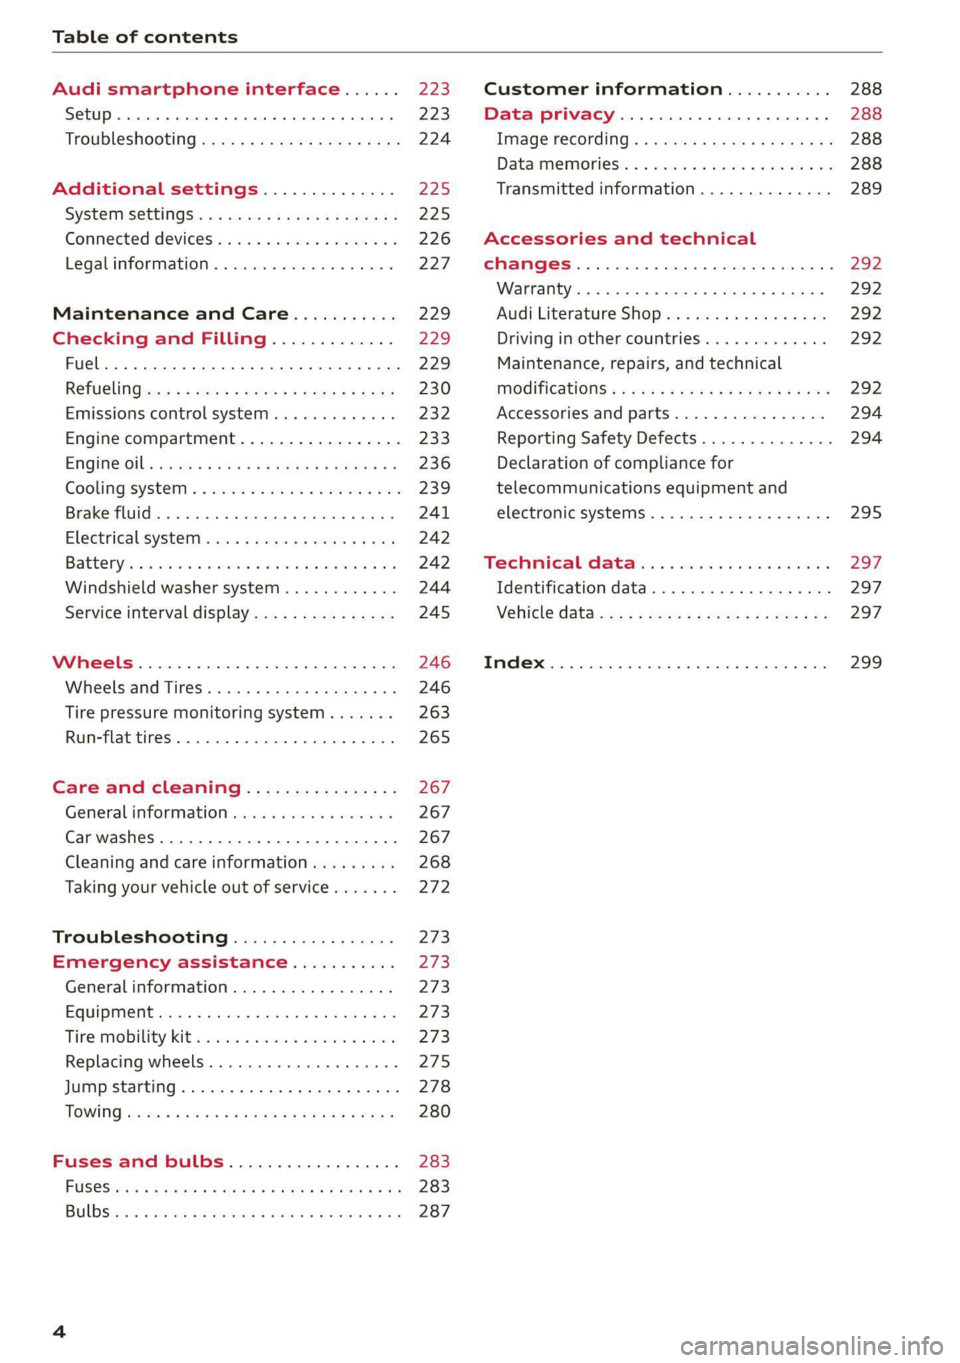
Table of contents
Audi smartphone interface...... Z23,
Setup... eect ee 223
TrOuUBLESHOOtING wees « & wees « 2 eos so eee 224
Additional settings.............. 225
System settingS.......0seeecceeveees 225
Connected devices ...... 0.0... 000 e eee 226
Legalinformation..................5 227
Maintenance and Care........... 229
Checking and Filling............. 229
Fuel... 2. cece eee eee eee eee 229
Refuelingjecs ss sees se ane + eeee § s peme 230
Emissions control system...........4. 232
Engine compartment................. 233
ERGINGOtls seus 2 x seme « ¥ neue =e oRBER Fae 236
Cooling:system . « sscses v < ssesens vo eevee so ave 239
Brake fluid... 2... eee eee eee 241
Electrical SySteMi wis ¢ scm ae mews eg ey 242
Battery: « & cess 6 6 ceva © 5 mews « wenn ¥ © oi 242
Windshield washer system...........- 244
Service interval display............... 245
Wheels ........ 0... eee 246
Wheels and Tires . . 246
Tire pressure monitoring system....... 263
RUMMFLAR EINES: « cose = x once 2m seuse = 0 sees 265
Care and cleaning................ 267
General
information wo. ceo saeco es 267
Car washes...............2..20.00005 267
Cleaning and care information......... 268
Taking your vehicle out of service....... 272
Troubleshooting................. 273
Emergency assistance........... 273
General information................. 273
EQUIPITICNE sass ¢ ¢ eens + eeen a 3 ces 3s He 273
Tire mobility kit ose: <2 cere ae eee se ees 273
Replacing wheels..............000005 275
Jump starting.....................0. 278
TOWING scsvss = ¢ wesos « § eeons & 2 Keres 4 = HES 280
Fuses and bulbs.................. 283
FUSES an + x css 5 © ames + © eRe = Beem He 283
BULDSisi0e svowave 4 6 oniuen a a stants a Hanon w 8 ave 287
Customer information........... 288
Data privacy..................000. 288
Image recording............seeeeeees 288
Datamemoniesy. « s sscams sv sume ov ene a 0s 288
Transmitted information.............. 289
Accessories and technical
CHANGES... 1... eee eee eee 292
Warranty......... 00-000. e eee eee 292
Audi Literature Shop..............00. 292
Driving in other countries............. 292
Maintenance, repairs, and technical
MOGIFIcAatIONS vase x x mem = x saw x 2 sue 292
Accessories and parts................ 294
Reporting Safety Defects.............. 294
Declaration of compliance for
telecommunications equipment and
electronic systems............---0000- 295
Technical data..................8. 297
Identification data................00. 297
Vehicle dataiscs: = s xews 2s eens sp oes ye 297
Index... 0.2... eee 299
Page 9 of 316
4M1012721BA
Quick access
PESOGKED oe esciee vo acres vo asteame ww awe 81
— Vehicle key holder
Depending on equipment:
— Audi music interface .......... 213
—Audi phone box ............... 167
—SDicard readers. we.isi ccna eve 210
@ Electromechanical parking brake
BUEEGN segue ¢ s enme ¢ x ae © 2 eee e 104
@9 Automatic transmission selector
LEVEN scoop: « & eres ¢ o ane a 2 eee Fe 96
@ [START ENGINE STOP] button .... 94
@ Steering wheel adjustment ...... 64
@3) Lever for:
— Cruise control system ......... 130
— Adaptive cruise assist .......... 134
@4 Connection port for the On Board
Diagnostic System (OBD) ........ 288
@3) Buttons for:
Lights as 5 2 egies 5 ¢ ewe yo ees & 45
—All-weather lights ............ 45
— Rear fog lights ............... 45
@8 Hood release ..............00-% 234
@2 Button for:
— Luggage compartment lid ...... 36
Exterior mirror adjustment ...... SL.
@9) Buttons for:
— Power windows ...........00. 40
— Child safety lock .............. 40
@ Tips
Some the equipment listed here is only instal-
led in certain models or is available as an op-
tion.
Indicator lights overview
The indicator lights in the instrument cluster
blink or turn on. They indicate functions or mal-
functions. Some warning and indicator lights
turn on when you switch the ignition on and must
turn off when the drive system is switched on or
while driving.
With some indicator lights, messages may ap-
pear and warning signals may sound. The indica-
tor lights and messages may be covered by other
displays. To show them again, select the second
tab for messages with the multifunction steering
wheel & page 12.
Some indicator lights in the display can display in
several colors.
A\ Central indicator light
If the A or indicator light turns on, check
the message in the instrument cluster.
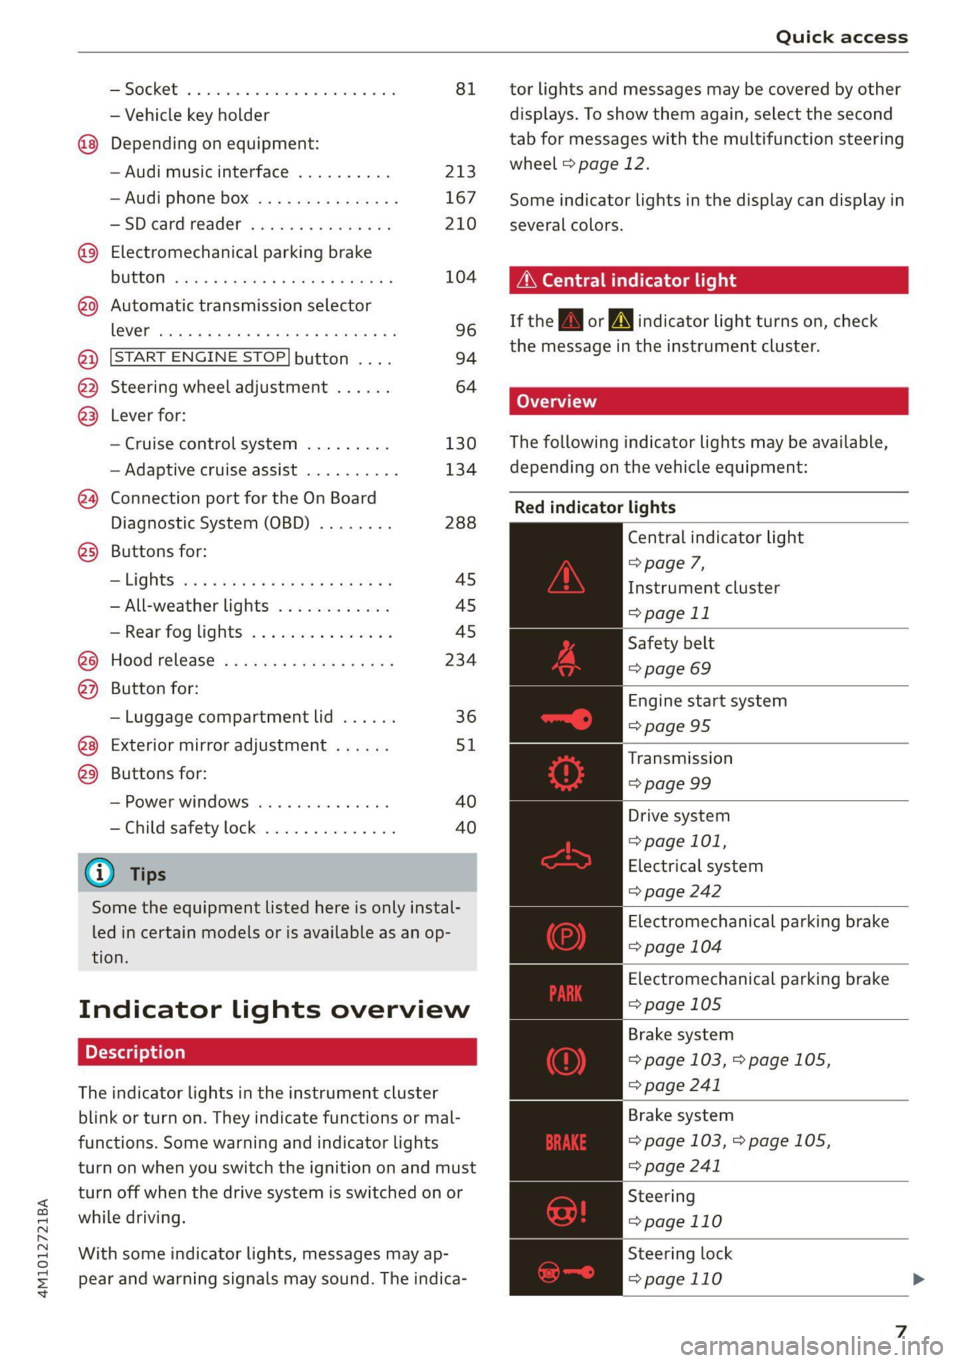
The following indicator lights may be available,
depending on the vehicle equipment:
Red indicator lights
Central indicator light
=> page 7,
Instrument cluster
=> page 11
Safety belt
=> page 69
Engine start system
=>page 95
Transmission
=> page 99
Drive system
=> page 101,
Electrical system
=> page 242
Electromechanical parking brake
=> page 104
Electromechanical parking brake
=>page 105
Brake system
=> page 103, > page 105,
=> page 241
Brake system
=> page 103, > page 105,
=> page 241
Steering
=>page 110
Steering lock
=>page 110
Page 99 of 316
4M1012721BA
Driving
—To skip a gear (for example, move from “D” to
“R”), move the selector lever past the pressure
point in the desired direction.
— The label next to the selector lever for the se-
lected gear will light up.
“N” (Neutral) gear
In the “N” gear, power is not transmitted to the
driving wheels. Use the “N” gear in a car wash
(with conveyor belts), for example.
If you unintentionally select “N” while driving
(faster than 1 mph (2 km/h)), you can also shift
back to “D” without pressing the brake pedal.
For safety reasons, the vehicle cannot be locked
when the transmission is in the "N” gear.
“Pp” (Park) gear
Requirement: the ignition must be switched on.
The vehicle is secured from rolling away by the
parking lock when in the “P” gear.
— Bring the vehicle to a full stop and press the
brake pedal.
— Press the “P” button 2) on the selector lever.
—The “P” next to the selector lever will light up.
“P” engages automatically if you switch the en-
gine off while the “D” or “R” gear is selected. If
you switch the engine off in “N”, “P” will engage
automatically after approximately 30 minutes.
If you want to switch to another gear from “P”,
the engine must be running.
If you cannot shift out of “P”, for example be-
cause the vehicle has no power, you may need to
use the emergency release for the parking lock
=> page 98.
Selecting the driving program
Various driving programs can be selected when in
the “D” gear. The programs influence when the
transmission shifts and how the accelerator ped-
al responds.
The selected driving program is displayed in the
instrument cluster.
— D (Drive): normal driving mode
—S (Sport): sporty driving mode
If you select the Dynamic mode in Audi drive se-
lect*, the “S” driving program will be activated.
When the ignition is switched off, the driving pro-
gram may be reset to “D”.
To switch between the current driving program
and “S”, push the selector lever toward the rear.
ZA WARNING
— Before starting to drive, check if the desired
gear is displayed next to the selector lever.
— Always secure your vehicle from rolling
away. Press the brake pedal or shift to “P”.
When leaving the vehicle, also set the park-
ing brake.
— Power is still transmitted to the wheels
when the engine is running at idle. To pre-
vent the vehicle from “creeping”, you must
keep your foot on the brake in all selector
lever positions (except "P" and "N") when
the engine is running.
—To reduce the risk of an accident, do not
press the accelerator pedal when changing
gears if the vehicle is stationary and the en-
gine is running.
— Never select the “R" or "P” gears while driv-
ing. Doing so could cause an accident.
— The vehicle can roll even if the ignition is
switched off.
(i) Tips
If you shift between “D” and “R” within one
second, you do not need to press the brake
pedal. This makes it possible to “rock” if it is
stuck, for example.
97
Page 104 of 316
Driving
— If you select the "D" position after shifting
into reverse, the vehicle must be driven fast-
er than 6 mph (10 km/h) in order for the
Start/Stop system to become active again.
This makes it possible to maneuver without
stopping the engine.
Stopping and starting the engine
Applies to: vehicles with Start/Stop system
> Press and hold the brake pedal until the vehicle
has stopped. The @ indicator light appears in
the instrument cluster once the engine stops
automatically.
> The engine starts again when you remove your
foot from the brake pedal. The indicator light
turns off.
@) Tips
— Press the brake pedal during a Stop phase
to keep the vehicle from rolling.
— The ignition will turn off if you press the
START ENGINE STOP] button during a Stop
phase.
— If you leave the vehicle briefly during a Stop
phase, the driver's door must be closed and
the safety belt buckled for the engine to be
able to restart.
— You can control if the engine will stop or not
by reducing or increasing the amount of
force you use to press the brake pedal. For
example, if you only lightly press on the
brake pedal in stop-and-go traffic or when
turning, the engine will not switch off when
the vehicle is stationary. If you press the
brake pedal harder, the engine will switch
off.
Starting and stopping the engine automat-
re] NY
Applies to: vehicles with Start/Stop system
The system checks if certain conditions are met
before and during the Stop phase, and deter-
mines if the engine stops and how long it re-
mains stopped. For example, if power usage is
D_ In certain countries.
102
high, the engine will not be stopped. Along with
other conditions, the following factors influence
the automatic engine start or stop:
— Environmental conditions (slopes, inclines, ele-
vation, temperature)
— Battery (charge status, temperature, power us-
age)
— Engine temperature
— Assist systems
— Driving behavior
Messages
Applies to: vehicles with Start/Stop system
Drive system: please start the vehicle manually
This message appears when specific conditions
are not met during a Stop phase. The Start/Stop
system will not be able to restart the engine. The
engine must be started with the
START ENGINE STOP] button.
Vehicle starting system: malfunction! Please
contact Service
There is a malfunction in the Start/Stop system.
Drive the vehicle to an authorized Audi dealer or
authorized Service Facility as soon as possible to
have the malfunction corrected.
Brakes
General information
You can apply the vehicle's brakes using the brake
pedal.
Operating noise
Noises may occur when braking depending on the
speed, braking force, and outside conditions such
as temperature and humidity.
Braking effect
The response time from the brakes depends on
the weather and environmental conditions. To
ensure the optimal braking effect, the brake sys-
tem is cleaned at regular intervals. This is done
by applying the brake pads to the brake rotors for >
Page 106 of 316
Driving
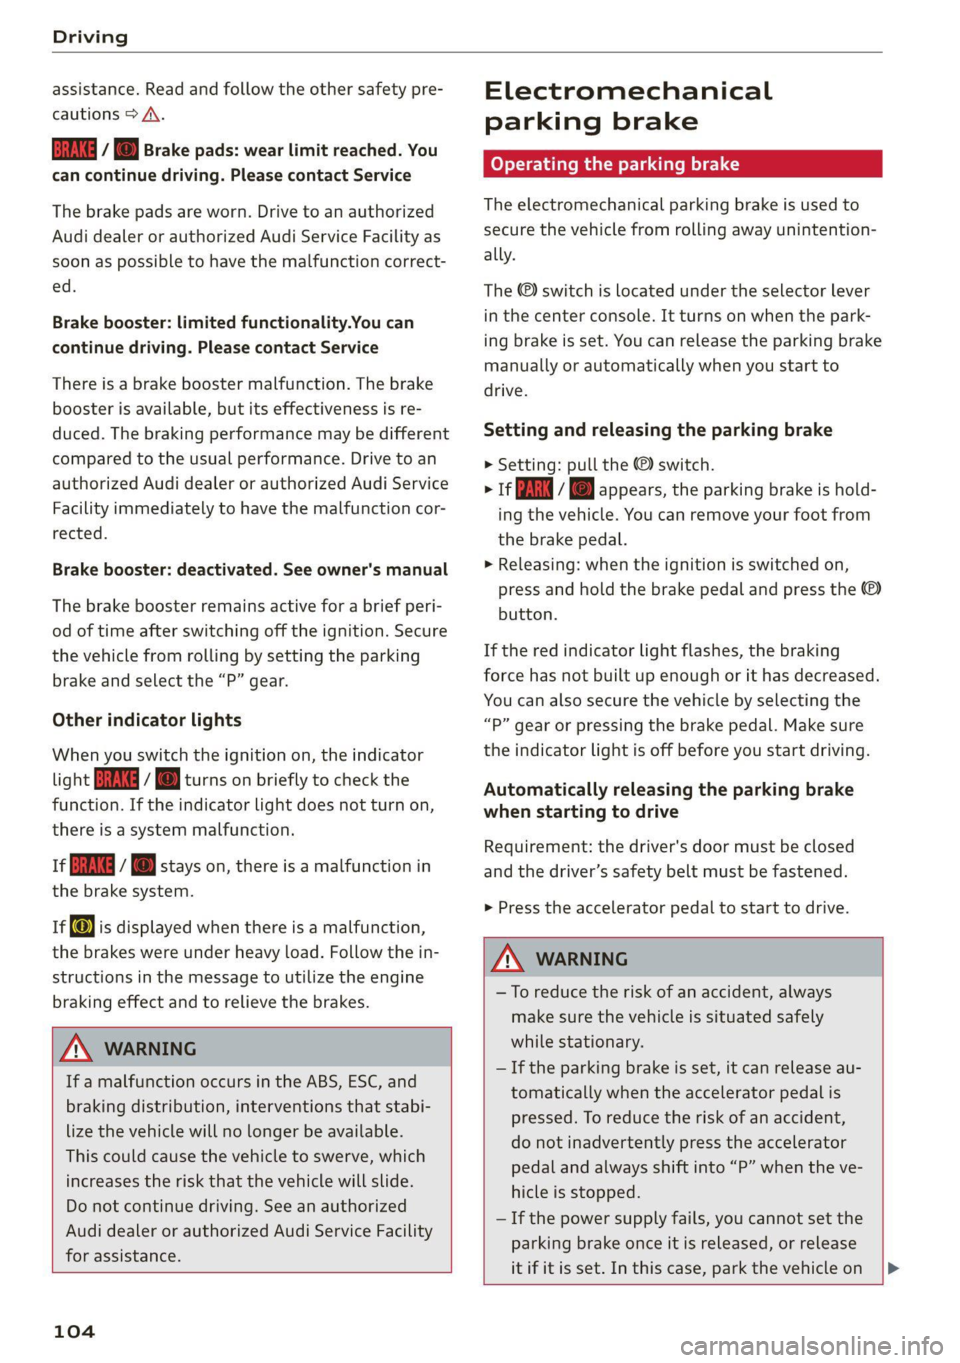
assistance. Read and follow the other safety pre-
cautions > A\.
GG y @ Brake pads: wear limit reached. You
can continue driving. Please contact Service
The brake pads are worn. Drive to an authorized
Audi dealer or authorized Audi Service Facility as
soon as possible to have the malfunction correct-
ed.
Brake booster: limited functionality.You can
continue driving. Please contact Service
There is a brake booster malfunction. The brake
booster is available, but its effectiveness is re-
duced. The braking performance may be different
compared to the usual performance. Drive to an
authorized Audi dealer or authorized Audi Service
Facility immediately to have the malfunction cor-
rected.
Brake booster: deactivated. See owner's manual
The brake booster remains active for a brief peri-
od of time after switching off the ignition. Secure
the vehicle from rolling by setting the parking
brake and select the “P” gear.
Other indicator lights
When you switch the ignition on, the indicator
light IBRAKE| ii @ turns on briefly to check the
function. If the indicator light does not turn on,
there is a system malfunction.
1f RG / @ stays on, there is a malfunction in
the brake system.
if) is displayed when there is a malfunction,
the brakes were under heavy load. Follow the in-
structions in the message to utilize the engine
braking effect and to relieve the brakes.
ZA\ WARNING
If a malfunction occurs in the ABS, ESC, and
braking distribution, interventions that stabi-
lize the vehicle will no longer be available.
This could cause the vehicle to swerve, which
increases the risk that the vehicle will slide.
Do not continue driving. See an authorized
Audi dealer or authorized Audi Service Facility
for assistance.
104
Electromechanical
parking brake
Operating the parking brake
The electromechanical parking brake is used to
secure the vehicle from rolling away unintention-
ally.
The @) switch is located under the selector lever
in the center console. It turns on when the park-
ing brake is set. You can release the parking brake
manually or automatically when you start to
drive.
Setting and releasing the parking brake
> Setting: pull the ©) switch.
> 1f i i © appears, the parking brake is hold-
ing the vehicle. You can remove your foot from
the brake pedal.
> Releasing: when the ignition is switched on,
press and hold the brake pedal and press the
button.
If the red indicator light flashes, the braking
force has not built up enough or it has decreased.
You can also secure the vehicle by selecting the
“P” gear or pressing the brake pedal. Make sure
the indicator light is off before you start driving.
Automatically releasing the parking brake
when starting to drive
Requirement: the driver's door must be closed
and the driver’s safety belt must be fastened.
> Press the accelerator pedal to start to drive.
ZA WARNING
—To reduce the risk of an accident, always
make sure the vehicle is situated safely
while stationary.
— If the parking brake is set, it can release au-
tomatically when the accelerator pedal is
pressed. To reduce the risk of an accident,
do not inadvertently press the accelerator
pedal and always shift into “P” when the ve-
hicle is stopped.
— If the power supply fails, you cannot set the
parking brake once it is released, or release
it if it is set. In this case, park the vehicle on
Page 109 of 316
4M1012721BA
Driving
@ For the sake of the environment
Avoid actions that are damaging to the envi-
ronment. Show respect for the natural envi-
ronment and remain on marked routes.
@ Tips
Clean your vehicle after driving offroad. Dirt
and stones falling off your vehicle can affect
other road users.
Driving through water
If you must drive through water, follow these in-
structions:
— Check the stability of the ground, the current,
and the water depth. If the ground is unstable,
there is a strong current, or there are waves,
the water must only reach up to the lower edge
of the body at the most.
— Deactivate the Start/Stop system.
— Drive carefully and no faster than at walking
speeds to prevent the front of the vehicle from
creating waves, because they could splash
above the lower edge of the body. Oncoming
vehicles could also create waves.
— Do not stop the vehicle while in the water.
— Drive in reverse.
— Do not turn the engine off.
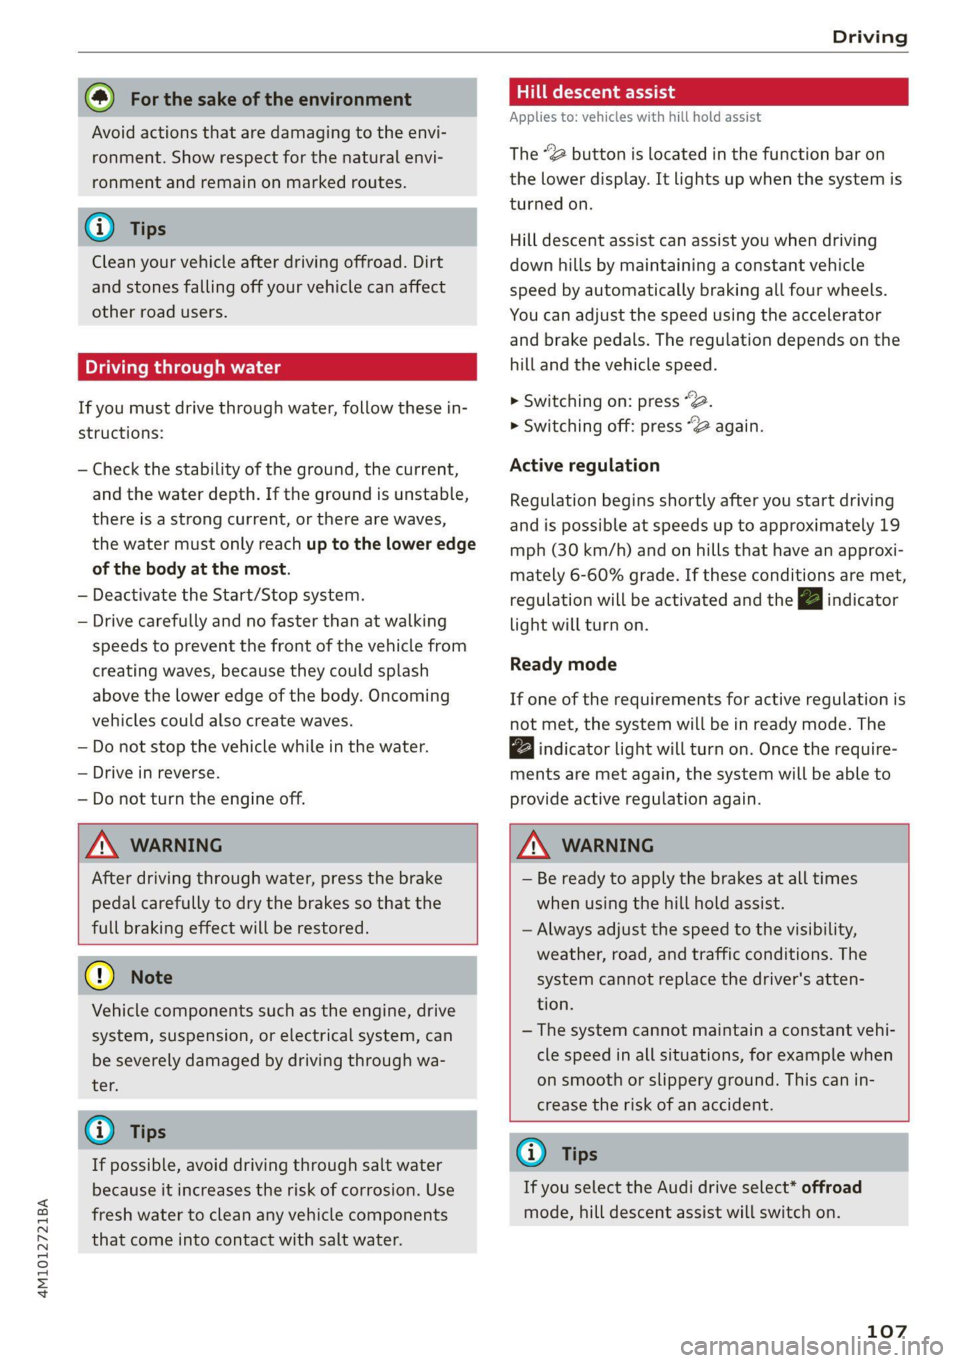
Hill descent assist
Applies to: vehicles with hill hold assist
The “& button is located in the function bar on
the lower display. It lights up when the system is
turned on.
Hill descent assist can assist you when driving
down hills by maintaining a constant vehicle
speed by automatically braking all four wheels.
You can adjust the speed using the accelerator
and brake pedals. The regulation depends on the
hill and the vehicle speed.
> Switching on: press a
> Switching off: press “2 again.
Active regulation
Regulation begins shortly after you start driving
and is possible at speeds up to approximately 19
mph (30 km/h) and on hills that have an approxi-
mately 6-60% grade. If these conditions are met,
regulation will be activated and the indicator
light will turn on.
Ready mode
If one of the requirements for active regulation is
not met, the system will be in ready mode. The
a indicator light will turn on. Once the require-
ments are met again, the system will be able to
provide active regulation again.
ZA WARNING
After driving through water, press the brake
pedal carefully to dry the brakes so that the
full braking effect will be restored.
@) Note
Vehicle components such as the engine, drive
system, suspension, or electrical system, can
be severely damaged by driving through wa-
ter.
@ Tips
If possible, avoid driving through salt water
because it increases the risk of corrosion. Use
fresh water to clean any vehicle components
that come into contact with salt water.
ZA WARNING
— Be ready to apply the brakes at all times
when using the hill hold assist.
— Always adjust the speed to the visibility,
weather, road, and traffic conditions. The
system cannot replace the driver's atten-
tion.
— The system cannot maintain a constant vehi-
cle speed in all situations, for example when
on smooth or slippery ground. This can in-
crease the risk of an accident.
G) Tips
If you select the Audi drive select* offroad
mode, hill descent assist will switch on.
107
Page 113 of 316

4M1012721BA
Driving dynamic
the vehicle, and the turning radius may be much
larger. Slow down immediately, and stop your ve-
hicle as soon as possible in a safe location with
enough space at the sides of the vehicle. Do not
continue driving. See an authorized Audi dealer
or authorized Audi Service Facility for assistance.
2 —<| Steering: malfunction! Please stop vehicle
There is a malfunction in the electronic steering
lock. You cannot turn the ignition on. Do not tow
your vehicle because it cannot be steered. See an
authorized Audi dealer or authorized Audi Service
Facility for assistance.
& Steering: malfunction! You can continue
driving
There is a malfunction in the steering system.
Steering may be more difficult or more sensitive.
Adapt your driving style. Have the steering sys-
tem checked immediately by an authorized Audi
dealer or authorized Audi Service Facility. Please
note that the red indicator light may turn on af-
ter restarting the engine. Do not continue driving
if it does.
& Steering: malfunction! Adapt driving style.
Larger turning radius
The rear axle steering may have failed. The vehi-
cle will have a larger turning radius, and the sta-
bility when driving around curves will be compa-
rable to a vehicle without rear axle steering. Drive
carefully to an authorized Audi dealer or author-
ized Audi Service Facility to have the malfunction
corrected.
|e —o| Steering lock: malfunction! Please contact
Service
There is a malfunction in the electronic steering
lock. Drive immediately to an authorized Audi
dealer or authorized Audi Service Facility to have
the malfunction repaired.
Z\ WARNING
Do not tow your vehicle if there is a malfunc-
tion in the electronic steering lock because
this increases the risk of an accident.
@) Tips
—If there is a malfunction, the steering wheel
may be crooked when driving straight.
—Ifthe a or a indicator light only stays on
for a short time, you may continue driving.
All wheel drive (quattro)
Applies to: vehicles with all wheel drive
The all-wheel drive system distributes the driving
power variably to the front and rear axle to im-
prove the driving characteristics. It works togeth-
er with selective wheel torque control, which can
activate when driving through curves
=> page 112.
The all-wheel drive system is designed for high
engine power. Your vehicle is exceptionally pow-
erful and has excellent driving characteristics
both under normal driving conditions and on
snow and ice. Always read and follow safety pre-
cautions > A\.
Z\ WARNING
— Even in vehicles with all wheel drive, you
should adapt your driving style to the cur-
rent road and traffic conditions to reduce
the risk of an accident.
— The braking ability of your vehicle is limited
to the traction of the wheels. In this way, it
is not different from a two wheel drive vehi-
cle. Do not drive too fast because this in-
creases the risk of an accident.
— Note that on wet streets, the front wheels
can “hydroplane’” if driving at speeds that
are too high. Unlike front wheel drive
vehicles, the engine RPM does not increase
suddenly when the vehicle begins hydro-
planing. Adapt your speed to the road condi-
tions to reduce the risk of an accident.
Sport differential
Applies to: vehicles with sport differential
The sport differential distributes the drive power
to the rear axle based on the situation. The goal
is a high level of agility and ability to accelerate
111
Page 117 of 316
4M1012721BA
Trailer towing
Trailer towing
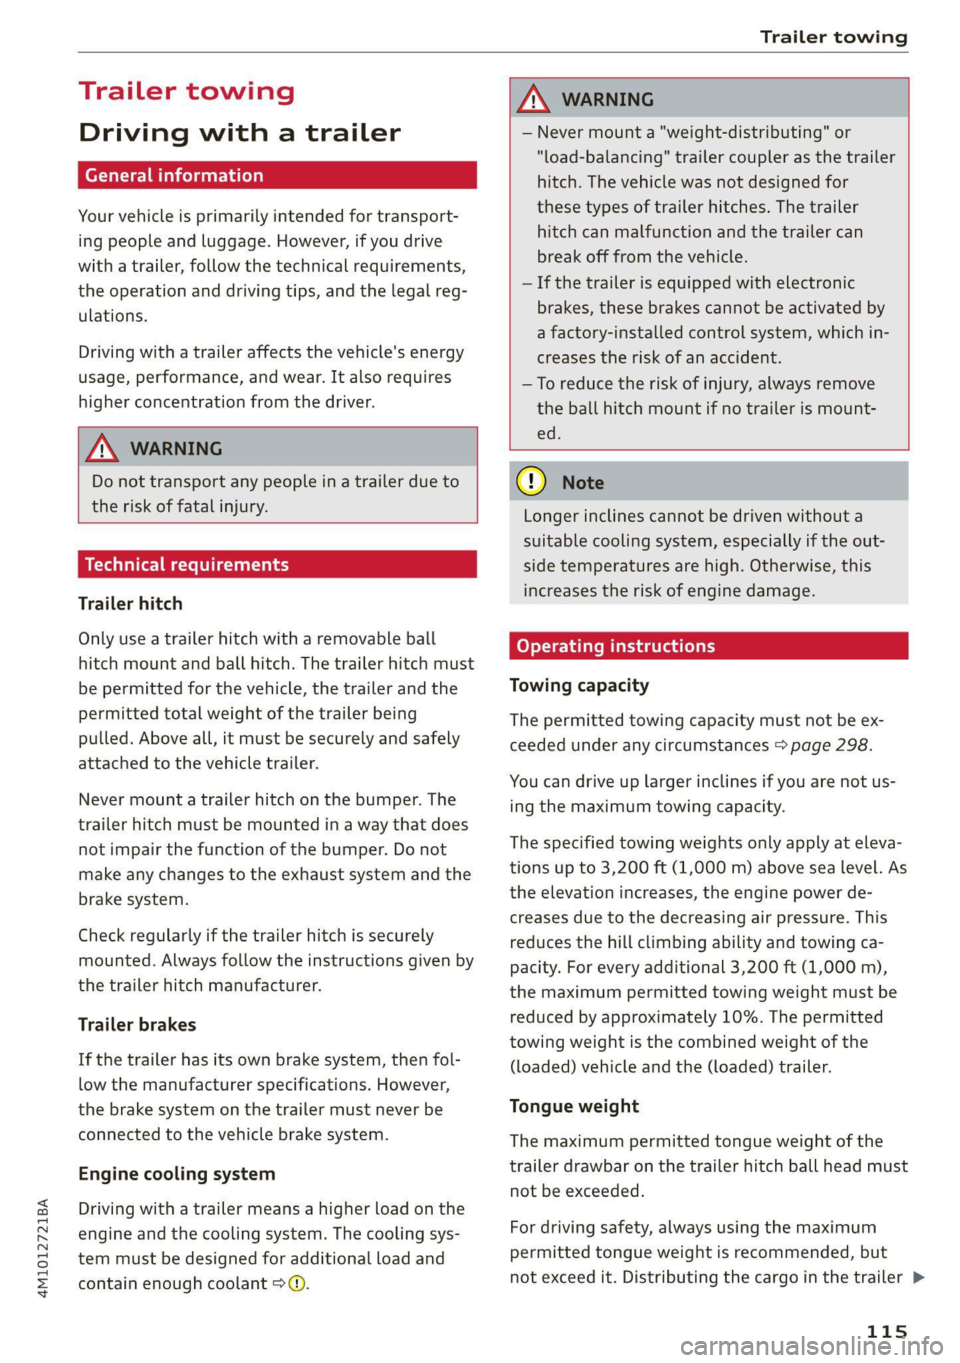
Driving with a trailer
General information
Your vehicle is primarily intended for transport-
ing people and luggage. However, if you drive
with a trailer, follow the technical requirements,
the operation and driving tips, and the legal reg-
ulations.
Driving with a trailer affects the vehicle's energy
usage, performance, and wear. It also requires
higher concentration from the driver.
Z\ WARNING
Do not transport any people in a trailer due to
the risk of fatal injury.
Technical requirements
Trailer hitch
Only use a trailer hitch with a removable ball
hitch mount and ball hitch. The trailer hitch must
be permitted for the vehicle, the trailer and the
permitted total weight of the trailer being
pulled. Above all, it must be securely and safely
attached to the vehicle trailer.
Never mount a trailer hitch on the bumper. The
trailer hitch must be mounted in a way that does
not impair the function of the bumper. Do not
make any changes to the exhaust system and the
brake system.
Check regularly if the trailer hitch is securely
mounted. Always follow the instructions given by
the trailer hitch manufacturer.
Trailer brakes
If the trailer has its own brake system, then fol-
low the manufacturer specifications. However,
the brake system on the trailer must never be
connected to the vehicle brake system.
Engine cooling system
Driving with a trailer means a higher load on the
engine and the cooling system. The cooling sys-
tem must be designed for additional load and
contain enough coolant > @.
ZA WARNING
— Never mount a "weight-distributing" or
"load-balancing" trailer coupler as the trailer
hitch. The vehicle was not designed for
these types of trailer hitches. The trailer
hitch can malfunction and the trailer can
break off from the vehicle.
— If the trailer is equipped with electronic
brakes, these brakes cannot be activated by
a factory-installed control system, which in-
creases the risk of an accident.
—To reduce the risk of injury, always remove
the ball hitch mount if no trailer is mount-
ed
® Note
Longer inclines cannot be driven without a
suitable cooling system, especially if the out-
side temperatures are high. Otherwise, this
increases the risk of engine damage.
Operating instructions
Towing capacity
The permitted towing capacity must not be ex-
ceeded under any circumstances > page 298.
You can drive up larger inclines if you are not us-
ing the maximum towing capacity.
The specified towing weights only apply at eleva-
tions up to 3,200 ft (1,000 m) above sea level. As
the elevation increases, the engine power de-
creases due to the decreasing air pressure. This
reduces the hill climbing ability and towing ca-
pacity. For every additional 3,200 ft (1,000 m),
the maximum permitted towing weight must be
reduced by approximately 10%. The permitted
towing weight is the combined weight of the
(loaded) vehicle and the (loaded) trailer.
Tongue weight
The maximum permitted tongue weight of the
trailer drawbar on the trailer hitch ball head must
not be exceeded.
For driving safety, always using the maximum
permitted tongue weight is recommended, but
not
exceed it. Distributing the cargo in the trailer >
115
Page 119 of 316
4M1012721BA
Trailer towing
If you must drive on roads that are in poor condi-
tion, you can raise the vehicle again after hitching
the trailer or after adjusting the tongue weight
=> page 109.
You can also increase ground clearance by select-
ing the Audi drive select* offroad or allroad
modes > page 108.
Vehicle levels below the values set in the comfort
level will no Longer be available, even if you are
lowering the vehicle manually.
IX WARNING
— Never turn off trailer mode while driving
when a trailer is hitched, because then the
restrictions for controlling the vehicle level
will be turned off.
— Driving with a trailer on unpaved roads when
the vehicle is raised may change the vehicle
handling. Adapt your speed.
— Note that the vehicle will lower automatical-
ly at certain speeds if you have lifted the ve-
hicle manually.
® Note
— Applies to: vehicles with air suspension: Se-
lect the Audi drive select* comfort mode.
Otherwise, the tongue load specified for
your vehicle will no longer be applicable.
— Attachments retrofitted on the vehicle may
cause damage, especially on the trailer
hitch ball head. In cases of damage, have
the function checked by an authorized Audi
dealer or authorized Audi Service Facility.
@ Tips
— Block the wheels with chocks when parking
on inclines if the trailer is loaded.
— Having the vehicle inspected between the
inspection intervals is recommended if you
tow a trailer frequently.
— Avoid driving with a trailer during the vehi-
cle break-in period.
Pe MO le
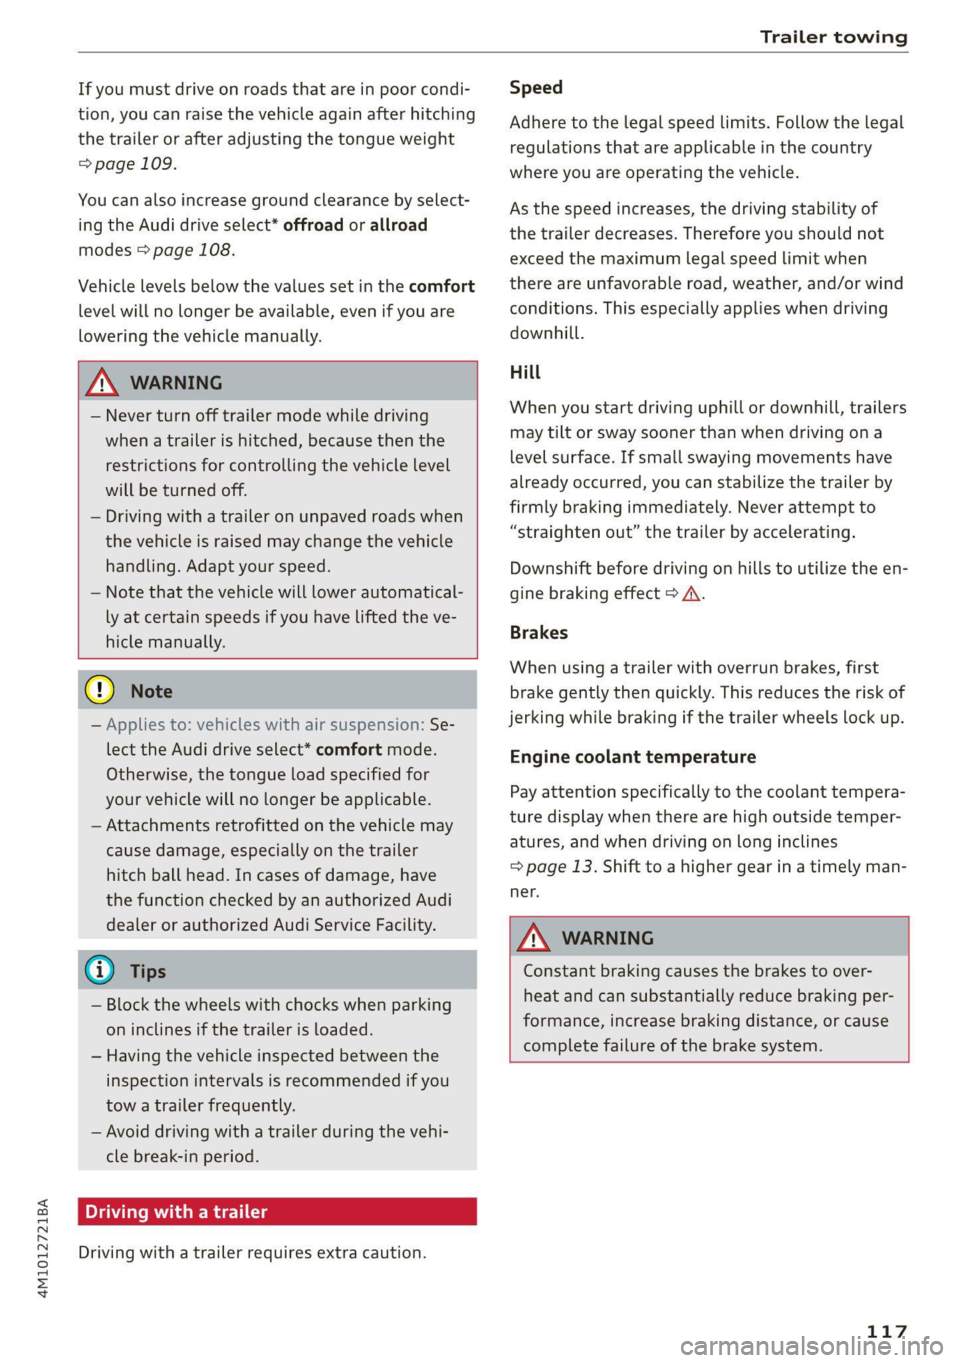
Driving with a trailer requires extra caution.
Speed
Adhere to the legal speed limits. Follow the legal
regulations that are applicable in the country
where you are operating the vehicle.
As the speed increases, the driving stability of
the trailer decreases. Therefore you should not
exceed the maximum legal speed limit when
there are unfavorable road, weather, and/or wind
conditions. This especially applies when driving
downhill.
Hill
When you start driving uphill or downhill, trailers
may tilt or sway sooner than when driving ona
level surface. If small swaying movements have
already occurred, you can stabilize the trailer by
firmly braking immediately. Never attempt to
“straighten out” the trailer by accelerating.
Downshift before driving on hills to utilize the en-
gine braking effect > A\.
Brakes
When using a trailer with overrun brakes, first
brake gently then quickly. This reduces the risk of
jerking while braking if the trailer wheels lock up.
Engine coolant temperature
Pay attention specifically to the coolant tempera-
ture display when there are high outside temper-
atures, and when driving on long inclines
=> page 13. Shift to a higher gear in a timely man-
ner.
Z\ WARNING
Constant braking causes the brakes to over-
heat and can substantially reduce braking per-
formance, increase braking distance, or cause
complete failure of the brake system.
117
Page 190 of 316
Navigation
Requirement: the MMI must be connected to the
Internet > page 178, Audi connect.
> Applies to: MMI: Select on the home screen:
NAVIGATION > © >G.
> Enter one or more search terms into the input
field.
> The search engine provider shows suggestions
to narrow down the search.
> Press on suggestions until the desired destina-
tion appears in the results list. If necessary, use
one finger to swipe upward or downward until
the suggestions © or destinations appear.
> Press on the desired destination 9. The Details
menu will be displayed.
> Press Start.
Route guidance will be activated and the map will
be displayed. > page 192, fig. 146
@) Note
Read the information about Audi connect, and
be sure to note the connectivity costs section
=@ in General information on page 178.
@) Tips
— The MMI input suggestions depend on the
last navigated destinations.
— The navigation system always searches for
the fastest route. You can have alternative
routes displayed if necessary > page 194.
— If the destination cannot be found, it may
not be stored in the navigation database.
Check
the spelling of the term that was
searched or check the search area
=> page 187.
Entering an address
Applies to: vehicles with navigation system
As an alternative to the intelligent search, you
can also enter an address in stages.
Opening a menu
> Applies to: MMI: Select on the home screen:
NAVIGATION > (G5) > Enter address.
188
Enter a destination using an address
> Press on the respective input field and enter an
address.
> Press Apply. The Details menu will be dis-
played.
> Press Start.
Route guidance will be activated and the map will
be displayed > page 192, fig. 146.
Destination entry for a street intersection
> Select: Intersection > enter a street > Start.
Loading previous destinations
Applies to: vehicles with navigation system
Your last destinations and routes can be loaded
directly as a navigation destination.
As soon as you start route guidance, the destina-
tion is automatically saved in the last destina-
tions. Your previous destinations are marked with
the © symbol.
If you use myAudi navigation, your previous des-
tinations will be synchronized with your myAudi
account > page 186.
Accessing previous destinations
> Applies to: MMI: Select on the home screen:
NAVIGATION > (Ga) > Last destinations > select
a desired destination > Start.
> Applies to: multifunction steering wheel: Select
in the instrument cluster: Navigation tab >
button > Last destinations > desired destina-
tion.
Changing and loading a previous destination
> Applies to: MMI: Select on the home screen:
NAVIGATION > (Ge) > Last destinations > Z >
Z > change the address > Use address > Start.
Restore last tour
Requirement: a route with at least two stopovers
must have already been canceled.
Your last route is labeled with the © symbol. >