Rear window screen AUDI Q7 2020 Owner´s Manual
[x] Cancel search | Manufacturer: AUDI, Model Year: 2020, Model line: Q7, Model: AUDI Q7 2020Pages: 316, PDF Size: 113.87 MB
Page 33 of 316
4M1012721BA
Opening and closing
ZA\ WARNING
Follow the safety precautions > page 30.
Z\ WARNING
Applies to: vehicles with power closing
—To reduce the risk of injury, make sure that
the
area where the door is closing is clear
during the closing process.
— The closing process can be stopped at any
time by pulling on the outer or inner door
handle.
@) Note
The following applies when locking the vehi-
cle:
— If the vehicle key that was last used is de-
tected inside the passenger compartment,
then the vehicle cannot be locked from the
outside using the sensor. Take the vehicle
key with you and lock the vehicle again. Oth-
erwise, the vehicle will not be protected
against unauthorized access.
— If you try to lock the vehicle using the but-
ton on the vehicle key while the front pas-
senger's or rear door is open, and you acci-
dentally place the vehicle key inside the pas-
senger compartment and close the door,
the vehicle will lock at first. But if the key-
less system detects a vehicle key inside the
vehicle after it locks, then the vehicle will
unlock again. The turn signals will flash sev-
eral times to indicate this. If you do not
open the vehicle to remove the vehicle key
within a brief period, then the vehicle will
lock automatically. This prevents the vehicle
from being left unlocked for long periods of
time. The vehicle key will then be locked in-
side the vehicle.
— If the luggage compartment lid closes and
the system detects that the last vehicle key
that was used is inside the luggage com-
partment, then the luggage compartment
lid will open again. The turn signals will
flash several times to indicate this. The
doors will lock. Always take the vehicle key
with you, or unauthorized persons may be
able to enter the vehicle.
@) Tips
— Do not leave valuables unattended in the ve-
hicle. A locked vehicle is not a safe!
—The LED in the driver's door rail blinks when
you lock the vehicle. If the LED turns on for
approximately 30 seconds after locking,
there is a malfunction in the central locking
system. Have the problem corrected by an
authorized Audi dealer or authorized Audi
Service Facility.
Setting the central locking system
You can adjust the central locking system to your
preferences. The settings depend on the vehicle
equipment.
> Applies to MMI: Select on the home screen: VE-
HICLE > Settings & Service > Central locking.
Door unlocking
—If you select All, all doors and the luggage
compartment lid will be unlocked when unlock-
ing the vehicle.
— If you select Driver's door, only the driver's
door will be unlocked. To unlock all doors and
the luggage compartment lid, press the & but-
ton on the vehicle key twice. In vehicles with a
convenience key”, only the driver's door will un-
lock when you pull the driver's door handle. If
you pull another door handle, the entire vehicle
will be unlocked.
The entire vehicle will always be locked when you
press the f button.
Long press to open windows
You can select if all windows and the panoramic
glass roof* should open using the vehicle key
= page 41, Convenience opening and closing. If
you press and hold the ff button on the vehicle
key, all of the windows and the panoramic glass
roof* will close.
Disable rear lid handle
You can select if the luggage compartment lid
can open with the handle. If you activate this
function, the luggage compartment lid can only
be opened with the 4s button on the vehicle key >
31
Page 42 of 316
Opening and closing
ZX WARNING
If you have folded the backrests into the up-
right position, always check if the lock is cor-
rectly engaged by pulling forward on the
backrest.
There is a malfunction in the child safety lock.
Press the # button again.
If the message stays on, drive immediately to an
authorized Audi dealer or authorized Audi Service
Facility to have the malfunction repaired.
Child safety lock
The child safety lock prevents the rear doors
from being opened from the inside and the rear
power windows from being operated.
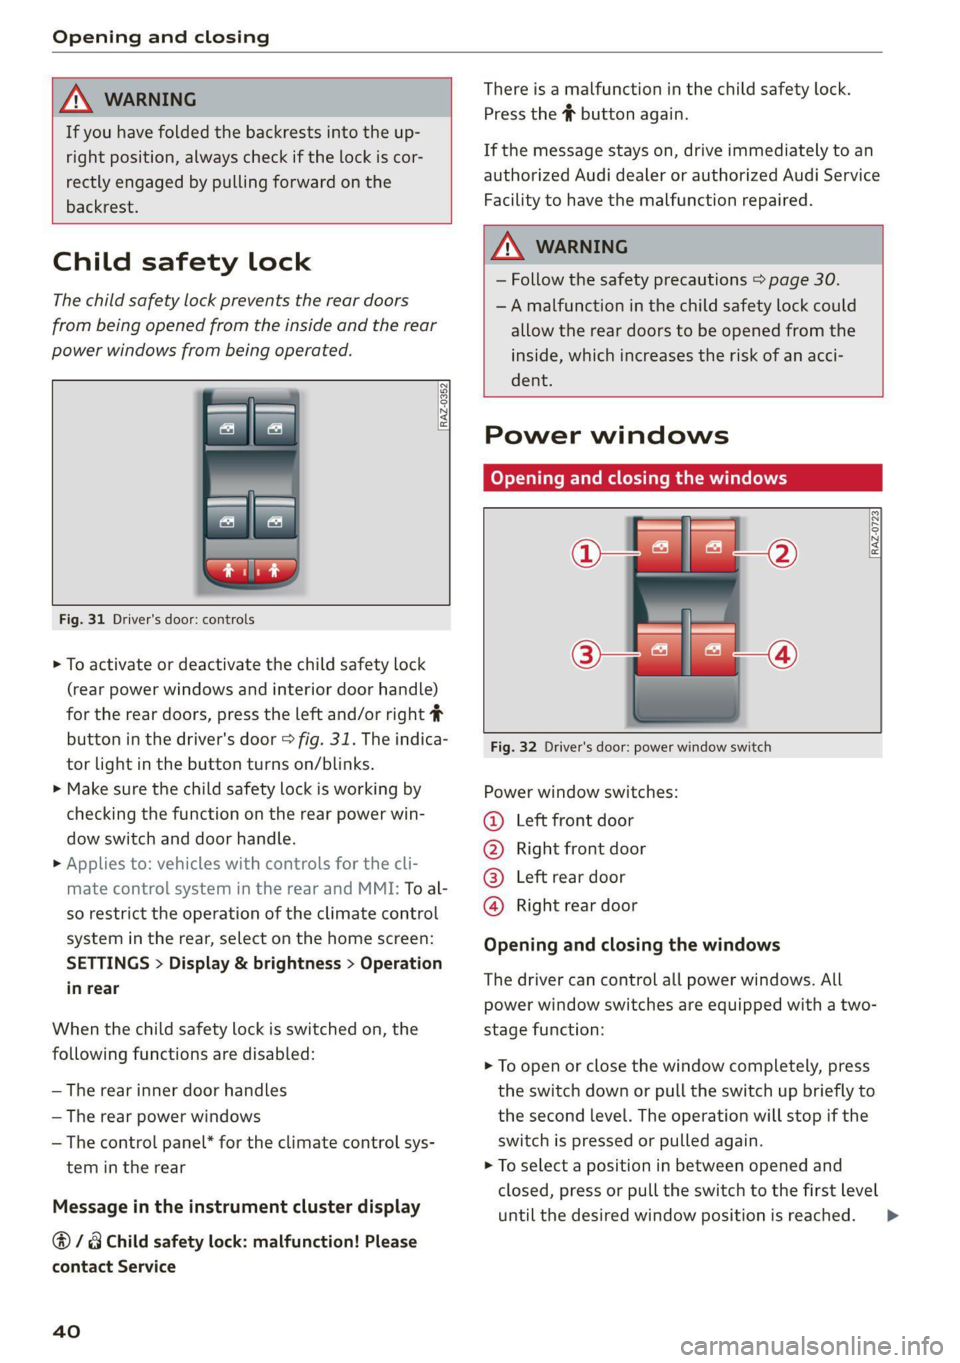
RAZ-0352
Fig. 31 Driver's door: controls
> To activate or deactivate the child safety lock
(rear power windows and interior door handle)
for the rear doors, press the left and/or right #
button in the driver's door > fig. 31. The indica-
tor light in the button turns on/blinks.
> Make sure the child safety lock is working by
checking the function on the rear power win-
dow switch and door handle.
» Applies to: vehicles with controls for the cli-
mate control system in the rear and MMI: To al-
so restrict the operation of the climate control
system in the rear, select on the home screen:
SETTINGS > Display & brightness > Operation
in rear
When the child safety lock is switched on, the
following functions are disabled:
—The rear inner door handles
— The rear power windows
— The control panel* for the climate control sys-
tem in the rear
Message in the instrument cluster display
@/8 Child safety lock: malfunction! Please
contact Service
40
ZX WARNING
— Follow the safety precautions > page 30.
—A malfunction in the child safety lock could
allow
the rear doors to be opened from the
inside, which increases the risk of an acci-
dent.
Power windows
Opening and closing the windows
RAZ-0723
Fig. 32 Driver's door: power window switch
Power window switches:
©® Left front door
@ Right front door
@® Left rear door
@® Right rear door
Opening and closing the windows
The driver can control all power windows. All
power window switches are equipped with a two-
stage function:
> To open or close the window completely, press
the switch down or pull the switch up briefly to
the second level. The operation will stop if the
switch is pressed or pulled again.
> To select a position in between opened and
closed, press or pull the switch to the first level
until
the desired window position is reached. >
Page 55 of 316

4M1012721BA
Lights and Vision
Comfort sun visor
The comfort sun visor consists of a front anda
rear visor. The rear visor can be released from its
retainer and turned toward the door. The sun vi-
sor can also be moved back and forth lengthwise
in this position > fig. 42.
Vanity mirror
The mirror lighting switches on when the cover
over the vanity mirror opens.
Applies to: vehicles with sunshade
<=
B4M-0166|
Fig. 43 Rear door: sunshade
B4L-1236
Fig. 44 Rear window: sunshade
Rear door sunshade
> Pull the sunshade out and attach it to the re-
tainer on the upper door frame.
Rear window sunshade
> Pull the sunshade out and attach it to the re-
tainer on the luggage compartment lid.
Windshield wipers
Switching the windshield wipers on
RAZ-0253
Fig. 46 Lever: rear window wiper
> Move the windshield wiper lever {7 to the co
responding position:
@© Windshield wipers off
@ Rain sensor/intermittent mode. The wind-
shield wipers switch on once the vehicle speed
exceeds approximately 2 mph (4 km/h) and it i
r-
Ss
raining. The higher the sensitivity of the rain sen-
sor that is set (switch © to the right), the earlier
the windshield wipers react to moisture on the
windshield. You can deactivate the rain sensor
mode, which switches the interval mode on. In
intermittent mode, you can adjust the interval
time using the switch ©.
> Applies to: MMI: Select on the home screen:
VEHICLE > Light & Visibility > Rain sensor.
@® Slow wiping
@ Fast wiping
@ Single wipe. If you hold the lever in this posi-
tion longer, the wipers switch from slow wiping
to fast wiping.
53
>
Page 57 of 316
4M1012721BA
Lights and Vision
the windshield wipers go back to the original
position, or drive faster than 8 mph (12 km/h).
You can also turn the service position on or off in
the MMI:
> Switch the windshield wipers off (position @
=> page 53, fig. 45).
> Applies to MMI: Select on the home screen: VE-
HICLE > Settings & Service > Wiper change po-
sition.
Cleaning the wiper blades
Requirement: the windshield wipers must be in
the service position.
> Fold the windshield wiper arm away from the
windshield.
> For information on cleaning, see > table on
page 268.
Replacing the wiper blades
Requirement: the windshield wipers must be in
the service position.
> Fold the windshield wiper arm away from the
windshield.
> Press the locking knob (@) on the wiper blade.
Hold the wiper blade firmly.
> Remove the wiper blade from the windshield
wiper arm mount ().
> Insert the new wiper blade into the mount on
the wiper arm until it clicks into place.
> Place the wiper arm back on the windshield.
> Exit the service position.
Z\ WARNING
— For safety reasons, the windshield wiper
blades should be replaced once or twice
each year.
— Dirty windshield wiper blades can impair vi-
sion, which increases the risk of an accident.
() Note
— The windshield wipers must only be folded
up when in the service position! Otherwise,
you risk damaging the paint on the hood or
the windshield wiper motor.
— You should not move your vehicle or press
the windshield wiper lever when the wiper
arms are folded up from the windshield. The
windshield wipers would move back into
their original position and could damage the
hood and windshield.
G@) Tips
— You can also use the service position, for ex-
ample, if you want to protect the windshield
from icing by using a cover.
— You cannot activate the service position
when the hood is open.
Cleaning/changing the rear wiper blade
[RAZ-0637
Fig. 48 Rear window wiper: installing the wiper blade
Cleaning the wiper blades
> Fold the wiper arm away from the rear window.
> For information on cleaning, see > table on
page 268.
Removing the wiper blade
> Fold the wiper arm away from the rear window.
> Remove the wiper blade from its holder.
Installing the wiper blade
> Press the wiper blade mount into the retainer.
> Fold the window wiper arm back onto the rear
window.
ZA\ WARNING
For safety reasons, the windshield wiper
blades should be replaced once or twice each
year.
Werle [4
If the eB indicator light turns on, then there is a
windshield wiper malfunction. The displayed
55
Page 91 of 316
4M1012721BA
Warm and cold
Warm and cold
Climate control system
One of the following options may be available,
depending on vehicle equipment:
— A deluxe automatic climate control system with
3 zones where the temperature, air distribu-
tion, and air supply can be set separately on the
left front side, the right front side, and in the
rear
— A deluxe automatic climate control system with
4 zones to individually adjust the temperature,
air distribution, and amount of ventilation at all
of the seats
The climate control system warms, cools, dehu-
midifies, and filters the air in the vehicle interior.
It is the most effective when the windows and
panoramic glass roof* are closed. If there is a
build-up of heat inside the vehicle, ventilation
can help to speed up the cooling process.
The climate control system automatically main-
tains a temperature once it has been set. In all
heating mode functions except defrost, the blow-
er only switches to a higher speed once the en-
gine coolant has reached a certain temperature.
@ For the sake of the environment
Energy can be saved by switching off the A/C
mode.
@) Tips
—To prevent interference with the heating or
cooling output and to prevent the windows
from fogging over, the air intake in front of
the windshield must be free of ice, snow,
and leaves.
— Condensation from the cooling system can
drip and form a puddle of water under the
vehicle. This is normal and does not mean
there is a leak.
— The energy management system may tem-
porarily switch off certain functions, such as
the seat heating” or rear window defogger.
These systems are available again as soon as
the energy supply has been restored.
— Certain settings are stored automatically in
the active personal profile.
zB BI
2 19
Ig e
AUTO AUTO
Vel “ rae
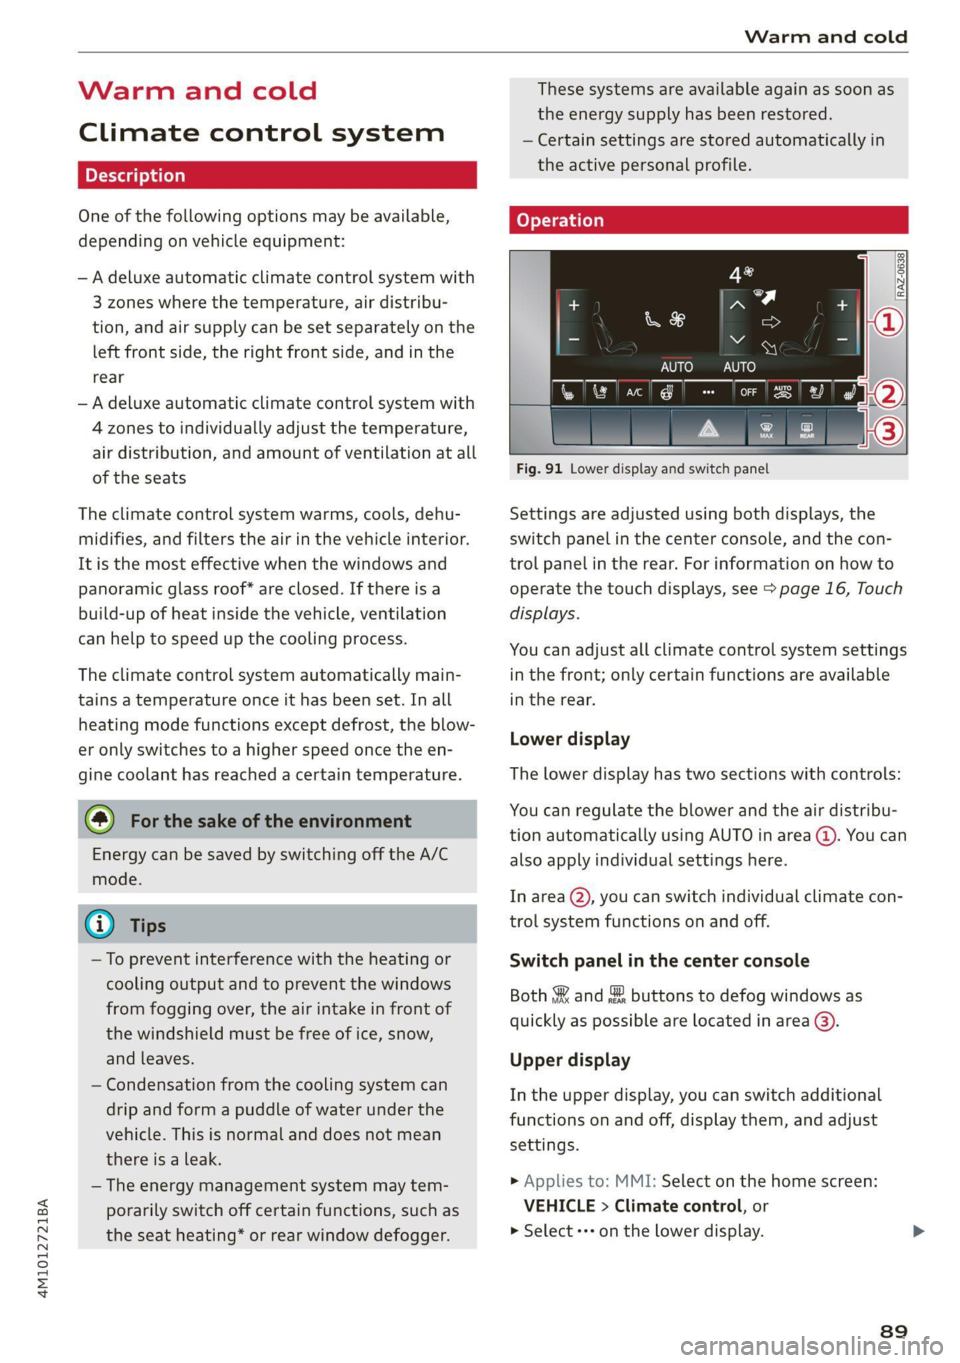
Fig. 91 Lower display and switch panel
Settings are adjusted using both displays, the
switch panel in the center console, and the con-
trol panel in the rear. For information on how to
operate the touch displays, see > page 16, Touch
displays.
You can adjust all climate control system settings
in the front; only certain functions are available
in the rear.
Lower display
The lower display has two sections with controls:
You can regulate the blower and the air distribu-
tion automatically using AUTO in area (@). You can
also apply individual settings here.
In area @ you can switch individual climate con-
trol system functions on and off.
Switch panel in the center console
Both §& and & buttons to defog windows as
quickly as possible are located in area @).
Upper display
In the upper display, you can switch additional
functions on and off, display them, and adjust
settings.
> Applies to: MMI: Select on the home screen:
VEHICLE > Climate control, or
> Select «++ on the lower display.
89
Page 153 of 316

4M1012721BA
Driver assistance
located in the area that is critical for a lane
change. For example:
— If the lanes are narrow or if you are driving on
the edge of your lane. If this is the case, the
system may have detected a vehicle in another
lane that is not adjacent to your current lane.
— If you are driving through a curve. Side assist
may react to a vehicle that is in the same lane
or one lane over from the adjacent lane.
— If side assist reacts to other objects (such as
roadside structures like guard rails).
ZA WARNING
— Follow the safety precautions and note the
limits of the assist systems, sensors, and
cameras > page 118.
— The display may not appear on time when
vehicles are approaching or being passed
very quickly.
G) Tips
— If the window glass in the driver's door or
front passenger's door has been tinted, the
display in the exterior mirror may be incor-
rect.
— These systems are not available in trailer
towing mode. There is no guarantee the sys-
tems will switch off when using a retrofitted
trailer hitch. Do not use these functions
when towing a trailer.
— For an explanation on conformity with the
FCC regulations in the United States and the
Industry Canada regulations, see
=> page 295.
Oe Ree
Applies to: vehicles with side assist
The system can be switched on and off in the
MMI > page 121. If the system is activated, the
displays will turn on briefly when the ignition is
switched on.
Adjusting the brightness
You can adjust the brightness of the display in
the exterior mirror. The settings depend on the
vehicle equipment.
> Applies to: MMI: Select on the home screen:
VEHICLE > Driver assistance > (€}) > Side as-
sist > Brightness.
The display brightness is automatically adapted
to the ambient light. If the automatic adaptation
has already reached the upper or lower limit, no
change will be apparent when the setting is
changed, or it will only become visible when the
ambient light changes. Adjust the brightness to a
level where the display in the information stage
will not disrupt your view ahead. If you change
the brightness, the display will briefly show the
brightness level in the information stage.
Messages
Applies to: vehicles with side assist
iff or Eg is displayed when there is a malfunc-
tion, the side assist and exit warning system
functions may be unavailable or may be limited.
A message that indicates the cause and possible
solution may appear with some displays. The
weather conditions may be too poor or a sensor
may be covered. Clean the sensor area in the ve-
hicle rear and try to turn the systems on again
later.
If the malfunction remains, drive to an author-
ized Audi dealer or authorized Audi Service Facili-
ty immediately to have the malfunction correct-
ed.
151
Page 273 of 316
4M1012721BA
Care and cleaning
— Never use any paint polish or other abra-
sive materials.
— Damage to the protective layer on the
rims, such as stone chips or scratches,
must be repaired immediately.
— Camera lenses
— Never use warm or hot water to remove
snow or ice from the camera lens. This
could cause the lens to crack.
— Never use abrasive cleaning materials or
alcohol to clean the camera lens. This
could cause scratches and cracks.
— Laser scanner
— Never use abrasive cleaning materials to
clean the laser scanner. This could cause
scratches and cracks.
— Door windows
— Remove snow and ice on windows and ex-
terior mirrors with a plastic scraper. To re-
duce the risk of scratches, move the scra-
per only in one direction and not back and
forth.
— Never remove snow or ice from door win-
dows and mirrors using warm or hot water
because this could cause cracks to form.
—To reduce the risk of damage to the rear
window defogger, do not apply any stick-
ers on the heating wires on the inside of
the window.
— Decorative parts and trim
— Never use chrome care or cleaning prod-
ucts.
— Paint
—To reduce the risk of scratches, the vehicle
must be free of dirt and dust before pol-
ishing or waxing.
—To prevent paint damage, do not polish or
wax the vehicle in direct sunlight.
—To reduce the risk of paint damage, do not
polish away rust spots.
— Remove cosmetics and sunscreen immedi-
ately because they could damage the
paint.
— Decorative decals
—To reduce the risk of damage, do not use
any rough powder or abrasive cleaning
products.
—To reduce the risk of damage, do not pol-
ish decorative decals that have a matte or
printed finish.
— Due to the risk of damage, do not use an
ice scraper to remove snow and ice on win-
dows with decorative decals on them.
— Displays and instrument cluster
— Make sure that the display and instrument
cluster are switched off and have cooled
down before cleaning. To switch off the
upper and lower display, select on the
MMI home screen: SETTINGS > Display &
brightness > MMI > Screen cleaning.
— Displays, the instrument cluster, and the
trim surrounding it must not be cleaned
with dry cleaning methods because they
could become scratched.
— Make sure no fluids enter the spaces be-
tween the instrument cluster and the
trim, because that could cause damage.
— Controls
— Make sure that no fluids enter the con-
trols, because this could cause damage.
— Safety belts
— Do not remove the safety belts to clean
them.
— Never clean safety belts or their compo-
nents with chemicals or with corrosive flu-
ids or solvents and never allow sharp ob-
jects to come into contact with the safety
belts. This could cause damage to the belt
webbing.
— If there is damage to the webbing, the
connections, the retractors, or the buck-
les, have them replaced by an authorized
Audi dealer or authorized Audi Service Fa-
cility.
— Textiles, artificial leather, and Alcantara
— Never treat artificial leather or Alcantara
with leather care products, solvents, floor
polish, shoe polish, spot remover, or simi-
lar products.
— Have a cleaning specialist remove stub-
born stains to reduce the risk of damage.
— Never use steam cleaners, brushes, hard
sponges, etc. when cleaning.
271
Page 310 of 316
Index
ROOFIACK:. cones + sucwows ae crews a cuceTOS wv co a 87
also refer to Roof rack............00 eee 87
Route guidance
StODPING ssiss x ¢ eave ¢ F Sanas ¢ § eGR YS eae 191
also refer to Navigation............... 186
RUMPFLAt CIES) » ey: + 2 secyse 2 s ceases 2 9 ewe 265
Running direction (tires)..............-. 278
S
Safety BeltSicus ¢ s eeus iy wees i RewG Ga emN ee 66
Cleaning’: « « ssi =» een eo www = een eo a8 270
Locking
Securing child safety seats.............. 78
Satellite Map... .. ee. ee eee eee 196
Saving fuel
ENGroy CONSUNIErS: cu = x nous 2 = wares 3 ¢ ee 15
Recuperation « «esc ee ones wen ws were we 15
Screen
refer to Touch display.................. 16
Serewa river's « i cxasns ww inasons «a oncwose so amiuene a 273
SDicard reader(MMI) wesc si isis oi ase vos 210
Search-ared (POD, sasse «2 seca ¢ a caw x 2 eyes 189
Search
function
refer to Free text search............... 219
Seat:heating sosien = a vce x 2 mewn + ei we RO 91
Seats
Adjusting the front seats................ 59
Adjusting the rearseats................ 61
Cleaning s < = secs = + cows ts eee ge geen ae we 270
FOLIA Gia. so cievee we arene © & anaveina v & anaueie » owe 85
Front passenger’s seat adjustment....... 61
Head restraints’; « = ss < = saws x e enw 5 2 we 64
Massage function...............-000 ee 59
Memory function............. 00 cece eee 70
Resetting the position.................. 61
Storing aseatipnotile cose « 2 swe vw anaes x ¥ a 70
Seatventilationion «x scsi oo wwe vo canvas 2 0 a 91
Selecting a source (media).............. 215
Selector lever's « = swe « 2 smae 2 e eee 5s meer « 96
Self-learning navigation
refer to Personal route assistance....... 194
Sensors
COVERAGE ATCAS siciers is & swans © + ceweae eo vesna 119
Locations ....... 0.0... cece eee eee eee 120
Service interval display...............0. 245
Setting measurement units.............. 225
308
SEEING Sis vs cess © os awouens w etewens av pasion We aa 225
Announcements and tones............. 225
BlUGtOOENs « = awe sy meme + o ewe ee eee gs 226
Daterand time vinin « 2 saws ve wine xe were oa 225
Language......... cee cece eee ee eee 225
Measurement units.................0. 225
Mediates « s wc os emis © wen & 6 mane oo oer 220
Navigation.................0..00000- 199
R&GIG sues s ¢ warae x 2 eee Fo RGR Bee EY 208
SOUNG sean o 2 ween o 8 ec es eRe wie 8 Oe 225
SySteM . 0. eee eee 225
THIME ZONE sess ¢ s Sasa so RNG oF SeES 4 ES 225
WIEFIMORSPOU's sores «2 sews oo somes oo omen 182
Setting the language................... 225
Setting the tim@ ss « + 2205 es seen sa pews ees 225
Shade
Rear window/rear doors................ 53
Shift’ pad leSwene: « = savy: 2 » aeme = ¢ ees 5 eee 98
Shipveartier': = ese eeeg cs meee se eee ee ee 109
Shortcut
PEfEPCOSHOUECUES: « sees « 5 cawws x 2 eae a ¥ 21
SHOPECUES:: + x neo: 2 ¢ eases Fe SeUOS Fe Re 21
Shuffl@cas « < sees se eoes st es a ee eee 217
also refer to Shuffle..............000- 217
Side’assistsscs sv aes + ¢ cares + 2 wee yo ws 150
Cleaning the sensors..............0-.. 268
SIMM¢atd « = ssonsis + a ceuvie ¥ stevens wv seein we eee 179
SiriusXM alert notifications.............. 205
Sliding/tilting sunroof
refer to Panoramic glass roof............ 4l
Smmart:favorites:. . icon ee mene vv eacane we sone 205
Smartphone
Wireless:chargings. » «scm» « exsuese a « sumac « 167
also refer to Telephone................ 165
Snow chains..............0 eee eee eee ee 262
Socket... .. 0... eee eee ee eee eee eee 81
Software
Update... 2.0... eee eee eee 226
Software information
Legal Inforitiationls « « caws x © xewy ao cows a 227
Software version (MMI)
Version information..............0005 227
Sound
refer to Adjusting the sound............ 225
Speed limit information
refer to Traffic sign recognition......... 123