ECU AUDI R8 2007 Owners Manual
[x] Cancel search | Manufacturer: AUDI, Model Year: 2007, Model line: R8, Model: AUDI R8 2007Pages: 210, PDF Size: 8.1 MB
Page 13 of 210

Instruments and warning/indicator lamps11
Controls
Safety
Driving tips
General maintenance
Self-help
Technical data
Rev counter
The rev counter indicates the number of engine revolu-
tions per minute.You should select a lower gear if the engine speed drops below
1500 rpm. The start of the red zone on the dial indicates the
maximum engine speed which may be used briefly when the engine
is warm and after it has been run in properly. However, it is advisable
to change up a gear or lift your foot off the accelerator (or shift out
of the R tronic sport mode) before the needle reaches the red zone.
Caution
Never allow the rev counter needle ⇒page 10, fig. 2 to go into
the red zone on the scale for more than a very brief period: there is
a risk of damaging the engine. The start of the red zone on the dial
is different for some engine versions.Radio-controlled clockWhen the clock is in “radio-control” mode the signal recep-
tion symbol (a radio tower with radio waves) appears in the
display ⇒fig. 3. It is then not possible to change the
minutes or the date manually. If you take your vehicle into a different time zone, the hour display will need to be
adjusted manually to local time using the adjuster button.
Setting the time zone
– Keep pulling the button ⇒fig. 3 briefly until the time
zone display flashes (select setting “0” if you do not wish
to change the time zone).
– Then turn the button to the left (to set an earlier time
zone: -1/-2) or to the right (to set a later time zone: +1/+2).
Switching date display on and off
– Keep pulling the button briefly until the date display
flashes.
– Then turn the button to the left or right.
When the display stops flashing, this means the setting you are
performing is completed and the time zone has been successfully
stored.
If the clock does not receive a radio signal for three consecutive
days, it will automatically switch to “quartz” mode. The signal recep-
tion symbol will then disappear. If you need to reset the time and
date, proceed as described on ⇒page 12.
A2
Fig. 3 Detail of the
instrument cluster:
Display with signal
reception symbol, time
and date
document_0900452a816e6cc9.book Seite 11 Mittwoch, 21. Februar 2007 1:32 13
Page 16 of 210
Instruments and warning/indicator lamps 14Upper mileage recorder (trip recorder)
The upper mileage recorder shows the distance that has been trav-
elled since the trip recorder was last reset. It is used to measure indi-
vidual journeys. The last digit of the trip recorder indicates
distances of 100 metres or tenths of a mile. The trip recorder can be
reset to zero by pressing the reset button ⇒page 13, fig. 5.
When the ignition is switched off, the illumination of the mileage
recorder can be switched on for a few seconds by pressing the
adjuster/test button ⇒page 10, fig. 2 .
Fault display
If there is a fault in the instruments, the letters dEF appear perma-
nently in the trip recorder display. Please have the fault rectified as
soon as possible.
Immobiliser
When the ignition is switched on, the security programming of the
ignition key is verified electronically.
If an uncoded key is used, SAFE will appear continuously in the trip
recorder display. The vehicle cannot then be driven ⇒page 42.Voltmeter displayThe voltmeter indicates the voltage of the vehicle's electrical
system. The voltage of the electrical system should normally be
between 12 and 14 volts. If the display drops below 12 volts when
the engine is running, have the power supply (battery and alter-
nator) checked by a qualified workshop.
Note
The voltage may drop below 8 volts while the engine is being
started.
A8
document_0900452a816e6cc9.book Seite 14 Mittwoch, 21. Februar 2007 1:32 13
Page 46 of 210
Doors and windows 44open one of the doors or the luggage lid within 30 seconds after
unlocking the car. This function prevents the vehicle from remaining
unlocked if the unlocking button is pressed by mistake.
On vehicles with the security central locking feature, you can unlock
just the driver's door by pressing button once, or the whole
vehicle by pressing the button twice.
The turn signals flash once when the vehicle is locked to confirm
that the doors and luggage lid are properly locked.
WARNING
•
Do not leave anyone (especially childr e n ) i n t h e c a r i f i t i s l o c k e d
from the outside and the deadlock mechanism is activated: the
doors and windows cannot then be opened from the inside.
Locked doors could delay assistance in an emergency, potentially
putting lives at risk.
•
Take care when closing the windows. Careless use of the
windows can cause injuries.
•
For safety reasons, you should only use the remote control
open and close functions within about 2 metres of the vehicle. To
avoid injuries, always keep an eye on the windows when pressing
the button to close them. The windows stop moving as soon as
the button is released.Note
•
The remote control should only be used when the doors and the
front lid are closed.
•
The remote control should not be used when the vehicle is out of
sight.
•
The anti-theft alarm can be accidentally activated and the vehicle
locked if you press the locking button
on the remote control inside
the vehicle before inserting the key in the ignition. If this should
happen by mistake, press the unlocking button
.
•
The convenience open/close function for the windows only
works when the “Convenience open” function is activated in the
menu display ⇒page 24.
Locking and unlocking the vehicle using the key
If the central locking system should fail to operate, the
vehicle can still be locked and unlocked by turning the key
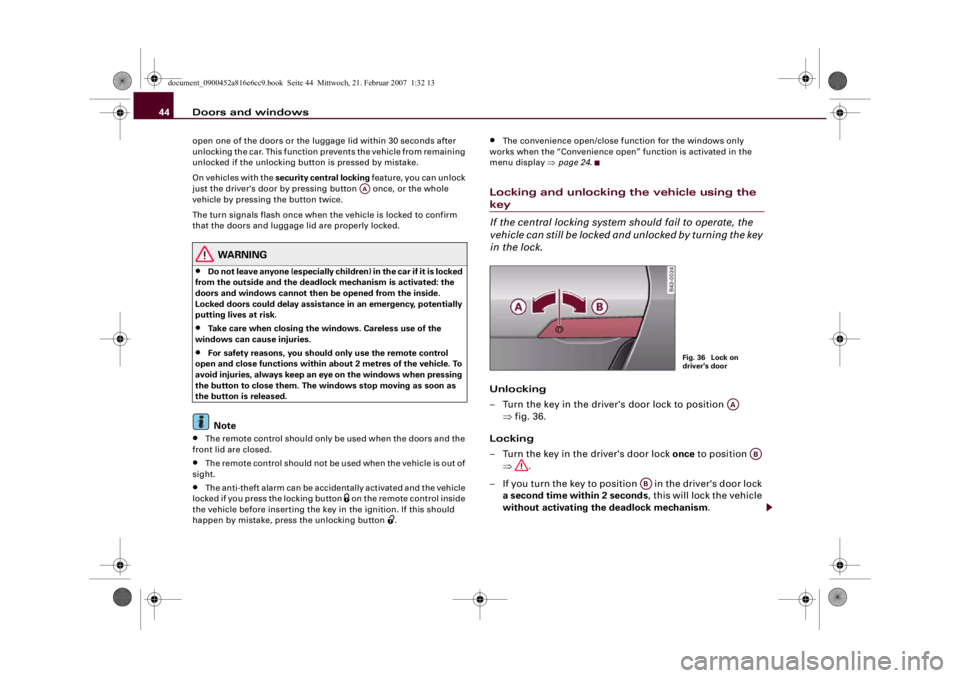
in the lock.Unlocking
– Turn the key in the driver's door lock to position
⇒fig. 36.
Locking
– Turn the key in the driver's door lock once to position
⇒.
– If you turn the key to position in the driver's door lock
a second time within 2 seconds, this will lock the vehicle
without activating the deadlock mechanism.
AA
Fig. 36 Lock on
driver's door
AA
AB
AB
document_0900452a816e6cc9.book Seite 44 Mittwoch, 21. Februar 2007 1:32 13
Page 48 of 210
Doors and windows 46Locking passenger's door manually
If the central locking system should fail to work at any
time, the passenger's door will have to be locked sepa-
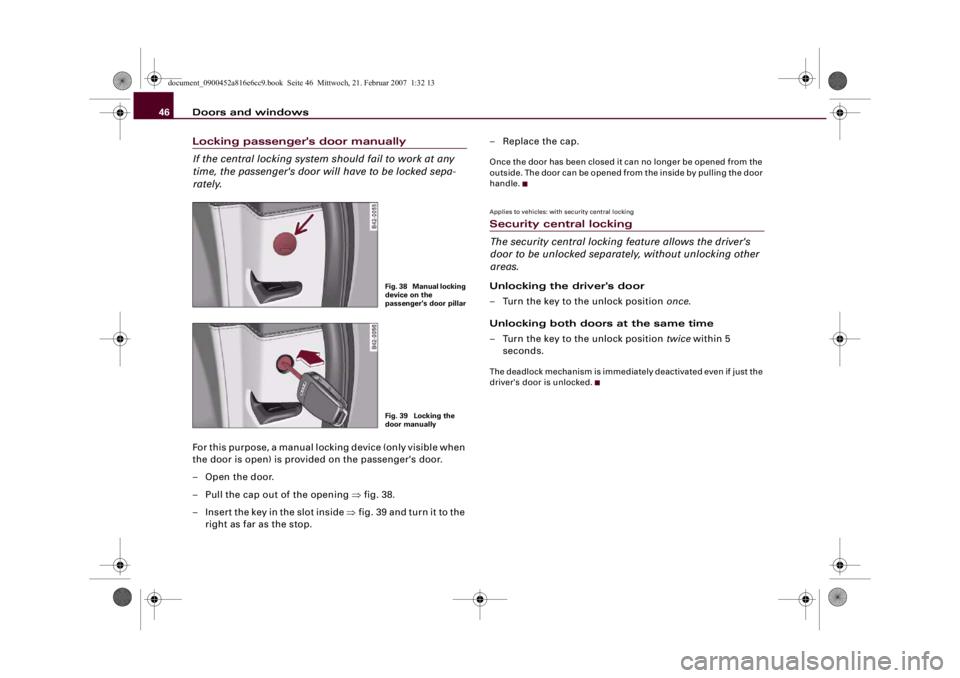
rately.For this purpose, a manual locking device (only visible when
the door is open) is provided on the passenger's door.
–Open the door.
– Pull the cap out of the opening ⇒fig. 38.
– Insert the key in the slot inside ⇒fig. 39 and turn it to the
right as far as the stop.–Replace the cap.
Once the door has been closed it can no longer be opened from the
outside. The door can be opened from the inside by pulling the door
handle.Applies to vehicles: with security central lockingSecurity central locking
The security central locking feature allows the driver's
door to be unlocked separately, without unlocking other
areas.Unlocking the driver's door
– Turn the key to the unlock position once.
Unlocking both doors at the same time
– Turn the key to the unlock position twice within 5
seconds.The deadlock mechanism is immediately deactivated even if just the
driver's door is unlocked.
Fig. 38 Manual locking
device on the
passenger's door pillarFig. 39 Locking the
door manually
document_0900452a816e6cc9.book Seite 46 Mittwoch, 21. Februar 2007 1:32 13
Page 49 of 210
Doors and windows47
Controls
Safety
Driving tips
General maintenance
Self-help
Technical data
Luggage lidOpening and closing the luggage lidThe windscreen wipers must be switched off and the wiper
arms must be in contact with the windscreen when the
luggage lid is opened. Otherwise the paint may get
damaged.
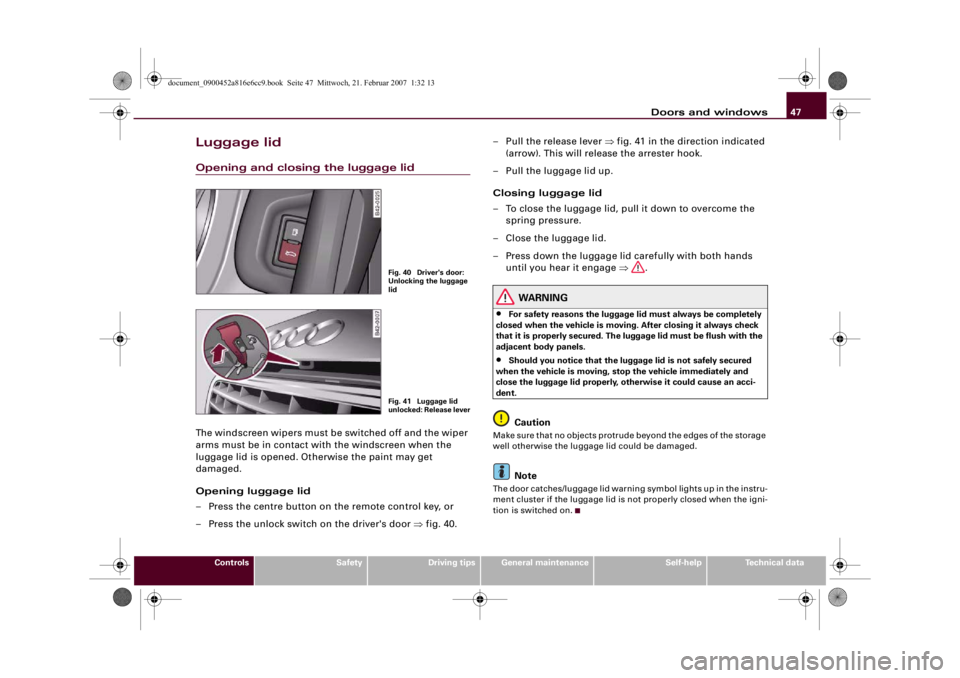
Opening luggage lid
– Press the centre button on the remote control key, or
– Press the unlock switch on the driver's door ⇒fig. 40.– Pull the release lever ⇒fig. 41 in the direction indicated
(arrow). This will release the arrester hook.
– Pull the luggage lid up.
Closing luggage lid
– To close the luggage lid, pull it down to overcome the
spring pressure.
– Close the luggage lid.
– Press down the luggage lid carefully with both hands
until you hear it engage ⇒.
WARNING
•
For safety reasons the luggage lid must always be completely
closed when the vehicle is moving. After closing it always check
that it is properly secured. The luggage lid must be flush with the
adjacent body panels.
•
Should you notice that the luggage lid is not safely secured
when the vehicle is moving, stop the vehicle immediately and
close the luggage lid properly, otherwise it could cause an acci-
dent.Caution
Make sure that no objects protrude beyond the edges of the storage
well otherwise the luggage lid could be damaged.
Note
The door catches/luggage lid warning symbol lights up in the instru-
ment cluster if the luggage lid is not properly closed when the igni-
tion is switched on.
Fig. 40 Driver's door:
Unlocking the luggage
lidFig. 41 Luggage lid
unlocked: Release lever
document_0900452a816e6cc9.book Seite 47 Mittwoch, 21. Februar 2007 1:32 13
Page 83 of 210
Driving81
Controls
Safety
Driving tips
General maintenance
Self-help
Technical data
DrivingSteeringAdjusting the steering wheel position
The height and reach of the steering wheel can be
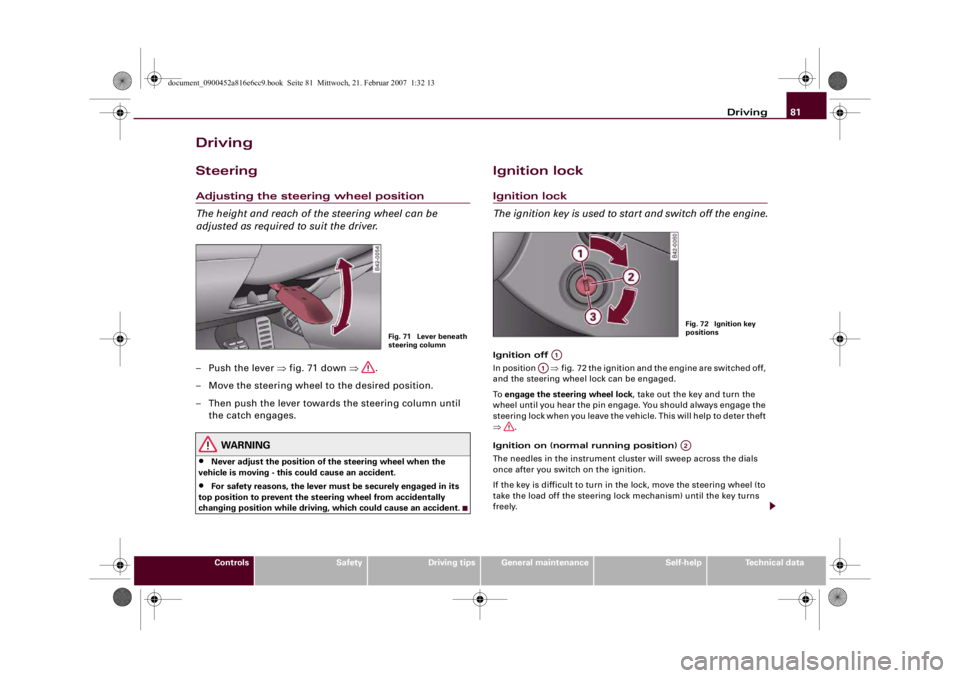
adjusted as required to suit the driver.–Push the lever ⇒fig. 71 down ⇒.
– Move the steering wheel to the desired position.
– Then push the lever towards the steering column until
the catch engages.
WARNING
•
Never adjust the position of the steering wheel when the
vehicle is moving - this could cause an accident.
•
For safety reasons, the lever must be securely engaged in its
top position to prevent the steering wheel from accidentally
changing position while driving, which could cause an accident.
Ignition lockIgnition lock
The ignition key is used to start and switch off the engine.Ignition off
In position ⇒fig. 72 the ignition and the engine are switched off,
and the steering wheel lock can be engaged.
To engage the steering wheel lock, take out the key and turn the
wheel until you hear the pin engage. You should always engage the
steering lock when you leave the vehicle. This will help to deter theft
⇒.
Ignition on (normal running position)
The needles in the instrument cluster will sweep across the dials
once after you switch on the ignition.
If the key is difficult to turn in the lock, move the steering wheel (to
take the load off the steering lock mechanism) until the key turns
freely.
Fig. 71 Lever beneath
steering column
Fig. 72 Ignition key
positions
A1
A1
A2
document_0900452a816e6cc9.book Seite 81 Mittwoch, 21. Februar 2007 1:32 13
Page 97 of 210
HomeLink95
Controls
Safety
Driving tips
General maintenance
Self-help
Technical data
HomeLinkUniversal transmitterApplies to vehicles: with HomeLinkDescription
The HomeLink universal transmitter can be programmed
to replace the hand-held controls of devices already in
use.The HomeLink universal transmitter allows you to conveniently acti-
vate garage doors, estate gates, security systems, home or office
lighting and other electric devices by means of control buttons
inside your car.
The single remote control unit that HomeLink provides will replace
up to three hand-held transmitters operating existing devices on
your property. This will be possible for most transmitters which
control the drive units for a garage door or external gates, etc.
Programming of the individual hand-held transmitters for your
remote control is done at the centre of the front bumper. This is
where the control unit is located.
To be able to control systems with HomeLink, you need to perform
initial programming on the HomeLink transmitter first. If systems
fail to respond after the initial programming, check whether these
systems work with a "rolling code" (variable security code)
⇒page 97.
WARNING
When you are programming the HomeLink universal transmitter,
make sure that no persons or objects are close to the devices
receiving the transmitter signals. If a gate or door is inadvertently
set into motion during programming, persons might be injured or
other damage caused by moving parts.
Note
•
For additional information on HomeLink® and/or products
compatible with HomeLink®, please call the toll-free HomeLink®
hotline (0) 08000466 35465 (in Germany) or alternatively +49 (0) 6838
907 277, or visit the HomeLink® website at: www.homelink.com
•
HomeLink
® is a registered trademark of Johnson Controls.
Applies to vehicles: with HomeLinkProgramming the universal transmitter
Programming of the HomeLink universal transmitter is
done on the operating unit located above the interior
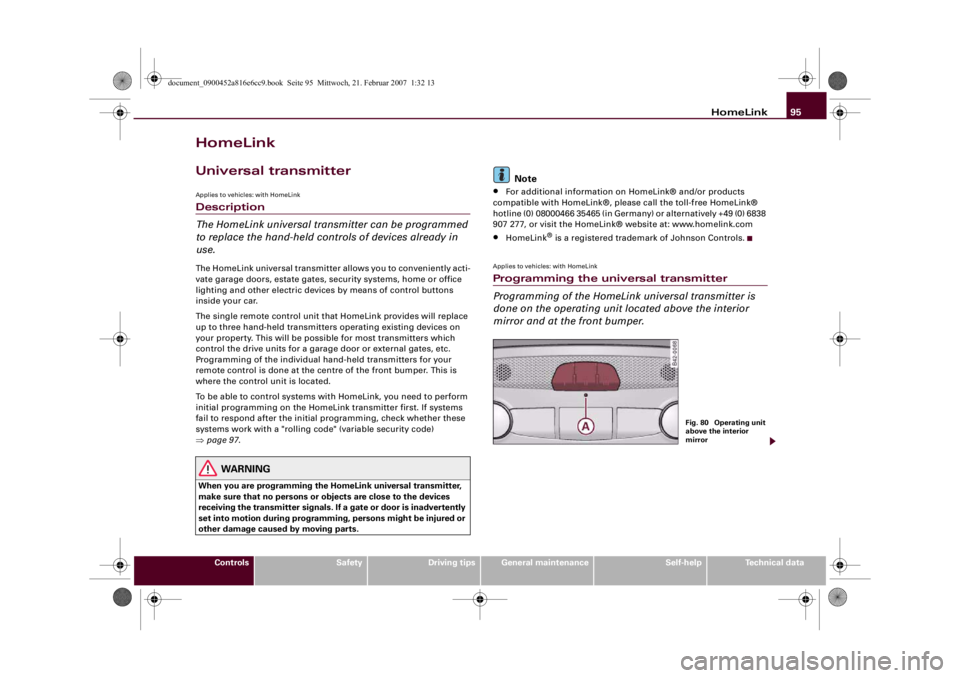
mirror and at the front bumper.
Fig. 80 Operating unit
above the interior
mirror
document_0900452a816e6cc9.book Seite 95 Mittwoch, 21. Februar 2007 1:32 13
Page 98 of 210
HomeLink 96
At the operating unit
1. Switch on the ignition (do not start the engine).
2. Press and hold down the two outer buttons of the
HomeLink® operating unit ⇒page 95, fig. 80 until the
indicator diode ⇒page 95, fig. 80 begins to flash after
about 20 seconds. This means that all previously stored
data has been deleted.
3. Press the particular HomeLink button which you would
like to program.
4. Wait until the diode ⇒page 95, fig. 80 begins to flash.
The HomeLink module now remains in training mode for
5 minutes.
5. Now step in front of your vehicle with the original hand-
held transmitter for the garage door opener or any other
device you wish to assign to the HomeLink control button
⇒fig. 81.
At the front bumper
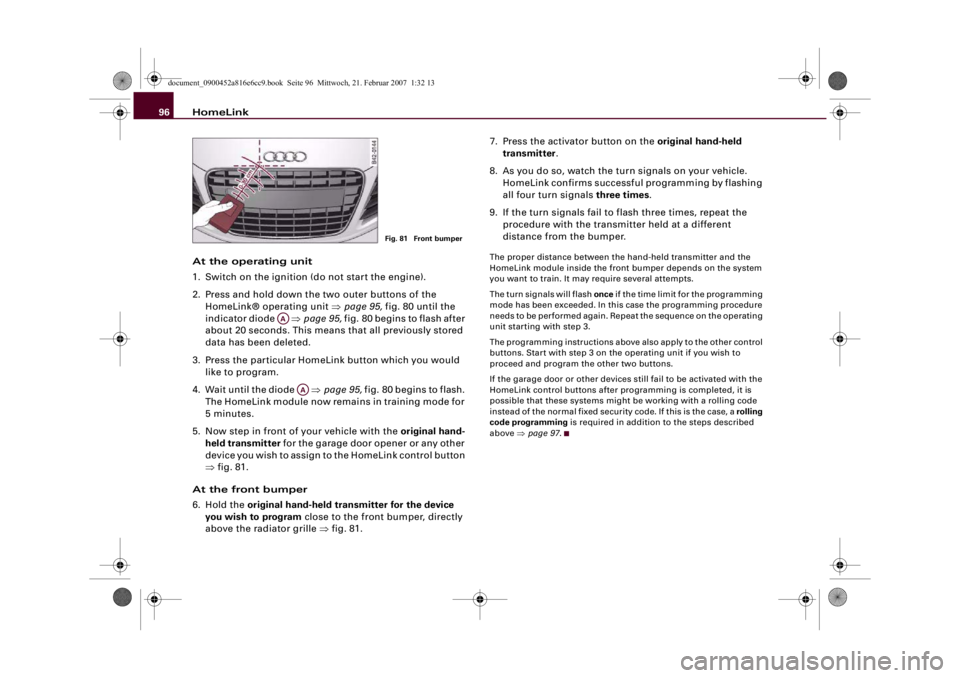
6. Hold the original hand-held transmitter for the device
you wish to program close to the front bumper, directly
above the radiator grille ⇒fig. 81.7. Press the activator button on the original hand-held
transmitter.
8. As you do so, watch the turn signals on your vehicle.
HomeLink confirms successful programming by flashing
all four turn signals three times.
9. If the turn signals fail to flash three times, repeat the
procedure with the transmitter held at a different
distance from the bumper.
The proper distance between the hand-held transmitter and the
HomeLink module inside the front bumper depends on the system
you want to train. It may require several attempts.
The turn signals will flash once if the time limit for the programming
mode has been exceeded. In this case the programming procedure
needs to be performed again. Repeat the sequence on the operating
unit starting with step 3.
The programming instructions above also apply to the other control
buttons. Start with step 3 on the operating unit if you wish to
proceed and program the other two buttons.
If the garage door or other devices still fail to be activated with the
HomeLink control buttons after programming is completed, it is
possible that these systems might be working with a rolling code
instead of the normal fixed security code. If this is the case, a rolling
code programming is required in addition to the steps described
above ⇒page 97.
Fig. 81 Front bumper
AA
AA
document_0900452a816e6cc9.book Seite 96 Mittwoch, 21. Februar 2007 1:32 13
Page 100 of 210
HomeLink 98
– Press and hold down the two outer buttons until the indi-
cator diode starts to flash ⇒page 95, fig. 80.
– Then release the buttons.After the programming of the HomeLink® universal transmitter
buttons has been erased, the system will return to the training
mode and is ready to be re-programmed at any time.
Note
•
Programmed buttons cannot be erased individually.
•
For security reasons it is advisable to erase the programming of
the HomeLink buttons prior to selling your vehicle.
Applies to vehicles: with HomeLinkReprogramming a HomeLink® button
A HomeLink button can be re-programmed individually
without affecting the other button allocations.At the operating unit
– Press and hold down the selected HomeLink® button
until the indicator diode ⇒page 95, fig. 80 starts flashing
slowly.
At the front bumper
–Hold the original hand-held transmitter for the garage
door opener or other device close to the front bumper
directly below the right headlight ⇒page 96, fig. 81. The
exact distance depends on the system that you want to
program.
– Press the button on the original hand-held transmitter
for the garage door opener or other device.– As you do so, watch the turn signals on your vehicle.
HomeLink confirms successful programming by flashing
all four turn signals three times.
– If the turn signals fail to flash three times, repeat the
procedure with the transmitter held at a different
distance from the bumper.
When the turn signals have flashed three times, this means the
device previously stored in HomeLink has been erased and the new
system programmed in its place. To activate the new system, press
the HomeLink button that has just been re-programmed.
Note
It may require several attempts before programming is successful.
When programming a new device, keep the button pressed for at
least 15 seconds before trying again with the transmitter in a
different position. Keep watching the turn signals during that
time.Applies to vehicles: with HomeLinkConformity certificationThe HomeLink universal transmitter is registered in the following
countries under the following certification numbers:Country
Certification number
Andorra
16SEP2003
Belgium
RTT/D/X2064
Denmark
98.3142-266
Germany
D800038K
Finland
FI98080106
France
97619 RD
document_0900452a816e6cc9.book Seite 98 Mittwoch, 21. Februar 2007 1:32 13
Page 105 of 210
Safe driving103
Controls
Safety
Driving tips
General maintenance
Self-help
Technical data
– Check the tyre pressures.
– Make sure that all windows are clean and give good visi-
bility to the outside.
– Secure all luggage and other items carefully.
– Make sure that no objects can interfere with the pedals.
– Adjust the front seat, head restraint and mirrors
correctly.
– Make sure that the head restraints for all passengers are
adjusted to the correct position.
– Make sure that children are protected with suitable
safety seats and properly worn seat belts ⇒page 122.
– Sit in the correct position in your seat and make sure that
your passengers do the same. ⇒page 67.
– Fasten your seat belt correctly. Make sure that your
passengers do the same ⇒page 109.What affects driving safety?
Safety on the road is directly related to how you drive, and
can also be affected by the passengers in the vehicle.The driver is responsible for the safety of the vehicle and all
its occupants. If your ability to drive is impaired in any way,
you endanger yourself and other road users ⇒. There-
fore:
– Do not let yourself be distracted by passengers or by
using a mobile phone, etc.
– Never drive when your driving ability is impaired (by
medication, alcohol, drugs, etc.).– Obey all traffic regulations and speed limits.
– Always adjust your speed to suit the road, traffic and
weather conditions.
– Take frequent breaks on long trips. Do not drive for more
than two hours without a stop.
– If possible, avoid driving when you are tired or stressed.
WARNING
•
Distractions while driving or any kind of impairment to your
driving ability increase the risk of accident and injury.
•
Do not store loose objects on the dashboard. These objects
could fly around the interior when the vehicle is moving (under
acceleration or whilst cornering) and distract the driver – this
could lead to an accident.
document_0900452a816e6cc9.book Seite 103 Mittwoch, 21. Februar 2007 1:32 13