trailer AUDI R8 SPYDER 2011 Owners Manual
[x] Cancel search | Manufacturer: AUDI, Model Year: 2011, Model line: R8 SPYDER, Model: AUDI R8 SPYDER 2011Pages: 244, PDF Size: 59.74 MB
Page 5 of 244

Safety belts . . . . . . . . . . . . . . . . . . . 109
General notes . . . . . . . . . . . . . . . . . . . . 109
Why safety be lts? . . . . . . . . . . . . . . . . 110
Ill ustrating the princ iple of an
accident . . . . . . . . . . . . . . . . . . . . . . . . 111
H ow are safety belts worn correctly? 112
Safety belt pretens ioners . . . . . . . . . . 115
Airbag system ........ .... ... .. 117
Important th ings to know . . . . . . . . . . 117
F ront airbags . . . . . . . . . . . . . . . . . . . . 121
M oni toring the Advanced Airbag
Sys tem . . . . . . . . . . . . . . . . . . . . . . . . . 128
Knee air bags . . . . . . . . . . . . . . . . . . . . . 132
Side airbags . . . . . . . . . . . . . . . . . . . . . 135
Child Safety ............. .. .. . .
Important things to know . ... .. .. . .
C hild safety seats . ..... ... .. .. .. . .
Instal ling a child safety seat . ... .. . .
Addit ional Information ........... .
Vehicle operat ion ..... .. .. .. . .
Intelligent technology .. .. .. . .
Not ice about data recorded by vehicle
control modules .......... .... .. . .
Electronic Stabilization Program ( ESP)
Rear spoiler .................... .
Braking .. .. .. ... ....... .... ... . .
P owe r stee ring .................. .
Driving w ith your qu attro ® ... .. .. . .
E ne rgy management ... ... .. .. .. . .
D ry s ump lubr ication ... ... .. .. .. . .
Driving and environment .... .
Break -in period . .. ..... ... .. .. .. . .
Driving through water on roads ... . .
Cata lytic converter ............ .. . .
Sporty driving . ........... .. .. .. . .
Operation and maintenance .. .. .. . .
Trailer towing ................... .
Vehicle care .................. .
Cleaning and protection ..... .
General information ...... .. .. .. . . 138
13
8
143
1 4 6
149
150
150
150
150
152
153
154
155
1 5 5
157
158 158
158
158
159
159 160
161
161
16 1
Ca re of exte rior . . . . . . . . . . . . . . . . . . 16 1
Ca re of inter io r . . . . . . . . . . . . . . . . . . . 165
Table of contents 3
Fuel supply and filling your
fuel tank ... .. .... . ... ...... ... .
170
Gasoline . . . . . . . . . . . . . . . . . . . . . . . . 170
Fuel tank. . . . . . . . . . . . . . . . . . . . . . . . 171
Checking and filling ..... ... .. .
Engine compartment lid .......... .
Engine oil ... .. .. .. . ............ .
E n gine cooling system ............ .
Brake fluid .. .. .. .. . .. .... ...... .
Battery ......... .. ............. .
Rep lacing the battery ............ .
Windsh ie ld washer container
Tires and wheels ... ..... ... .. .
175
175
178
181
184
184
18 7
188
189
T ires . . . . . . . . . . . . . . . . . . . . . . . . . . . 189
T ire pressure mo nitoring system
Consumer Information ...... .
Warranty coverages .............. .
Operating your veh icle outs ide the
U .S .A . or Canada ... . .. .. ..... ... .
A udi Se rvice Repair Manuals and
Literature . .. .. .. .... ........... .
Maintenance . .. .. .. ............. .
Additional accessories, modif ications
and parts rep lacement ........... .
Decla rat io n of Compliance,
T elecommunication or Electron ic
Systems .. .. .. .. .. ............. .
Do-it-yourself service ........ .
What do I do now? ........... .
Tru nk escape handle ........... .. .
B reakdown kit ... .. . .. ... .... ... .
Tire repa ir ... .... .. . .. .. ..... ... .
What shou ld I be awa re of when
h . t
' ? c anging a ,re. . . ............... .
Jump-starting .. ...... ........... .
Emergency towing with commercial
tow truck ....... .. ............. .
Fuses and bulbs .............. .
Electr ica l fuses .... .............. .
Bu lbs ... .. .. .. .. .. . .. .... ...... . 206
209
2
09
209
209
209
211
2 12
213
213
2 13
213
213
216
219
222
223
223
224
•
•
Page 92 of 244

90 Parking system
Rear view camera coverage area
The rearview camera shows you the area behind your vehicle in the navigation system dis
play. This area roughly corresponds to the
area in
¢ fig. 94 and (!) ¢fig. 95. Orientation
lines and colored surfaces are projected in the
area shown, which can help you with parking
and maneuvering. Objects that are located in
an area that is not captured by the camera@
¢ fig. 95 and that are closer to the bumper
will not appear on the navigation system dis play.
We recommend that you practice parking with
the rearview camera in a traffic-free location
or parking lot to become familiar with the sys
tem, the orientation lines, and their function.
There should be sufficient light and good
weather conditions when doing so.
In the navigation system display, objects or
vehicles appear closer or further away if:
Objects or vehicles appear closer or farther
away in the navigation system if:
- you are driving in reverse gear from a level
surface onto an incline, or a downward
slope,
- you are driving in reverse gear toward pro-
truding objects.
The accuracy of the o rientation lines and blue
surfaces diminishes if:
- the rearview camera does not provide a reli able image, for example, in poor visibility
conditions or if the lens is dirty,
- the image on the screen is not visible due to
sun glare and reflection .
Caring for the rearview camera lens
The rearview camera is located in the center
of the vehicle above the rear license plate bracket. In order for the rearview camera to
function properly , the camera lens must be
kept clean and free of snow and ice .
- Dampen the lens with a household alcohol
based glass cleaner , and clean the lens with
a dry cloth. - Remove
snow with a hand brush and ice
preferably with a de-icing spray
¢ (D .
A WARNING
--
-The parking system cannot replace the
driver's attention. The driver alone is re
sponsible for parking and similar driving maneuvers .
- Sensors have blind spots in which objects
cannot be detected. Pay special attention
to small children and animals because
the sensors cannot always detect them .
- Always keep your eyes on the vehicle's
surroundings, using the rearview mirror
as well.
- Do not allow yourself to be distracted from traffic by the rearview camera pic
tures in the navigation system display .
- If the position and the installation angle
of the camera has changed, for example,
after a rear end collision, do not continue
to use the system for safety reasons .
Have it checked by an authorized Audi
dealer or other qualified workshop.
(D Note
-Low obstacles already s ignaled by a
warning can disappear from the system's detection range as they are approached
and will not continue to be signaled. Ob
jects such as barrier chains, trailer draw
bars, narrow painted vertical poles or
fences may not be detected by the sys
tem, posing risk of damage.
- Never use warm or hot water to remove
snow or ice from the rearview camera
lens because the lens could crack.
- Never use products that are abrasive
when cleaning the lens.
Page 162 of 244

160 Driving and en vi ro nment
recommendations in your Warranty &
Maintenance booklet . Lack of proper
maintenance as well as improper use of
the veh icle w ill impair the funct ion of
the emission control system and could
l ead to damage.
- Do not alter or remove any component of
the Em ission Contro l System unless ap
proved by the manufacturer.
- Do not alter or remove any device, such
as heat shields, switches, ignition wires,
valves, wh ich are designed to protect
you r vehicle's Emiss ion Control System
and othe r important veh icle compo
nen ts.
(D Tips
The consumpt ion estimates as publish ed
by the ENVIRONM EN TAL PRO TECTIO N
AG ENCY ( EPA) and Transpor t Canada may
no t correspond to yo ur actua l cons ump
tion on the road, which will vary depend
ing upon vehicle load and speed, road and
weather conditions, trip length, etc.
Trailer towing
Your Audi RB is not designed to tow a trailer.
Towing a trai le r with yo ur Audi R8 is not rec
ommended and ca n cause damage to the vehi
cle . Damage caused by towing a tra iler is not
covered under warranty .
Page 200 of 244

198 Tires and wheels
cargo and lugg age load ca
pacity is 650 lb s. (1400-750
(5
X 150) = 650 lb s.)
5. Determin e the combined
weight of luggage and cargo
being loaded on the vehicle .
That weight may not safely exceed the a vailable cargo
and luggage load capacity
c alculated in Step
4.
6. If your vehicle will be towing
a trailer , load from your trail
er w ill be tran sferred to your
vehi cle . Consult this manual
to determine how thi s re
duces the available cargo
and luggage load capacity of
your vehicle.
.,.Che ck the tire sidewall
( ¢ page 199 , fig. 153) to de
termine the designated load rating for a specific tire.
Tire service life
The service life of tires depends on a lot of
diff erent things i ncluding prop er installation
and balancing, correct tire pressure and driv ·
ing s tyle.
Fig. 152 T ire tread: trea d wea r ind icators (TWI)
Tread Wear Indicator (TWI)
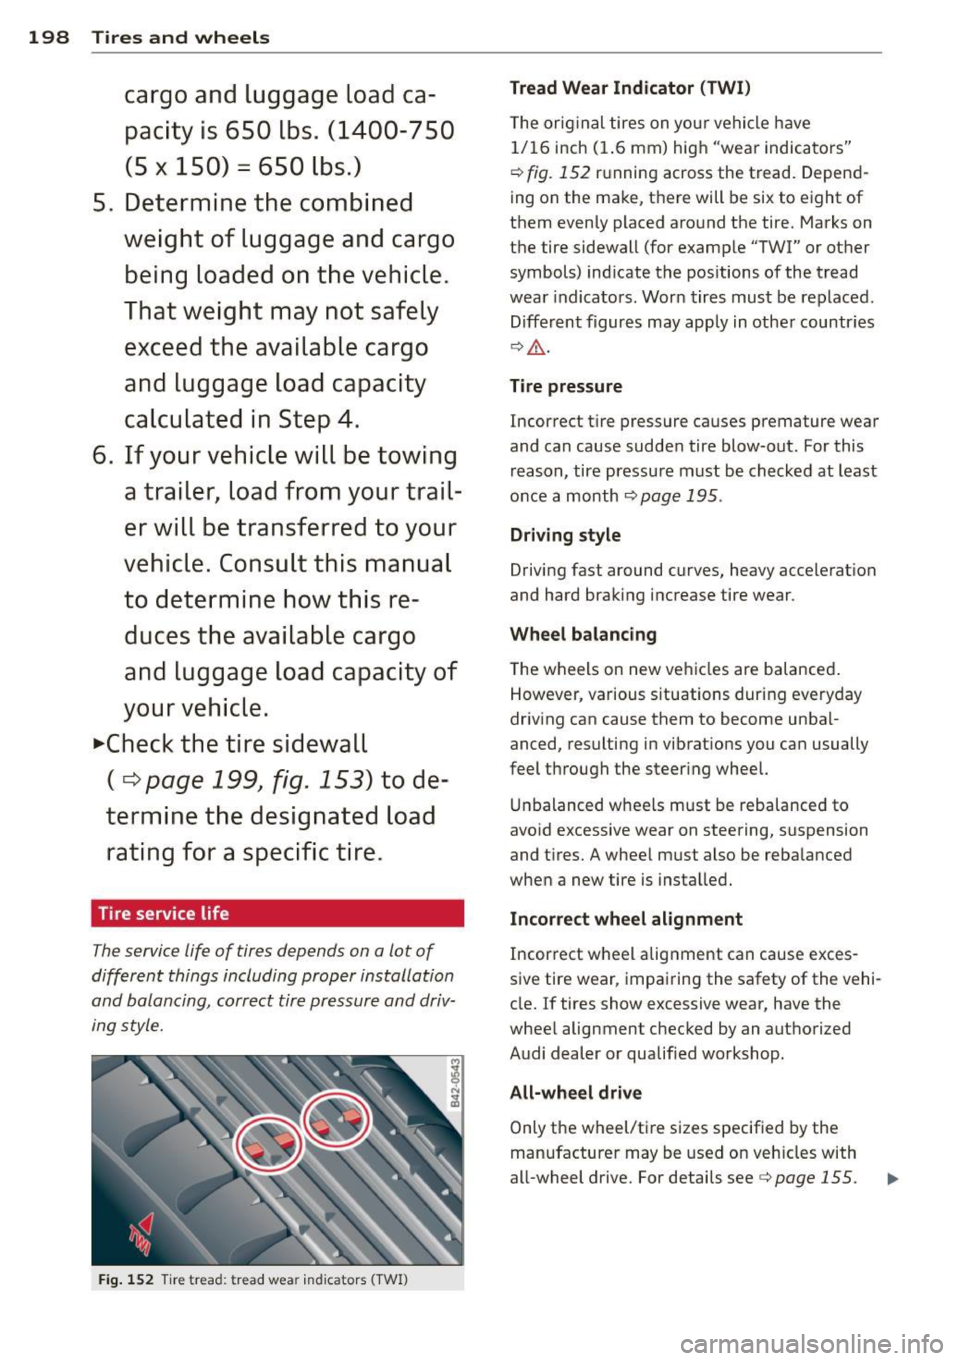
The orig in al tires on yo ur vehi cle ha ve
1/ 16 inch ( 1.6 mm) hig h "wear indica tors"
¢ fig . 152 ru nning acro ss the tread . Depend·
ing on the ma ke , t here will be six to e ight of
them even ly placed aro und the tire. Marks on
t he tire sidewall (for example "TWI" or ot her
symbols) ind icate the pos itions of the tread
wea r indica to rs. Wor n tir es must be rep laced .
Differ ent figures may apply in othe r countries
¢ .&_ .
Tire pressure
Incor rect t ire pressure causes premature wea r
and can cause sudde n tire blow-out . For this
reason, tire pressu re must be checked at least
o nce a month
¢ page 195.
Driving style
Driving fast around c urves, heavy accele rat ion
and hard braking increase tire wear .
Wheel balancing
The wheels on new ve hicles are balance d.
However, va rious s ituations dur ing everyday
driv ing can cause them to become unbal·
anced, resulting in vib rations you can usually
feel t hrough the steer ing whee l.
Unb alanced w hee ls m ust be rebalance d to
avo id excessive wear on steering, suspension
and ti res. A whee l m ust also be reba lanced
whe n a new tire is insta lled.
Incorrect wheel alignment
Incor rect wheel alig nment can cause exces
s ive tire wear , impa iring the safety of the vehi
cle.
If tires show excessive wear , have the
w hee l alignment chec ked by an authoriz ed
Audi deal er or qualified wo rksh op.
All-wheel drive
Only the wheel/ti re sizes specif ied by the
manufacture r may be used on veh icles with
all-wheel drive. For detai ls see ¢
page 155.