hood release AUDI RS7 SPORTBACK 2016 Owners Manual
[x] Cancel search | Manufacturer: AUDI, Model Year: 2016, Model line: RS7 SPORTBACK, Model: AUDI RS7 SPORTBACK 2016Pages: 282, PDF Size: 70.78 MB
Page 11 of 282
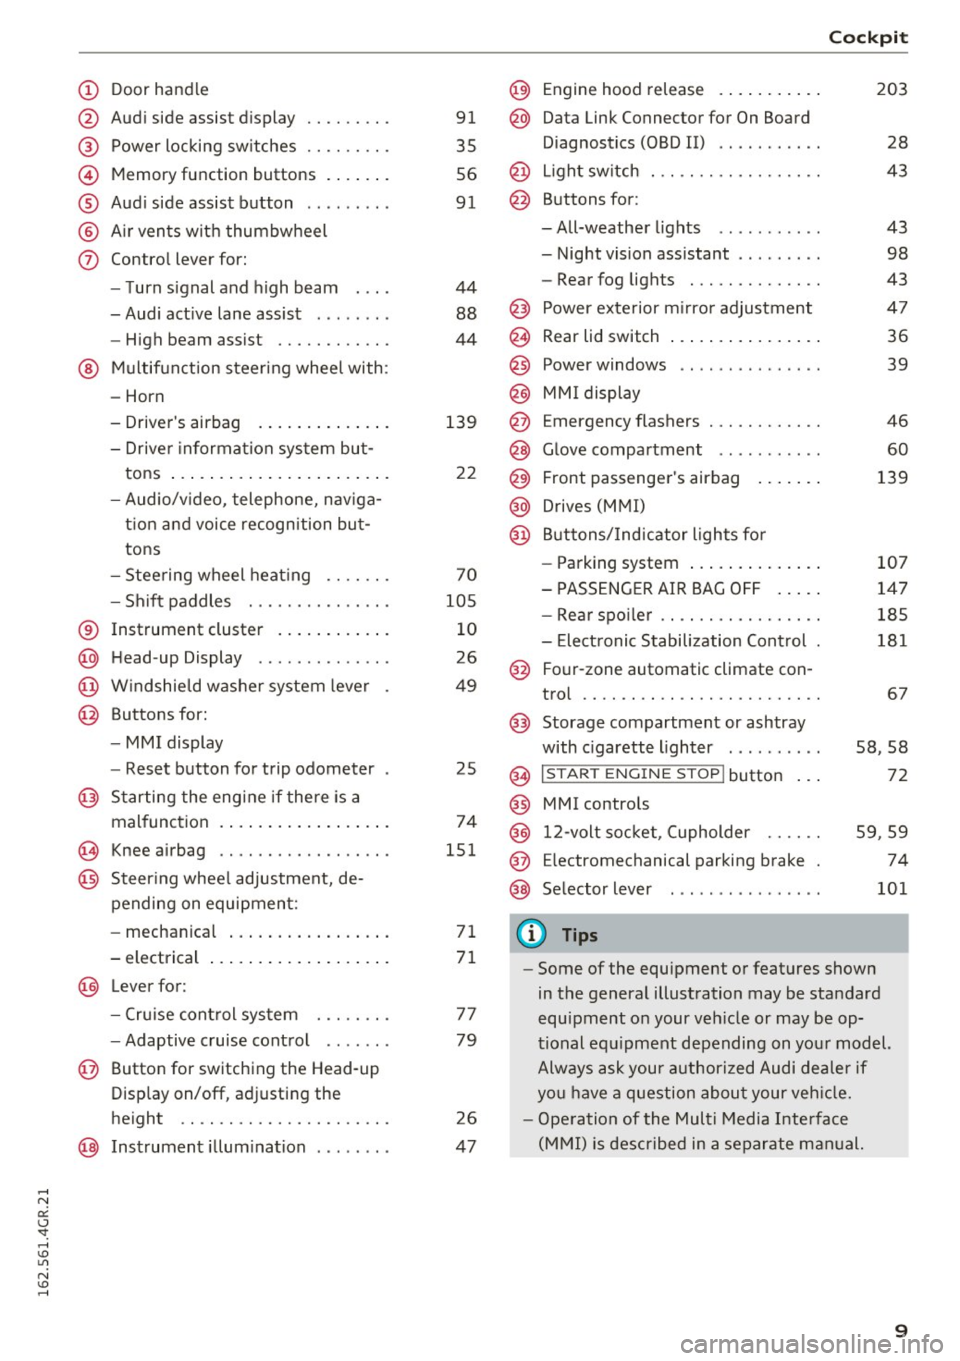
(!) Door handle
@
®
©
®
®
(j)
Audi side assist display
Power locking switches ...... .. .
Memory function buttons ...... .
Audi side assist button .. .. ... . .
Air vents with thumbwheel
Control lever for:
- Turn signal and high beam
- Audi active lane assist . .. ... . .
- High beam assist ......... .. .
@ Multifunction steering wheel with:
- Horn
- Driver's airbag
- Driver information system but-
tons ...................... .
- Audio/video, telephone, naviga
tion and voice recognition but
tons
- Steering wheel heating ...... .
- Shift paddles ............ .. .
® Instrument cluster ........... .
@ Head-up Display ............ . .
@ Windshield washer system lever
@ Buttons for:
- MMI display
- Reset button for trip odometer
@ Starting the engine if there is a
malfunction ................. .
~ Knee airbag .. ............. .. .
@ Steering wheel adjustment, de
pending on equipment:
- mechanical ................ .
- electrical
@ Lever for :
- Cruise control system ... .. .. .
- Adaptive cruise control ...... .
@ Button for switching the Head-up
Display on/off, adjusting the
height .. .. ............... .. .
@ Instrument illumination ....... .
91
35
56
91
44
88
44
139
22
70
105
10
26
49
25
74
151
71
71
77
79
26
47
@) Engine hood release .......... .
@ Data Link Connector for On Board
Diagnostics (OBD II) .... ...... .
@ Light switch . .. .............. .
@ Buttons for :
-All-weather lights - Night vision assistant .. ...... .
- Rear fog lights ............. .
@ Power exterior mirror adjustment
@ Rear lid switch ............... .
@
@
@ Power windows
MMI display
E mergency flashers
@ Glove compartment .......... .
@ Front passenger's airbag ...... .
@ Drives (MMI)
@ Buttons/Indicator lights for
- Parking system ............. .
- PASSENGER AIR BAG OFF .... .
- Rear spoiler .. .............. .
- Electronic Stabilization Control .
@ Four-zone automatic climate con-
trol .... .... .. .............. .
@) Storage compartment or ashtray
with cigarette lighter ......... .
@ I ST AR T ENGINE ST OP ! button
@ MMI controls
@
@
@ 12-volt socket, (upholder
E lectromechanical parking brake
Selector lever
(D Tips
Cockpit
203
28
43
43
98
43
47
36
39
46
60
139
107
147
185
181
67
58,58
72
59 ,59
74
101
- Some of the equipment or features shown
in the general illustration may be standard
equipment on your vehicle or may be op
tional equipment depending on your model.
Always ask your authorized Audi dealer if
you have a question about your vehicle.
- Operation of the Multi Media Interface
(MMI) is described in a separate manual.
9
Page 16 of 282
Instruments and indicator lights
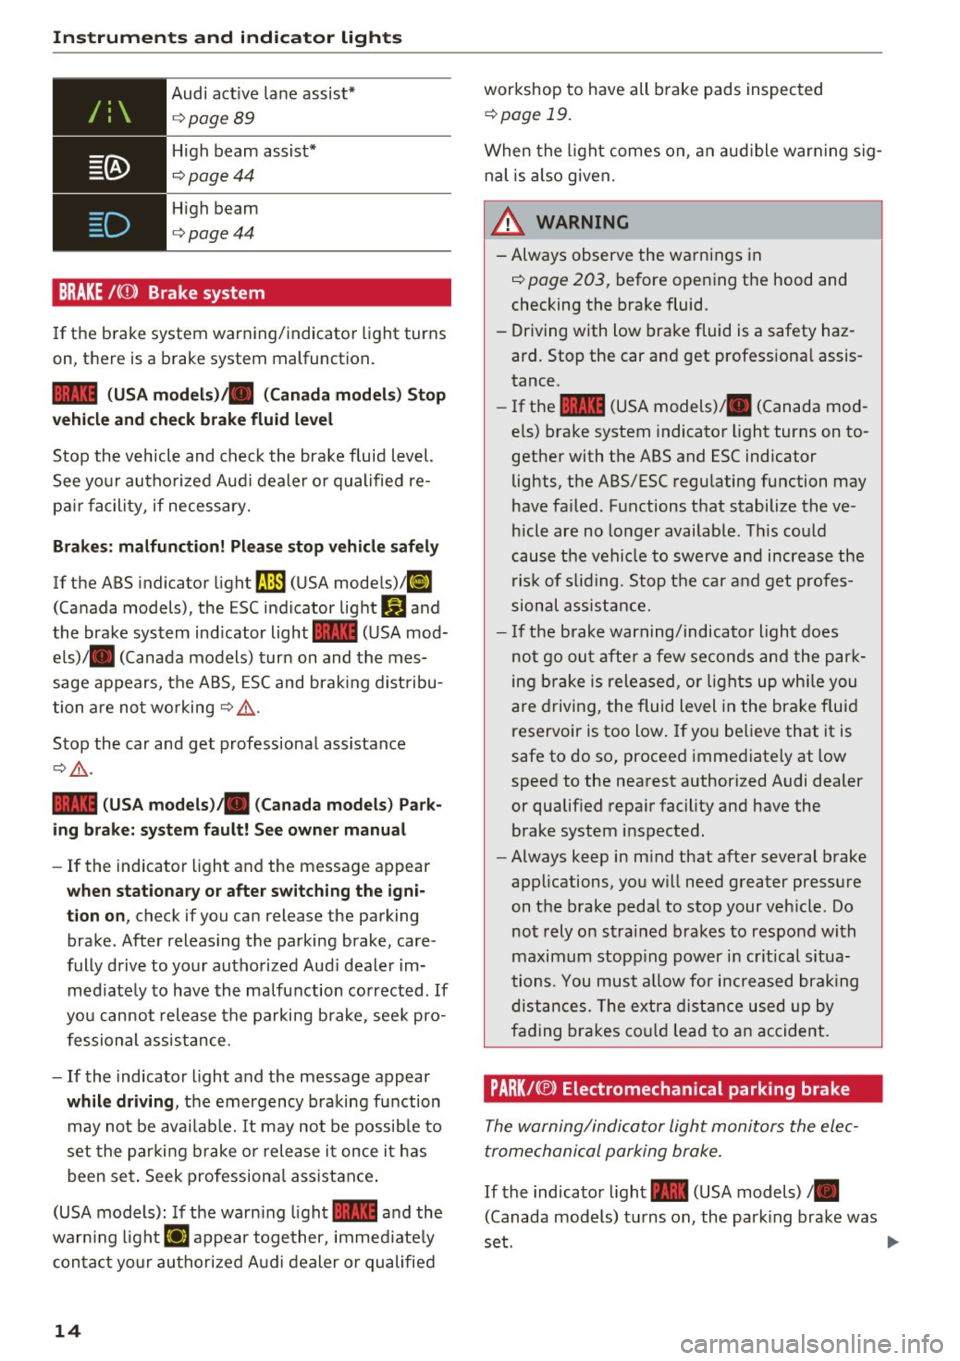
Audi active lane assist *
¢page89
High beam assist"
¢ page44
High beam
¢page44
BRAKE/( ©) Brake system
If the b rake system warning/ indicator light turns
on, there is a brake system malfunction .
1111 (USA model s)/. (Canada model s) Stop
v ehicle and check brake fluid le vel
Stop the veh icle and check the brake fluid level.
See yo ur autho rized Aud i deale r or qualified re
pa ir facility, if necessary.
Brakes : malfun ction! Pl eas e stop vehicle saf ely
If the ABS indicator light rJ] (USA mode ls)/ ll]
(Canada models), the ESC indicator light DJ and
the brake system ind icator light
1111 (USA mod
e ls)/ . (Canada models) turn on and the mes
sage appears, the AB S, ESC and brak ing dist ribu
tion a re not wo rking
¢ .&, .
Stop the car and get professiona l assistance
Q .&, .
1111 (US A mod els )/ . (Canada models ) Park
ing brake : sy ste m f ault! See owne r manua l
-If the indicator light and the messag e appear
whe n stationa ry or afte r switching the igni
tion on ,
check if you can release the parking
brake . After releasing the parking brake , care
fully drive to yo ur authorized Aud i dealer im
med iate ly to have the ma lfunction co rrected . If
you cannot release the parking brake , see k pro
fessional ass istance .
- If the indicator l ight and the message appear
whil e driving , the emergency braking function
may not be avai lab le. It may not be possib le to
set the par kin g b rake o r release it once it h as
been set . Seek professiona l assistance .
(USA models): If the warn ing light
1111 and the
warn ing light
llJ appear together, immed iate ly
con tact yo ur authori zed A udi dealer or qualified
14
workshop to have all brake pads inspected
¢ page 19.
When the light comes on , an aud ible warn ing sig
nal is also given.
_&. WARNING
-Always observe the warnings in
¢ page 203, before open ing the hood and
checking the brake fluid.
- Driving with low brake fluid is a safety haz
ard. Stop the car and get professional assis
tance .
- If the
1111 (USA models)/ . (Canada mod
els) brake system indicato r light turns on to
gethe r with the ABS and ESC indicator
lights, the ABS/ESC regu lating function may
have fa iled . Functions that stabilize the ve
hicle are no longer available . Th is could
cause the vehicle to swerve and increase the ris k of sliding . Stop the car and get profes
sional ass is tance.
- If the brake warning/indicator ligh t does
not go out afte r a few seconds and the par k
ing brake i5 relea5ed, or light5 up wh ile you
are driving, the fluid level in the brake fluid
reservoir is too low. If yo u be lieve that it is
safe to do so, proceed immediately at low
speed to the nearest authorized Audi dealer
or qualif ied repa ir facility and have the
brake system inspected.
- Always keep in m ind that after several brake
applications, you w ill need greater pressure
on the b rake pedal to stop your veh icle . Do
not rely on strained brakes to respond with
maximum stopp ing power in cr itical s itua
tions. You must a llow for increased brak ing
distances. The extra dist ance used up by
fading bra kes co uld lead to an accident.
PARK/ C®) Electromechanical parking brake
The warning/indicator light monitors the elec
tromechanical parking brake .
If the indicator light -(USA models) •
(Canada mode ls) t urns on , the park ing brake was
set .
~
Page 17 of 282
....
-(USA models ) JIii (Canada models ) Cau
tion: Vehicle parked too steep
I f the indi cator lig ht blinks and t he me ssage ap
pears, t here is not enough br aking power to kee p
the vehicle from ro lling . The b rakes have over
heated . The vehicle could roll away even o n a
sma ll incline.
Press brake pedal to release parking brake
To re lease the park ing bra ke, press the bra ke
pedal and p ress t he button ~ or sta rt d riving
wit h sta rti ng assist at the same time
¢ page 75.
Please release parking brake
To release the parking brake manually, press the
brake pedal and press the button~ at the same
time . The parking brake o nly releases automati
cally if the driver's safety be lt is faste ned .
Ill Parking brake!
If the Ill indicator light turns on and this mes
sage app ears, th ere is a parking brak e malfunc
tion . D rive to your authorized A udi dealer or
qua lified workshop immediately to have the mal
function corrected .
-l Cooling system
• Turn off engine and check coolant level
The coolant leve l is too low.
D o not continue driving and switc h the engine
off . Check t he coolant level¢
page 209 .
-If the coolan t level is too low, add coo lan t
¢page 210. Onl y con tinue driv ing once the in
dicato r light turns off.
• Coolant temperature too high! P lease let en
gine run with vehicle sta tionary
Le t the eng ine run a t idle for a few minu tes to
cool off, until the ind icator light tu rns off.
- If the indicator light does not turn off, do not
continue driving the vehicle . See an author ized
N Audi dealer or au thorized A udi Service Fac il ity er:
~ fo r assistance . ....
A WARNING
- Never open the hood if you can see or hear
steam or coo la nt escaping from the eng ine
compa rtme nt. Th is increases the r isk of
bu rns . Wait until yo u no lo nger se e or h ear
st eam or coo la nt es caping.
- The engin e compa rtment in any v ehicle ca n
be a dange rous a rea. Stop t he engine and
all ow i t to cool bef ore wor king in the eng ine
comp artmen t. Always follow the inf orma
tion fo u nd in ¢
page 203 .
(!;) Note
Do not con tinue dr iv in g if the . indica to r
l ight t urns o n -thi s i ncr eases t he risk of en
gi ne dam age.
D Battery
This warning/indi cator Light detects a malfunc
tion in the generator or in the vehicle's ele ctrical
system.
T he . warni ng/ indic ator li gh t illu minates when
yo u sw itch on the ig nition a nd mu st go out after
t h e engine h as s tart ed .
• Alternator fault: Battery is not being charg
ed
If the indicato r light turns on and the message
appea rs, there is a ma lf un ction in the generator
o r vehicle e lectr ica l system .
Drive to your author iz ed A udi dealer or qualified
workshop immediate ly . Beca use the vehicle bat
te ry is d ischa rging, tur n off all u nnecessary elec
trical eq uipment such as the rad io . Seek profes
s io nal assistance if the battery charge level i s too
l o w .
(•] Low battery: battery will be charg ed while
driving
If the indicato r light turns on and the message
appea rs, there may be limited sta rt ing ability .
If this message t urns off after a little while, the
batte ry charged eno ugh while dr iv ing .
1111>
15
Page 30 of 282
Instruments and indicator lights
Evaluating times and continuing or
resetting timing
You can evaluate the fastest, slowest and aver
age Lap times .
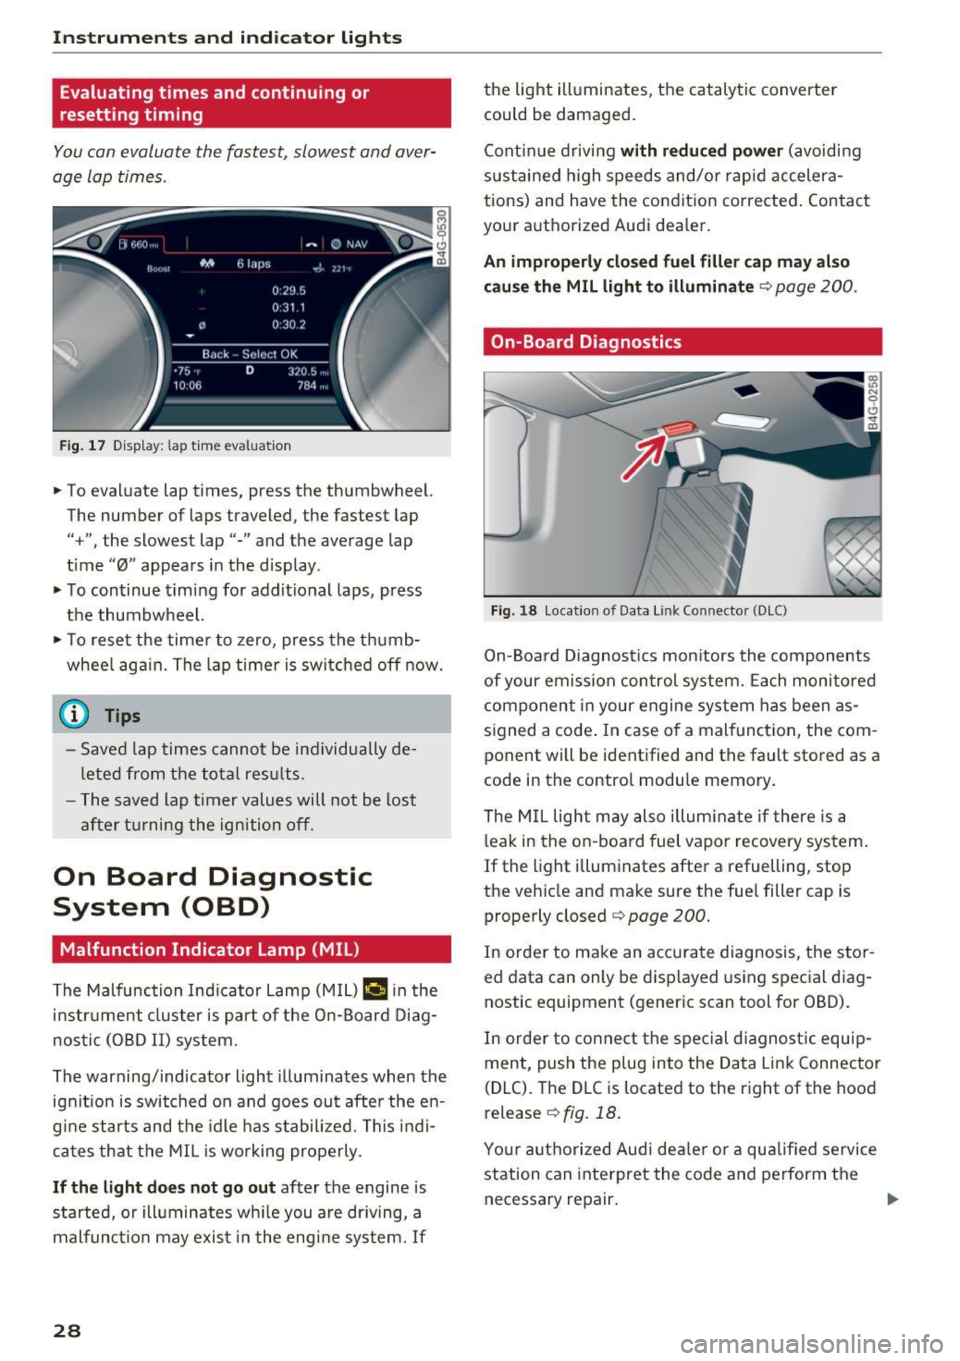
Fig. 17 Display: lap time evaluation
... To evaluate lap times, press the thumbwheel.
The number of laps traveled, the fastest lap
"+", the slowest lap"-" and the average lap
time "0" appears in the display .
... To continue timing for additional laps, press
the thumbwheel.
... To reset the timer to zero, press the thumb
whee l again. The lap timer is switched off now.
(D Tips
-Saved lap times cannot be individually de
l eted from the total results .
- The saved lap timer values will not be lost
after turning the ignition off.
On Board Diagnostic
System (OBD)
Malfunction Indicator Lamp (MIL)
The Malfunction Indicator Lamp (MIL) I! in the
i n str ument cluster is part of the On-Board Diag
nostic (OBD II) system.
The warning/indicator light illuminates when the
ignit ion is switched on and goes ou t after the en
g in e starts and the idle has st abilized. This indi
cates that the MIL is working properly .
If the light does not go out after the engine is
started, or illuminates wh ile you are dr iving, a
malfunct ion may exis t in the engine system.
If
28
the light illuminates, the catalyt ic converte r
could be damaged.
Continue driving
with reduced power (avoidi ng
sustai ned high speeds and/or rapid accelera
tions) and have the condition corrected. Contact
your authorized Audi dealer.
An improperly closed fuel filler cap may also
cause the MIL light to illuminate
q page 200.
On-Board Diagnostics
Fig. 18 Location of Data Link Connector (DLC)
On-Boa rd Diagnostics monitors the components
of your emission control system. Each monitored
component in your engine system has been as
s ig ned a code . In case o f a malfunct ion, the com
ponent will be identified and the fault stored as a
code in the contro l module memory.
The MIL light may also illuminate if there is a
leak in the on-board fuel vapor recovery system.
If the light illuminates after a refuelling, stop
the vehicle and make sure the fuel filler cap is properly closed
q page 200.
In order to make an accurate diagnosis, the stor
ed data can only be displayed using special diag
nostic equipment (generic scan tool for OBD) .
In order to connect the special diagnostic equip
ment, push the plug into the Data Link Connector
(DLC). The DLC is located to the right of the hood
release <=>
fig. 18.
Your authorized Audi dealer or a qua lified service
station can interpret the code and perform the
necessary repair. .,.
Page 147 of 282
Safety belts are important to help keep front
seat occupants in the proper seated position so
that airbags can unfold properly and provide sup p lemental protection in a frontal collision.
The front airbags are designed to provide addi
tional protection for the chest and face of the
driver and the front seat passenger when:
- safety belts are worn prope rly,
- the seats have been positioned so that the oc -
c u pant is properly sea ted as far as possible
from the airbag,
- and for adjustable head restraints: the head re-
straints have been properly adjusted.
Because airbags inflate in the blink of an eye w ith
g reat fo rce , things you have on your lap or have
p laced on the seat cou ld become dangerous pro
jectiles , and be p ushed into you if the ai rbag in
flates.
When an a irbag deploys, fine dust is released.
This is normal and is not caused by a fire in the
ve hicl e. Thi s dust is made up mostly of a powder
used to lubricate the airbags as they deploy. It
could irritate skin.
I t is important to remember that whi le the s up
p lemental airbag sys tem is designed to reduce
the likelihood of serious injuries, other inj uries,
for example swelling , bruising and minor abra
sions, can a lso happen when airbags inflate . Air
bags do not protect the arms or the lower parts
of the body. Front airbags supplement the three
point safety belts only in some frontal collisions
i n which the ve hicle decelerat io n is high enough
to deploy the airbags .
Front airbag s will not deploy:
- if the ignit ion is switched off when a crash oc-
curs,
- in side collisions,
- in rear-end collisions,
- in rollove rs,
- when the c rash decelerat io n meas ured by the
airbag system is less than the minimum thresh-
;::: old needed for airbag deployment as registered
er: u by the electronic contro l unit. 'SI: ,....,
The front passenge r airbag also will not
deplo y:
-when the front passenger seat is not occupied,
- when the e lectrica l capaci tance measured by
the capacitive passenger detection system for
the front pass enger seat indicates that the pas
senger s ide frontal airbag must be switched off
by the electronic control un it (the
PA SSENGER
AIR BAG OFF
light c:> page 147 and how they
work comes on and stays on) .
A WARNING ,..__ -Sitting in the wrong position can increase the
r isk of ser ious injury in crashes.
- To reduce the r isk of injury when the ai rbags
inflate, the drive r and passenge rs must al
ways sit in an up right posit ion, m ust not
lean aga inst or place any part of their body
too close to the area where the airbags are located .
- Occupants who are unbelted, out of posit ion
or too close to the airbag can be serio usly
injured by an airbag as it unfolds with great
force in the blink of an eye c:> page 136.
A WARNING
A child in a rearward-facing child seat instal l ed on the front passenger seat will be seri
ously injured and can be killed if the front air
bag inflates -even with an Advanced Airbag
System .
- The inflating airbag will h it the ch ild seat or
infant carrier with great force and wi ll
smash the child seat and child against the
backrest, center armrest, doo r o r r oof.
- Always install rear-fac ing child seats on the
rear seat .
- If you must install a rea rwa rd facing child
seat on the front passenge r seat because of
except ional circumstances and the
PASSEN
GER AIR BAG OFF
l ight does not come on
a nd stay on, immed iate ly install the rear
facing child seat in a rear seating posit ion
and have the airbag system inspected by
your Audi dea ler.
145
Page 205 of 282
Checking and Filling Hood
Releasing the engine hood
The engine hood is released from inside the vehi
cle .
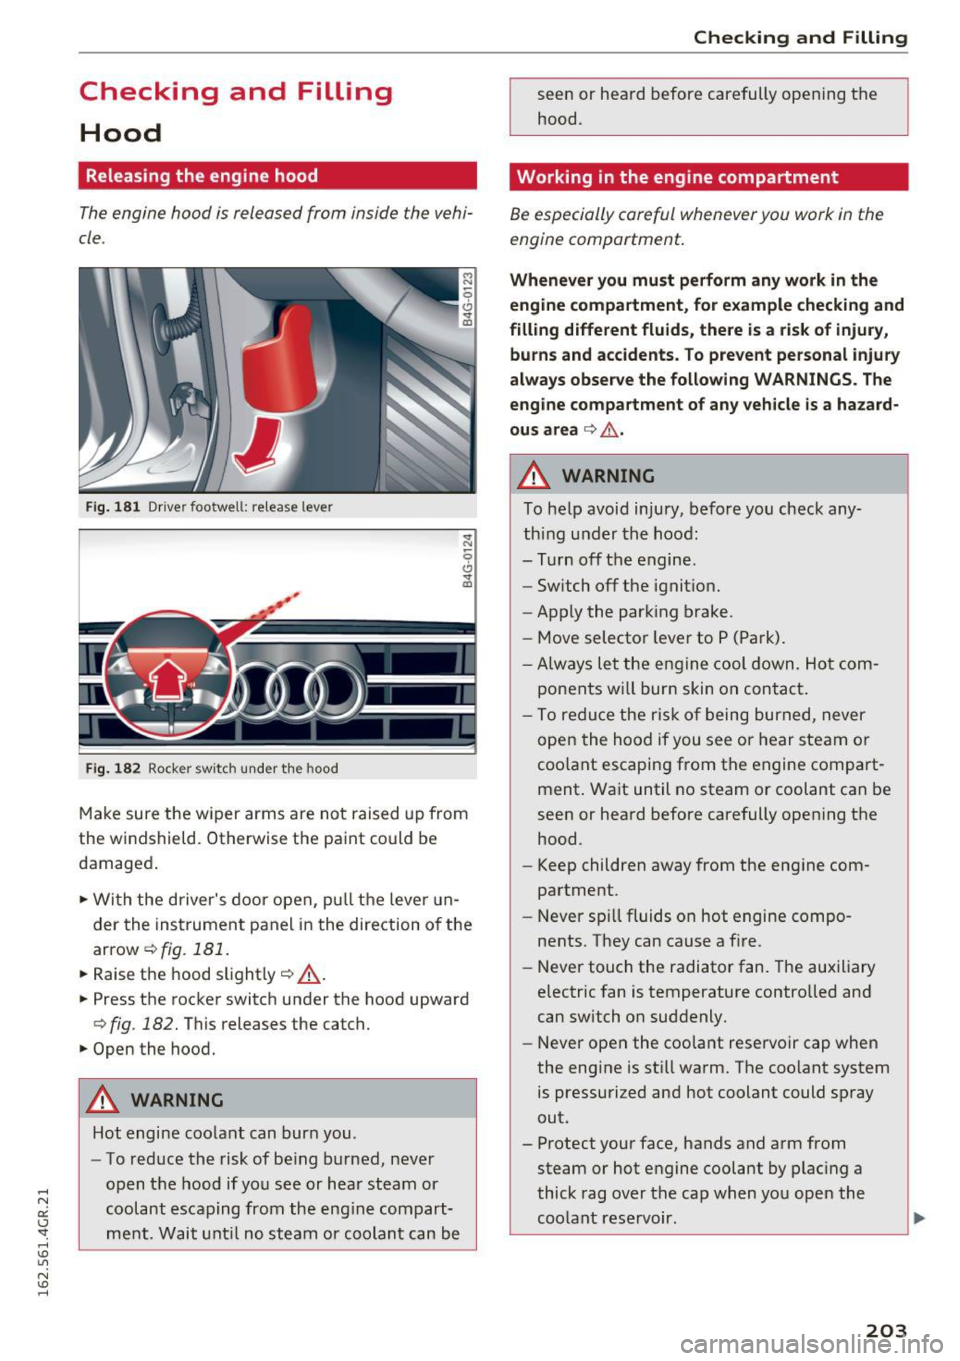
Fig. 1 81 Dr ive r foo twell: re lease leve r
Fig. 1 82 Roc ke r sw itc h und er the hood
M ake sure the w iper arms are not raised u p from
the w indshield. Otherwise the pa int co uld be
damaged .
• Wi th the d river's door open, p ull th e leve r un
der the instrumen t panel i n the direction of the
ar row
r::;, fig. 181 .
• Raise the hood sl ight ly c:;, A -
• Press the rocker switc h under the hood upward
c;, fig . 182. This releases the catch.
• Open the hood.
_& WARNING
Hot engine coo lant can bur n you .
- To reduce the risk of be ing burned, never
open the hood if yo u se e or hear steam or
coolant escaping from the eng ine compart
me nt. W ait unt il no steam o r co olant ca n be
Checking and Filling
seen or hea rd before carefully opening the
hood .
Working in the engine compartment
Be especially careful whenever you work in the
engine compartment.
Whenever you must perf orm any work in the
engine compartment , for example checking and
filling different fluids , the re is a risk of injur y,
burn s and accidents. To prevent personal injury
always observe the following WARNINGS. The
eng ine compartment of any veh icle is a hazard
ous area
c:;, A .
_& WARNING
To he lp avoid injury, before you check any
th ing under the hoo d:
-T urn off the engine .
- Sw itch off the ignit ion.
- Apply the parking brake.
- Move selector lever to P (Pa rk).
- Always let the en gine cool down. Ho t com-
ponents wi ll burn skin on con tact .
-
-To reduce the ris k of b eing bur ned, never
open the hood if you see or hear steam o r
coo lant escaping from the engine compart
ment. Wa it until no steam or coolant can
be
seen or hea rd before carefully opening the
hood.
- Keep children away from the engine com
partment .
- Never sp ill fluids on hot engine compo
nents. They can cause a f ire.
- Never touch the radiator fan . The auxiliary
electric fan is temperature contro lled and
can switch on suddenly.
- Never open the coo lant reservoir cap when
the engine is st ill warm. The coolant system
is pressuri zed and hot coolant could sp ray
out.
- Protect your face, hands and arm from
steam or hot engine coolant by plac ing a
thick rag over the cap when yo u open the
coolant reservoir .
203
Page 272 of 282
Index
Starting . . . . . . . . . . . . . . . . . . . . . . . . . . . . 72
Starting with jumper cables . . . . . . . . . . . 253
Stopping . . . . . . . . . . . . . . . . . . . . . . . . . . . . 73
Engine compartment . . . . . . . . . . . . . . . . . . 205
Closing the hood . . . . . . . . . . . . . . . . . . . . 204
Opening the hood . . . . . . . . . . . . . . . . . . . 203
Safety instructions . . . . . . . . . . . . . . . . . . . 203
Working in the engine compartment . . . . 203
Engine coolant . . . . . . . . . . . . . . . . . . . . . . . 209
Adding coolant .. ............. .... .. . 210
Checking the engine coolant level. . . . . . . 209
Expansion tank . . . . . . . . . . . . . . . . . . . . . . 209
Radiator fan .... ................ .... 211
Temperature gauge . . . . . . . . . . . . . . . . . . . 10
Engine oil . . . . . . . . . . . . . . . . . . . . . . . . . . . 205
Adding . . . . . . . . . . . . . . . . . . . . . . . . . . . . 207
Additives . . . . . . . . . . . . . . . . . . . . . . . . . . . 207
Changing . . . . . . . . . . . . . . . . . . . . . . . . . . 208
Checking oil level . . . . . . . . . . . . . . . . . . . . 207
Consumption . . . . . . . . . . . . . . . . . . . . . . . 207
Indicator light . . . . . . . . . . . . . . . . . . . . . . . 16
Oil consumption . . . . . . . . . . . . . . . . . . . . . 206
Pressure malfunction . . . . . . . . . . . . . . . . . 16
Sensor defective . . . . . . . . . . . . . . . . . . . . . . 20
Specification and viscosity . . . . . . . . . . . . . 205
Temperature ind icator . . . . . . . . . . . . . . . . . 26
Eng ine sound . . . . . . . . . . . . . . . . . . . . . . . . . 95
Engine speed limitation (indicator light) 20
Engine warm-up request
I ndicator l ight . . . . . . . . . . . . . . . . . . . . . . .
20
Environment
Catalytic converter . . . . . . . . . . . . . . . . . . .
189
Disposing of your vehicle battery . . . . . . . 215
Driving at high speeds . . . . . . . . . . . . . . . . 191
Fuel. .... .. .. .. ... .......... .. .. .. . 200
Leaks under your vehicle . . . . . . . . . . . . . . 203
Letting the vehicle stand and warm up. .. 191
Proper disposal of drained brake fluid . . . 212
Proper disposal of drained engine coolant 210
Proper disposal of drained engine oil 207, 208
Recycling used engine oil . . . . . . . . . . . . . 207
Unleaded fuel . . . . . . . . . . . . . . . . . . . . . . . 198
What should I do with an old battery? . . . 215
ESC
Automatic post-co llision braking system .
181
Event Data Recorder (EDR) . . . . . . . . . . . . . 179
E . k xpans1on tan . . . . . . . . . . . . . . . . . . . . . . . 209
270
Exterior lighting . . . . . . . . . . . . . . . . . . . . . . . 43
Exterior mirrors
Adjusting . . . . . . . . . . . . . . . . . . . . . . . . . . . 47
D' .
1mming ............................
48
Heating... .. .. .. .. .. ............. ... 47
Exterior temperature display . . . . . . . . . . . . .
22
F
Fastening
Booster seats . . . . . . . . . . . . . . . . . . . . . . .
168
Convertible child safety seats . . . . . . . . . . 166
Infant seats . . . . . . . . . . . . . . . . . . . . . . . . 165
Floor mats . . . . . . . . . . . . . . . . . . . . . . . . . . . 123
Foot pedals . . . . . . . . . . . . . . . . . . . . . . . . . . 123
For the sake of the environment
Environmentally-friendly driving . . . . . . .
190
Gasoline fumes and the environment . . . . 200
Reducing eng ine noise by early upsh ifting . 10
Refueling . . . . . . . . . . . . . . . . . . . . . . . . . . 200
Saving fuel by early upshifting . . . . . . . . . . 10
w . th .
arming up e engine . . . . . . . . . . . . . . . . 72
Front airbags
D . t· escnp 10n . . . . . . . . . . . . . . . . . . . . . . . . . 139
How they work . . . . . . . . . . . . . . . . . . . . . . 144
Frontal collisions and the laws of physics . . 128
Front seats . . . . . . . . . . . . . . . . . . . . . . . . . . . 53
Adjusting . . . . . . . . . . . . . . . . . . . . . . . . . . 120
Child restraints in the front seat . . . . . . . . 136
Fuel
Additives . . . . . . . . . . . . . . . . . . . . . . . . . . .
198
Blended gasoline . . . . . . . . . . . . . . . . . . . . 198
Current consumpt ion . . . . . . . . . . . . . . . . . . 23
Fuel filler neck . . . . . . . . . . . . . . . . . . 199, 200
Fuel gauge . . . . . . . . . . . . . . . . . . . . . . . 10, 11
Gasoline . . . . . . . . . . . . . . . . . . . . . . . . . . . 198
Gasoline additives . . . . . . . . . . . . . . . . . . . 199
Indicator light . . . . . . . . . . . . . . . . . . . . . . . 20
Octane rating . . . . . . . . . . . . . . . . . . . . . . . 198
Recommendation. . . . . . . . . . . . . . . . . . . . 198
Refuelling . . . . . . . . . . . . . . . . . . . . . . . . . . 200
Saving fuel . . . . . . . . . . . . . . . . . . . . . . . . . 190
T k . an capacity . . . . . . . . . . . . . . . . . . . . . . . 260
Fueling
Fuel filler door emergency release . . . . . .
201
Fuel gauge . . . . . . . . . . . . . . . . . . . . . . . . . . 11