wheel alignment AUDI S6 2009 Owners Manual
[x] Cancel search | Manufacturer: AUDI, Model Year: 2009, Model line: S6, Model: AUDI S6 2009Pages: 398, PDF Size: 43 MB
Page 330 of 398

-~_T_ ir_e_ s_ a_ n_d _ w_ h_ e_e _l_s _________________________________________________ _
Tire pr essure
Inco rrect tire pressure causes prematu re wear and can cau se
sudden tire blow-out. For this reason, tire pressure must be checked
at least once a month
~ page 323 .
Driving style
Dr iv ing fa st around curves, heavy acceleration and hard brak ing
increase tire wear.
Rotating tire s for more even wear
For all four t ires on your vehic le to have the same service life, we
recommend that the front and rea r tires are rotat ed acc ord ing to the
tire manufacturer 's suggested tire rotation intervals. Please
remembe r the f ollo wi ng :
• Tire rotat ion i nterva ls m ay d iffer from the vehic le serv ice inte r
vals outl ined in your Maintenance and Warranty Book let.
• The longer one tire is used in one location on the vehicle, t he
more it wears at certain points; the refo re, we recommend that you
f ollow the tire manu facturer's sug ges ted t ire rotat ion i nte rvals.
• Vehicles with fro nt-w hee l dr ive e xper ience more tread wear on
the front wheels compared to all -wheel drive (quattro®l .
• Please rotate tires as sh ow n~
page 32 7, fig. 250 .
• Extra care must be taken when rotating direction -specific tires
~ pag e 349 .
Wheel balancing
T he w hee ls o n new v ehic les are balanced. However, various s itua
tions during everyday driving can cause them to become unba l
anc ed, resu lti ng in vib rati ons yo u ca n us ually feel thro ugh t he
steer ing whee l.
U nba la nce d w heels must b e re ba lance d to avoid e xcessive wea r on
steering, suspension and tires. A whee l must a lso be reba lanced
when a new tire is installed.
Incorrect wheel alignment
Incorrect w hee l al ig nm ent ca n cau se e xcess ive ti re wea r, impa iring
t h e s afety of th e veh ic le. If t ires s how excessive w ear, have the
w hee l a lig nme nt checke d by a n autho rize d Aud i deale r or qualifie d
wo rkshop.
All Wheel Drive
Vehic les with quattro® must always have tires of the same size,
co nstruct ion an d tread ty pe. For deta ils see ~
page 268.
& WARNING
Sudden tire failure can lead to loss of control , a crash and serious
personal injury !
• Never drive a vehicle when the tread on any tire is worn down
to the wear indicators.
• Worn tires are a safety hazard , they do not grip well on wet
roads and increase your risk of "hydroplaning " and loss of control.
• Always keep chemicals that can cause tire damage , such as
grease, oil, gasoline and brake fluid away from tires .
• Tires age even if they are not being used and can fail suddenly ,
especially at high speeds. Tires that are more than 6 years old can
only be used in an emergency and then with special care and at
lower speeds .
• Never mount used tires on your vehicle if you are not sure of
their "previous history. " Old used tires may have been damaged
even though the damage cannot be seen that can lead to sudden
tire failure and loss of vehicle control . •
Page 345 of 398

What do I do now? 111111 _______________________________ ....:..:..:..:..:.:..:--=.:..::....:.....:.:...::..___;__ _ __,J
& WARNING !continued)
• Never start or run the engine while the vehicle is supported by
the jack.
• If you must work under the vehicle, always use safety stands
specifically designed for this purpose.
• Never use the hexagonal socket in the handle of the screw
driver to loosen or tighten the wheel bolts.
• Always make sure the spare tire and even a flat tire are secured
in place and not loose, otherwise they could fly forward, causing
personal injury to passengers in the vehicle in an accident or
sudden maneuver. •
Tools
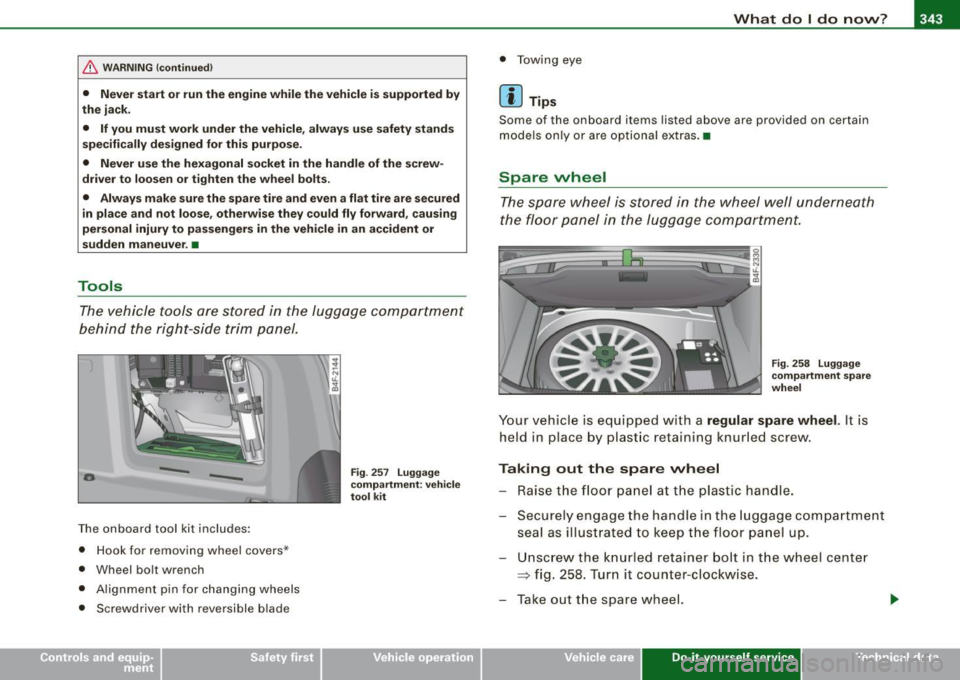
The vehicle tools are stored in the luggage compartment
behind the right-side trim panel.
-
-
The onboard tool kit includes:
• Hook for removing wheel covers *
• Wheel bolt wrench
• Alignment pin for changing wheels
• Screwdriver with reversible blade
Fig. 257 Luggage
compartment: vehicle
tool kit
• Towing eye
[ i] Tips
Some of the on board items listed above are provided on certain
models only or are optional extras.•
Spare wheel
The spare wheel is stored in the wheel well underneath
the floor panel in the luggage compartment.
Fig. 258 Luggage
compartment spare
wheel
Your vehicle is equipped with a regular spare wheel. It is
held in place by plastic retaining knurled screw.
Taking out the spare wheel
- Raise the floor panel at the plastic handle.
- Securely engage the handle in the luggage compartment
seal as illustrated to keep the floor panel up.
Unscrew the knurled retainer bolt in the wheel center
=> fig. 258. Turn it counter-clockwise.
- Take out the spare wheel.
Vehicle care Do-it-yourself service irechnical data
Page 350 of 398

111!1...__W_ h_ a _ t_d_ o_ l _d _o_ n_ o_ w_ ? ______________________________________________ _
& WARNING
• You or your passengers could be injured while changing a
wheel if you do not follow these safety precautions:
- Positioning the jack under the vehicle at any other place than
those indicated above may damage the vehicle or may result in
personal injuries.
- A soft or unstable surface under the jack may cause the
vehicle to slip off the jack. Always provide a firm base for the
jack on the ground.
If necessary, use a sturdy board under the
jack.
- On hard, slippery surface (such as tiles) use a rubber mat or
similar to prevent the jack from slipping.
• To help prevent injury to yourself and your passengers: -Do not raise the vehicle until you are sure the jack is securely
engaged.
- Passengers must not remain in the vehicle when it is jacked
up.
- Make sure that passengers wait in a safe place away from
the vehicle and well away from the road and traffic.
- Make sure jack position is correct, adjust as necessary and
then continue to raise the jack.
[ i ] Tips
Before changing the wheel, you must activate the jacking mode, so
that the automatic controls for the Adaptive Air Suspension do not
make it more difficult to lift the vehicle with the jack =>
page 186. •
Taking the wheel off /installing the spare
Follow these instructions step-by-step for changing the
wheel
Fig . 263 Changing a
wheel: using the
screwdriver handle
(with the blade
removed) to turn the
bolts
Fig . 264 Changing a
wheel: alignment pin
inside the top hole
After you have loosened all wheel bolts and raised the
vehicle off the ground, remove and replace the wheel as
follows:
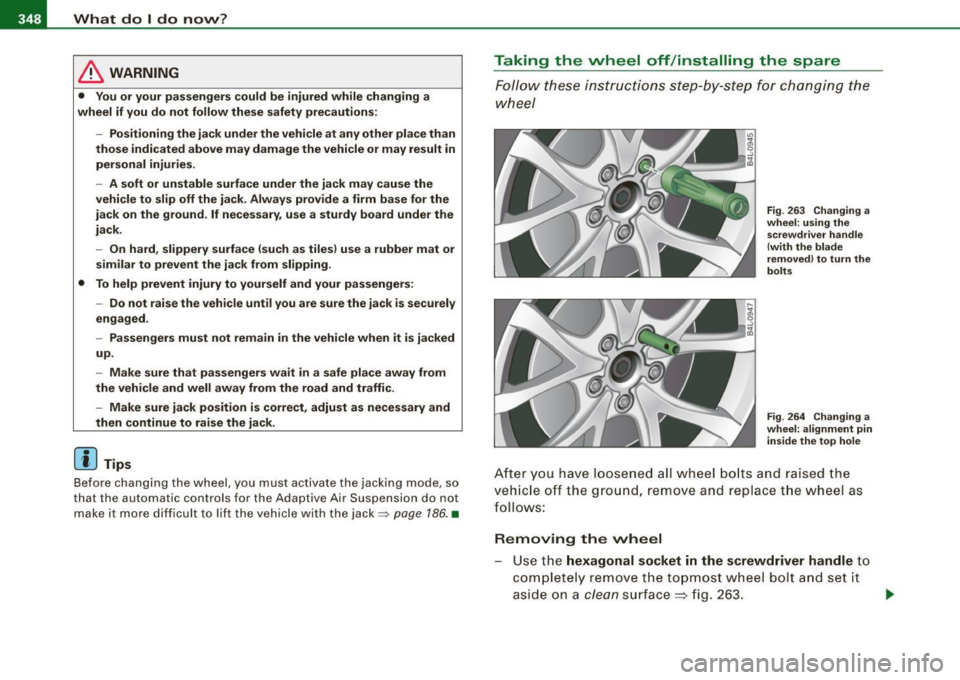
Removing the wheel Use the hexagonal socket in the screwdriver handle to
completely remove the topmost wheel bolt and set it
aside on a
clean surface ~ fig. 263. .,_
Page 351 of 398

_______________________________________________ W_ h_ a_t _ d_ o_ l _d _o_ n_ o _ w_ ? __ ffllll
•
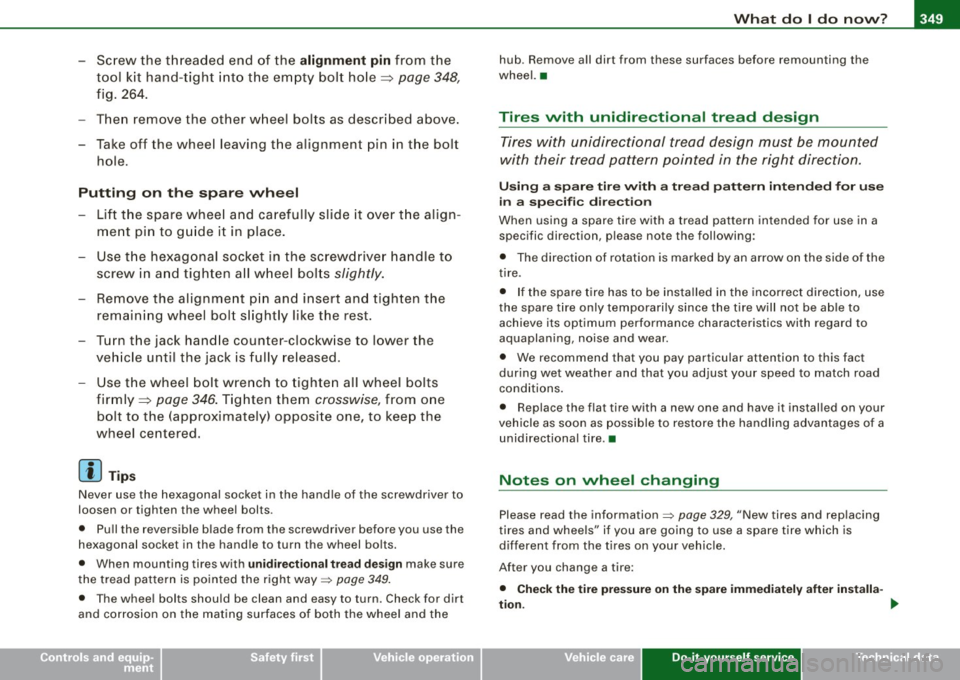
- Screw the th readed end of the a lignment pin from the
tool k it hand-tight into the em pty bolt hole~ page 348,
fig. 264 .
- Then remove the other w heel bolts as described above.
- Take off the wheel leaving the al ignment pin in the bolt
hole.
Putting on the spar e wheel
- Lift the spare whee l and carefully slide it over t he align
ment pin to g uide it in place .
- Use the hexagonal socket in the screw drive r ha ndle t o
screw in a nd tighten a ll w heel bol ts slightly .
- Remove the alignment p in and insert and tighten the
remaini ng wheel bol t slightly like the rest.
- Turn the jack hand le counter -clockwise to lower the
ve hicle until the jack is fully released .
- Use the wheel bolt wrench to tighten all wheel bolts
firmly ~ page 346 . Tighten them crosswise, from one
bolt to the (approximately) opposite one, to keep the
wheel centered .
[ i J Tip s
Never use the hexagonal socke t in the hand le of the screwdriver to
loosen or tighten the wheel bolts .
• Pull the reversible blade from the screwdriver before you use the
hexagonal socket in the hand le to turn the wheel bo lts .
• When mounting tires with
unidire ctional tre ad de sign make sure
t he tread pattern is po inted the right way~
page 349.
• T he wh ee l bolts should b e clean and easy to turn . Check for dirt
and corrosion on the mating surfaces of both the wheel and the hub
. Remove all dirt from these surfaces before remounting the
wheel. •
Tires with unidirectional tread design
Tires with unidirectional tread design must be mounted
with their tread pa ttern pointed in the right dire ction .
Using a spare tire with a tread patte rn intended f or use
in a s pec ific direc tio n
When using a spare tire with a t read pattern intended for use in a
specific direction, please note the following :
• The direction of rotation is marked by an arrow on the side of the
tire .
• I f the spare tire has to be insta lled in the incorrect direction, use
the spare t ire only temporarily since the tire will not be ab le to
achieve its optimum performance characteristics wi th regard to
aquaplaning , noise and wear.
• We recommend that you pay particular attention to this fact
dur ing wet weather and that you ad just your speed to match road
conditions .
• Replace the flat tire with a new one and have it installed on your
vehicle as soon as p ossible to res tore the handling advantages of a
unidirectional tire. •
Notes on wheel changing
Please read the information~ page 329, "New tires and replacing
tires and whee ls" if you are going to use a spare tire which is
different from the tires on your vehic le.
Aft er you change a tire :
• Check the tire pre ssure on the spare im mediat ely a fter in stalla -
tion . _,,,
Do-it -yourself service