wheel AUDI TT ROADSTER 2014 Owners Manual
[x] Cancel search | Manufacturer: AUDI, Model Year: 2014, Model line: TT ROADSTER, Model: AUDI TT ROADSTER 2014Pages: 244, PDF Size: 60.87 MB
Page 5 of 244
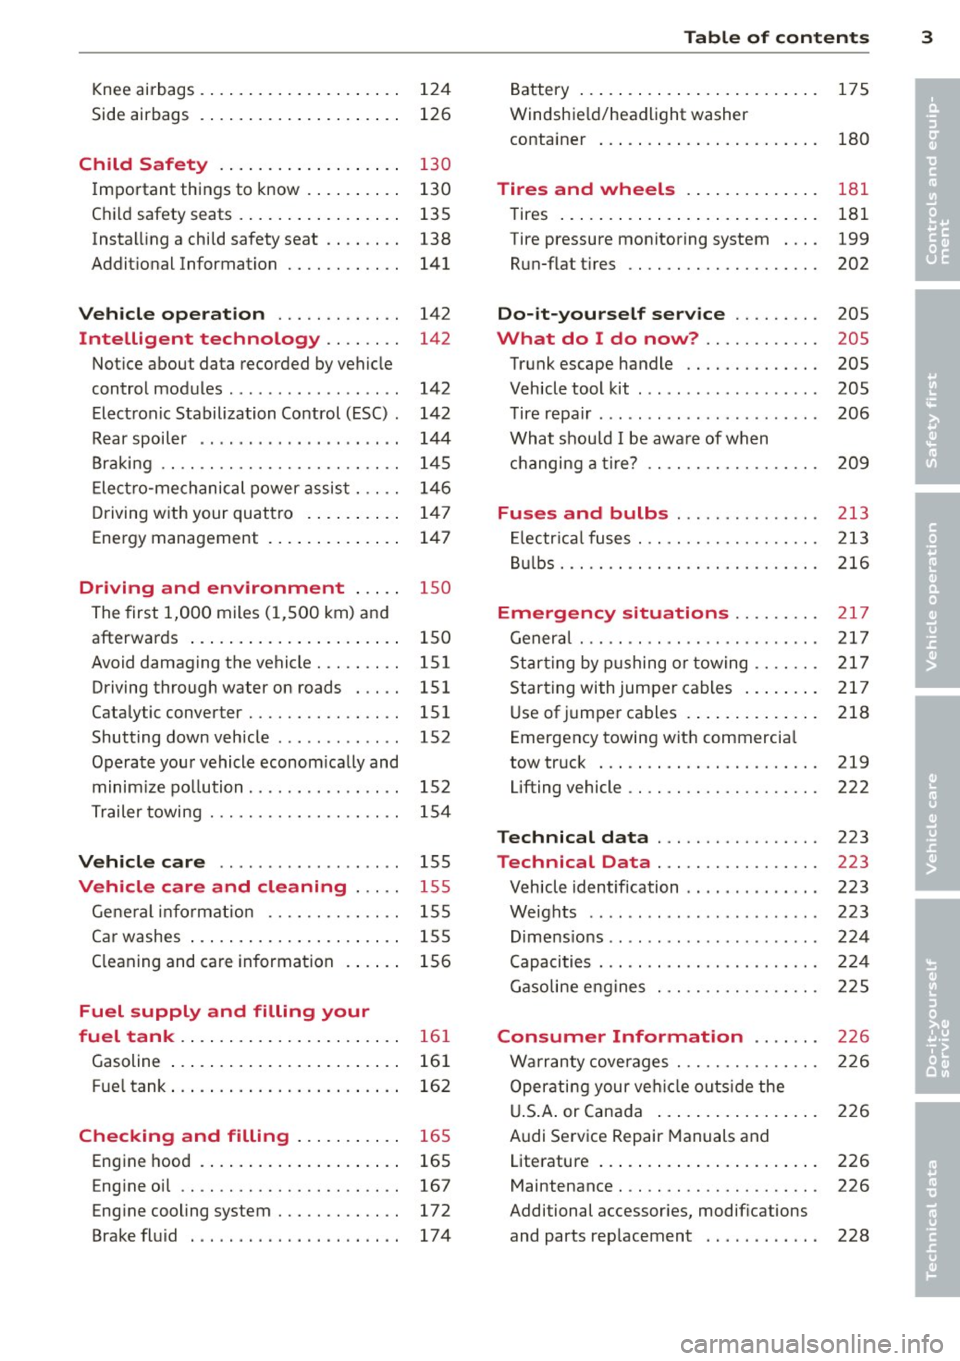
Knee airbags . . . . . . . . . . . . . . . . . . . . . 124
Side airbags . . . . . . . . . . . . . . . . . . . . . 126
Child Safety . . . . . . . . . . . . . . . . . . . 130
Important things to know ......... .
Child safety seats ................ .
Instal ling a chi ld safety seat .. .. .. . .
Additional Information ........... .
Vehicle operation ............ .
Intelligent technology .. .. .. . .
Notice about data recorded by vehicle
control modules .............. ... .
Electronic Stabilization Control (ESC) .
Rear spoiler ................ ... . .
Braking ........................ .
E lect ro-me chan ical power assis t ... . .
D riving w ith your quattro ......... .
Energy management ............. .
Driving and environment .....
The first 1,000 miles (1,500 km) and
afterwards .............. .. .. .. . .
Avoid damaging the vehicle ........ .
Driving through water on roads ... . .
Catalytic converter ............... .
Shutting down vehicle ............ .
Operate your vehicle economically and
minimize pollution ............... . 130
135
138
141
142
142
142
142
144
145
146
1 47
147
1 5 0
150
151
151 151
152
15 2
Tra iler towing . . . . . . . . . . . . . . . . . . . . 154
Vehicle care . . . . . . . . . . . . . . . . . . . 155
Vehicle care and cleaning . . . . . 155
General information . . . . . . . . . . . . . . 155
Car washes . . . . . . . . . . . . . . . . . . . . . . 155
Cleaning and care information . . . . . . 156
Fuel supply and filling your
fuel tank . . . . . . . . . . . . . . . . . . . . . . .
16 1
Gasoline . . . . . . . . . . . . . . . . . . . . . . . . 161
Fuel tank. . . . . . . . . . . . . . . . . . . . . . . . 162
Checking and filling . . . . . . . . . . . 16 5
Engine hood . . . . . . . . . . . . . . . . . . . . . 165
Eng ine oil . . . . . . . . . . . . . . . . . . . . . . . 167
Eng ine cooling system............. 172
Brake fluid ...................... 174
Table of contents 3
Battery . . . . . . . . . . . . . . . . . . . . . . . . . 175
Windshield/headlight washer
container . . . . . . . . . . . . . . . . . . . . . . . 180
Tires and wheels ........... .. .
Tires ..... .. .... .. . .. .......... .
Tire pressure monitoring system ... .
Run-flat tire s .. .. ............... .
Do-it-yourself service ........ .
What do I do now? ........... .
Trunk escape handle ............. .
Vehicle tool kit .... .............. .
T ire repai r .... ... .. ............. .
What should I be aware of when
h . t
' 7 c angmg a ire .................. .
Fuses and bulbs .. .. .. ..... ... .
El ectr ical fuses . .. .. ............. .
Bulbs .......................... .
Emergency situations ........ .
General ........................ .
Starting by pushing or towing ...... .
Starting with jumper cables ....... .
U se of jump er cables ............. .
Emergency towing with commercia l
tow truck ...................... .
Lifting vehicle .. .. ............... . 181
181
199
202
205
205
205
205
206
209
213
213
216
217
217
217
217
218
219
222
Technical data
. . . . . . . . . . . . . . . . . 223
Technical Data . . . . . . . . . . . . . . . . . 223
Vehicle identification . . . . . . . . . . . . . . 223
Weights . . . . . . . . . . . . . . . . . . . . . . . . 223
Dimensions . . . . . . . . . . . . . . . . . . . . . . 224
Capacities . . . . . . . . . . . . . . . . . . . . . . . 224
Gasoline engines . . . . . . . . . . . . . . . . . 225
Consumer Information . . . . . . . 226
Warranty coverages . . . . . . . . . . . . . . . 226
Operating your vehicle outside the
U.S. A. or Canada . . . . . . . . . . . . . . . . . 226
Audi Service Repair Manuals and
Literature . . . . . . . . . . . . . . . . . . . . . . . 226
Maintenance. . . . . . . . . . . . . . . . . . . . . 226
Additional accessories, modifications
and parts rep lacement . . . . . . . . . . . . 228
•
•
Page 11 of 244
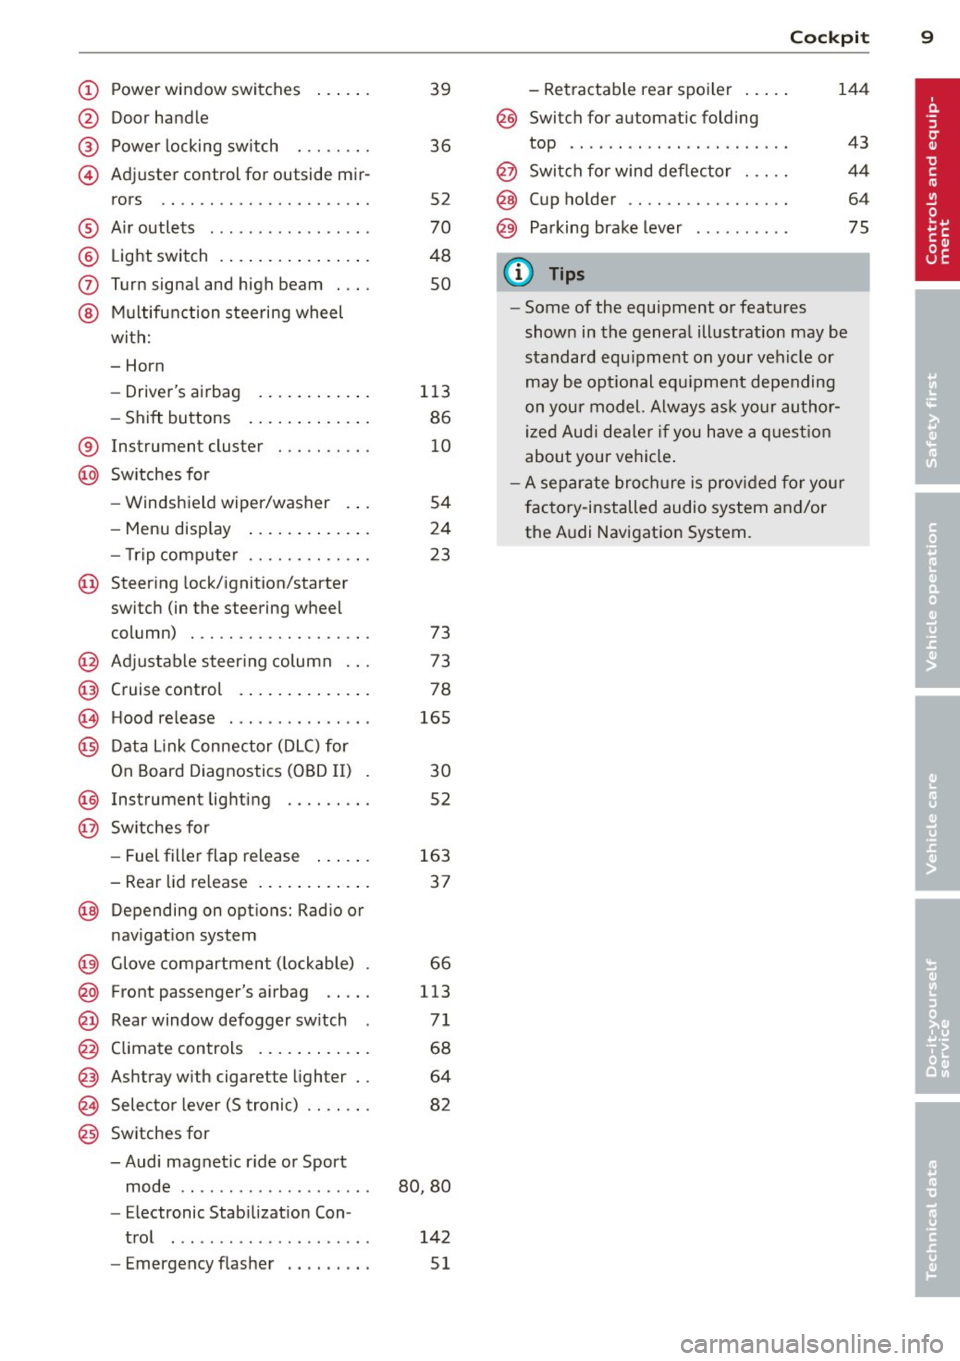
(!) Power window switches
@
®
©
Door handle
Power locking sw itch
Adjuster control for outside mir- rors ... . ............. .... .
® Air outlets ............... . .
@ Light switch . ... .... ... .. .. .
(J) Turn signa l and high beam . .. .
@ Mu ltifunction stee ring wheel
with:
- Horn
- Drive r's ai rbag .... ... .. .. .
- Shift buttons ..... ... .. .. .
® Instrument cluster
@ Sw itches for
- Windshield wiper/washer
- Menu disp lay ..... ... .. .. .
39
36
S2
70
48
so
113
86
10
S4
24
- T rip computer . . . . . . . . . . . . . 23
© Steering lock/ignition/starter
switch (in the steering wheel
column) . . . . . . . . . . . . . . . . . . . 73
@ Adjustab le s teer ing column . . . 73
@ Cruise control . . . . . . . . . . . . . . 78
€3J H ood re lease . . . . . . . . . . . . . . . 165
@ Data L ink Connector (DLC) for
On Board Diagnostics ( OBD II) 30
@ Instrument lighting . . . . . . . . . 52
@ Switches for
- Fuel filler flap release 163
- Rea r lid re lease . . . . . . . . . . . . 3 7
@ Depending on opt ions: Rad io or
nav igat ion system
@ Glove compar tment ( lockable) 66
@ Front passenger's a irbag . . . . . 113
@ Rear window defogger sw itch 7 1
@ Climate controls . . . . . . . . . . . . 68
@ Ashtray w ith cigarette lighter . . 64
@ Selecto r l ever (5 troni c) . . . . . . . 82
@) Switches for
- Audi magnet ic r ide or Sport
mode . . . . . . . . . . . . . . . . . . . . 80, 80
- Electronic Stab ilizat ion Con-
tro l . . . . . . . . . . . . . . . . . . . . . 142
- Emergency flasher . . . . . . . . . 51
Cockpi t 9
- Retractable rear spo iler .. ...
@ Switch for automatic folding
144
top . ... .. .. .. .. . .. .... ... .
@ Swi tch for wind deflector .... .
@ C up ho lder .. .. .. .......... .
@ Pa rking brake lever
(D Tips
- Some of the equipment or features
show n in the genera l illustration may be
standard equ ipme nt on your vehicle or
may be opt ional equ ipment depending
on you r model. Always as k yo ur au tho r
ized Aud i de aler if you have a quest ion
abou t your vehi cle.
- A separate bro ch ure is p rov ided for yo ur
facto ry-installed audio system and/or
the A udi Navigation System.
43
4 4
64
75
Page 17 of 244
Instrument s and warnin g/indic ator ligh ts 15
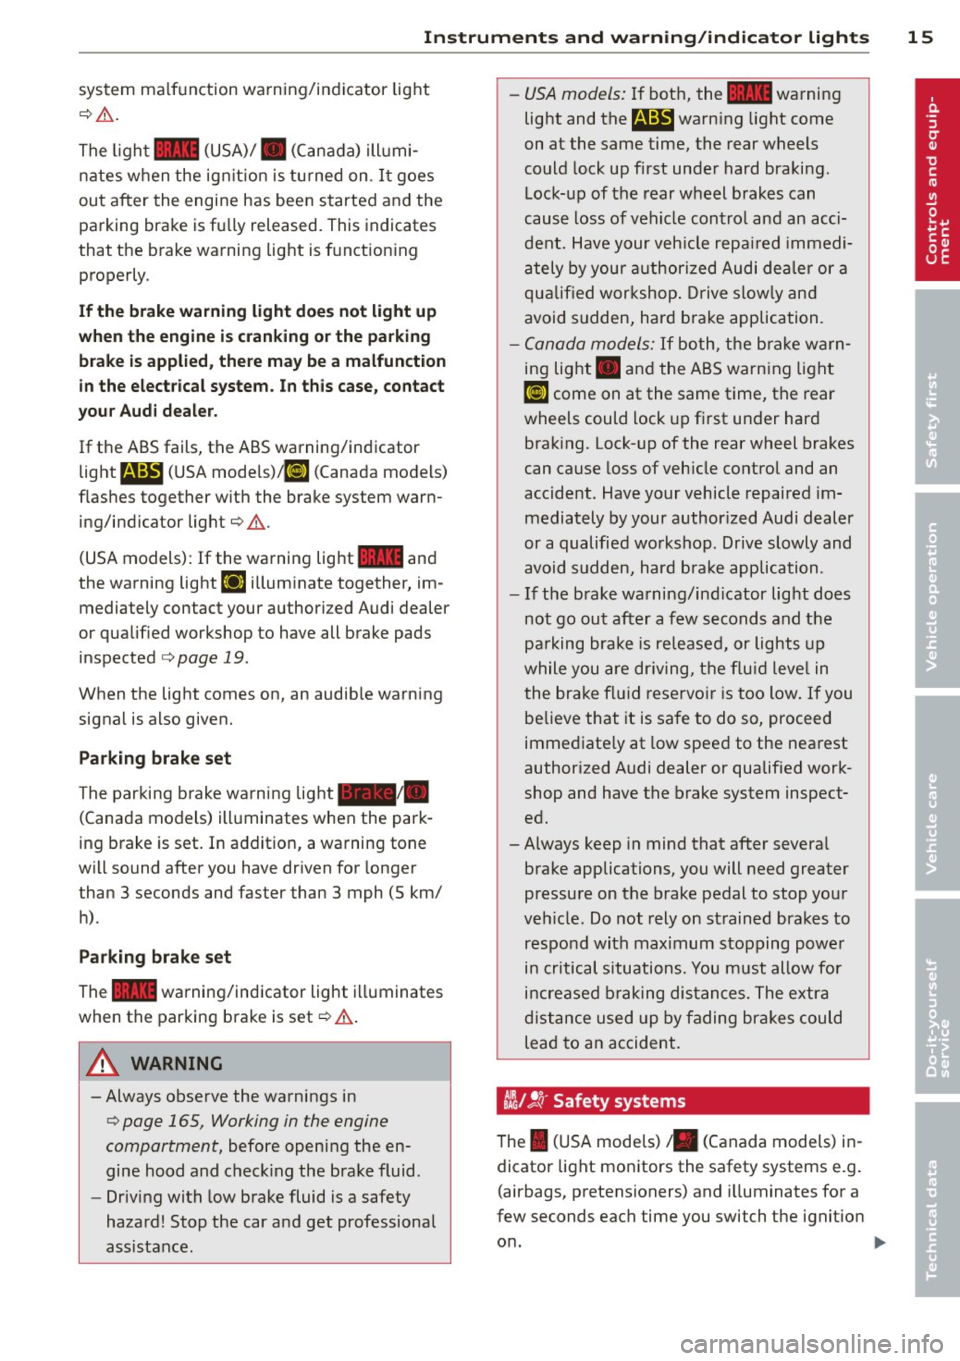
system ma lfunction warning/indicator light
c> ,&. .
The ligh t 1111 (USA)/ . (Canada) illumi
nates when the ignit ion is tu rned on. I t goes
out after the engine has been started and the
parking brake is fully released. This indicates
that the brake warning lig ht is funct ion ing
properly.
If the brake warn ing light doe s not light up
w hen the engin e is cr anking o r the p arking
br ak e is applied, th ere m ay be a malfun ction
in th e electrical syste m. In thi s cas e, conta ct
y ou r A udi dealer .
If the ABS fails, the ABS warning/indicator
light
E (USA mode ls)! EIJ (Canada models)
f lashes together with the brake system warn
ing/indicator light
c> ,&. .
(USA models): If the warning light 1111 and
the warning light
EiJ illum inate together, im
mediately contact your author ized Audi dealer
or qualified workshop to have all brake pads
inspected
c> page 19.
When the light comes on, an audible warning
signa l is also given.
Parking brake set
The parking brake warning light_ /_
(Canada models) illuminates when the park
ing brake is set. In addition, a warning tone
will sound after you have driven for longer
than 3 seconds and faster than 3 mph (5 km/
h).
Park ing brak e set
The 1111 warning/indicator light illuminates
when the parking brake is set
c> &..
A WARNING
-Always observe the warnings in
c> page 165, Working in the engine
compartment, before opening the en
gine hood and check ing the bra ke fluid.
- Driv ing with low brake fluid is a safety
hazard! Stop the car and get professional
assistance. -
USA models: If both, the
1111 warning
light and the
E warn ing light come
on at the same time, the rear wheels
could lock up first under hard braking.
Lock-up of the rear wheel brakes can
cause loss of vehicle contro l and an acci
dent. Have your veh icle repa ired immedi
ately by your authorized Audi dealer or a
qualified workshop . Drive s low ly and
avoid sudden, hard brake application.
- Canada models:
If both, the b rake warn
ing light . and the ABS warning light
EiJ come on at the same time, the rear
wheels could lock up f irst under hard
brak ing. Lock-up of the rear wheel brakes
can cause loss of veh icle control and an
accident. Have your vehicle repaired im
mediately by your author ized Audi dealer
or a qualified wo rkshop. Drive slowly and
avoid sudden, hard brake application.
- If the b rake warning/ind icator light does
not go out after a few seconds and the
pa rking brake is re leased, or lights up
while you are dr iving, the flu id leve l in
the brake fl uid reservo ir is too low . If you
believe that it is safe to do so, proceed
immediate ly at low speed to the nea rest
author ized Audi dealer or qualif ied work
shop and have the brake system inspect
ed.
-Always keep in mind that after severa l
brake applications, you will need greater
pressure on the brake pedal to stop your
veh icle. Do not rely on strained brakes to
respond with maximum stopping powe r
i n critical s ituations. You must allow for
increased b raking dis tances. The extra
distance used up by fading bra kes could
lead to an accident.
tli1 !.!r Safety systems
The I ( U SA models) . (Canada mode ls) in
dicator light monitors the safety systems e.g.
(airbags, pretensioners) and i lluminates for a
few seconds each time you switch the ignitio n
o n.
Page 21 of 244
Instrument s and warnin g/indic ator ligh ts 19
-USA models: If the la warning light,
the
G1 warning light and the m:IJ warn
ing light come on together, t he rear
wheels could lock up first under hard
braking. Rear wheel lock-up can cause
loss of vehicle control and an accident .
Have your vehicle repai red immediately
by you r autho rized Aud i dea ler or a qua li
fied workshop. Drive slowly and avoid
sudden, hard brake applications .
-Canada models: If the brake warn ing
light ., the
&J warn ing light and the
ABS warning light
[IJ come on together,
the rear wheels could lock up first under
hard braking. Rear wheel lock-up can
cause loss of vehicle control and an acci
dent . Have you r vehicle repaired immed i
ately by your authorized Audi dealer or a
qualified wo rkshop . Dr ive slowly and
avo id sudden, hard brake applicat ions.
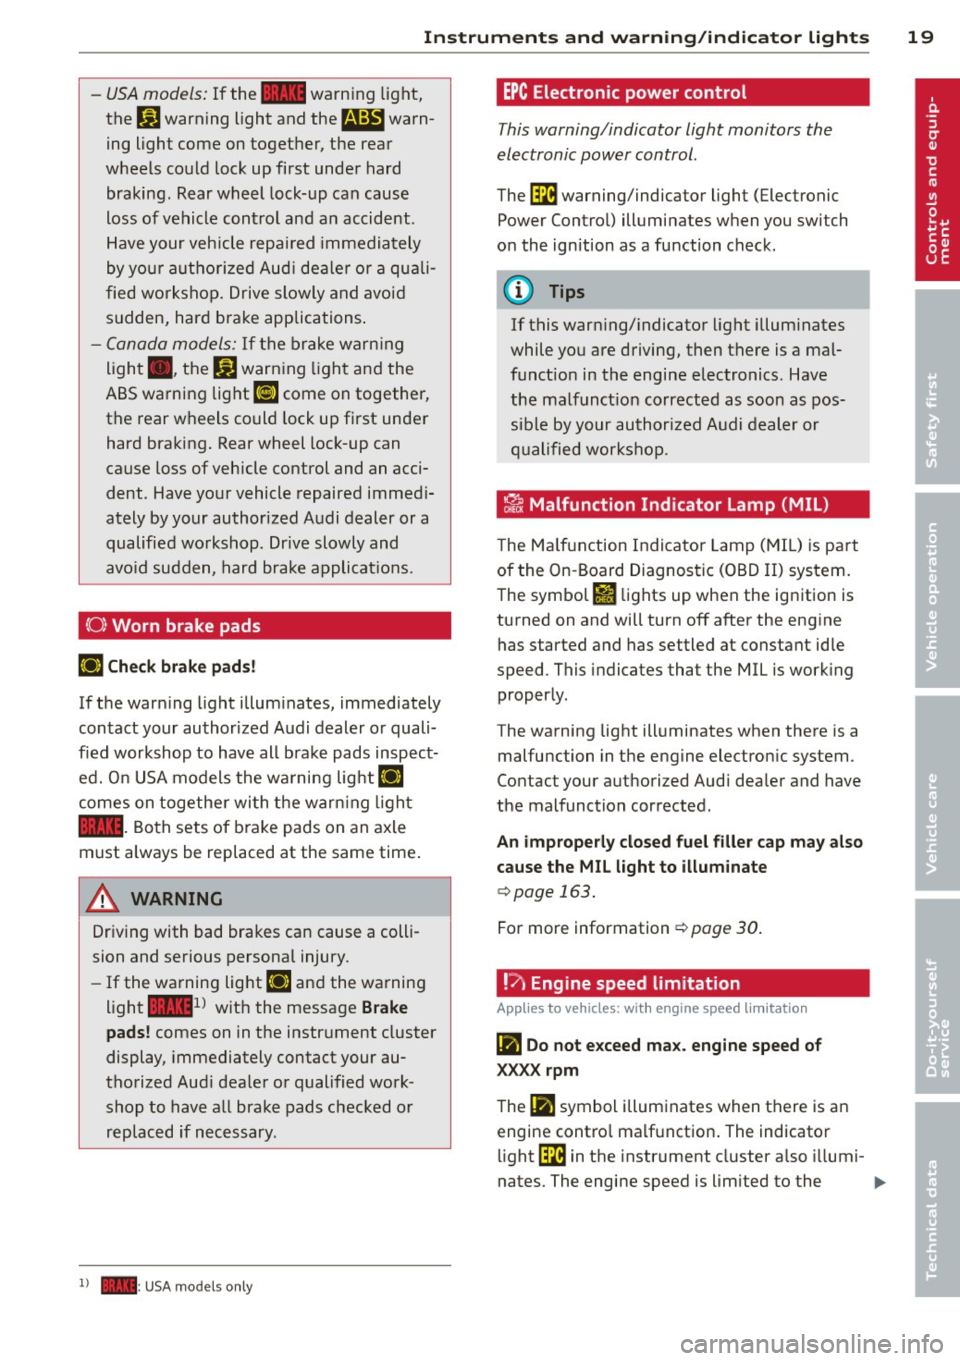
( 0) Worn brake pads
riJ Che ck brake pad s!
If the warn ing light illum inates, immediately
contact your authorized A udi dealer or quali
f ied workshop to have all brake pads inspect
ed. O n USA models the wa rning lig ht
riJ
comes on togethe r wi th the warn ing light
la . Both sets of b ra ke pads on an axle
must always be replaced at the same time .
A WARNING
Driving with bad brakes can cause a colli
sion and serious personal injury.
- If the warning light riJ and the warning
light
lai1 ) w it h the message Brake
pads !
comes on in the instr ument cluster
display, immediately contact your au
tho rized Aud i dea le r or qualified work
shop to have a ll brake pads checked or
replaced if necessary .
1) - : USA mod els on ly
-
EPC Electronic pow er control
This warning/indicator light monitors the
electronic power control.
The ~ warning/indicator light (Electronic
Power Control) illuminates when you switch
on the ignition as a function check .
@ Tips
If this warning/ indicato r light illum inates
while you are driving, then there is a mal
funct ion in the engine electronics . Have
the malfunct ion corrected as soon as pos
sible by your authori zed A udi dealer or
q ualified works hop .
~ Malfunction Indicator lamp (MIL )
The Ma lfun ction Indicator Lamp ( MIL) is par t
of the On -Board Diagnostic (OBD II) system.
The symbo l
fl lights up when the ignition is
turned on and will turn off after the eng ine
has started and has settled at constant idle
speed . This indicates that the MIL is work ing
proper ly.
The warning light illuminates when there is a
malfu nction in the eng ine electron ic system .
Contact your a uthorized Audi dea ler and have
the malfunction corrected.
An improperly closed fuel filler cap may also
cause the MIL l ight to illum inate
c::> page 163.
For more information c::> page 30 .
!?) Engine speed limitation
App lies to vehicles : wi th engine speed limitatio n
(m Do not e xceed ma x. engine speed of
XXXX rpm
The (Ill symbol illuminates when there is an
engine contro l ma lf u nction . The indicator
li ght ~ in the instrument cl uster a lso illumi-
nates. The engine speed is limited to the .,.
Page 51 of 244
light sensor checked as soon as possible at a
dealership.
Adaptive light *
The benefit of adaptive l ight is that the curve
and the edge of the road are better i llum inat
ed . The adaptive light is contro lled automati
cally, depending on vehicle speed and steering
wheel angle.
When driving a round bends, the head lights
are contro lled according to steering wheel an
g le . So that there is no black area ahead of the
ve hic le, the two main beams pivot at different
angles. The system works above a speed of
about 6 mph (10 km/h).
Com ing home /le avi ng home function *
The function is swit ched on when the switch is
in the AUTO* position and the function is
shown as active in the driver information sys
tem.
The
coming hom e function illuminates the
area around the vehicle when the ign ition is
switched off and the driver's door is ope ned.
The length of time the lights remain on can be
set in the menu display
( Illumination > Exte
rior lights > coming home ).
The leavi ng home function i lluminates the
area around the vehicle when unlocking it.
A WARNING
- Never use dayt ime running l ights to see
where you are going. They are not bright
enough and w ill not let you see far
enough ahead for safety, especially at
dusk or when it is dar k. Always switch on
the low beams at dusk or when i t is dar k.
- Automatic headlights a re only intended
to assist the dr iver. They do not re lieve
t he driver of his responsibi lity to check
t he headlights and to turn them on man
ually according to the current light and
visibility conditions. For example, fog
and rain cannot be detected by the light
sensors. So a lways switch on the head
lights under these weather cond itions
and when driving in the dark
jO .
Clear vis ion 49
- Crashes can happen when you cannot see
the road ahead and when you cannot be
seen by other motorists.
- Always turn on the headlights so that
youcanseeahe adandsothatothe ~
can see your car from the back .
- Please observe legal regulat ions w hen
using the ligh ting systems des cribed.
(D Tips
- T he light sensor for head light control is
located in the rear view mirror mount.
Do not apply any stickers to t he wind
shield in th is area to preven t malfunc
tions or fa ilures.
- Some exter io r l ighting funct ions can be
adjusted in t he driver i nformat ion sys
t em
~page 24.
- I f you remove the igni tion from t he igni
t ion lock while the headligh ts are s till
on, a buzzer wi ll sound as long as the
driver's door is o pen to remind yo u to
t u rn off the lights.
- Always observe the specific local regula
tions for your area as to when to use your
lights.
- With automatic headlights, the high
beam f unction is also available, but w ith
one restrict ion: If you have not sw itched
the high beams back to low beams dur
ing automatic headlight operation (for
example, after d riving throug h a tunnel),
only the low beams come on the next
t ime au tomati c headlights a re swi tched
on. To use the high beams , you firs t have
t o pull the hig h beam lever back and
then push the lever fo rward again .
- In coo l or damp weather, the inside of
the headlights, turn signals an d tail
lights can fog over due to the tempera
t u re difference between the inside and
outside. They w ill clear shortly after
switching them on. This does not affect
the se rv ice life of the lighting.
Page 62 of 244
60 Seats and stor age
Seats and storage
General recommen
dations
Why is your seat adjustment so
important?
The safety belts and the airbag system can
only provide maximum protection if the front
seats are correctly adjusted.
There are various ways of adjusting the front
seats to provide safe and comfortable support
for the driver and the front passenger. Adjust
you r seat prope rly so that :
- you can easily and quickly reach all the
switches and controls in the instrument
panel
-your body is properly supported thus reduc
ing physical stress and fatigue
- the safety be lts and airbag system can offer
maximum protection
¢ page 109.
In the following sections, you will see exactly
how you can best adjust your seats .
There are special regulations and instructions
for installing a child safety seat on the front
passenger's seat. Always heed the informa
tion regarding child safety provided in
¢ page 130, Child Safety.
A WARNING
Incorrect seating position of the driver and
all other passengers can result in serious
personal injury.
- Always keep your feet on the floor when
the vehicle is in motion -never put your
feet on top of the instrument panel, out
of the window or on top of the seat cush
ion! This applies especially to the passen
gers .
If your seating position is incorrect
you increase the risk of injury in the case
of sudden braking or an acc ident.
If the
airbag inflates and the seating position
is incorrect this could result in personal
injury or even death.
- It is important for both the driver and
front passenger to keep a distance of at least 10
inches (25 cm) between them
selves and the steering wheel and/or in
strument panel. If you're sitting any
closer than this, the airbag system can not protect you properly . In addition to
this, the front seats and head restraints
must be adjusted to your body height so
that they can give you maximum protec
tion.
- Always try to keep as much distance as
possible between yourself and the steer
ing wheel or instrument panel.
- Do not adjust the driver's or front pas
senger's seat whi le the vehicle is moving.
Your seat may move unexpectedly, caus
ing sudden loss of vehicle control and
personal injury. If you adjust your seat
while the vehicle is moving, you are out of position.
Driver's seat
The correct seat position is important for safe
and relaxed driving.
We recommend that you adjust the driver's
seat in the following manner :
.,. Adjust the seat in fore and aft direction so
that you can easily push the peda ls to the
floor whi le keeping your knee slightly bent
i::> A in Why is your seat adjustment so im
portant? on page 60 .
.,. Adjust the seatback so that when you sit
with your back against the seatback , you can
still grasp the top of the steering wheel.
.,. Position the head restraint according to the
occupant 's height
<=:> page 63 . For maxi
mum protection, the top of the head re
straint shou ld be at least at eye level, pref
erably higher and ideally level with the top
of the head
¢ page 95, fig. 102.
A WARNING "--
Never place any objects in the driver's foot-
well. An object could get into the pedal
area and interfere with pedal function. In
case of sudden braking or an accident, you
would not be able to brake or accelerate!
Page 63 of 244
Front passenger's seat
Always move the front passenger seat into the rearmost position .
To avoid contact with the airbag while it is de
p loying, do not sit any closer to the instru
ment panel than necessary and always wear
the three-point safety belt provided adjusted
correctly . We recommend that you adjust the
passenger's seat in the following manner:
"' Bring the backrest up to an (almost) upright
pos it ion.
Do not ride with the seat reclined.
"'T he idea l position for the head restraint is
with the upper edge of the restraint level
with the top of your head
Q page 63. You
shou ld
not lower the top of the restraint be
low the level of your eyes.
"' Place your feet on the f loor in front of the
passenger's seat .
Adjusting front seats
manually
Adjustment controls
Applies to vehicles: with manual seat adjustment
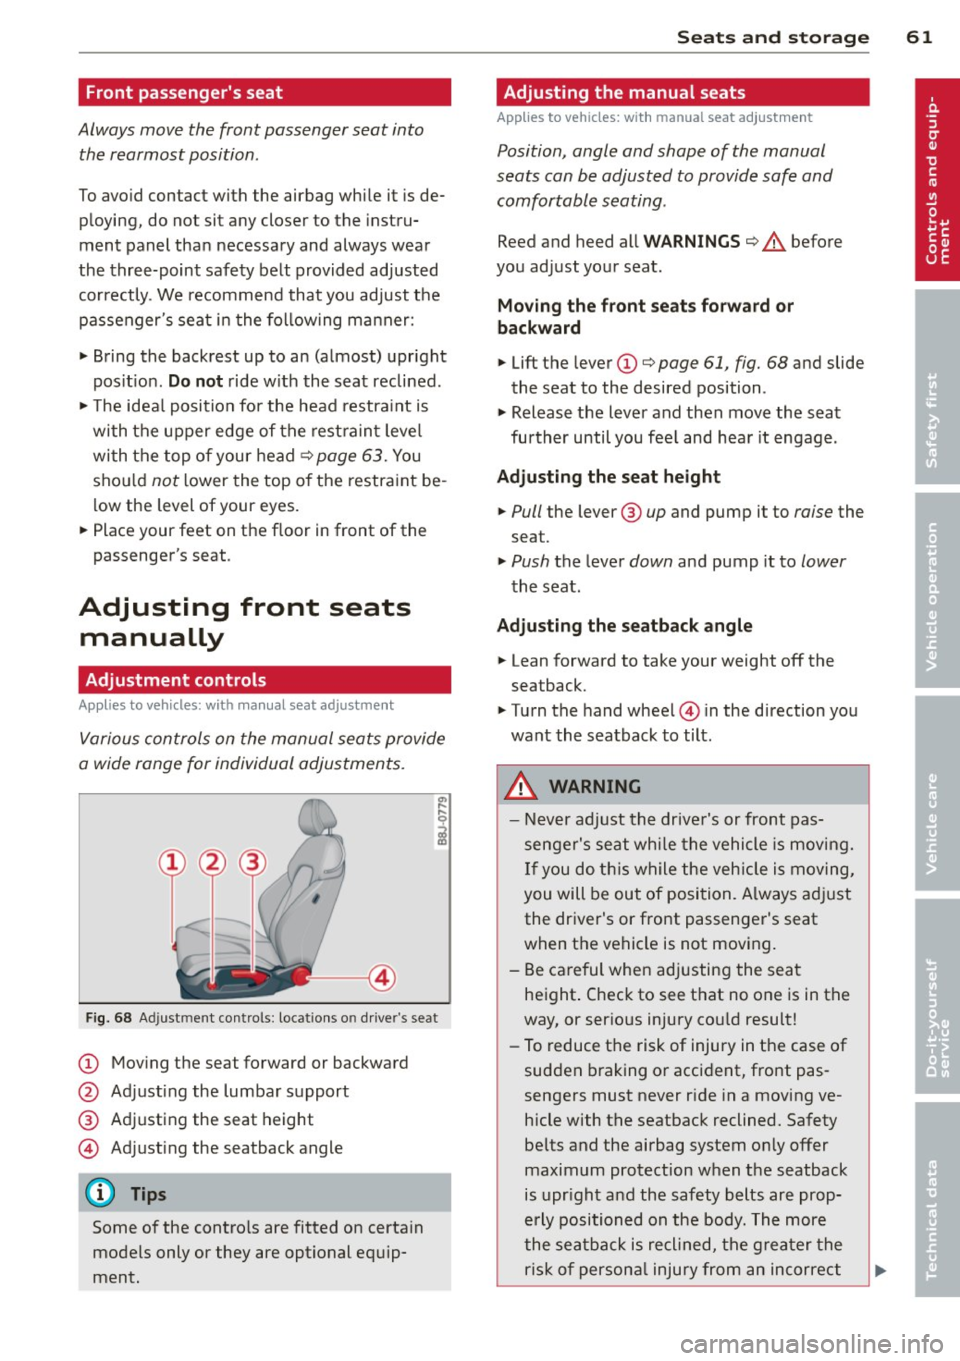
Various controls on the manual seats provide
a wide range for individual adjustments.
Fig. 68 Ad just ment contro ls : locat ions o n drive r's seat
(!) Moving the seat forward or backward
@ Adjusting the lumbar support
® Adjusting the seat height
© Adjusting the seatback angle
{!) Tips
Some of the contro ls are fitted on certain
models only or they are optional equip
ment.
Seats and storage 61
Adjusting the manual seats
Applies to vehicles: with manual seat adjustment
Position, angle and shape of the manual
seats can be adjusted to provide safe and
comfortable seating .
Reed and heed all WARNINGS ¢..&. before
you adjust your seat.
Moving the front seats forward or
backward
"' Lift the lever (!)¢ page 61, fig. 68 and slide
the seat to the desired position .
"' Release the lever and then move the seat
further until you fee l and hear it engage .
Adjusting the seat height
"' Pull the lever ® up and pump it to raise the
seat.
"' Push the lever down and pump it to lower
the seat .
Adjusting the seatback angle
"' Lean forward to take your weight off the
seatback.
"' Turn the hand wheel © in the direction you
want the seatback to tilt .
A WARNING -
-Never adjust the driver's or front pas
senger's seat while the vehicle is moving.
If you do this while the vehicle is moving,
you will be out of position. A lways adjust
the driver's or front passenger's seat
when the vehicle is not moving.
- Be careful when adjusting the seat
height . Check to see that no one is in the
way, or ser ious injury cou ld result!
- To reduce the risk of injury in the case of
sudden braking or accident, front pas
sengers must never ride in a moving ve
hicle with the seatback reclined. Safety
be lts and the airbag system only offer
maximum protection when the seatback
is upr ight and the safety belts are prop
erly positioned on the body. The more
the seatback is reclined, the greater the
risk of persona l injury from an incorrect
Page 75 of 244
On the road
Steering
Adjusting the steering wheel column
The steering wheel position can be continu
ously adjusted in height and distance.
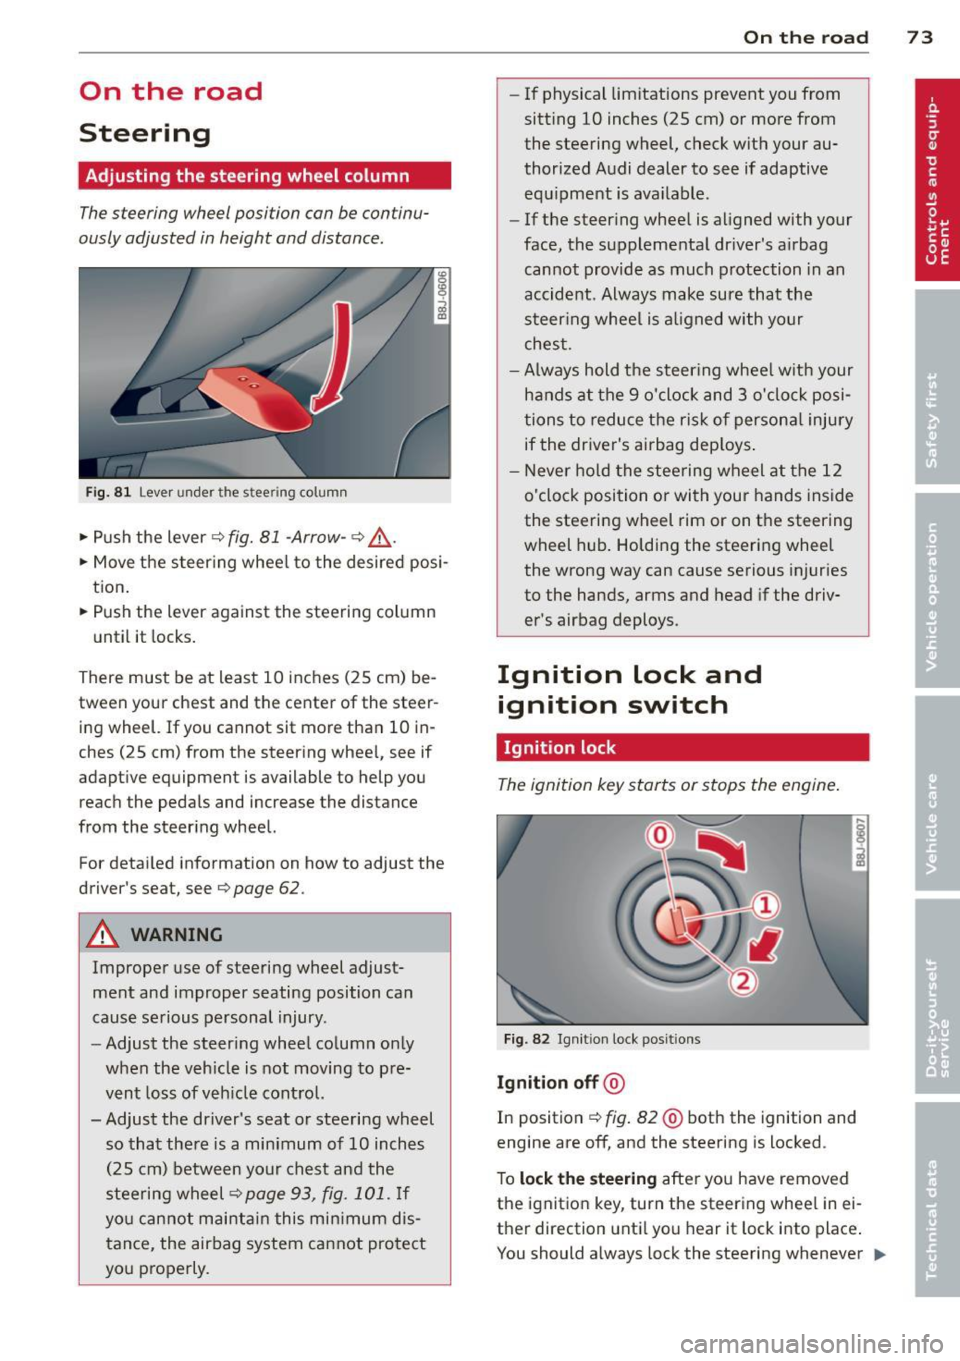
Fig. 81 Lever under the stee ring column
• Push the lever¢ fig. 81 -Arrow- ¢,&. .
• Move the steer ing wheel to the desired posi
tion.
• Push the lever against the steering column
until it locks.
There must be at least 10 inches (25 cm) be tween your chest and the center of the steer
ing wheel. If you cannot sit more than 10 in
ches (25 cm) from the steering wheel, see if
adaptive equipment is available to help you
reach the pedals and increase the distance
from the steering wheel.
For detailed information on how to adjust the
driver's seat, see
¢ page 62.
A WARNING
Improper use of steering wheel adjust
ment and improper seating position can
cause serious personal injury.
- Adjust the steering wheel column only
when the vehicle is not moving to pre
vent loss of vehicle control.
- Adjust the driver's seat or steering wheel so that there is a minimum of 10 inches
(25 cm) between your chest and the
steering wheel
¢page 93, fig. 101. If
you cannot maintain this minimum dis
tance, the airbag system cannot protect
you properly.
On the road 73
-If physical limitations prevent you from
sitt ing 10 inches (25 cm) or more from
the steering wheel, check with your au
thorized Audi dealer to see if adaptive equipment is ava ilable .
- If the steering wheel is aligned with your
face, the supplemental dr iver 's airbag
cannot provide as much protection in an
accident. Always make sure that the
steering wheel is al igned with your
chest .
-Always hold the steer ing wheel w ith your
hands at the 9 o'clock and 3 o'clock posi
tions to reduce the risk of persona l injury
if the driver's airbag deploys .
- Never hold the steering wheel at the 12
o'clock position or with your hands inside
the steering wheel rim or on the steering
wheel hub. Holding the steering wheel
the wrong way can cause serious injuries
to the hands, arms and head if the driv
er's airbag deploys.
Ignition lock and ignition switch
Ignition lock
The ignition key starts or stops the engine.
Fig. 82 Ignit ion lock posit ions
Ignition off @
In position ~ fig. 82@ both the ignition and
engine are off, and the steering is locked .
To
lock the steering after you have removed
the ignition key , turn the steering wheel in ei
ther direction until you hear it lock into place .
You should always lock the steering whenever ..,.
Page 76 of 244
74 On the road
you leave your vehicle. This makes a vehicle
theft even more difficult ¢ .&. .
Ignition key saf ety lock
Afte r swi tching off the ignition, t he ig nit ion
key can on ly be removed from the ig nition
lock when the se lector lever is in the "P"
(Park) position . After you have removed the
key, the selector lever is locked and cannot be
moved.
Ignition on @
If it is diffic ult to tu rn the key after you have
inserted it into the ignition lock, turn the
steering wheel back and forth. This will take
the load
off the steering lock mechanism and
you will be able to turn the key freely and
start the engine.
Starting the engine @
In this position the engine starts . While the
engine is starting , the power supply to the
headlights and other e lectrica l consumers is
temporari ly interrupted to conserve battery
power. After the engine has started, release
the key and it will return to posit ion
(D .
Before the starter can be operated again the
key must be turned back to position @. The
non -repeat loc k prevents you from damaging
the starter when the engine is runn ing .
A WARNING
-Never remove the key from the ign it ion
lock whi le the vehicle is moving. The
steeri ng wheel will lock causing loss of
c ontrol.
- If you have to leave your vehicle - even
for just a m inute -always remove t he ig
nition key and take it with you. This is es
pecially important if you a re going to
leave chi ldren behind in the vehicle. The
children co uld start the engine or use
other vehicle controls. Unsupervised use
of vehicle controls (for examp le, power
windows) can cause serious personal in
jur ies .
(D Tips
If the vehicle battery has been disconnect
ed and then reconnected, then you must
l eave the key in position
(D for about 5
seconds before you can start the engine.
Starting and stopping
the engine
Starting the engine
The engine can only be started with an origi
nal Audi key.
.,. Set the park ing brake.
.,. Move the selector lever in P or
N ~ &_ .
.,. Turn the ignition key to position @
¢ page 73, fig. 82 -do not depress the gas
pedal when starting the engine!
.,. Let go of the key as soon as the engine
starts .
A cold engine may at first be loud after it has
been started. This is due to the hydraulic
valves bu ild ing up the oil pressure . Th is nor
mal and no need for concern .
If the engine does not start immediate ly, stop
trying after 10 seconds and then try to restart
the engine about 30 seconds later .
A WARNING
-Never start or let the engine run in a con-
f ined or enclosed area. Exhaust fumes
from the engine conta in carbon monoxide,
a colorless and odorless gas. Carbon mon
oxide can be fatal if inhaled .
- Never leave the engi ne idling unattend
ed. An unat tended veh icle w ith a runn ing
engine poses a danger of personal injury
or theft .
(D Note
-Avo id h igh engine speeds, fast accelera
tion or heavy engine loads while the en
gine is still cold. This could damage the
engine.
- T he engine cannot be started by pushing
or towing the vehicle . ..,.
Page 78 of 244
76 On the road
On ly afte r th e ve hic le has come to com
plete stop, shou ld you f irm ly set t he park
ing b rake and either move the selector lev
er i nto "P".
Parking
P a rkin g
"' Stop the vehicle using the brake pedal.
"' Set the parki ng brake firmly .
"' Swi tc h off the engine.
"' Mov e the selector lever into the P pos ition
~ A -
.. When on incl ines or decli nes, turn the steer
ing wheel so that the vehicle will roll into
the curb if it begins to move .
A WARNING
This is how you can reduce the risk of in
jury when leaving your veh icle.
- Never park the vehicle where it can come
in contact with dry grass, spilled fuel or
any other flammable mater ials.
- Never allow anyone -especia lly small
children -to remain in the vehicle when
it is locked. Locked doors make it more
difficult for rescuers to access the pas
senger compartment in the event of an
eme rgency. Danger to life!
- Never leave children unsupervised in the
vehicle . Children could re lease the park
ing brake o r move the gea rshift lever out
of gear. The vehicle could start to roll
away and ca use an accident.
- N o matter wha t the season is, the tem
perature in a par ked vehicle can rea ch
dangero us levels .
Starting on hills
Applies to vehicles: wit h hill h old ass ist
H ill hold assist ma kes it easie r to sta rt on
h ill s.
The system is act ivated when the brake pedal
i s depressed
for a few s econds .
After releasing the brake pedal, the brake
power is held for a brief moment to prevent
the vehicle from rolling back when start ing . At
th is time, you can easi ly beg in to move your
vehicle.
A WARNING
-- If you did not begin moving immed iate ly
after releasing the brake pedal, under
c e rtain ci rcumstances, the vehicle would
begin to ro ll backwa rd. Depr ess the
b rake ped al immedi ately o r engage the
hand brake .
- Should t he e ngine sta ll, dep ress the
b ra ke ped al immediate ly or eng age the
hand b rake .
- I n or der to prevent the vehicle from roll
ing back unintentionally when s tarti ng in
s top -and-go traffic, keep the brake pedal
depressed for a few seconds before driv
ing off.
(J} Tips
You can find o ut if yo ur vehicle is eq uipped
with "Hill hold ass ist" at an autho rized
A udi dealersh ip.
Speed warning system
Overview
The speed warning system helps you to keep
your driving speed below a set speed limit.
The speed warn ing system warns the driver if
he exceeds a previous ly stored max imum
speed . A warning tone will sound as soon as
the ve hicle speed exceeds the set speed by
about 3 mph (3 km/h). At the same time, a
warning symbo l appea rs in the display.
The speed warn ing system has
two warning
thr esho lds
that f unction independently of
each other and that have somewhat different
purposes:
Speed warning 1
You can use speed warning 1 to set the maxi mum speed while you are driving . This setting
will remain in effect unti l yo u tur n off the ..,.