wheel alignment AUDI TT ROADSTER 2014 Owners Manual
[x] Cancel search | Manufacturer: AUDI, Model Year: 2014, Model line: TT ROADSTER, Model: AUDI TT ROADSTER 2014Pages: 244, PDF Size: 60.87 MB
Page 193 of 244

Tire service life
The service life of tires depends on a lot of
different things including proper installation
and balancing, correct tire pressure and driv
ing style.
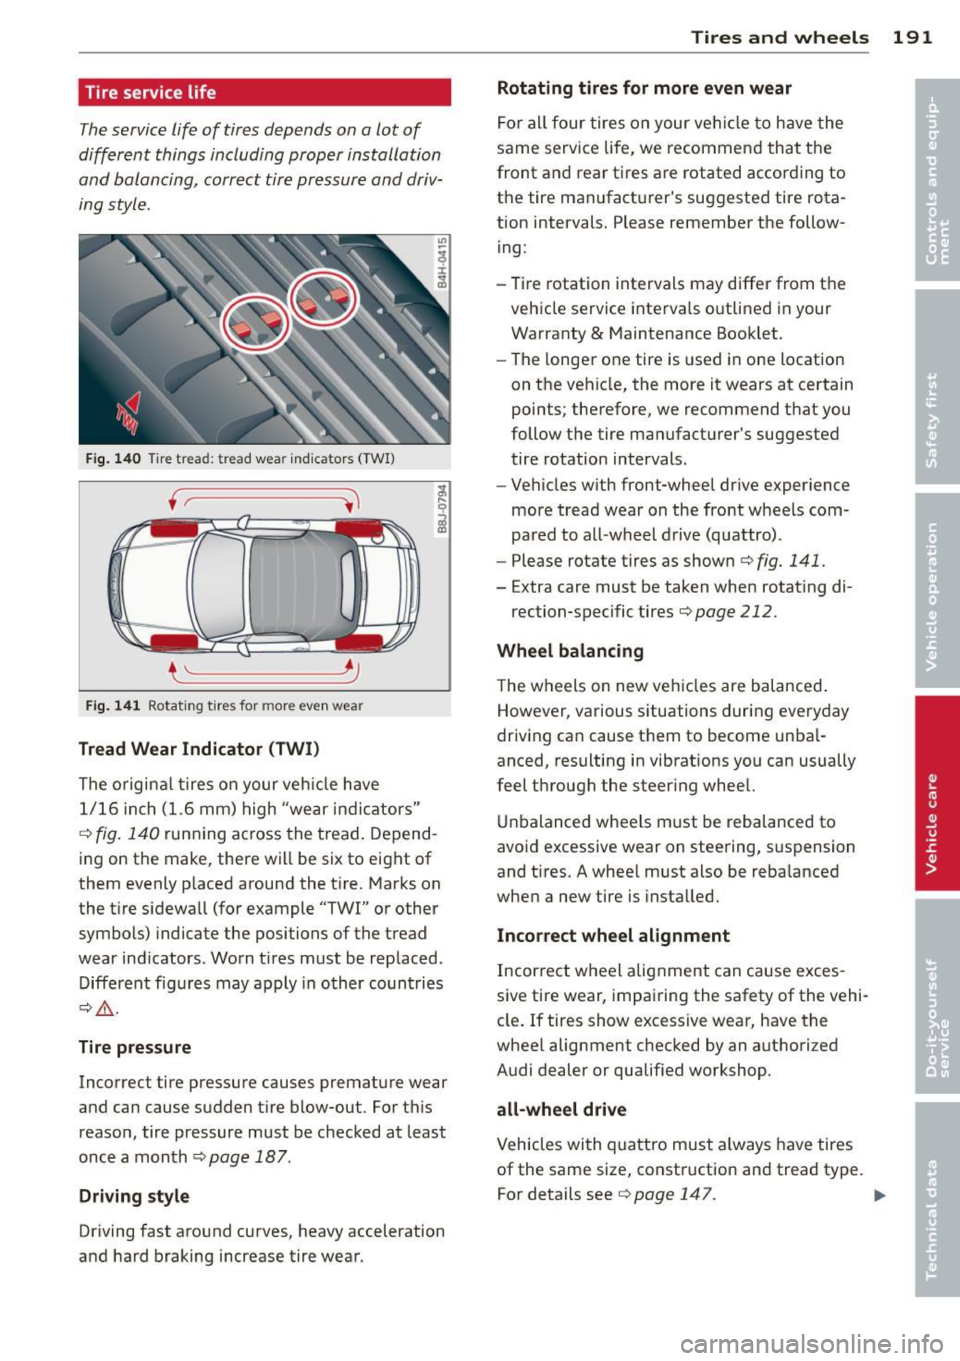
F ig. 14 0 Tire tread: tread wea r ind ica tors (TWI)
f ~----~
~ ------- .../
Fig. 141 Rotat ing t ires fo r m ore even wea r
Tread Wear Indicator (TWI)
The origina l tires on your veh icle have
1/16 in ch (1.6 mm) high "wear ind icators"
c::> fig . 140 run ning across the tread. Depend
ing on the make, there will be six to eight of
them evenly p laced around the t ire . Marks on
the t ire s idewall (for example "TWI" or other
symbols) indicate the positions of the tread
wear ind icators . Worn t ires must be replaced.
Different fig ures may apply in other countries
c::> & .
Tir e pressure
Incorrect tire pressure causes premat ure wear
and can cause sudden tire blow-out . For th is
reason, tire pressure must be checked at least
once a month
c::> page 18 7.
Dri ving sty le
Driving fast around curves , heavy acceleration
and hard braking increase tire wear.
Tires and wheels 191
Rotating tires for more even wear
For all four tires on your ve hicl e to have the
same service life, we recomme nd that the
front and rear tires are rotated according to
the tire manufacturer 's suggested tire rota
tion inte rvals. Please remember the follow
ing :
- Tire rotation intervals may differ from the
veh icle service inte rva ls o utlined in your
Warranty & Maintenance Booklet.
- The longer one tire is used in one location
on the vehicle, the more it wears at certain
points ; therefore, we recommend that you
follow the tire manufactu rer 's suggested
tire rotation intervals .
- Vehicles w ith front-wheel dr ive exper ience
more tread wear on the front wheels com
pared to all -wheel d rive (quattro) .
- Please rotate tires as shown
c::> fig. 141.
-Extra care must be taken when rotat ing di-
rection-specific tires
c::> page 212.
Wheel balancing
T he wheels on new veh icles are balanced .
However, various situations during everyday
driving can cause them to become unba l
anced, resulting in vibrat ions you can usually
feel through the steer ing wheel.
Unbalanced wheels must be rebalanced to
avoid excessive wear on steering, s uspension
and t ires. A whee l must also be reba lanced
when a new tire is insta lled.
Inco rrect wheel alignm ent
Incorrect wheel alignment can cause exces
sive tire wear, impai ring the safety of the vehi
cle . If tires show excessive wear, have the
whee l alignment checked by an authori zed
Audi dealer or qualified workshop.
all -wheel drive
Vehicles wi th quattro must always have tires
of the same size, construction and tread type. For details see
c::> page 147.
Page 207 of 244

What do I do now? Trunk escape handle
In case of an emergency, the rear lid can be
opened from the inside using the trunk es
cape handle .
Fig. 148 Luggage compa rtment: Tr unk escape handle
"' To open the trunk lid pu ll the handle down
as indicated by the -arrow-~
fig. 148.
The trunk escape handle inside the storage
compartment is made of fluorescent materia l
to g low in the dark.
& WARNING
The trunk escape handle is to be used only
in an emergency .
Vehicle tool kit
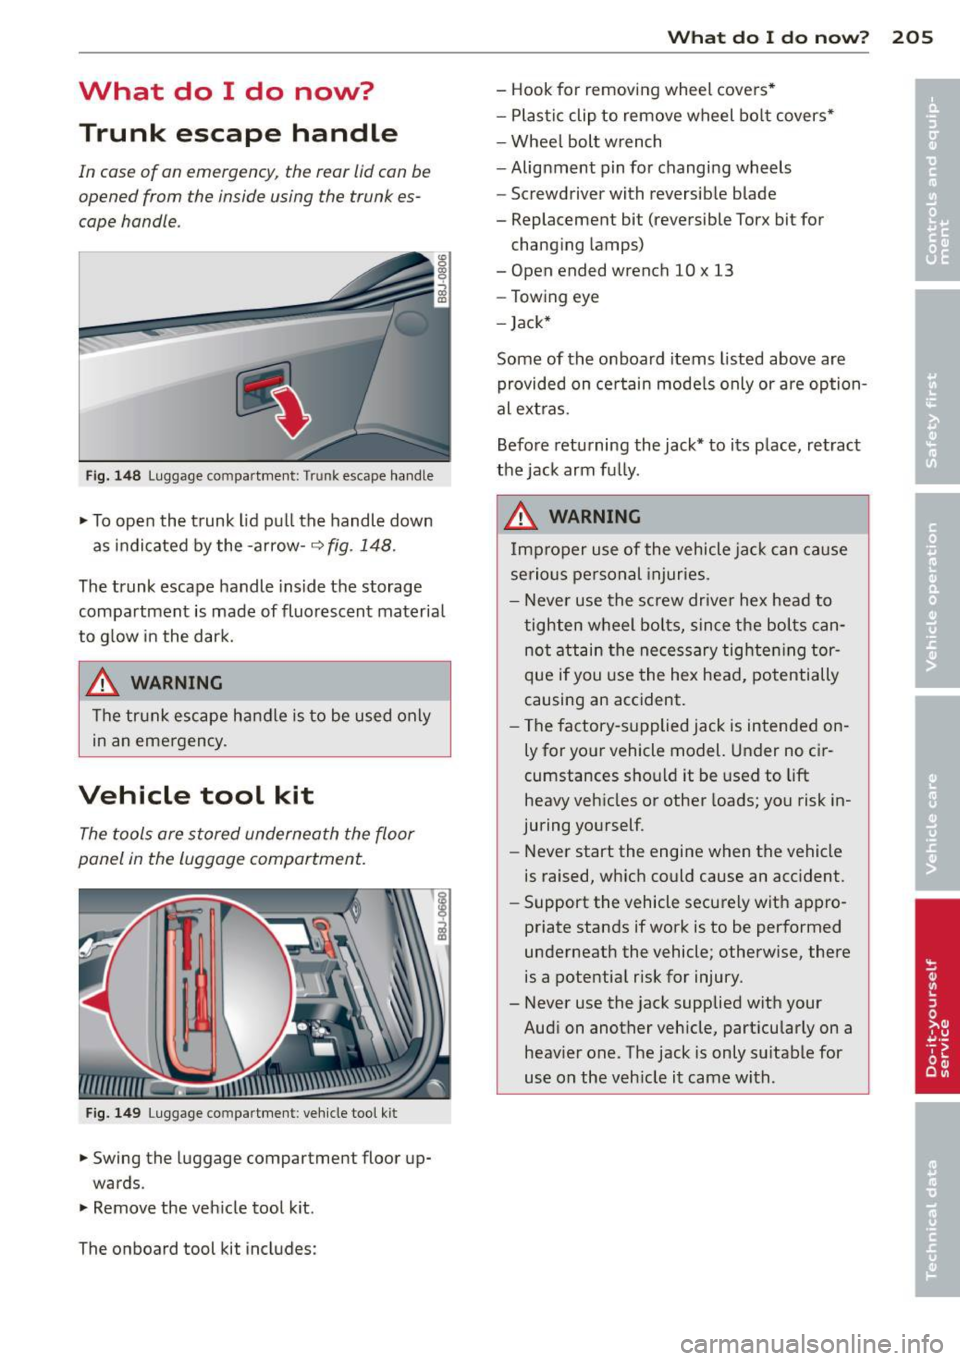
The tools ore stored underneath the floor
panel in the luggage compartment.
F ig. 1 49 Luggage co mpa rt ment : veh icle tool ki t
"'Swing the luggage compartment floor up
wards.
"' Remove the vehicle tool k it.
The onboard tool kit includes:
What do I d o now ? 205
- Hook for removing wheel covers*
- Plastic clip to remove wheel bo lt covers*
- Wheel bolt w rench
- Alignment pin for changing wheels
- Screwdriver with reversible blade
- Replacement bit (reversible Torx bit for changing lamps)
- Open ended wrench 10 x 13
- Towing eye
- Jack*
Some of the on board items listed above are
provided on ce rtain mode ls only or are option
al ext ras.
Before returning the jack* to its place, retract
the jack arm fu lly.
& WARNING
Improper use of the vehicle jack can cause
serious pe rsonal injuries .
- Never use the screw drive r hex head to
tighten wheel bo lts, since the bolts can
not attain the necessary tighte ning tor
que if you use the hex head, potentially
causing an accident.
- The factory-supplied jack is intended on
ly for yo ur vehicle model. Under no ci r
cumstances should it be used to lift
heavy veh icles or other loads; you risk in
juring yourself .
- Never start the engine when the vehicle
is raised, wh ich could cause an accident.
- Support the vehicle securely with appro
priate stands if work is to be performed
underneath the vehicle; otherwise, there
is a potential risk for injury.
- Never use the jack supplied with your Audi on another vehicle, particularly on a heav ier one . The jack is only suitable for
use on the veh icle it came with .
Page 213 of 244

slip and cause an injury if it does not
have sufficient hold on the veh icle.
- A soft or unstable surface under the
jack may cause the vehicle to slip off the jack. Always provide a firm base for
the jack on the ground. If necessary, use a sturdy board under the jack .
- On hard, slippery surface (such as tiles)
use a rubber mat or similar to prevent
the jack from slipping .
- To help prevent injury to yourself and
your passengers:
- Do not raise the vehicle u nti l yo u are
sure the jack is sec urely engaged .
- Pa ssenge rs must not remai n in the ve
h icle when it is jacked up.
- Make sure that passengers wait in a
safe pl ace away from the vehicle and
well away from the roadway and traffic.
- Make sure ja ck position is correc t, ad
just as necessary and then continue to
ra ise the jack .
(D Note
A floor jac k or the pads o n the hoist arms
m ust
n ot be po sit ioned at the po ints
shown
-arrows- .
Taking the wheel off
Follow these instructions step-by-step for
changing the wheel.
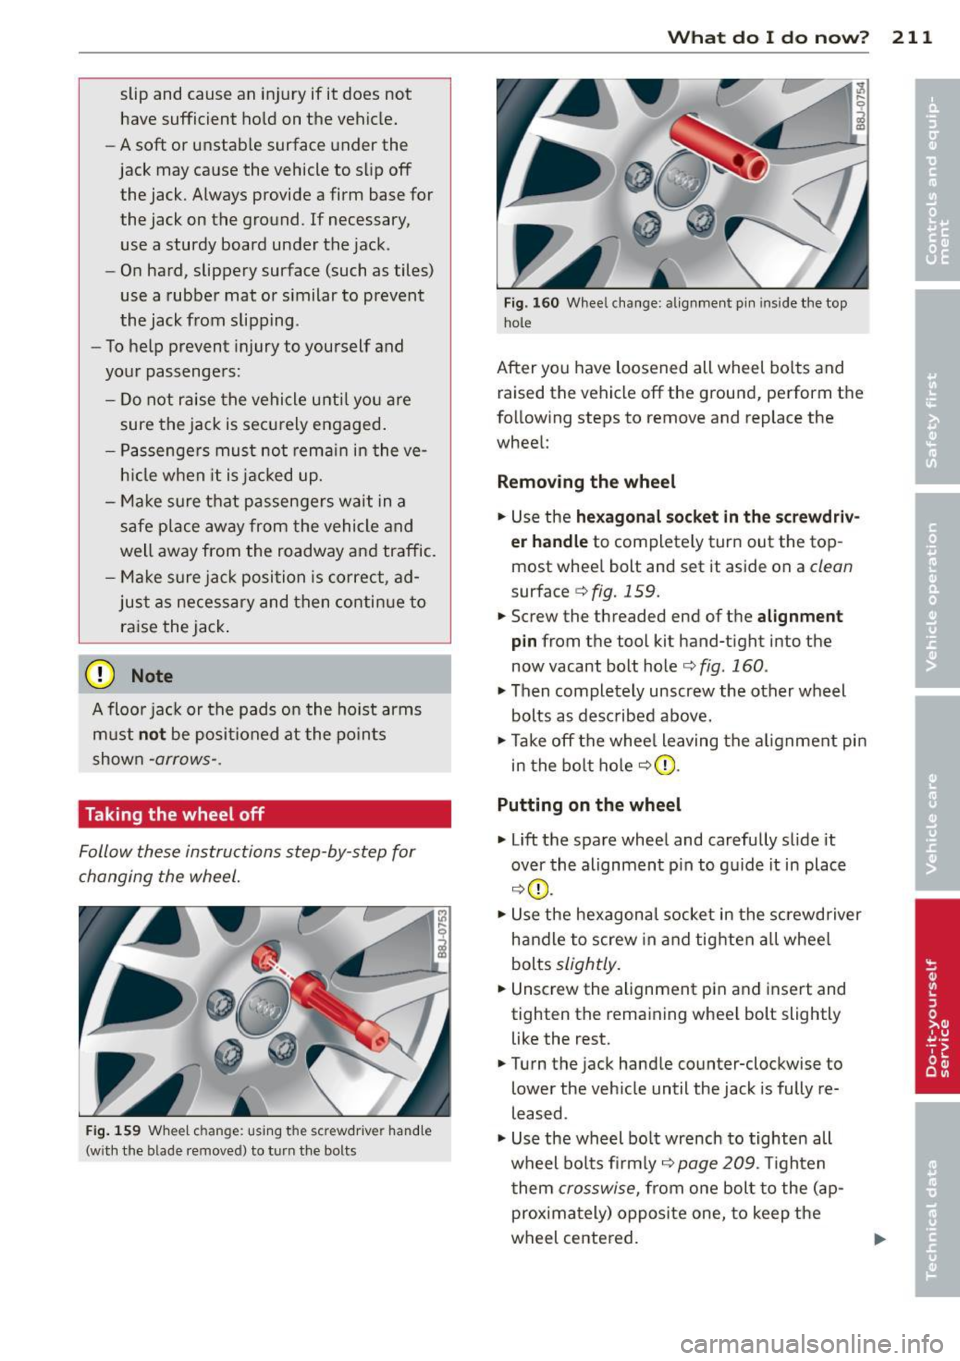
Fig . 159 W hee l ch ange : us ing th e sc rewdr ive r hand le
(w ith t he blade re m ove d) to turn t he bo lts
What do I d o now ? 211
Fig . 1 60 W hee l cha nge : alignmen t pin inside the top
ho le
After yo u have loosened all wheel bo lts and
raised the vehicle off the ground, perform the
follow ing steps to remove and replace the
whee l:
Remo ving the wheel
.,. Use the he xagonal socket in the scr ewdri v
er handle
to completely turn out the top
most whee l bolt and set it aside on a
clean
surface ¢ fig. 159.
.,. Screw the threaded end of the alignment
pin
from the tool kit hand-tight into the
now vacant bolt hole¢
fig. 160 .
.,. Then completely unscrew the other wheel
bolts as desc ribed above.
.,. Take off the whee l leaving the alignment pin
in the bo lt ho le ¢ (D.
Putting on th e wheel
.,. Lift the spare wheel and carefully slide it
over the alignment p in to guide it in place
Q (D .
.,. Use the hexagona l socket in the screwd river
handle to screw in and tig hten all whee l
bolts
slightly .
.,. Unscrew the alignment p in and insert and
tighten the remaining wheel bolt slightly like the rest .
.,. Turn the jack handle counter-clockwise to
lower the veh icle until the jack is fully re
leased .
.,. Use the whe el bo lt wrench to tighten all
wheel bo lts fi rm ly
Q page 209 . Tighten
t hem
crosswise, from one bolt to the (ap
proxima tely) opposi te one, to keep t he
wheel cente red.