tow BMW 128I 2013 User Guide
[x] Cancel search | Manufacturer: BMW, Model Year: 2013, Model line: 128I, Model: BMW 128I 2013Pages: 284, PDF Size: 6.93 MB
Page 90 of 284
89
Technology for driving comfort and safety
Controls
System limitations
Even with PDC, final responsibility for
estimating the distance between the
vehicle and any obstructions always remains
with the driver. Even when sensors are pro-
vided, there is a blind spot in which objects can
no longer be detected. The system is also sub-
ject to the physical limit s that apply to all forms
of ultrasonic measurement, such as those
encountered with traile r towbars and hitches,
thin or wedge-shaped objects, etc. Low objects
that have already been displayed, e.g. curbs,
can disappear again from the detection area of
the sensors before or after a continuous tone
sounds. Higher, protruding objects, e.g. ledges,
cannot be detected. Loud sound sources out-
side or inside the car can drown out the PDC
signal. Therefore, always drive cautiously; oth-
erwise, there is a risk of personal injury or prop-
erty damage. <
Driving stability control
systems
Your BMW has a number of systems that help
to maintain the vehicle's stability even in
adverse driving conditions.
Antilock Brake System ABS
ABS prevents locking of the wheels during
braking. Safe steering response is maintained
even during full braking. Active safety is thus
increased.
The ABS is operational every time you start the
engine. Braking safely, refer to page 126.
Electronic brake-force distribution
EBV
The system controls the brake pressure in the
rear wheels to ensure stable braking behavior.
Dynamic Brake Control DBC
When you apply the brakes rapidly, this system
automatically produces the maximum braking
force boost and thus helps to achieve the short-
est possible braking distance during full brak-
ing. This system exploi ts all of the benefits
provided by ABS.
Do not reduce the pressu re on the brake for the
duration of the full braking application.
Dynamic Stability Control DSC
DSC prevents the driving wheels from losing
traction when you pull aw ay from rest or accel-
erate. The system also recognizes unstable
driving conditions, for example if the rear of the
car is about to swerve or if momentum is acting
at an angle past the front wheels. In these
cases, DSC helps the vehicle maintain a safe
course within physical limits by reducing engine
output and through brakin g actions at the indi-
vidual wheels.
The laws of physics cannot be repealed,
even with DSC. An appropriate driving
style always remains th e responsibility of the
driver. Therefore, do no t reduce the additional
s a f e t y m a r g i n a g a i n b y t a k i n g r i s k s , a s t h i s c o u l d
result in an accident. <
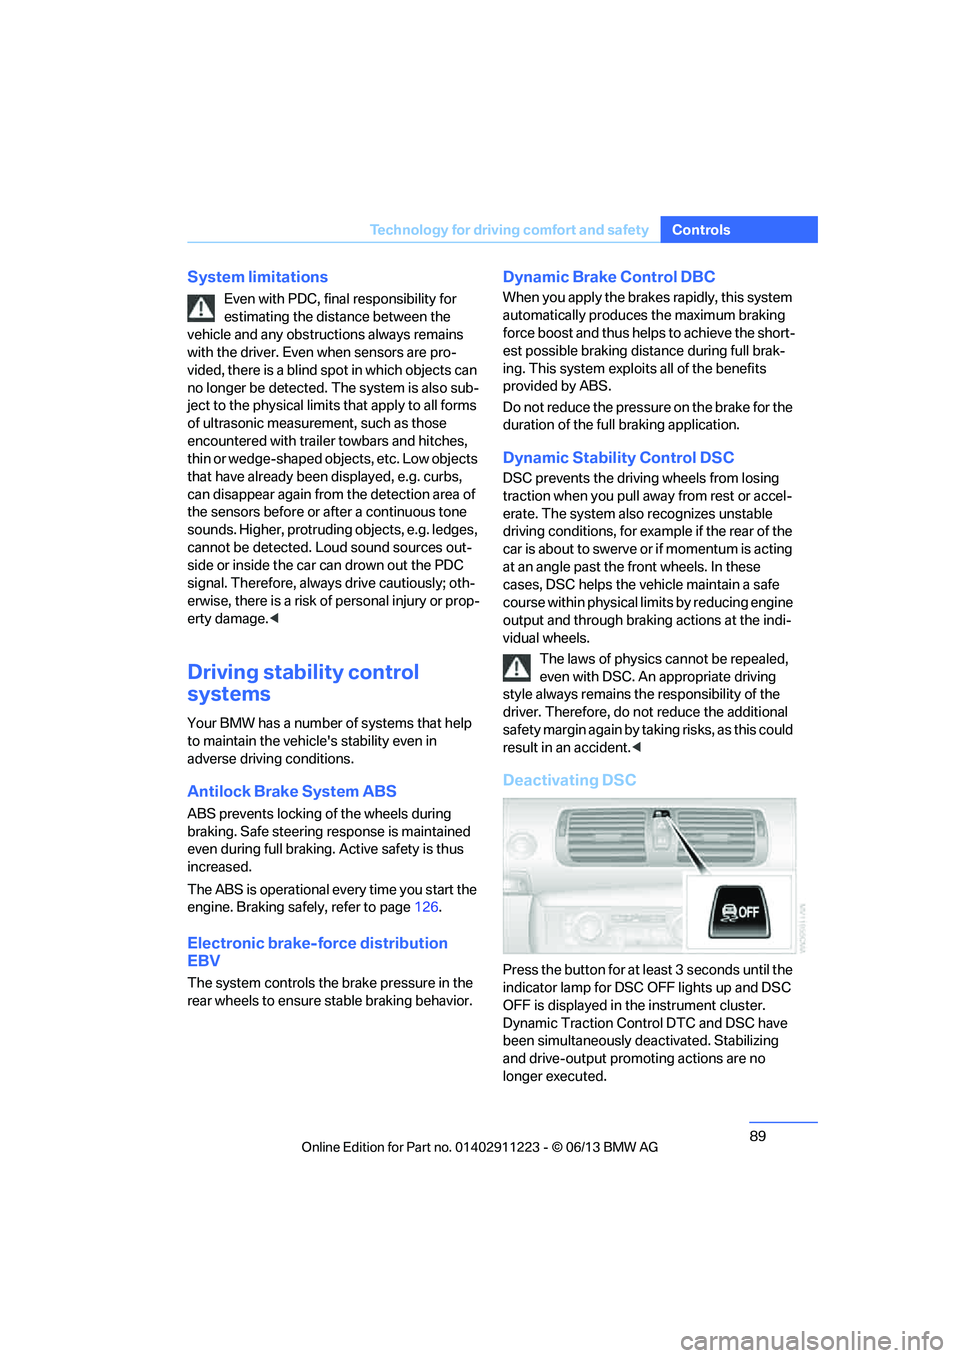
Deactivating DSC
Press the button for at least 3 seconds until the
indicator lamp for DSC OFF lights up and DSC
OFF is displayed in the instrument cluster.
Dynamic Traction Cont rol DTC and DSC have
been simultaneously de activated. Stabilizing
and drive-output promoting actions are no
longer executed.
00320051004F004C00510048000300280047004C0057004C005200510003
Page 97 of 284
96
ControlsTechnology for driving comfort and safety
Active steering
The concept
Active steering varies the turning angle of the
front wheels in relation to steering wheel move-
ments. It also varies the steering force required
to turn the wheels depending on the speed at
which you are driving.
When you are driving in the low speed range,
e.g. in a town or when parking, the steering
angle is increased, i.e. steering becomes very
direct and less effort is required to turn the
wheels. In the higher speed range, on the other
hand, the steering angle is reduced as the
speed increases. This improves the handling of
your BMW over the entire speed range.
In critical situations, the system can make tar-
geted corrections to th e steering angle pro-
vided by the driver and thus stabilize the vehicle
before the driver intervenes. This stabilizing
intervention is simult aneously deactivated
when DSC is switched off, refer to page 89.
Malfunction
The warning lamps come on. Active
steering is malfunctioning or is tem-
porarily deactivate d. At low speeds,
greater steering wheel movements
are required, whereas at higher speeds the
vehicle reacts more sensitively to steering
wheel movements. Th e stability-enhancing
feature may also be deactivated. Drive cau-
tiously and think well ahead.
Deactivation
Active steering is deacti vated to perform an ini-
tialization. A message indicates that the feature
is deactivated. Initializ ation may take several
minutes.
If the message does not disappear during the
current trip, have the system checked.
Defect
If there is a defect, a corresponding text mes-
sage appears. Have the system checked.
Servotronic
The concept
The Servotronic varies the steering force
required to turn the wh eels relative to the
vehicle speed.
At low speeds, the steering force is strongly
assisted, i.e. less force is needed for steering.
As the vehicle speed increases, the steering
assisting power is reduced.
This system functions automatically.
Malfunctions
The warning lamp lights up. A mes-
sage appears on the Control Display.
Servotronic is malfunctioning or has
failed. Steering response will be different. You
can continue your journey, but moderate your
speed and exercise due caution. Have the
system checked as soon as possible.
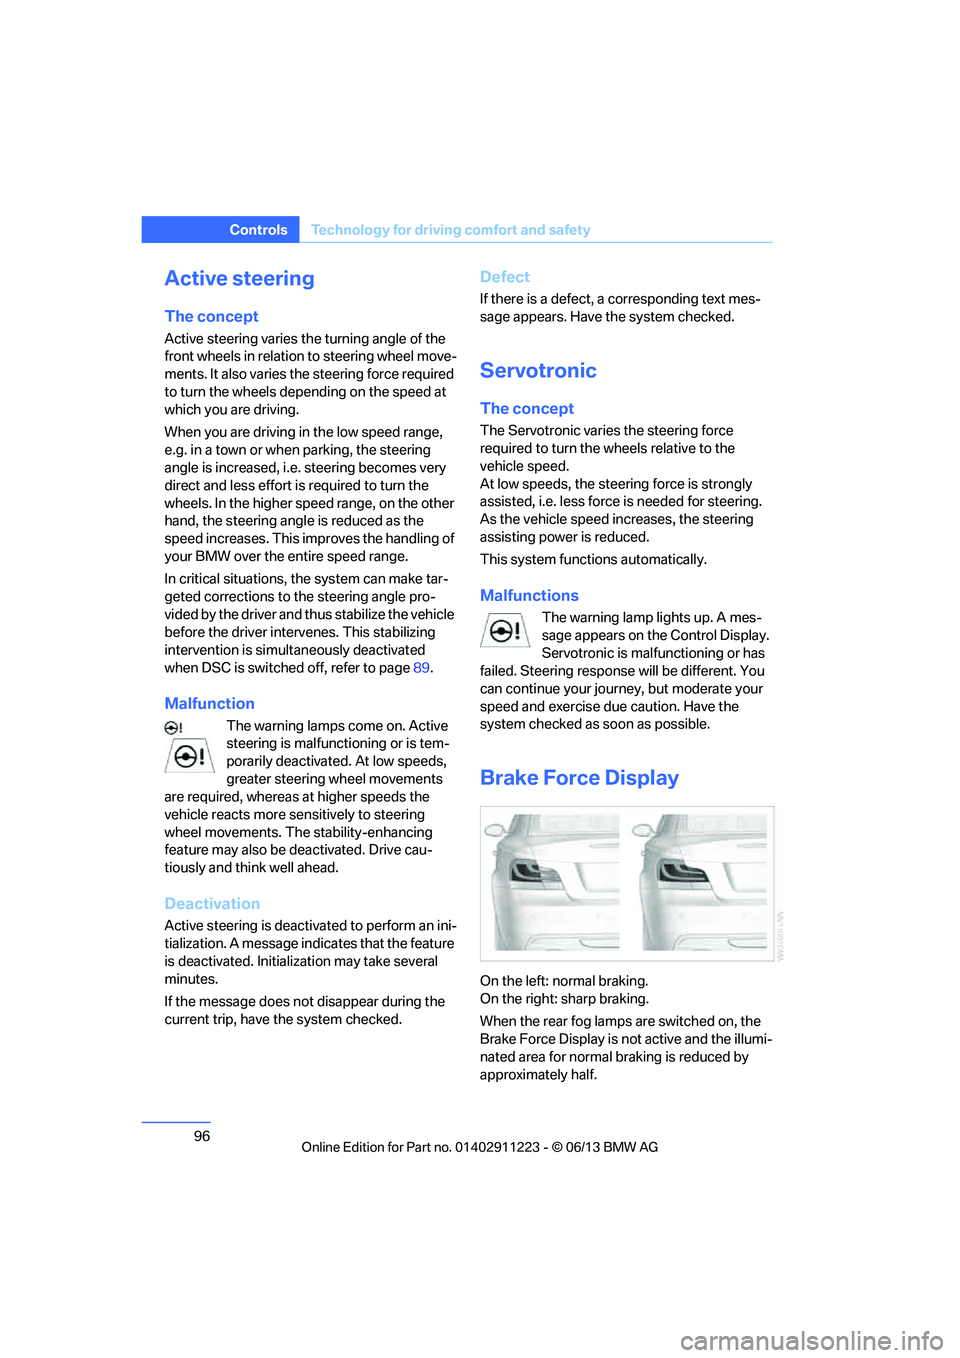
Brake Force Display
On the left: normal braking.
On the right: sharp braking.
When the rear fog lamps are switched on, the
Brake Force Display is no t active and the illumi-
nated area for normal braking is reduced by
approximately half.
00320051004F004C00510048000300280047004C0057004C005200510003
Page 103 of 284
102
ControlsLamps
angle and other parameters, the light from the
headlamp follows the course of the road.
In tight curves such as on switchbacks or when
turning, at speeds up to approx. 40 mph/
70 km/h, an additional, cornering light is
switched on that lights up the area inside the
curve.
Activating Adaptive Light Control
With the ignition switched on, turn the light
switch to position 3, refer to page 100.
The corner-illuminating lamp is switched on
automatically, depending on the steering wheel
angle or turn signal indicator.
Standstill function: to avoid blinding oncoming
traffic, the Adaptive Light Control does not
direct light toward the driver's side when the
vehicle is at a standstill.
When you are reversing, only the corner-illumi-
nating lamps are switched on and active on
both sides.
Malfunction
The warning lamp lights up. A mes-
sage appears on the Control Display.
The Adaptive Light Control is mal-
functioning or failed. Ha ve the system checked
as soon as possible.
High beams/roadside parking
lamps
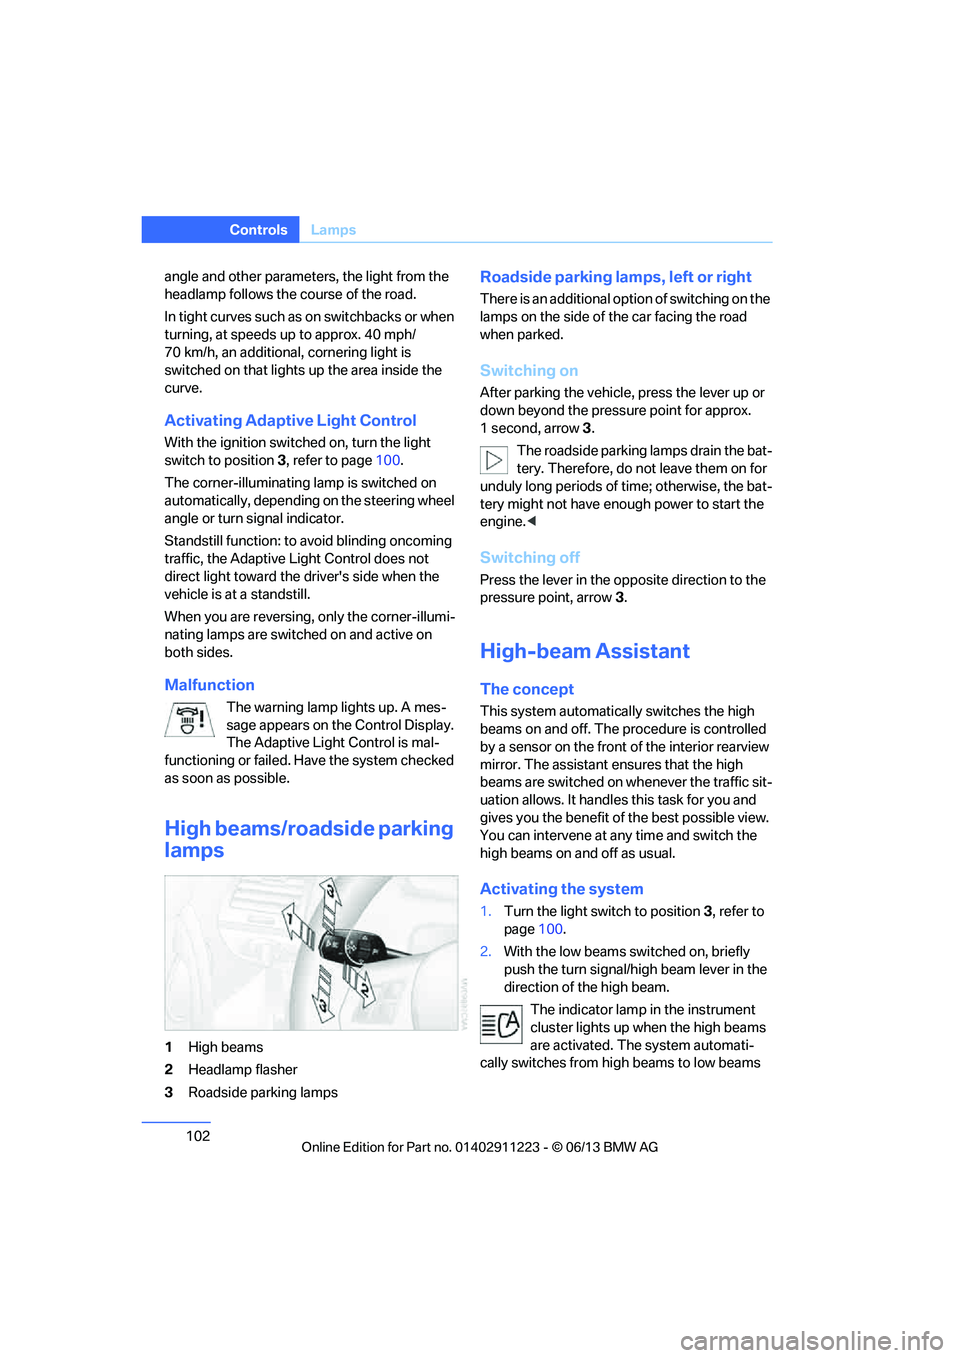
1 High beams
2 Headlamp flasher
3 Roadside parking lamps
Roadside parking lamps, left or right
There is an additional option of switching on the
lamps on the side of the car facing the road
when parked.
Switching on
After parking the vehicle, press the lever up or
down beyond the pressu re point for approx.
1 second, arrow 3.
The roadside parking lamps drain the bat-
tery. Therefore, do not leave them on for
unduly long periods of time; otherwise, the bat-
tery might not have enou gh power to start the
engine. <
Switching off
Press the lever in the o pposite direction to the
pressure point, arrow 3.
High-beam Assistant
The concept
This system automatically switches the high
beams on and off. The procedure is controlled
by a sensor on the front of the interior rearview
mirror. The assistant ensures that the high
beams are switched on whenever the traffic sit-
uation allows. It handle s this task for you and
gives you the benefit of the best possible view.
You can intervene at any time and switch the
high beams on and off as usual.
Activating the system
1. Turn the light switch to position 3, refer to
page 100.
2. With the low beams switched on, briefly
push the turn signal/high beam lever in the
direction of the high beam.
The indicator lamp in the instrument
cluster lights up when the high beams
are activated. The system automati-
cally switches from hi gh beams to low beams
00320051004F004C00510048000300280047004C0057004C005200510003
Page 104 of 284
103
Lamps
Controls
and vice versa in response
to oncoming traffic,
traffic ahead of you, and adequate ambient
lighting, e.g. on city streets.
Switching the high beams on and off
manually
Whenever you wish, or when the situation
requires, you can intervene:
> If the High-beam Assistant switches on the
high beams, but you would like to drive with
the low beams, simply switch off the high
beams using the turn signal/high beam
lever. This deacti vates the High-beam
Assistant.
To reactivate the syst em, briefly push the
turn signal/high beam lever toward the high
beams again.
> If the High-beam Assistant switches on the
low beams, but you would like to drive with
the high beams, switch on the high beams
as usual. This deacti vates the system and
the high beams need to be switched off
manually, if necessary.
To reactivate the syst em, briefly push the
turn signal/high beam lever toward the high
beams again.
> Use the headlamp flasher as usual with the
low beams switched on.
System limitations
The High-beam Assistant cannot serve
as a substitute for the driver's personal
judgment of when to use the high beams.
Therefore, manually switch off the high beams
in situations where this is required to avoid a
safety risk.<
The system is not fully fu nctional in situations
such as the following, and driver intervention
may be necessary:
> In very unfavorable weather conditions,
such as fog or heavy precipitation
> In detecting poorly-lit road users, such as
pedestrians, cyclists, horseback riders and
wagons; when driving close to train or ship
traffic; and at animal crossings >
In tight curves, on hilltops or in depressions,
in cross traffic or half-obscured oncoming
traffic on highways
> In poorly lit towns and cities and in the
presence of highly reflective signs
> At low speeds
> When the windshield in front of the interior
rearview mirror is fogged over, dirty or cov-
ered with stickers, etc.
> If the sensor is dirty. Clean the sensor on
the front of the interior r e a r v i e w m i r r o r u s i n g
a cloth moistened with a small amount of
glass cleaner.
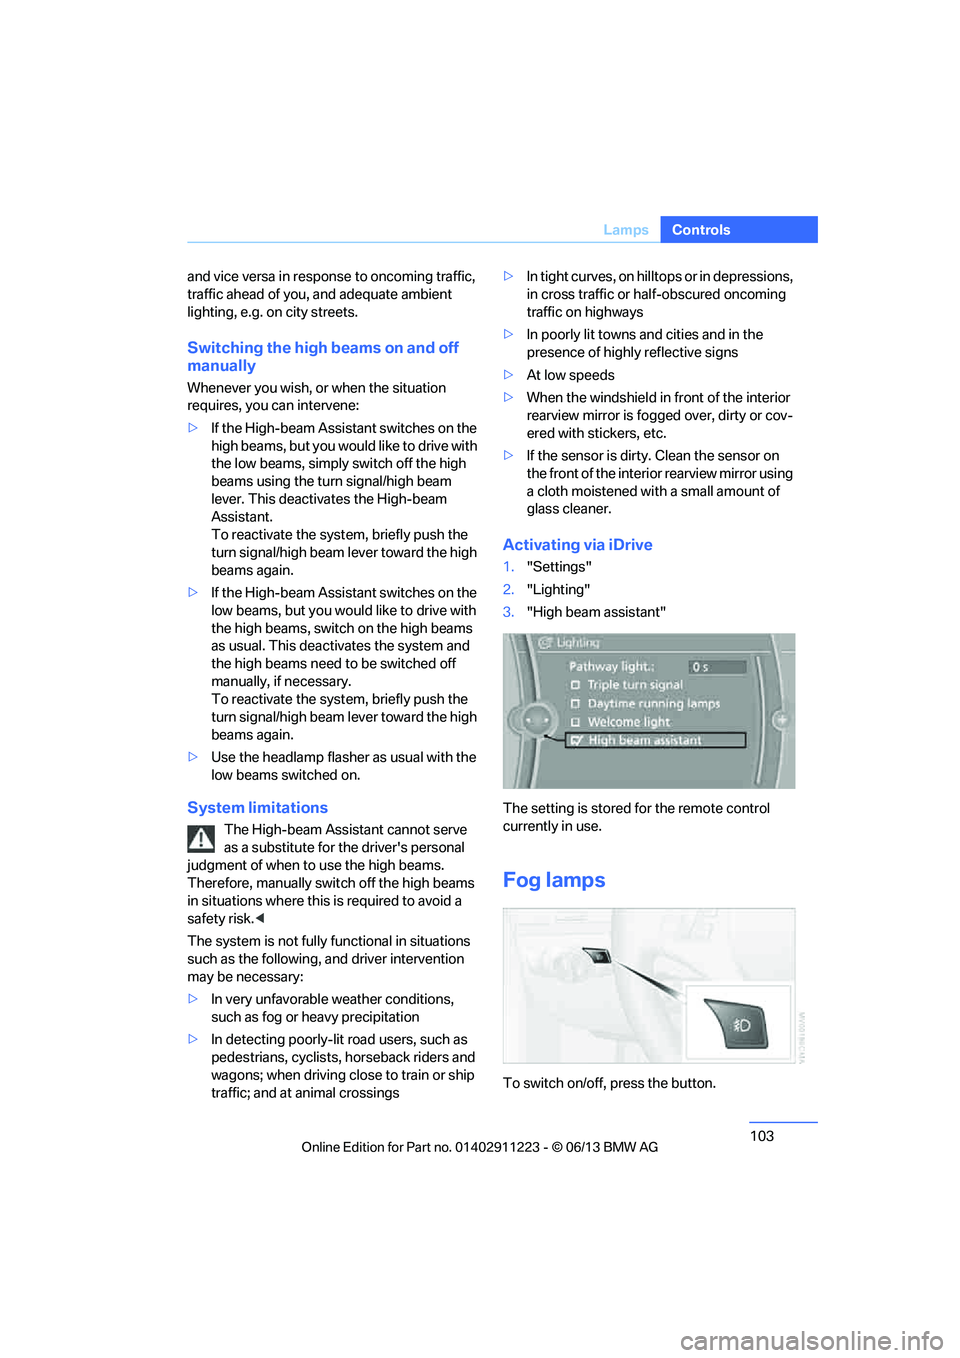
Activating via iDrive
1. "Settings"
2. "Lighting"
3. "High beam assistant"
The setting is stored for the remote control
currently in use.
Fog lamps
To switch on/off, press the button.
00320051004F004C00510048000300280047004C0057004C005200510003
Page 107 of 284
106
ControlsClimate
Climate
Vehicle equipment
In this chapter, all pr oduction, country, and
optional equipment that is offered in the model
range is described. For this reason, descrip- tions will be given of some equipment that may
not be available in a vehi
cle, for example due to
the special options or national-market version
selected. This also app lies to safety related
functions and systems.
Overview
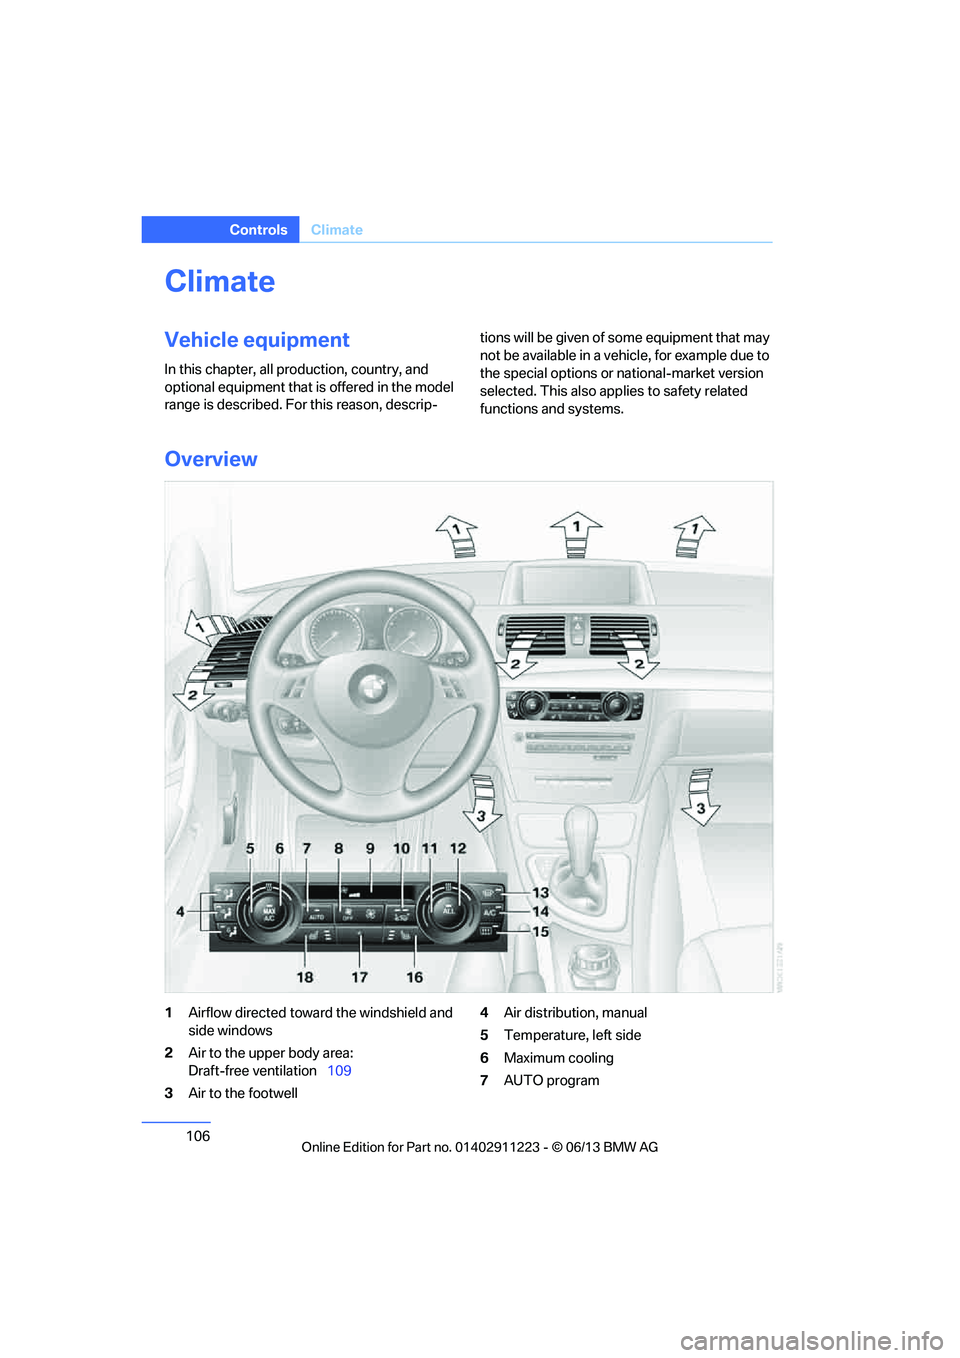
1 Airflow directed toward the windshield and
side windows
2 Air to the upper body area:
Draft-free ventilation 109
3 Air to the footwell 4
Air distribution, manual
5 Temperature, left side
6 Maximum cooling
7 AUTO program
00320051004F004C00510048000300280047004C0057004C005200510003
Page 108 of 284
107
Climate
Controls
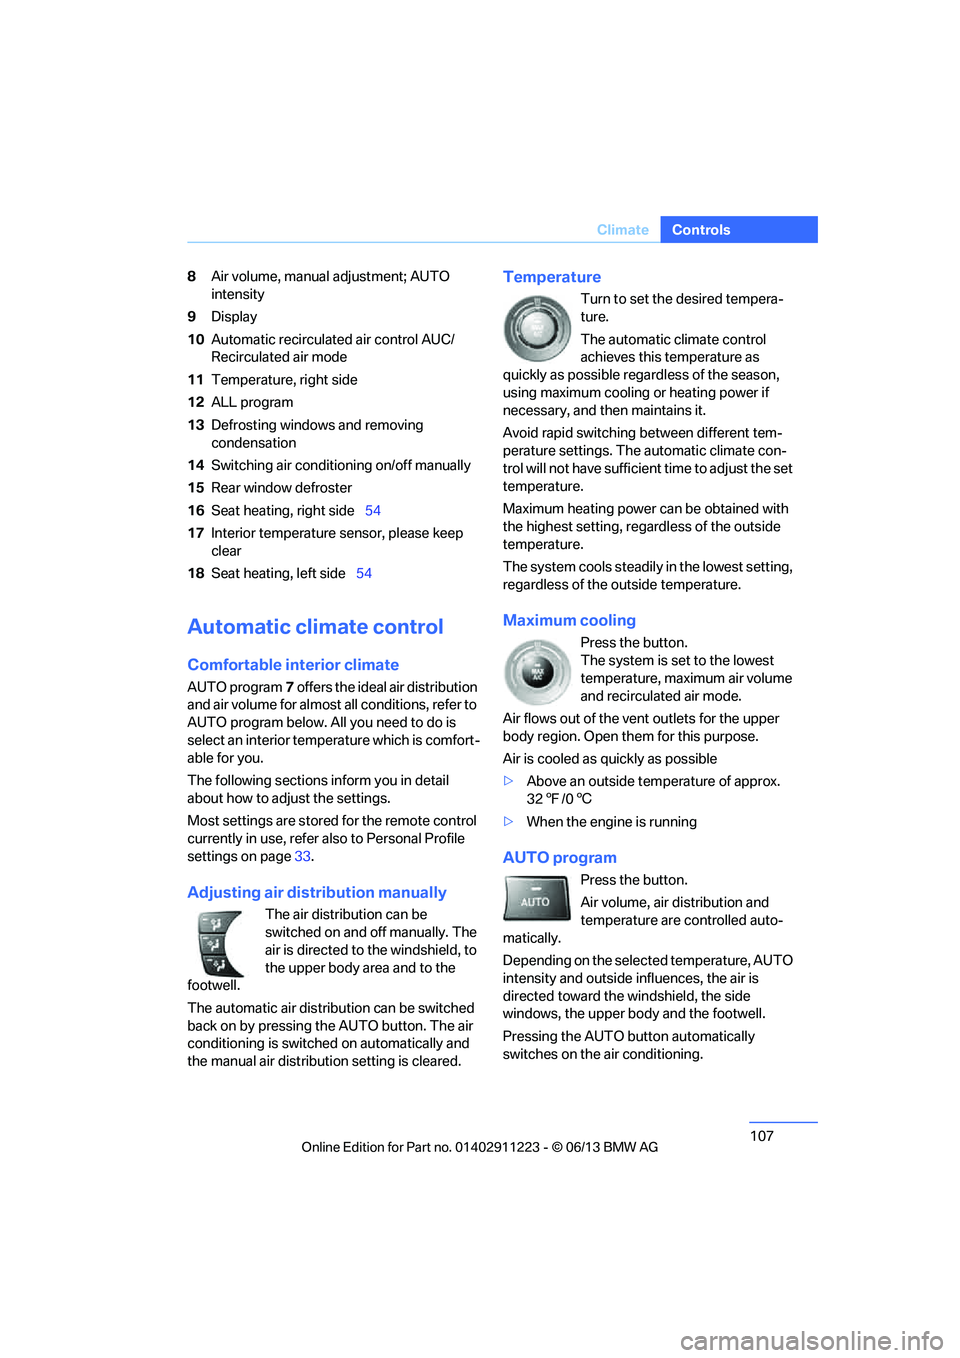
8
Air volume, manual adjustment; AUTO
intensity
9 Display
10 Automatic recirculated air control AUC/
Recirculated air mode
11 Temperature, right side
12 ALL program
13 Defrosting windows and removing
condensation
14 Switching air conditioning on/off manually
15 Rear window defroster
16 Seat heating, right side 54
17 Interior temperature sensor, please keep
clear
18 Seat heating, left side 54
Automatic climate control
Comfortable interior climate
AUTO program7 offers the ideal air distribution
and air volume for almost all conditions, refer to
AUTO program below. All you need to do is
select an interior temperature which is comfort-
able for you.
The following sections inform you in detail
about how to adjust the settings.
Most settings are stored for the remote control
currently in use, refer also to Personal Profile
settings on page 33.
Adjusting air distribution manually
The air distribution can be
switched on and off manually. The
air is directed to the windshield, to
the upper body area and to the
footwell.
The automatic air distribution can be switched
back on by pressing the AUTO button. The air
conditioning is switched on automatically and
the manual air distribution setting is cleared.
Temperature
Turn to set the desired tempera-
ture.
The automatic climate control
achieves this temperature as
quickly as possible regardless of the season,
using maximum cooling or heating power if
necessary, and then maintains it.
Avoid rapid switching between different tem-
perature settings. The automatic climate con-
trol will not have sufficient time to adjust the set
temperature.
Maximum heating power can be obtained with
the highest setting, regardless of the outside
temperature.
The system cools steadily in the lowest setting,
regardless of the outside temperature.
Maximum cooling
Press the button.
The system is set to the lowest
temperature, maximum air volume
and recirculated air mode.
Air flows out of the vent outlets for the upper
body region. Open them for this purpose.
Air is cooled as quickly as possible
> Above an outside temperature of approx.
327/06
> When the engine is running
AUTO program
Press the button.
Air volume, air distribution and
temperature are controlled auto-
matically.
Depending on the selected temperature, AUTO
intensity and outside in fluences, the air is
directed toward the windshield, the side
windows, the upper body and the footwell.
Pressing the AUTO button automatically
switches on the air conditioning.
00320051004F004C00510048000300280047004C0057004C005200510003
Page 119 of 284
118
ControlsPractical interior accessories
Otherwise, cargo could be thrown around and
endanger the occupants in the event of sharp
braking or swerving. <
The lashing eyes in the trunk provide you with a
way to attach trunk nets or draw straps for
securing suitcases an d luggage, refer to
page 127.
Convertible: cargo loading
Enlarging the trunk
When the convertible top is closed you can
enlarge the trunk:
To do so, fold the trunk partition upward.
Before opening the convertible top, pull the
trunk partition down until it engages.
Ensure that pointed objects do not press
against the trunk partition from below.
The convertible top can only be opened
when the trunk partition is folded down. <
Storage compartments inside
the trunk
Depending on your vehicle's equipment, the left
side trim panel of the trunk will contain a rubber
strap for securing small objects such as a fold-
ing umbrella.
The lashing eyes in the trunk provide you with a
way to attach trunk nets or draw straps for
securing suitcases an d luggage, refer to
page 128.
Coupe: ski bag
The ski bag is designed for safe, clean transport
of up to 4 pairs of standard skis or up to
2snowboards.
With the ski bag you can stow skis with a length
of up to 6.6 ft/2.0 m. When skis of 6.6 ft/2.0 m
length are loaded, the over all capacity of the ski
bag is reduced due to its tapered design.
Loading
Ensure that the skis ar e clean when they are
loaded into the ski bag. Wrap sharp edges to
prevent damage.
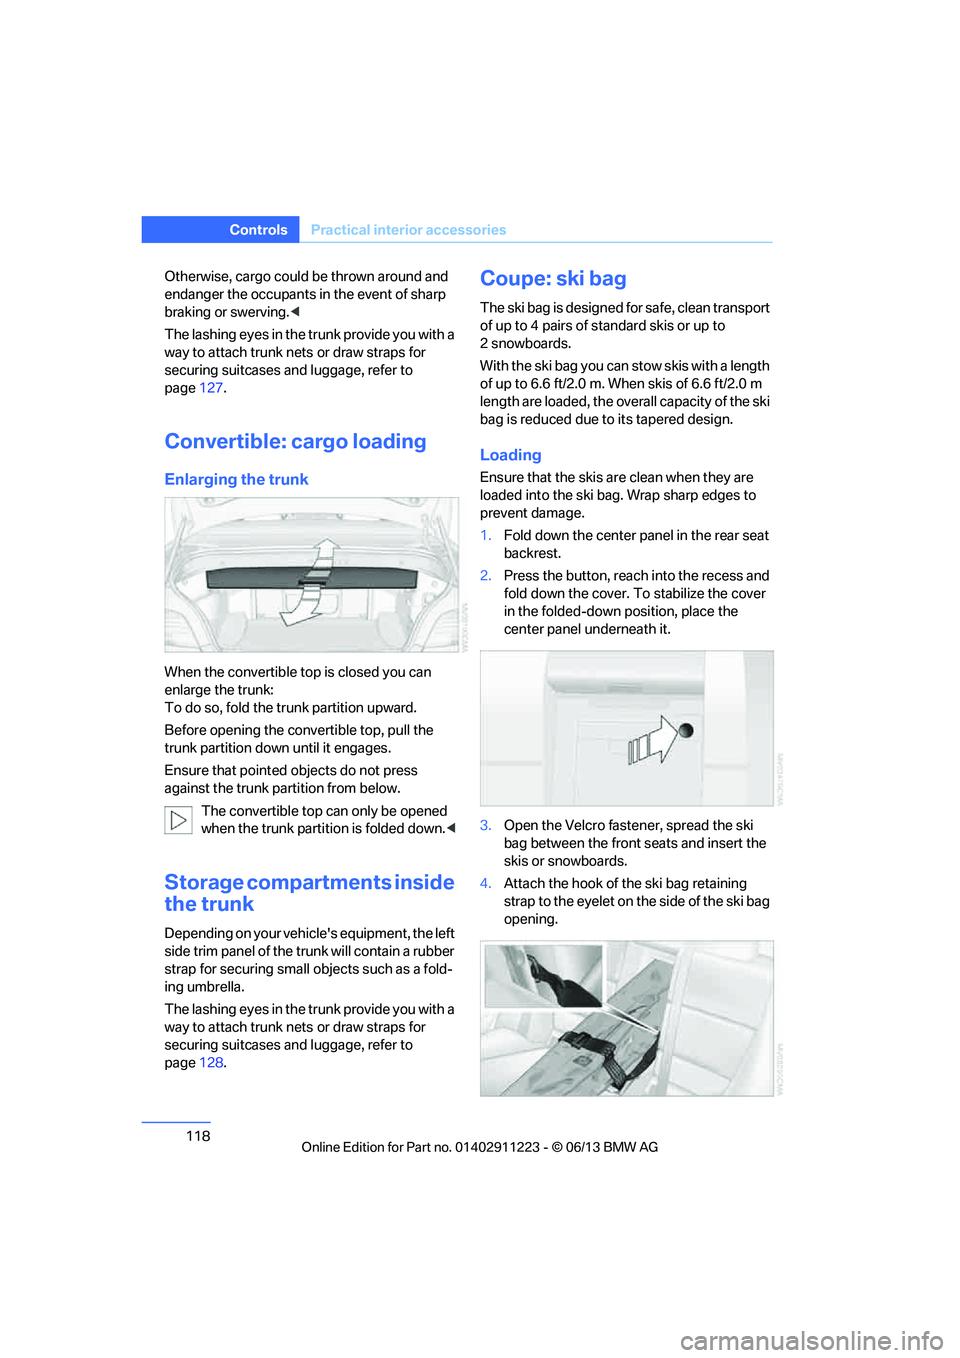
1. Fold down the center pa nel in the rear seat
backrest.
2. Press the button, reach into the recess and
fold down the cover. To stabilize the cover
in the folded-down position, place the
center panel underneath it.
3. Open the Velcro fastener, spread the ski
bag between the front seats and insert the
skis or snowboards.
4. Attach the hook of the ski bag retaining
strap to the eyelet on the side of the ski bag
opening.
00320051004F004C00510048000300280047004C0057004C005200510003
Page 120 of 284
119
Practical interior accessories
Controls
Securing cargo
After loading, secure the ski bag and its
contents. Tighten the retaining strap on the
tensioning buckle for this purpose.
Secure the ski bag in the manner
described; otherwise, it could endanger
the car's occupants, e.g. in case of heavy brak-
ing or sudden swerving. <
To store the ski bag, perform the steps
described for loadin g in reverse order.
Removing the ski bag
The ski bag can be comple tely removed, e.g. for
faster drying or to allow you to use other inserts.
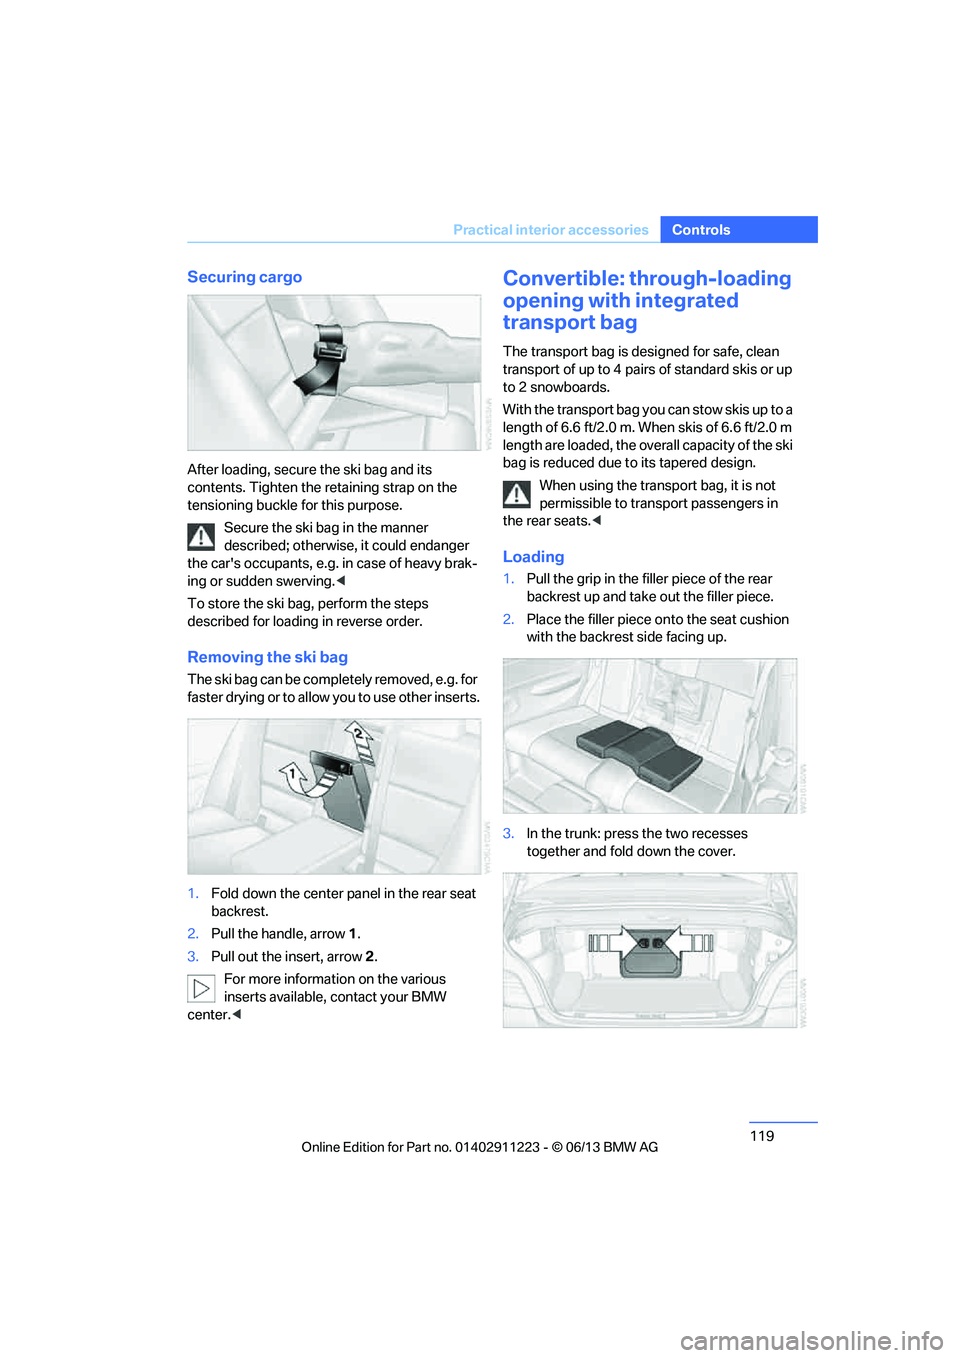
1. Fold down the center panel in the rear seat
backrest.
2. Pull the handle, arrow 1.
3. Pull out the insert, arrow 2.
For more information on the various
inserts available, contact your BMW
center. <
Convertible: through-loading
opening with integrated
transport bag
The transport bag is designed for safe, clean
transport of up to 4 pairs of standard skis or up
to 2 snowboards.
With the transport bag you can stow skis up to a
length of 6.6 ft/2.0 m. When skis of 6.6 ft/2.0 m
length are loaded, the over all capacity of the ski
bag is reduced due to its tapered design.
When using the transport bag, it is not
permissible to transport passengers in
the rear seats. <
Loading
1.Pull the grip in the f iller piece of the rear
backrest up and take out the filler piece.
2. Place the filler piece on to the seat cushion
with the backrest side facing up.
3. In the trunk: press the two recesses
together and fold down the cover.
00320051004F004C00510048000300280047004C0057004C005200510003
Page 129 of 284
128
Driving tipsThings to remember when driving
1,400 lbs and there will be five 150-lb
passengers in your vehicle, the amount of
available cargo and lugga ge load capacity is
650 lbs:
1,400 lbs minus 750 lbs = 650 lbs.
5. Determine the combined weight of luggage
and cargo being loaded on the vehicle. That
weight may not safely exceed the available
cargo and luggage load capacity calculated
in step 4.
6. If your vehicle will be towing a trailer, part of
the load from your tra iler will be transferred
to your vehicle. Co nsult the manual for
transporting a trailer to determine how this
may reduce the available cargo and luggage
load capacity of your vehicle.
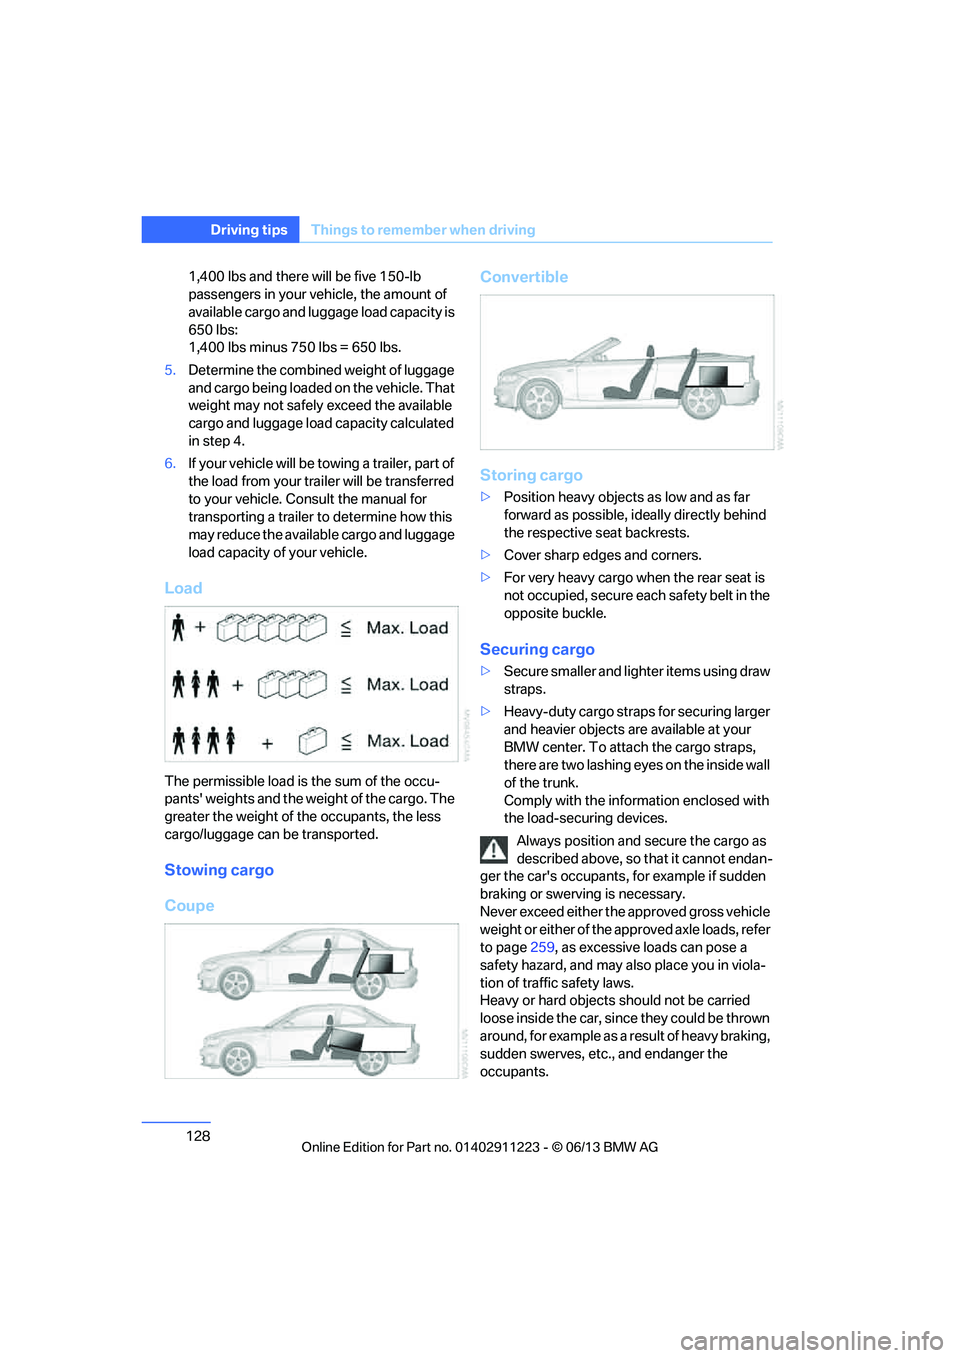
Load
The permissible load is the sum of the occu-
pants' weights and the weight of the cargo. The
greater the weight of the occupants, the less
cargo/luggage can be transported.
Stowing cargo
Coupe Convertible
Storing cargo
>
Position heavy objects as low and as far
forward as possible, ideally directly behind
the respective seat backrests.
> Cover sharp edges and corners.
> For very heavy cargo when the rear seat is
not occupied, secure each safety belt in the
opposite buckle.
Securing cargo
> Secure smaller and lighter items using draw
straps.
> Heavy-duty cargo straps for securing larger
and heavier objects are available at your
BMW center. To attach the cargo straps,
there are two lashing eyes on the inside wall
of the trunk.
Comply with the information enclosed with
the load-securing devices.
Always position and secure the cargo as
described above, so that it cannot endan-
ger the car's occupants, for example if sudden
braking or swerving is necessary.
Never exceed either the approved gross vehicle
weight or either of the a pproved axle loads, refer
to page 259, as excessive loads can pose a
safety hazard, and may al so place you in viola-
tion of traffi c safety laws.
Heavy or hard objects should not be carried
loose inside the car, since they could be thrown
around, for example as a result of heavy braking,
sudden swerves, etc., and endanger the
occupants.
00320051004F004C00510048000300280047004C0057004C005200510003
Page 135 of 284
134
NavigationDestination entry
Destination entry
Vehicle equipment
In this chapter, all pr oduction, country, and
optional equipment that is offered in the model
range is described. Equipment is also described
that is not available because of, for example,
selected options or country version. This also
applies to safety related functions and systems.
General information
In entering your destination you can select from
the following options:
> Entering a destination manually, see below
> Selecting destination from address book,
refer to page 136
> Last destinations, refer to page 137
> Special destinations, refer to page 137
> Entering a destination on the map, refer to
page 139
> Selecting home addr ess, refer to page137
> Destination entry via voice, refer to
page 140
> Destination entry via BMW Assist, refer to
page 139
You can also store a navigation destination on
the programmable memo ry keys, refer to
page 25.
Entering a destination
manually
To make it easier to enter town/city names and
street names, the system assists you with auto-
matic name completion and entry comparison,
refer to page 143. This makes it possible to
enter different spellings and completes your
entry automatically so that stored town/city
names and street names can be accessed
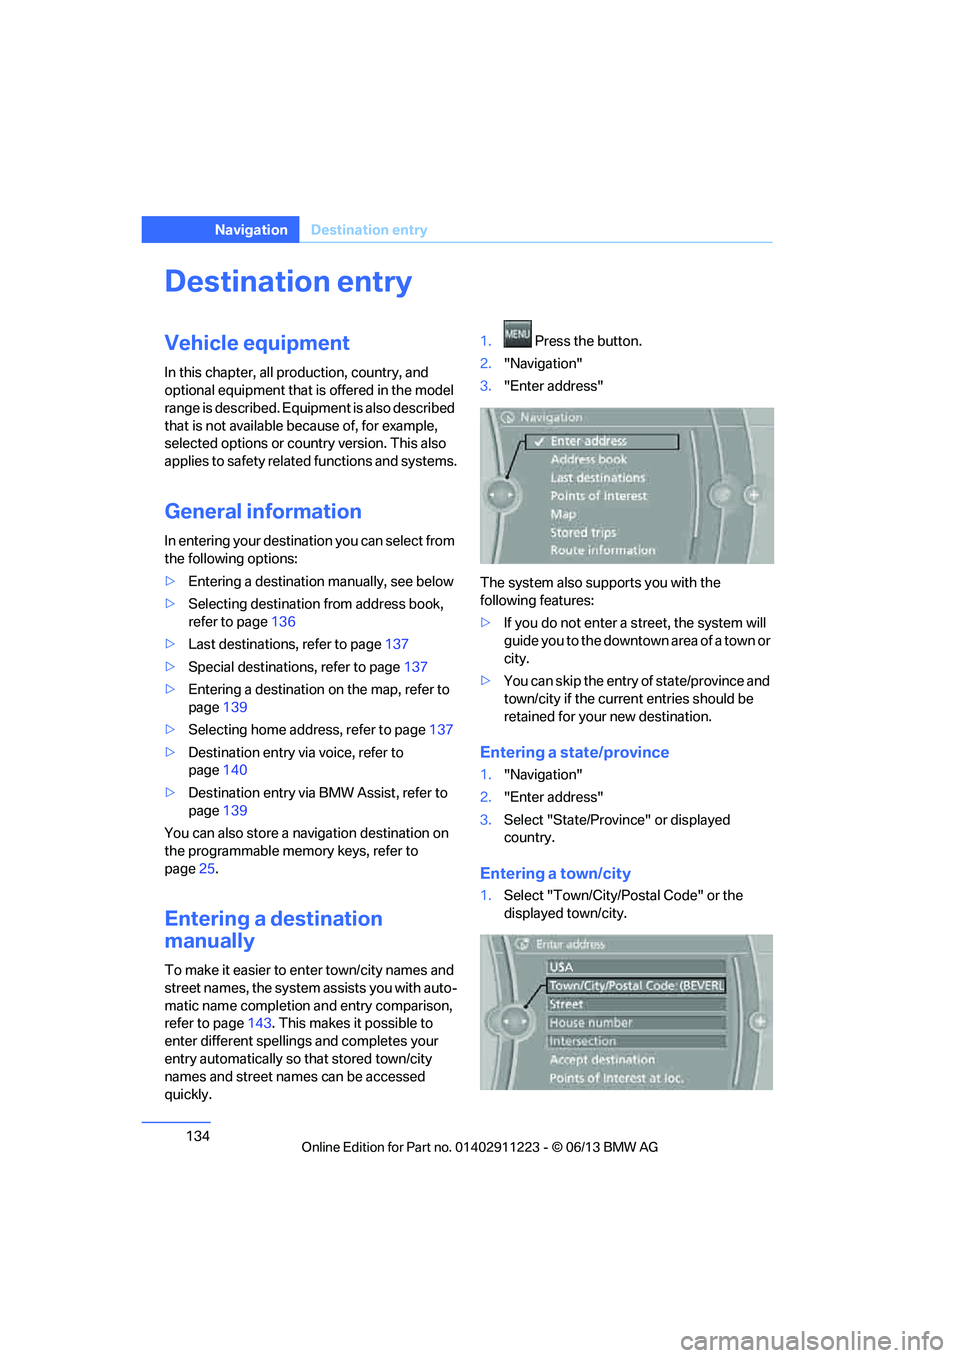
quickly. 1.
Press the button.
2. "Navigation"
3. "Enter address"
The system also supports you with the
following features:
> If you do not enter a street, the system will
guide you to the downtown area of a town or
city.
> You can skip the entry of state/province and
town/city if the curren t entries should be
retained for your new destination.
Entering a state/province
1. "Navigation"
2. "Enter address"
3. Select "State/Provi nce" or displayed
country.
Entering a town/city
1. Select "Town/City/Postal Code" or the
displayed town/city.
00320051004F004C00510048000300280047004C0057004C005200510003