Roll BMW 2 SERIES CONVERTIBLE 2015 F23 Owner's Guide
[x] Cancel search | Manufacturer: BMW, Model Year: 2015, Model line: 2 SERIES CONVERTIBLE, Model: BMW 2 SERIES CONVERTIBLE 2015 F23Pages: 234, PDF Size: 5.93 MB
Page 140 of 234
Climate control functions in detail
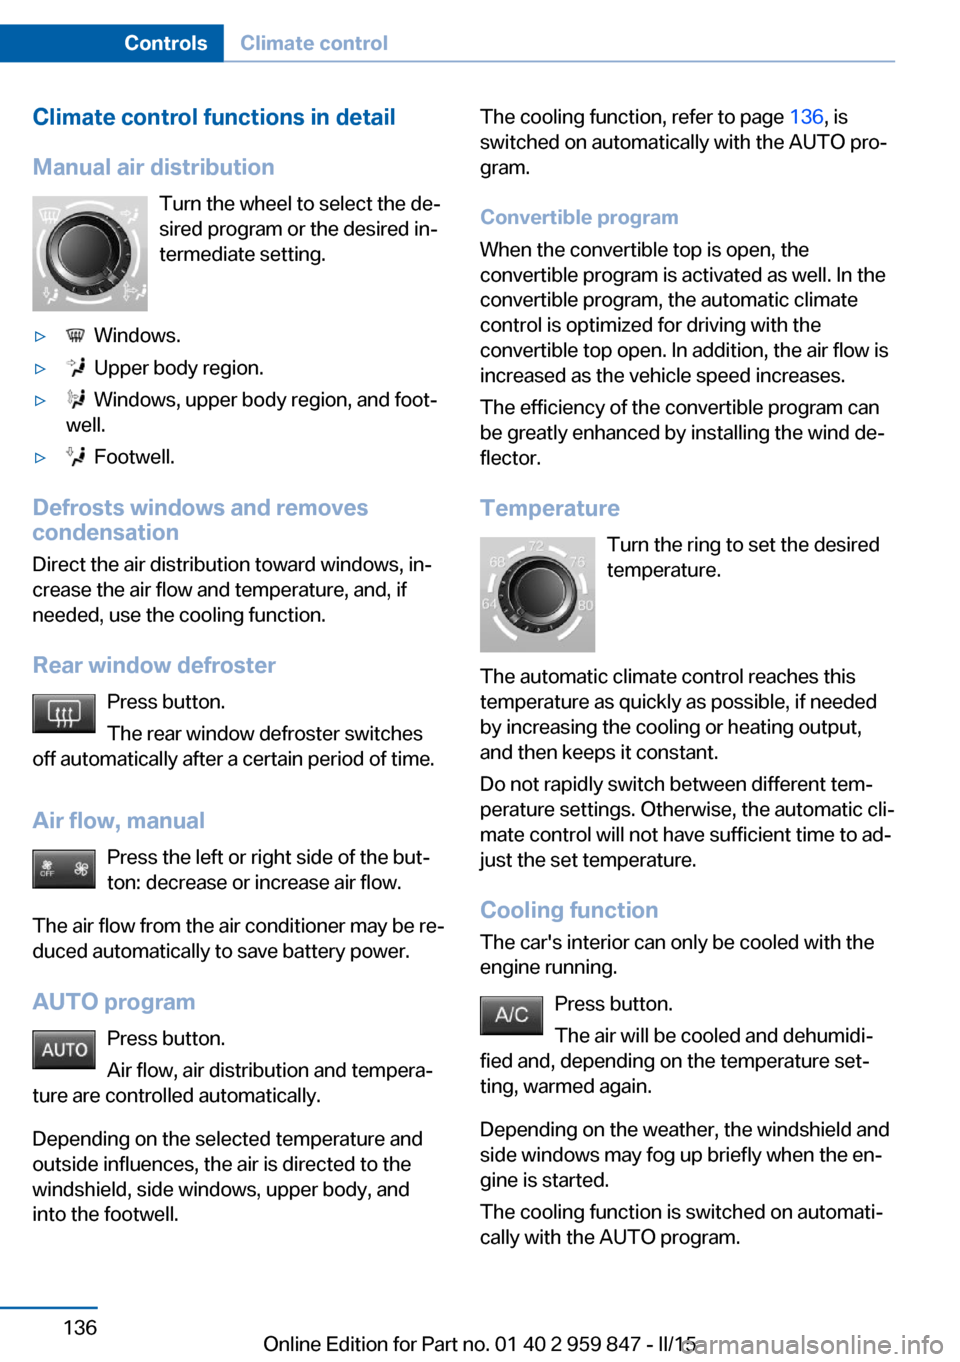
Manual air distribution Turn the wheel to select the de‐
sired program or the desired in‐
termediate setting.▷ Windows.▷ Upper body region.▷ Windows, upper body region, and foot‐
well.▷ Footwell.
Defrosts windows and removes
condensation
Direct the air distribution toward windows, in‐
crease the air flow and temperature, and, if
needed, use the cooling function.
Rear window defroster Press button.
The rear window defroster switches
off automatically after a certain period of time.
Air flow, manual Press the left or right side of the but‐
ton: decrease or increase air flow.
The air flow from the air conditioner may be re‐
duced automatically to save battery power.
AUTO program Press button.
Air flow, air distribution and tempera‐
ture are controlled automatically.
Depending on the selected temperature and
outside influences, the air is directed to the
windshield, side windows, upper body, and
into the footwell.
The cooling function, refer to page 136, is
switched on automatically with the AUTO pro‐
gram.
Convertible program
When the convertible top is open, the
convertible program is activated as well. In the
convertible program, the automatic climate
control is optimized for driving with the
convertible top open. In addition, the air flow is
increased as the vehicle speed increases.
The efficiency of the convertible program can
be greatly enhanced by installing the wind de‐
flector.
Temperature Turn the ring to set the desired
temperature.
The automatic climate control reaches this
temperature as quickly as possible, if needed
by increasing the cooling or heating output,
and then keeps it constant.
Do not rapidly switch between different tem‐
perature settings. Otherwise, the automatic cli‐
mate control will not have sufficient time to ad‐
just the set temperature.
Cooling function
The car's interior can only be cooled with the
engine running.
Press button.
The air will be cooled and dehumidi‐
fied and, depending on the temperature set‐
ting, warmed again.
Depending on the weather, the windshield and
side windows may fog up briefly when the en‐
gine is started.
The cooling function is switched on automati‐
cally with the AUTO program.Seite 136ControlsClimate control136
Online Edition for Part no. 01 40 2 959 847 - II/15
Page 143 of 234
by increasing the cooling or heating output,
and then keeps it constant.
Do not rapidly switch between different tem‐
perature settings. Otherwise, the automatic cli‐
mate control will not have sufficient time to ad‐
just the set temperature.
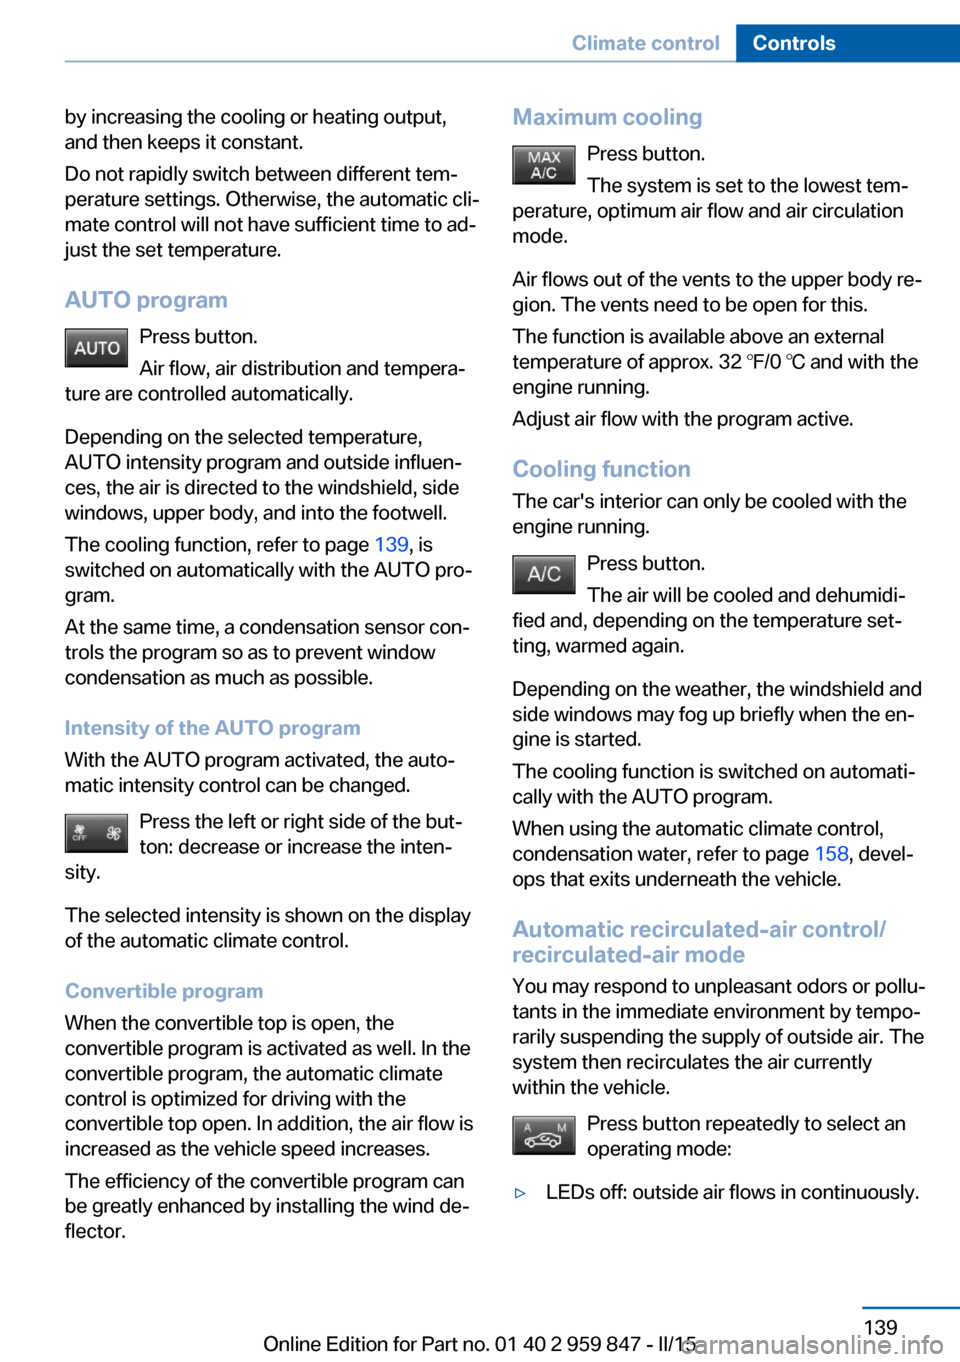
AUTO program Press button.
Air flow, air distribution and tempera‐
ture are controlled automatically.
Depending on the selected temperature,
AUTO intensity program and outside influen‐ ces, the air is directed to the windshield, side
windows, upper body, and into the footwell.
The cooling function, refer to page 139, is
switched on automatically with the AUTO pro‐
gram.
At the same time, a condensation sensor con‐
trols the program so as to prevent window
condensation as much as possible.
Intensity of the AUTO program
With the AUTO program activated, the auto‐
matic intensity control can be changed.
Press the left or right side of the but‐
ton: decrease or increase the inten‐
sity.
The selected intensity is shown on the display
of the automatic climate control.
Convertible program
When the convertible top is open, the
convertible program is activated as well. In the
convertible program, the automatic climate
control is optimized for driving with the
convertible top open. In addition, the air flow is
increased as the vehicle speed increases.
The efficiency of the convertible program can
be greatly enhanced by installing the wind de‐
flector.Maximum cooling
Press button.
The system is set to the lowest tem‐
perature, optimum air flow and air circulation
mode.
Air flows out of the vents to the upper body re‐
gion. The vents need to be open for this.
The function is available above an external
temperature of approx. 32 ℉/0 ℃ and with the
engine running.
Adjust air flow with the program active.
Cooling function The car's interior can only be cooled with the
engine running.
Press button.
The air will be cooled and dehumidi‐
fied and, depending on the temperature set‐ ting, warmed again.
Depending on the weather, the windshield and
side windows may fog up briefly when the en‐
gine is started.
The cooling function is switched on automati‐
cally with the AUTO program.
When using the automatic climate control,
condensation water, refer to page 158, devel‐
ops that exits underneath the vehicle.
Automatic recirculated-air control/
recirculated-air mode
You may respond to unpleasant odors or pollu‐tants in the immediate environment by tempo‐
rarily suspending the supply of outside air. The
system then recirculates the air currently
within the vehicle.
Press button repeatedly to select an
operating mode:▷LEDs off: outside air flows in continuously.Seite 139Climate controlControls139
Online Edition for Part no. 01 40 2 959 847 - II/15
Page 147 of 234
Interior equipmentVehicle features and optionsThis chapter describes all standard, country-
specific and optional features offered with the
series. It also describes features that are not
necessarily available in your car, e. g., due to
the selected options or country versions. This
also applies to safety-related functions and
systems. The respectively applicable country
provisions must be observed when using the
respective features and systems.
Universal Integrated Remote Control
The concept The universal garage door opener can operate
up to 3 functions of remote-controlled sys‐
tems such as garage door drives or lighting
systems. The universal garage door opener re‐
places up to 3 different hand-held transmitters.
To operate the remote control, the buttons on
the interior rearview mirror must be program‐
med with the desired functions. The hand-held
transmitter for the particular system is required
in order to program the remote control.
During programming
During programming and before activat‐
ing a device using the universal garage door
opener, ensure that there are no people, ani‐
mals or objects in the area of the remote-con‐
trolled device; otherwise, there is a risk of in‐
jury or damage.
Also follow the safety instructions of the hand-
held transmitter.◀
Before selling the vehicle, delete the stored
functions for the sake of security.Compatibility
If this symbol is printed on the packag‐
ing or in the instructions of the system
to be controlled, the system is gener‐
ally compatible with the universal garage door opener.
If you have any questions, please contact:▷Your service center.▷www.homelink.com on the Internet.
HomeLink is a registered trademark of Gentex
Corporation.
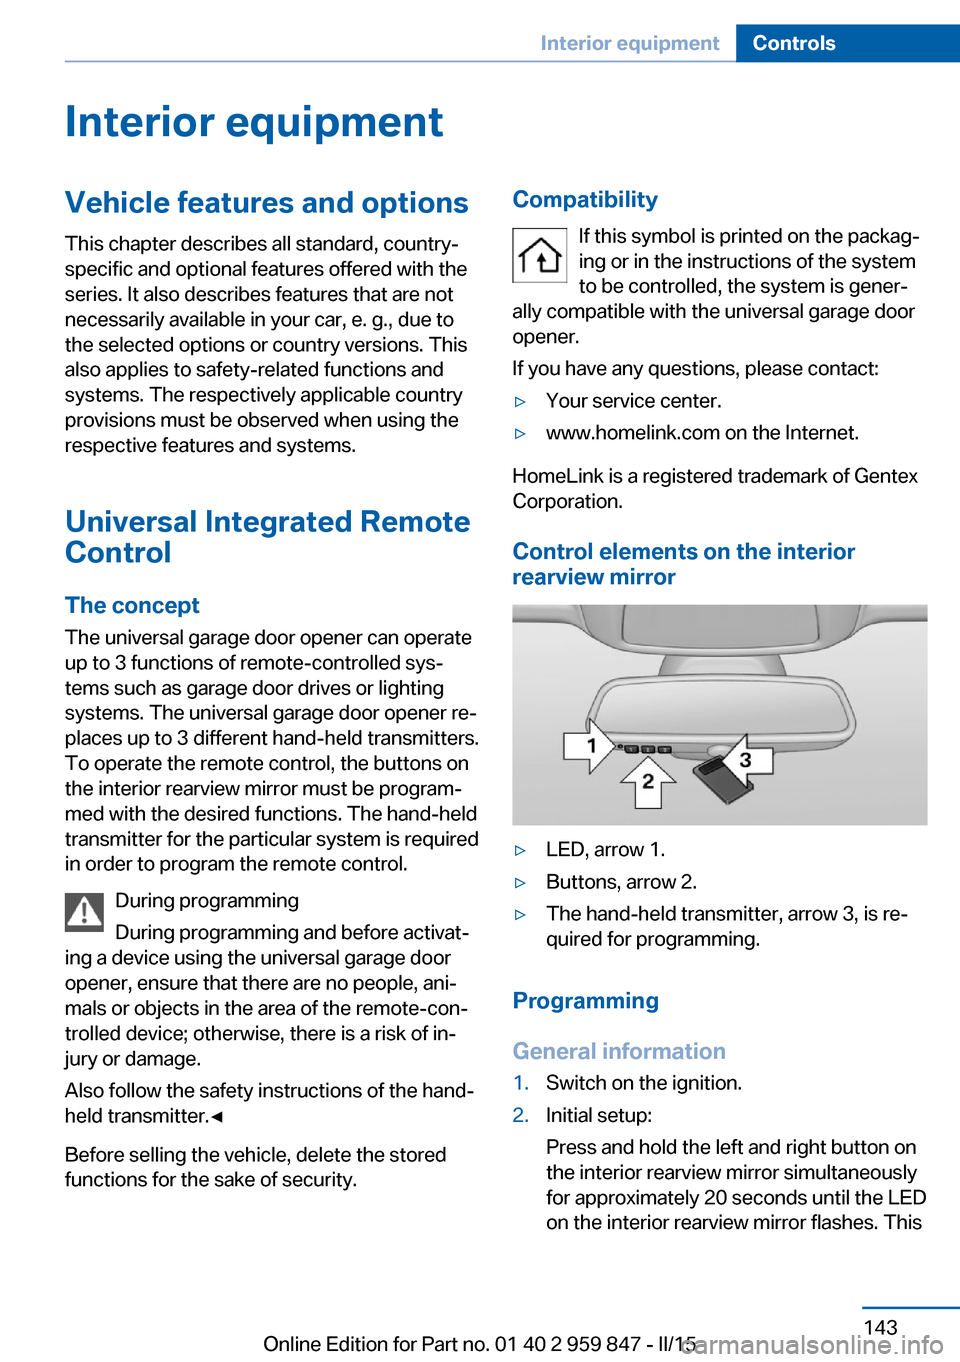
Control elements on the interior
rearview mirror
▷LED, arrow 1.▷Buttons, arrow 2.▷The hand-held transmitter, arrow 3, is re‐
quired for programming.
Programming
General information
1.Switch on the ignition.2.Initial setup:
Press and hold the left and right button on
the interior rearview mirror simultaneously
for approximately 20 seconds until the LED
on the interior rearview mirror flashes. ThisSeite 143Interior equipmentControls143
Online Edition for Part no. 01 40 2 959 847 - II/15
Page 148 of 234
erases all programming of the buttons on
the interior rearview mirror.3.Hold the hand-held transmitter for the sys‐
tem to be controlled approx. 1 to 3 in/2.5 to
8 cm away from the buttons of the interior
rearview mirror. The required distance de‐
pends on the manual transmitter.4.Simultaneously press and hold the button
of the desired function on the hand-held
transmitter and the button to be program‐
med on the interior rearview mirror. The
LED on the interior rearview mirror will be‐
gin flashing slowly.5.Release both buttons as soon as the LED
flashes more rapidly. The LED flashing
faster indicates that the button on the inte‐
rior rearview mirror has been programmed.
If the LED does not flash faster after at
least 60 seconds, change the distance be‐
tween the interior rearview mirror and the
hand-held transmitter and repeat the step.
Several more attempts at different distan‐
ces may be necessary. Wait at least
15 seconds between attempts.
Canada: if programming with the hand-
held transmitter was interrupted, hold
down the interior rearview mirror button
and repeatedly press and release the
hand-held transmitter button for 2 sec‐
onds.6.To program other functions on other but‐
tons, repeat steps 3 to 5.
The systems can be controlled using the inte‐
rior rearview mirror buttons.
Special feature of the alternating-
code wireless system
If you are unable to operate the system after
repeated programming, please check if the
system to be controlled features an alternat‐
ing-code system.
Read the system's operating manual, or press
the programmed button on the interior rear‐
view mirror longer. If the LED on the interior
rearview mirror starts flashing rapidly and then
stays lit constantly for 2 seconds, the system
features an alternating-code system. Flashing
and continuous illumination of the LED will re‐
peat for approximately 20 seconds.
For systems with an alternating-code system,
the universal garage door opener and the sys‐
tem also have to be synchronized.
Please read the operating manual to find out how to synchronize the system.
Synchronizing is easier with the aid of a sec‐
ond person.
To synchronize:1.Park the vehicle within range of the re‐
mote-controlled system.2.Program the relevant button on the interior
rearview mirror as described.3.Locate and press the synchronizing button
on the system being programmed. You
have approx. 30 seconds for the next step.4.Hold down the programmed button on the
interior rearview mirror for approximately
3 seconds and then release it. If necessary,
repeat this step up to three times in order
to finish synchronization. Once synchroni‐
zation is complete, the programmed func‐
tion will be carried out.
Reprogramming individual buttons
1.Switch on the ignition.2.Press and hold the interior rearview mirror
button to be programmed.3.As soon as the interior rearview mirror LED
starts flashing slowly, hold the hand-held
transmitter for the system to be controlled
approx. 1 to 3 in/2.5 to 8 cm away from the
buttons of the interior rearview mirror. The
required distance depends on the manual
transmitter.Seite 144ControlsInterior equipment144
Online Edition for Part no. 01 40 2 959 847 - II/15
Page 149 of 234
4.Likewise, press and hold the button of the
desired function on the hand-held trans‐
mitter.5.Release both buttons as soon as the inte‐
rior rearview mirror LED flashes more rap‐
idly. The LED flashing faster indicates that
the button on the interior rearview mirror
has been programmed. The system can
then be controlled by the button on the in‐
terior rearview mirror.
If the LED does not flash faster after at
least 60 seconds, change the distance and
repeat the step. Several more attempts at
different distances may be necessary. Wait
at least 15 seconds between attempts.
Canada: if programming with the hand-
held transmitter was interrupted, hold
down the interior rearview mirror button
and repeatedly press and release the
hand-held transmitter button for 2 sec‐
onds.
Controls
Before operation
Before operating a system using the uni‐
versal garage door opener, ensure that there are no people, animals, or objects within the
range of movement of the remote-controlled
system; otherwise, there is a risk of injury or
damage.
Also follow the safety instructions of the hand-
held transmitter.◀
The system, such as the garage door, can be
operated using the button on the interior rear‐
view mirror while the engine is running or when
the ignition is started. To do this, hold down
the button within receiving range of the system
until the function is activated. The interior rear‐ view mirror LED stays lit while the wireless sig‐
nal is being transmitted.
Deleting stored functions Press and hold the left and right button on the
interior rearview mirror simultaneously for ap‐
proximately 20 seconds until the LED flashes
rapidly. All stored functions are deleted. The
functions cannot be deleted individually.
Digital compass
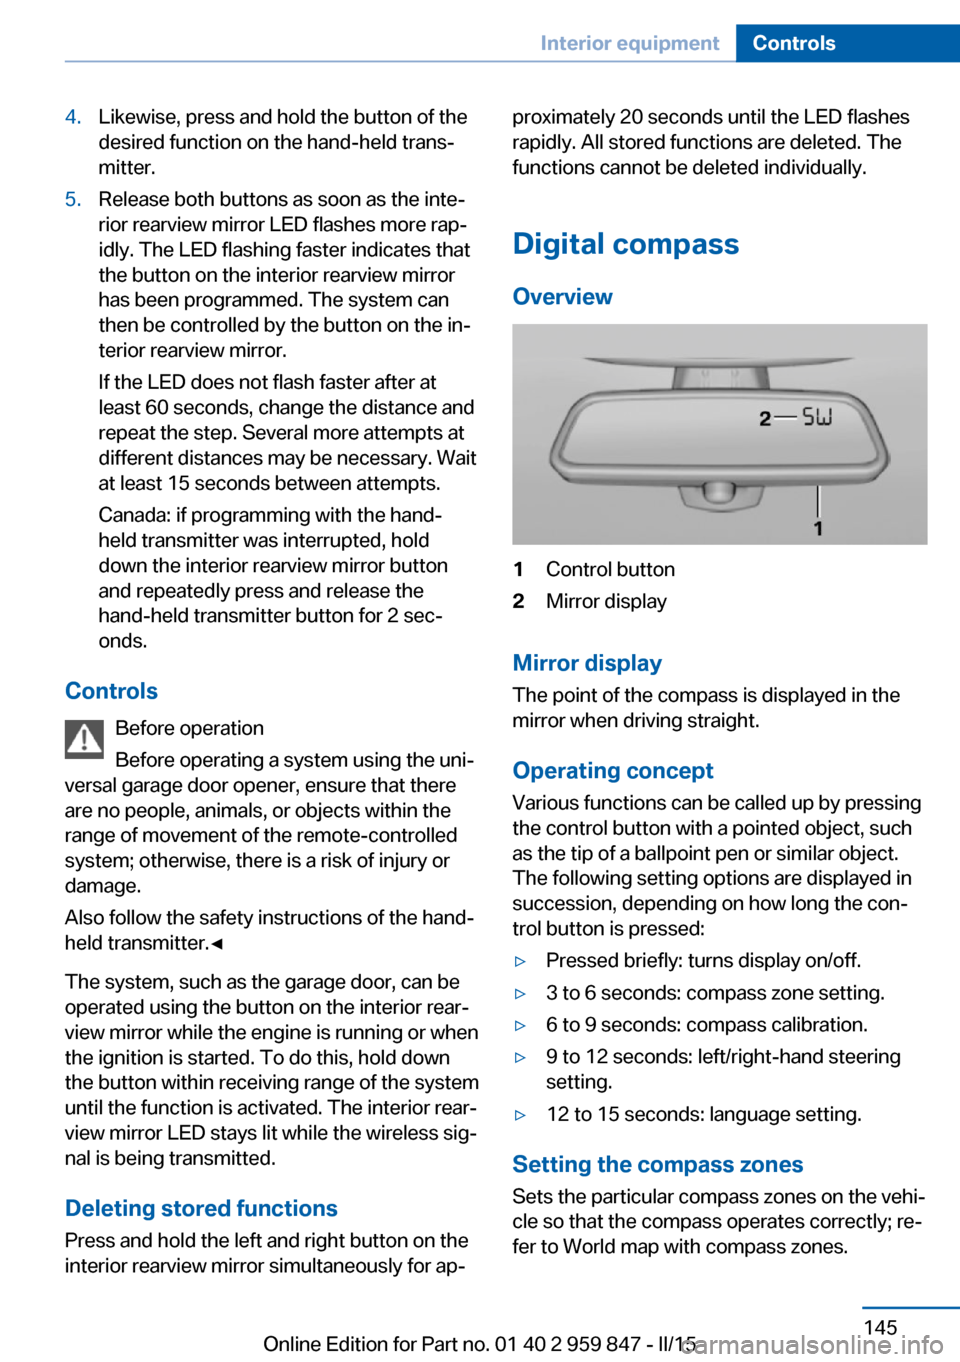
Overview1Control button2Mirror display
Mirror display
The point of the compass is displayed in the
mirror when driving straight.
Operating concept
Various functions can be called up by pressing
the control button with a pointed object, such
as the tip of a ballpoint pen or similar object.
The following setting options are displayed in
succession, depending on how long the con‐
trol button is pressed:
▷Pressed briefly: turns display on/off.▷3 to 6 seconds: compass zone setting.▷6 to 9 seconds: compass calibration.▷9 to 12 seconds: left/right-hand steering
setting.▷12 to 15 seconds: language setting.
Setting the compass zones
Sets the particular compass zones on the vehi‐
cle so that the compass operates correctly; re‐
fer to World map with compass zones.
Seite 145Interior equipmentControls145
Online Edition for Part no. 01 40 2 959 847 - II/15
Page 165 of 234
Saving fuelVehicle features and optionsThis chapter describes all standard, country-
specific and optional features offered with the
series. It also describes features that are not
necessarily available in your car, e. g., due to
the selected options or country versions. This
also applies to safety-related functions and
systems. The respectively applicable country
provisions must be observed when using the
respective features and systems.
General information Your vehicle contains advanced technology for
the reduction of fuel consumption and emis‐
sions.
Fuel consumption depends on a number of dif‐
ferent factors.
Carrying out certain measures, such as a mod‐
erate driving style and regular maintenance,
can influence fuel consumption and the envi‐
ronmental impact.
Remove unnecessary cargo
Additional weight increases fuel consumption.
Remove attached parts
following use
Attached parts on the vehicle impair the aero‐
dynamics and increase the fuel consumption.
Closing the windows Open windows increase air resistance and
therefore lead to greater fuel consumption.Tires
General information
Tires can affect fuel consumption in various
ways, e.g., tire size may influence fuel con‐
sumption.
Check the tire inflation pressure
regularly
Check and, if needed, correct the tire inflation
pressure at least twice a month and before
starting on a long trip.
Low tire inflation pressure increases rolling re‐
sistance and thus raises fuel consumption and
tire wear.
Drive away immediately
Do not wait for the engine to warm-up while
the vehicle remains stationary. Start driving
right away, but at moderate engine speeds.
This is the quickest way of warming the cold
engine up to operating temperature.
Look well ahead when
driving
Avoid unnecessary acceleration and braking.
By maintaining a suitable distance to the vehi‐
cle driving ahead of you.
Driving smoothly and proactively reduces fuel
consumption.
Avoid high engine speeds
As a rule: driving at low engine speeds lowers
fuel consumption and reduces wear.
Use 1st gear to get the vehicle moving. Start‐
ing with the 2nd gear, accelerate rapidly. WhenSeite 161Saving fuelDriving tips161
Online Edition for Part no. 01 40 2 959 847 - II/15
Page 166 of 234
accelerating, shift up before reaching high en‐
gine speeds.
When you reach the desired speed, shift into
the highest applicable gear and drive with the
engine speed as low as possible and at a con‐
stant speed.
If necessary, observe the gear shift indicator of
the vehicle, refer to page 87.
Use coasting When approaching a red light, take your foot
off the accelerator and let the vehicle coast to
a halt.
For going downhill take your foot off the accel‐
erator and let the vehicle roll.
The flow of fuel is interrupted while coasting.
Switch off the engine during
longer stops
Switch off the engine during longer stops, e.g.,
at traffic lights, railroad crossings or in traffic
congestion.
Auto Start/Stop function The Auto Start/Stop function of your vehicle
automatically switches off the engine during a
stop.
If the engine is switched off and then restarted
rather than leaving the engine running con‐
stantly, fuel consumption and emissions are
reduced. Savings can begin within a few sec‐
onds of switching off the engine.
In addition, fuel consumption is also deter‐
mined by other factors, such as driving style,
road conditions, maintenance or environmental
factors.Switch off any functions that
are not currently needed
Functions such as seat heating and the rear
window defroster require a lot of energy and
reduce the range, especially in city and stop-
and-go traffic.
Reel off these functions if they are not needed.
The ECO PRO driving program supports the
energy conserving use of comfort features.
These functions are automatically deactivated
partially or completely.
Have maintenance carried
out
Have vehicles maintained regularly to achieve
optimal vehicle efficiency and operating life.
The maintenance should be carried out by
your service center.
Also note the BMW Maintenance System, refer
to page 193.
ECO PRO
The concept
ECO PRO supports a driving style that saves
on fuel consumption. For this purpose, the en‐
gine control and comfort features, e. g. the cli‐
mate control output, are adjusted.
Under certain conditions the engine is auto‐
matically decoupled from the transmission in
the D selector lever position. The vehicle con‐
tinues traveling with the engine idling to re‐
duce fuel consumption. Selector lever position
D remains engaged.
In addition, context-sensitive instructions are
displayed to assist with an optimized fuel con‐
sumption driving style.
The achieved extended range is displayed in
the instrument cluster as bonus range.Seite 162Driving tipsSaving fuel162
Online Edition for Part no. 01 40 2 959 847 - II/15
Page 183 of 234
0115: tire age
Tires with DOT codes meet the guidelines of
the U.S. Department of Transportation.
Tire age DOT … 0115: the tire was manufactured in the
1st week of 2015.
Recommendation
Regardless of wear and tear, replace tires at
least every 6 years.
Uniform Tire Quality Grading Quality grades can be found where applicable
on the tire sidewall between tread shoulder
and maximum section width.
For example: Treadwear 200; Traction AA;
Temperature A
DOT Quality Grades
Treadwear
Traction AA A B C
Temperature A B C
All passenger car tires must conform to Fed‐
eral Safety Requirements in addition to these
grades.
TreadwearThe treadwear grade is a comparative rating
based on the wear rate of the tire when tested
under controlled conditions on a specified gov‐
ernment test course. For example, a tire graded 150 would wear one and one-half, 1 g,
times as well on the government course as a
tire graded 100. The relative performance of
tires depends upon the actual conditions of
their use, however, and may depart signifi‐
cantly from the norm due to variations in driv‐
ing habits, service practices and differences in
road characteristics and climate.Traction
The traction grades, from highest to lowest,
are AA, A, B, and C.
Those grades represent the tire's ability to
stop on wet pavement as measured under
controlled conditions on specified government
test surfaces of asphalt and concrete. A tire
marked C may have poor traction performance.
The traction grade assigned to this tire is
based on straight-ahead braking traction tests,
and does not include acceleration, cornering,
hydroplaning, or peak traction characteristics.
Temperature
The temperature grades are A, the highest, B,
and C, representing the tire's resistance to the
generation of heat and its ability to dissipate
heat when tested under controlled conditions
on a specified indoor laboratory test wheel.
Sustained high temperature can cause the ma‐
terial of the tire to degenerate and reduce tire
life, and excessive temperature can lead to
sudden tire failure. The grade C corresponds
to a level of performance which all passenger
car tires must meet under the Federal Motor
Vehicle Safety Standard No. 109. Grades Band
A represent higher levels of performance on
the laboratory test wheel than the minimum re‐
quired by law.
Temperature grade for this tire
The temperature grade for this tire is es‐
tablished for a tire that is properly inflated and
not overloaded. Excessive speed, underinfla‐
tion, or excessive loading, either separately or
in combination, can cause heat buildup and
possible tire failure.
If necessary, have the vehicle towed.◀
RSC – Run-flat tires
Run-flat tires, refer to page 182, are labeled
with a circular symbol containing the letters
RSC marked on the sidewall.Seite 179Wheels and tiresMobility179
Online Edition for Part no. 01 40 2 959 847 - II/15
Page 214 of 234
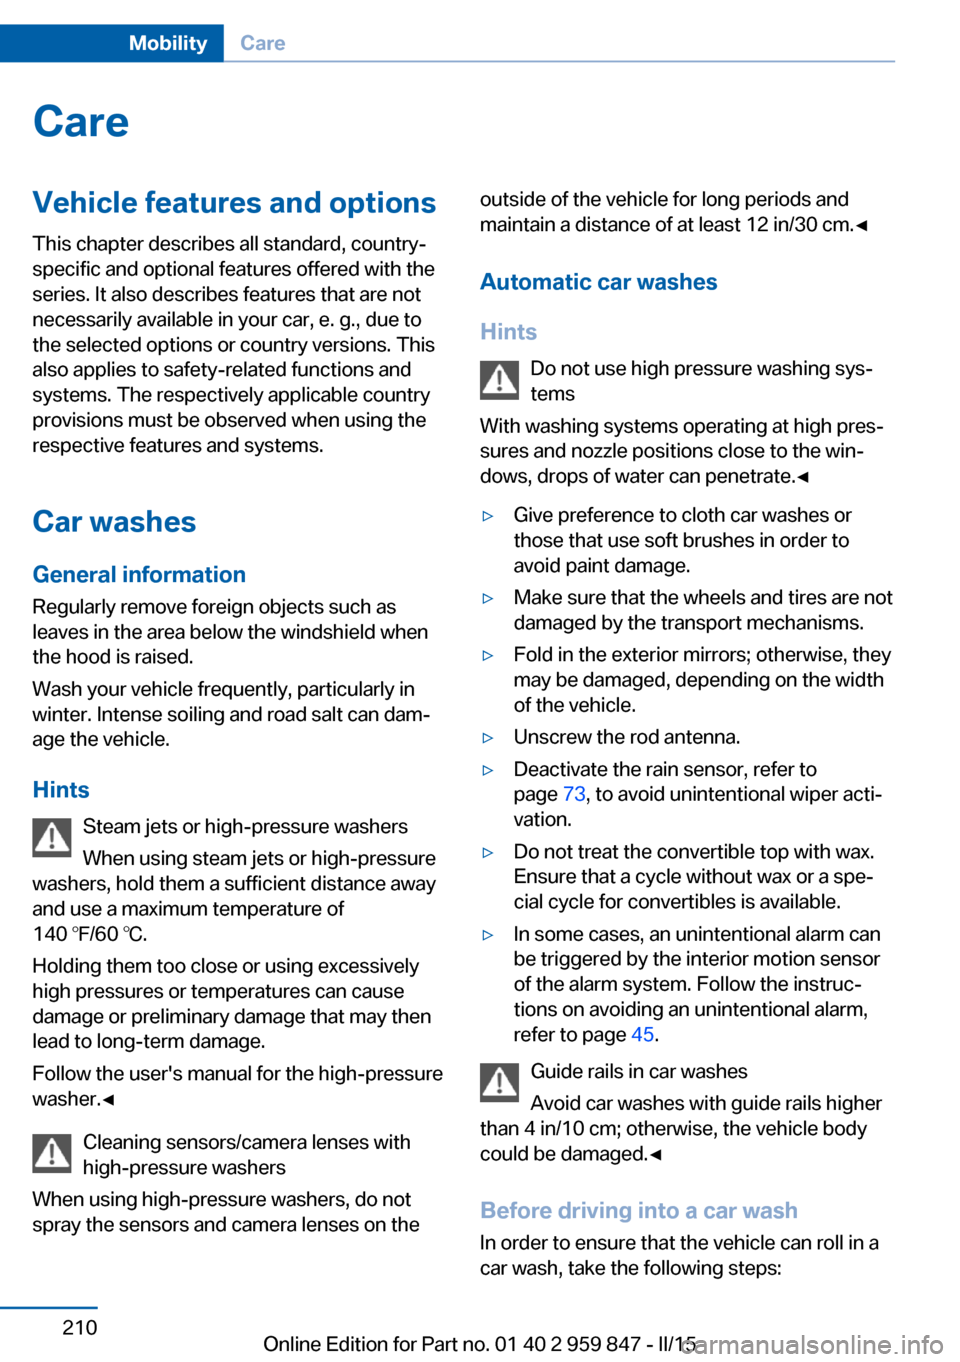
CareVehicle features and optionsThis chapter describes all standard, country-
specific and optional features offered with the
series. It also describes features that are not
necessarily available in your car, e. g., due to
the selected options or country versions. This
also applies to safety-related functions and
systems. The respectively applicable country
provisions must be observed when using the
respective features and systems.
Car washes General information
Regularly remove foreign objects such as
leaves in the area below the windshield when
the hood is raised.
Wash your vehicle frequently, particularly in
winter. Intense soiling and road salt can dam‐
age the vehicle.
Hints Steam jets or high-pressure washers
When using steam jets or high-pressure
washers, hold them a sufficient distance away
and use a maximum temperature of
140 ℉/60 ℃.
Holding them too close or using excessively
high pressures or temperatures can cause
damage or preliminary damage that may then lead to long-term damage.
Follow the user's manual for the high-pressure
washer.◀
Cleaning sensors/camera lenses with
high-pressure washers
When using high-pressure washers, do not
spray the sensors and camera lenses on theoutside of the vehicle for long periods and
maintain a distance of at least 12 in/30 cm.◀
Automatic car washes
Hints Do not use high pressure washing sys‐
tems
With washing systems operating at high pres‐
sures and nozzle positions close to the win‐
dows, drops of water can penetrate.◀▷Give preference to cloth car washes or
those that use soft brushes in order to
avoid paint damage.▷Make sure that the wheels and tires are not
damaged by the transport mechanisms.▷Fold in the exterior mirrors; otherwise, they
may be damaged, depending on the width
of the vehicle.▷Unscrew the rod antenna.▷Deactivate the rain sensor, refer to
page 73, to avoid unintentional wiper acti‐
vation.▷Do not treat the convertible top with wax.
Ensure that a cycle without wax or a spe‐
cial cycle for convertibles is available.▷In some cases, an unintentional alarm can
be triggered by the interior motion sensor
of the alarm system. Follow the instruc‐
tions on avoiding an unintentional alarm,
refer to page 45.
Guide rails in car washes
Avoid car washes with guide rails higher
than 4 in/10 cm; otherwise, the vehicle body
could be damaged.◀
Before driving into a car wash In order to ensure that the vehicle can roll in a
car wash, take the following steps:
Seite 210MobilityCare210
Online Edition for Part no. 01 40 2 959 847 - II/15
Page 225 of 234
Bulb replacement 195
Bulb replacement, front 196
Bulb replacement, rear 200
Bulbs and lights 195
Button, Start/Stop 67
Bypassing, refer to Jump- starting 205
C
California Proposition 65 Warning 7
Camera lenses, care 214
Camera, rearview cam‐ era 128
Can holder, refer to Cu‐ pholder 153
Car battery 202
Car care products 211
Care, displays 214
Care, vehicle 211
Cargo 159
Cargo area, enlarging 149
Cargo area partition 49
Cargo area, storage compart‐ ments 153
Cargo, securing 160
Cargo straps, securing cargo 160
Car key, refer to Remote con‐ trol 34
Carpet, care 213
Car wash 210
Catalytic converter, refer to Hot exhaust system 157
CBS Condition Based Serv‐ ice 193
CD/Multimedia, see user's manual for Navigation, En‐
tertainment and Communi‐
cation
Center armrest 152
Center console 16
Central locking system 40
Central screen, refer to Con‐ trol Display 18 Changes, technical, refer to
Safety 7
Changing parts 195
Changing wheels 201
Changing wheels/tires 180
Chassis number, see vehicle identification number 9
Check Control 81
Checking the oil level elec‐ tronically 189
Children, seating position 64
Children, transporting safely 64
Child restraint fixing sys‐ tem 64
Child restraint fixing system LATCH 66
Child restraint fixing systems, mounting 64
Child seat, mounting 64
Child seats 64
Chrome parts, care 213
Cigarette lighter 147
Cleaning displays 214
Climate control 135, 138
Clock 85
Closing/opening via door lock 39
Closing/opening with remote control 37
Coasting 165
Coasting with engine decou‐ pled, coasting 165
Coasting with idling en‐ gine 165
Cockpit 14
Combination reel, refer to Turn signals 71
Combination switch, refer to Wiper system 72
Comfort Access 41
COMFORT program, Dy‐ namic Driving Control 121
Compartments in the doors 152
Compass 145 Compressor 182
Condensation on win‐ dows 140
Condensation under the vehi‐ cle 158
Condition Based Service CBS 193
Configuring driving pro‐ gram 121
Confirmation signal 43
ConnectedDrive, see user's manual for Navigation, En‐
tertainment and Communi‐
cation
ConnectedDrive Services
Connecting electrical devi‐ ces 147
Continued driving with a flat tire 105 , 108
Control Display 18
Control Display, settings 91
Controller 18, 19
Control systems, driving sta‐ bility 117
Convenient closing with the remote control 38
Convenient opening with the remote control 37
Convertible, convertible top 47
Convertible mode, automatic climate control 136, 139
Convertible program, auto‐ matic climate con‐
trol 136 , 139
Convertible top 47
Convertible top, care 212
Convertible top, cargo area partition 49
Convertible top, emergency operation 49
Convertible top, rollover pro‐ tection system 102
Coolant 192
Coolant level 192
Coolant temperature 84 Seite 221Everything from A to ZReference221
Online Edition for Part no. 01 40 2 959 847 - II/15