instrument cluster BMW 323Ci COUPE 2000 E46 Owner's Manual
[x] Cancel search | Manufacturer: BMW, Model Year: 2000, Model line: 323Ci COUPE, Model: BMW 323Ci COUPE 2000 E46Pages: 189, PDF Size: 1.68 MB
Page 12 of 189

Contents
Overview
Controls and features
Cockpit 16
Instrument cluster 18
Indicator and warning lamps 20
Multi-function steering wheel 24
Hazard warning system 25
Warning triangle 25
First-aid kit 25
Refueling 26
Fuel specifications 26
Tire inflation pressure 27
Locks and security systems:
Keys32
Electronic vehicle immobilizer 33
Central locking system 34
Door locks – from outside 34
Using the key 34
Using the remote control 35
Door locks – from inside 38
Luggage compartment lid 39
Luggage compartment 41
Alarm system 42
Electric power windows 44
Sliding/tilt sunroof 45
Adjustments:
Seats47
Seat and mirror memory 50
Steering wheel 51
Mirrors 52
Car Memory, Key Memory 54
Passenger safety systems:
Safety belts55
Child restraint systems 56
Airbags 57
Driving:
Steering/ignition lock 62
Starting the engine 62
Switching off the engine 63
Parking brake 64 Manual transmission
65
Automatic transmission with Steptronic 66
Turn signal/Headlamp flasher 69
Wiper/washer system/Rain sensor 69
Rear window defroster 71
Cruise control 72
Everything under control:
Odometer74
Tachometer 74
Energy control 74
Fuel gauge 75
Temperature gauge 75
Service Interval Display 76
Check Control 77
Clock 77
Onboard computer 77
Technology for safety and
convenience:
Park Distance Control (PDC) 80
Dynamic Stability Control (DSC) 81
Tire Pressure Control (RDC) 82
Page 17 of 189
Overview
Controls and features
Operation, care
and maintenance
Owner service procedures
Technical data
Index Advanced technology
15n
RepairsIndexOverview Controls Car care Technology Data
Cockpit16
Instrument cluster18
Indicator and warning lamps20
Multi-function steering wheel24
Hazard warning flashers25
Warning triangle25
First-aid kit25
Refueling26
Fuel specifications26
Tire inflation pressure27
Page 20 of 189
18n
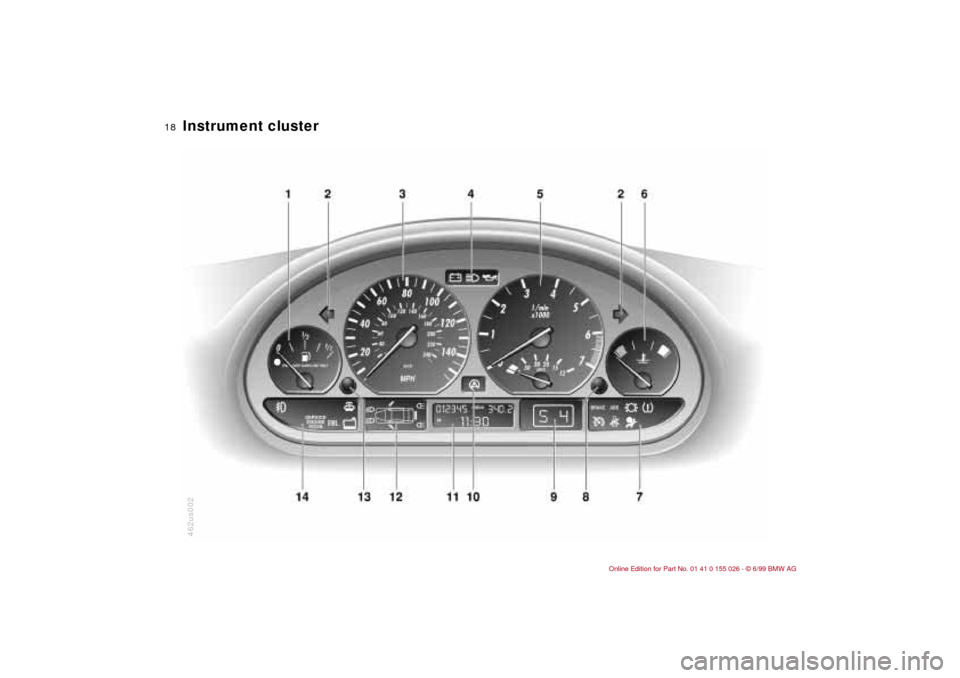
Instrument cluster 462us002
Page 21 of 189
19n
RepairsIndexOverview Controls Car care Technology Data
Instrument cluster
1 Fuel gauge with indicator lamp for
fuel reserve75
2 Turn signal indicator23
3 Speedometer
4 Indicator lamp for
>
Battery charge current20
>
High beam23
>
Engine oil pressure/
Engine oil level20, 22
5 Tachometer and
Energy control74
6 Engine coolant thermometer with
"Coolant temperature too
high" indicator75
7 Indicator and warning lamps
(clockwise) for
>
Parking brake/
Brake hydraulic system/
Cornering Brake Control
(CBC)20
>
ABS22
>
Brake pads22
>
Tire Pressure Control
(RDC)
*
20, 22
>
Airbags21
>
Please fasten safety belts21
>
Cruise control
*
23
8 Clock reset
>
Clock77
>
Service Interval 769 Program display for automatic
transmission
*
68
Indicator lamp for automatic
transmission
*
22, 68
10 Indicator lamp for Dynamic Stability
Control (DSC)22
11 Indicator for
>
Odometer74
>
Trip odometer74
>
Clock77
>
Service Interval76
Indicator for onboard computer,
for operation via the turn signal lever,
refer to page 77:
>
Clock
>
Outside temperature
>
Average fuel consumption
>
Range
>
Average speed
12 Indicator for Check Control77
13 Trip odometer, reset to zero7414 Indicator and warning lamps
(clockwise) for
>
Fog lamps
*
23
>
Add washer fluid22
>
Coolant level23
>
Electronic Engine Power
Control (EML)
*
23
>
Engine Management system22
You can display the outside tem-
perature and distance driven in
different units of measurement.
<
Page 66 of 189
64n
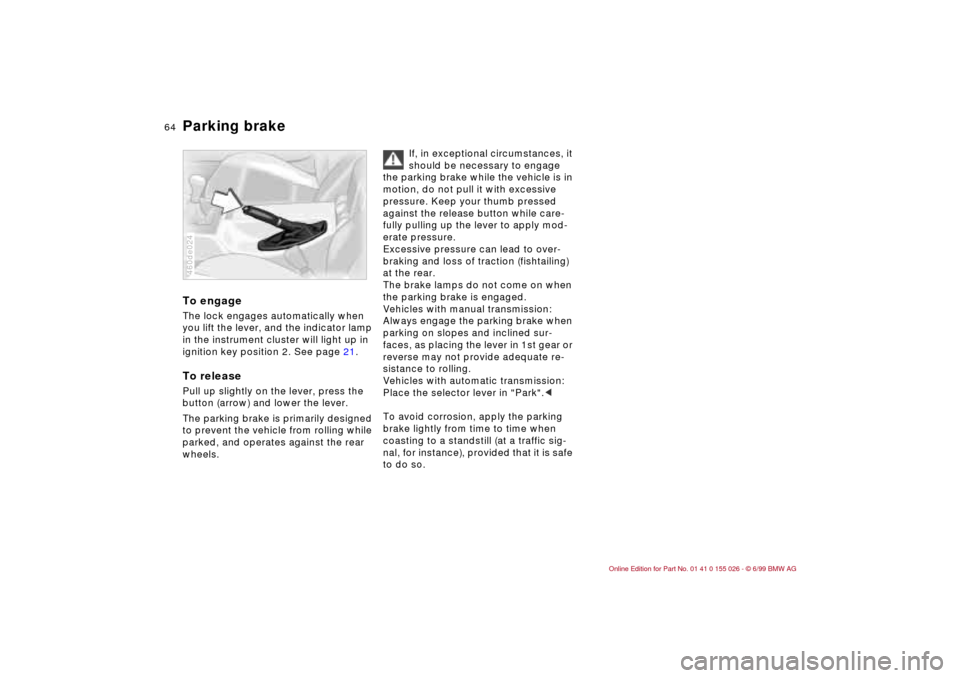
Parking brake To engageThe lock engages automatically when
you lift the lever, and the indicator lamp
in the instrument cluster will light up in
ignition key position 2. See page 21.To releasePull up slightly on the lever, press the
button (arrow) and lower the lever.
The parking brake is primarily designed
to prevent the vehicle from rolling while
parked, and operates against the rear
wheels.460de024
If, in exceptional circumstances, it
should be necessary to engage
the parking brake while the vehicle is in
motion, do not pull it with excessive
pressure. Keep your thumb pressed
against the release button while care-
fully pulling up the lever to apply mod-
erate pressure.
Excessive pressure can lead to over-
braking and loss of traction (fishtailing)
at the rear.
The brake lamps do not come on when
the parking brake is engaged.
Vehicles with manual transmission:
Always engage the parking brake when
parking on slopes and inclined sur-
faces, as placing the lever in 1st gear or
reverse may not provide adequate re-
sistance to rolling.
Vehicles with automatic transmission:
Place the selector lever in "Park".<
To avoid corrosion, apply the parking
brake lightly from time to time when
coasting to a standstill (at a traffic sig-
nal, for instance), provided that it is safe
to do so.
Page 74 of 189
72n
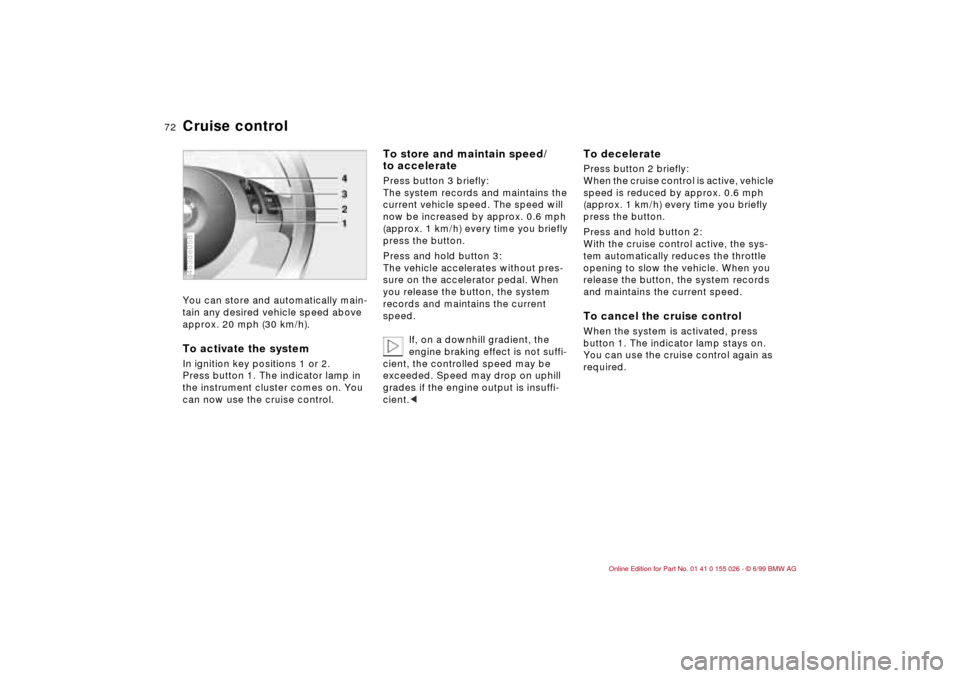
Cruise control You can store and automatically main-
tain any desired vehicle speed above
approx. 20 mph (30 km/h). To activate the system In ignition key positions 1 or 2.
Press button 1. The indicator lamp in
the instrument cluster comes on. You
can now use the cruise control.463de058
To store and maintain speed/
to acceleratePress button 3 briefly:
The system records and maintains the
current vehicle speed. The speed will
now be increased by approx. 0.6 mph
(approx. 1 km/h) every time you briefly
press the button.
Press and hold button 3:
The vehicle accelerates without pres-
sure on the accelerator pedal. When
you release the button, the system
records and maintains the current
speed.
If, on a downhill gradient, the
engine braking effect is not suffi-
cient, the controlled speed may be
exceeded. Speed may drop on uphill
grades if the engine output is insuffi-
cient.<
To deceleratePress button 2 briefly:
When the cruise control is active, vehicle
speed is reduced by approx. 0.6 mph
(approx. 1 km/h) every time you briefly
press the button.
Press and hold button 2:
With the cruise control active, the sys-
tem automatically reduces the throttle
opening to slow the vehicle. When you
release the button, the system records
and maintains the current speed.To cancel the cruise control When the system is activated, press
button 1. The indicator lamp stays on.
You can use the cruise control again as
required.
Page 76 of 189
74n
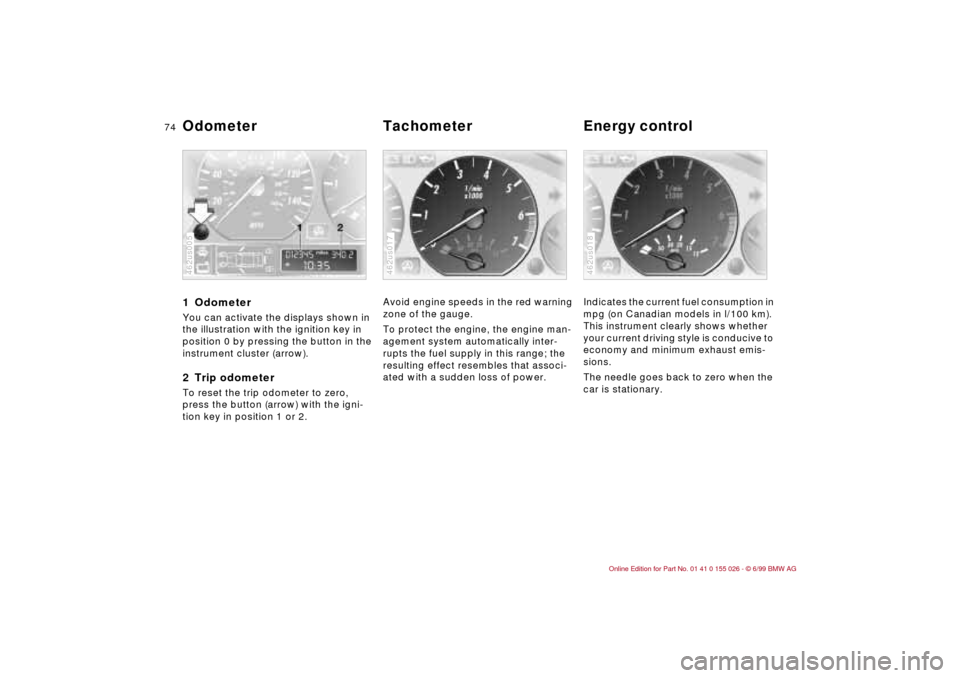
1 Odometer You can activate the displays shown in
the illustration with the ignition key in
position 0 by pressing the button in the
instrument cluster (arrow).2 Trip odometerTo reset the trip odometer to zero,
press the button (arrow) with the igni-
tion key in position 1 or 2.462us005
Avoid engine speeds in the red warning
zone of the gauge.
To protect the engine, the engine man-
agement system automatically inter-
rupts the fuel supply in this range; the
resulting effect resembles that associ-
ated with a sudden loss of power.462us017
Indicates the current fuel consumption in
mpg (on Canadian models in l/100 km).
This instrument clearly shows whether
your current driving style is conducive to
economy and minimum exhaust emis-
sions.
The needle goes back to zero when the
car is stationary. 462us018
Odometer Tachometer Energy control
Page 80 of 189
78n
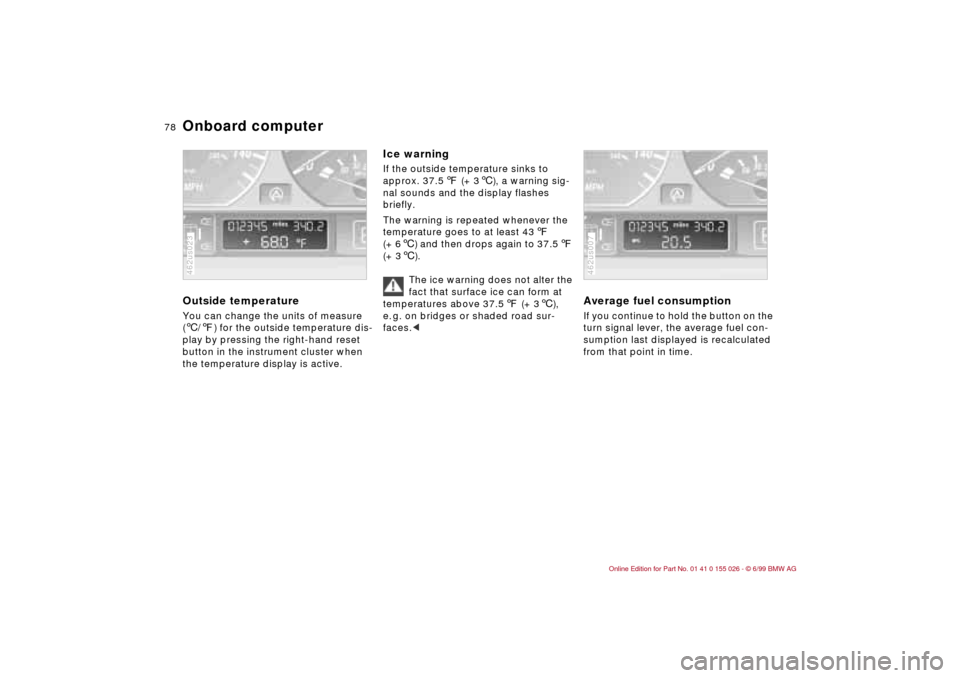
Onboard computerOutside temperature You can change the units of measure
(6/7) for the outside temperature dis-
play by pressing the right-hand reset
button in the instrument cluster when
the temperature display is active.462us023
Ice warning If the outside temperature sinks to
approx. 37.57 (+ 36), a warning sig-
nal sounds and the display flashes
briefly.
The warning is repeated whenever the
temperature goes to at least 437
(+ 66) and then drops again to 37.57
(+ 36).
The ice warning does not alter the
fact that surface ice can form at
temperatures above 37.57 (+ 36),
e. g. on bridges or shaded road sur-
faces.<
Average fuel consumption If you continue to hold the button on the
turn signal lever, the average fuel con-
sumption last displayed is recalculated
from that point in time.462us007
Page 84 of 189
82n
Tire Pressure Control (RDC)
*
The conceptThe RDC monitors the tire pressures at
all four wheels, even when the vehicle is
moving. The system provides an alert
whenever the inflation pressure drops
significantly below the specified pres-
sure in one or more tires.
In order for the RDC to "learn" the cor-
rect tire inflation pressure, first check
the tire inflation pressure in all tires.
Then compare these pressures with the
tire inflation pressure chart (page 28)
and adjust if necessary. Then activate
the system.
This indicator lamp in the instru-
ment cluster informs you when-
ever the tire pressure is not nor-
mal.
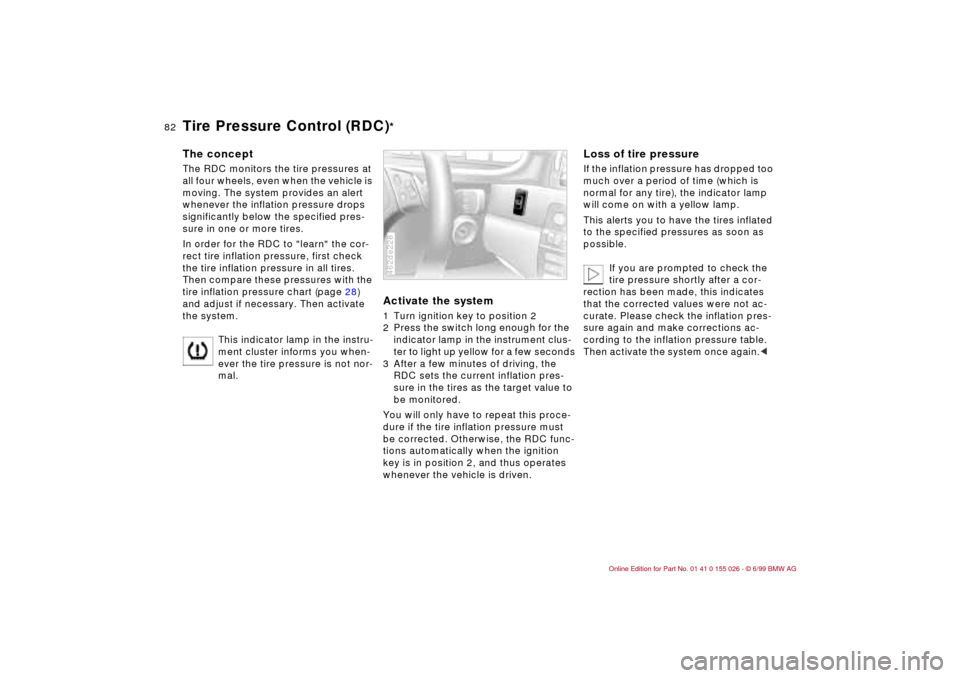
Activate the system1 Turn ignition key to position 2
2 Press the switch long enough for the
indicator lamp in the instrument clus-
ter to light up yellow for a few seconds
3 After a few minutes of driving, the
RDC sets the current inflation pres-
sure in the tires as the target value to
be monitored.
You will only have to repeat this proce-
dure if the tire inflation pressure must
be corrected. Otherwise, the RDC func-
tions automatically when the ignition
key is in position 2, and thus operates
whenever the vehicle is driven.462de228
Loss of tire pressureIf the inflation pressure has dropped too
much over a period of time (which is
normal for any tire), the indicator lamp
will come on with a yellow lamp.
This alerts you to have the tires inflated
to the specified pressures as soon as
possible.
If you are prompted to check the
tire pressure shortly after a cor-
rection has been made, this indicates
that the corrected values were not ac-
curate. Please check the inflation pres-
sure again and make corrections ac-
cording to the inflation pressure table.
Then activate the system once again.<
Page 87 of 189
85n
RepairsIndexOverview Controls Car care Technology Data
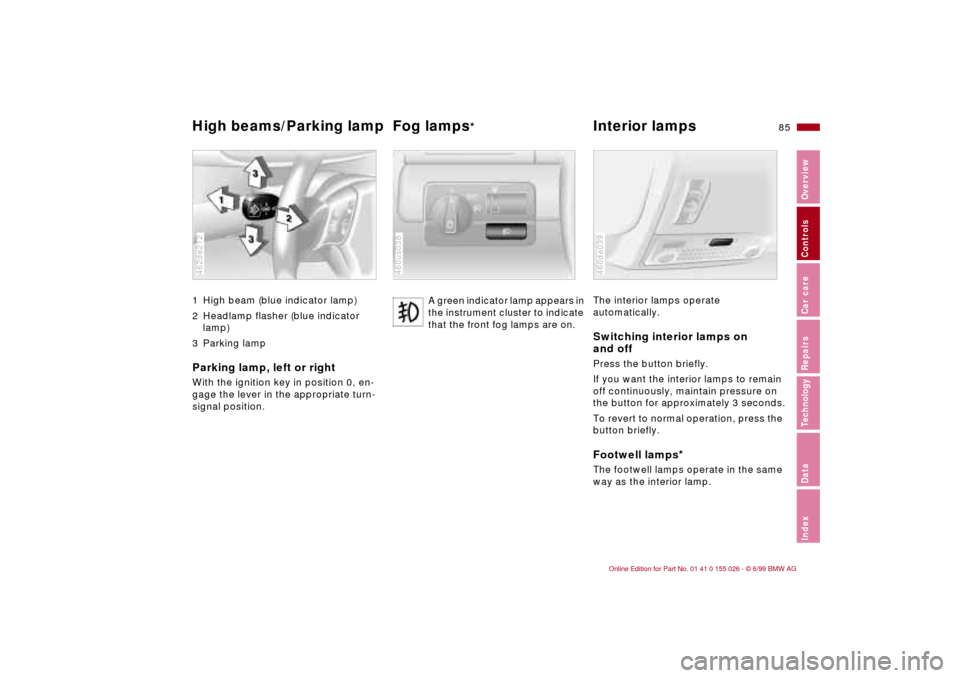
High beams/Parking lamp Fog lamps
* Interior lamps
1 High beam (blue indicator lamp)
2 Headlamp flasher (blue indicator
lamp)
3 Parking lampParking lamp, left or rightWith the ignition key in position 0, en-
gage the lever in the appropriate turn-
signal position.462de212
A green indicator lamp appears in
the instrument cluster to indicate
that the front fog lamps are on.
460us038
The interior lamps operate
automatically.Switching interior lamps on
and offPress the button briefly.
If you want the interior lamps to remain
off continuously, maintain pressure on
the button for approximately 3 seconds.
To revert to normal operation, press the
button briefly.Footwell lamps
*
The footwell lamps operate in the same
way as the interior lamp.460de039