seat BMW 325i 1993 E36 Service Manual
[x] Cancel search | Manufacturer: BMW, Model Year: 1993, Model line: 325i, Model: BMW 325i 1993 E36Pages: 759
Page 305 of 759
TheE36
convertible
is
an
all-season
vehicle
with
a
high
lev-
e¡offunctionality,
excellent
interior
comfort,
and
acoustic
re-
finement
.
Interior
materials
and
colors,
the
soft
top
and
the
light-alloy
wheelshave
been
carefully
matched
.
Various
versions
of
manual
and
automatic
soft
tops
have
been
used,
with
the
fully
automatic
convertible
roof
being
in-
stalled
beginning
in
the
1997
model
year
.
A
hard-top
in
body
color
with
heated
rear
window
is
avail-
ableas
an
option
for
the
cold
season
.
BODY-GENERAL
400-
3
Coupe
Models
The
convertible
body
structure
includes
many
passive
safe-
ty
refinements
over
its
fixed-top
counterparts
.
Some
of
the
en-
TheE36
coupe
is
similar
to
the4-door
sedan,
but
has
a
hancements
include
:
more
stretched
and
sleeker
appearance
.
Thus,
with
the
same
wheelbase
and
identicallength,
it
looks
different
but
still
famil-
"
More
rígíd
underbody
.
iar
.
"
Transverse
seat
members
.
"
Reinforced
windshield
frame
with
bonded
windshield,
The
2-door
variant
differs
from
the
4-door
sedan
by
a
3
.12
and
tubular
door
reinforcements
.
inch
(8
cm)
longer
front
end,
a
flatter
hood
line
with
air
slits,
"
Rollover
protection
system,
which
is
tripped
into
position
and
a
roof
almost
1
.2
inches
(3
cm)
shorter
.
Additional
differ-
in
a
fraction
of
second
.
This
is
available
as
optional
ences
include
wider
doors
with
frameless
Windows,
glass-
equipment
(standard
on
the
1998
328iC)
and
may
be
fit-
covered
door-posts
(B-pillars)
and
a
shorter
and
lower
lug-
ted
to
earlier
convertible
models
.
With
this
feature,
two
gage
compartment
lid
.
bars
fully
independent
of
each
other
come
up
behind
each
rear-seat
backrest
when
the
vehicle
is
in
danger
of
Convertible
Models
turning
over
.
A
convertible
body
normally
flexes
and
vibrates,
transfer-
ring
oscillations
to
the
luggage
compartment
.
In
the
E36
con-
vertible,
BMW
utilizes
a
special
battery
in
the
luggage
compartment,
in
conjunction
with
a
unique
battery
tray,
asa
vibration
dampening
system
to
counteract
thisoscillation
.
CAUTION
-
The
E36
convertible
requires
a
specialbattery
which
is
designed
for
constant
vibration
.
Information
for
the
convertible
top
and
its
related
mecha-
nisms
can
be
found
541
Convertible
Top
.
BODYASSEMBLY
Page 306 of 759
400-
4
BODY-GENERAL
INTERIOR
EQUIPMENT
E36
interiors
have
a
unique
character,
with
a
combínation
of
sporty
features
and
innovative
design
.
Al¡
body
versions
were
made
in
a
wide
choice
of
interior
and
exterior
colors
.
New
colors
with
matching
leather
and/or
fabric
upholstery
were
in-
troduced
for
each
model
year,
including
light-alloy
wheels
in
new
designs
.
Driving
comfort
is
enhanced
by
power
steering,
tilt
steering
wheel
(optional),
height-adjustable
front
seats,
and
electrical-
ly
adjustable
and
heated
rear-view
mirrors
.
Inside
thecar
there
are
reading
lights
at
four
seating
positions
.
Seats
and
Seat
Belts
NOTE-
Theseat
base
usedon
cars
with
pyrotechnic
seatbelt
Anatom¡cal
ly-correct
seats
are
constructed
from
polyure-
tensioners
is
not
interchangeable
with
the
earlier
seat
thane
foam
containing
areas
or
"zones"
of
different
firmness
.
base
.
The
seat
bases
have
steel
springs
for
added
support
and
strength
.
The
power
seats
are
provided
with
conveniently
lo-
Instruments
and
Controls
cated
switches
along
the
outside
edge
of
the
seat
.
Heated
seats
are
an
option
in
all
models
.
See
520
Seats
for
more
de-
Everything
in
the
interior
passenger
compartment
essential
tails
.
to
the
driver
is
logically
grouped
and
easy
to
reach
.
Al¡
instru-
ments
and
controls
havebeen
arranged
ergonomically
and
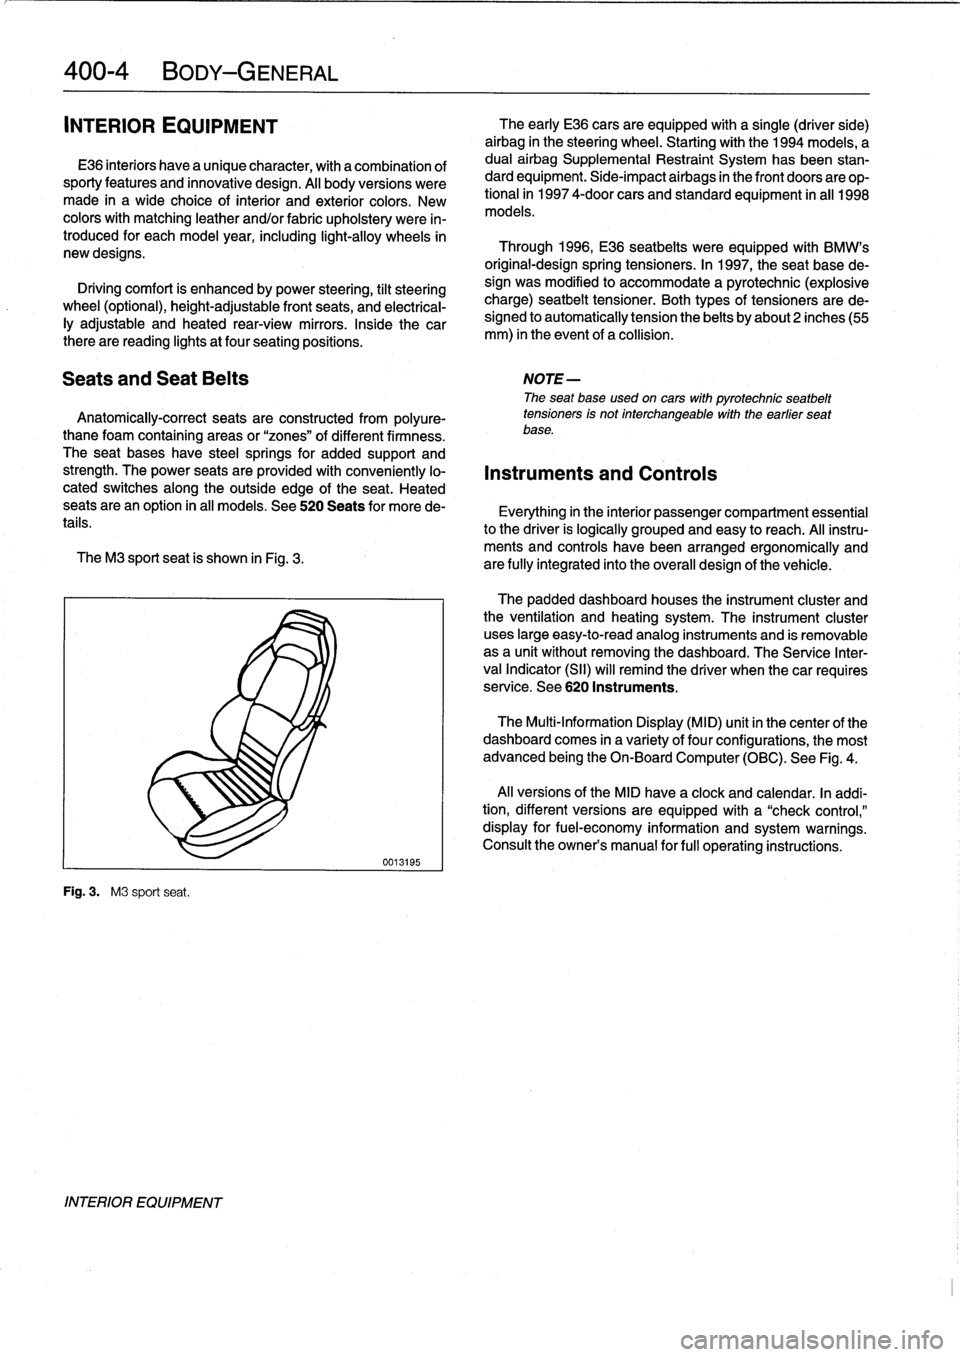
The
M3
sport
seat
is
shown
in
Fig
.
3
.
are
fully
integrated
into
the
overall
design
of
the
vehicle
.
Fig
.
3
.
M3
sport
seat
.
INTERIOR
EQUIPMENT
0013195
The
early
E36
cars
areequipped
with
a
single
(driver
side)
airbag
in
the
steering
wheel
.
Startingwith
the
1994
models,
a
dual
airbag
Supplemental
Restraint
System
has
been
stan-
dard
equipment
.
Side-impact
airbags
in
the
front
doors
are
op-
tional
in
1997
4-door
cars
and
standard
equipment
in
all
1998
models
.
Through
1996,
E36
seatbelts
were
equipped
with
BMW's
original-designspring
tensioners
.
In
1997,
the
seat
base
de-
sign
was
modified
to
accommodate
a
pyrotechnic
(explosive
charge)
seatbelt
tensioner
.
Both
types
of
tensioners
arede-
signed
to
automatically
tension
the
belts
by
about2
inches(55
mm)
in
the
event
of
a
collision
.
The
padded
dashboard
houses
the
instrument
cluster
and
the
ventilation
and
heating
system
.
The
instrument
cluster
uses
large
easy-to-read
analog
instruments
and
is
removable
as
a
unit
without
removing
the
dashboard
.
The
Service
Inter-
val
Indicator
(SII)
will
remind
the
driver
when
thecar
requires
service
.
See
620
Instruments
.
The
Multi-Information
Display
(MID)
unit
in
thecenter
of
the
dashboard
comes
in
a
variety
of
four
configurations,
the
most
advanced
being
the
On-Board
Computer
(OBC)
.
See
Fig
.
4
.
Al¡
versions
of
the
MID
have
a
clock
and
calendar
.
In
addi-
tion,
different
versions
areequipped
with
a
"check
control,"
display
for
fuel-economy
information
and
system
warnings
.
Consult
the
owner's
manual
for
fui¡
operating
instructions
.
Page 318 of 759
411-
4
DOORS
6
.
Disconnect
radio
speaker
harness
connector
.
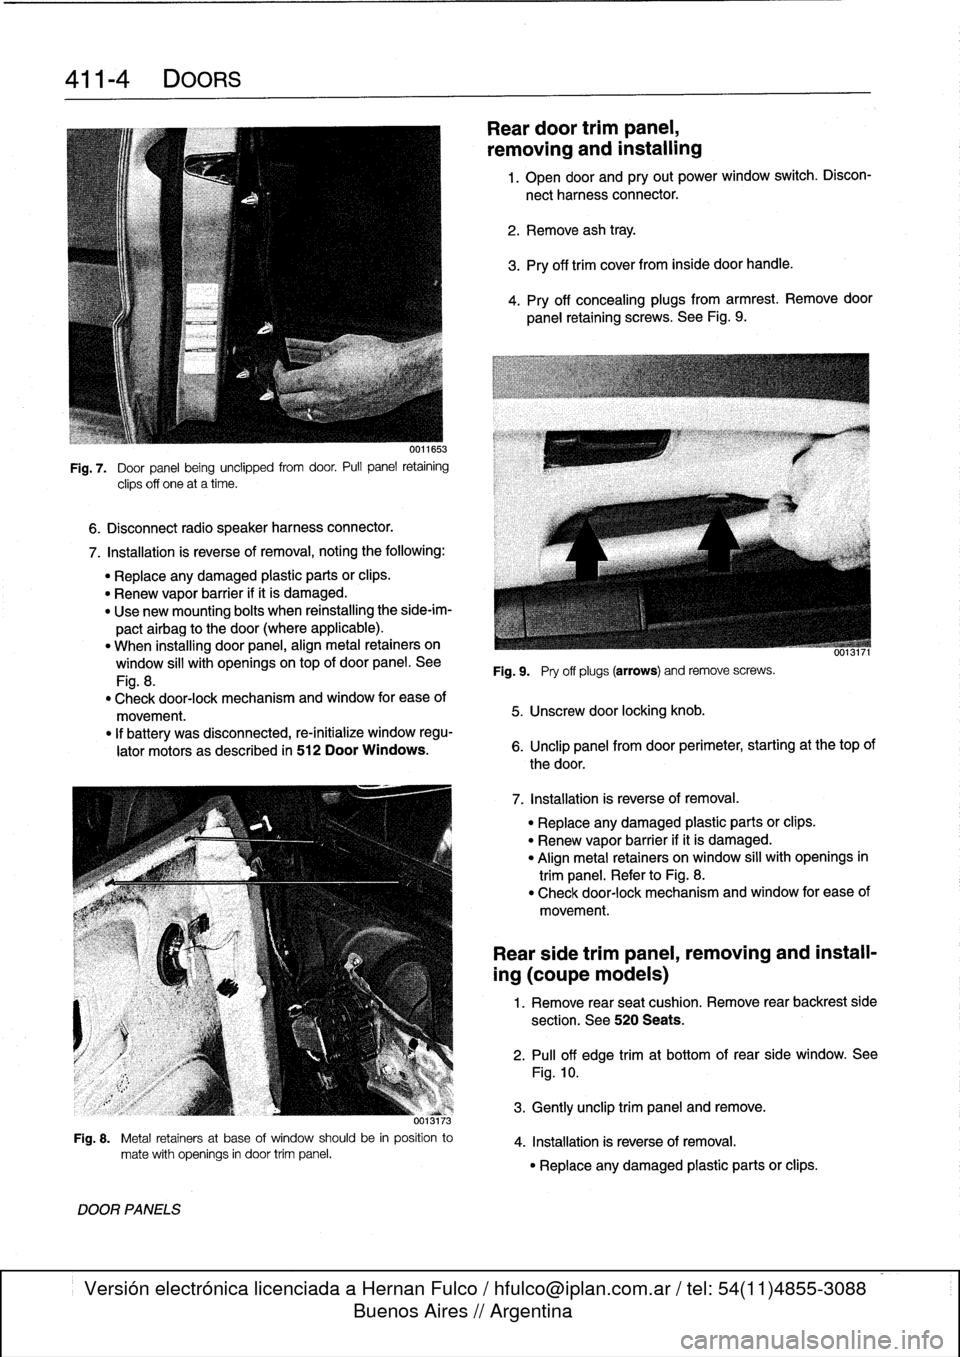
Fig
.
7
.
Door
panel
being
unclipped
from
door
.
Pull
panel
retaining
clips
off
one
at
a
time
.
7
.
Installation
is
reverse
of
removal,
noting
the
following
:
"
Replace
any
damaged
plastic
parts
orclips
.
"
Renew
vapor
barrier
ifit
is
damaged
.
"
Use
new
mounting
bolts
when
reinstalling
the
side-im-
pactairbag
to
the
door
(where
applicable)
.
"
When
installing
door
panel,
align
metal
retainers
on
window
sill
with
openingsontop
of
door
panel
.
See
Fig
.
8
.
"
Check
door-lock
mechanism
and
window
for
ease
of
movement
.
"
If
battery
was
disconnected,
re-initialize
window
regu-
lator
motors
as
described
in
512
Door
Windows
.
373
Fig
.
8
.
Metal
retainers
at
base
of
window
should
be
in
position
to
mate
with
openings
in
door
trim
panel
.
DOOR
PANELS
Reardoor
trimpanel,
removing
and
installing
1
.
Open
door
and
pry
out
power
window
switch
.
Discon-
nect
harness
connector
.
2
.
Remove
ash
tray
.
3
.
Pry
off
trim
cover
from
inside
door
handle
.
4
.
Pry
off
concealing
plugs
from
armrest
.
Remove
door
panel
retaining
screws
.
See
Fig
.
9
.
Fig
.
9
.
Pry
off
plugs
(arrows)
andremove
screws
.
5
.
Unscrew
door
locking
knob
.
6
.
Unclip
panel
from
door
perimeter,
starting
at
thetop
of
the
door
.
7
.
Installation
is
reverse
of
removal
.
"
Replace
any
damaged
plastic
parts
or
clips
.
"
Renew
vapor
barrier
ifit
is
damaged
.
"
Align
metal
retainers
on
window
sill
with
openings
in
trim
panel
.
Refer
to
Fig
.
8
.
"
Check
door-lock
mechanism
and
window
for
ease
of
movement
.
Rear
side
trim
panel,
removing
and
install-
ing
(coupe
models)
1
.
Remove
rear
seat
cushion
.
Remove
rear
backrest
side
section
.
See
520
Seats
.
2
.
Pull
off
edge
trimat
bottom
of
rear
side
window
.
See
Fig
.
10
.
3
.
Gently
unclip
trim
panel
andremove
.
4
.
Installation
is
reverse
of
removal
.
"
Replace
any
damaged
plastic
parts
or
clips
.
Page 319 of 759
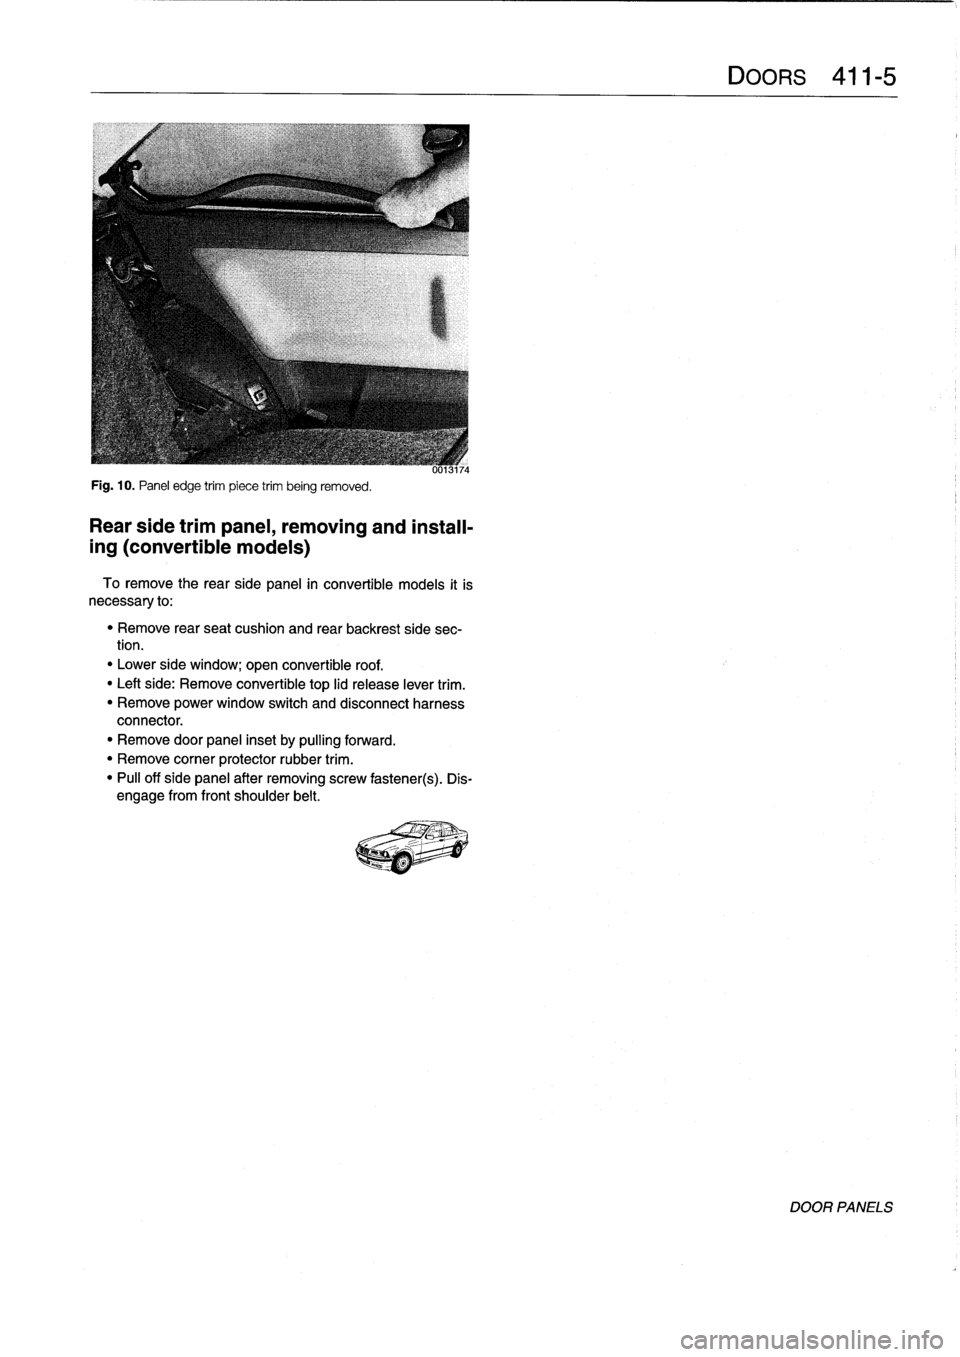
Fig
.
10
.
Panel
edge
trim
piece
trim
being
removed
.
Rear
side
trimpanel,
removing
and
install-
ing
(convertible
models)
To
remove
the
rearside
panel
in
convertible
models
it
is
necessary
to
:
"
Remove
rear
seat
cushion
and
rear
backrest
side
sec-
tion
.
"
Lower
side
window
;
open
convertible
roof
.
"
Leftside
:
Remove
convertible
top
lid
release
lever
trim
.
"
Remove
power
window
switch
and
disconnect
harness
connector
.
"
Remove
door
panel
inset
by
pulling
forward
.
"
Remove
corner
protector
rubber
trim
.
"
Pull
off
side
panel
after
removing
screw
fastener(s)
.
Dis-
engage
from
front
shoulder
belt
.
Page 333 of 759
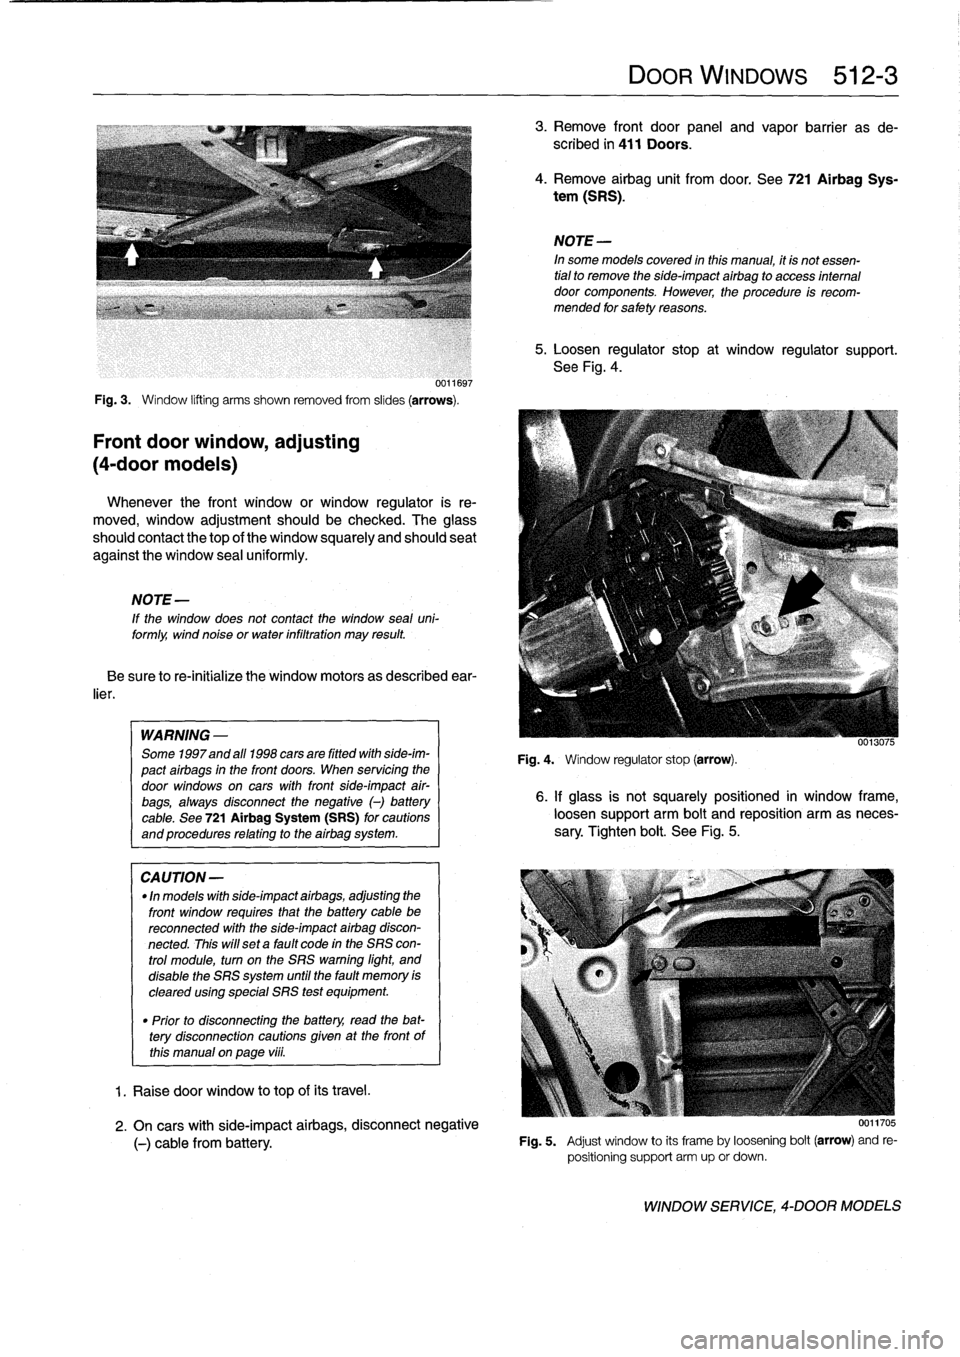
0011697
Fig
.
3
.
Window
lifting
arms
shown
removed
from
slides
(arrows)
.
Front
door
window,
adjusting
(4-door
models)
Whenever
the
front
window
or
window
regulator
is
re-
moved,
window
adjustment
should
be
checked
.
The
glass
should
contact
the
top
of
the
window
squarely
and
should
seat
against
the
window
sea¡
uniformly
.
NOTE
-
If
the
window
does
not
contact
the
window
seal
uni-formly,
wind
noise
or
water
infiltration
may
result
Be
sure
to
re-initialize
the
window
motors
as
described
ear-
lier
.
WARNING
-
Some
1997and
all
1998
cars
are
fitted
wíthside-im-
pact
airbags
in
the
front
doors
.
When
servicing
the
door
windows
on
cars
with
front
side-impact
air-
bags,
always
disconnect
the
negative
()
battery
cable
.
See
721Airbag
System
(SRS)
for
cautions
and
procedures
relating
to
the
airbag
system
.
CA
UTION-
"
In
models
with
side-impact
airbags,
adjusting
the
front
window
requires
that
the
battery
cable
bereconnected
with
the
side-impact
airbag
discon-
nected
.
This
will
set
a
fault
code
in
the
SRS
con-
trol
module,
turn
on
the
SRS
warning
light,
and
disable
the
SRS
system
until
the
fault
memory
is
cleared
using
special
SRS
test
equipment
.
"
Prior
to
disconnectiog
the
battery,
read
the
bat-tery
disconnection
cautions
given
at
the
front
of
this
manual
on
page
viii
.
1
.
Raise
door
window
to
top
of
its
travel
.
DOOR
WINDOWS
512-
3
3
.
Remove
front
door
panel
and
vapor
barrier
as
de-
scribed
in
411
Doors
.
4
.
Remove
airbag
unit
from
door
.
See
721Airbag
Sys-
tem
(SRS)
.
NOTE-
In
some
models
covered
inthis
manual,
it
is
not
essen-
tial
to
remove
the
side-impact
airbag
to
access
interna¡
door
components
.
However,
the
procedure
is
recom-
mended
for
safety
reasons
.
5
.
Loosen
regulator
stop
at
window
regulator
support
.
See
Fig
.
4
.
Fig
.
4
.
Wíndow
regulator
stop
(arrow)
.
0013075
6
.
If
glass
is
not
squarely
positioned
in
window
frame,
loosen
support
arm
bolt
and
reposition
arm
as
neces-
sary
.
Tighten
bolt
.
See
Fig
.
5
.
2
.
On
cars
with
side-impact
airbags,
disconnect
negative
(-)
cable
from
battery
.
Fig
.
5
.
Adjust
window
to
its
frameby
loosening
bolt
(arrow)
and
re-
positioning
support
arm
up
or
down
.
WINDOW
SERVICE,
4-DOOR
MODELS
Page 341 of 759
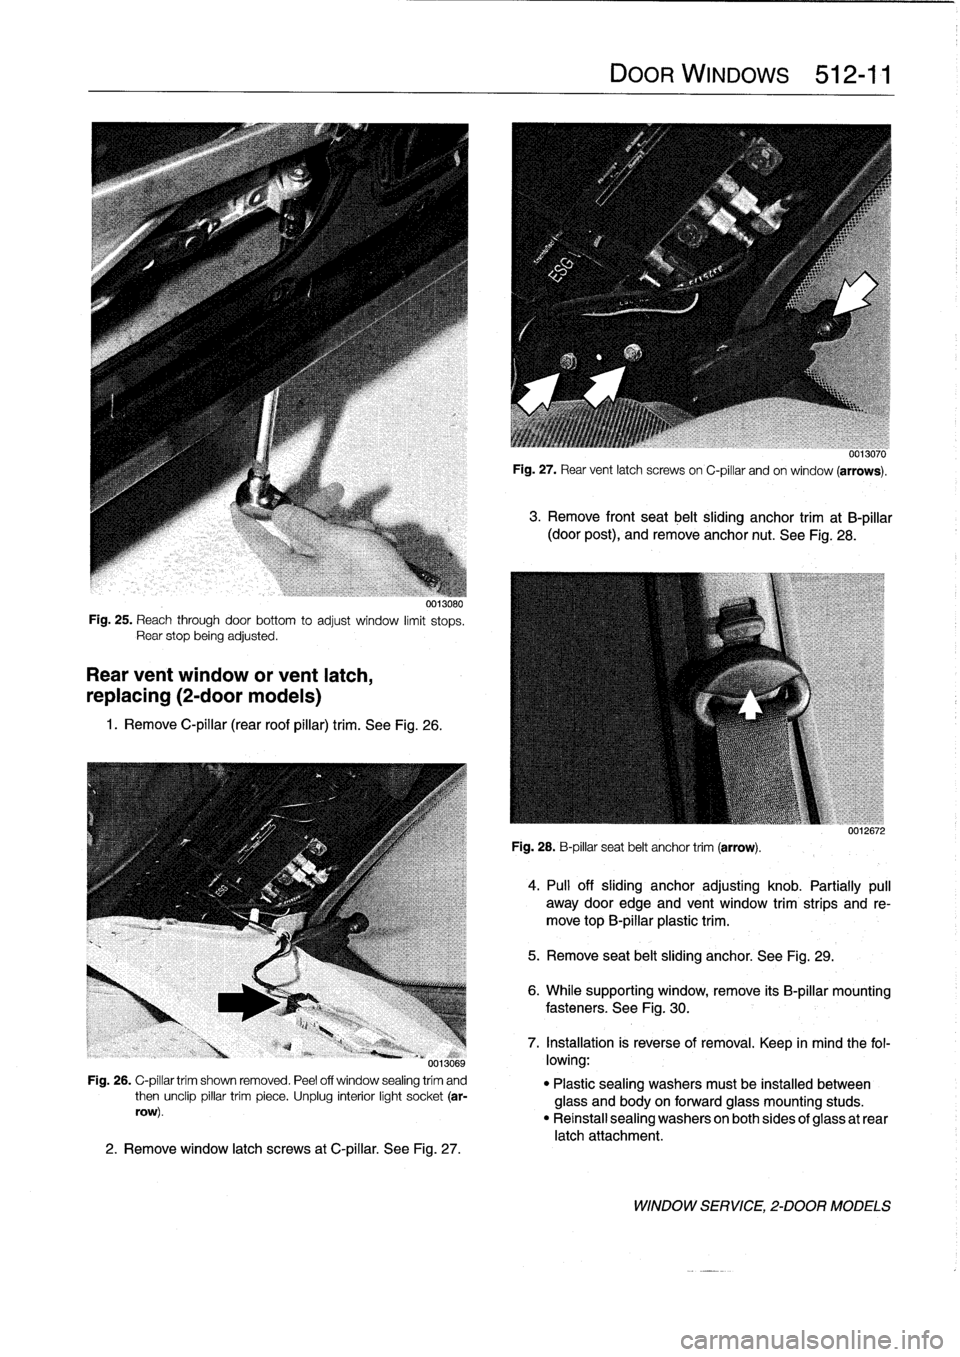
0013080
Fig
.
25
.
Reach
through
doorbottom
to
adjust
window
limit
stops
.
Rear
stop
beingadjusted
.
Rear
vent
window
or
vent
latch,
replacing
(2-door
modeis)
1
.
Remove
C-pillar
(rear
roof
pillar)
trim
.
See
Fig
.
26
.
0013069
Fig
.
26
.
C-pillar
trim
shown
removed
.
Peel
off
window
sealing
trím
and
then
unclip
pillar
trim
piece
.
Unplug
interior
light
socket
(ar-
row)
.
2
.
Remove
window
latch
screws
atC-pillar
.
See
Fig
.
27
.
DOOR
WINDows
512-11
0013070
Fig
.
27
.
Rear
vent
latch
screws
on
C-pillar
andon
window
(arrows)
.
3
.
Remove
front
seat
belt
sliding
anchor
trim
at
B-pillar
(door
post),
andremove
anchor
nut
.
See
Fig
.
28
.
Fig
.
28
.
B-pillar
seat
belt
anchor
trim
(arrow)
.
5
.
Remove
seat
belt
sliding
anchor
.
See
Fig
.
29
.
úulzoiz
4
.
PA
off
sliding
anchor
adjustíng
knob
.
Partially
pull
away
door
edge
and
vent
window
trimstrips
and
re-
move
top
B-pillar
plastic
trim
.
6
.
While
supporting
window,
remove
its
B-pillar
mounting
fasteners
.
See
Fig
.
30
.
7
.
Installation
is
reverseof
removal
.
Keep
in
mind
the
fol-
lowing
:
"
Plastic
sealing
washers
mustbe
installed
between
glass
and
body
on
forward
glass
mounting
studs
.
"
Reinstall
sealing
washers
on
both
sides
of
glass
at
rear
latch
attachment
.
WINDOW
SERVICE,
2-DOOR
MODELS
Page 342 of 759
512-
1
2
DOOR
WINDOWS
Fig
.
30
.
Vent
window
mounting
nuts
on
B-pillar
(arrows)
.
WINDOW
REGULATOR
SERVICE
0013071
Fig
.
29
.
Seat
belt
sliding
anchor
mounting
bolts
on
B-pillar
(arrows)
.
Notedoor
post
and
vent
window
trim
strips
peeled
away
.
Tightening
Torques
"
Latch
to
vent
window
(M5
screw)
.....
6
Nm
(53
in-lb)
"
Seat
belt
anchor
nut
..............
31
Nm
(23
ft-Ib)
"
Seat
belt
sliding
anchor
mounting
bolts
.
..
...
.
...........
24
Nm
(17
ft-Ib)
"
Vent
window
to
body(M6
nut)
.....
6
.2
Nm
(55
in-lb)
WINDOW
REGULATOR
SERVICE
Door
window
regulator
and
motor,
removing
and
installing
This
procedure
applies
to
front
or
rear
door
windows
.
1
.
Remove
door
panel
and
vapor
barrier
as
described
in
411
Doors
.
WARNING
-
"
Some
1997
and
all
1998
model
year
cars
are
equipped
with
front
side-impact
airbags
in
the
front
doors
.
Whenever
servicing
the
doors
orwin-
dows
on
cars
with
front
side-impact
airbags,
al-
ways
disconnect
the
negative
(-)
battery
cable
.
See
721
Airbag
System
(SRS)
for
cautions
and
procedures
relating
to
the
airbag
system
.
"
Prior
to
disconnectiog
the
battery,
read
the
bat-tery
disconnection
cautions
gíven
at
the
front
of
this
manual
onpage
vi¡¡
.
2
.
Remove
door
glass
as
described
earlier
in
this
section
.
3
.
Remove
inside
door
handle
.
See
Fig
.
31
.
4
.
Disconnect
wiring
connector
to
power
window
motor
.
5
.
Remove
regulator
mounting
bolts
or
drill
out
rivets
.
See
Fig
.
32
.
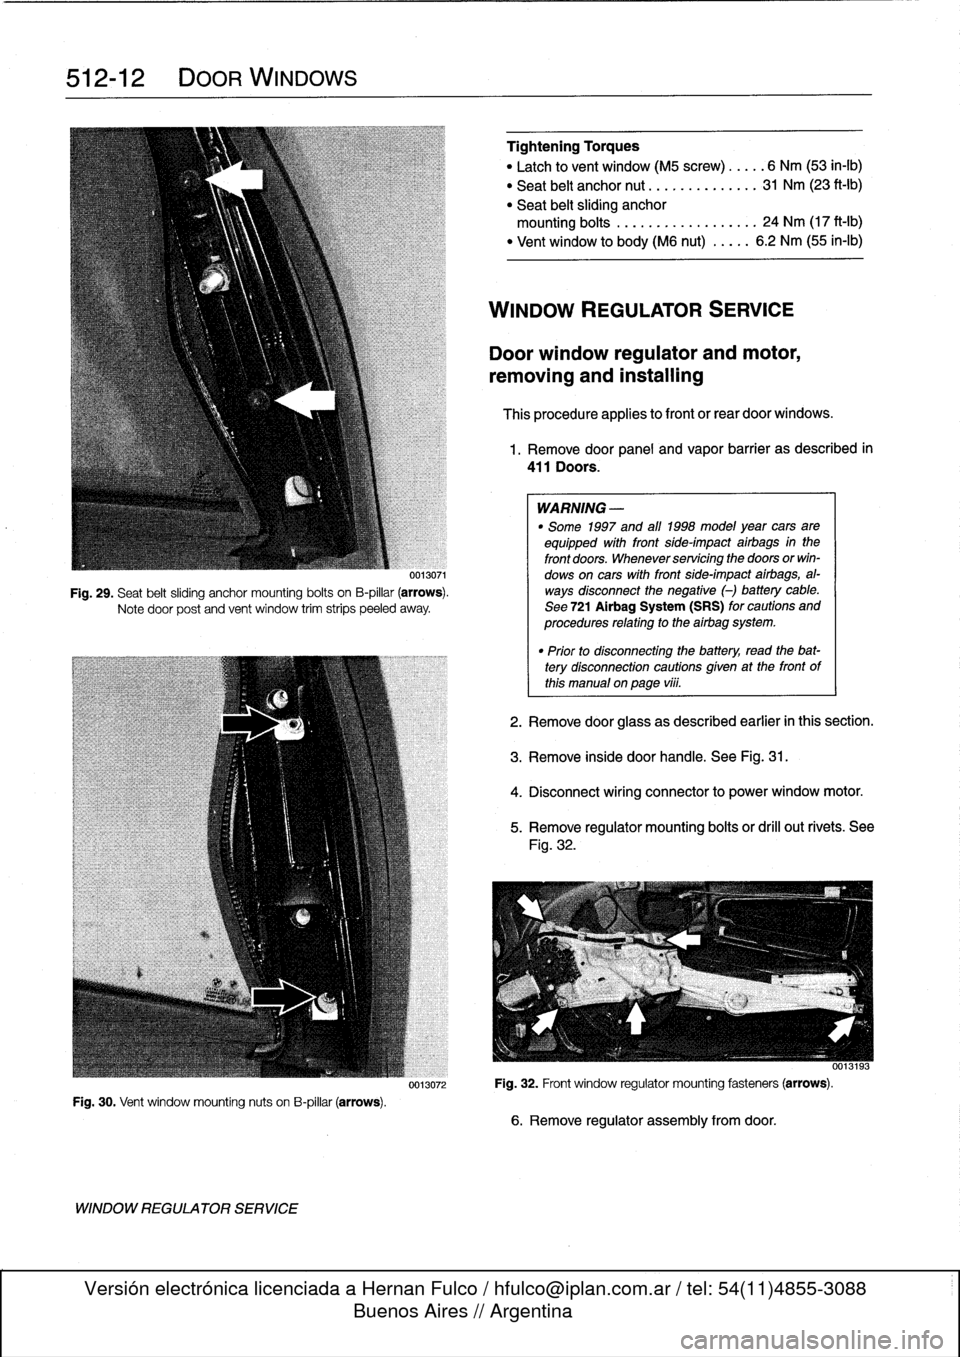
0013193
0013072
Fig
.
32
.
Front
window
regulator
mounting
fasteners
(arrows)
.
6
.
Remove
regulator
assembly
fromdoor
.
Page 361 of 759
GENERAL
This
repair
group
covers
removal
and
installation
of
the
front
and
rear
seats
.
FRONT
SEATS
The
front
seats
installed
in
E36
cars
come
in
either
manual
or
electrically
powered
versions
.
Cloth,vinyl
and
leather
ver-
sions
are
offered
.
M3
sport
seats
have
extra
bolsters
on
the
sides
of
the
sean-back,
a
thigh
support
bolster,
and
extra
con-
trols
for
sean
inclination
.
Seat
removal
and
installation
is
similar
for
all
versions
.
Seat
disassembly
differs
in
details
among
the
many
models
of
seats
.
Front
seat,
removing
and
installing
1
.
Move
seat
to
fui¡
forward
position
and
raise
it
as
far
as
possible
.
Remove
two
mounting
bolts
at
rear
of
sean
rails
.
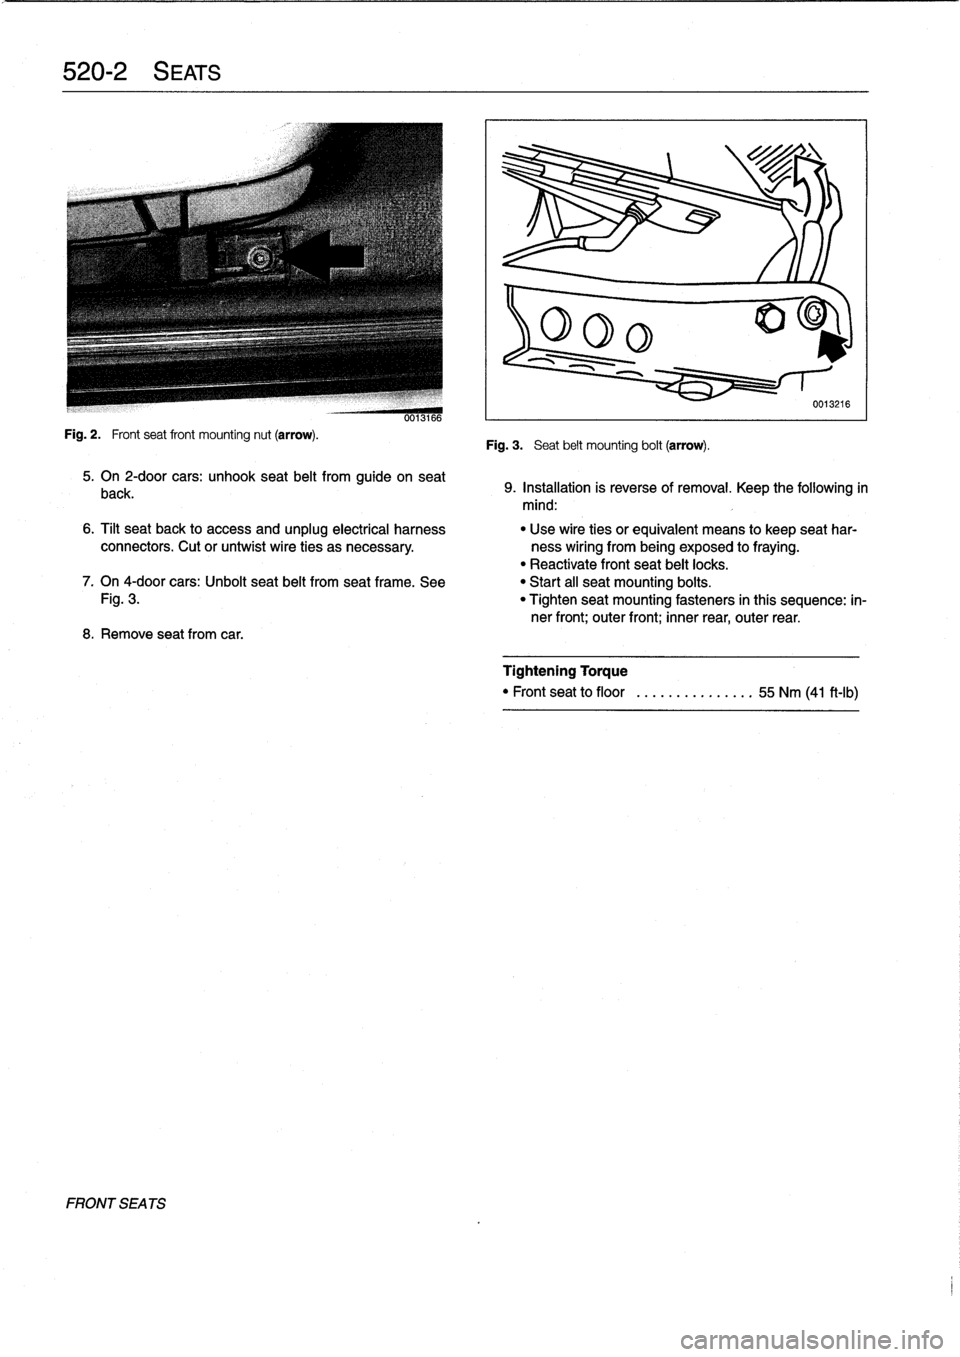
See
Fig
.
1
.
2
.
Move
seat
to
fui¡
rear
position,
keeping
it
raised
.
3
.
Disconnect
negative
(-)
cable
from
battery
.
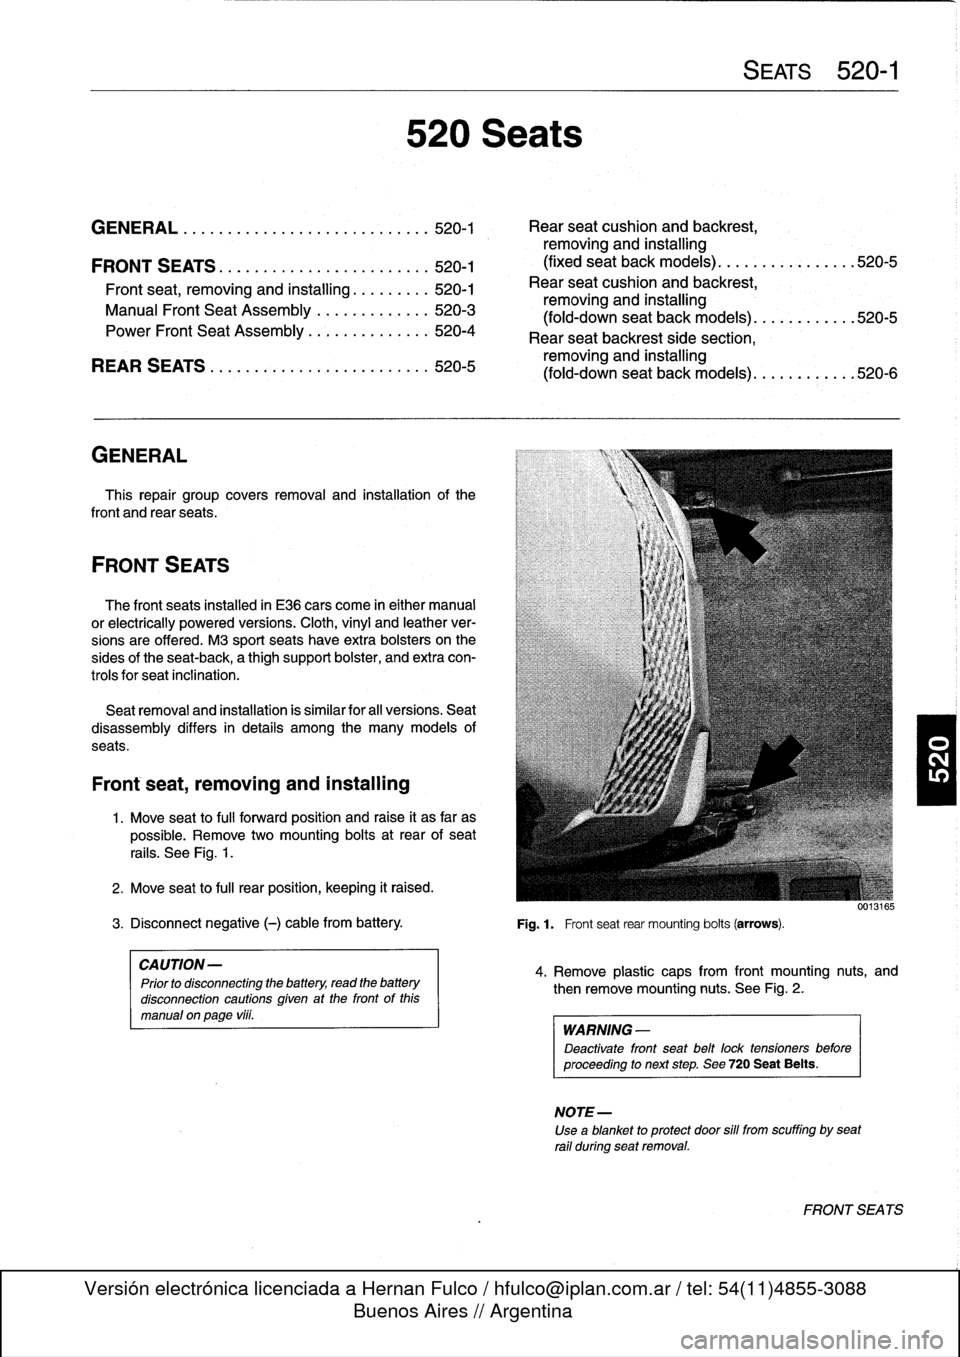
Fig
.1
.
Frontseat
rear
mounting
bolts
(arrows)
.
CAUTION-
Prior
to
disconnecting
the
battery,
read
the
battery
disconnection
cautions
given
at
the
front
of
this
manual
onpage
viii
.
520
Seats
SEATS
520-1
GENERAL
...
.
.
.
.
.
.
.
.
.
..............
.
.
520-1
Rear
seat
cushion
and
backrest,
removing
and
installing
FRONT
SEATS
.
.
.
.
.
.
......
.
.
.
...
.
.
.
.
.
.
520-1
(fixed
seat
back
models)
......
.
.
.
...
.
...
520-5
Front
seat,
removing
and
installing
...
.
.
.
..'
520-1
Rear
seat
cushion
and
backrest,
Manual
Front
Seat
Assembly
.............
520-3
removing
and
installing
fold-downsean
back
models
(
)
..
.
.
..
..
.
...
520-5
Power
Fronf
Seat
Assembly
..
.
.....
.
.
.
.
.
;
520-4
Rear
seat
backrest
side
section,
REAR
SEATS
.
.
.
.
.
.
.
.
.
............
.
...
520-5
removing
and
installing
(fold-down
seat
back
models)
..
.
.....
.
..
.520-6
4
.
Remove
plastic
caps
from
front
mounting
nuts,
and
then
remove
mounting
nuts
.
See
Fig
.
2
.
WARNING
-
Deactivate
front
seat
belt
lock
tensioners
before
proceeding
to
next
step
.
See720
Seat
Belts
.
NOTE-
Use
a
blanket
to
protect
door
sill
from
scuffing
bysean
rail
during
seatremoval
.
FRONT
SEA
TS
Page 362 of 759
520-2
S
EATS
Fig
.
2
.
Frontseat
front
mounting
nut
(arrow)
.
FRONT
SEA
TS
0013166
5
.
On
2-door
cars
:
unhook
seat
belt
from
guide
on
seat
back
.
8
.
Remove
seatfrom
car
.
Fig
.
3
.
Seat
belt
mounting
bolt
(arrow)
.
0013216
9
.
Installation
is
reverse
of
removal
.
Keep
the
following
in
mind
:
6
.
Tilt
seat
back
to
access
and
unplug
electrical
harness
"
Use
wire
ties
orequivalent
means
to
keep
seat
har
connectors
.
Cut
or
untwist
wire
ties
as
necessary
.
ness
wiring
from
being
exposed
to
fraying
.
"
Reactivate
front
seat
belt
locks
.
7
.
On
4-door
cars
:
Unbolt
seat
belt
from
seat
frame
.
See
"
Start
all
seat
mounting
boits
.
Fig
.
3
.
"
Tighten
seat
mounting
fasteners
in
thís
sequence
:
in-
ner
front
;
outer
front
;
inner
rear,
outer
rear
.
Tightening
Torque
"
Front
seat
to
floor
........
.......
55
Nm
(41
ft-Ib)
Page 363 of 759
Manual
Front
Seat
Assembly
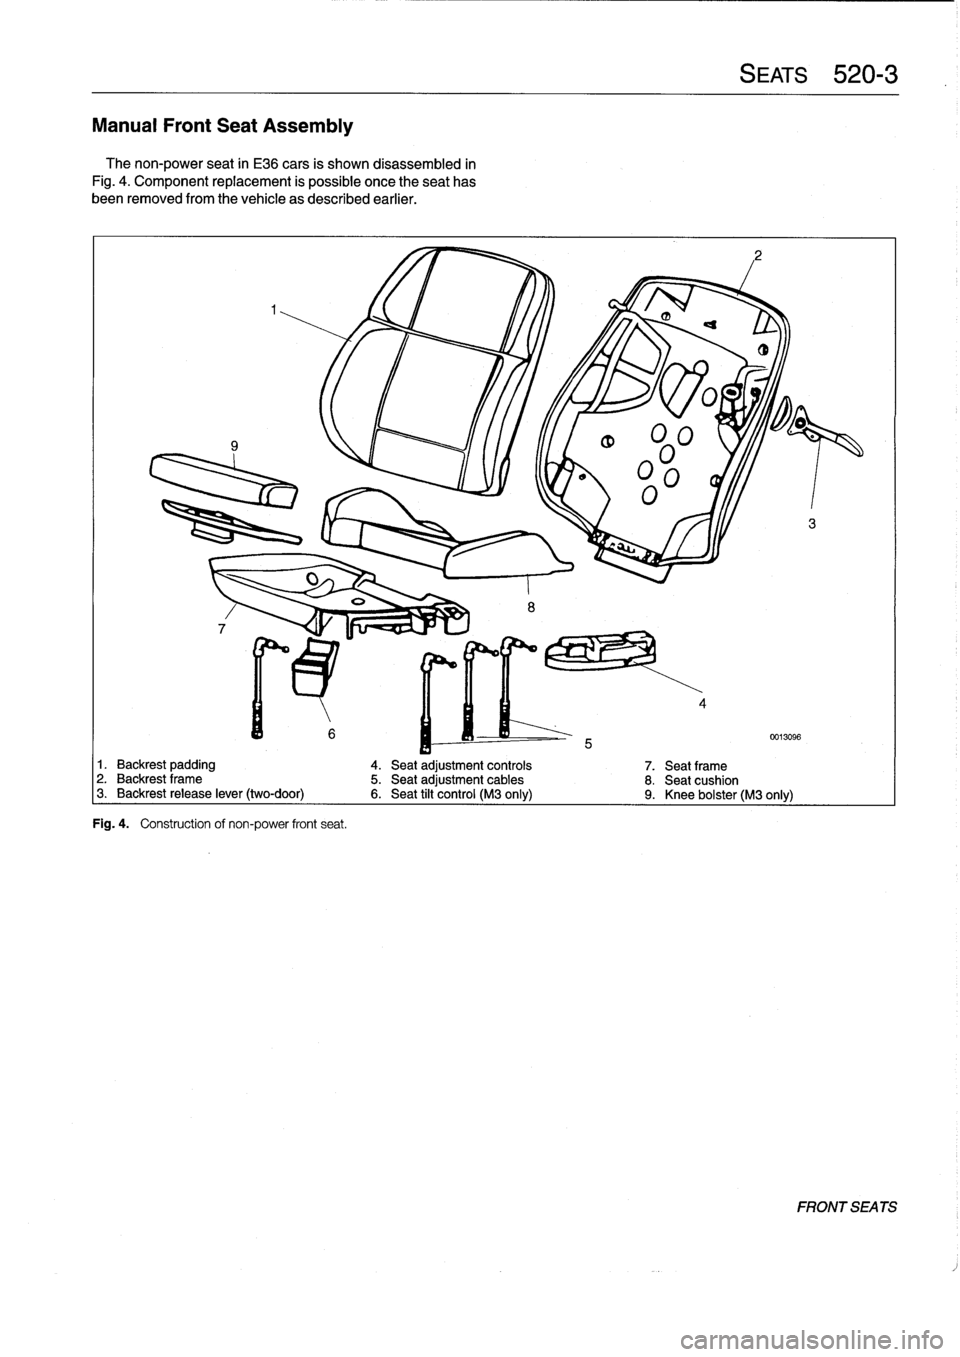
The
non-power
seat
in
E36
cars
is
shown
disassembled
in
Fig
.
4
.
Component
replacement
is
possible
once
theseat
has
been
removed
from
the
vehicle
as
described
earlier
.
Fig
.
4
.
Construction
of
non-power
front
seat
.
SEATS
520-
3
1.
Backrest
padding
4
.
Seat
adjustment
controis
7
.
Seatframe2
.
Backrest
frame
5
.
Seat
adjustmentcables
8
.
Seat
cushion
3
.
Backrest
release
lever
(two-door)
6
.
Seat
tilt
control
(M3
only)
9
.
Knee
bolster
(M3
only)
FRONT
SEA
TS