seat adjustment BMW 325i SEDAN 2003 E46 Owner's Manual
[x] Cancel search | Manufacturer: BMW, Model Year: 2003, Model line: 325i SEDAN, Model: BMW 325i SEDAN 2003 E46Pages: 166, PDF Size: 3.16 MB
Page 8 of 166
Contents
Notes
About this Owner's Manual4
Symbols used4
Your individual vehicle4
Status at time of printing5
For your own safety5
Symbol on vehicle parts6
Service and warranty6
Reporting safety defects6
Overview
Cockpit14
Instrument cluster16
Indicator and warning lamps18
Steering wheel with multifunction
buttons*22
Hazard warning triangle*23
First-aid kit*23
Refueling24
Fuel specifications25
Tire inflation pressure25
Controls and features
Opening and closing:
Keys30
Central locking system30
Opening and closing – via the
remote control31
Opening and closing – via the
door lock33
Opening and closing – from the
inside34
Luggage compartment lid35
Luggage compartment37
Alarm system*38
Electric power windows40
Sliding/tilt sunroof*41
To adjust:
Safe seating position44
Seats44
Manual seat adjustment45
Power seat adjustment*46
Lumbar support*46
Head restraints47
Safety belts47
Seat and mirror memory*49
Seat heating*50
Steering wheel51
Mirrors51
Passenger safety systems:
Airbags53
Transporting children safely55
Vehicle Memory, Key
Memory59
Page 44 of 166
44To adjust
Safe seating positionFor relaxed and fatigue-free driving you
should select a sitting position that
reflects your personal requirements. In
combination with the safety belts and
airbags, the correct seating position
plays an important role in enhancing
occupant safety in the event of an acci-
dent. To ensure that the vehicle's safety
systems provide you with optimal pro-
tection, we request that you direct your
careful attention to the following sec-
tion.
For supplementary information on
transporting children, refer to page 55. Sitting safely with airbags
Always maintain an adequate dis-
tance between yourself and the
airbags. Always hold the steering wheel
by the rim to keep any chance of injury
to hands or arms to an absolute mini-
mum should the airbag be deployed.
Never allow any objects, individuals or
animals to obstruct the areas between
passengers and airbags. Never use the
front airbag's cover as a storage tray or
support for objects of any kind. Never
allow front passengers to rest their feet
or legs on the airbag cover.<
For airbag locations and additional
information on airbags, refer to
page 53.Sitting safely with safety belts
Never allow more than one person
to wear a single safety belt. Never
allow infants or small children to ride in
a passenger's lap. Avoid twisting the
belt while routing it firmly across the
hips and shoulder, wear it as snugly
against your body as possible. Do not
allow the belt to rest against hard or
fragile objects. Do not route the belt
across your neck, or run it across sharp
edges. Be sure that the belt does not
become caught or jammed. Avoid
wearing bulky clothing and pull on the
lap belt periodically to retension it over
your shoulders. In the event of a frontal
impact, a loose lap belt could slide over
your hips, leading to abdominal injury.
In addition, the safety belt's restraint
effectiveness is reduced if it is worn
loosely. Expectant mothers should
always wear their safety belts, taking
care to position the lap belt against the
lower hips, where it will not exert pres-
sure against the abdominal area.<
For information on using the safety
belts, refer to page 47.
SeatsWhen adjusting your seat, always
observe the following precautions
Never try to adjust your seat while
operating the vehicle. The seat
could respond with unexpected move-
ment, and the ensuing loss of vehicle
control could lead to an accident. Never
ride with the backrest reclined to an
extreme angle. This is especially impor-
tant for the front passenger to remem-
ber. If you do so, there is a risk that you
will slide under the safety belt in an
accident, thus reducing the protection
provided by the safety belt.<
Seat adjustment>Manual seat adjustment, refer to
page 45
>Power seat adjustment, refer to
page 46
>Head restraint, refer to page 47.
Page 45 of 166
45
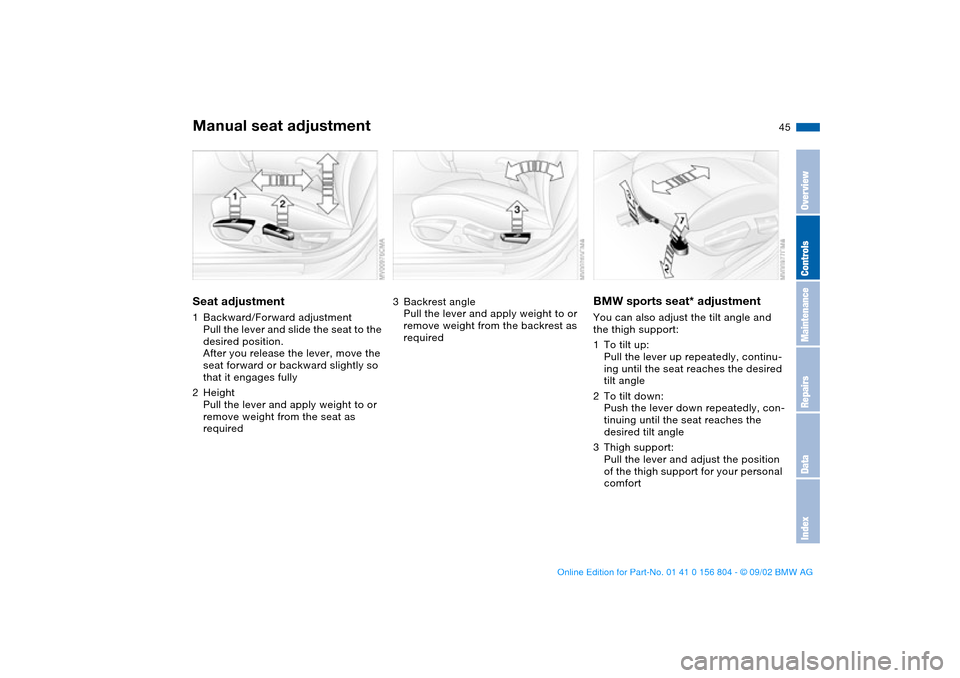
Manual seat adjustmentSeat adjustment1Backward/Forward adjustment
Pull the lever and slide the seat to the
desired position.
After you release the lever, move the
seat forward or backward slightly so
that it engages fully
2Height
Pull the lever and apply weight to or
remove weight from the seat as
required
3Backrest angle
Pull the lever and apply weight to or
remove weight from the backrest as
required
BMW sports seat* adjustmentYou can also adjust the tilt angle and
the thigh support:
1To tilt up:
Pull the lever up repeatedly, continu-
ing until the seat reaches the desired
tilt angle
2To tilt down:
Push the lever down repeatedly, con-
tinuing until the seat reaches the
desired tilt angle
3Thigh support:
Pull the lever and adjust the position
of the thigh support for your personal
comfort
OverviewControlsMaintenanceRepairsDataIndex
Page 46 of 166
46
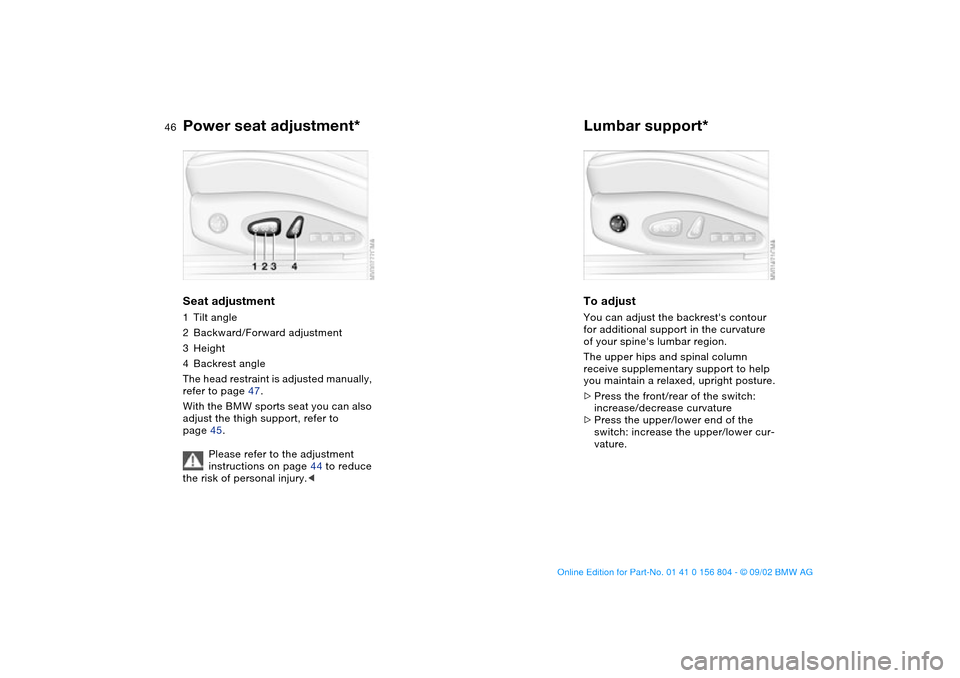
Power seat adjustment*Seat adjustment1Tilt angle
2Backward/Forward adjustment
3Height
4Backrest angle
The head restraint is adjusted manually,
refer to page 47.
With the BMW sports seat you can also
adjust the thigh support, refer to
page 45.
Please refer to the adjustment
instructions on page 44 to reduce
the risk of personal injury.<
Lumbar support*To adjustYou can adjust the backrest's contour
for additional support in the curvature
of your spine's lumbar region.
The upper hips and spinal column
receive supplementary support to help
you maintain a relaxed, upright posture.
>Press the front/rear of the switch:
increase/decrease curvature
>Press the upper/lower end of the
switch: increase the upper/lower cur-
vature.
Page 48 of 166
48
The rear belt buckle with the word
CENTER is intended exclusively
for the passenger sitting in the mid-
dle.<
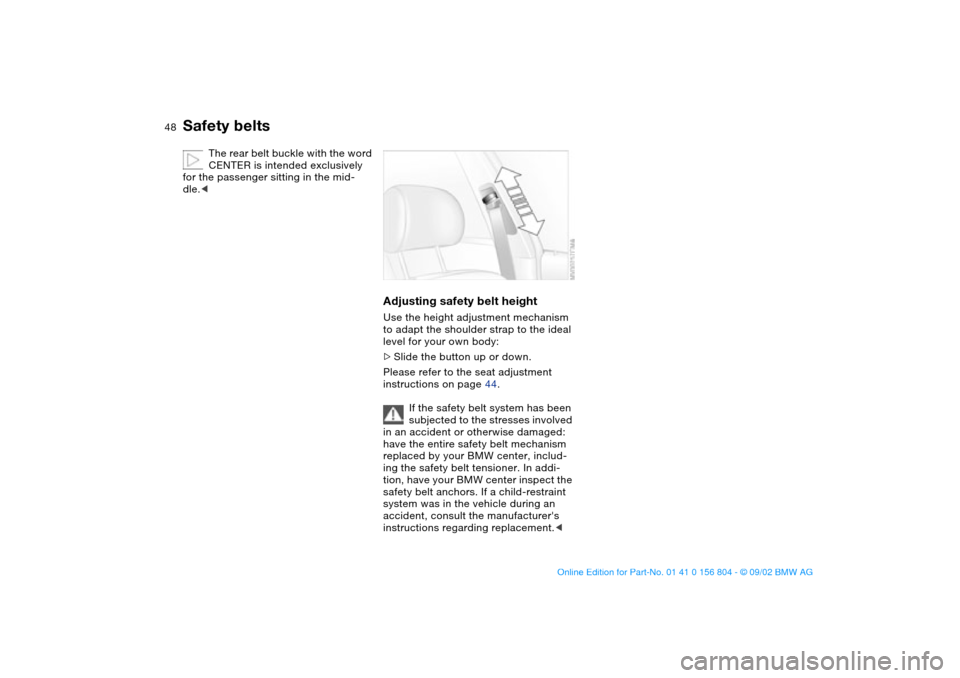
Adjusting safety belt heightUse the height adjustment mechanism
to adapt the shoulder strap to the ideal
level for your own body:
>Slide the button up or down.
Please refer to the seat adjustment
instructions on page 44.
If the safety belt system has been
subjected to the stresses involved
in an accident or otherwise damaged:
have the entire safety belt mechanism
replaced by your BMW center, includ-
ing the safety belt tensioner. In addi-
tion, have your BMW center inspect the
safety belt anchors. If a child-restraint
system was in the vehicle during an
accident, consult the manufacturer's
instructions regarding replacement.<
Safety belts
Page 49 of 166
49
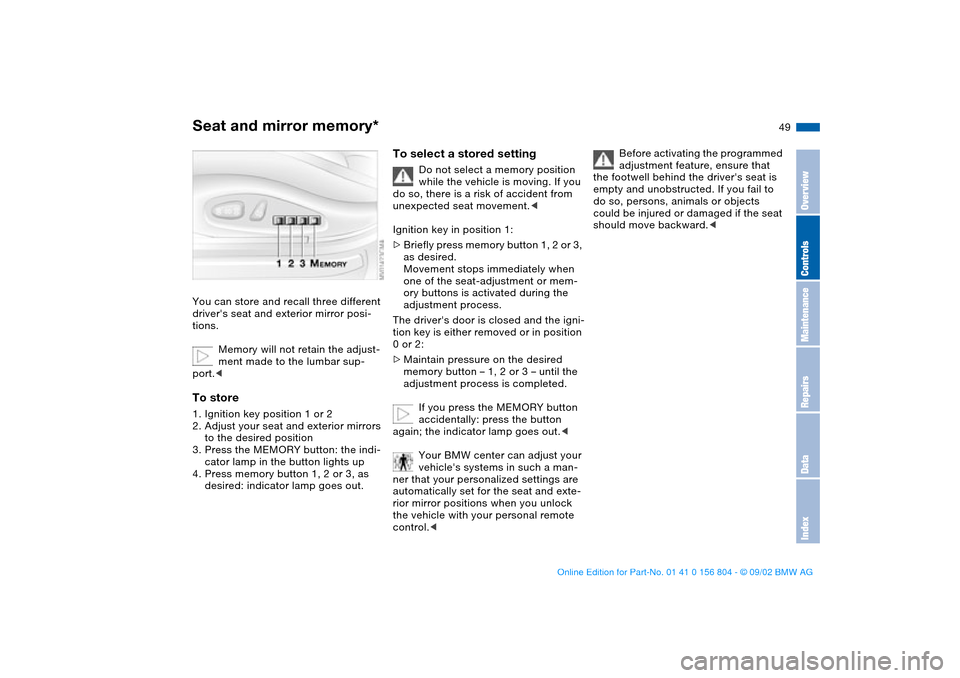
Seat and mirror memory*You can store and recall three different
driver's seat and exterior mirror posi-
tions.
Memory will not retain the adjust-
ment made to the lumbar sup-
port.
to the desired position
3. Press the MEMORY button: the indi-
cator lamp in the button lights up
4. Press memory button 1, 2 or 3, as
desired: indicator lamp goes out.
To select a stored setting
Do not select a memory position
while the vehicle is moving. If you
do so, there is a risk of accident from
unexpected seat movement.<
Ignition key in position 1:
>Briefly press memory button 1, 2 or 3,
as desired.
Movement stops immediately when
one of the seat-adjustment or mem-
ory buttons is activated during the
adjustment process.
The driver's door is closed and the igni-
tion key is either removed or in position
0 or 2:
>Maintain pressure on the desired
memory button – 1, 2 or 3 – until the
adjustment process is completed.
If you press the MEMORY button
accidentally: press the button
again; the indicator lamp goes out.<
Your BMW center can adjust your
vehicle's systems in such a man-
ner that your personalized settings are
automatically set for the seat and exte-
rior mirror positions when you unlock
the vehicle with your personal remote
control.<
Before activating the programmed
adjustment feature, ensure that
the footwell behind the driver's seat is
empty and unobstructed. If you fail to
do so, persons, animals or objects
could be injured or damaged if the seat
should move backward.<
OverviewControlsMaintenanceRepairsDataIndex
Page 51 of 166
51
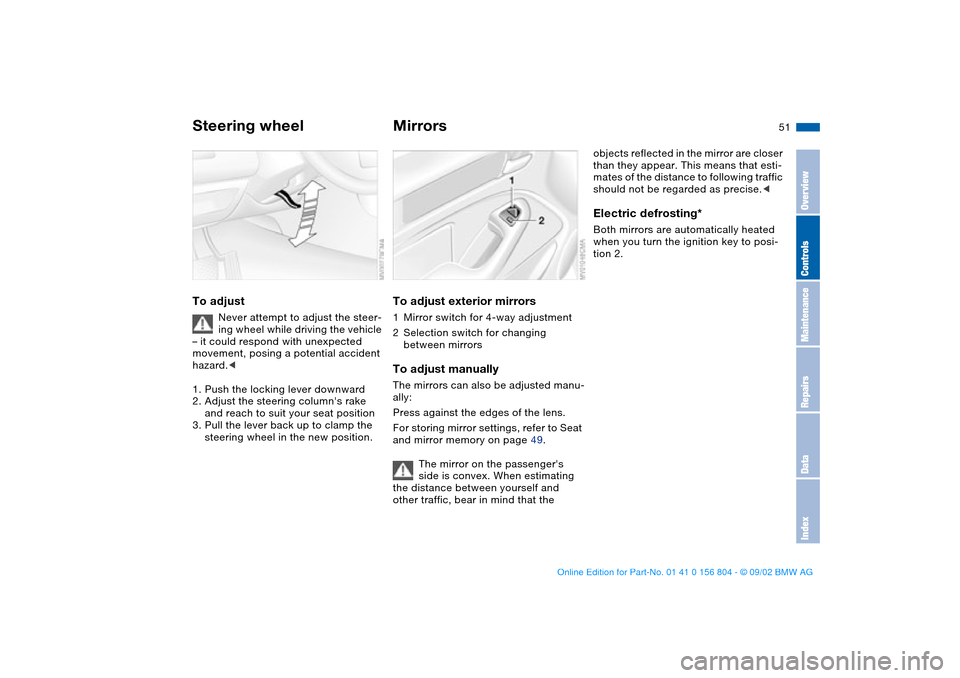
Steering wheelTo adjust
Never attempt to adjust the steer-
ing wheel while driving the vehicle
– it could respond with unexpected
movement, posing a potential accident
hazard.<
1. Push the locking lever downward
2. Adjust the steering column's rake
and reach to suit your seat position
3. Pull the lever back up to clamp the
steering wheel in the new position.
MirrorsTo adjust exterior mirrors1Mirror switch for 4-way adjustment
2Selection switch for changing
between mirrorsTo adjust manuallyThe mirrors can also be adjusted manu-
ally:
Press against the edges of the lens.
For storing mirror settings, refer to Seat
and mirror memory on page 49.
The mirror on the passenger's
side is convex. When estimating
the distance between yourself and
other traffic, bear in mind that the
objects reflected in the mirror are closer
than they appear. This means that esti-
mates of the distance to following traffic
should not be regarded as precise.
tion 2.
OverviewControlsMaintenanceRepairsDataIndex
Page 59 of 166
59
Vehicle Memory, Key MemoryHow the system functionsNo doubt you have reflected at one
time or another on how great it would
be if you could permanently configure
your vehicle's various features and
adjustments to mirror your own individ-
ual preferences. In engineering your
vehicle, BMW has provided for a num-
ber of options for personal adjustment
that can be programmed into your vehi-
cle at your BMW center.
The available configuration data fall into
two categories, according to whether
their primary orientation is the vehicle –
Vehicle Memory – or the individual –
Key Memory. Provided that each per-
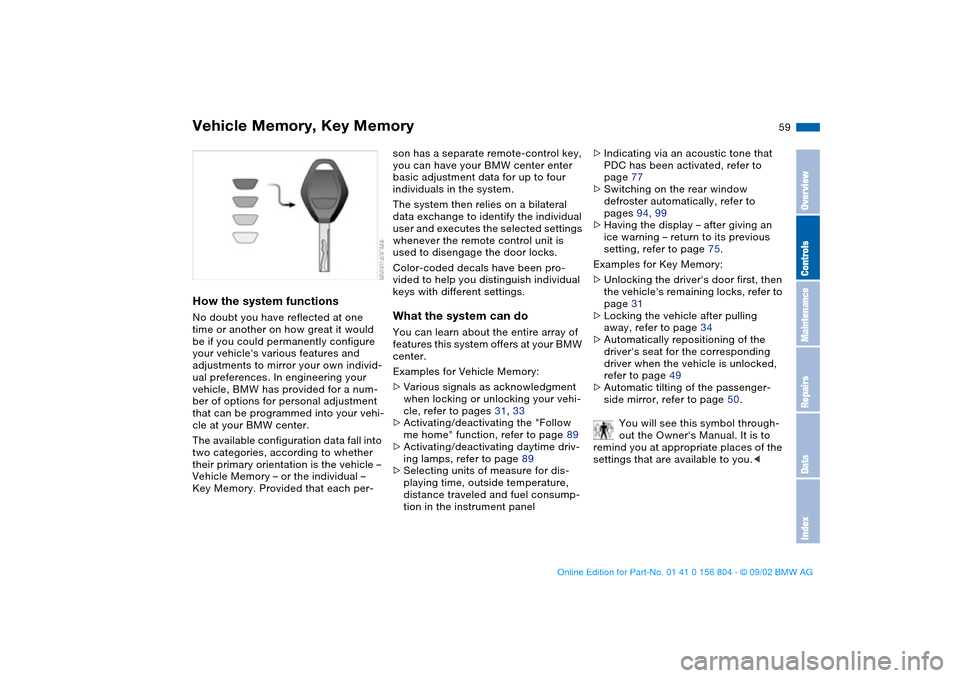
son has a separate remote-control key,
you can have your BMW center enter
basic adjustment data for up to four
individuals in the system.
The system then relies on a bilateral
data exchange to identify the individual
user and executes the selected settings
whenever the remote control unit is
used to disengage the door locks.
Color-coded decals have been pro-
vided to help you distinguish individual
keys with different settings.What the system can doYou can learn about the entire array of
features this system offers at your BMW
center.
Examples for Vehicle Memory:
>Various signals as acknowledgment
when locking or unlocking your vehi-
cle, refer to pages 31, 33
>Activating/deactivating the "Follow
me home" function, refer to page 89
>Activating/deactivating daytime driv-
ing lamps, refer to page 89
>Selecting units of measure for dis-
playing time, outside temperature,
distance traveled and fuel consump-
tion in the instrument panel>Indicating via an acoustic tone that
PDC has been activated, refer to
page 77
>Switching on the rear window
defroster automatically, refer to
pages 94, 99
>Having the display – after giving an
ice warning – return to its previous
setting, refer to page 75.
Examples for Key Memory:
>Unlocking the driver's door first, then
the vehicle's remaining locks, refer to
page 31
>Locking the vehicle after pulling
away, refer to page 34
>Automatically repositioning of the
driver's seat for the corresponding
driver when the vehicle is unlocked,
refer to page 49
>Automatic tilting of the passenger-
side mirror, refer to page 50.
You will see this symbol through-
out the Owner's Manual. It is to
remind you at appropriate places of the
settings that are available to you.<
OverviewControlsMaintenanceRepairsDataIndex
Page 159 of 166
Everything from A to Z
159
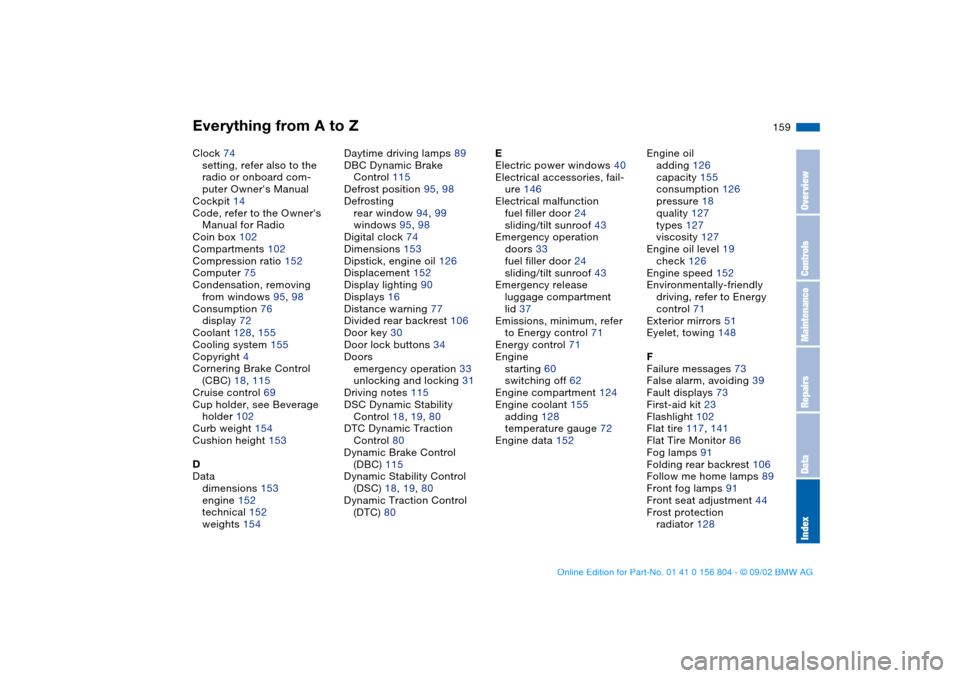
Clock 74
setting, refer also to the
radio or onboard com-
puter Owner's Manual
Cockpit 14
Code, refer to the Owner's
Manual for Radio
Coin box 102
Compartments 102
Compression ratio 152
Computer 75
Condensation, removing
from windows 95, 98
Consumption 76
display 72
Coolant 128, 155
Cooling system 155
Copyright 4
Cornering Brake Control
(CBC) 18, 115
Cruise control 69
Cup holder, see Beverage
holder 102
Curb weight 154
Cushion height 153
D
Data
dimensions 153
engine 152
technical 152
weights 154Daytime driving lamps 89
DBC Dynamic Brake
Control 115
Defrost position 95, 98
Defrosting
rear window 94, 99
windows 95, 98
Digital clock 74
Dimensions 153
Dipstick, engine oil 126
Displacement 152
Display lighting 90
Displays 16
Distance warning 77
Divided rear backrest 106
Door key 30
Door lock buttons 34
Doors
emergency operation 33
unlocking and locking 31
Driving notes 115
DSC Dynamic Stability
Control 18, 19, 80
DTC Dynamic Traction
Control 80
Dynamic Brake Control
(DBC) 115
Dynamic Stability Control
(DSC) 18, 19, 80
Dynamic Traction Control
(DTC) 80E
Electric power windows 40
Electrical accessories, fail-
ure 146
Electrical malfunction
fuel filler door 24
sliding/tilt sunroof 43
Emergency operation
doors 33
fuel filler door 24
sliding/tilt sunroof 43
Emergency release
luggage compartment
lid 37
Emissions, minimum, refer
to Energy control 71
Energy control 71
Engine
starting 60
switching off 62
Engine compartment 124
Engine coolant 155
adding 128
temperature gauge 72
Engine data 152Engine oil
adding 126
capacity 155
consumption 126
pressure 18
quality 127
types 127
viscosity 127
Engine oil level 19
check 126
Engine speed 152
Environmentally-friendly
driving, refer to Energy
control 71
Exterior mirrors 51
Eyelet, towing 148
F
Failure messages 73
False alarm, avoiding 39
Fault displays 73
First-aid kit 23
Flashlight 102
Flat tire 117, 141
Flat Tire Monitor 86
Fog lamps 91
Folding rear backrest 106
Follow me home lamps 89
Front fog lamps 91
Front seat adjustment 44
Frost protection
radiator 128
OverviewControlsMaintenanceRepairsDataIndex
Page 161 of 166
Everything from A to Z
161
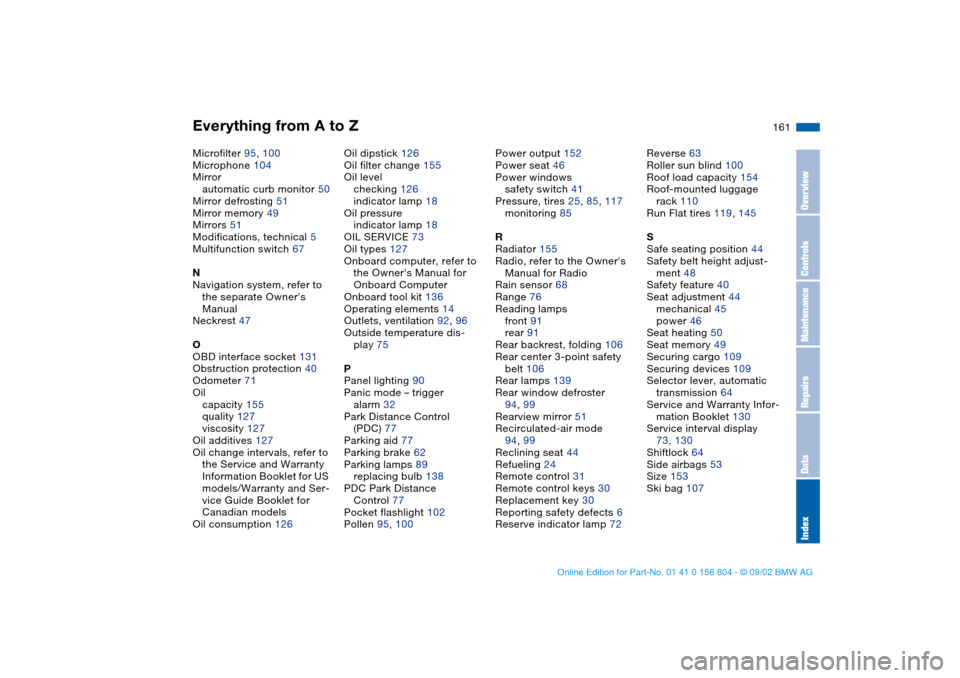
Microfilter 95, 100
Microphone 104
Mirror
automatic curb monitor 50
Mirror defrosting 51
Mirror memory 49
Mirrors 51
Modifications, technical 5
Multifunction switch 67
N
Navigation system, refer to
the separate Owner's
Manual
Neckrest 47
O
OBD interface socket 131
Obstruction protection 40
Odometer 71
Oil
capacity 155
quality 127
viscosity 127
Oil additives 127
Oil change intervals, refer to
the Service and Warranty
Information Booklet for US
models/Warranty and Ser-
vice Guide Booklet for
Canadian models
Oil consumption 126Oil dipstick 126
Oil filter change 155
Oil level
checking 126
indicator lamp 18
Oil pressure
indicator lamp 18
OIL SERVICE 73
Oil types 127
Onboard computer, refer to
the Owner's Manual for
Onboard Computer
Onboard tool kit 136
Operating elements 14
Outlets, ventilation 92, 96
Outside temperature dis-
play 75
P
Panel lighting 90
Panic mode – trigger
alarm 32
Park Distance Control
(PDC) 77
Parking aid 77
Parking brake 62
Parking lamps 89
replacing bulb 138
PDC Park Distance
Control 77
Pocket flashlight 102
Pollen 95, 100Power output 152
Power seat 46
Power windows
safety switch 41
Pressure, tires 25, 85, 117
monitoring 85
R
Radiator 155
Radio, refer to the Owner's
Manual for Radio
Rain sensor 68
Range 76
Reading lamps
front 91
rear 91
Rear backrest, folding 106
Rear center 3-point safety
belt 106
Rear lamps 139
Rear window defroster
94, 99
Rearview mirror 51
Recirculated-air mode
94, 99
Reclining seat 44
Refueling 24
Remote control 31
Remote control keys 30
Replacement key 30
Reporting safety defects 6
Reserve indicator lamp 72Reverse 63
Roller sun blind 100
Roof load capacity 154
Roof-mounted luggage
rack 110
Run Flat tires 119, 145
S
Safe seating position 44
Safety belt height adjust-
ment 48
Safety feature 40
Seat adjustment 44
mechanical 45
power 46
Seat heating 50
Seat memory 49
Securing cargo 109
Securing devices 109
Selector lever, automatic
transmission 64
Service and Warranty Infor-
mation Booklet 130
Service interval display
73, 130
Shiftlock 64
Side airbags 53
Size 153
Ski bag 107
OverviewControlsMaintenanceRepairsDataIndex