inflation pressure BMW 325xi TOURING 2003 E46 Owner's Manual
[x] Cancel search | Manufacturer: BMW, Model Year: 2003, Model line: 325xi TOURING, Model: BMW 325xi TOURING 2003 E46Pages: 166, PDF Size: 4.29 MB
Page 8 of 166
Contents
Notes
About this Owner's Manual4
Symbols used4
Your individual vehicle4
Status at time of printing5
For your own safety5
Symbol on vehicle parts6
Service and warranty6
Reporting safety defects6
Overview
Cockpit14
Instrument cluster16
Indicator and warning lamps18
Steering wheel with multifunction
buttons*22
Hazard warning triangle*23
First-aid kit*23
Refueling24
Fuel specifications25
Tire inflation pressure25
Controls and features
Opening and closing:
Keys30
Central locking system30
Opening and closing – via the
remote control31
Opening and closing – via the
door lock33
Opening and closing – from the
inside34
Tailgate34
Rear window35
Cargo area36
Alarm system*37
Electric power windows39
Sliding/tilt sunroof*40
To adjust:
Safe seating position43
Seats44
Manual seat adjustment44
Power seat adjustment*46
Lumbar support*46
Head restraints47
Safety belts47
Seat and mirror memory*48
Seat heating*49
Steering wheel50
Mirrors50
handbook.book Page 8 Saturday, July 27, 2002 1:36 PM
Page 10 of 166
Contents
Operation, maintenance
Special operating instructions:
Break-in procedures114
Driving notes115
Antilock Brake System
(ABS)115
Brake system116
Wheels and tires:
Tire inflation pressure117
Tire condition117
Tire replacement118
Wheel and tire
combinations120
Winter tires120
In the engine compartment:
Hood122
Engine compartment
essentials124
Washer fluids126
Engine oil126
Coolant128
Brake fluid129
Maintenance:
The BMW Maintenance
System130
Laws and regulations:
California Proposition 65
warning132
OBD interface socket132
Owner service procedures
Replacement procedures:
Onboard tool kit136
Windshield wiper blades136
Lamps and bulbs137
Changing a wheel141
Run Flat tires*145
Battery146
Fuses146 Giving and receiving
assistance: Jump-starting147
Towing the vehicle148
Technical data
Engine data152
Dimensions153
Weights154
Capacities155
handbook.book Page 10 Saturday, July 27, 2002 1:36 PM
Page 19 of 166
19
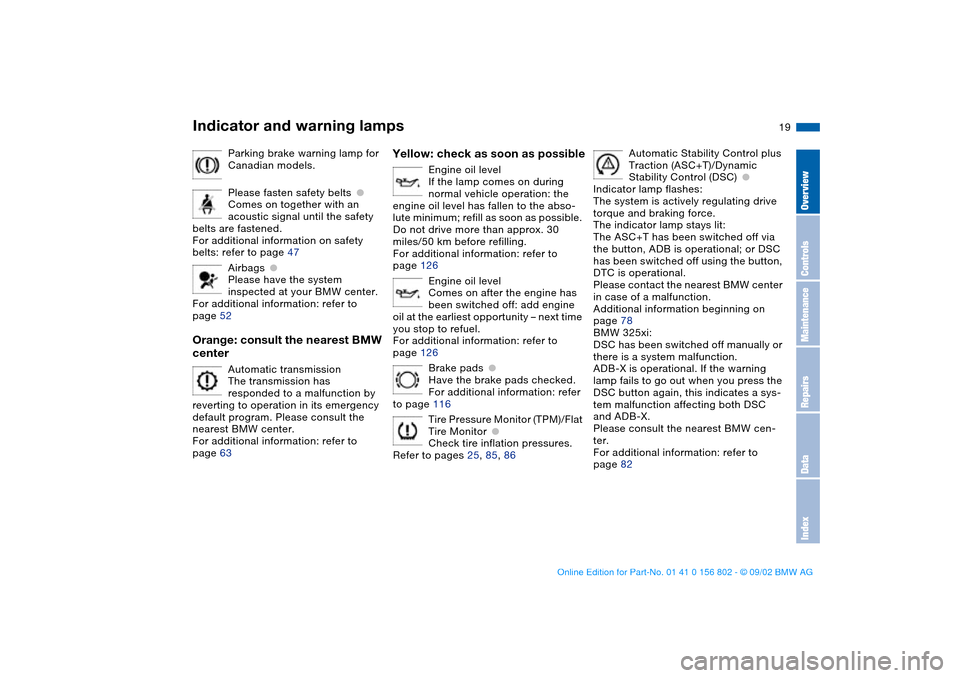
Parking brake warning lamp for
Canadian models.
Please fasten safety belts
●
Comes on together with an
acoustic signal until the safety
belts are fastened.
For additional information on safety
belts: refer to page 47
Airbags
●
Please have the system
inspected at your BMW center.
For additional information: refer to
page 52
Orange: consult the nearest BMW
center
Automatic transmission
The transmission has
responded to a malfunction by
reverting to operation in its emergency
default program. Please consult the
nearest BMW center.
For additional information: refer to
page 63
Yellow: check as soon as possible
Engine oil level
If the lamp comes on during
normal vehicle operation: the
engine oil level has fallen to the abso-
lute minimum; refill as soon as possible.
Do not drive more than approx. 30
miles/50 km before refilling.
For additional information: refer to
page 126
Engine oil level
Comes on after the engine has
been switched off: add engine
oil at the earliest opportunity – next time
you stop to refuel.
For additional information: refer to
page 126
Brake pads
●
Have the brake pads checked.
For additional information: refer
to page 116
Tire Pressure Monitor (TPM)/Flat
Tire Monitor
●
Check tire inflation pressures.
Refer to pages 25, 85, 86
Automatic Stability Control plus
Traction (ASC+T)/Dynamic
Stability Control (DSC)
●
Indicator lamp flashes:
The system is actively regulating drive
torque and braking force.
The indicator lamp stays lit:
The ASC+T has been switched off via
the button, ADB is operational; or DSC
has been switched off using the button,
DTC is operational.
Please contact the nearest BMW center
in case of a malfunction.
Additional information beginning on
page 78
BMW 325xi:
DSC has been switched off manually or
there is a system malfunction.
ADB-X is operational. If the warning
lamp fails to go out when you press the
DSC button again, this indicates a sys-
tem malfunction affecting both DSC
and ADB-X.
Please consult the nearest BMW cen-
ter.
For additional information: refer to
page 82
Indicator and warning lamps
OverviewControlsMaintenanceRepairsDataIndex
handbook.book Page 19 Saturday, July 27, 2002 1:36 PM
Page 25 of 166
25
Close the fuel filler cap carefully
after refueling until a click is
heard. While closing, be sure not to
squeeze the strap which is fastened to
the cap. A loose or missing cap will
activate the CHECK FILLER CAP
lamp.<
Fuel tank capacity>Approx. 16.6 gal./63 liters, of which
>approx. 2.1 gal./8 liters are reserve
capacity.
Do not drive to the last drop of
fuel. This can prevent the engine
from operating properly and result in
damage.<
Fuel specificationsThe engine uses lead-free gasoline
only.
Required fuel:
>Premium Unleaded Gasoline,
min. 91 AKI.
AKI = Anti Knock Index
Never use leaded fuel, as it would
cause permanent and irreversible
damage to the oxygen sensor and the
catalytic converter.<
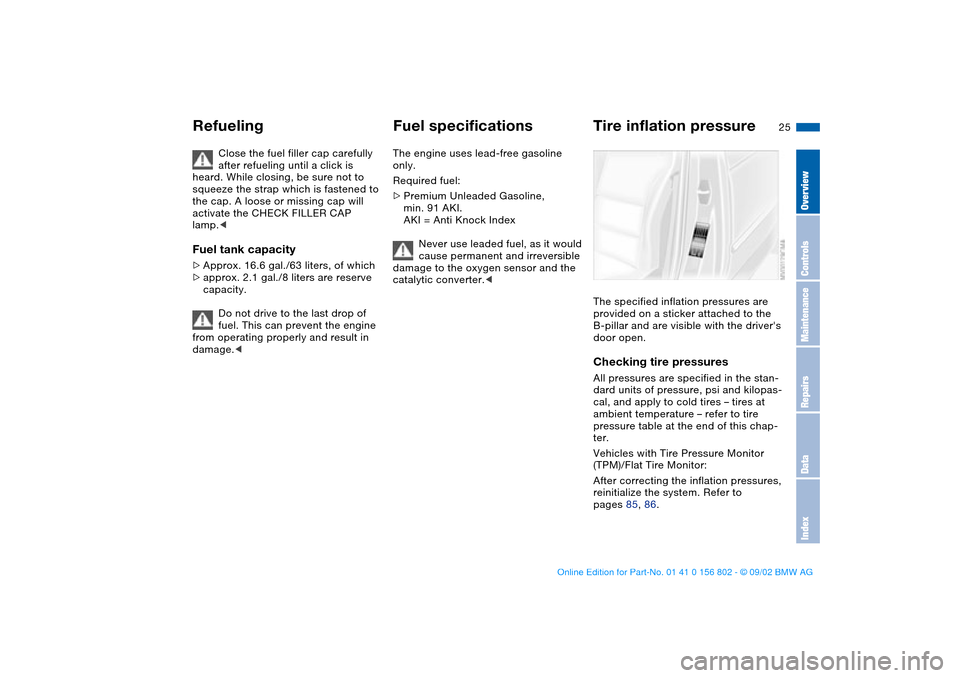
Tire inflation pressureThe specified inflation pressures are
provided on a sticker attached to the
B-pillar and are visible with the driver's
door open.Checking tire pressuresAll pressures are specified in the stan-
dard units of pressure, psi and kilopas-
cal, and apply to cold tires – tires at
ambient temperature – refer to tire
pressure table at the end of this chap-
ter.
Vehicles with Tire Pressure Monitor
(TPM)/Flat Tire Monitor:
After correcting the inflation pressures,
reinitialize the system. Refer to
pages 85, 86.
Refueling
OverviewControlsMaintenanceRepairsDataIndex
handbook.book Page 25 Saturday, July 27, 2002 1:36 PM
Page 26 of 166
26
Another instruction plate regarding
inflation pressures on the door pillar
indicates which system your vehicle is
equipped with.
Check the tire pressures on a reg-
ular basis – at least twice a month
– and before every extended journey. If
this is not done, incorrect tire pressures
can cause driving instability and tire
damage, ultimately resulting in an acci-
dent.
Remember to check the inflation pres-
sure in the space-saver or standard
spare tire, refer to page 141.
Inflate the spare tire to the highest infla-
tion pressure specified for your vehi-
cle.
apply to BMW approved tire sizes and
tire manufacturers. Your BMW center
can provide you with more information
about these. Higher pressures may be
required for tires made by other manu-
facturers.
Your vehicle is equipped with tires that
not only meet US standards, but also
European standards. We recommend
the exclusive use of BMW approved
tires.
Tire inflation pressure
handbook.book Page 26 Saturday, July 27, 2002 1:36 PM
Page 27 of 166
27
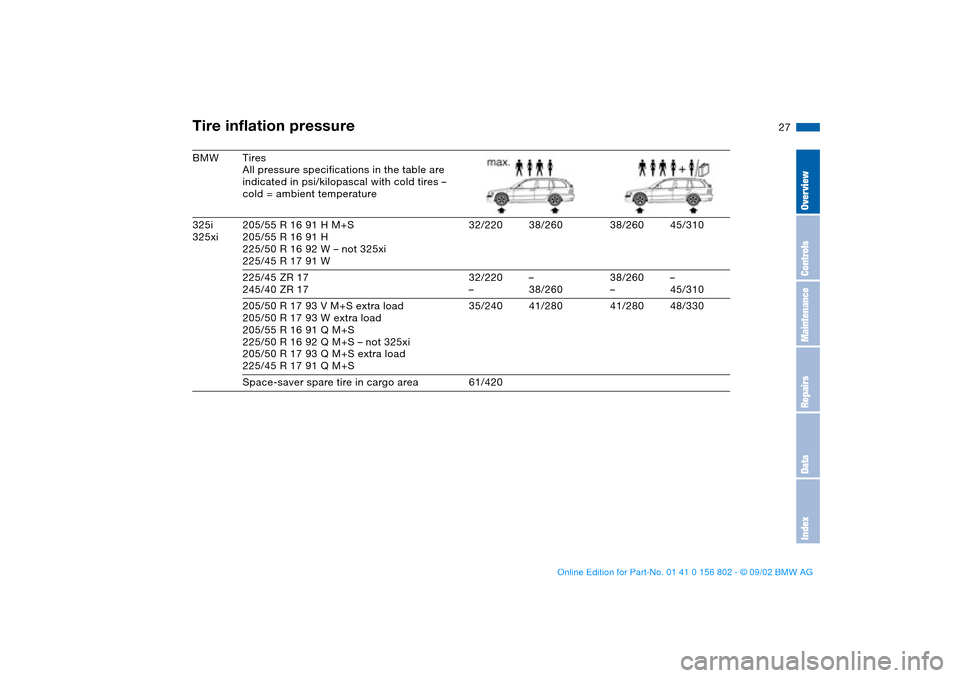
BMW Tires
All pressure specifications in the table are
indicated in psi/kilopascal with cold tires –
cold = ambient temperature
325i
325xi205/55 R 16 91 H M+S
205/55 R 16 91 H
225/50 R 16 92 W – not 325xi
225/45 R 17 91 W32/220 38/260 38/260 45/310
225/45 ZR 17
245/40 ZR 1732/220
––
38/26038/260
––
45/310
205/50 R 17 93 V M+S extra load
205/50 R 17 93 W extra load
205/55 R 16 91 Q M+S
225/50 R 16 92 Q M+S – not 325xi
205/50 R 17 93 Q M+S extra load
225/45 R 17 91 Q M+S35/240 41/280 41/280 48/330
Space-saver spare tire in cargo area 61/420Tire inflation pressure
OverviewControlsMaintenanceRepairsDataIndex
handbook.book Page 27 Saturday, July 27, 2002 1:36 PM
Page 85 of 166
85
Tire Pressure Monitor (TPM)*The conceptTPM monitors the tire pressures at all
four tires while the vehicle is moving.
The system provides an alert whenever
the inflation pressure drops significantly
below the specified pressure in one or
more tires.
This indicator lamp in the instru-
ment cluster informs you when
the tire pressure deviates from
the target values.
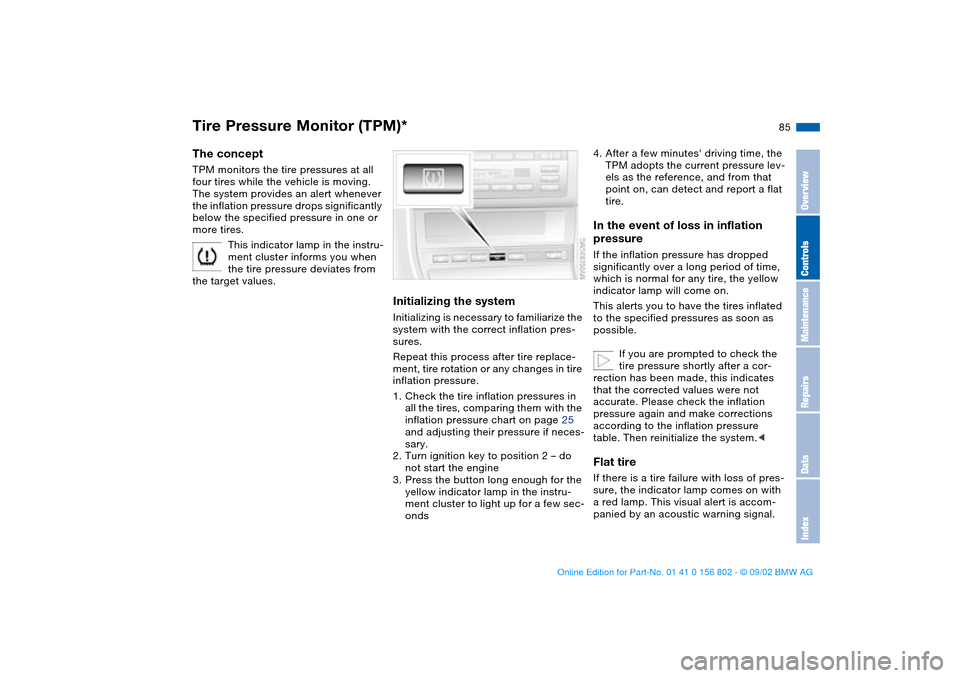
Initializing the systemInitializing is necessary to familiarize the
system with the correct inflation pres-
sures.
Repeat this process after tire replace-
ment, tire rotation or any changes in tire
inflation pressure.
1. Check the tire inflation pressures in
all the tires, comparing them with the
inflation pressure chart on page 25
and adjusting their pressure if neces-
sary.
2. Turn ignition key to position 2 – do
not start the engine
3. Press the button long enough for the
yellow indicator lamp in the instru-
ment cluster to light up for a few sec-
onds
4. After a few minutes' driving time, the
TPM adopts the current pressure lev-
els as the reference, and from that
point on, can detect and report a flat
tire.In the event of loss in inflation
pressureIf the inflation pressure has dropped
significantly over a long period of time,
which is normal for any tire, the yellow
indicator lamp will come on.
This alerts you to have the tires inflated
to the specified pressures as soon as
possible.
If you are prompted to check the
tire pressure shortly after a cor-
rection has been made, this indicates
that the corrected values were not
accurate. Please check the inflation
pressure again and make corrections
according to the inflation pressure
table. Then reinitialize the system.
a red lamp. This visual alert is accom-
panied by an acoustic warning signal.
OverviewControlsMaintenanceRepairsDataIndex
handbook.book Page 85 Saturday, July 27, 2002 1:36 PM
Page 87 of 166
87
Initializing the systemInitializing is necessary to familiarize the
system with the correct inflation pres-
sure.
Repeat this process after any changes
in tire inflation pressure, tire rotation or
replacement. Do not carry out further
system initialization after adjusting the
inflation pressure and letting the system
"learn" the correct pressures.
1. Check the tire inflation pressures in
all the tires, comparing them with the
inflation pressure chart on page 25
and adjusting their pressure if neces-
sary
2. Turn the ignition key to position 2
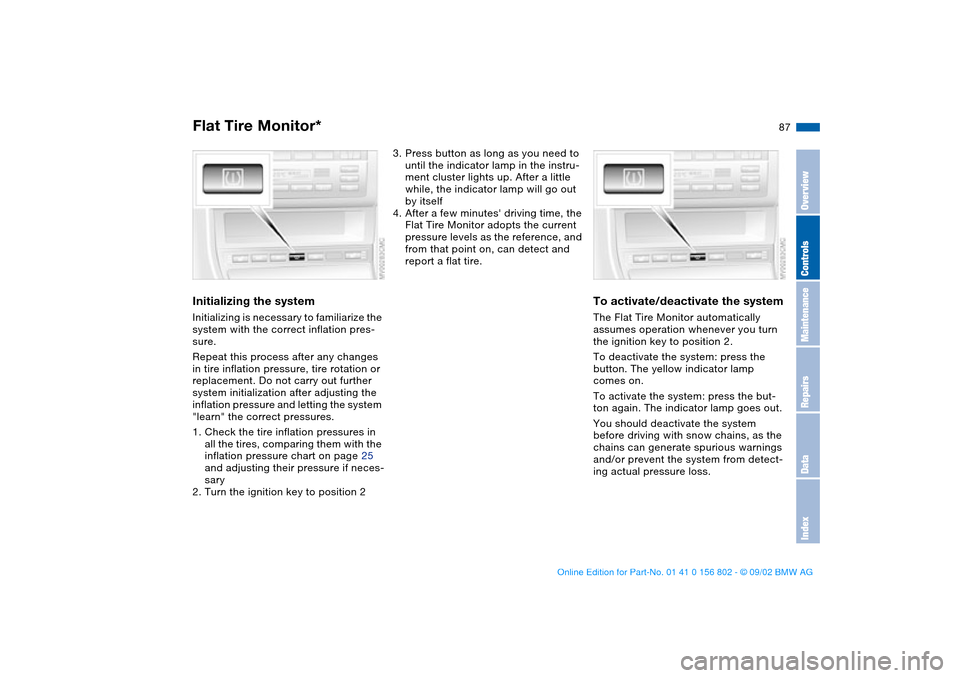
3. Press button as long as you need to
until the indicator lamp in the instru-
ment cluster lights up. After a little
while, the indicator lamp will go out
by itself
4. After a few minutes' driving time, the
Flat Tire Monitor adopts the current
pressure levels as the reference, and
from that point on, can detect and
report a flat tire.
To activate/deactivate the systemThe Flat Tire Monitor automatically
assumes operation whenever you turn
the ignition key to position 2.
To deactivate the system: press the
button. The yellow indicator lamp
comes on.
To activate the system: press the but-
ton again. The indicator lamp goes out.
You should deactivate the system
before driving with snow chains, as the
chains can generate spurious warnings
and/or prevent the system from detect-
ing actual pressure loss.
Flat Tire Monitor*
OverviewControlsMaintenanceRepairsDataIndex
handbook.book Page 87 Saturday, July 27, 2002 1:36 PM
Page 88 of 166
88
Flat tire
The red warning lamp in the
instrument cluster lights up to
warn of pressure loss and tire
failure. This visual alert is accompanied
by an acoustic warning signal. Reduce
your speed immediately, and steer and
brake gently as you bring the vehicle to
a stop.
To reset the warning lamp: after replac-
ing the flat tire you will need to reset the
red warning lamp manually. Maintain
pressure on the Flat Tire Monitor button
until the warning lamp goes out. Then
reinitialize the system.
The Flat Tire Monitor cannot pro-
vide you with advance warning of
sudden and severe tire damage caused
by external factors.
The system also does not detect the
gradual and minor loss of pressure that
all tires display over extended periods
of time.<
Check tire inflation pressures on a
regular basis, correcting them as
necessary, refer to page 25.
The system may respond to operation
on slippery or snow-covered road sur-
faces with false warnings or delays in
detecting actual pressure loss.
Performance-oriented driving – slip at
the drive wheels, high rates of lateral
acceleration – can also increase the
time that the Flat Tire Monitor requires
to detect a flat tire.<
System malfunctionsThe yellow indicator lamp in the instru-
ment cluster lights up and remains on
until the problem is corrected.
Please refer the problem to your BMW
center.
Flat Tire Monitor*
handbook.book Page 88 Saturday, July 27, 2002 1:36 PM
Page 117 of 166
117 Wheels and tires
Tire inflation pressureInformation for your safetyThe factory-approved tires are matched
to your vehicle and have been selected
to provide optimum safety and driving
comfort when used properly.
It is not merely the tire's service life, but
also driving comfort and – above all else
– driving safety that depend on the con-
dition of the tires and the maintenance
of the specified tire inflation pressure.
Incorrect tire inflation pressure is a fre-
quent cause of tire damage. It also sig-
nificantly influences the roadholding
ability of your BMW.
Be sure to check the tire inflation
pressure, including the space-
saver spare tire or the spare tire, on a
regular basis, at least twice a month
and before every extended journey,
refer to page 25. If this is not done,
incorrect tire pressures can cause driv-
ing instability and tire damage, ulti-
mately resulting in an accident.<
Tire conditionTire tread – tire damageInspect your tires frequently for tread
wear, signs of damage and for foreign
objects lodged in the tread. Check the
tread depth.
Tread depth should not be allowed to
go below 1/8 in / 3 mm, even though
the legally specified minimum tread
depth is 1/16 in / 1.6 mm.
Below 1/8 in / 3 mm tread depth, there
is a great risk of hydroplaning, even at
relatively moderate speeds and with
only small amounts of water on the
road. Tread wear indicators – see arrow
– are embedded in the base of the tire's
tread. Their locations are indicated by
the letters TWI – Tread Wear Indicator –
at various points on the tire's shoulder.
When the tread reaches a depth of
1/16 in / 1.6 mm, these indicators
appear and signal that the tires have
worn to the minimum legal level.
Do not drive on a deflated – flat –
tire. A flat tire greatly impairs
steering and braking response, and can
lead to complete loss of control over
the vehicle.
Avoid overloading the vehicle so that
the permitted load on the tires is not
exceeded. Overloading leads to over-
heating and causes damage to the
inside of the tires.
The ultimate result can assume the
form of a sudden air loss.
Unusual vibrations encountered during
normal vehicle operation can indicate a
damaged tire or some other vehicle
malfunction. This type of problem can
be caused by contact with curbs, etc.
This is also true for irregularities in the
vehicle's handling characteristics, such
as a pronounced tendency to pull to the
left or right. Should this occur, respond
by immediately reducing your speed.
OverviewControlsMaintenanceRepairsDataIndex
handbook.book Page 117 Saturday, July 27, 2002 1:36 PM