Radio anti-theft code BMW 328i 1998 E36 Workshop Manual
[x] Cancel search | Manufacturer: BMW, Model Year: 1998, Model line: 328i, Model: BMW 328i 1998 E36Pages: 759
Page 8 of 759

Please
read
these
warnings
and
cautions
before
proceeding
with
maintenance
and
repair
work
.
CAUTION-
"
See
also
Warnings
onpage
vi¡
"
Beforedoing
any
electrical
welding
on
cars
equipped
with
ABS,
disconnect
the
battery
negative
(-)
terminal
(ground
strap)
and
the
"
If
you
lack
the
skills,
tools
and
equipment,
ora
suitable
work-
ABS
control
unit
connector
.
shop
for
any
procedure
described
in
this
manual,
we
suggest
you
leave
such
repairs
to
an
authorized
BMW
dealer
or
other
qualified
"
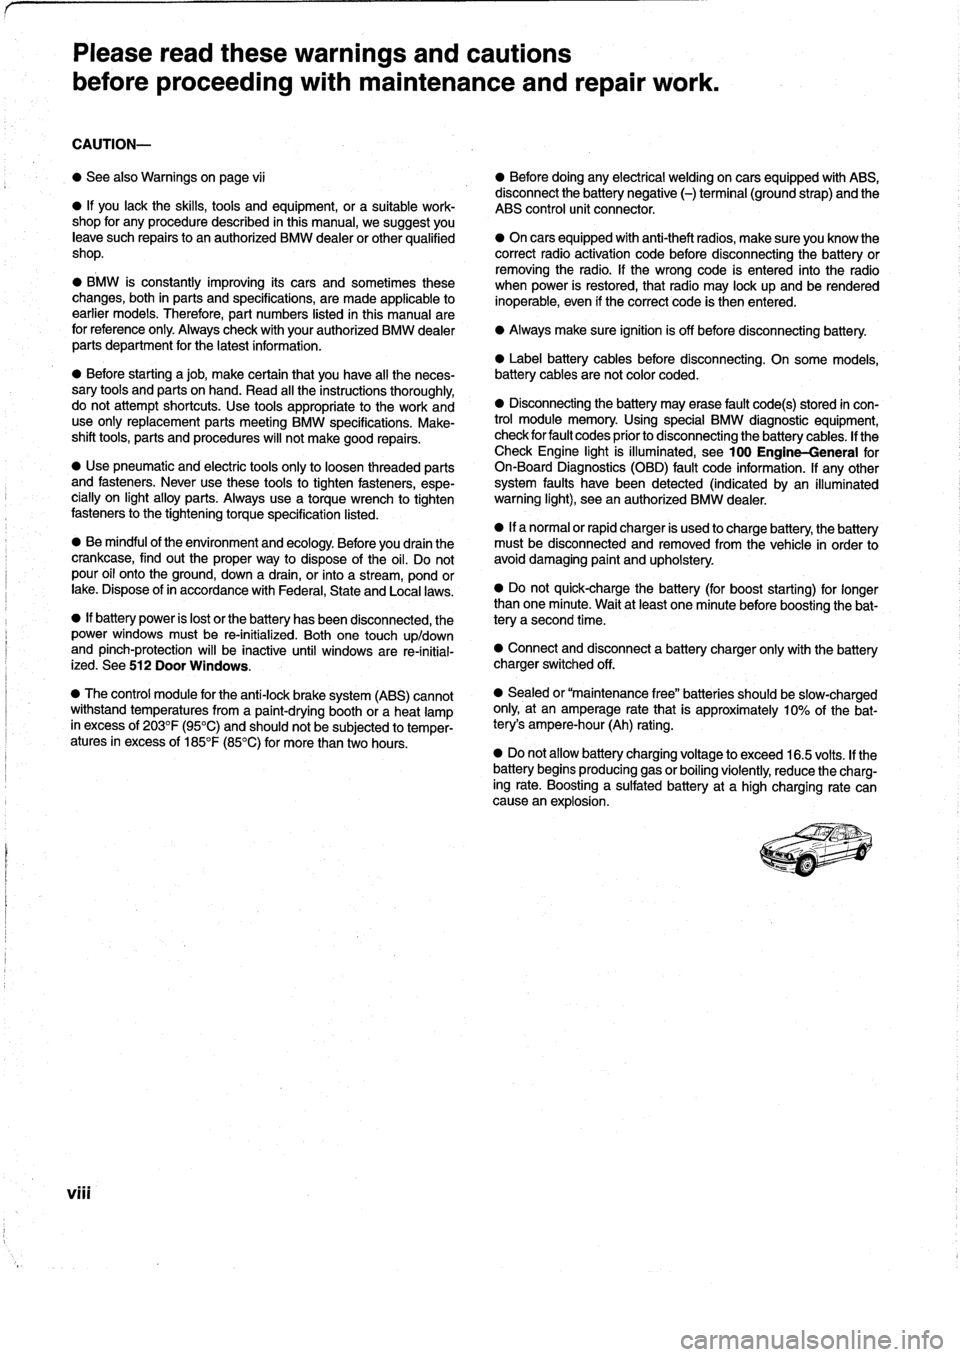
On
cars
equipped
with
anti-theft
radios,
make
sureyou
know
the
shop
.
correct
radio
activation
code
before
disconnecting
the
battery
or
removing
the
radio
.
lf
the
wrong
code
is
entered
into
the
radio
"
BMW
is
constantly
improving
its
cars
and
sometimes
these
when
power
is
restored,
that
radio
may
lock
up
and
be
renderedchanges,
both
in
parts
and
specifications,
are
made
applicable
to
inoperable,
even
if
the
correct
code
is
thenentered
.
earlier
models
.
Therefore,
part
numbers
listed
in
this
manual
are
for
reference
only
.
Always
check
with
your
authorized
BMW
dealer
"
Always
make
sure
ignition
is
off
before
disconnecting
battery
.
parts
department
for
the
latest
information
.
"
Label
battery
cablesbefore
disconnecting
.
Onsome
models,
"
Before
starting
a
job,
make
certain
that
you
have
all
the
neces-
battery
cablesarenot
color
coded
.
sary
tools
and
parts
on
hand
.
Read
al¡
the
instructions
thoroughly,
do
not
attempt
shortcuts
.
Use
tools
appropriate
to
the
work
and
"
Disconnecting
the
battery
may
erase
fault
code(s)
stored
in
con-
use
only
replacement
parts
meeting
BMW
specifications
.
Make-
trol
module
memory
Using
special
BMW
diagnostíc
equipment,
shift
tools,
parts
and
procedures
will
not
make
good
repairs
.
check
forfault
codes
prior
to
disconnecting
the
battery
cables
.If
the
Check
Engine
light
is
illuminated,
see100
Engine-General
for
"
Use
pneumatic
and
electric
tools
only
to
loosenthreaded
parts
On-Board
Diagnostics
(OBD)
fault
code
information
.
lf
any
other
and
fasteners
.
Never
use
these
tools
to
tighten
fasteners,
espe-
system
faults
have
been
detected
(indicated
by
an
ílluminated
cially
on
light
alloy
parts
.
Always
use
a
torque
wrench
to
tighten
warning
light),
see
an
authorized
BMW
dealer
.
fasteners
to
the
tightening
torque
specification
listed
.
"
If
a
normal
or
rapid
charger
is
used
to
charge
battery,
the
battery
"Be
mindful
of
the
environment
and
ecology
.
Before
you
drain
the
mustbe
disconnected
and
removed
fromthe
vehicle
in
order
to
crankcase,
find
outthe
proper
way
to
dispose
of
the
oil
.
Do
not
avoid
damaging
paint
and
upholstery
pour
oil
onto
the
ground,
down
a
drain,
or
into
a
stream,
pond
orlake
.
Dispose
of
in
accordance
withFederal,
State
and
Local
laws
.
"Do
not
quick-chargethe
battery
(for
boost
starting)
for
longer
than
one
minute
.
Wait
at
least
one
minute
before
boosting
the
bat-
e
If
battery
power
is
lost
or
the
battery
has
been
disconnected,
the
tery
a
second
time
.
powerwindows
must
be
re-initialized
.
Both
one
touch
up/down
and
pinch-protection
will
be
inactive
until
windows
are
re-initial-
"
Connect
and
disconnect
a
battery
charger
only
with
the
battery
ized
.
See
512
Door
Windows
.
charger
switched
off
.
"
The
control
module
for
the
anti-lock
brake
system
(ABS)
cannot
withstand
temperatures
from
a
paint-drying
booth
or
aheat
lamp
in
excess
of
203°F
(95°C)
and
should
not
be
subjected
to
temper-
atures
in
excess
of
185°F
(85°C)
for
more
than
twohours
.
"
Sealed
or
"maintenance
free"
batteries
shouldbeslow-charged
only,
at
anamperage
ratethat
is
approximately
10%
of
the
bat-
tery's
ampere-hour
(Ah)
rating
.
"
Do
not
allow
battery
chargingvoltage
to
exceed
16
.5
volts
.
If
the
battery
begins
producing
gas
or
boiling
violently,
reduce
the
charg-
ing
rate
.
Boosting
a
sulfated
battery
at
a
high
charging
rate
can
cause
an
explosion
.
Page 466 of 759

650-2
RADIO
"
A
320-watt
Harmon-Kardon
ten
speaker
system,
including
RADIO
AND
SPEAKER
SERVICE
a
separate
high
power
multi-channel
audio
amplifier
and
two
sub-woofers
.
In
this
system,
thebass
and
volume
out-
puts
from
the
selected
audiosource
automatically
com-
Radio,
removing
and
installing
pensate
for
vehicle
speed,
making
constant
volume
adjustments
unnecessary
.
An
additional
feature
ofthis
CAUTION-
sound
system
is
the
ability
to
switch
from
normal
left-right
"
Before
beginning
work
on
the
radio
or
sound
stereo
into
Spatial
Enhancement
Mode,
which
produces
a
system,
verify
that
the
radio
is
an
original
equip-
fuller,
rounder
sound
.
See
Fig
.
3
.
ment
BMW
radio
and
that
thewiring
harness
has
not
been
modified
.
TheE36
radio
is
also
equipped
with
a
built-in
anti-theft
sys-
tem
.
lf
power
is
removed
from
the
radio
circuitry
by
removing
the
radio
electrical
connectors,
or
by
disconnecting
the
bat-
tery,
the
radio
is
rendered
inoperative
.
The
radio
is
not
perma-
nently
damaged,
and
proper
operation
can
be
restored
by
entering
the
radio
anti-theft
code
.
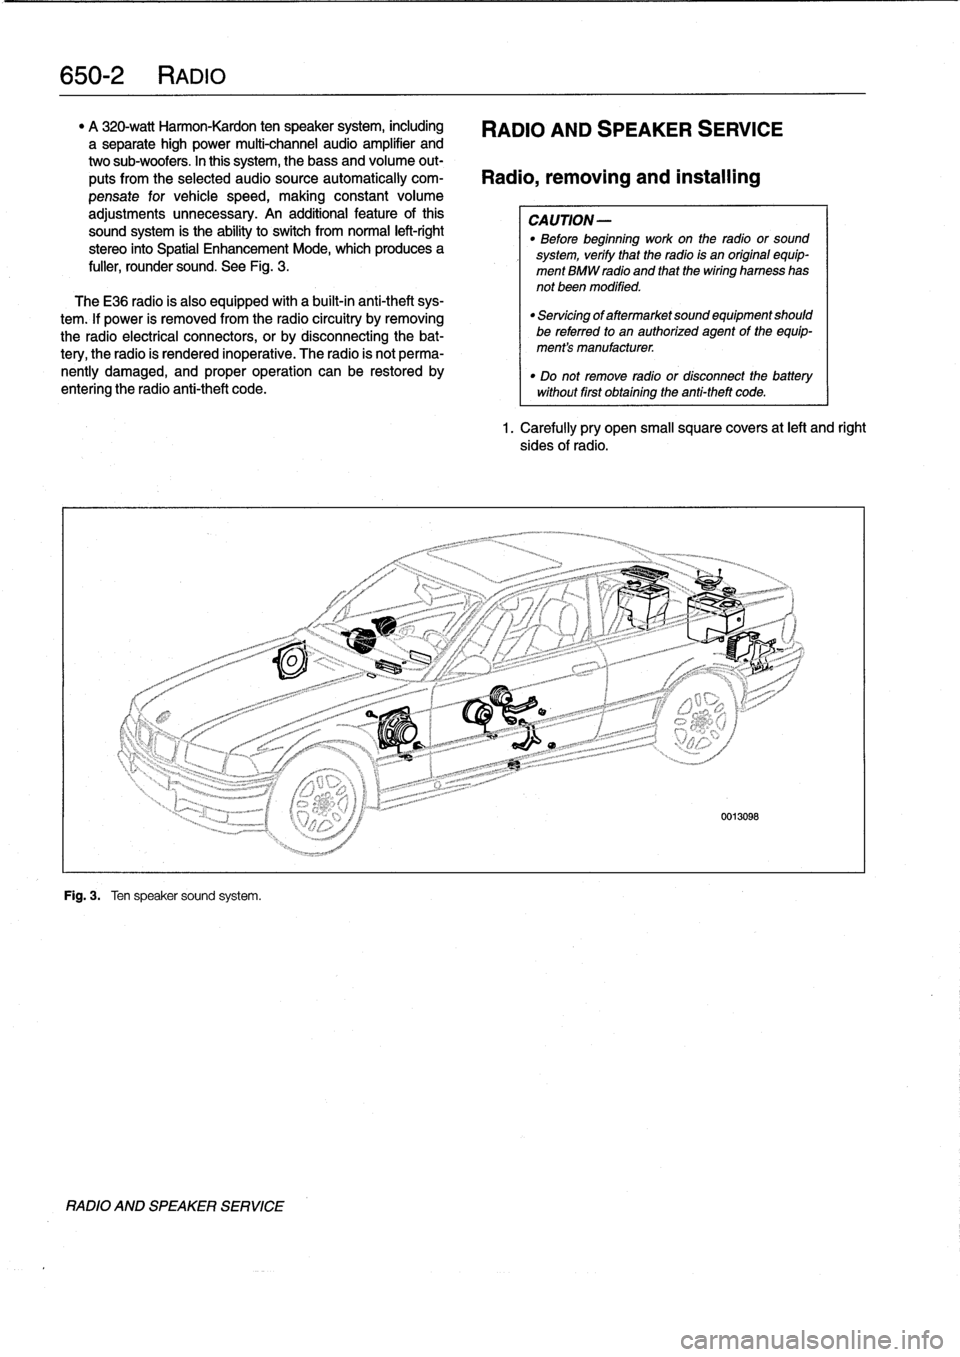
Fig
.
3
.
Ten
speaker
sound
system
.
RADIO
AND
SPEAKER
SERVICE
"
Servicing
of
aftermarket
sound
equipment
should
be
referredto
an
authorized
agent
of
the
equip-
ment's
manufacturer
.
"
Do
not
remove
radio
or
disconnect
the
batterywithout
first
obtaining
the
anti-theft
code
.
1.
Carefully
pry
open
small
square
covers
at
left
and
right
sides
of
radio
.
Page 752 of 759

WARNING
Your
common
sense,
good
judge-
ment,
and
general
alertness
are
cru-
cial
to
safe
and
successful
service
work
.
Befcre
attempting
any
work
on
your
BMW,
read
the
warnings
and
cautions
on
page
vi¡
and
the
copyright
page
at
the
frontof
the
manual
.
Review
these
warnings
and
cautions
each
time
you
prepare
to
workon
your
BMW
.
Please
also
read
any
warnings
and
cautions
that
accom-
pany
the
procedures
in
the
manual
.
Door
glass
See
Door
windows
Door
windows
general
information
512-1
front
door
window
(2-door
models)
adjusting
512-7
removing/installing
512-5
front
door
window
(4-door
models)
initíalizing
512-1
removing/installing
512-2
rear
door
window
(4-door
models)
removing/installing
512-4
fixed
glass,
removing/installing
512-
4
rear
vent
window
or
vent
latch,
replacing
(2-door
models)
512-11
window
regulator
and
motor,
removing/installing
512-12
window
regulator
service
512-12Doorcheck
See
DoorsDoor
handle
See
Centrallocking
and
anti-theft
Door
panel
See
Doors
Doors
general
information
411-1
door
adjustment
411-2door
check,
replacing
411-2
door
panels
411-3
doors411-1
front
orrear
door,removing/installing
411-1
front
door
panel,
removing/installing
411-3
rear
door
panel,
removing/installing
411-4
rearsidepanel,
removing/installing
(two-door
model)
411-4
Drive
axle
See
Rear
suspension
Driveability
troubleshooting
See
Engine-general
Driveshaft
general
information
260-1
center
bearing
assembly,
replacing
260-6
driveshaft,
aligning
260-3
driveshaft,
installing
260-4
Driveshaft
(cont
.)
driveshaft,
removing260-4
driveshaftservice
260-3
flex-disc,
replacing
260-5
front
centering
guide,
replacing
260-7
guibo
See
flex-disc
troubleshooting260-1
ECM
(engine
control
module)
pin
assignment
See
Fuel
injection
Electrical
circuit
See
Electrical
system-general
Electrical
component
locations
general
information
610-1
auxíliary
relay
panel
610-2
component
location
table
610-9
component
locations
610-3
fuse
position
tables
610-19
fuse
positions
610-1
relay
positions
610-2
splice
panel,
left
610-2
splice
panel,
right
610-3
Electrical
system-general
general
information
600-1
continuity,
checking
600-5
electrical
test
equipment
600-2
safety
precautions
600-1
short
circuits
600-5
short
circuit,
testing
with
ohmmeter
600-6
short
circuit,
testing
with
voltmeter
600-6
troubleshooting
600-3
voltage,
measuring600-4
voltage
and
polarity
600-1
voltage
and
voltage
drops
600-4
voltage
drop,
testing
600-4
wiring
codes
and
abbreviations
600-2
wiring
diagrams
600-2
wiring,
fuses
and
relays
600-1
Electrical
wiring
diagrams
general
information
ELE-1
wiring
diagrams
ELE-2
ABS
ELE-117
ABS/AST
ELE-120
airbag
(supplemental
restraint
system)
ELE-140
air
conditioning
and
heating
ELE-
129
anti-theft
(Alpine)
system
ELE-144
anti-theft
(EWS
II)
ELE-150
body
computer
module
ELE-176
charging
system
ELE-67
convertible
top
ELE-253
cruise
control
ELE-112
data
link
connector
ELE-86
engine
cooling
ELE-94
engine
management
ELE-70
exterior
lights
ELE-194
ground
distribution
ELE-35
headlights/foglights
ELE-180
INDEX
3
Electrical
wiring
diagrams
(cont
.)
heated
seats
ELE-245
horns
ELE-153
instrument
panel
ELE-165
interior
lights/illumination
ELE-211
lumbar
control
ELE-247
on-board
computer
ELE-173
park
ventilation
ELE-139
power
distribution
ELE-2
power
door
locks
ELE-226
power
mirrors
ELE-241
power
seats
ELE-243
power
sunroof
ELE-248
power
windows
ELE-231
radio/cassette/CD/speakers
ELE-
255
rear
window
defogger
ELE-160
shift
interlock
ELE-110
starting
ELE-63
transmission
electronics
ELE-96
warning
systems`
.
chimes
ELE-178
wiper/washer
ELE-154
Emergencies
See
Fundamentals
for
the
do-it-
yourself
owner
Engine-general
general
information
100-1
air
flow
measurement
and
vacuum
leaks
100-12
basic
engine
settings
100-11
basic
requirements
100-11
battery
voltage
100-12connecting
rods
and
pistons
100-1
cooling
system
100-5
cylinder
block
and
crankshaft100-1
cylinder
compression,
checking
100-6
cylinder
head
and
valvetrain
100-2
DISA
(dual
resonance
intake
system)
100-3,130-3
driveability
troubleshooting
100-8
engine
management
system
100-3
fuel
delivery
100-5
fuel
supply
100-14ground
connections
100-13
ignition
100-5
lubrication
system100-5
mechanical
troubleshooting
100-5
on-board
diagnostics
(OBD)
100-8
oxygen
sensors
100-11
preventive
maintenance
100-11
VANOS
(variable
valve
timing)
100-2warningsand
cautions
100-5
wiring
andharness
connections100-
13Engine
control
module
(ECM)
See
Fuel
injection
Engine
removal
and
installation
general
information
110-1
engine,
removing/installing(4-cylinder
engines)
110-1
engine,
removing/installing
(6-cylinder
engines)
110-4
Engine
coolant
temperature
(ECT)
sensor
See
Fuel
injection
Engine
hood
See
Fenders,
enginehood