battery trunk BMW 5 SERIES 2015 F10 Owner's Manual
[x] Cancel search | Manufacturer: BMW, Model Year: 2015, Model line: 5 SERIES, Model: BMW 5 SERIES 2015 F10Pages: 277, PDF Size: 5.63 MB
Page 42 of 277
The windows and the glass sunroof are
opened, as long as the button on the remote
control is pressed.
Locking Locking from the outside
Do not lock the vehicle from the outside
with people inside the car, as the vehicle can‐
not be unlocked from inside without special knowledge.◀
The driver's door must be closed. Press button on the remote control.
All doors, the tailgate, and the fuel filler flap are
being locked.
Anti-theft protection is switched on. It pre‐
vents the doors from being unlocked using the
lock buttons or the door openers.
The alarm system, refer to page 47, is armed.
Switching on interior lights and
courtesy lights
Press button on the remote control with
the vehicle locked.
This function is not available, if the interior
lamps were switched off manually.
If the button is pressed again within 10 sec‐
onds after vehicle was locked, the interior mo‐
tion sensor and tilt alarm sensor of the anti-
theft warning system, refer to page 48, are
turned off. After locking, wait 10 seconds be‐
fore pressing the button again.
Panic mode
You can trigger the alarm system if you find
yourself in a dangerous situation.
Press button on the remote control for
at least 3 seconds.
To reel off the alarm: press any button.Opening the trunk lid Press button on the remote control for
approx. 1 second.
The trunk lid opens, regardless of whether the
vehicle was previously locked or unlocked.
During opening, the trunk lid pivots back and
up. Ensure that adequate clearance is available
before opening.
Depending on the features and the country
version, it is also possible to have door un‐
locked. Create the settings, refer to page 46.
If the doors were not unlocked, the trunk lid is
locked again as soon as it closes.
Do not place the remote control in the
cargo area
Take the remote control with you and do not
leave it in the cargo area; otherwise, the re‐
mote control is locked inside the vehicle when
the trunk lid is closed.◀
Switching on the headlight courtesy
delay feature
Briefly press the button on the remote
control.
The duration can be set in the Control Display.
Malfunction
Remote control detection by the vehicle can
among others be malfunctioning under the fol‐
lowing circumstances:▷The battery of the remote control is dis‐
charged. Replace the battery, refer to
page 35.▷Interference of the radio connection from
transmission towers or other equipment
with high transmit power.▷Shielding of the remote control due to
metal objects.▷Interference of the radio connection from
mobile phones or other electronic devices
in direct proximity.Seite 38ControlsOpening and closing38
Online Edition for Part no. 01 40 2 954 312 - II/15
Page 48 of 277
Locking
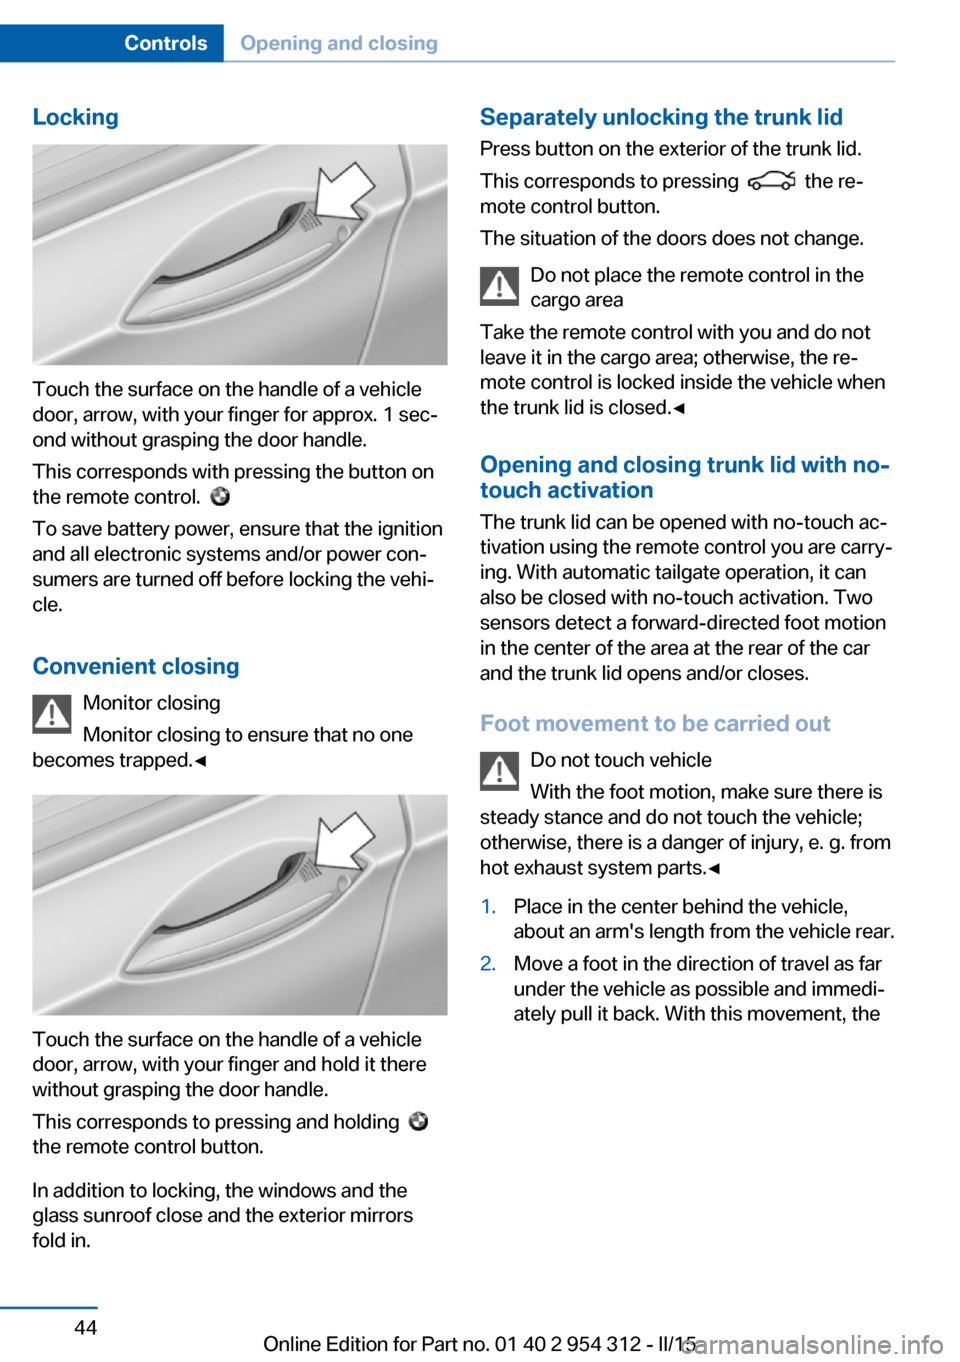
Touch the surface on the handle of a vehicle
door, arrow, with your finger for approx. 1 sec‐
ond without grasping the door handle.
This corresponds with pressing the button on
the remote control.
To save battery power, ensure that the ignition
and all electronic systems and/or power con‐
sumers are turned off before locking the vehi‐
cle.
Convenient closing Monitor closing
Monitor closing to ensure that no one
becomes trapped.◀
Touch the surface on the handle of a vehicle
door, arrow, with your finger and hold it there
without grasping the door handle.
This corresponds to pressing and holding
the remote control button.
In addition to locking, the windows and the
glass sunroof close and the exterior mirrors
fold in.
Separately unlocking the trunk lid
Press button on the exterior of the trunk lid.
This corresponds to pressing
the re‐
mote control button.
The situation of the doors does not change.
Do not place the remote control in the
cargo area
Take the remote control with you and do not
leave it in the cargo area; otherwise, the re‐
mote control is locked inside the vehicle when
the trunk lid is closed.◀
Opening and closing trunk lid with no-
touch activation
The trunk lid can be opened with no-touch ac‐
tivation using the remote control you are carry‐
ing. With automatic tailgate operation, it can also be closed with no-touch activation. Two
sensors detect a forward-directed foot motion
in the center of the area at the rear of the car
and the trunk lid opens and/or closes.
Foot movement to be carried out Do not touch vehicle
With the foot motion, make sure there is
steady stance and do not touch the vehicle;
otherwise, there is a danger of injury, e. g. from
hot exhaust system parts.◀
1.Place in the center behind the vehicle,
about an arm's length from the vehicle rear.2.Move a foot in the direction of travel as far
under the vehicle as possible and immedi‐
ately pull it back. With this movement, theSeite 44ControlsOpening and closing44
Online Edition for Part no. 01 40 2 954 312 - II/15
Page 49 of 277
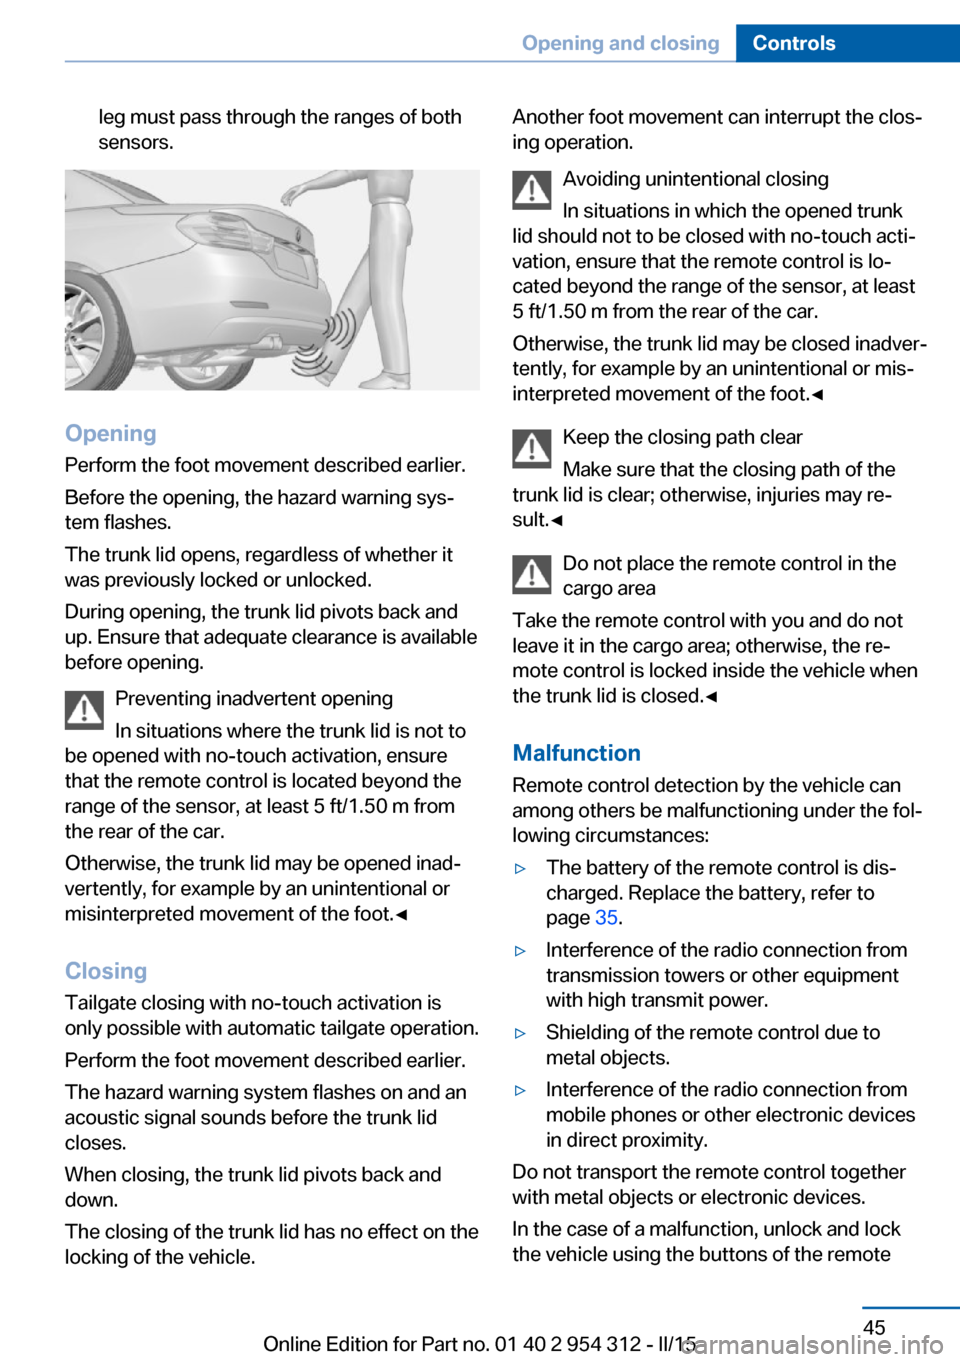
leg must pass through the ranges of both
sensors.
Opening
Perform the foot movement described earlier.
Before the opening, the hazard warning sys‐
tem flashes.
The trunk lid opens, regardless of whether it
was previously locked or unlocked.
During opening, the trunk lid pivots back and
up. Ensure that adequate clearance is available
before opening.
Preventing inadvertent opening
In situations where the trunk lid is not to
be opened with no-touch activation, ensure
that the remote control is located beyond the
range of the sensor, at least 5 ft/1.50 m from
the rear of the car.
Otherwise, the trunk lid may be opened inad‐
vertently, for example by an unintentional or
misinterpreted movement of the foot.◀
ClosingTailgate closing with no-touch activation is
only possible with automatic tailgate operation.
Perform the foot movement described earlier.
The hazard warning system flashes on and an
acoustic signal sounds before the trunk lid
closes.
When closing, the trunk lid pivots back and
down.
The closing of the trunk lid has no effect on the
locking of the vehicle.
Another foot movement can interrupt the clos‐
ing operation.
Avoiding unintentional closing
In situations in which the opened trunk
lid should not to be closed with no-touch acti‐
vation, ensure that the remote control is lo‐
cated beyond the range of the sensor, at least
5 ft/1.50 m from the rear of the car.
Otherwise, the trunk lid may be closed inadver‐
tently, for example by an unintentional or mis‐
interpreted movement of the foot.◀
Keep the closing path clear
Make sure that the closing path of the
trunk lid is clear; otherwise, injuries may re‐
sult.◀
Do not place the remote control in the
cargo area
Take the remote control with you and do not
leave it in the cargo area; otherwise, the re‐
mote control is locked inside the vehicle when
the trunk lid is closed.◀
Malfunction
Remote control detection by the vehicle can
among others be malfunctioning under the fol‐
lowing circumstances:▷The battery of the remote control is dis‐
charged. Replace the battery, refer to
page 35.▷Interference of the radio connection from
transmission towers or other equipment
with high transmit power.▷Shielding of the remote control due to
metal objects.▷Interference of the radio connection from
mobile phones or other electronic devices
in direct proximity.
Do not transport the remote control together
with metal objects or electronic devices.
In the case of a malfunction, unlock and lock
the vehicle using the buttons of the remote
Seite 45Opening and closingControls45
Online Edition for Part no. 01 40 2 954 312 - II/15
Page 51 of 277
Activating the setting1."Settings"2."Doors/key"3."Last seat position autom."
Alarm systemThe conceptWhen the vehicle is locked, the vehicle alarm
system responds to:
▷Opening a door, the hood or the trunk lid.▷Movements in the interior.▷Changes in the vehicle tilt, e. g., during at‐
tempts at stealing a wheel or when towing
the car.▷Disconnected battery voltage.
The alarm system briefly signals tampering:
▷By sounding an acoustic alarm.▷By switching on the hazard warning sys‐
tem.▷By flashing the daytime running lights.
Arming and disarming the alarm
system
When you unlock or lock the vehicle, either
with the remote control, Comfort Access or at
the door lock the alarm system is disarmed or
armed at the same time.
Door lock and armed alarm systemUnlocking via the door lock will trigger the
alarm on some country-specific versions.
Trunk lid and armed alarm system The trunk lid can be opened even when the
alarm system is armed.
After the trunk lid is closed, it is locked and
monitored again when the doors are locked.
The hazard warning system flashes once.
Panic mode
You can trigger the alarm system if you find
yourself in a dangerous situation.
Press button on the remote control for
at least 3 seconds.
To switch off the alarm: press any button.
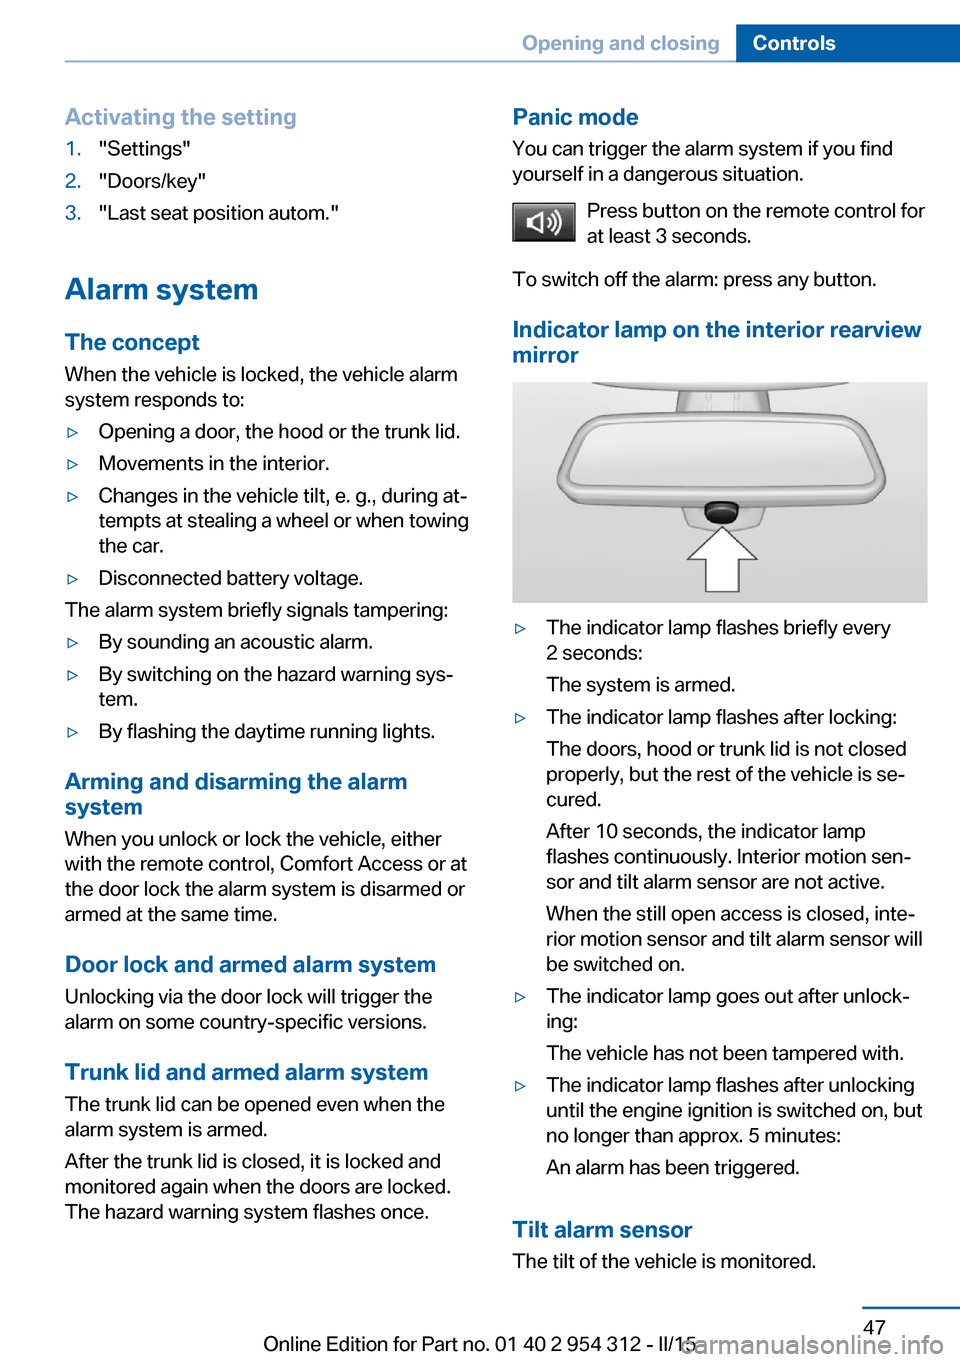
Indicator lamp on the interior rearview
mirror▷The indicator lamp flashes briefly every
2 seconds:
The system is armed.▷The indicator lamp flashes after locking:
The doors, hood or trunk lid is not closed
properly, but the rest of the vehicle is se‐
cured.
After 10 seconds, the indicator lamp
flashes continuously. Interior motion sen‐
sor and tilt alarm sensor are not active.
When the still open access is closed, inte‐
rior motion sensor and tilt alarm sensor will
be switched on.▷The indicator lamp goes out after unlock‐
ing:
The vehicle has not been tampered with.▷The indicator lamp flashes after unlocking
until the engine ignition is switched on, but
no longer than approx. 5 minutes:
An alarm has been triggered.
Tilt alarm sensor The tilt of the vehicle is monitored.
Seite 47Opening and closingControls47
Online Edition for Part no. 01 40 2 954 312 - II/15
Page 65 of 277
2.Press button, arrow 1, and pull the head re‐
straint out completely.
Before transporting passengers
Reinstall the head restraint before trans‐
porting anyone in the seat; otherwise, the pro‐
tective function of the head restraint is unavail‐
able.◀
Seat, mirror, and steering
wheel memory
The concept Two driver's seat and exterior mirror positions
can be stored per profile, refer to page 35, and
called up. Settings for the backrest width and
lumbar support are not stored in memory.
Hints Do not retrieve the memory while driving
Do not retrieve the memory setting while
driving, as an unexpected movement of the
seat or steering wheel could result in an acci‐
dent.◀
Keep the movement area unobstructed
When changing the seat position, keep
the seat's area of movement unobstructed;
otherwise, people might get injured or objects
damaged.◀
At a glance
Front
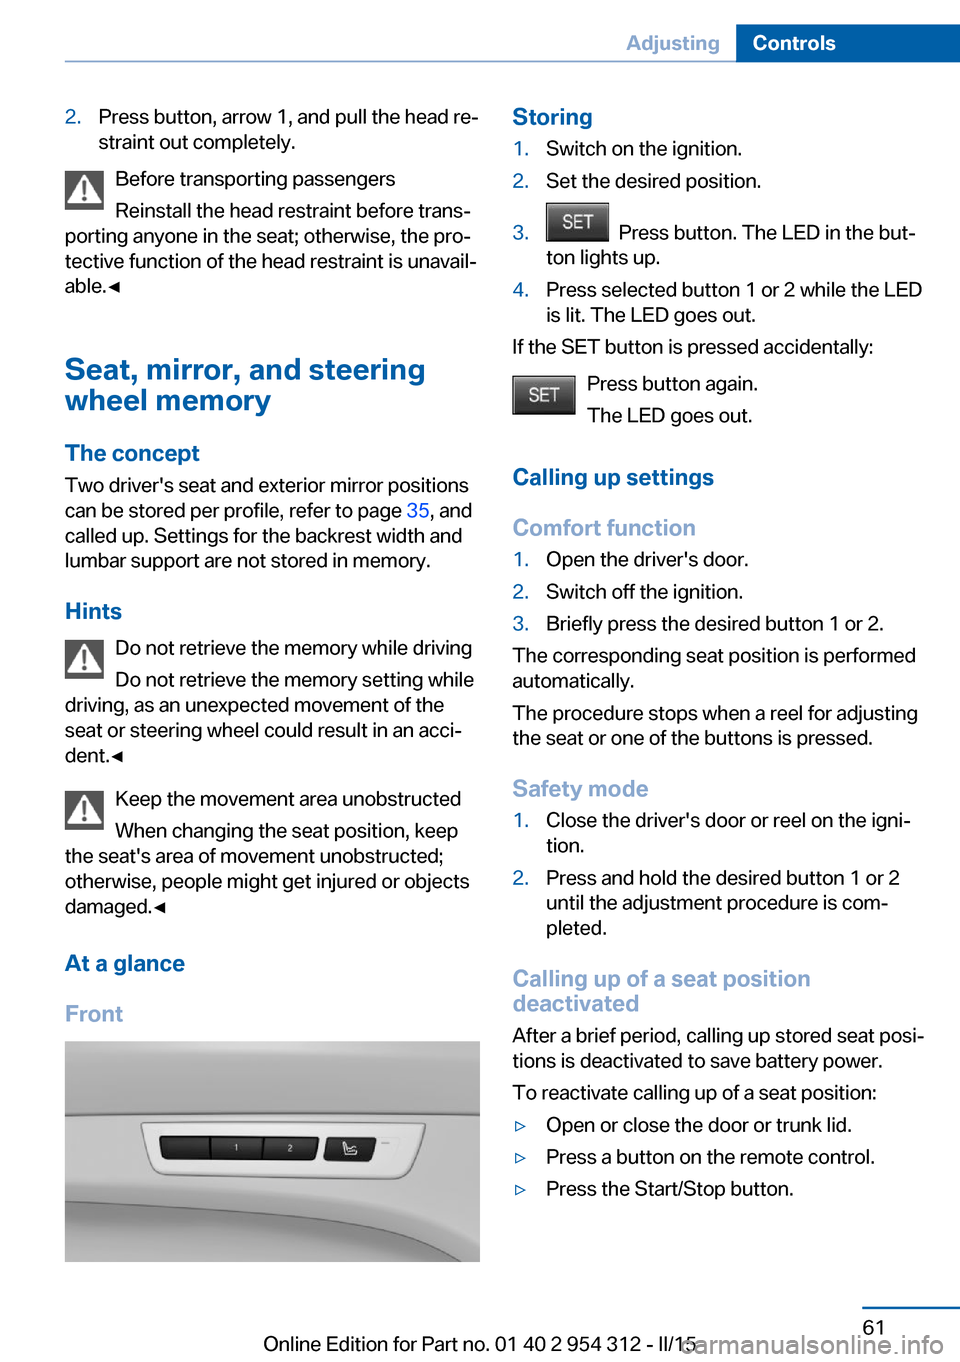
Storing1.Switch on the ignition.2.Set the desired position.3. Press button. The LED in the but‐
ton lights up.4.Press selected button 1 or 2 while the LED
is lit. The LED goes out.
If the SET button is pressed accidentally:
Press button again.
The LED goes out.
Calling up settings
Comfort function
1.Open the driver's door.2.Switch off the ignition.3.Briefly press the desired button 1 or 2.
The corresponding seat position is performed
automatically.
The procedure stops when a reel for adjusting
the seat or one of the buttons is pressed.
Safety mode
1.Close the driver's door or reel on the igni‐
tion.2.Press and hold the desired button 1 or 2
until the adjustment procedure is com‐
pleted.
Calling up of a seat position
deactivated
After a brief period, calling up stored seat posi‐
tions is deactivated to save battery power.
To reactivate calling up of a seat position:
▷Open or close the door or trunk lid.▷Press a button on the remote control.▷Press the Start/Stop button.Seite 61AdjustingControls61
Online Edition for Part no. 01 40 2 954 312 - II/15
Page 248 of 277
Disposing of old batteriesHave old batteries disposed of by your
service center or bring them to a recy‐
cling center.
Maintain the battery in an upright position for
transport and storage. Secure the battery so
that it does not tip over during transport.
Fuses Hints Replacing fuses
Never attempt to repair a blown fuse and
do not replace a defective fuse with a substi‐
tute of another color or amperage rating; this
could lead to a circuit overload, ultimately re‐
sulting in a fire in the vehicle.◀
Plastic tweezers and information on the fuse
types and locations are stored in the fuse box
in the trunk.
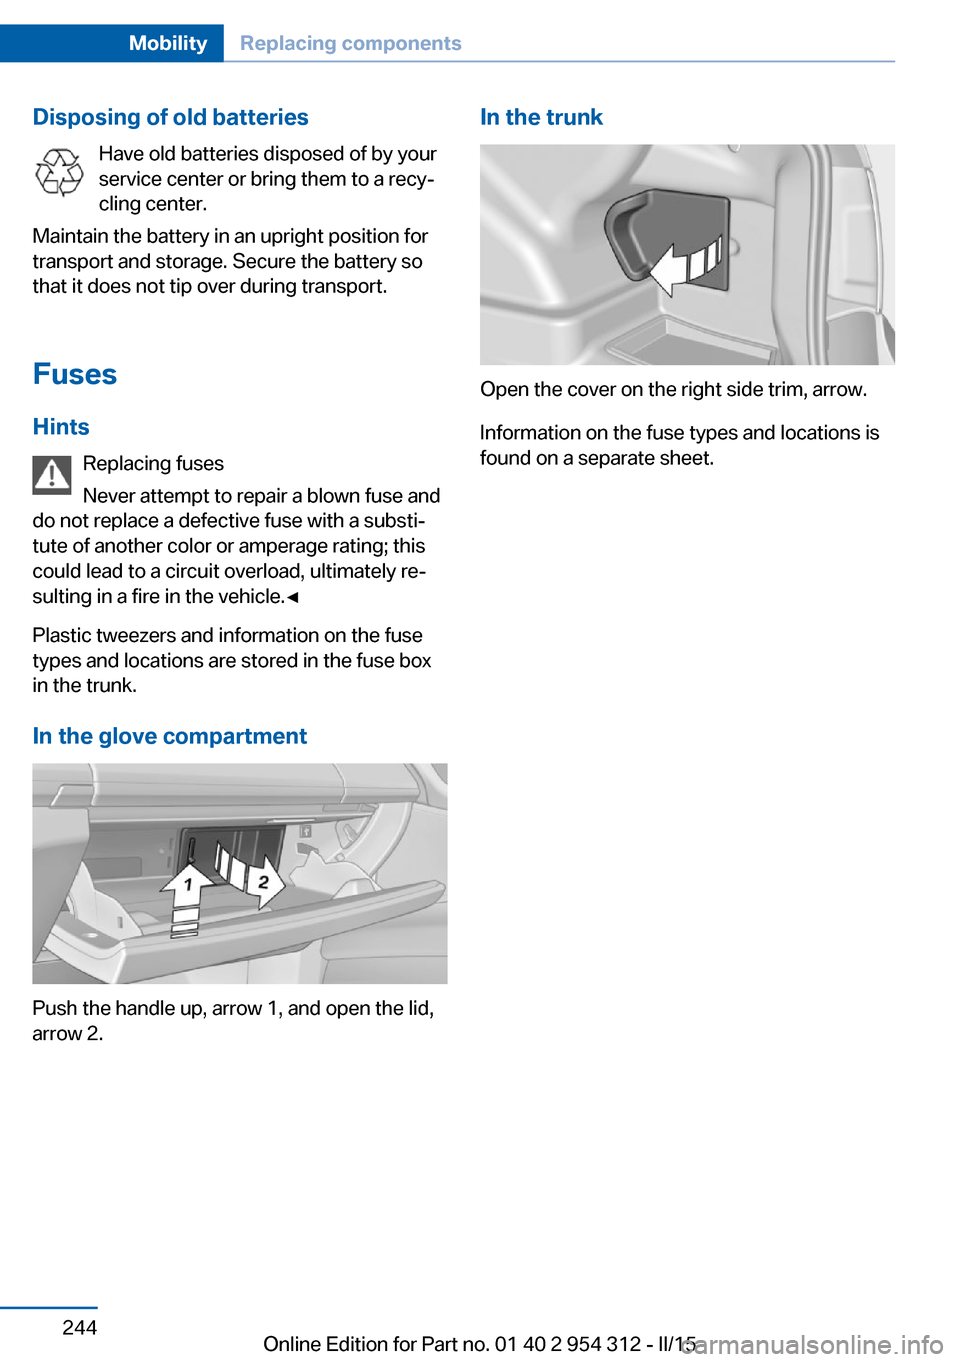
In the glove compartment
Push the handle up, arrow 1, and open the lid,
arrow 2.
In the trunk
Open the cover on the right side trim, arrow.
Information on the fuse types and locations is
found on a separate sheet.
Seite 244MobilityReplacing components244
Online Edition for Part no. 01 40 2 954 312 - II/15
Page 250 of 277
When the emergency request is received
at the BMW Response Center, the BMW
Response Center contacts you and takes
further steps to help you.
Even if you are unable to respond, the
BMW Response Center can take further
steps to help you under certain circum‐
stances.
For this, data are transmitted to the BMW
Response Center which serve to deter‐
mine the necessary rescue measures. E. g.
the current position of the vehicle, if it can
be established.▷If the LED is flashing green, but the BMW
Response Center can no longer be heard
via the speaker, you can nevertheless still
be heard at the BMW Response Center.
Initiating an Emergency Request
automatically
Under certain conditions, an Emergency Re‐
quest is automatically initiated immediately af‐
ter a severe accident. Automatic Collision Noti‐
fication is not affected by pressing the SOS
button.
Warning triangle
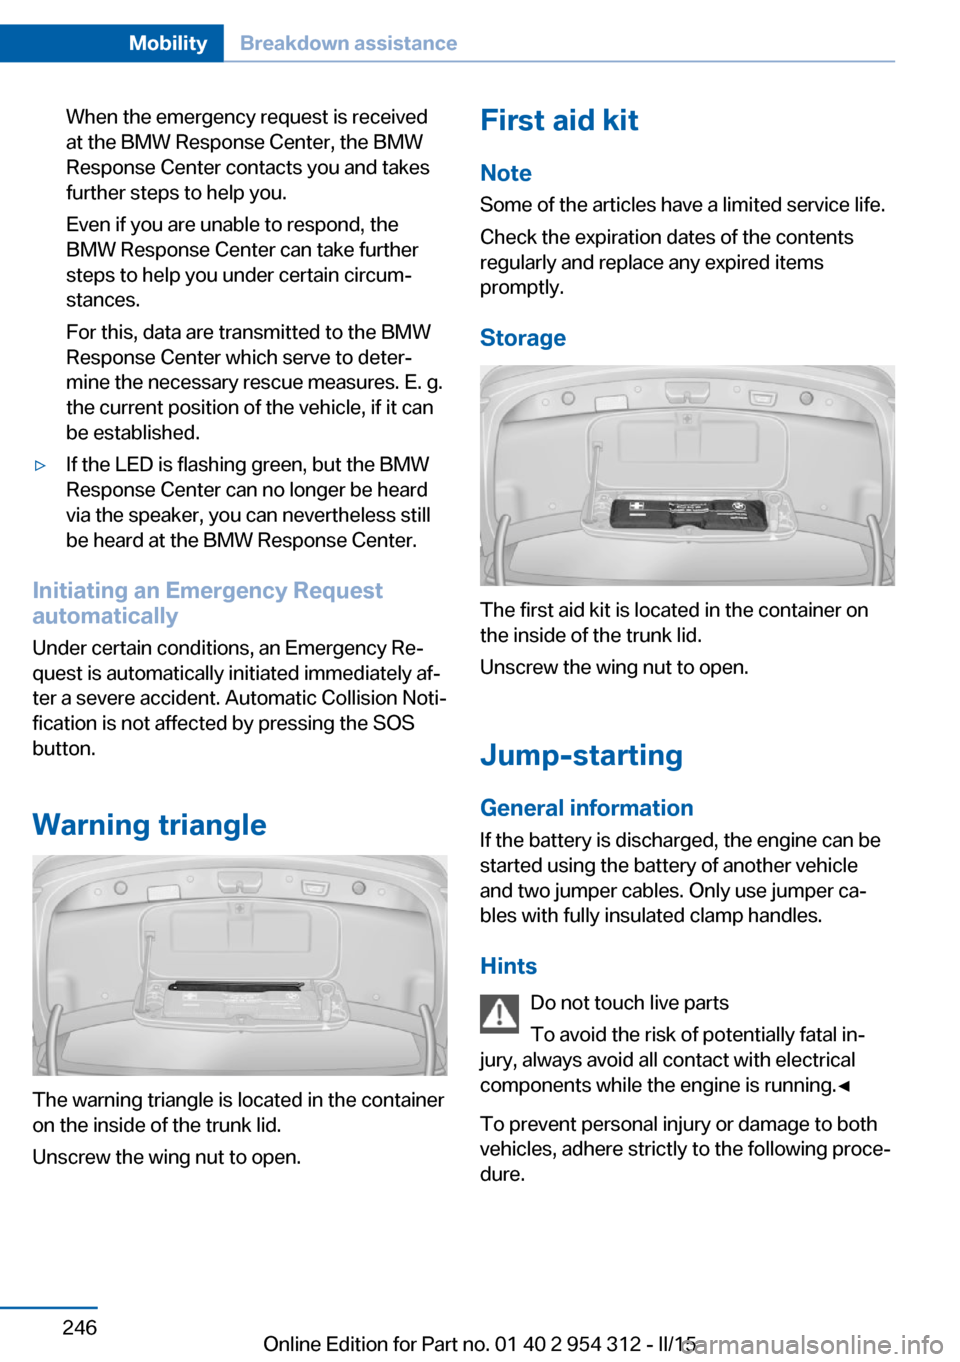
The warning triangle is located in the container
on the inside of the trunk lid.
Unscrew the wing nut to open.
First aid kit
Note
Some of the articles have a limited service life.
Check the expiration dates of the contents
regularly and replace any expired items
promptly.
Storage
The first aid kit is located in the container on
the inside of the trunk lid.
Unscrew the wing nut to open.
Jump-starting
General information
If the battery is discharged, the engine can be
started using the battery of another vehicle
and two jumper cables. Only use jumper ca‐
bles with fully insulated clamp handles.
Hints Do not touch live parts
To avoid the risk of potentially fatal in‐
jury, always avoid all contact with electrical
components while the engine is running.◀
To prevent personal injury or damage to both
vehicles, adhere strictly to the following proce‐
dure.
Seite 246MobilityBreakdown assistance246
Online Edition for Part no. 01 40 2 954 312 - II/15
Page 266 of 277
Everything from A to Z
IndexA ABS, Antilock Brake Sys‐ tem 135
ACC, Active Cruise Control with Stop & Go 143
Acceleration Assistant, refer to Launch Control 82
Accessories and parts 7
Activated-charcoal filter 168
Active Blind Spot Detec‐ tion 131
Active Cruise Control with Stop & Go, ACC 143
Active Protection 132
Active seat, front 56
Active seat ventilation, front 57
Active Steering, integral 139
Adaptive brake assistant 135
Adaptive brake lights, refer to Brake force display 132
Adaptive drive 138
Adaptive Light Control 104
Additives, oil 233
Adjustments, seats/head re‐ straints 53
After washing vehicle 252
Airbags 108
Airbags, indicator/warning light 109
Air circulation, refer to Recir‐ culated-air mode 167
Air, dehumidifying, refer to Cooling function 167
Air distribution, manual 166
Air flow, automatic climate control 166
Air outlets, see ventila‐ tion 168
Air pressure, tires 211 Alarm system 47
Alarm, unintentional 48
All around the center con‐ sole 16
All around the roofliner 17
All around the steering wheel 14
All-season tires, refer to Win‐ ter tires 224
All-wheel-drive 137
Alternating-code hand-held transmitter 173
Alternative oil types 233
Ambient light 107
Animal detection, see Night Vision 126
Antifreeze, washer fluid 78
Antilock Brake System, ABS 135
Anti-slip control, refer to DSC 135
Approved axle load 259
Approved engine oils, see Suitable engine oil
types 233
Armrest, refer to Center arm‐ rest 182
Arrival time 98
Ashtray 174
Ashtray, front 174, 175
Ashtray, rear 175
Assistance when driving off 135
Attentiveness assistant 133
AUTO H button 74
AUTO H button, refer to Au‐ tomatic Hold 74
AUTO intensity 166
Automatic car wash 251
Automatic climate con‐ trol 165 Automatic Cruise Control
with Stop & Go 143
Automatic Curb Monitor 62
Automatic deactivation, front- seat passenger airbags 110
Automatic headlight con‐ trol 104
Automatic Hold 74
Automatic locking 46
Automatic recirculated-air control 167
Automatic Soft Closing, doors 40
Automatic transmission, see Steptronic transmission 79
Automatic trunk lid 41
AUTO program, automatic cli‐ mate control 166
AUTO program, intensity 166
Auto Start/Stop function 71
Average fuel consumption 98
Average speed 98
Axle loads, weights 259
B Backrest curvature, refer to Lumbar support 55
Backrest, width 55
Band-aids, refer to First aid kit 246
Bar for tow-starting/ towing 249
Battery replacement, vehicle battery 243
Battery replacement, vehicle remote control 35
Battery, vehicle 243
Belts, safety belts 57
Beverage holder, cu‐ pholder 183 Seite 262ReferenceEverything from A to Z262
Online Edition for Part no. 01 40 2 954 312 - II/15
Page 267 of 277
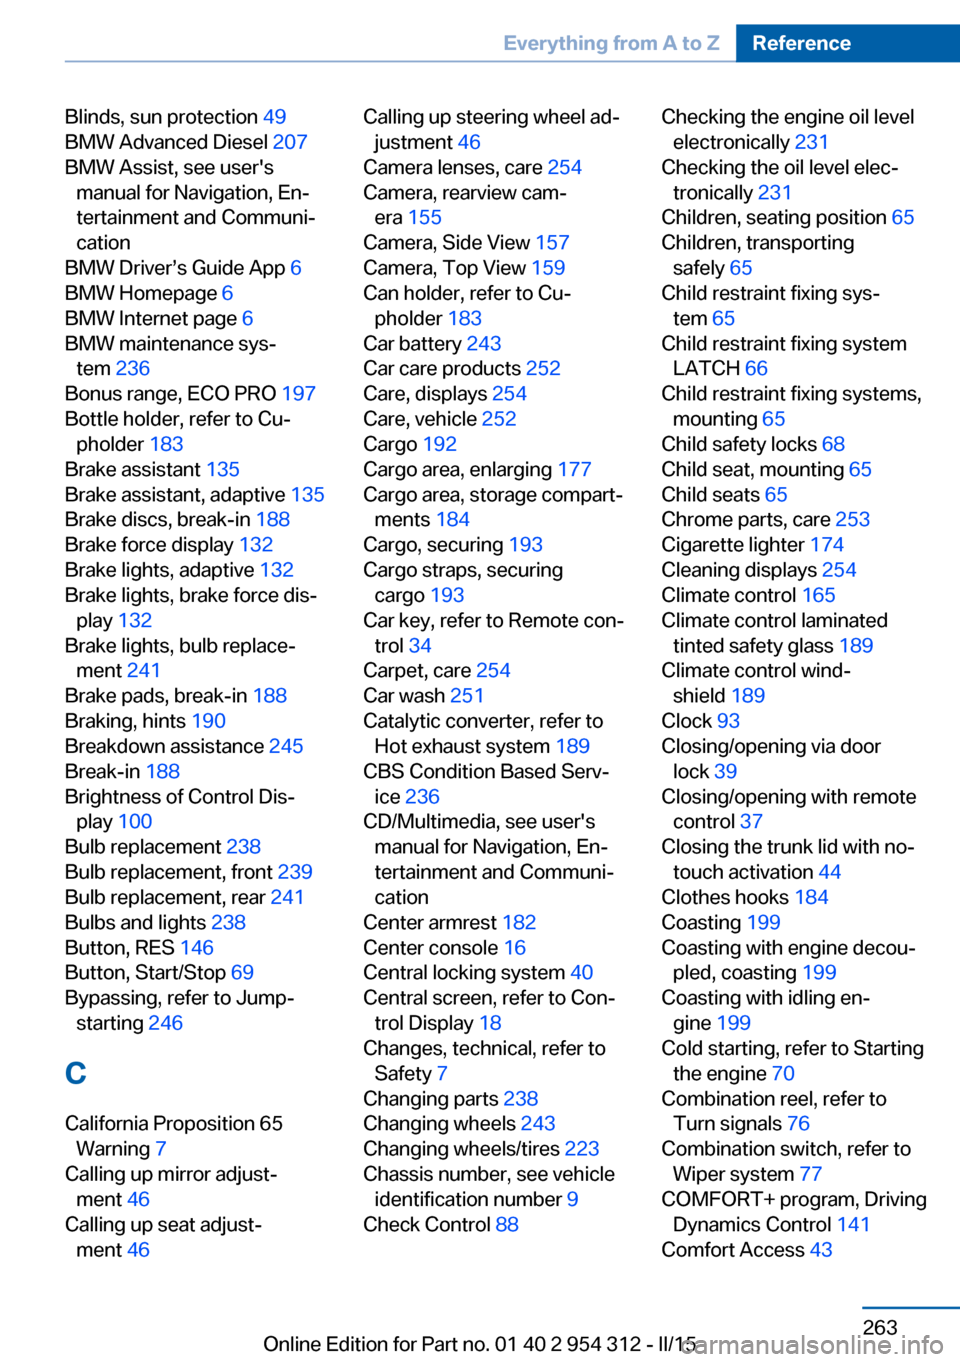
Blinds, sun protection 49
BMW Advanced Diesel 207
BMW Assist, see user's manual for Navigation, En‐
tertainment and Communi‐
cation
BMW Driver’s Guide App 6
BMW Homepage 6
BMW Internet page 6
BMW maintenance sys‐ tem 236
Bonus range, ECO PRO 197
Bottle holder, refer to Cu‐ pholder 183
Brake assistant 135
Brake assistant, adaptive 135
Brake discs, break-in 188
Brake force display 132
Brake lights, adaptive 132
Brake lights, brake force dis‐ play 132
Brake lights, bulb replace‐ ment 241
Brake pads, break-in 188
Braking, hints 190
Breakdown assistance 245
Break-in 188
Brightness of Control Dis‐ play 100
Bulb replacement 238
Bulb replacement, front 239
Bulb replacement, rear 241
Bulbs and lights 238
Button, RES 146
Button, Start/Stop 69
Bypassing, refer to Jump- starting 246
C
California Proposition 65 Warning 7
Calling up mirror adjust‐ ment 46
Calling up seat adjust‐ ment 46 Calling up steering wheel ad‐
justment 46
Camera lenses, care 254
Camera, rearview cam‐ era 155
Camera, Side View 157
Camera, Top View 159
Can holder, refer to Cu‐ pholder 183
Car battery 243
Car care products 252
Care, displays 254
Care, vehicle 252
Cargo 192
Cargo area, enlarging 177
Cargo area, storage compart‐ ments 184
Cargo, securing 193
Cargo straps, securing cargo 193
Car key, refer to Remote con‐ trol 34
Carpet, care 254
Car wash 251
Catalytic converter, refer to Hot exhaust system 189
CBS Condition Based Serv‐ ice 236
CD/Multimedia, see user's manual for Navigation, En‐
tertainment and Communi‐
cation
Center armrest 182
Center console 16
Central locking system 40
Central screen, refer to Con‐ trol Display 18
Changes, technical, refer to Safety 7
Changing parts 238
Changing wheels 243
Changing wheels/tires 223
Chassis number, see vehicle identification number 9
Check Control 88 Checking the engine oil level
electronically 231
Checking the oil level elec‐ tronically 231
Children, seating position 65
Children, transporting safely 65
Child restraint fixing sys‐ tem 65
Child restraint fixing system LATCH 66
Child restraint fixing systems, mounting 65
Child safety locks 68
Child seat, mounting 65
Child seats 65
Chrome parts, care 253
Cigarette lighter 174
Cleaning displays 254
Climate control 165
Climate control laminated tinted safety glass 189
Climate control wind‐ shield 189
Clock 93
Closing/opening via door lock 39
Closing/opening with remote control 37
Closing the trunk lid with no- touch activation 44
Clothes hooks 184
Coasting 199
Coasting with engine decou‐ pled, coasting 199
Coasting with idling en‐ gine 199
Cold starting, refer to Starting the engine 70
Combination reel, refer to Turn signals 76
Combination switch, refer to Wiper system 77
COMFORT+ program, Driving Dynamics Control 141
Comfort Access 43 Seite 263Everything from A to ZReference263
Online Edition for Part no. 01 40 2 954 312 - II/15