check engine BMW 535I XDRIVE GRAN TURISMO 2013 Owners Manual
[x] Cancel search | Manufacturer: BMW, Model Year: 2013, Model line: 535I XDRIVE GRAN TURISMO, Model: BMW 535I XDRIVE GRAN TURISMO 2013Pages: 240, PDF Size: 5.49 MB
Page 31 of 240
The storage compartment contains a switch for
separately securing the tailgate, refer to
page 41.
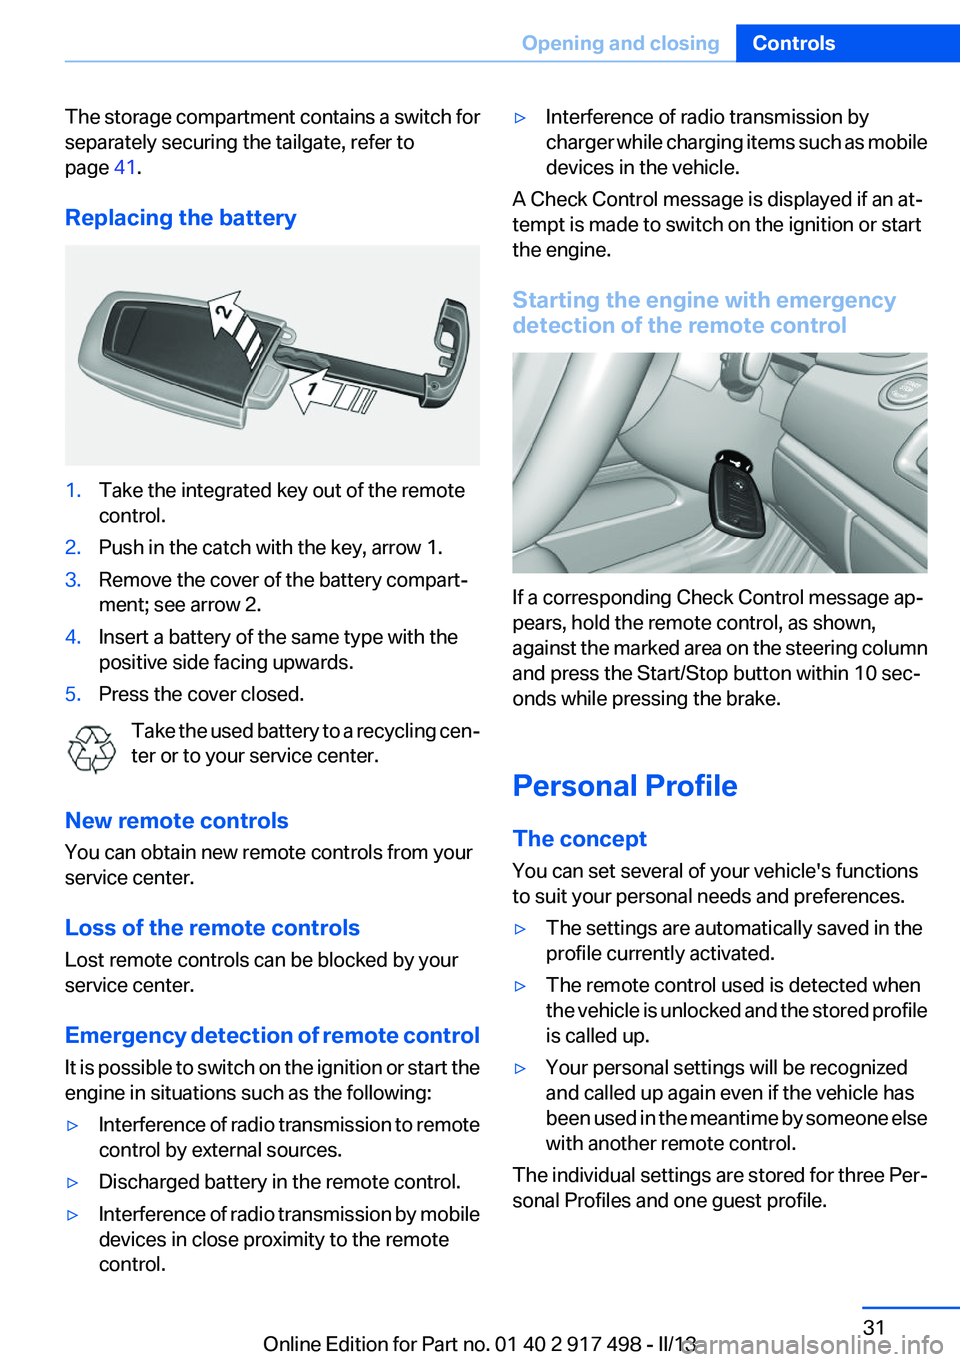
Replacing the battery1.Take the integrated key out of the remote
control.2.Push in the catch with the key, arrow 1.3.Remove the cover of the battery compart‐
ment; see arrow 2.4.Insert a battery of the same type with the
positive side facing upwards.5.Press the cover closed.
Take the used battery to a recycling cen‐
ter or to your service center.
New remote controls
You can obtain new remote controls from your
service center.
Loss of the remote controls
Lost remote controls can be blocked by your
service center.
Emergency detection of remote control
It is possible to switch on the ignition or start the
engine in situations such as the following:
▷Interference of radio transmission to remote
control by external sources.▷Discharged battery in the remote control.▷Interference of radio transmission by mobile
devices in close proximity to the remote
control.▷Interference of radio transmission by
charger while charging items such as mobile
devices in the vehicle.
A Check Control message is displayed if an at‐
tempt is made to switch on the ignition or start
the engine.
Starting the engine with emergency
detection of the remote control
If a corresponding Check Control message ap‐
pears, hold the remote control, as shown,
against the marked area on the steering column
and press the Start/Stop button within 10 sec‐
onds while pressing the brake.
Personal Profile
The concept
You can set several of your vehicle's functions
to suit your personal needs and preferences.
▷The settings are automatically saved in the
profile currently activated.▷The remote control used is detected when
the vehicle is unlocked and the stored profile
is called up.▷Your personal settings will be recognized
and called up again even if the vehicle has
been used in the meantime by someone else
with another remote control.
The individual settings are stored for three Per‐
sonal Profiles and one guest profile.
Seite 31Opening and closingControls31
Online Edition for Part no. 01 40 2 917 498 - II/13
Page 48 of 240
Danger of pinching even with pinch pro‐
tection
Despite the pinch protection system, check that
the roof's closing path is clear; otherwise, the
closing action may not be interrupted in certain
extreme situations, such as when thin objects
are present.◀
Closing from the open position without
pinch protection
For example, if there is an external danger, pro‐
ceed as follows:1.Press the switch forward beyond the resist‐
ance point and hold.
Pinch protection is limited and the roof re‐
opens slightly if the closing force exceeds a
certain value.2.Press the switch forward again beyond the
resistance point and hold until the roof
closes without pinch protection.
Closing from the raised position
without pinch protection
If there is an external danger, push the switch
forward past the resistance point and hold it.
The roof closes without pinch protection.
Initializing after a power failure
After a power failure during the opening or clos‐
ing process, the roof can only be operated to a
limited extent.
Initializing the system
The system can be initialized when the vehicle
is stationary and the engine is running.
During the initialization, the roof closes without
pinch protection.
Keep the closing path clear
Monitor the closing process and make
sure that the closing path of the glass sunroof is
clear; otherwise, injuries may result.◀
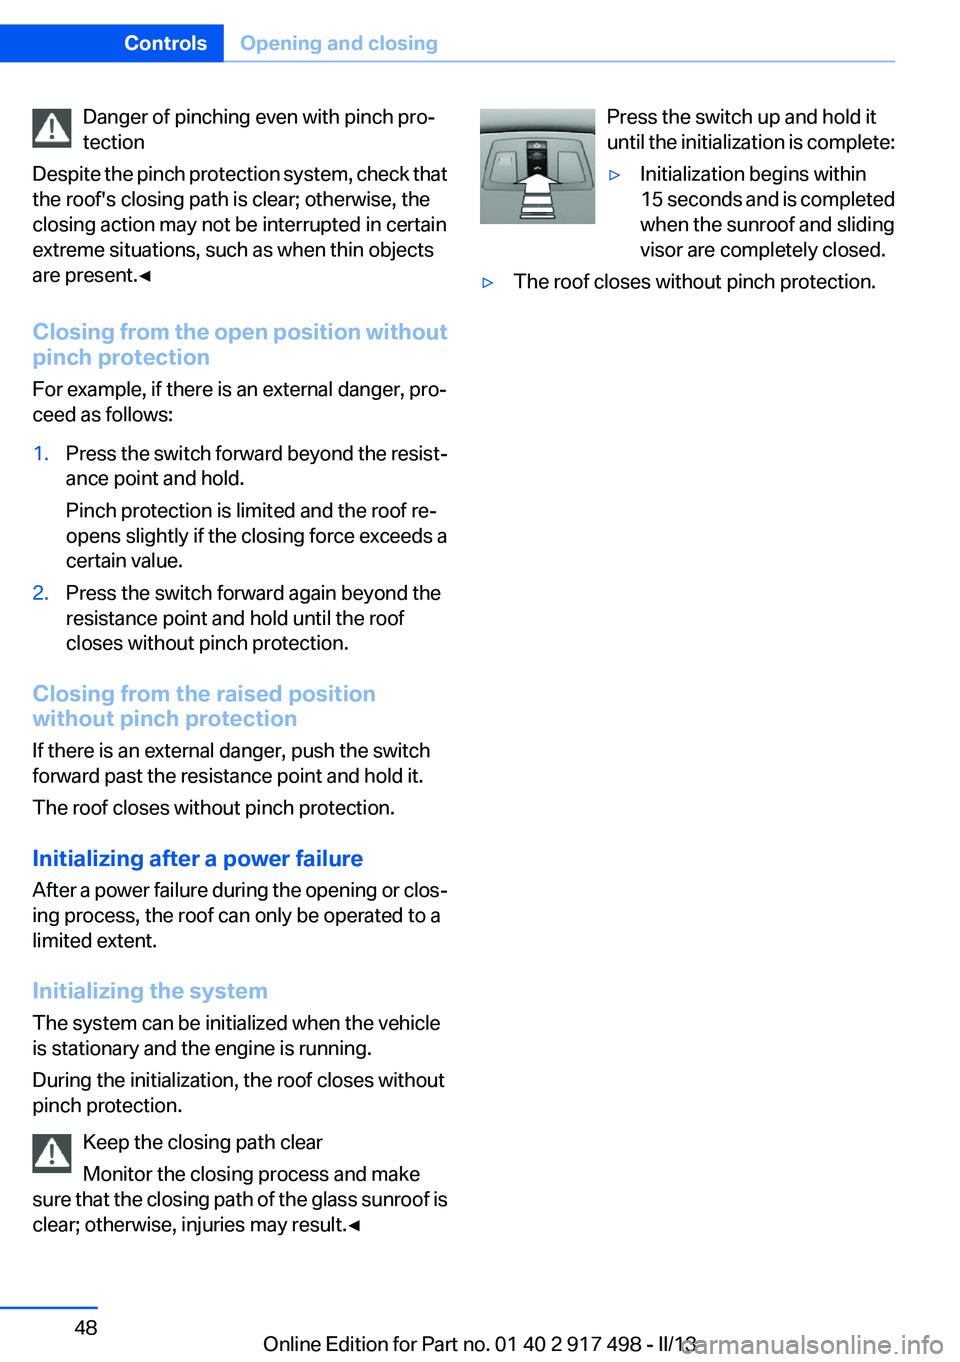
Press the switch up and hold it
until the initialization is complete:▷Initialization begins within
15 seconds and is completed
when the sunroof and sliding
visor are completely closed.▷The roof closes without pinch protection.Seite 48ControlsOpening and closing48
Online Edition for Part no. 01 40 2 917 498 - II/13
Page 72 of 240
Malfunction
The Auto Start/Stop function no longer
switches of the engine automatically. A Check
Control message is displayed. It is possible to
continue driving. Have the system checked.
Parking brake
The concept
The parking brake is used to prevent the vehicle
from rolling when it is parked.
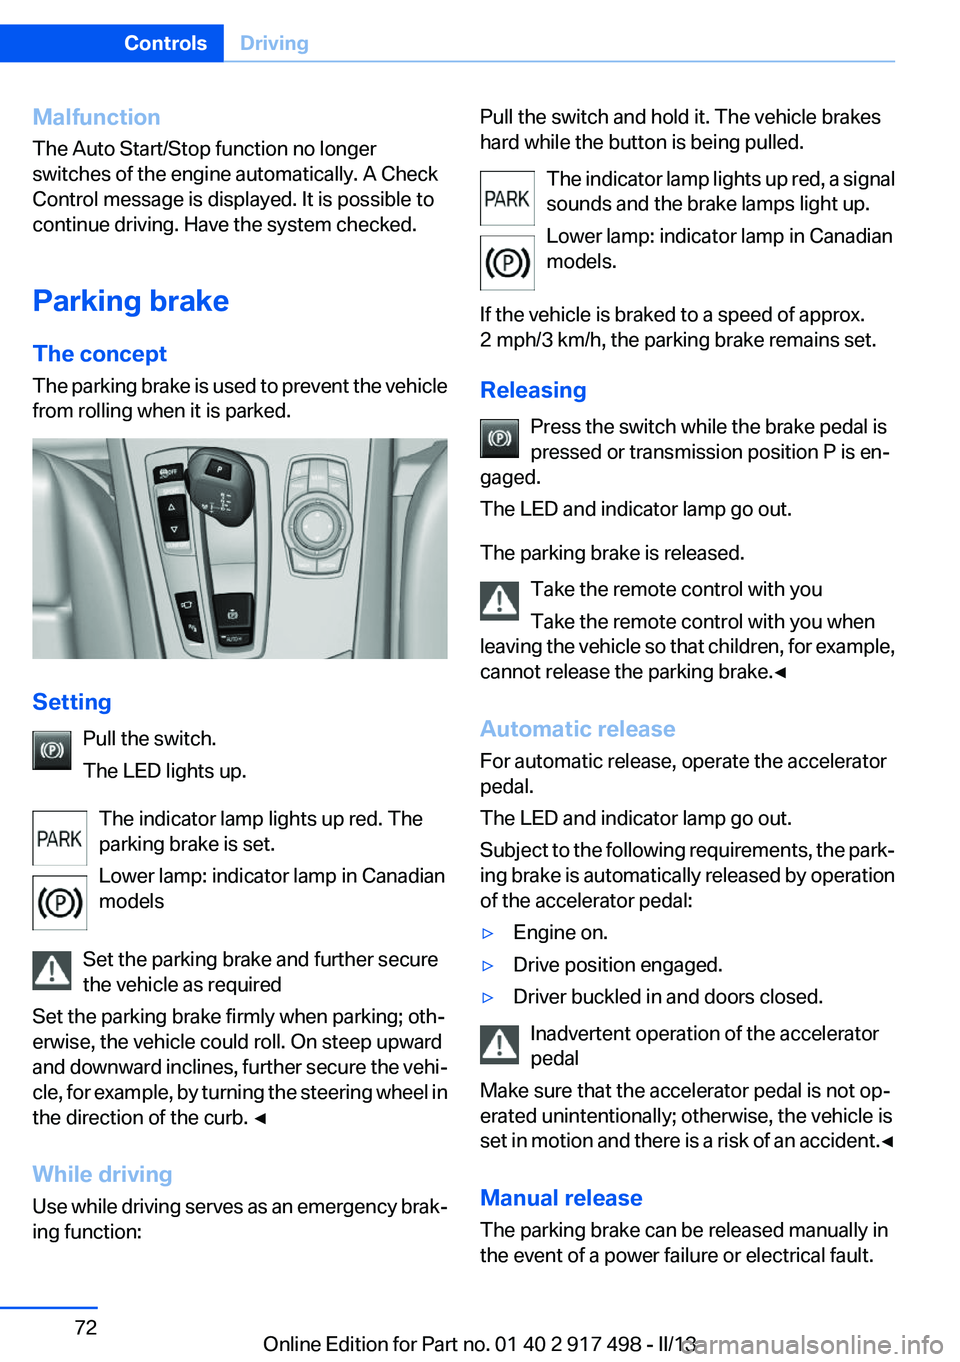
Setting
Pull the switch.
The LED lights up.
The indicator lamp lights up red. The
parking brake is set.
Lower lamp: indicator lamp in Canadian
models
Set the parking brake and further secure
the vehicle as required
Set the parking brake firmly when parking; oth‐
erwise, the vehicle could roll. On steep upward
and downward inclines, further secure the vehi‐
cle, for example, by turning the steering wheel in
the direction of the curb. ◀
While driving
Use while driving serves as an emergency brak‐
ing function:
Pull the switch and hold it. The vehicle brakes
hard while the button is being pulled.
The indicator lamp lights up red, a signal
sounds and the brake lamps light up.
Lower lamp: indicator lamp in Canadian
models.
If the vehicle is braked to a speed of approx.
2 mph/3 km/h, the parking brake remains set.
Releasing Press the switch while the brake pedal is
pressed or transmission position P is en‐
gaged.
The LED and indicator lamp go out.
The parking brake is released. Take the remote control with you
Take the remote control with you when
leaving the vehicle so that children, for example,
cannot release the parking brake.◀
Automatic release
For automatic release, operate the accelerator
pedal.
The LED and indicator lamp go out.
Subject to the following requirements, the park‐
ing brake is automatically released by operation
of the accelerator pedal:▷Engine on.▷Drive position engaged.▷Driver buckled in and doors closed.
Inadvertent operation of the accelerator
pedal
Make sure that the accelerator pedal is not op‐
erated unintentionally; otherwise, the vehicle is
set in motion and there is a risk of an accident. ◀
Manual release
The parking brake can be released manually in
the event of a power failure or electrical fault.
Seite 72ControlsDriving72
Online Edition for Part no. 01 40 2 917 498 - II/13
Page 86 of 240
Instrument display
The indicator and warning lamps can light up in
a variety of combinations and colors.
Several of the lamps are checked for proper
functioning and light up temporarily when the
engine is started or the ignition is switched on.
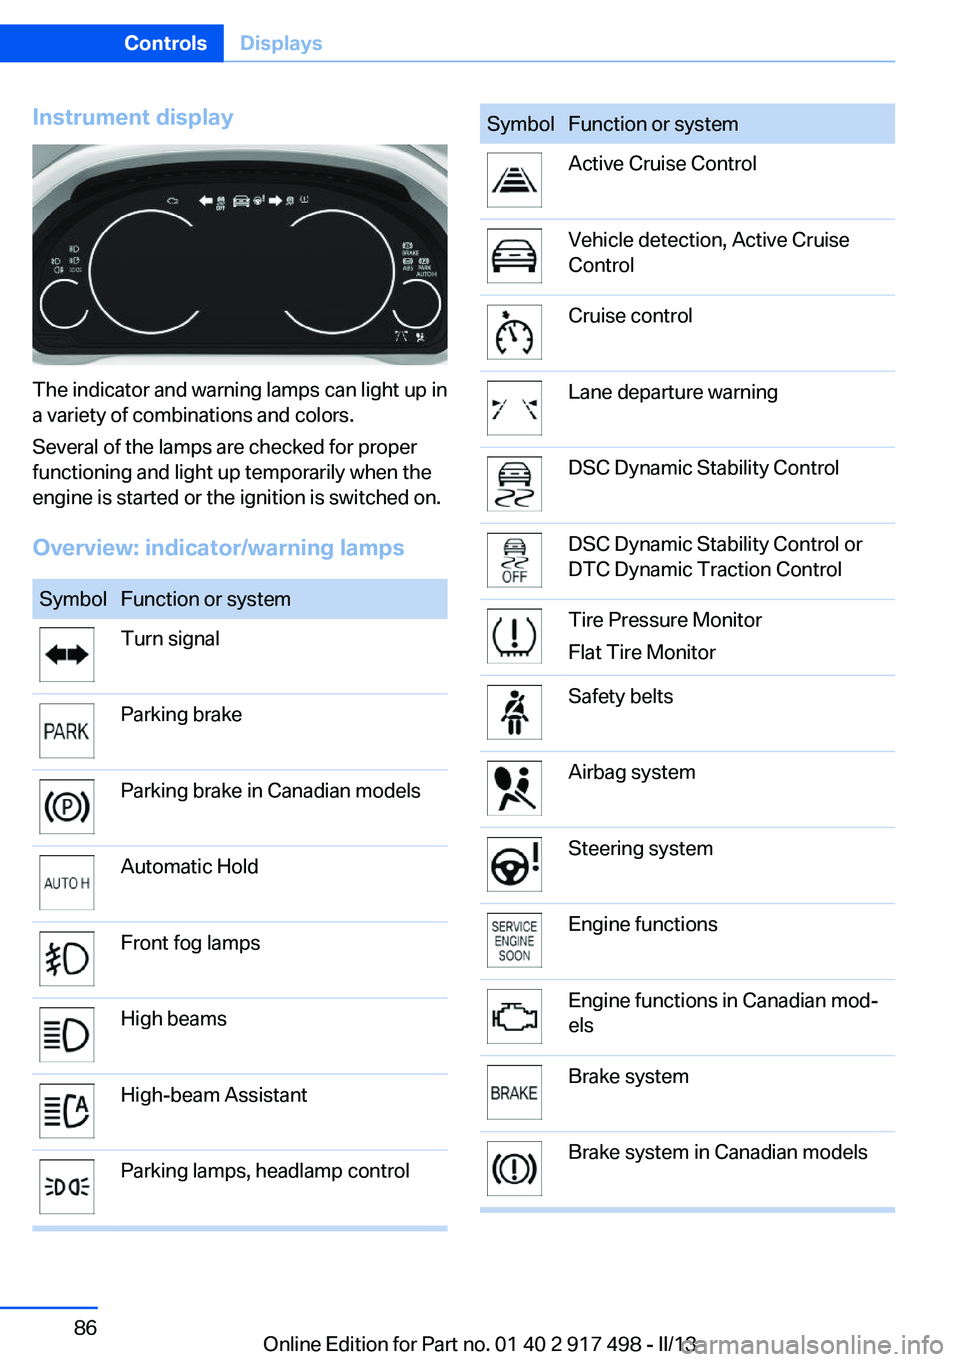
Overview: indicator/warning lamps
SymbolFunction or systemTurn signalParking brakeParking brake in Canadian modelsAutomatic HoldFront fog lampsHigh beamsHigh-beam AssistantParking lamps, headlamp controlSymbolFunction or systemActive Cruise ControlVehicle detection, Active Cruise
ControlCruise controlLane departure warningDSC Dynamic Stability ControlDSC Dynamic Stability Control or
DTC Dynamic Traction ControlTire Pressure Monitor
Flat Tire MonitorSafety beltsAirbag systemSteering systemEngine functionsEngine functions in Canadian mod‐
elsBrake systemBrake system in Canadian modelsSeite 86ControlsDisplays86
Online Edition for Part no. 01 40 2 917 498 - II/13
Page 88 of 240
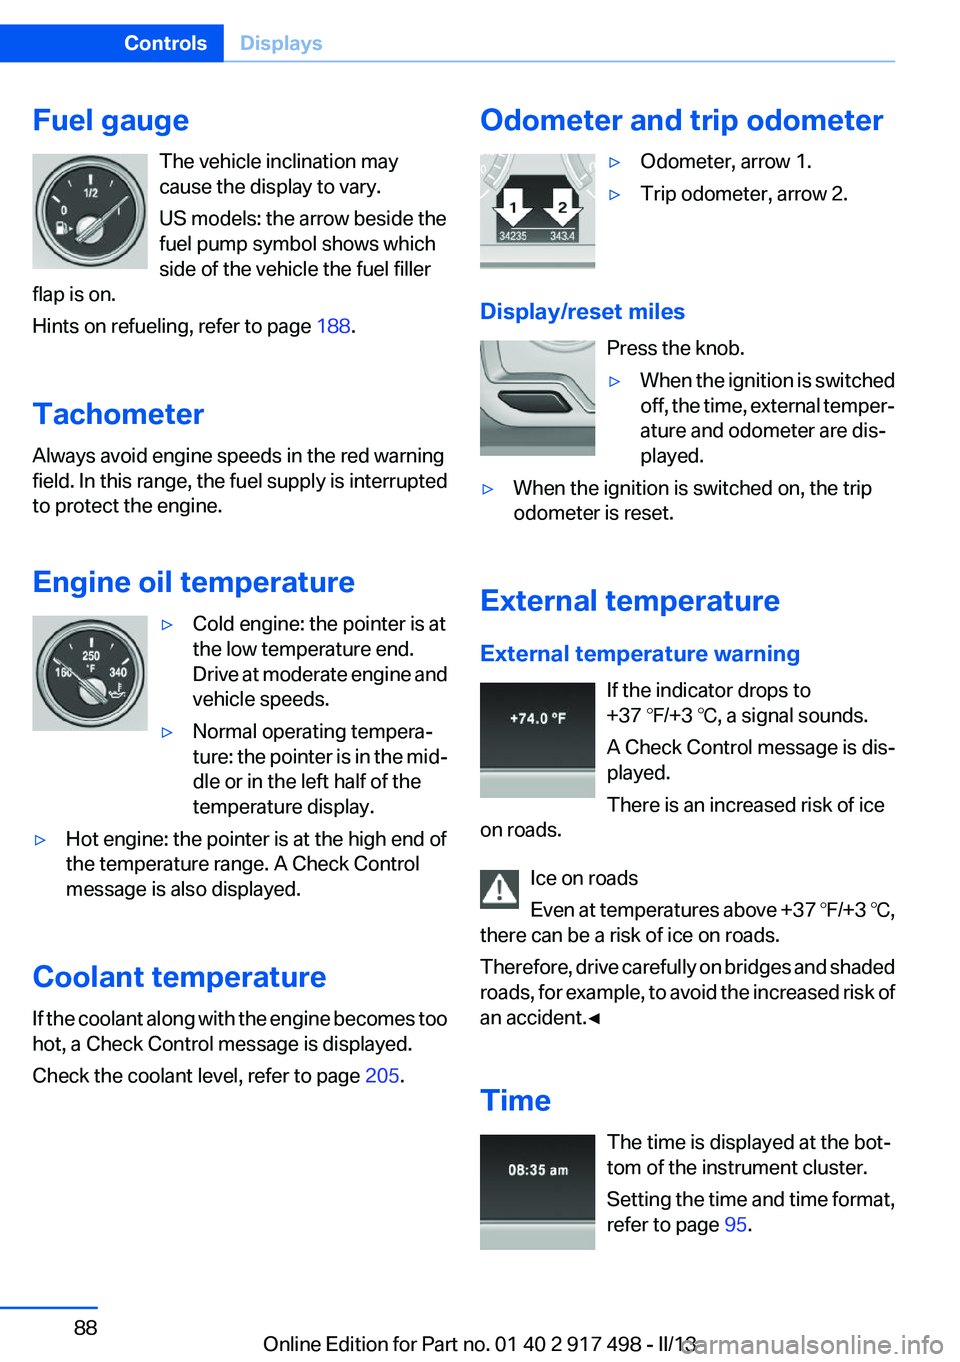
Fuel gaugeThe vehicle inclination may
cause the display to vary.
US models: the arrow beside the
fuel pump symbol shows which
side of the vehicle the fuel filler
flap is on.
Hints on refueling, refer to page 188.
Tachometer
Always avoid engine speeds in the red warning
field. In this range, the fuel supply is interrupted
to protect the engine.
Engine oil temperature▷Cold engine: the pointer is at
the low temperature end.
Drive at moderate engine and
vehicle speeds.▷Normal operating tempera‐
ture: the pointer is in the mid‐
dle or in the left half of the
temperature display.▷Hot engine: the pointer is at the high end of
the temperature range. A Check Control
message is also displayed.
Coolant temperature
If the coolant along with the engine becomes too
hot, a Check Control message is displayed.
Check the coolant level, refer to page 205.
Odometer and trip odometer▷Odometer, arrow 1.▷Trip odometer, arrow 2.
Display/reset miles
Press the knob.
▷When the ignition is switched
off, the time, external temper‐
ature and odometer are dis‐
played.▷When the ignition is switched on, the trip
odometer is reset.
External temperature
External temperature warning If the indicator drops to
+37 ℉/+3 ℃, a signal sounds.
A Check Control message is dis‐
played.
There is an increased risk of ice
on roads.
Ice on roads
Even at temperatures above +37 ℉/+3 ℃,
there can be a risk of ice on roads.
Therefore, drive carefully on bridges and shaded
roads, for example, to avoid the increased risk of
an accident.◀
Time The time is displayed at the bot‐
tom of the instrument cluster.
Setting the time and time format,
refer to page 95.
Seite 88ControlsDisplays88
Online Edition for Part no. 01 40 2 917 498 - II/13
Page 89 of 240
DateThe date is displayed in the in‐
strument cluster.
Setting the date and date format,
refer to page 95.
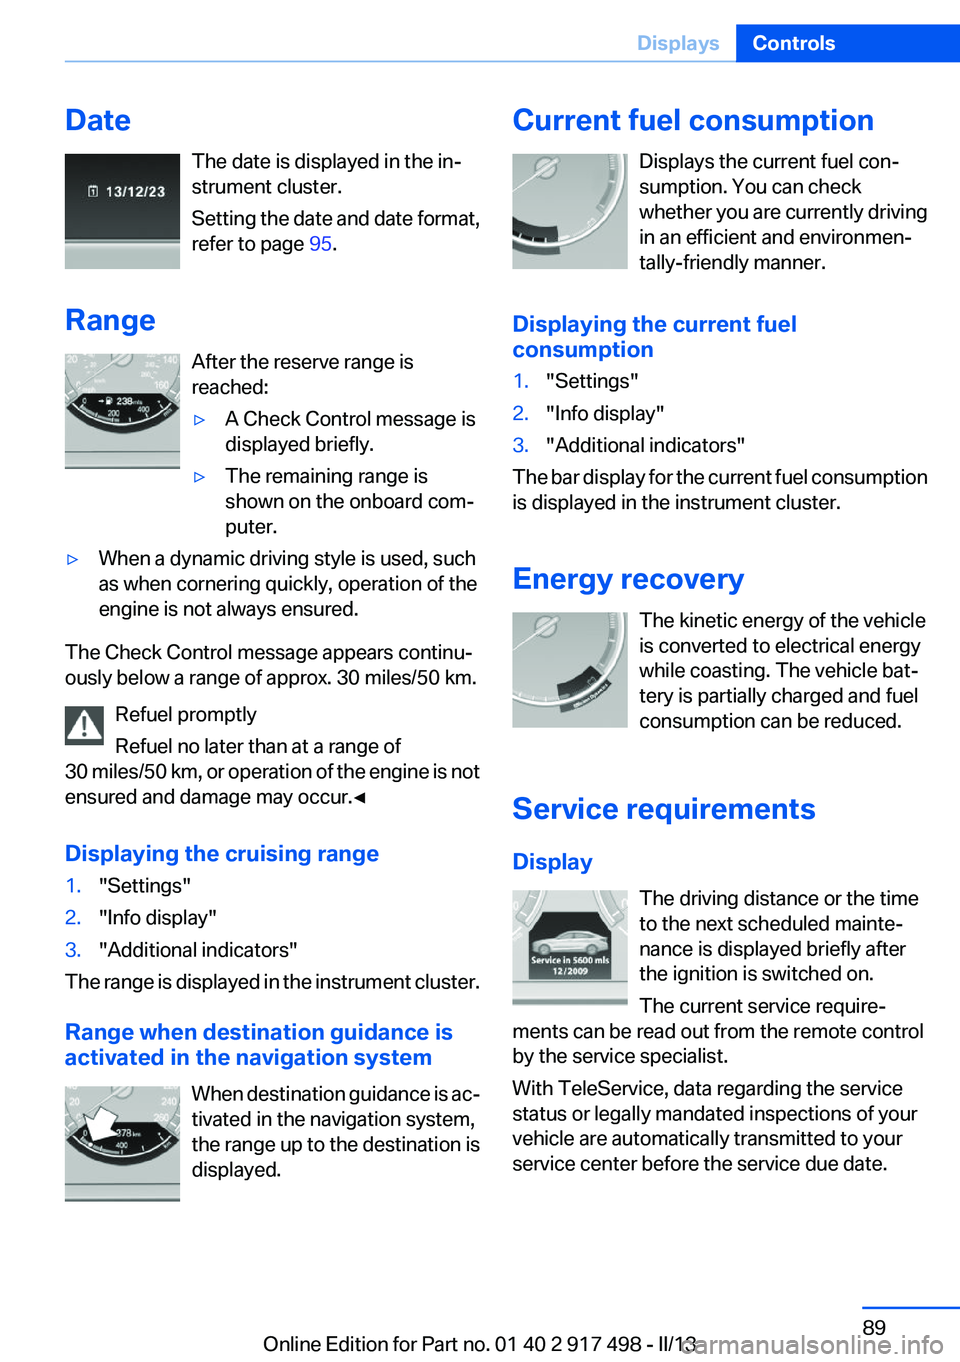
Range After the reserve range is
reached:▷A Check Control message is
displayed briefly.▷The remaining range is
shown on the onboard com‐
puter.▷When a dynamic driving style is used, such
as when cornering quickly, operation of the
engine is not always ensured.
The Check Control message appears continu‐
ously below a range of approx. 30 miles/50 km.
Refuel promptly
Refuel no later than at a range of
30 miles/50 km, or operation of the engine is not
ensured and damage may occur.◀
Displaying the cruising range
1."Settings"2."Info display"3."Additional indicators"
The range is displayed in the instrument cluster.
Range when destination guidance is
activated in the navigation system
When destination guidance is ac‐
tivated in the navigation system,
the range up to the destination is
displayed.
Current fuel consumption
Displays the current fuel con‐
sumption. You can check
whether you are currently driving
in an efficient and environmen‐
tally-friendly manner.
Displaying the current fuel
consumption1."Settings"2."Info display"3."Additional indicators"
The bar display for the current fuel consumption
is displayed in the instrument cluster.
Energy recovery The kinetic energy of the vehicle
is converted to electrical energy
while coasting. The vehicle bat‐
tery is partially charged and fuel
consumption can be reduced.
Service requirements
Display The driving distance or the time
to the next scheduled mainte‐
nance is displayed briefly after
the ignition is switched on.
The current service require‐
ments can be read out from the remote control
by the service specialist.
With TeleService, data regarding the service
status or legally mandated inspections of your
vehicle are automatically transmitted to your
service center before the service due date.
Seite 89DisplaysControls89
Online Edition for Part no. 01 40 2 917 498 - II/13
Page 105 of 240
sure that the indicator lamp for the front pas‐
senger airbags lights up. This indicates that the
child seat has been detected and the front pas‐
senger airbags are not activated.
Strength of the driver's and front
passenger airbag
The strength with which the driver's and front
passenger airbags are triggered depends on the
position of the driver's and front passenger
seats.
To maintain the accuracy of this function over
the long-term, calibrate the front seats when a
corresponding message appears on the Control
Display.
Calibrating the front seats
A corresponding message appears on the Con‐
trol Display.1.Move the respective seat forward all the
way.2.Move the respective seat forward again. It
moves forward briefly.3.Readjust the seat to the desired position.
The calibration procedure is completed when
the message on the Control Display disappears.
If the message continues to be displayed, repeat
the calibration.
If the message does not disappear after a repeat
calibration, have the system checked as soon as
possible.
Unobstructed area of movement
Ensure that the area of movement of the
seats is unobstructed to avoid personal injury or
damage to objects.◀
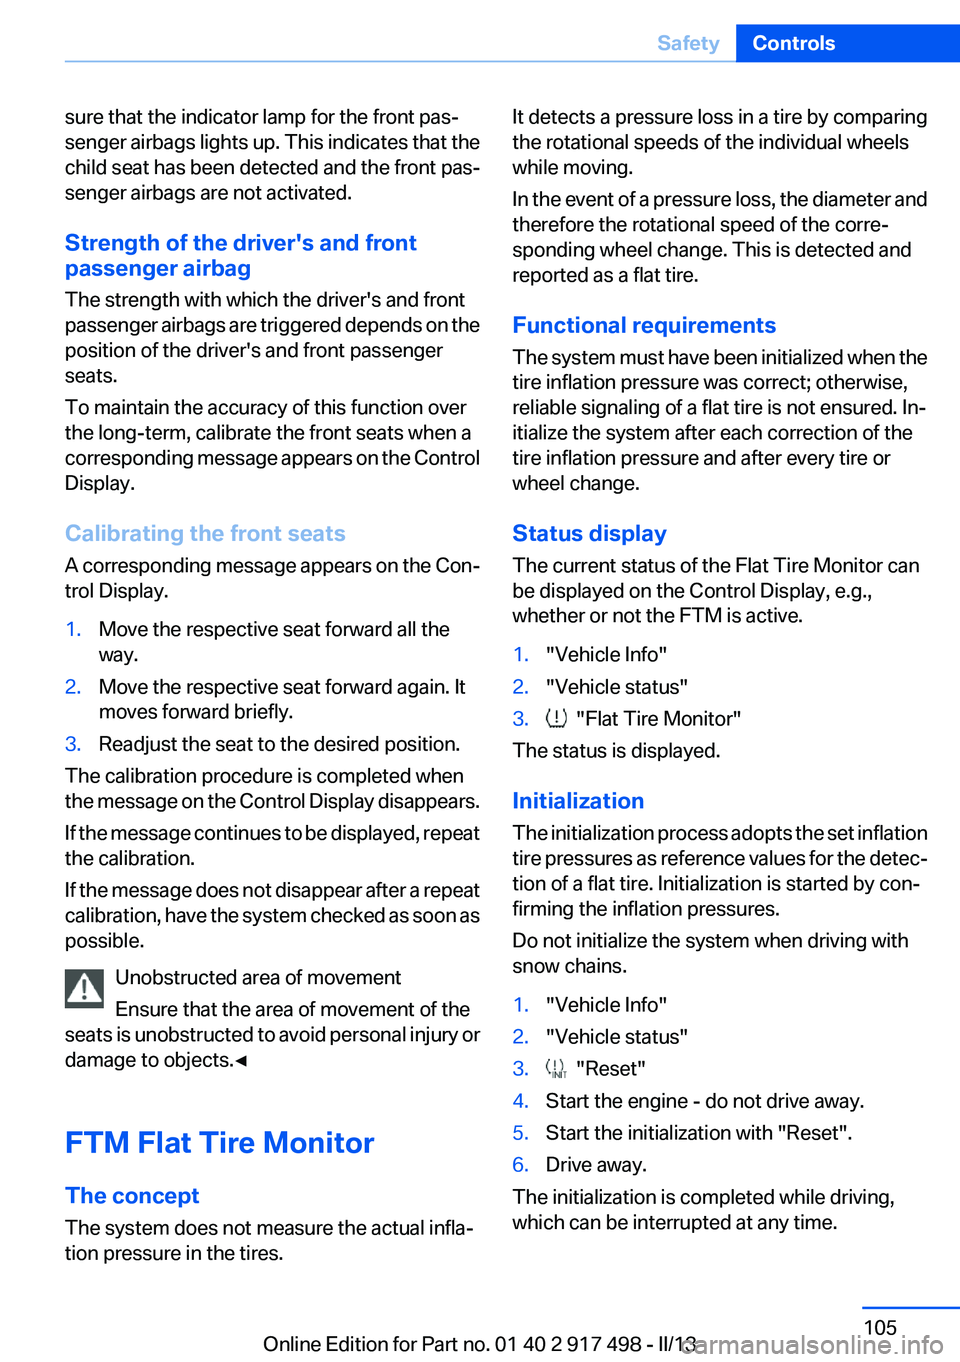
FTM Flat Tire Monitor
The concept
The system does not measure the actual infla‐
tion pressure in the tires.
It detects a pressure loss in a tire by comparing
the rotational speeds of the individual wheels
while moving.
In the event of a pressure loss, the diameter and
therefore the rotational speed of the corre‐
sponding wheel change. This is detected and
reported as a flat tire.
Functional requirements
The system must have been initialized when the
tire inflation pressure was correct; otherwise,
reliable signaling of a flat tire is not ensured. In‐
itialize the system after each correction of the
tire inflation pressure and after every tire or
wheel change.
Status display
The current status of the Flat Tire Monitor can
be displayed on the Control Display, e.g.,
whether or not the FTM is active.1."Vehicle Info"2."Vehicle status"3. "Flat Tire Monitor"
The status is displayed.
Initialization
The initialization process adopts the set inflation
tire pressures as reference values for the detec‐
tion of a flat tire. Initialization is started by con‐
firming the inflation pressures.
Do not initialize the system when driving with
snow chains.
1."Vehicle Info"2."Vehicle status"3. "Reset"4.Start the engine - do not drive away.5.Start the initialization with "Reset".6.Drive away.
The initialization is completed while driving,
which can be interrupted at any time.
Seite 105SafetyControls105
Online Edition for Part no. 01 40 2 917 498 - II/13
Page 108 of 240
For Canadian models: Additional
information
The status display additionally shows the cur‐
rent tire inflation pressures and tire tempera‐
tures. The values shown are current measure‐
ment values and may vary depending on driving
style or weather conditions.
Carry out reset
Reset the system after each correction of the
tire inflation pressure and after every tire or
wheel change.1."Vehicle Info"2."Vehicle status"3. "Reset"4.Start the engine - do not drive away.5.Carry out the reset with "Reset".6.Drive away.
The tires are shown in gray and the status is dis‐
played.
After driving faster than 19 mph/30 km/h for a
short period, the tire inflation pressures set are
accepted as reference values. The reset is com‐
pleted automatically during driving. After suc‐
cessful completion of the reset, the tires appear
in green on the Control Display and "TPM
active" is displayed.
The trip can be interrupted at any time. If you
drive away again, the reset resumes automati‐
cally.
Low tire pressure message The yellow warning lamp lights up. A
Check Control message is displayed.
▷There is a flat tire or a major loss in
tire inflation pressure.▷A reset of the system was not carried out af‐
ter a wheel was changed. The system there‐fore issues a warning based on the tire pres‐
sures before the last reset.1.Reduce your speed and stop cautiously.
Avoid sudden braking and steering maneu‐
vers.2.Check whether the vehicle is fitted with reg‐
ular tires or run-flat tires.
Run-flat tires, refer to page 198, are labeled
with a circular symbol containing the letters
RSC marked on the tire sidewall.
Do not continue driving without run-flat
tires
Do not continue driving if the vehicle is not
equipped with run-flat tires; continued driving
may result in serious accidents.◀
When a low inflation pressure is indicated, DSC
Dynamic Stability Control is switched on if nec‐
essary.
Actions in the event of a flat tire
Normal tires
1.Identify the damaged tire.
Do this by checking the air pressure in all
four tires.
If the tire inflation pressure in all four tires is
correct, it is possible that a reset was not
carried out for the Tire Pressure Monitor. In
that case, carry out a reset.
If an identification is not possible, please
contact the service center.2.Rectify the flat tire.
Use of tire sealant, e.g., the Mobility System,
may damage the TPM wheel electronics. In
this case, have the electronics checked at
the next opportunity and have them re‐
placed if necessary.Seite 108ControlsSafety108
Online Edition for Part no. 01 40 2 917 498 - II/13
Page 126 of 240
At speeds up to approx. 37 mph/60 km/h, e.g.,
in curves, the steering angle is increased, i.e.,
steering becomes more direct.
The rear axle steering acts to increase maneu‐
verability by turning the rear wheels slightly in a
direction opposite to the front wheels.
At higher speeds, the steering angle is increas‐
ingly reduced.
The rear wheels are turned to the same angle as
the front wheels.
In critical situations, Integral Active Steering can
specifically steer the front and rear wheels to
stabilize the vehicle before the driver intervenes,
e.g., when braking where road conditions differ
on the left and right sides of the vehicle.
Initializing
In rare cases, it may become necessary to initi‐
alize the Integral Active Steering.
The warning lamp lights up. A Check
Control message is displayed.1.With the engine running, turn the steering
wheel all the way to the left and right several
times in a uniform manner until the warning
lamp disappears.2.Have the system checked if the warning
lamp does not go out after moving the steer‐
ing wheel approx. 6 times or if the steering
wheel is at an angle.
Using snow chains
Ensure that the rear axle steering is deactivated
when using snow chains, refer to page 199.
Programs
The system offers several different programs.
The programs can be selected via the Driving
Dynamics Control, refer to page 127.
SPORT
Consistently sporty tuning of the Integral Active
Steering for greater driving agility.
COMFORT
Balanced tuning between the COMFORT+ and
SPORT programs.
COMFORT+
Consistently comfort-oriented tuning of the In‐
tegral Active Steering for optimal traveling com‐
fort.
Malfunction
In the event of a malfunction, the steering wheel
must be turned further, while the vehicle re‐
sponds more sensitively to steering wheel
movements in the higher speed range.
The stability-enhancing intervention may be de‐
activated.
Proceed cautiously and drive defensively.
Have the system checked.
Self-leveling suspension
The concept
The self-leveling suspension keeps the vehicle
height and ground clearance constant. The
height of the vehicle at the rear axle is main‐
tained at a predefined level under all load con‐
ditions.
The system ensures consistent comfort by
keeping spring travel constant in all driving sit‐
uations.
Malfunction
A Check Control message is displayed. A mal‐
function has occurred in the self-leveling sus‐
pension. Vehicle handling may be altered and
driving comfort may be noticeably reduced. Visit
your nearest service center.Seite 126ControlsDriving stability control systems126
Online Edition for Part no. 01 40 2 917 498 - II/13
Page 133 of 240
While standingBefore leaving the vehicle, secure it
against rolling.
Before leaving the vehicle with the engine run‐
ning, engage position P of the automatic trans‐
mission and apply the parking brake. Otherwise,
the vehicle may begin to roll.◀
The system brought the vehicle to a complete
standstill:▷Green marking in the speedometer:
Your vehicle accelerates automatically as
soon as the vehicle in the range of the radar
sensor moves off.▷Marking in the speedometer turns orange:
no automatic driving away.
To accelerate to the desired speed auto‐
matically, press the accelerator briefly or
press the RES or SET button.
Rolling bars in the distance display indicate that
the vehicle in the radar sensor detection range
has moved off.
Your vehicle was braked to a halt by pressing on
the brake pedal and it is standing behind another
vehicle:
1. Press the button to call up a stored
desired speed.2.Release the brake pedal.3.Press on the accelerator briefly, or press the
RES button or the rocker switch when the
vehicle ahead of you drives away.
Displays in the instrument cluster
Desired speed
▷The marking lights up green:
the system is active.▷The marking lights up or‐
ange: the system has been
interrupted.▷The marking does not light up: the system is
switched off.
With instrument display: the symbol is
displayed in the speedometer similarly
to the mark for the desired speed.
Brief status display Selected desired speed.
If --- appears briefly on the display for Check
Control messages, it is possible that the system
requirements for operation are currently not
met.
Distance to vehicle ahead of you
The selected distance to the vehicle driving
ahead of you is shown.
Distance displayDistance 1Distance 2Distance 3Distance 4
This value is set after the system is
switched on.The system has been interrupted or
distance control is deactivated be‐
cause the accelerator is being
pressed; a vehicle was not detected.Distance control is deactivated be‐
cause the accelerator is being
pressed; a vehicle was detected.Rolling bars: the detected vehicle has driven
away.Seite 133Driving comfortControls133
Online Edition for Part no. 01 40 2 917 498 - II/13