BMW 7 SERIES 2013 F01 Workshop Manual
Manufacturer: BMW, Model Year: 2013, Model line: 7 SERIES, Model: BMW 7 SERIES 2013 F01Pages: 255, PDF Size: 5.22 MB
Page 51 of 255
Opening/closing the glass sunroof
When the sliding visor is open, proceed as de‐
scribed under Sliding visor.
Opening/closing the glass sunroof and
sliding visor together
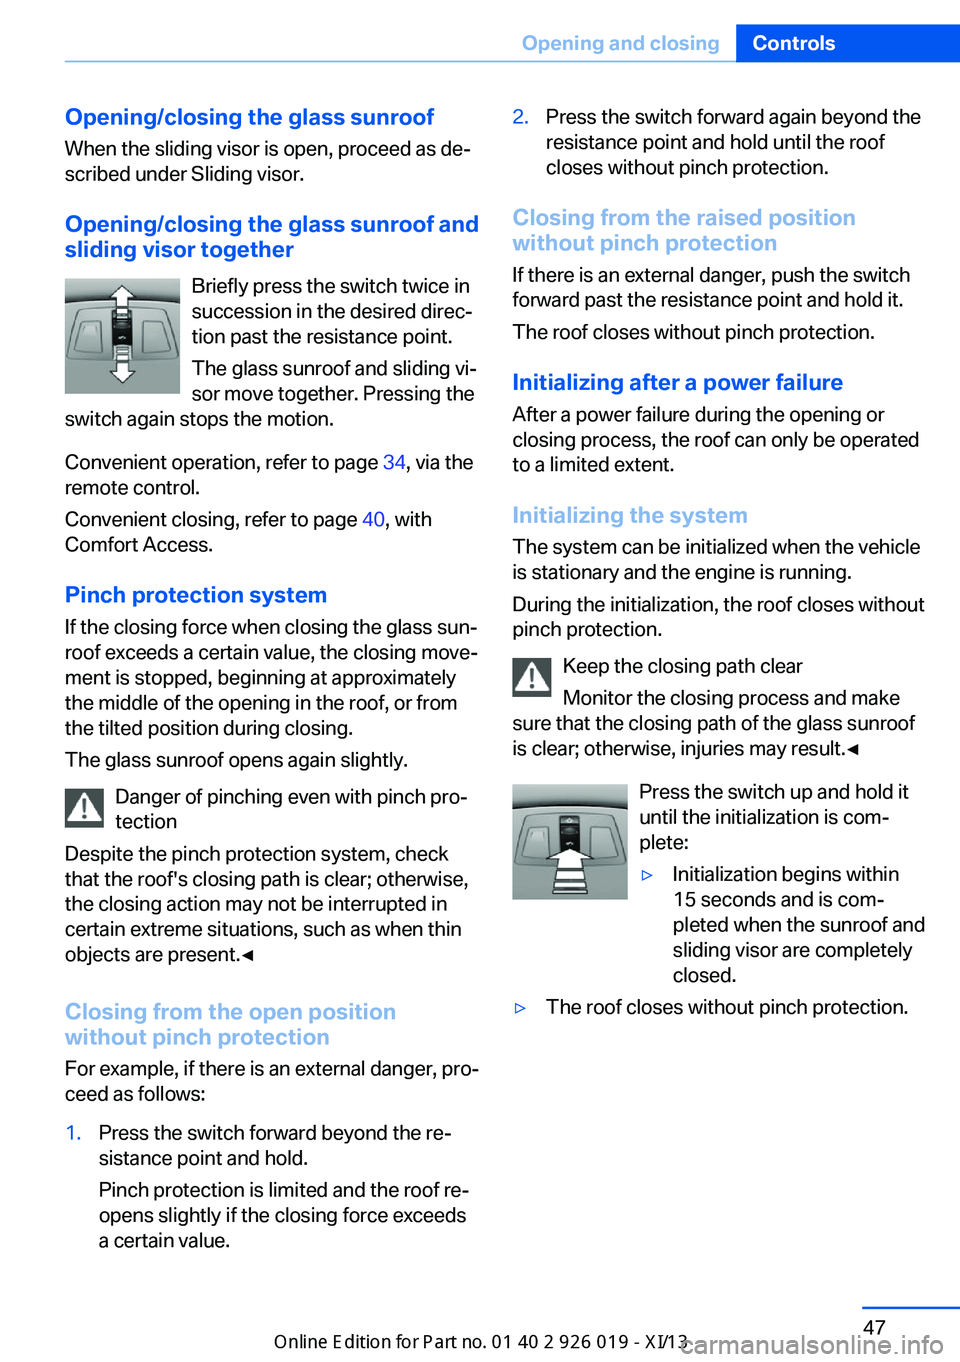
Briefly press the switch twice in
succession in the desired direc‐
tion past the resistance point.
The glass sunroof and sliding vi‐
sor move together. Pressing the
switch again stops the motion.
Convenient operation, refer to page 34, via the
remote control.
Convenient closing, refer to page 40, with
Comfort Access.
Pinch protection system
If the closing force when closing the glass sun‐
roof exceeds a certain value, the closing move‐
ment is stopped, beginning at approximately
the middle of the opening in the roof, or from
the tilted position during closing.
The glass sunroof opens again slightly.
Danger of pinching even with pinch pro‐
tection
Despite the pinch protection system, check
that the roof's closing path is clear; otherwise,
the closing action may not be interrupted in
certain extreme situations, such as when thin
objects are present.◀
Closing from the open position
without pinch protection
For example, if there is an external danger, pro‐
ceed as follows:1.Press the switch forward beyond the re‐
sistance point and hold.
Pinch protection is limited and the roof re‐
opens slightly if the closing force exceeds
a certain value.2.Press the switch forward again beyond the
resistance point and hold until the roof
closes without pinch protection.
Closing from the raised position
without pinch protection
If there is an external danger, push the switch
forward past the resistance point and hold it.
The roof closes without pinch protection.
Initializing after a power failure After a power failure during the opening or
closing process, the roof can only be operated
to a limited extent.
Initializing the system
The system can be initialized when the vehicle
is stationary and the engine is running.
During the initialization, the roof closes without
pinch protection.
Keep the closing path clear
Monitor the closing process and make
sure that the closing path of the glass sunroof
is clear; otherwise, injuries may result.◀
Press the switch up and hold it
until the initialization is com‐
plete:
▷Initialization begins within
15 seconds and is com‐
pleted when the sunroof and
sliding visor are completely
closed.▷The roof closes without pinch protection.Seite 47Opening and closingControls47
Online Edition for Part no. 01 40 2 909 749 - VI/13
Page 52 of 255
AdjustingVehicle equipment
All standard, country-specific and optional
equipment that is offered in the model series is
described in this chapter. Therefore, equip‐
ment is also described that is not available in a
vehicle, e. g., because of the selected optional
equipment or country variant. This also applies
for safety-related functions and systems.
Sitting safely The ideal seating position can make a vital
contribution to relaxed, fatigue-free driving.
The seating position plays an important role in
an accident in combination with:▷Safety belts, refer to page 54.▷Head restraints, refer to page 55.▷Airbags, refer to page 100.
Front seats
General information Do not adjust the seat while driving
Do not adjust the driver's seat while driv‐
ing, or the seat could respond with unexpected
movement and the ensuing loss of vehicle
control could lead to an accident.◀
Do not incline the backrest too far to the
rear
Also on the front passenger side, do not incline
the backrest on the front passenger side too far to the rear during driving, or there is a risk of
slipping under the safety belt in the event of an
accident. This would eliminate the protection
normally provided by the belt.◀
Electrically adjustable seats
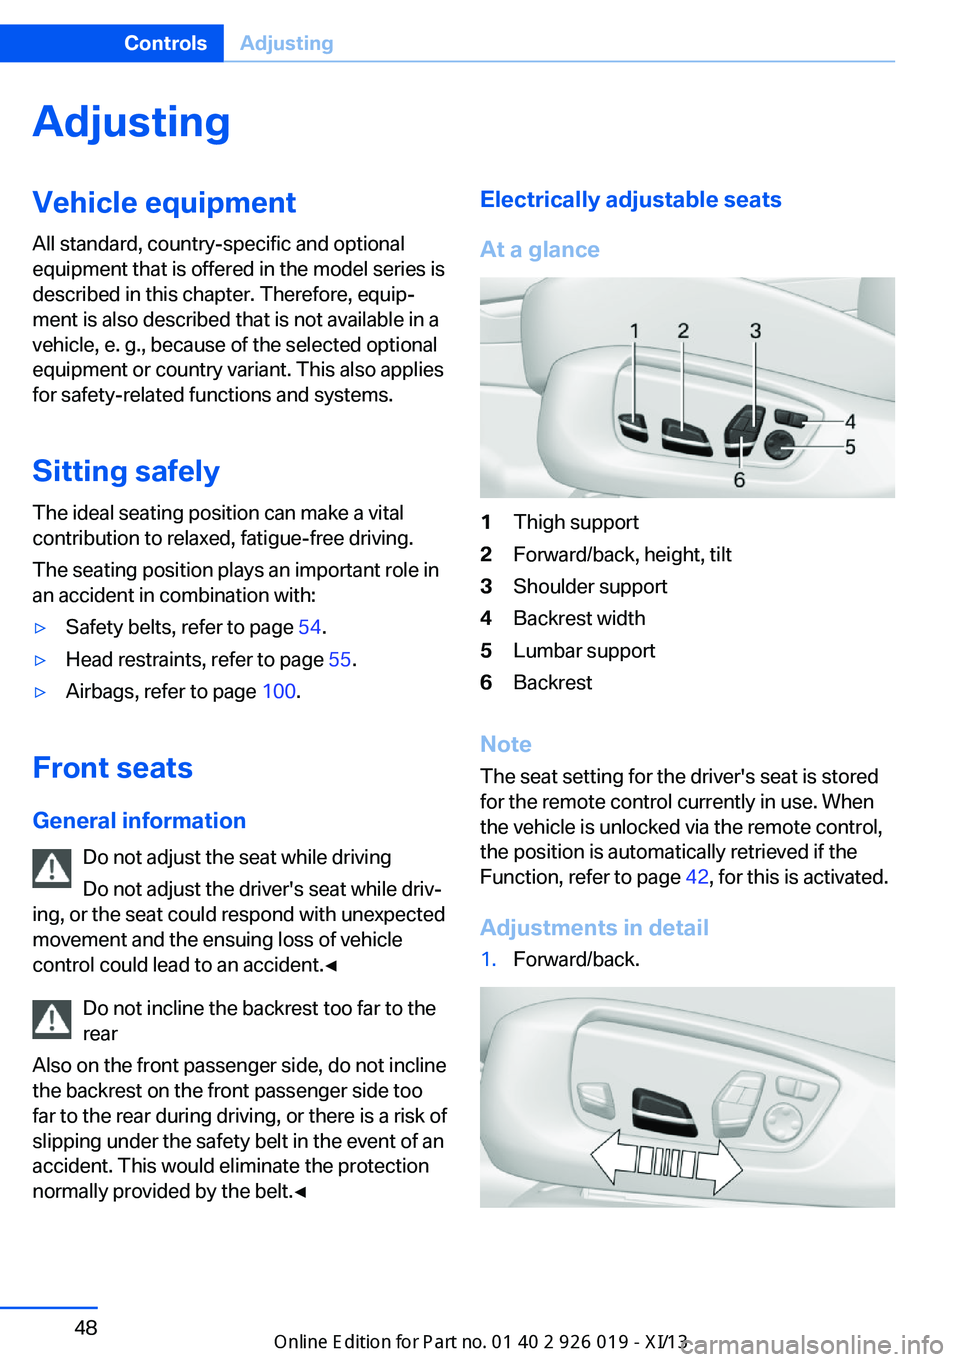
At a glance1Thigh support2Forward/back, height, tilt3Shoulder support4Backrest width5Lumbar support6Backrest
Note The seat setting for the driver's seat is stored
for the remote control currently in use. When
the vehicle is unlocked via the remote control,
the position is automatically retrieved if the
Function, refer to page 42, for this is activated.
Adjustments in detail
1.Forward/back.Seite 48ControlsAdjusting48
Online Edition for Part no. 01 40 2 909 749 - VI/13
Page 53 of 255
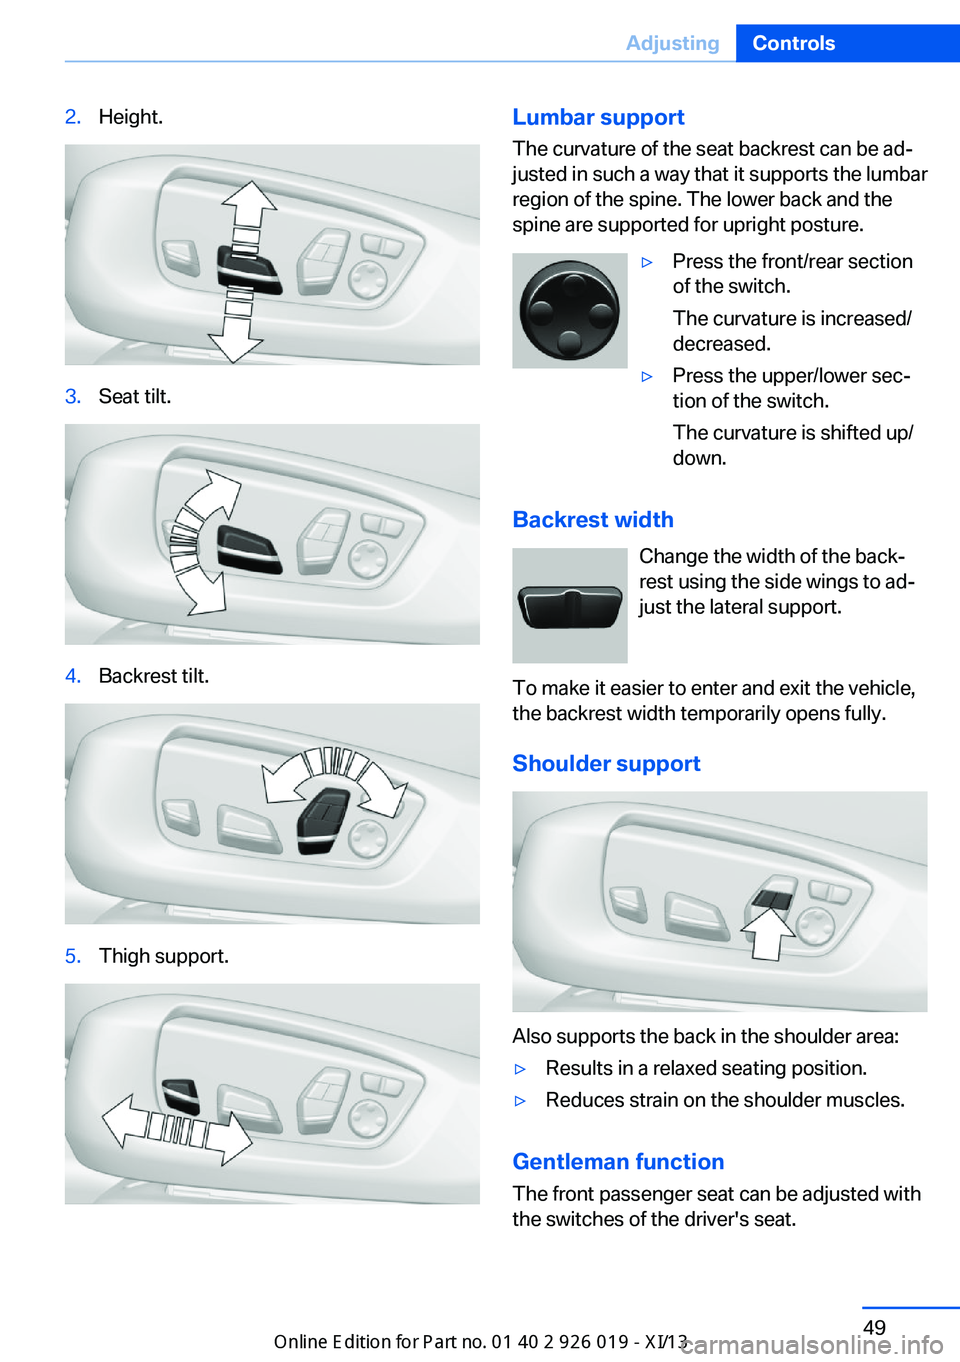
2.Height.3.Seat tilt.4.Backrest tilt.5.Thigh support.Lumbar support
The curvature of the seat backrest can be ad‐
justed in such a way that it supports the lumbar
region of the spine. The lower back and the
spine are supported for upright posture.▷Press the front/rear section
of the switch.
The curvature is increased/
decreased.▷Press the upper/lower sec‐
tion of the switch.
The curvature is shifted up/
down.
Backrest width
Change the width of the back‐
rest using the side wings to ad‐
just the lateral support.
To make it easier to enter and exit the vehicle,
the backrest width temporarily opens fully.
Shoulder support
Also supports the back in the shoulder area:
▷Results in a relaxed seating position.▷Reduces strain on the shoulder muscles.
Gentleman function
The front passenger seat can be adjusted with
the switches of the driver's seat.
Seite 49AdjustingControls49
Online Edition for Part no. 01 40 2 909 749 - VI/13
Page 54 of 255
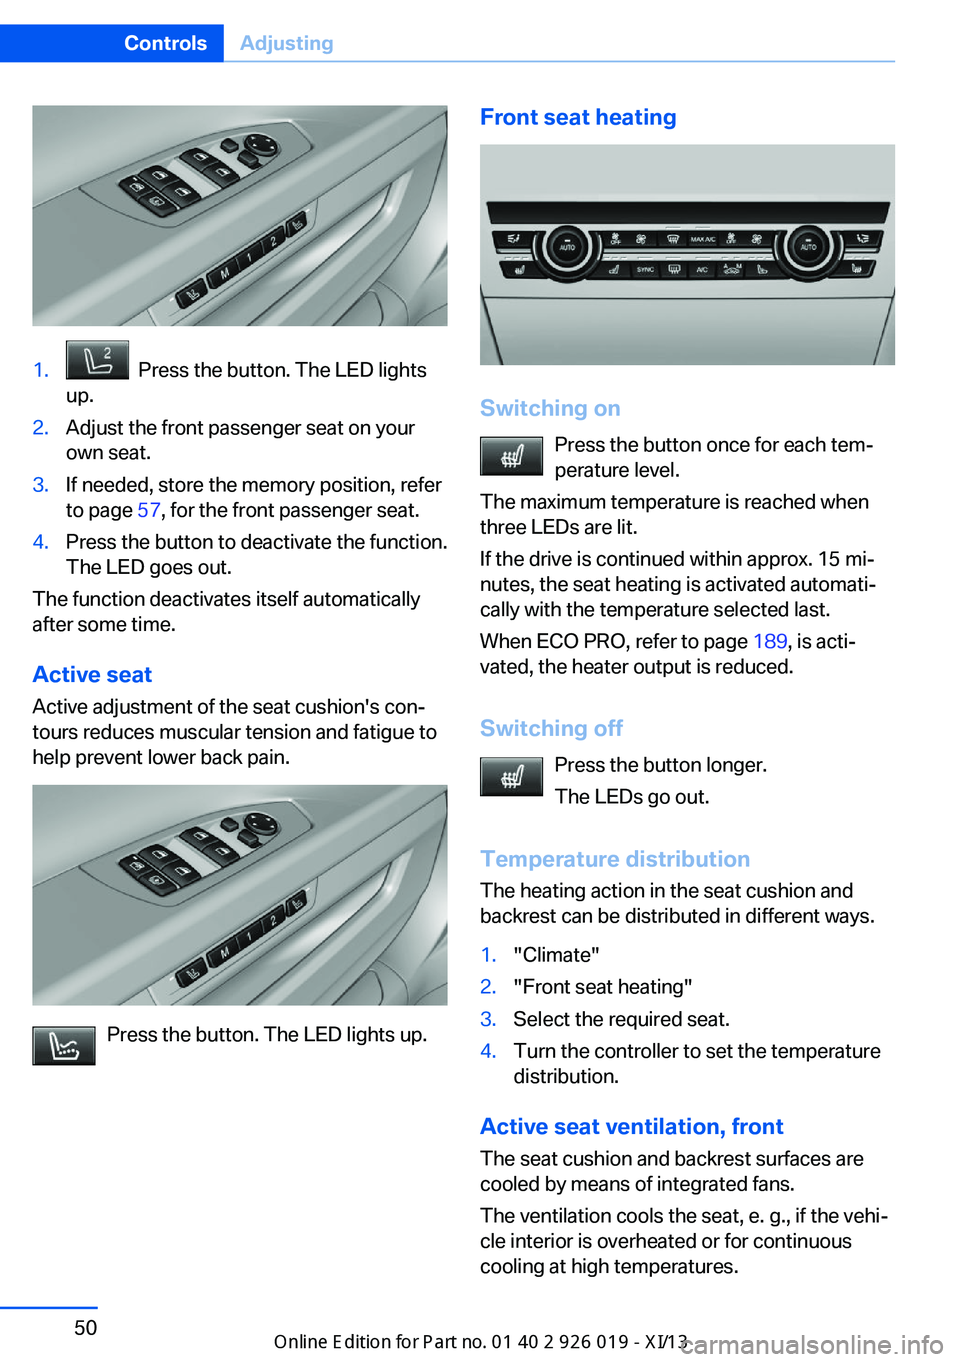
1. Press the button. The LED lights
up.2.Adjust the front passenger seat on your
own seat.3.If needed, store the memory position, refer
to page 57, for the front passenger seat.4.Press the button to deactivate the function.
The LED goes out.
The function deactivates itself automatically
after some time.
Active seat
Active adjustment of the seat cushion's con‐
tours reduces muscular tension and fatigue to
help prevent lower back pain.
Press the button. The LED lights up.
Front seat heating
Switching on
Press the button once for each tem‐
perature level.
The maximum temperature is reached when
three LEDs are lit.
If the drive is continued within approx. 15 mi‐
nutes, the seat heating is activated automati‐
cally with the temperature selected last.
When ECO PRO, refer to page 189, is acti‐
vated, the heater output is reduced.
Switching off Press the button longer.
The LEDs go out.
Temperature distribution
The heating action in the seat cushion and
backrest can be distributed in different ways.
1."Climate"2."Front seat heating"3.Select the required seat.4.Turn the controller to set the temperature
distribution.
Active seat ventilation, front
The seat cushion and backrest surfaces are
cooled by means of integrated fans.
The ventilation cools the seat, e. g., if the vehi‐
cle interior is overheated or for continuous
cooling at high temperatures.
Seite 50ControlsAdjusting50
Online Edition for Part no. 01 40 2 909 749 - VI/13
Page 55 of 255
Switching onPress the button once for each venti‐
lation level.
The highest level is active when three LEDs
are lit.
After a short time, the system automatically
moves down one level in order to prevent ex‐
cessive cooling.
Switching off Press the button longer.
The LEDs go out.
Rear seats
General information The switches for adjusting the seats are lo‐
cated on the center armrest of the rear seats.
Center armrest
When folding down the center armrest,
ensure that the area below the center head re‐
straint is clear. Otherwise, injury may result.◀
Electrically adjustable seats
At a glance1Forward/backward, tilt2Backrest3Adjust front passenger seat4Reset to standard position5Head restraint.6Lumbar support
The seats cannot be adjusted if the safety
switch for the power windows has been
pressed.
Adjustments in detail
1.Forward/back.Seite 51AdjustingControls51
Online Edition for Part no. 01 40 2 909 749 - VI/13
Page 56 of 255
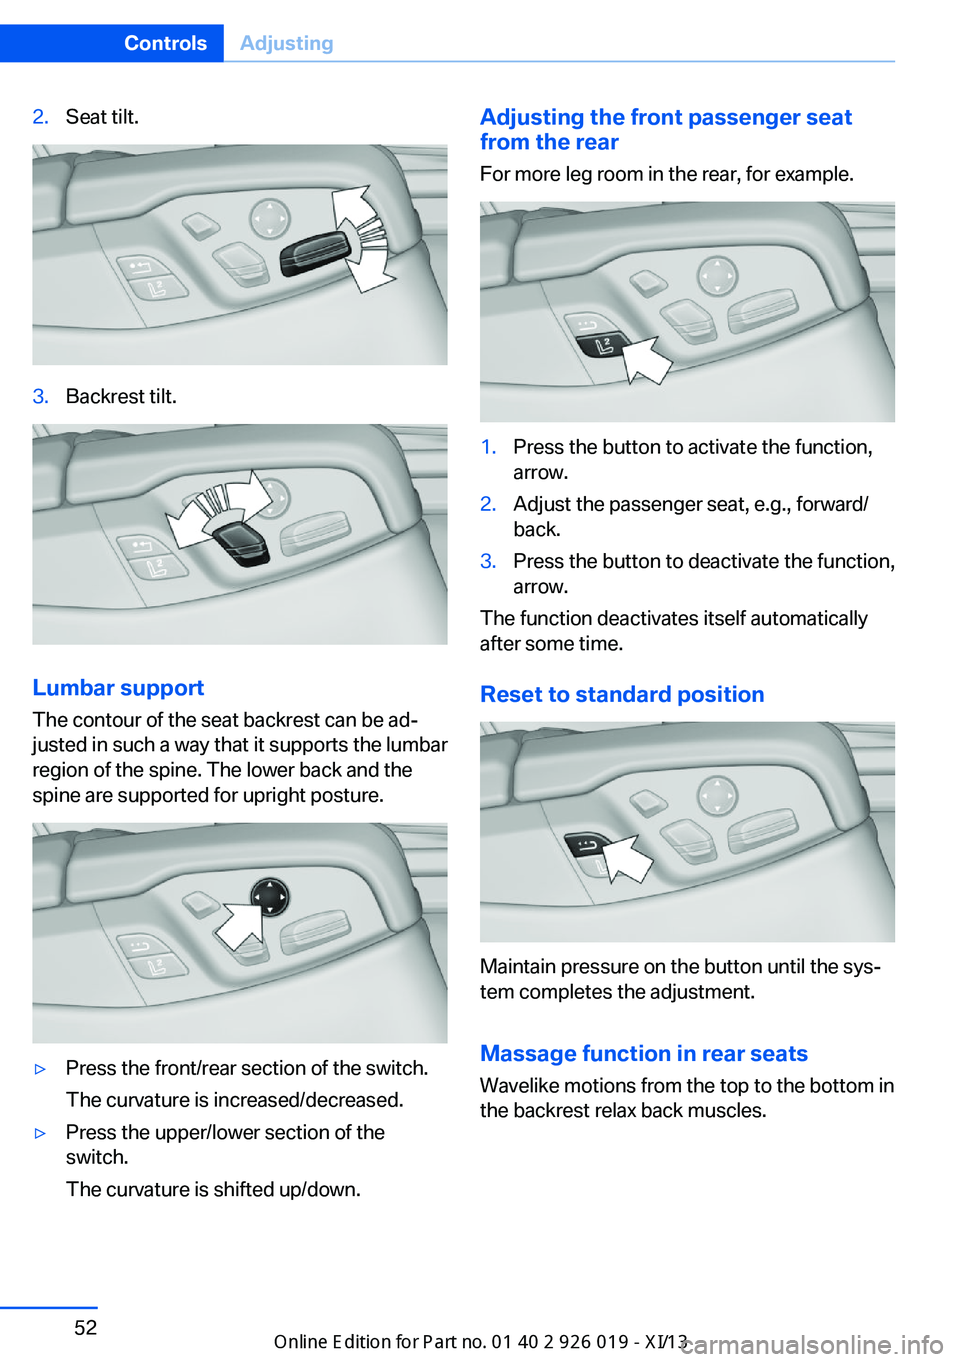
2.Seat tilt.3.Backrest tilt.
Lumbar support
The contour of the seat backrest can be ad‐
justed in such a way that it supports the lumbar
region of the spine. The lower back and the
spine are supported for upright posture.
▷Press the front/rear section of the switch.
The curvature is increased/decreased.▷Press the upper/lower section of the
switch.
The curvature is shifted up/down.Adjusting the front passenger seat
from the rear
For more leg room in the rear, for example.1.Press the button to activate the function,
arrow.2.Adjust the passenger seat, e.g., forward/
back.3.Press the button to deactivate the function,
arrow.
The function deactivates itself automatically
after some time.
Reset to standard position
Maintain pressure on the button until the sys‐
tem completes the adjustment.
Massage function in rear seats
Wavelike motions from the top to the bottom in
the backrest relax back muscles.
Seite 52ControlsAdjusting52
Online Edition for Part no. 01 40 2 909 749 - VI/13
Page 57 of 255
Button in rear
Switching onTo switch on, press the button once
for each massage level.
The highest level is active when two LEDs are
lit.
Switching off To switch off, press and hold the button.
The LEDs go out.
Rear seat heating
Switching on Press the button once for each tem‐
perature level.
The maximum temperature is reached when
three LEDs are lit.
If the drive is continued within approx. 15 mi‐
nutes, the seat heating is activated automati‐
cally with the temperature selected last.
When ECO PRO, refer to page 189, is acti‐
vated, the heater output is reduced.
Switching off
Press the button longer.
The LEDs go out.
Temperature distribution
The heating action in the seat cushion and
backrest can be distributed in different ways.1."Climate"2."Seat heating rear"3.Select the required seat.4.Turn the controller to set the temperature
distribution.
Active seat ventilation
Switching on
Press the button once for each venti‐
lation level.
The highest level is active when three LEDs
are lit.
If when the seat ventilation is turned on the
Maximum Cooling function is activated, the
seat ventilation automatically switches to the
highest level. When the Maximum Cooling
function is switched off, the unit switches to
the previously set level.
Switching off Press the button longer.
The LEDs go out.
Seite 53AdjustingControls53
Online Edition for Part no. 01 40 2 909 749 - VI/13
Page 58 of 255
Safety beltsSeats with safety belt
The vehicle has five seats, each of which is
equipped with a safety belt.
Hints
Always make sure that safety belts are being
worn by all occupants before driving away.
Although airbags enhance safety by providing
added protection, they are not a substitute for
safety belts.▷The shoulder strap's anchorage point will
be correct for adult seat occupants of ev‐
ery build if the seat is correctly adjusted.▷The two outer safety belt buckles,
integrated into the rear seat, are for pas‐
sengers sitting on the left and right.▷The center rear seat belt buckle is solely
intended for the center passenger.
One person per safety belt
Never allow more than one person to
wear a single safety belt. Never allow infants or
small children to ride on a passenger's lap.◀
Putting on the belt
Lay the belt, without twisting, snugly
across the lap and shoulders, as close to the
body as possible. Make sure that the belt lies
low around the hips in the lap area and does
not press on the abdomen. Otherwise, the belt
can slip over the hips in the lap area in a frontal
impact and injure the abdomen.
The safety belt must not lie across the neck,
rub on sharp edges, be routed over solid or
breakable objects, or be pinched.◀
Reduction of restraining effect
Avoid wearing clothing that prevents the
belt from fitting properly, and pull the shoulder
belt periodically to readjust the tension across
your lap; otherwise, the retention effect of the
safety belt may be reduced.◀
Buckling the belt
Make sure you hear the latch plate engage in
the belt buckle.
Tensioning the safety belt
automatically
After the belt is buckled and the door is closed,
the belt is tightened once automatically.
Unbuckling the belt
1.Hold the belt firmly.2.Press the red button in the belt buckle.3.Guide the belt back into its reel.
Safety belt reminder for driver's and
passenger's seat
The indicator lamp flashes or lights up
and a signal sounds. Make sure that
the safety belts are positioned cor‐
rectly. The safety belt reminder is active at
speeds above approx. 5 mph/8 km/h. It can
also be activated if objects are placed on the
front passenger seat.
Safety mode In critical situations, e.g., during full brake ap‐
plication, the front safety belts tighten auto‐
matically.
If the situation passes without an accident oc‐
curring, the belt tension relaxes.
If the belt tension does not loosen automati‐
cally, stop the vehicle and unbuckle the belt
Seite 54ControlsAdjusting54
Online Edition for Part no. 01 40 2 909 749 - VI/13
Page 59 of 255
using the red button in the buckle. Fasten the
belt before continuing on your trip.
Damage to safety beltsIn the case of strain caused by accidents or
damage:
Have the safety belts, including the safety belt
tensioners, replaced and have the belt anchors
checked.
Checking and replacing safety belts
Have the work performed only by your
service center; otherwise, it cannot be ensured
that this safety feature will function properly.◀
Front head restraints Correctly adjusted head restraint A correctly adjusted head restraint reduces the
risk of injury to cervical vertebrae in the event
of an accident.
Adjusting the head restraint
Correctly adjust the head restraints of all
occupied seats; otherwise, there is an in‐
creased risk of injury in an accident.◀
Height
Adjust the head restraint so that its center is
approximately at ear level.
Distance Adjust the distance so that the head restraint
is as close as possible to the back of the head.
Active head restraint In the event of a rear-end collision with a cer‐
tain severity, the active head restraint automat‐
ically reduces the distance from the head.
Reduced protective function▷Do not use seat or head restraint
covers.▷Do not hang objects, e.g., clothes hangers,
on the head restraints.▷Only attach accessories approved by BMW
to the seat or head restraint.
Otherwise, the protective function of the active
head restraint will be impaired and the per‐
sonal safety of the occupants will be endan‐
gered.◀
In the case of strain caused by accidents or
damage:
Have the active headrest checked and if nec‐
essary replaced.
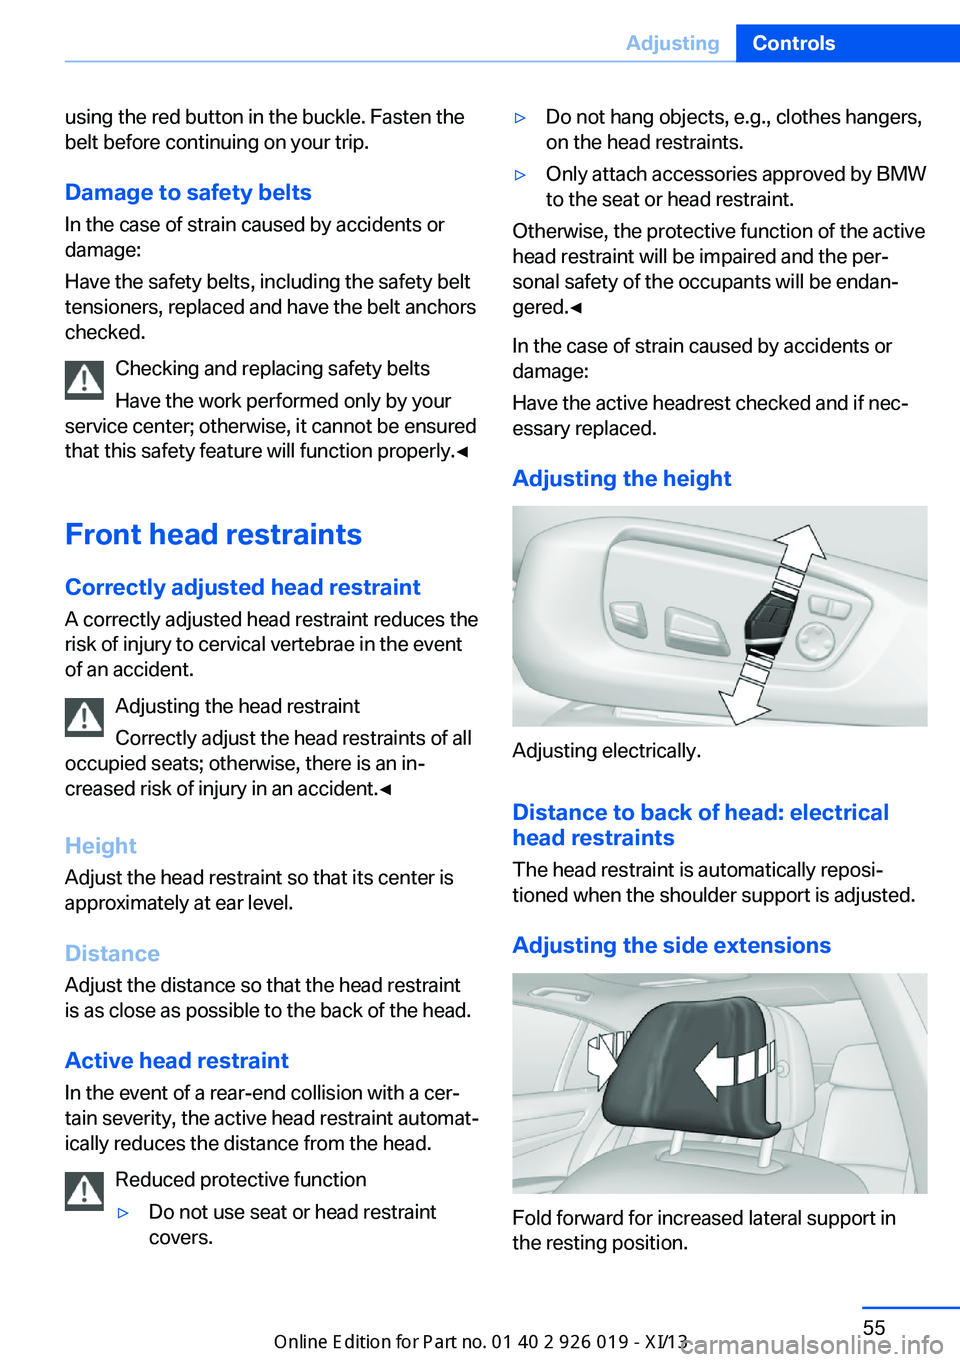
Adjusting the height
Adjusting electrically.
Distance to back of head: electrical
head restraints
The head restraint is automatically reposi‐
tioned when the shoulder support is adjusted.
Adjusting the side extensions
Fold forward for increased lateral support in
the resting position.
Seite 55AdjustingControls55
Online Edition for Part no. 01 40 2 909 749 - VI/13
Page 60 of 255
RemovingThe head restraints cannot be removed.
Rear head restraints
Correctly adjusted head restraint A correctly adjusted head restraint reduces the
risk of injury to cervical vertebrae in the event
of an accident.
Adjusting the head restraint
Correctly adjust the head restraints of all
occupied seats; otherwise, there is an in‐ creased risk of injury in an accident.◀
Height
Adjust the head restraint so that its center is
approximately at ear level.
Distance Adjust the distance so that the head restraint
is as close as possible to the back of the head.
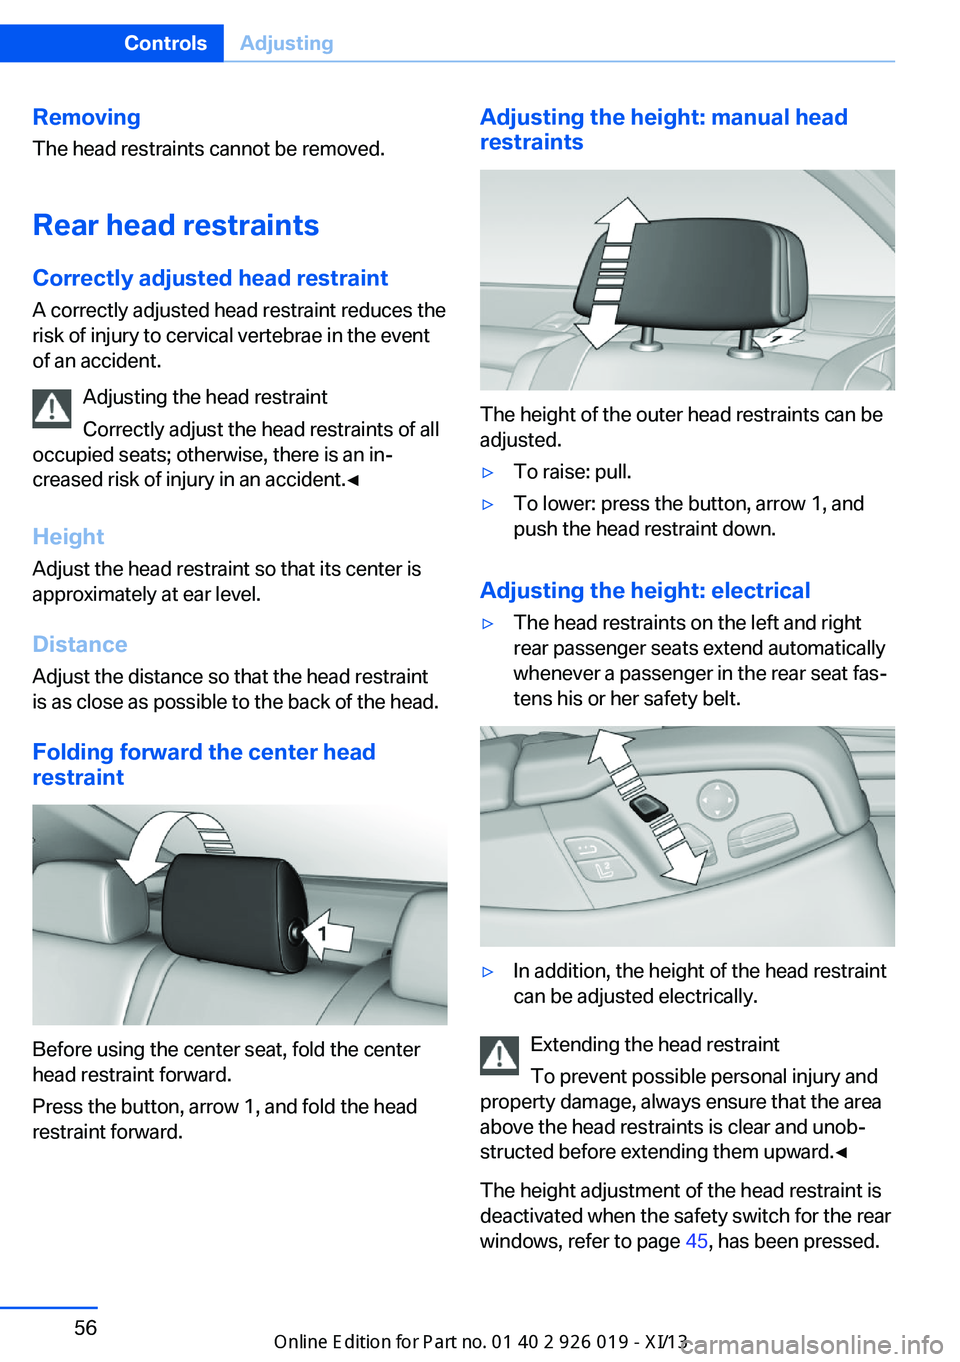
Folding forward the center head restraint
Before using the center seat, fold the center
head restraint forward.
Press the button, arrow 1, and fold the head
restraint forward.
Adjusting the height: manual head
restraints
The height of the outer head restraints can be
adjusted.
▷To raise: pull.▷To lower: press the button, arrow 1, and
push the head restraint down.
Adjusting the height: electrical
▷The head restraints on the left and right
rear passenger seats extend automatically
whenever a passenger in the rear seat fas‐
tens his or her safety belt.▷In addition, the height of the head restraint
can be adjusted electrically.
Extending the head restraint
To prevent possible personal injury and
property damage, always ensure that the area
above the head restraints is clear and unob‐
structed before extending them upward.◀
The height adjustment of the head restraint is
deactivated when the safety switch for the rear
windows, refer to page 45, has been pressed.
Seite 56ControlsAdjusting56
Online Edition for Part no. 01 40 2 909 749 - VI/13