buttons BMW 740I 1998 Owners Manual
[x] Cancel search | Manufacturer: BMW, Model Year: 1998, Model line: 740I, Model: BMW 740I 1998Pages: 211, PDF Size: 1.68 MB
Page 33 of 211
32n
Central locking system Door locks – outsideThe conceptThe central locking system is ready for
operation as soon as you close the
driver's door. The system engages and
releases the locks on the
>doors
>luggage compartment lid
>fuel filler door.
The central locking system can be
operated
>from outside via the driver's door or
luggage compartment lock and with
the remote control
>from inside via the central locking
button.
The fuel filler door remains unlocked
when you activate the system from in-
side the vehicle.
The anti-theft system is automatically
armed whenever you activate the cen-
tral locking system from outside the ve-
hicle. The alarm system is also acti-
vated or deactivated.
In the event of an accident, the central
locking system unlocks automatically
(only those doors which were not
locked separately with the safety lock
buttons). Refer to page 36. In addition,
the hazard warning flashers and interior
lamps come on.
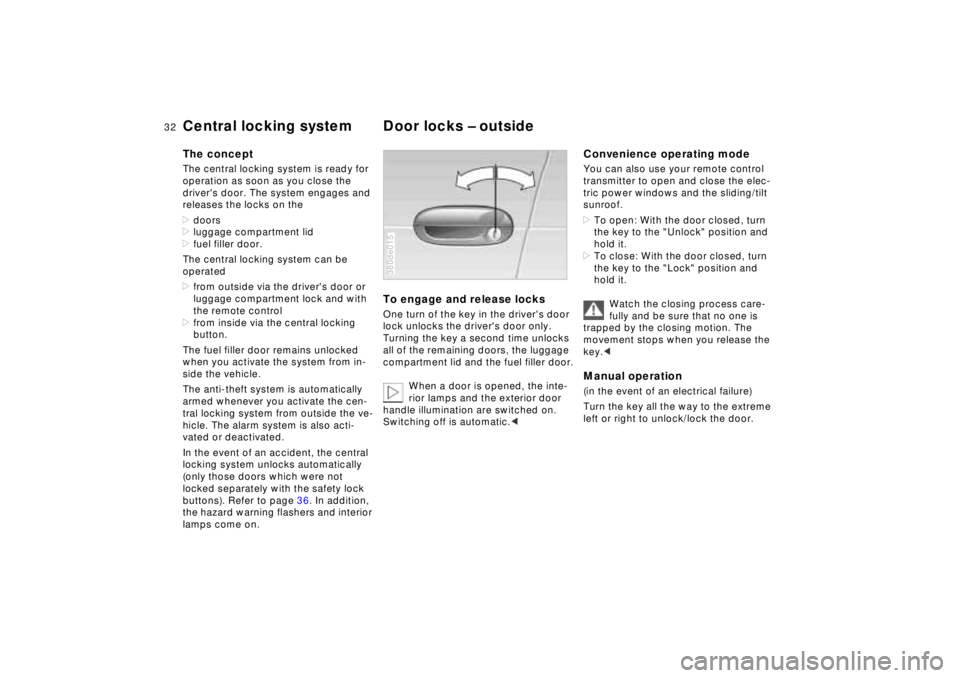
To engage and release locksOne turn of the key in the driver's door
lock unlocks the driver's door only.
Turning the key a second time unlocks
all of the remaining doors, the luggage
compartment lid and the fuel filler door.
When a door is opened, the inte-
rior lamps and the exterior door
handle illumination are switched on.
Switching off is automatic.< 380de015
Convenience operating modeYou can also use your remote control
transmitter to open and close the elec-
tric power windows and the sliding/tilt
sunroof.
>To open: With the door closed, turn
the key to the "Unlock" position and
hold it.
>To close: With the door closed, turn
the key to the "Lock" position and
hold it.
Watch the closing process care-
fully and be sure that no one is
trapped by the closing motion. The
movement stops when you release the
key.< Manual operation(in the event of an electrical failure)
Turn the key all the way to the extreme
left or right to unlock/lock the door.
Page 37 of 211
36n
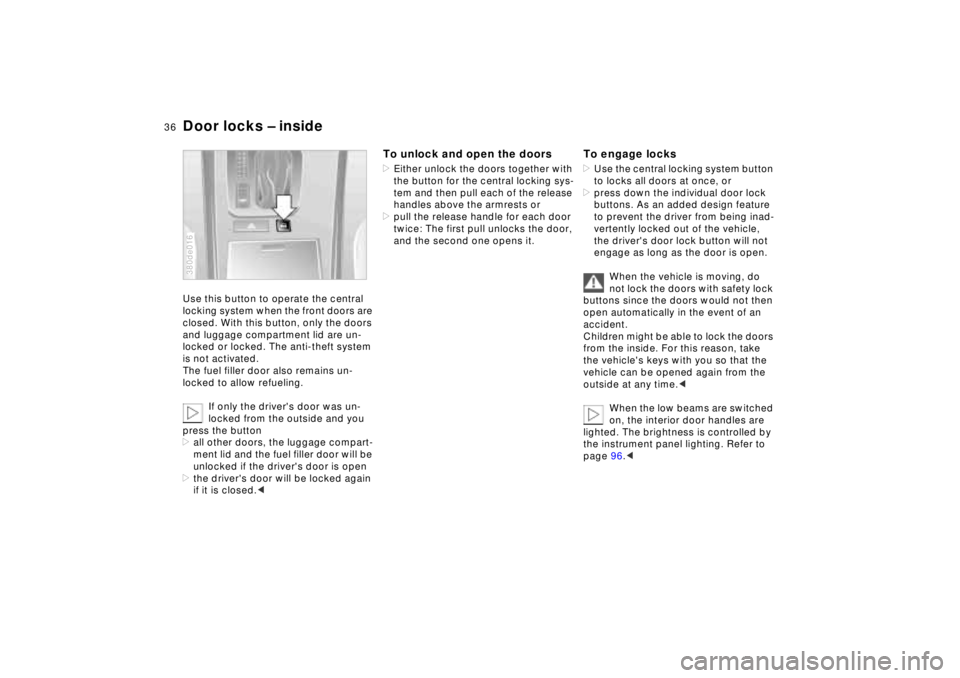
Door locks – insideUse this button to operate the central
locking system when the front doors are
closed. With this button, only the doors
and luggage compartment lid are un-
locked or locked. The anti-theft system
is not activated.
The fuel filler door also remains un-
locked to allow refueling.
If only the driver's door was un-
locked from the outside and you
press the button
>all other doors, the luggage compart-
ment lid and the fuel filler door will be
unlocked if the driver's door is open
>the driver's door will be locked again
if it is closed.< 380de016
To unlock and open the doors>Either unlock the doors together with
the button for the central locking sys-
tem and then pull each of the release
handles above the armrests or
>pull the release handle for each door
twice: The first pull unlocks the door,
and the second one opens it.
To engage locks>Use the central locking system button
to locks all doors at once, or
>press down the individual door lock
buttons. As an added design feature
to prevent the driver from being inad-
vertently locked out of the vehicle,
the driver's door lock button will not
engage as long as the door is open.
When the vehicle is moving, do
not lock the doors with safety lock
buttons since the doors would not then
open automatically in the event of an
accident.
Children might be able to lock the doors
from the inside. For this reason, take
the vehicle's keys with you so that the
vehicle can be opened again from the
outside at any time.<
When the low beams are switched
on, the interior door handles are
lighted. The brightness is controlled by
the instrument panel lighting. Refer to
page 96.<
Page 52 of 211
51n
RepairsIndexOverview Controls Car care Technology Data
Mirrors Seat, mirror and steering wheel memoryLighted vanity mirrorFold down the sun visor and slide the
cover panel to the side as required.
The mirror lamps operate in ignition key
positions 1 and 2.Sun visorsThese can be folded down toward the
windshield or swiveled out against the
side windows.380de670
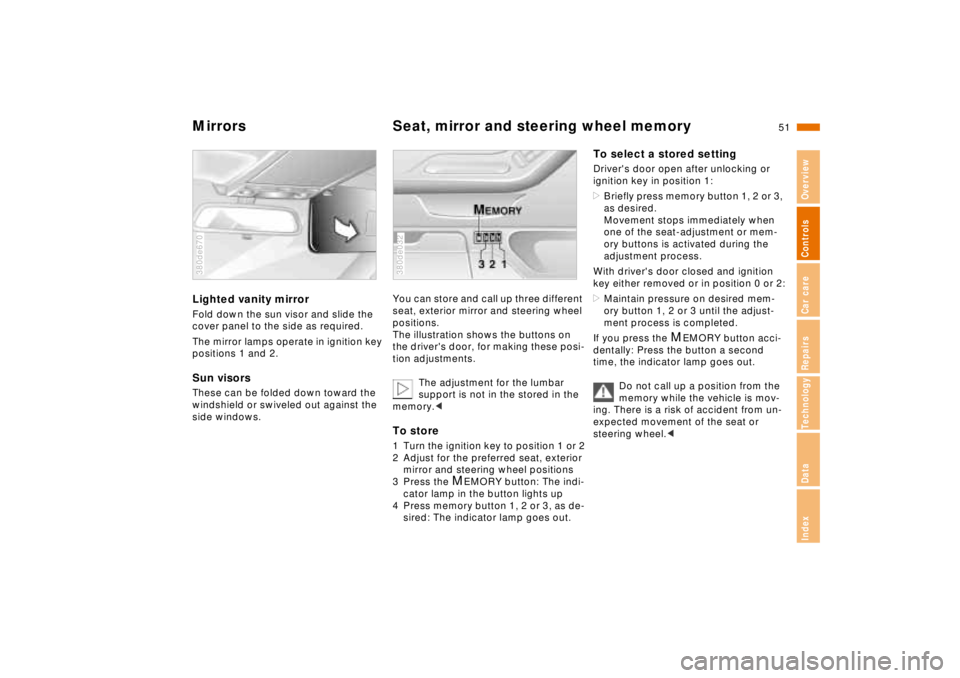
You can store and call up three different
seat, exterior mirror and steering wheel
positions.
The illustration shows the buttons on
the driver's door, for making these posi-
tion adjustments.
The adjustment for the lumbar
support is not in the stored in the
memory.< To store1 Turn the ignition key to position 1 or 2
2 Adjust for the preferred seat, exterior
mirror and steering wheel positions
3 Press the
M
EMORY button: The indi-
cator lamp in the button lights up
4 Press memory button 1, 2 or 3, as de-
sired: The indicator lamp goes out.
380de032
To select a stored settingDriver's door open after unlocking or
ignition key in position 1:
>Briefly press memory button 1, 2 or 3,
as desired.
Movement stops immediately when
one of the seat-adjustment or mem-
ory buttons is activated during the
adjustment process.
With driver's door closed and ignition
key either removed or in position 0 or 2:
>Maintain pressure on desired mem-
ory button 1, 2 or 3 until the adjust-
ment process is completed.
If you press the
M
EMORY button acci-
dentally: Press the button a second
time, the indicator lamp goes out.
Do not call up a position from the
memory while the vehicle is mov-
ing. There is a risk of accident from un-
expected movement of the seat or
steering wheel.<
Page 90 of 211
89n
RepairsIndexOverview Controls Car care Technology Data
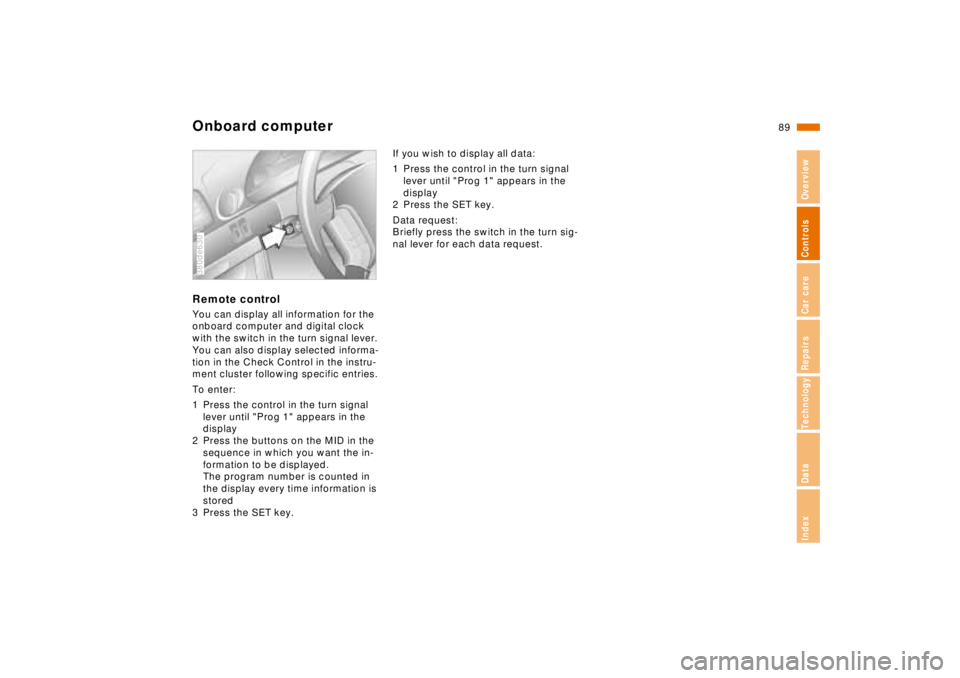
Onboard computerRemote controlYou can display all information for the
onboard computer and digital clock
with the switch in the turn signal lever.
You can also display selected informa-
tion in the Check Control in the instru-
ment cluster following specific entries.
To enter:
1 Press the control in the turn signal
lever until "Prog 1" appears in the
display
2 Press the buttons on the MID in the
sequence in which you want the in-
formation to be displayed.
The program number is counted in
the display every time information is
stored
3 Press the SET key.380de630
If you wish to display all data:
1 Press the control in the turn signal
lever until "Prog 1" appears in the
display
2 Press the SET key.
Data request:
Briefly press the switch in the turn sig-
nal lever for each data request.
Page 113 of 211
112n
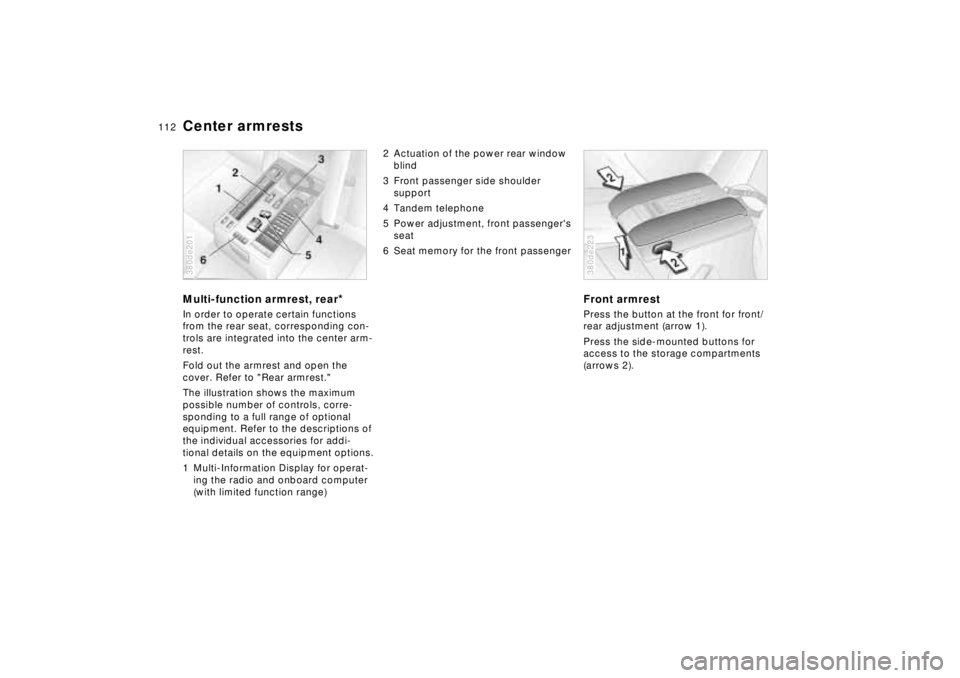
Center armrestsMulti-function armrest, rear
*
In order to operate certain functions
from the rear seat, corresponding con-
trols are integrated into the center arm-
rest.
Fold out the armrest and open the
cover. Refer to "Rear armrest."
The illustration shows the maximum
possible number of controls, corre-
sponding to a full range of optional
equipment. Refer to the descriptions of
the individual accessories for addi-
tional details on the equipment options.
1 Multi-Information Display for operat-
ing the radio and onboard computer
(with limited function range)380de201
2 Actuation of the power rear window
blind
3 Front passenger side shoulder
support
4 Tandem telephone
5 Power adjustment, front passenger's
seat
6 Seat memory for the front passenger
Front armrestPress the button at the front for front/
rear adjustment (arrow 1).
Press the side-mounted buttons for
access to the storage compartments
(arrows 2).380de223
Page 206 of 211
RepairsIndexOverview Controls Car care Technology Data
Everything from A to Z
205n
Oil consumption143
Oil level check143
Oil pressure,
indicator lamp20
Oil specifications144
Oil, Engine oil
Capacities197
OILSERVICE74
Onboard computer84
Onboard tool kit162
Opening the luggage
compartment from the
inside38
Outside mirrors50
Outside temperature
display72
PPaint blemishes,
exterior dirt152
Park Distance Control
(PDC)90
Parking aid90
Parking brake61
Parking in winter130
PDC (Park Distance
Control)90
Playing cassettes
Refer to the
Radio Owner's ManuelPlaying CDs
Refer to the
Radio Owner's Manuel
Pocket light111
Power seat adjustment46
Power steering130
Power steering fluid148
Power windows42
Pressure, tires26,132
Pushbutton for central
locking system36
RRadio
Car radio
Refer to the separate
Owner's Manuel
Radio reception131,186
Radio remote control33
Radio remote control,
battery change168
Radio remote control,
new transmitter168
Rain sensor68,150
RDC (Tire Pressure
Control)94
Reading lamps98
Rear passenger-area air
conditioning105
Rear seat adjustment,
electric48
Rear seat heating106Rear window blind107
Rear window defroster70
Rear-seat control
Front passenger's seat 112
Onboard computer112
Radio112
Rear window blind112
Telephone112
Rearview mirrors50
Refueling25
Remote control for onboard
computer89
Removing condensation,
windows102
Replacement keys30
Replacing tires133
Residual heat104
Roof luggage rack118
Roof weight rating196
Rubber seals and
components154
SSafety belt tensioner187
Safety belts54
Safety lock buttons36
Screw-on valve stem
caps134
Seat adjustment46
Seat heating106
Seat memory51
Seat, power46Securing cargo118
Selector lever, automatic
transmission62,65
Service and Warranty
Information Booklet149
Service Interval Display
74,149
Servotronic130
Shoulder support47
Shutting off the engine60
Ski bag116
Skid control130
Sliding/Tilt sunroof44
Sliding/Tilt sunroof with glass
moonroof45
Sliding/Tilt sunroof, closing
after electrical fault178
Sliding/Tilt sunroof,
convenience operating
mode32
Sliding/Tilt sunroof, radio
remote control33
Slippery roads129
Snow chains129,135
Socket115
Spare key30
Spare tire171
Spark plugs198
Speaker113
Special oils144
Speed limit warning87
Speedometer19