set clock BMW 740I 1998 Owners Manual
[x] Cancel search | Manufacturer: BMW, Model Year: 1998, Model line: 740I, Model: BMW 740I 1998Pages: 211, PDF Size: 1.68 MB
Page 79 of 211
78n
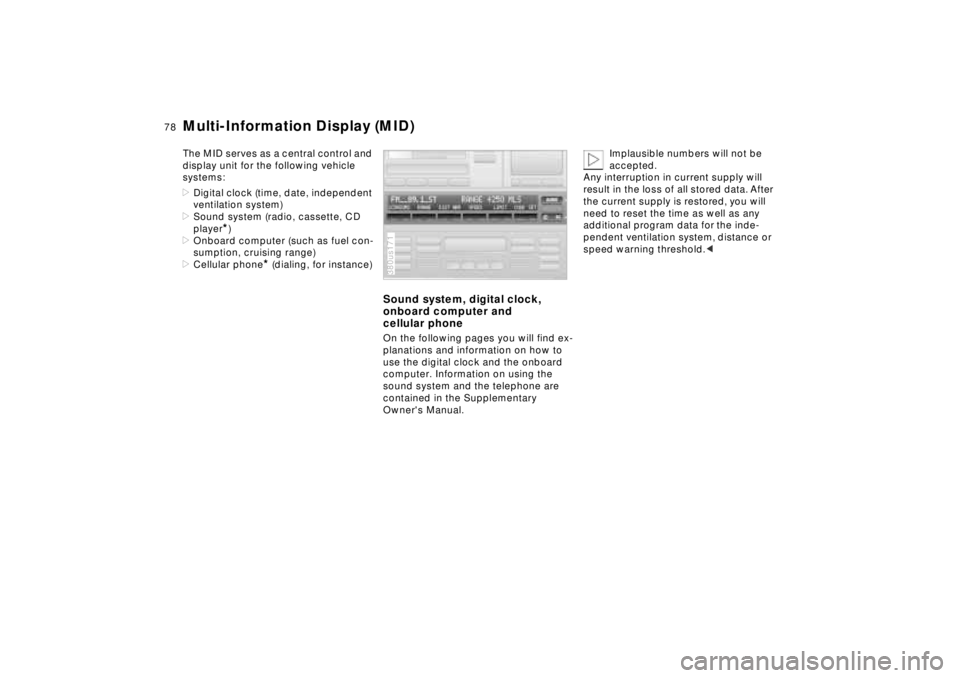
Multi-Information Display (MID)The MID serves as a central control and
display unit for the following vehicle
systems:
>Digital clock (time, date, independent
ventilation system)
>Sound system (radio, cassette, CD
player
*)
>Onboard computer (such as fuel con-
sumption, cruising range)
>Cellular phone
* (dialing, for instance)
Sound system, digital clock,
onboard computer and
cellular phoneOn the following pages you will find ex-
planations and information on how to
use the digital clock and the onboard
computer. Information on using the
sound system and the telephone are
contained in the Supplementary
Owner's Manual.380us171
Implausible numbers will not be
accepted.
Any interruption in current supply will
result in the loss of all stored data. After
the current supply is restored, you will
need to reset the time as well as any
additional program data for the inde-
pendent ventilation system, distance or
speed warning threshold.<
Page 80 of 211
79n
RepairsIndexOverview Controls Car care Technology Data
Digital clockFrom ignition switch position 1, you can
make use of the following functions:
>Time and date
>Program an hourly reminder (memo),
for instance, to remind you of news
broadcasts
>Independent ventilation system.380us173
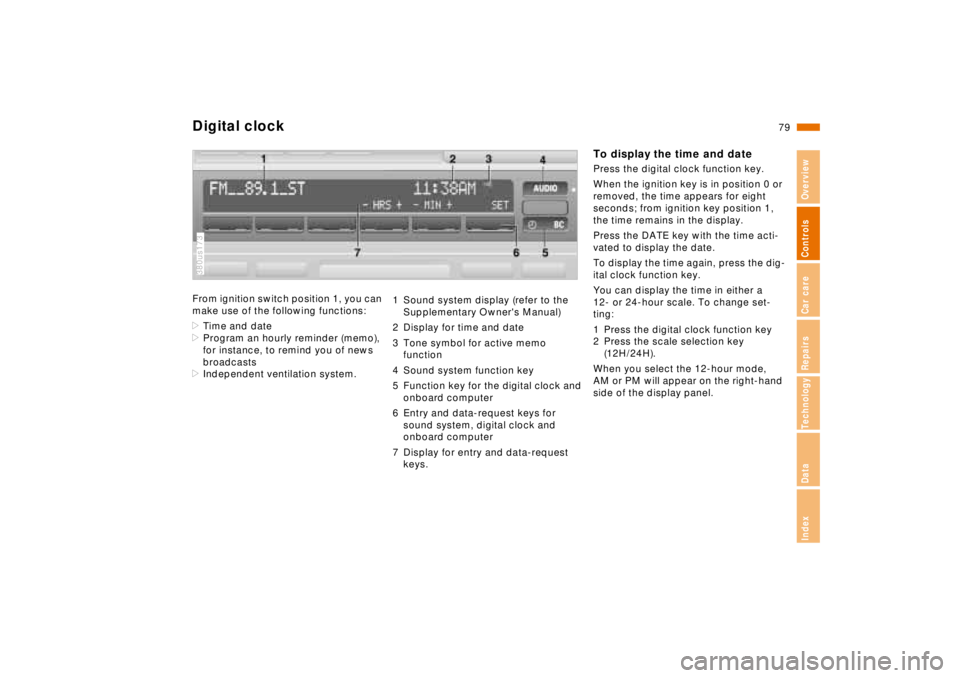
1 Sound system display (refer to the
Supplementary Owner's Manual)
2 Display for time and date
3 Tone symbol for active memo
function
4 Sound system function key
5 Function key for the digital clock and
onboard computer
6 Entry and data-request keys for
sound system, digital clock and
onboard computer
7 Display for entry and data-request
keys.
To display the time and datePress the digital clock function key.
When the ignition key is in position 0 or
removed, the time appears for eight
seconds; from ignition key position 1,
the time remains in the display.
Press the DATE key with the time acti-
vated to display the date.
To display the time again, press the dig-
ital clock function key.
You can display the time in either a
12- or 24-hour scale. To change set-
ting:
1 Press the digital clock function key
2 Press the scale selection key
(12H/24H).
When you select the 12-hour mode,
AM or PM will appear on the right-hand
side of the display panel.
Page 81 of 211
80n
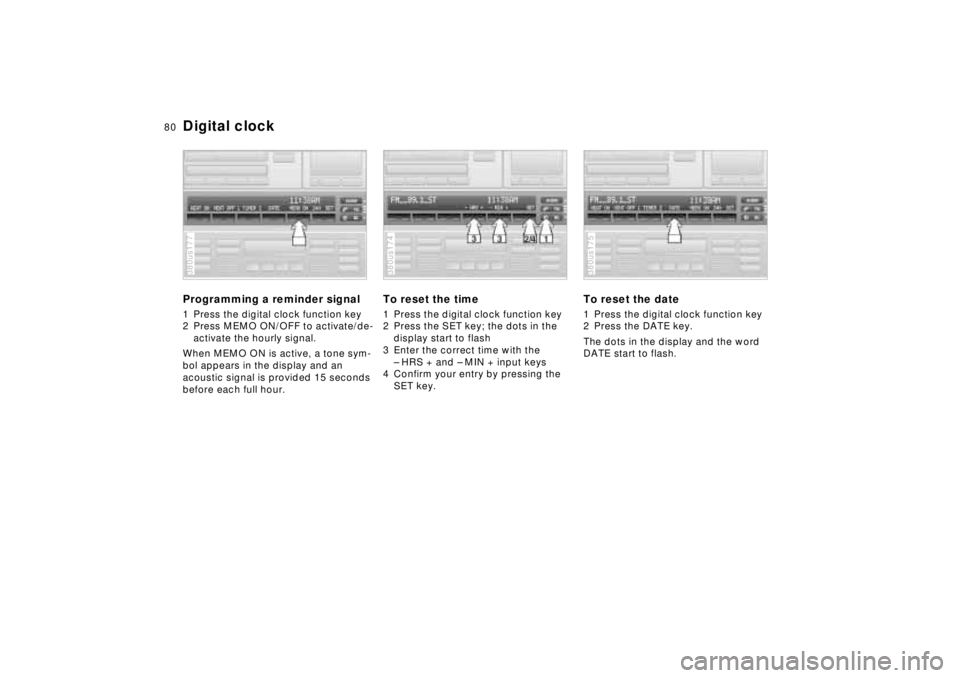
Digital clockProgramming a reminder signal1 Press the digital clock function key
2 Press MEMO ON/OFF to activate/de-
activate the hourly signal.
When MEMO ON is active, a tone sym-
bol appears in the display and an
acoustic signal is provided 15 seconds
before each full hour.380us177
To reset the time1 Press the digital clock function key
2 Press the SET key; the dots in the
display start to flash
3 Enter the correct time with the
– HRS + and – MIN + input keys
4 Confirm your entry by pressing the
SET key.380us174
To reset the date1 Press the digital clock function key
2 Press the DATE key.
The dots in the display and the word
DATE start to flash.380us175
Page 82 of 211
81n
RepairsIndexOverview Controls Car care Technology Data
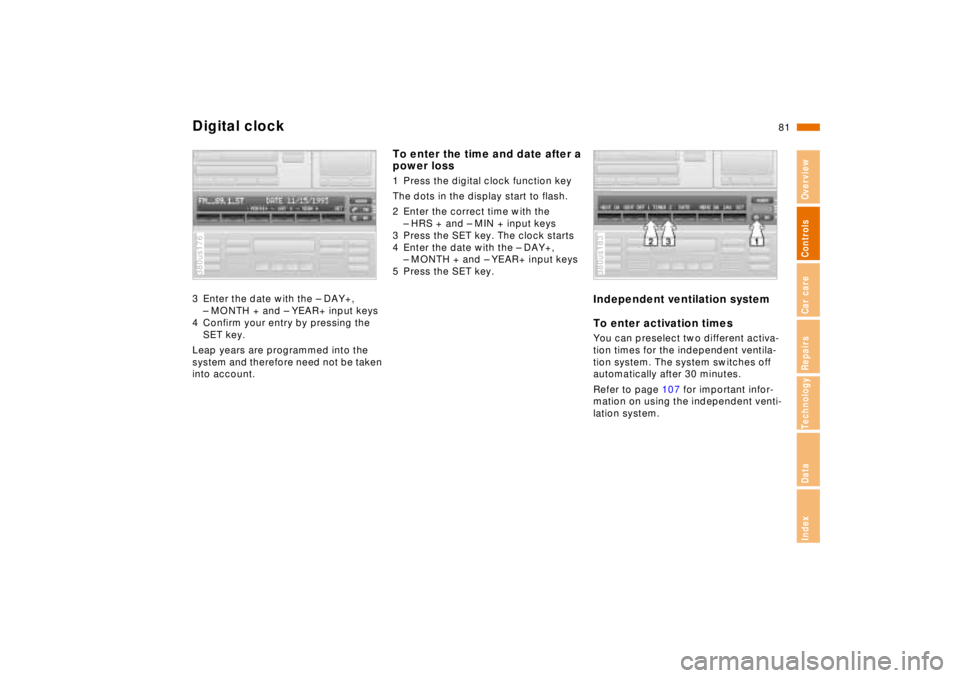
Digital clock3 Enter the date with the – DAY+,
– MONTH + and – YEAR+ input keys
4 Confirm your entry by pressing the
SET key.
Leap years are programmed into the
system and therefore need not be taken
into account.380us176
To enter the time and date after a
power loss1 Press the digital clock function key
The dots in the display start to flash.
2 Enter the correct time with the
– HRS + and – MIN + input keys
3 Press the SET key. The clock starts
4 Enter the date with the – DAY+,
– MONTH + and – YEAR+ input keys
5 Press the SET key.
Independent ventilation system
To enter activation times You can preselect two different activa-
tion times for the independent ventila-
tion system. The system switches off
automatically after 30 minutes.
Refer to page 107 for important infor-
mation on using the independent venti-
lation system.380us183
Page 83 of 211
82n
Digital clockTo enter the first activation timeBefore you can enter data, the ignition
key must be at position 1 and the digital
clock must be visible in the display.
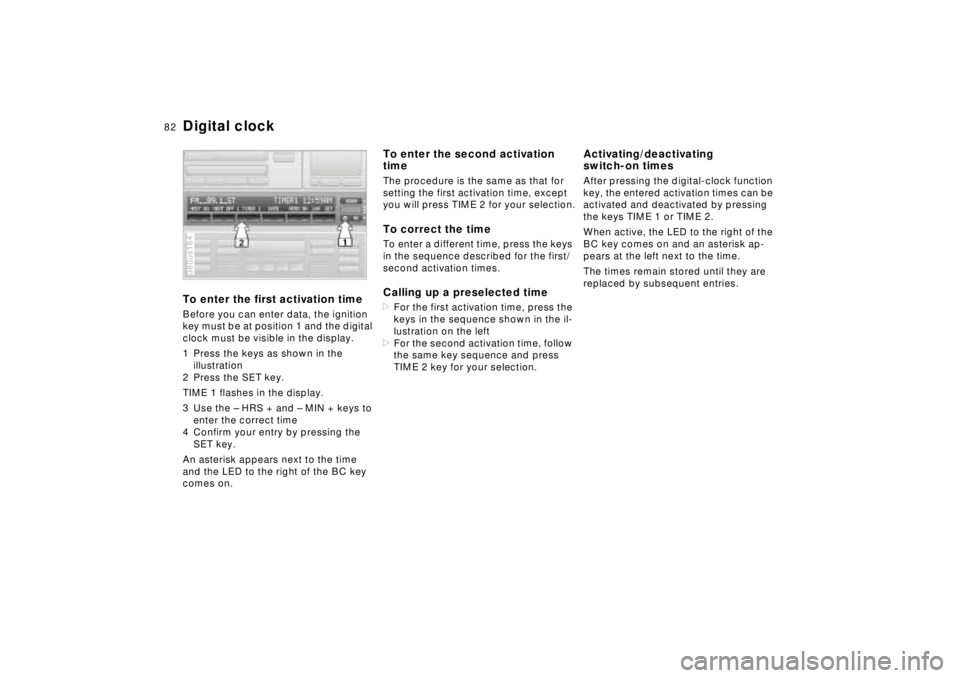
1 Press the keys as shown in the
illustration
2 Press the SET key.
TIME 1 flashes in the display.
3 Use the – HRS + and – MIN + keys to
enter the correct time
4 Confirm your entry by pressing the
SET key.
An asterisk appears next to the time
and the LED to the right of the BC key
comes on.380us184
To enter the second activation
timeThe procedure is the same as that for
setting the first activation time, except
you will press TIME 2 for your selection.To correct the timeTo enter a different time, press the keys
in the sequence described for the first/
second activation times.Calling up a preselected time>For the first activation time, press the
keys in the sequence shown in the il-
lustration on the left
>For the second activation time, follow
the same key sequence and press
TIME 2 key for your selection.
Activating/deactivating
switch-on timesAfter pressing the digital-clock function
key, the entered activation times can be
activated and deactivated by pressing
the keys TIME 1 or TIME 2.
When active, the LED to the right of the
BC key comes on and an asterisk ap-
pears at the left next to the time.
The times remain stored until they are
replaced by subsequent entries.
Page 84 of 211
83n
RepairsIndexOverview Controls Car care Technology Data
Digital clockVentilation modeDuring ventilation, the LED to the right
of the BC key flashes and AIR OFF ap-
pears in the display. Pressing this key
switches off the ventilation mode and
the LED goes out.
When a preselected activation
time is set, the independent venti-
lation system is operational at outside
temperatures above 607 (166), or by
direct switch activation. It cannot be
switched on when the vehicle is mov-
ing.<
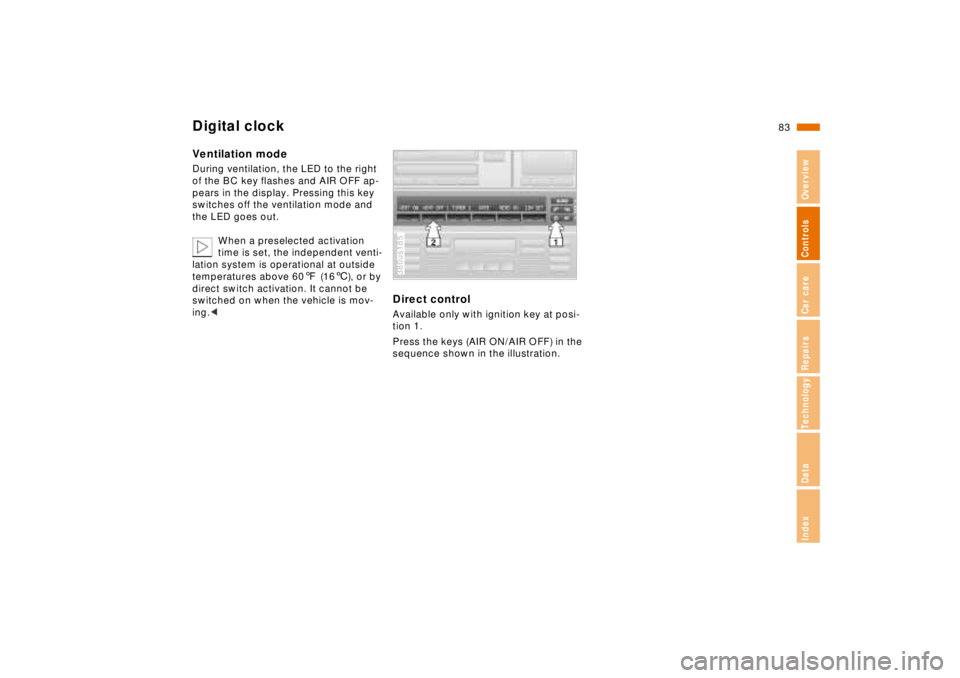
Direct controlAvailable only with ignition key at posi-
tion 1.
Press the keys (AIR ON/AIR OFF) in the
sequence shown in the illustration.380us185
Page 90 of 211
89n
RepairsIndexOverview Controls Car care Technology Data
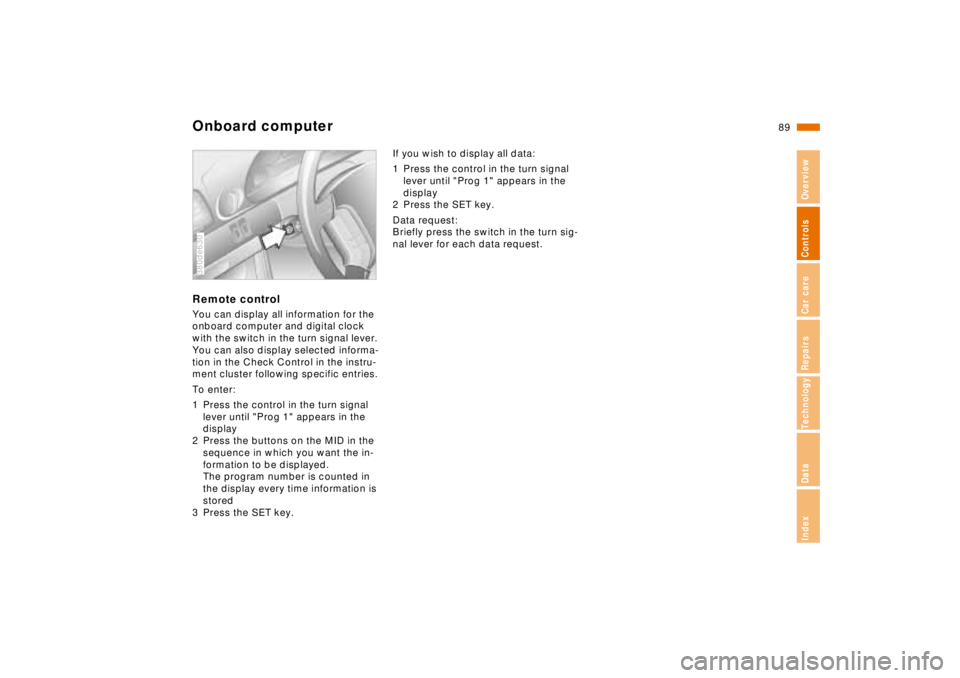
Onboard computerRemote controlYou can display all information for the
onboard computer and digital clock
with the switch in the turn signal lever.
You can also display selected informa-
tion in the Check Control in the instru-
ment cluster following specific entries.
To enter:
1 Press the control in the turn signal
lever until "Prog 1" appears in the
display
2 Press the buttons on the MID in the
sequence in which you want the in-
formation to be displayed.
The program number is counted in
the display every time information is
stored
3 Press the SET key.380de630
If you wish to display all data:
1 Press the control in the turn signal
lever until "Prog 1" appears in the
display
2 Press the SET key.
Data request:
Briefly press the switch in the turn sig-
nal lever for each data request.