sunroof BMW 740I 1998 Owners Manual
[x] Cancel search | Manufacturer: BMW, Model Year: 1998, Model line: 740I, Model: BMW 740I 1998Pages: 211, PDF Size: 1.68 MB
Page 11 of 211

Contents
Overview
Controls and features
Cockpit16
Instrument cluster18
Indicator and warning lamps20
Multifunction steering wheel
(MFL)23
Hazard warning flashers24
Warning triangle24
First-aid kit24
Refueling25
Fuel specifications25
Tire inflation pressure26
Locks and security systems:
Keys30
Electronic vehicle
immobilizer31
Central locking system32
Door locks – outside32
Radio remote control33
Door locks – inside36
Luggage compartment lid37
Luggage compartment39
Alarm system40
Electric power windows42
Security glass43
Sliding/Tilt sunroof44
Adjustments:
Seats46
Steering wheel49
Mirrors50
Seat, mirror and steering wheel
memory51
Car Memory, Key Memory53
Passenger safety systems:
Safety belts54
Airbags55
Child restraints57
Child restraint installation58
Child-safety locks58
Driving:
Steering/Ignition lock59
Starting engine59
Switching off engine60Parking brake61
Automatic transmission62
Automatic transmission with
Steptronic65
Turn signal/Headlamp flasher68
Washer/Wiper system/Rain
sensor68
Rear window defroster70
Cruise control70
Everything under control:
Odometer, outside temperature
display72
Tachometer72
Energy control73
Fuel gauge73
Temperature gauge74
Service Interval Display74
Check Control 75
Multi-Information Display
(MID)78
Digital clock79
Onboard computer84
Technology for safety and
convenience:
Park Distance Control PDC90
Automatic Stability Control plus
Traction (ASC+T)/Dynamic Sta-
bility Control (DSC)92
Electronic Damper Control
(EDC)93
Tire Pressure Control (RDC)94
Page 13 of 211

Contents
Owner service procedures
Advanced technology
Technical data
Replacement procedures:
Onboard tool kit162
Windshield wiper blades162
Lamps and bulbs163
Remote control168
Changing tires170
Battery173
Fuses176
In case of electrical
malfunction:
Fuel filler door178
Sliding/Tilt sunroof178
Assistance, giving and
receiving:
Jump-starting179
Towing the vehicle180Airbags184
Adaptive Transmission Control
(ATC)184
Automatic Stability Control plus
Traction (ASC+T)/Dynamic Sta-
bility Control (DSC)185
Radio reception186
BMW Active Seat186
Safety belt tensioner187
DSP sound system187
Interior rearview mirror with auto-
matic dimming feature188
Tire Pressure Control (RDC)189
Xenon lamps190
Water and dirt repelling
windshield191Engine specifications194
Dimensions195
Weights196
Capacities197
Electrical system198
Drive belts198
Page 29 of 211
28n
Locks and security systems:
Keys30
Electronic vehicle
immobilizer31
Central locking system32
Door locks – outside32
Radio remote control33
Door locks – inside36
Luggage compartment lid37
Luggage compartment39
Alarm system40
Electric power windows42
Security glass43
Sliding/Tilt sunroof44
Adjustments:
Seats46
Steering wheel49
Mirrors50
Seat, mirror and steering wheel
memory51
Car Memory, Key Memory53
Passenger safety systems:
Safety belts54
Airbags55
Child restraints57
Child restraint installation58
Child-safety locks58
Driving:
Steering/Ignition lock59
Starting engine59
Switching off engine60
Page 33 of 211
32n
Central locking system Door locks – outsideThe conceptThe central locking system is ready for
operation as soon as you close the
driver's door. The system engages and
releases the locks on the
>doors
>luggage compartment lid
>fuel filler door.
The central locking system can be
operated
>from outside via the driver's door or
luggage compartment lock and with
the remote control
>from inside via the central locking
button.
The fuel filler door remains unlocked
when you activate the system from in-
side the vehicle.
The anti-theft system is automatically
armed whenever you activate the cen-
tral locking system from outside the ve-
hicle. The alarm system is also acti-
vated or deactivated.
In the event of an accident, the central
locking system unlocks automatically
(only those doors which were not
locked separately with the safety lock
buttons). Refer to page 36. In addition,
the hazard warning flashers and interior
lamps come on.
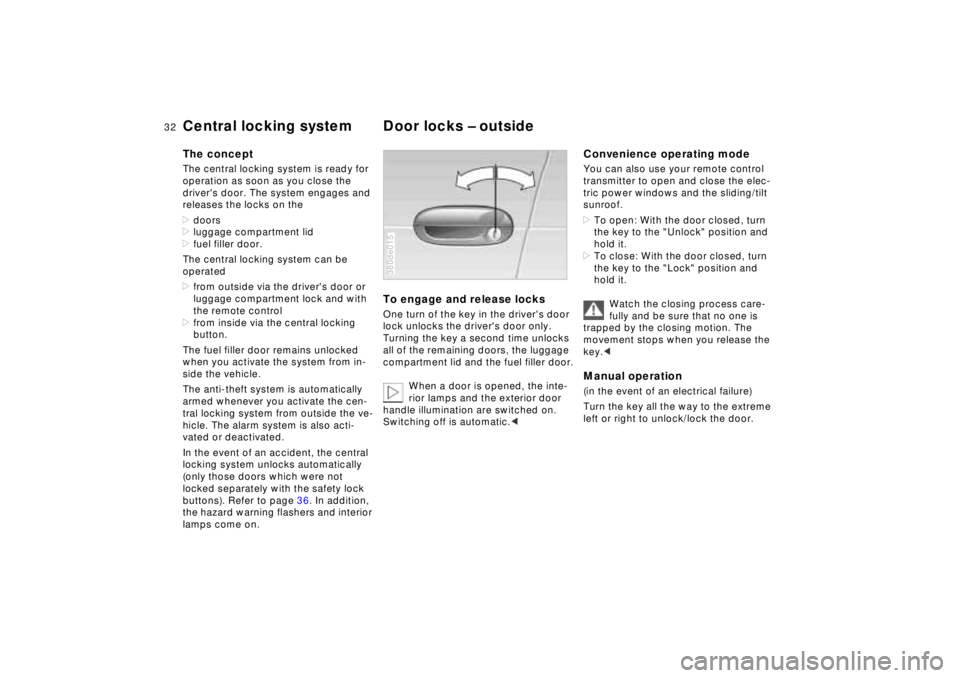
To engage and release locksOne turn of the key in the driver's door
lock unlocks the driver's door only.
Turning the key a second time unlocks
all of the remaining doors, the luggage
compartment lid and the fuel filler door.
When a door is opened, the inte-
rior lamps and the exterior door
handle illumination are switched on.
Switching off is automatic.< 380de015
Convenience operating modeYou can also use your remote control
transmitter to open and close the elec-
tric power windows and the sliding/tilt
sunroof.
>To open: With the door closed, turn
the key to the "Unlock" position and
hold it.
>To close: With the door closed, turn
the key to the "Lock" position and
hold it.
Watch the closing process care-
fully and be sure that no one is
trapped by the closing motion. The
movement stops when you release the
key.< Manual operation(in the event of an electrical failure)
Turn the key all the way to the extreme
left or right to unlock/lock the door.
Page 34 of 211
33n
RepairsIndexOverview Controls Car care Technology Data
Radio remote controlThe remote control makes opening and
locking the doors of your vehicle very
convenient. Furthermore, it provides
three additional functions which can
only be executed by means of the re-
mote control:
>Switching on the interior lamps and il-
luminating the exterior door handles.
With this function, you can also
"search for" your vehicle, when
parked in an underground garage, for
instance
>To open luggage compartment lid
The luggage compartment lid will
open slightly, regardless of whether
the lid was previously locked or un-
locked
>Panic Mode
In case of danger, you can trigger an
alarm.
The anti-theft system is also deacti-
vated/activated simultaneously with
the unlocking or locking of the vehicle,
and the alarm system is disarmed/
armed.
When the vehicle is unlocked, the inte-
rior lamps and the exterior door handle
illumination are switched on.
Master keysKeys with a transmitter for remote con-
trol are master keys. Refer to page 30.
Since children might be able to
lock the doors from the inside,
take the vehicle's keys with you so that
the vehicle can be opened again from
the outside at any time.<
Every transmission is indicated by a
light signal. If the signal no longer lights
up when a button is pressed and lock-
ing with the remote control no longer
functions:
Change the battery. Refer to page 168.380us644
Unlocking and convenience
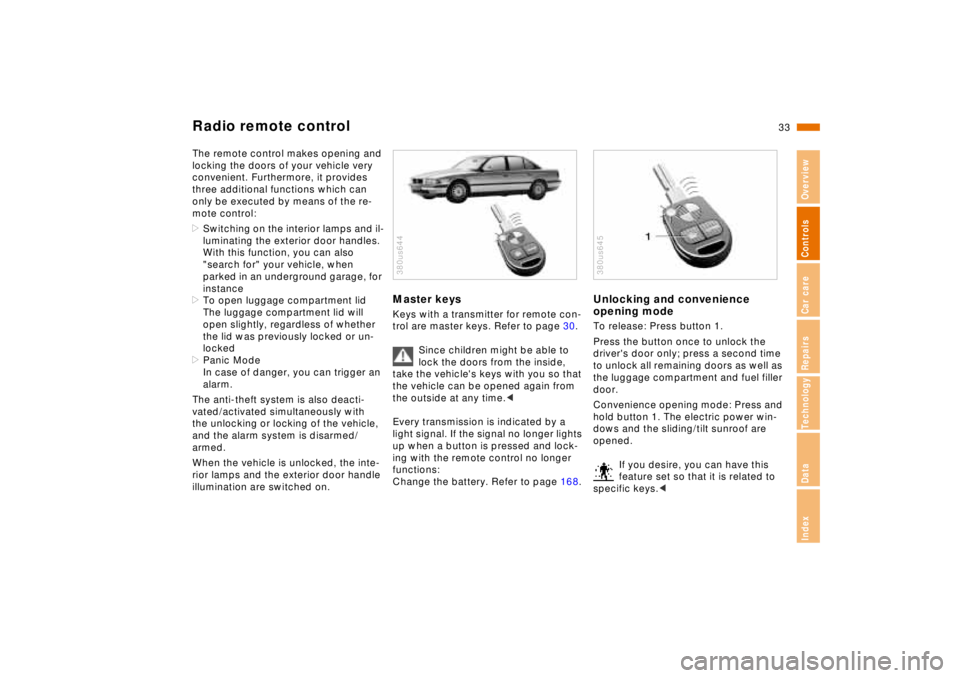
opening modeTo release: Press button 1.
Press the button once to unlock the
driver's door only; press a second time
to unlock all remaining doors as well as
the luggage compartment and fuel filler
door.
Convenience opening mode: Press and
hold button 1. The electric power win-
dows and the sliding/tilt sunroof are
opened.
If you desire, you can have this
feature set so that it is related to
specific keys.< 380us645
Page 39 of 211
38n
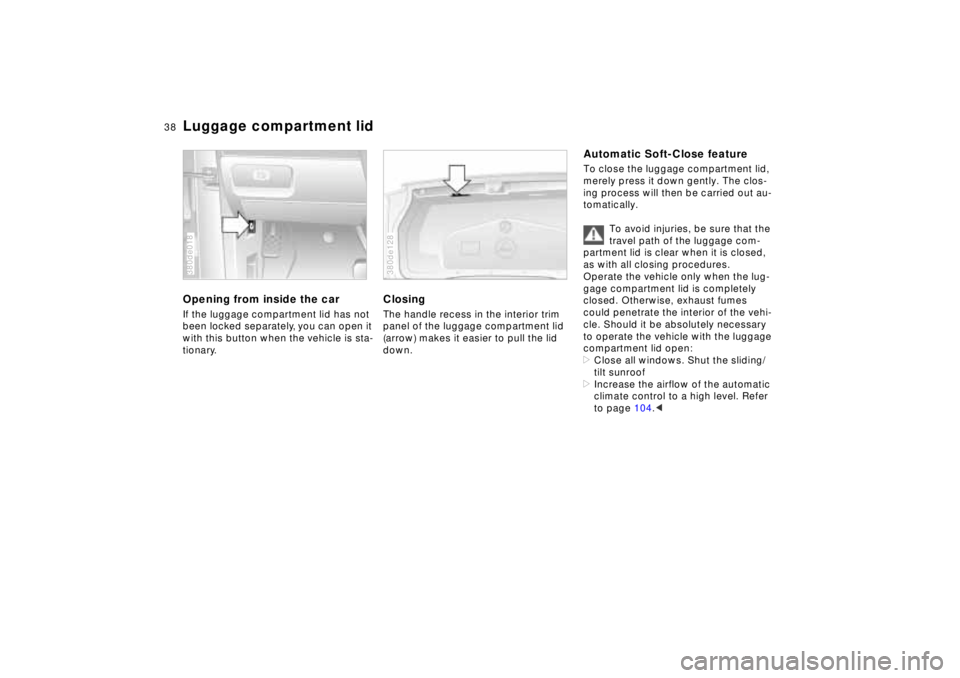
Luggage compartment lidOpening from inside the carIf the luggage compartment lid has not
been locked separately, you can open it
with this button when the vehicle is sta-
tionary.380de018
ClosingThe handle recess in the interior trim
panel of the luggage compartment lid
(arrow) makes it easier to pull the lid
down.380de128
Automatic Soft-Close featureTo close the luggage compartment lid,
merely press it down gently. The clos-
ing process will then be carried out au-
tomatically.
To avoid injuries, be sure that the
travel path of the luggage com-
partment lid is clear when it is closed,
as with all closing procedures.
Operate the vehicle only when the lug-
gage compartment lid is completely
closed. Otherwise, exhaust fumes
could penetrate the interior of the vehi-
cle. Should it be absolutely necessary
to operate the vehicle with the luggage
compartment lid open:
>Close all windows. Shut the sliding/
tilt sunroof
>Increase the airflow of the automatic
climate control to a high level. Refer
to page 104.<
Page 42 of 211
41n
RepairsIndexOverview Controls Car care Technology Data
Alarm system>If the indicator lamp flashes for
10 seconds when the system is
disarmed: An attempted entry has
been detected in the period since the
system was armed.
Following triggering of an alarm, the in-
dicator lamp will flash continuously.Tilt alarm sensorThe tilt alarm sensor and interior motion
sensor may be switched off at the same
time. By doing this, you can prevent
false alarms on garage ramps or when
the vehicle is transported by trailer or
train, for instance.
Lock the vehicle twice (= arm the sys-
tem). In other words, press button 2 of
the remote control twice in succession
or lock the vehicle twice with the key.
The indicator lamp lights up briefly and
then flashes continuously. The tilt alarm
sensor and the interior motion sensor
are deactivated for as long as the sys-
tem remains armed.
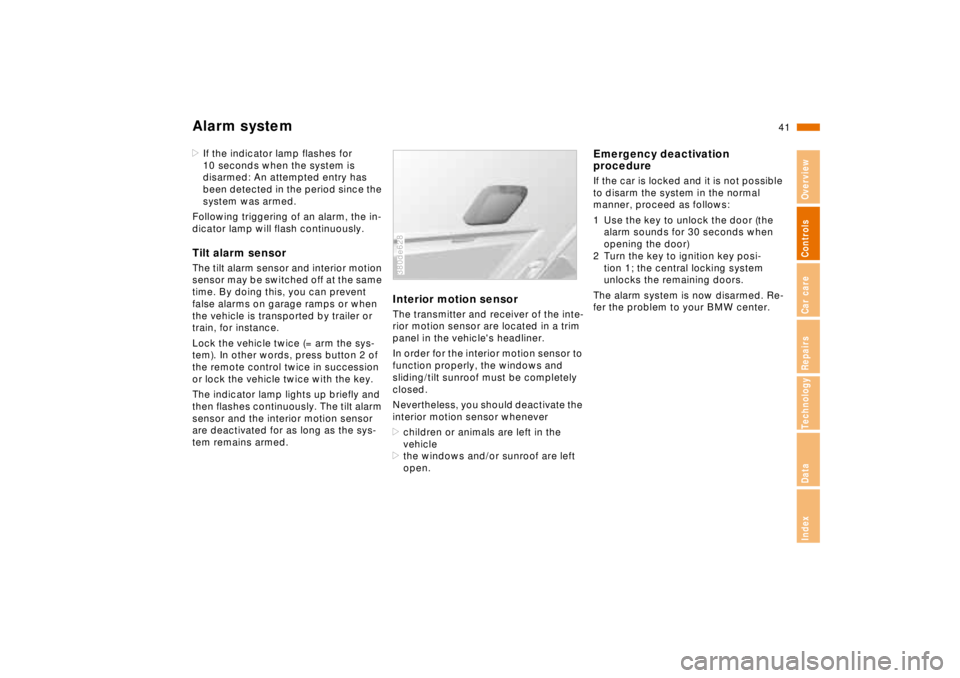
Interior motion sensorThe transmitter and receiver of the inte-
rior motion sensor are located in a trim
panel in the vehicle's headliner.
In order for the interior motion sensor to
function properly, the windows and
sliding/tilt sunroof must be completely
closed.
Nevertheless, you should deactivate the
interior motion sensor whenever
>children or animals are left in the
vehicle
>the windows and/or sunroof are left
open.380de628
Emergency deactivation
procedureIf the car is locked and it is not possible
to disarm the system in the normal
manner, proceed as follows:
1 Use the key to unlock the door (the
alarm sounds for 30 seconds when
opening the door)
2 Turn the key to ignition key posi-
tion 1; the central locking system
unlocks the remaining doors.
The alarm system is now disarmed. Re-
fer the problem to your BMW center.
Page 45 of 211
44n
Sliding/Tilt sunroof
To prevent injuries, exercise care
when closing the sliding/tilt sun-
roof and keep it in your field of vision
until it is shut.
Before leaving the car, switch off the
electric sunroof mechanism by taking
out the ignition key. Do not leave
children unattended in the vehicle with
access to vehicle keys. Use of the key
can result in starting of the engine and
operation of vehicle systems such as
power sunroof, etc. Unsupervised use
of these systems can result in serious
personal injury.<
To avoid pressure or drafts in the pas-
senger compartment when the sunroof
is open or lifted, keep the air vents in
the dashboard open and increase
the air supply if necessary. Refer to
pages 100, 104.
For the convenience operating mode
via the door lock or the radio remote
control, refer to page 32 or page 33.
Safety featureIf the sliding/tilt sunroof encounters re-
sistance at a point roughly past the
middle of its travel when it is closing,
the closing cycle is interrupted and the
sunroof will open again slightly.
Despite this safety feature, be ex-
tremely careful that the closing
path of the sunroof is not obstructed
whenever it is closed. Otherwise, trig-
gering the closing-force limitation may
not be ensured in some situations (with
very thin objects, for instance). You can
override this safety feature by pressing
the switch beyond the resistance point
and holding it.<
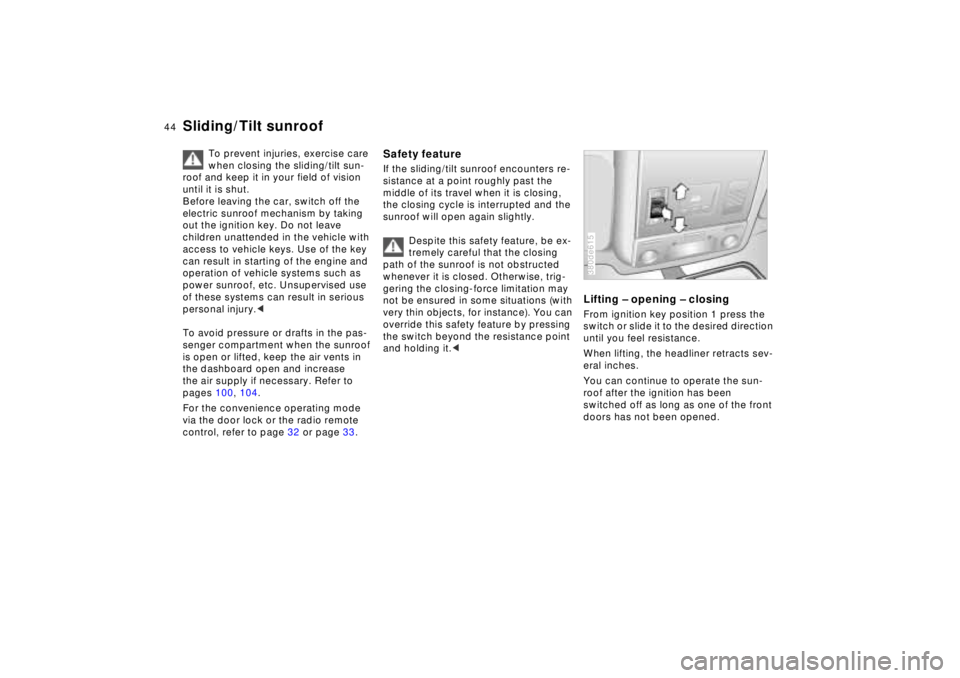
Lifting – opening – closingFrom ignition key position 1 press the
switch or slide it to the desired direction
until you feel resistance.
When lifting, the headliner retracts sev-
eral inches.
You can continue to operate the sun-
roof after the ignition has been
switched off as long as one of the front
doors has not been opened.380de615
Page 46 of 211
45n
RepairsIndexOverview Controls Car care Technology Data
Sliding/Tilt sunroofAutomatic
* opening and closing
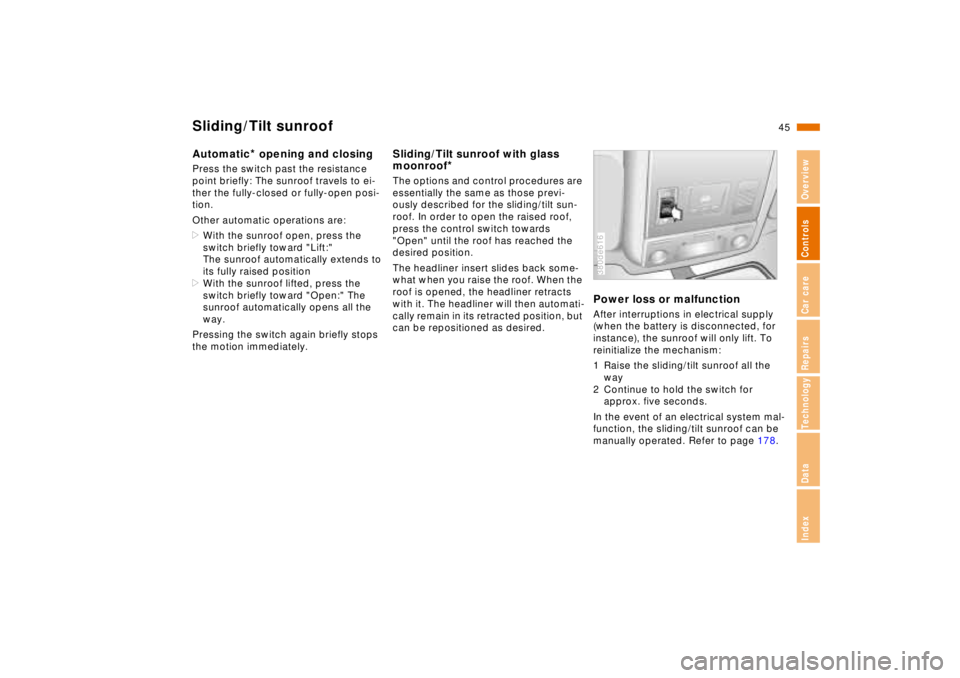
Press the switch past the resistance
point briefly: The sunroof travels to ei-
ther the fully-closed or fully-open posi-
tion.
Other automatic operations are:
>With the sunroof open, press the
switch briefly toward "Lift:"
The sunroof automatically extends to
its fully raised position
>With the sunroof lifted, press the
switch briefly toward "Open:" The
sunroof automatically opens all the
way.
Pressing the switch again briefly stops
the motion immediately.
Sliding/Tilt sunroof with glass
moonroof
*
The options and control procedures are
essentially the same as those previ-
ously described for the sliding/tilt sun-
roof. In order to open the raised roof,
press the control switch towards
"Open" until the roof has reached the
desired position.
The headliner insert slides back some-
what when you raise the roof. When the
roof is opened, the headliner retracts
with it. The headliner will then automati-
cally remain in its retracted position, but
can be repositioned as desired.
Power loss or malfunctionAfter interruptions in electrical supply
(when the battery is disconnected, for
instance), the sunroof will only lift. To
reinitialize the mechanism:
1 Raise the sliding/tilt sunroof all the
way
2 Continue to hold the switch for
approx. five seconds.
In the event of an electrical system mal-
function, the sliding/tilt sunroof can be
manually operated. Refer to page 178.380de616
Page 119 of 211
118n
Cargo loading Roof-mounted luggage rack
*
Securing the load>Secure smaller, light pieces with the
retaining straps or with a luggage
compartment net or elastic straps (re-
fer to page 39)
>For large, heavy pieces, see your
BMW center for load-securing de-
vices
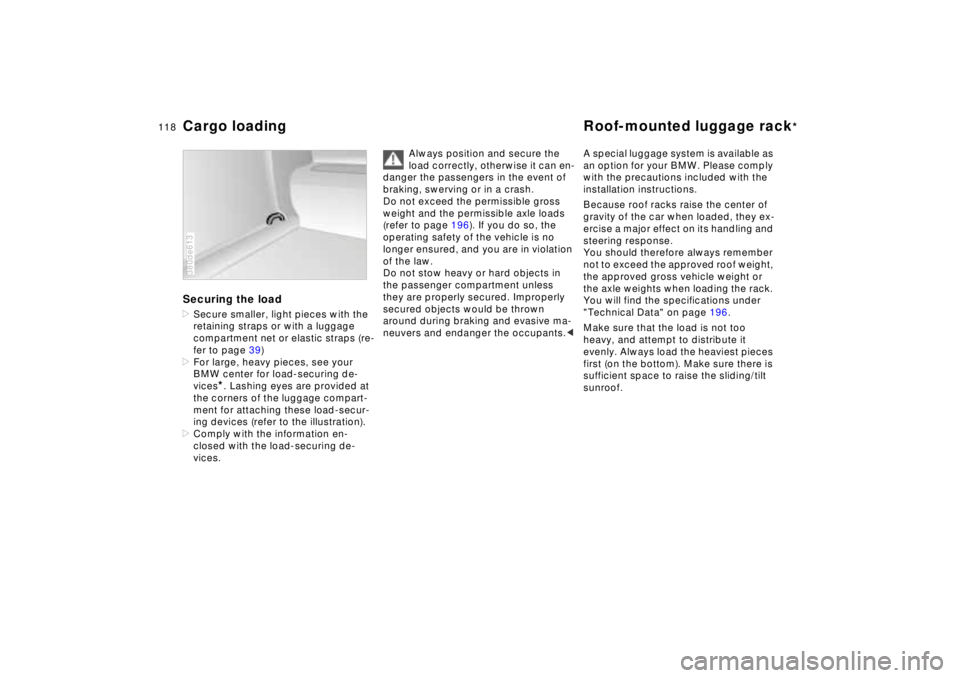
*. Lashing eyes are provided at
the corners of the luggage compart-
ment for attaching these load-secur-
ing devices (refer to the illustration).
>Comply with the information en-
closed with the load-securing de-
vices.
380de613
Always position and secure the
load correctly, otherwise it can en-
danger the passengers in the event of
braking, swerving or in a crash.
Do not exceed the permissible gross
weight and the permissible axle loads
(refer to page 196). If you do so, the
operating safety of the vehicle is no
longer ensured, and you are in violation
of the law.
Do not stow heavy or hard objects in
the passenger compartment unless
they are properly secured. Improperly
secured objects would be thrown
around during braking and evasive ma-
neuvers and endanger the occupants.<
A special luggage system is available as
an option for your BMW. Please comply
with the precautions included with the
installation instructions.
Because roof racks raise the center of
gravity of the car when loaded, they ex-
ercise a major effect on its handling and
steering response.
You should therefore always remember
not to exceed the approved roof weight,
the approved gross vehicle weight or
the axle weights when loading the rack.
You will find the specifications under
"Technical Data" on page 196.
Make sure that the load is not too
heavy, and attempt to distribute it
evenly. Always load the heaviest pieces
first (on the bottom). Make sure there is
sufficient space to raise the sliding/tilt
sunroof.