engine BMW ACTIVE HYBRID 7 2013 F04 Service Manual
[x] Cancel search | Manufacturer: BMW, Model Year: 2013, Model line: ACTIVE HYBRID 7, Model: BMW ACTIVE HYBRID 7 2013 F04Pages: 253, PDF Size: 5.01 MB
Page 126 of 253
NotesPersonal responsibility
Night Vision cannot replace the driver's
personal judgment of the visibility conditions
and the traffic situation. The view ahead and the actual visibility conditions must always be
the basis on which the vehicle speed is ad‐ justed; otherwise, there is a risk to road
safety.◀
At a glance
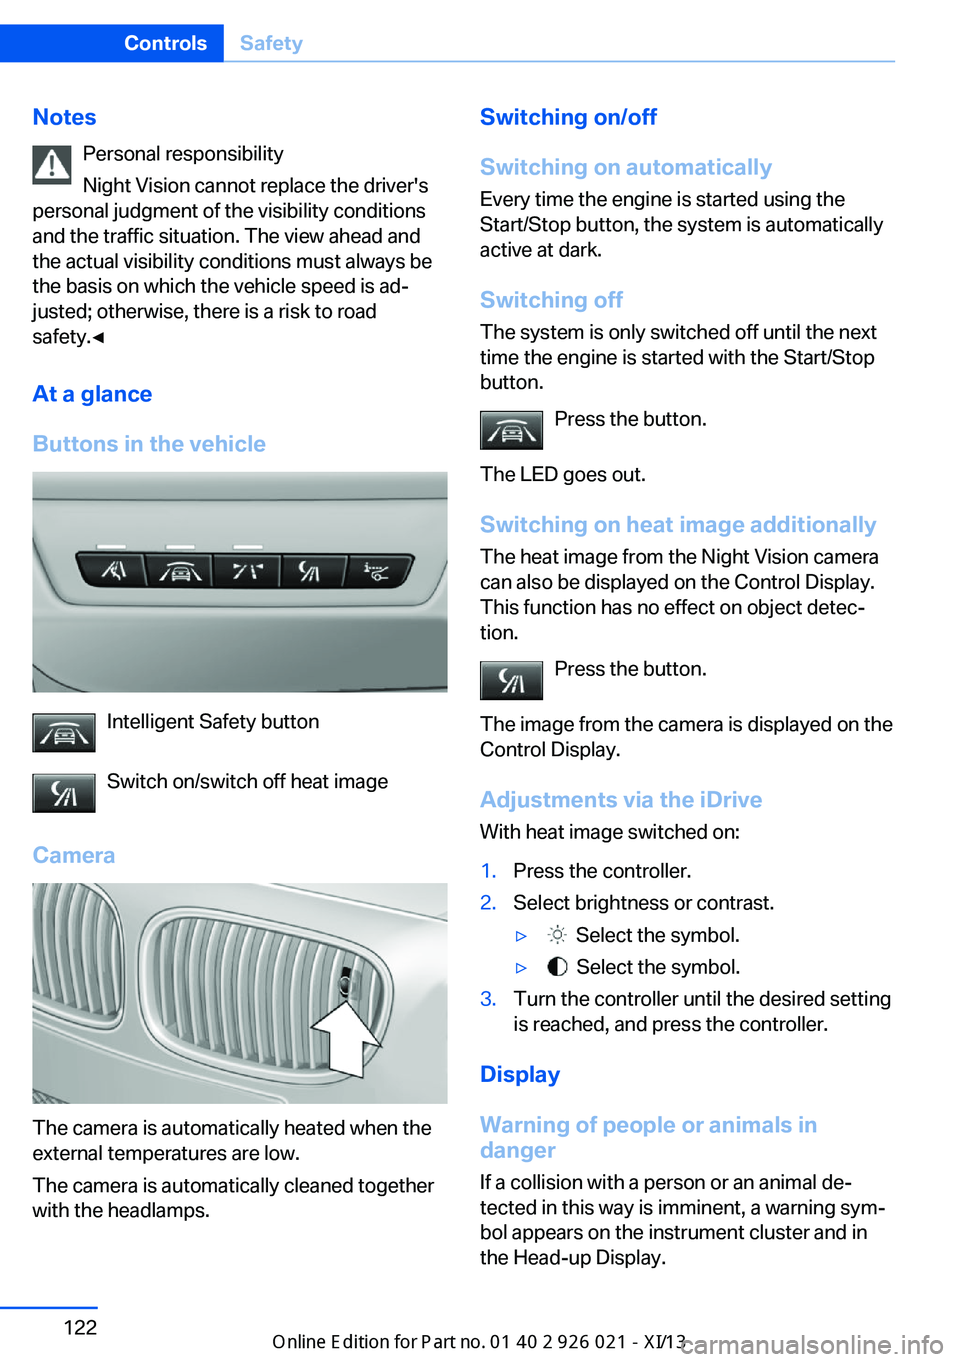
Buttons in the vehicle
Intelligent Safety button
Switch on/switch off heat image
Camera
The camera is automatically heated when the
external temperatures are low.
The camera is automatically cleaned together
with the headlamps.
Switching on/off
Switching on automatically Every time the engine is started using the
Start/Stop button, the system is automatically
active at dark.
Switching off The system is only switched off until the next
time the engine is started with the Start/Stop
button.
Press the button.
The LED goes out.
Switching on heat image additionally The heat image from the Night Vision camera
can also be displayed on the Control Display.
This function has no effect on object detec‐ tion.
Press the button.
The image from the camera is displayed on the
Control Display.
Adjustments via the iDrive With heat image switched on:1.Press the controller.2.Select brightness or contrast.▷ Select the symbol.▷ Select the symbol.3.Turn the controller until the desired setting
is reached, and press the controller.
Display
Warning of people or animals in
danger
If a collision with a person or an animal de‐
tected in this way is imminent, a warning sym‐
bol appears on the instrument cluster and in
the Head-up Display.
Seite 122ControlsSafety122
Online Edition for Part no. 01 40 2 909 774 - VI/13
Page 131 of 253
▷NBG009014A.
Compliance statement:
This device complies with part 15 of the FCC
Rules. Operation is subject to the following
two conditions:
▷This device may not cause harmful inter‐
ference, and▷this device must accept any interference
received, including interference that may
cause undesired operation.
Any unauthorized modifications or changes to
these devices could void the user's authority to
operate this equipment.
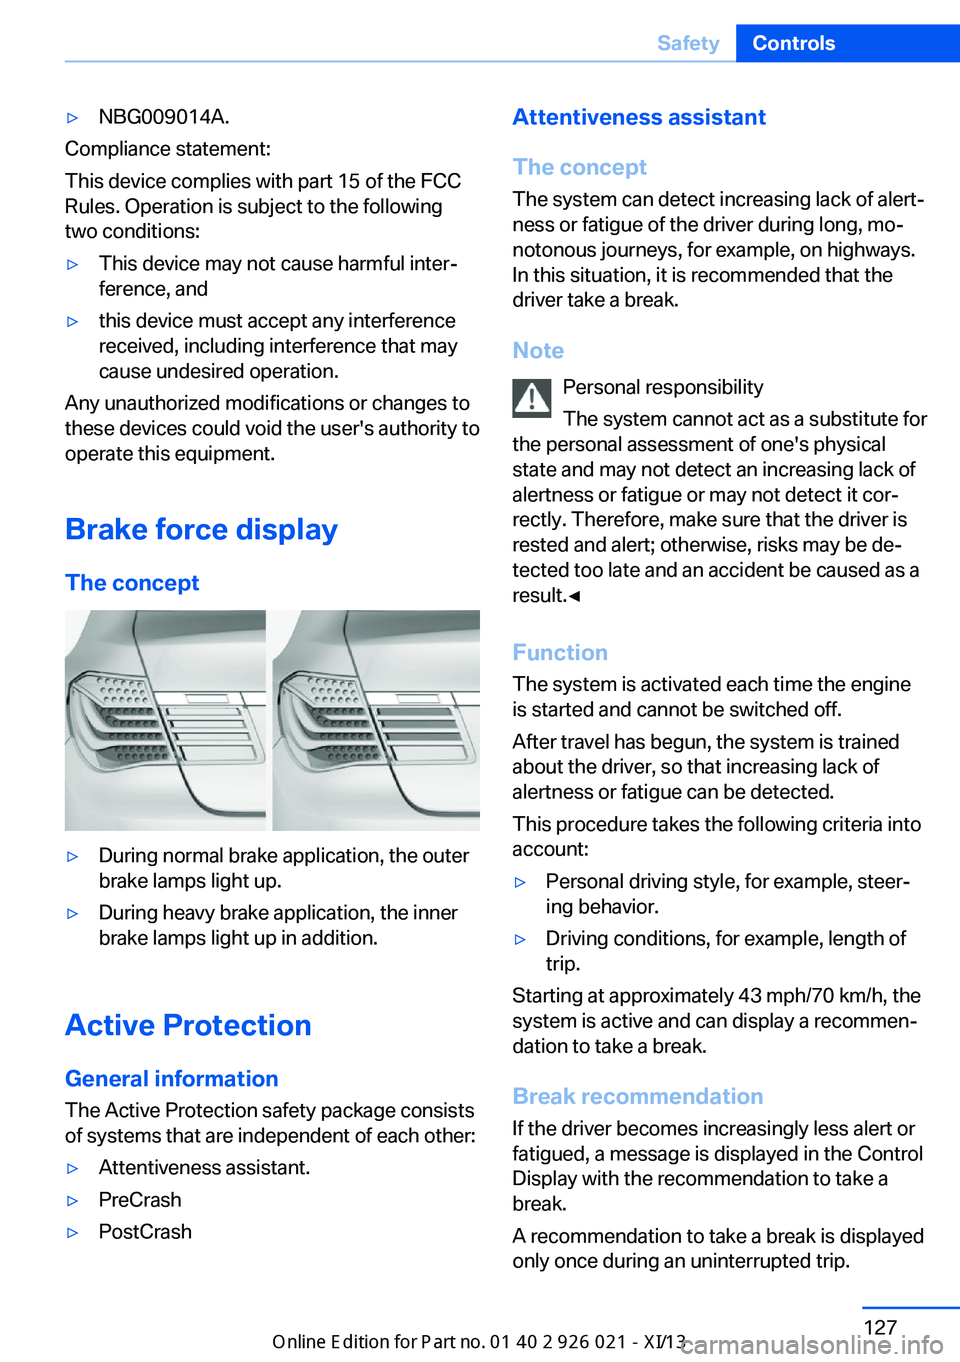
Brake force display
The concept
▷During normal brake application, the outer
brake lamps light up.▷During heavy brake application, the inner
brake lamps light up in addition.
Active Protection
General information
The Active Protection safety package consists
of systems that are independent of each other:
▷Attentiveness assistant.▷PreCrash▷PostCrashAttentiveness assistant
The concept The system can detect increasing lack of alert‐
ness or fatigue of the driver during long, mo‐
notonous journeys, for example, on highways.
In this situation, it is recommended that the
driver take a break.
Note Personal responsibility
The system cannot act as a substitute for
the personal assessment of one's physical
state and may not detect an increasing lack of
alertness or fatigue or may not detect it cor‐
rectly. Therefore, make sure that the driver is
rested and alert; otherwise, risks may be de‐
tected too late and an accident be caused as a
result.◀
Function
The system is activated each time the engine
is started and cannot be switched off.
After travel has begun, the system is trained
about the driver, so that increasing lack of
alertness or fatigue can be detected.
This procedure takes the following criteria into
account:▷Personal driving style, for example, steer‐
ing behavior.▷Driving conditions, for example, length of
trip.
Starting at approximately 43 mph/70 km/h, the
system is active and can display a recommen‐
dation to take a break.
Break recommendation
If the driver becomes increasingly less alert or
fatigued, a message is displayed in the Control
Display with the recommendation to take a
break.
A recommendation to take a break is displayed
only once during an uninterrupted trip.
Seite 127SafetyControls127
Online Edition for Part no. 01 40 2 909 774 - VI/13
Page 134 of 253
Driving stability control systemsVehicle equipmentAll standard, country-specific and optional
equipment that is offered in the model series is
described in this chapter. Therefore, equip‐
ment is also described that is not available in a
vehicle, e. g., because of the selected optional
equipment or country variant. This also applies
for safety-related functions and systems.
Antilock Brake System ABS ABS prevents locking of the wheels during
braking.
The vehicle remains steerable even during full
brake applications, thus increasing active
safety.
ABS is operational every time you start the en‐
gine.
Brake assistant
When you apply the brakes rapidly, this system
automatically produces the maximum braking
force boost. This then reduces braking dis‐ tance to a minimum during full braking. This
system utilizes all of the benefits provided by ABS.
Do not reduce the pressure on the brake pedal
for the duration of the full braking.
When equipped with Driving Assistant Plus or
with Active Cruise Control with Stop & Go
function, ACC is supported by the braking in‐
tervention if there is a possible risk of collision.
To do this, the braking force is automatically increased if the braking pressure is insufficient
when the brakes are applied.Adaptive brake assistant
In combination with the Active Cruise Control,
this system ensures that the brakes respond
even more rapidly when braking in critical sit‐
uations.
Drive-off assistant
This system supports driving away on gradi‐
ents. The parking brake is not required.1.Hold the vehicle in place with the foot
brake.2.Release the foot brake and drive away
without delay.
After the foot brake is released, the vehicle is
held in place for approx. 2 seconds.
Depending on the vehicle load, the vehicle may
roll back slightly.
Driving off without delay
After releasing the foot brake, start driv‐
ing without delay, since the drive-off assistant
will not hold the vehicle in place for more than
approx. 2 seconds and the vehicle will begin
rolling back.◀
DSC Dynamic Stability
Control
The concept DSC prevents traction loss in the driving
wheels when driving away and accelerating.
DSC also recognizes unstable vehicle condi‐
tions, such as fishtailing or nose-diving. Sub‐
ject to physical limits, DSC helps to keep the
vehicle on a steady course by reducing engine
speed and by applying brakes at individual
wheels.
Seite 130ControlsDriving stability control systems130
Online Edition for Part no. 01 40 2 909 774 - VI/13
Page 137 of 253
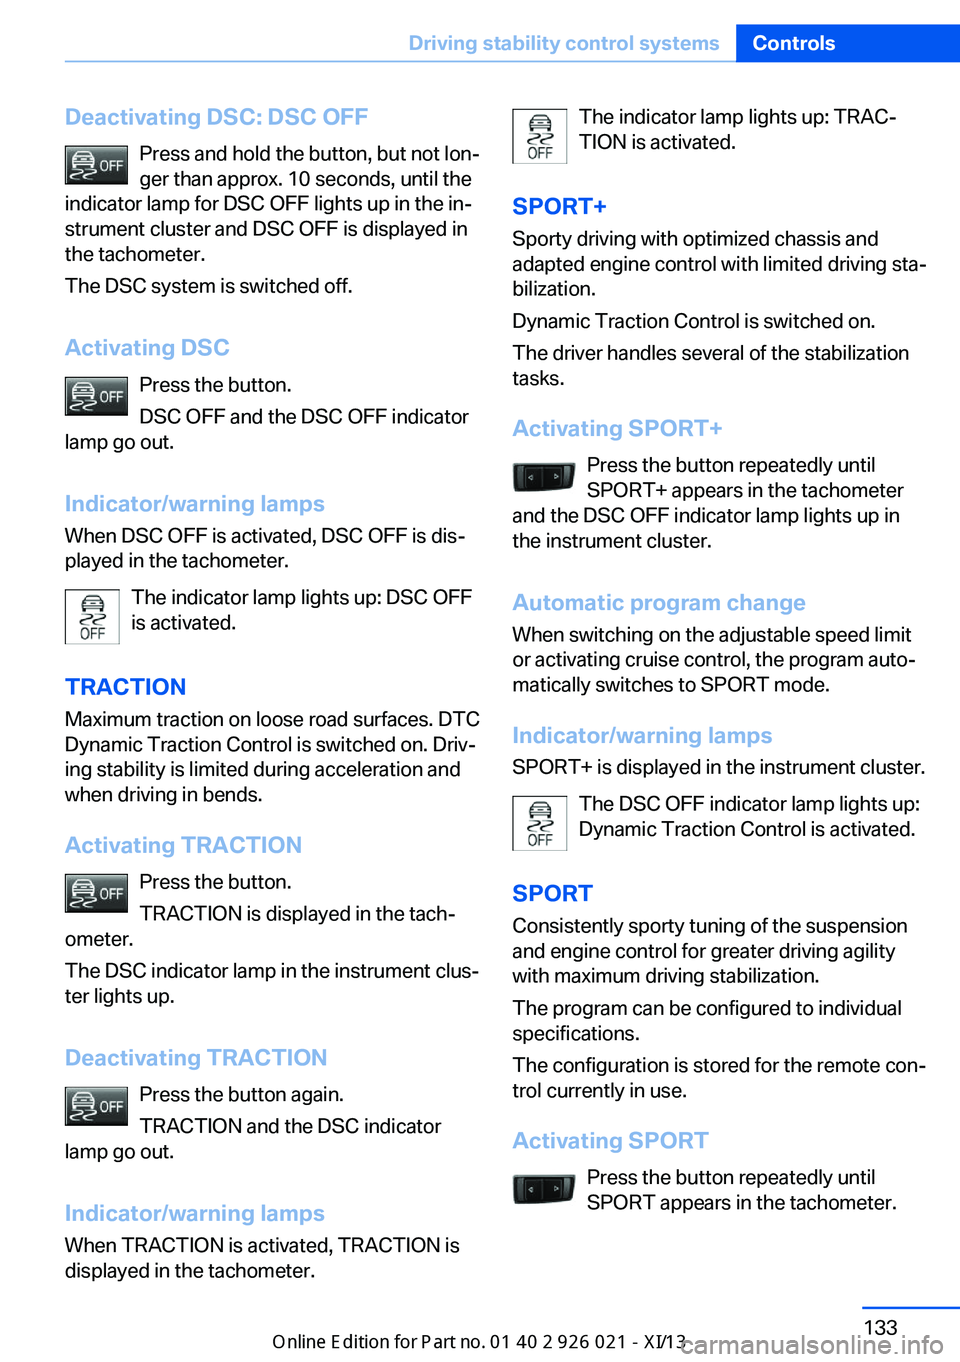
Deactivating DSC: DSC OFFPress and hold the button, but not lon‐
ger than approx. 10 seconds, until the
indicator lamp for DSC OFF lights up in the in‐ strument cluster and DSC OFF is displayed in
the tachometer.
The DSC system is switched off.
Activating DSC Press the button.
DSC OFF and the DSC OFF indicator
lamp go out.
Indicator/warning lamps
When DSC OFF is activated, DSC OFF is dis‐
played in the tachometer.
The indicator lamp lights up: DSC OFF
is activated.
TRACTION Maximum traction on loose road surfaces. DTC
Dynamic Traction Control is switched on. Driv‐
ing stability is limited during acceleration and
when driving in bends.
Activating TRACTION Press the button.
TRACTION is displayed in the tach‐
ometer.
The DSC indicator lamp in the instrument clus‐
ter lights up.
Deactivating TRACTION Press the button again.
TRACTION and the DSC indicator
lamp go out.
Indicator/warning lamps
When TRACTION is activated, TRACTION is
displayed in the tachometer.The indicator lamp lights up: TRAC‐
TION is activated.
SPORT+ Sporty driving with optimized chassis and
adapted engine control with limited driving sta‐
bilization.
Dynamic Traction Control is switched on.
The driver handles several of the stabilization
tasks.
Activating SPORT+ Press the button repeatedly until
SPORT+ appears in the tachometer
and the DSC OFF indicator lamp lights up in
the instrument cluster.
Automatic program change
When switching on the adjustable speed limit
or activating cruise control, the program auto‐
matically switches to SPORT mode.
Indicator/warning lamps
SPORT+ is displayed in the instrument cluster.
The DSC OFF indicator lamp lights up:
Dynamic Traction Control is activated.
SPORT Consistently sporty tuning of the suspension
and engine control for greater driving agility
with maximum driving stabilization.
The program can be configured to individual
specifications.
The configuration is stored for the remote con‐
trol currently in use.
Activating SPORT Press the button repeatedly until
SPORT appears in the tachometer.Seite 133Driving stability control systemsControls133
Online Edition for Part no. 01 40 2 909 774 - VI/13
Page 138 of 253
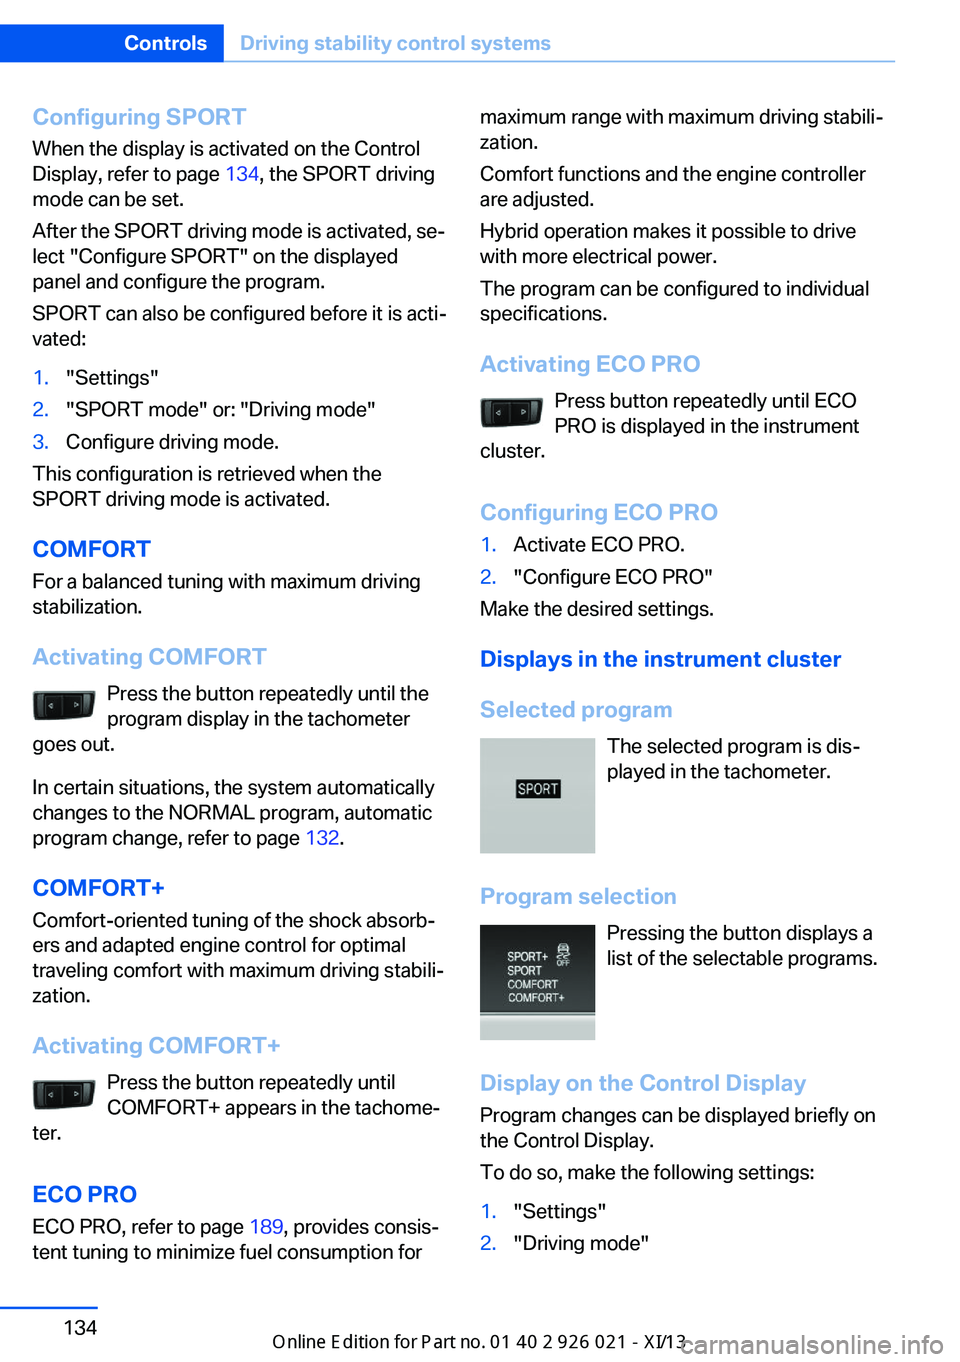
Configuring SPORTWhen the display is activated on the Control
Display, refer to page 134, the SPORT driving
mode can be set.
After the SPORT driving mode is activated, se‐
lect "Configure SPORT" on the displayed
panel and configure the program.
SPORT can also be configured before it is acti‐
vated:1."Settings"2."SPORT mode" or: "Driving mode"3.Configure driving mode.
This configuration is retrieved when the
SPORT driving mode is activated.
COMFORT For a balanced tuning with maximum driving
stabilization.
Activating COMFORT Press the button repeatedly until the
program display in the tachometer
goes out.
In certain situations, the system automatically
changes to the NORMAL program, automatic
program change, refer to page 132.
COMFORT+
Comfort-oriented tuning of the shock absorb‐ ers and adapted engine control for optimal
traveling comfort with maximum driving stabili‐
zation.
Activating COMFORT+ Press the button repeatedly until
COMFORT+ appears in the tachome‐
ter.
ECO PRO ECO PRO, refer to page 189, provides consis‐
tent tuning to minimize fuel consumption for
maximum range with maximum driving stabili‐
zation.
Comfort functions and the engine controller
are adjusted.
Hybrid operation makes it possible to drive
with more electrical power.
The program can be configured to individual
specifications.
Activating ECO PRO Press button repeatedly until ECO
PRO is displayed in the instrument
cluster.
Configuring ECO PRO1.Activate ECO PRO.2."Configure ECO PRO"
Make the desired settings.
Displays in the instrument cluster
Selected program The selected program is dis‐
played in the tachometer.
Program selection Pressing the button displays a
list of the selectable programs.
Display on the Control Display Program changes can be displayed briefly on
the Control Display.
To do so, make the following settings:
1."Settings"2."Driving mode"Seite 134ControlsDriving stability control systems134
Online Edition for Part no. 01 40 2 909 774 - VI/13
Page 140 of 253
Driving comfortVehicle equipment
All standard, country-specific and optional
equipment that is offered in the model series is
described in this chapter. Therefore, equip‐
ment is also described that is not available in a
vehicle, e. g., because of the selected optional
equipment or country variant. This also applies
for safety-related functions and systems.
Active Cruise Control with Stop & Go function, ACC
The conceptThis system can be used to select a desired
speed that the vehicle will maintain automati‐
cally on clear roads.
To the extent possible, the system automati‐
cally adjusts the speed to a slower vehicle
ahead of you.
The distance that the vehicle maintains to the
vehicle ahead of you can be varied.
For safety reasons, it depends on the speed.
To maintain a certain distance, the system au‐
tomatically decelerates, applies the brakes
lightly, or accelerates again if the vehicle ahead
begins moving faster.
If the vehicle ahead of you brakes to a halt, the
system is able to detect this within the given
system limits. If the vehicle ahead of your
drives away again from a halt, your vehicle is
able to accelerate if operated accordingly.
Even if some time passes before the vehicle
drives away again, the BMW can still be accel‐
erated automatically and simply.
As soon as the road is clear, it accelerates to
the desired speed.
The speed is also maintained on downhill gra‐
dients, but may not be maintained on uphill
slopes if engine power is insufficient.General information
When ECO PRO is activated, cruise control is
also set to a driving style that saves on fuel
consumption.
Notes Personal responsibility
The system does not relieve the driver of
the responsibility to adapt his or her speed,
distance and driving style to the traffic condi‐
tions. Drive attentively, and react to the current
traffic events. Intervene actively when neces‐
sary, e.g., by braking, steering or making an
evasive maneuver, otherwise, there is danger
of an accident.◀
At a glance
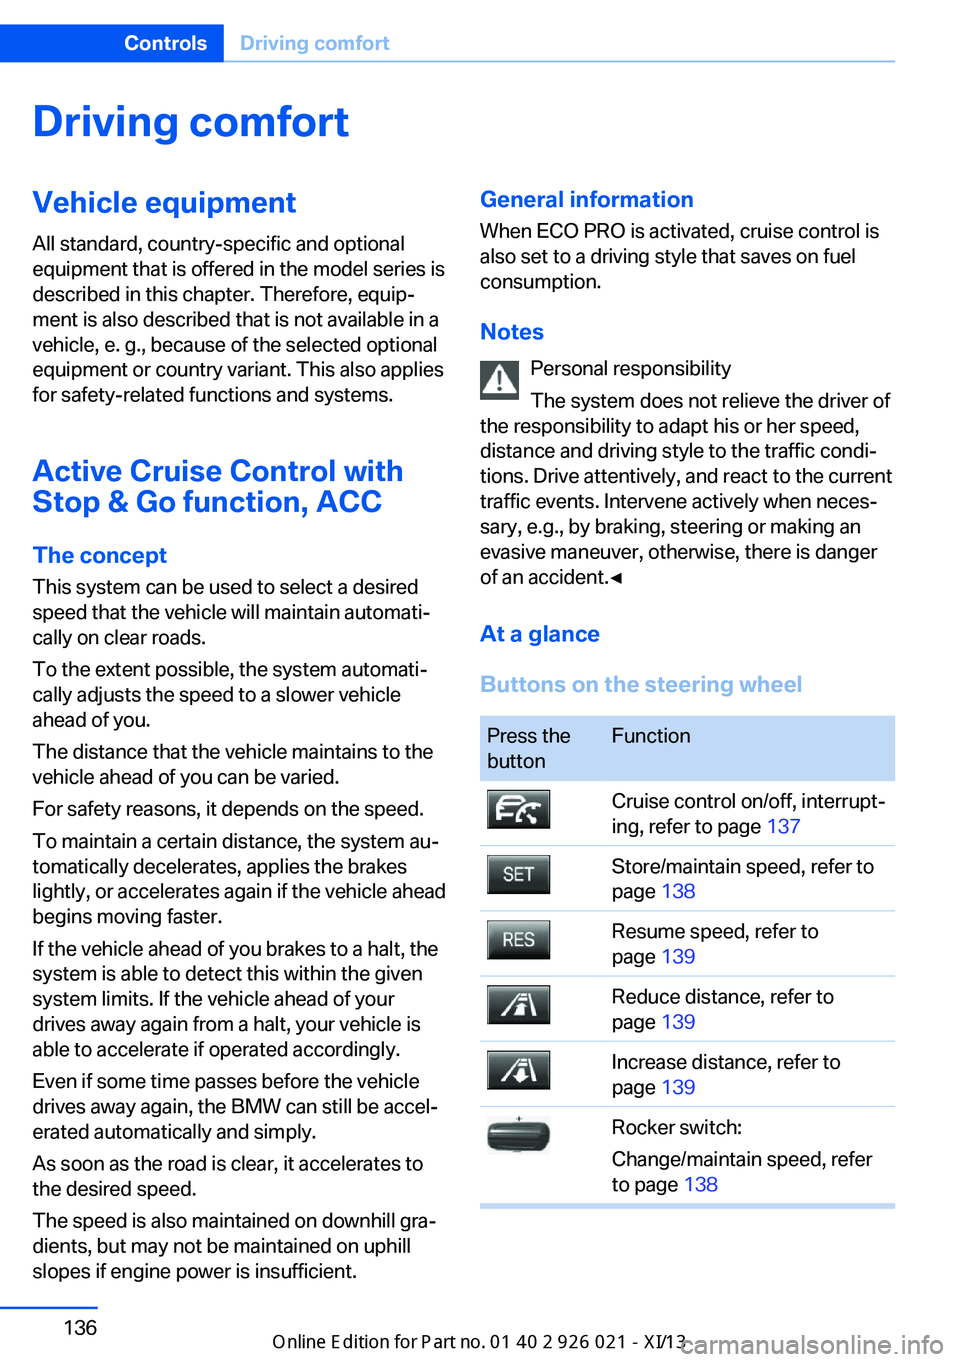
Buttons on the steering wheelPress the
buttonFunctionCruise control on/off, interrupt‐
ing, refer to page 137Store/maintain speed, refer to
page 138Resume speed, refer to
page 139Reduce distance, refer to
page 139Increase distance, refer to
page 139Rocker switch:
Change/maintain speed, refer
to page 138Seite 136ControlsDriving comfort136
Online Edition for Part no. 01 40 2 909 774 - VI/13
Page 143 of 253
DistanceSelecting a distance
Adjust the distance according to the traf‐
fic and weather conditions; otherwise, there is
the danger of an accident occurring. Maintain
the prescribed safety distance.◀
Reduce distance Press the button repeatedly until the
desired distance is set.
The selected distance, refer to page 140, is
displayed in the instrument cluster.
Increase distance Press the button repeatedly until the
desired distance is set.
The selected distance, refer to page 140, is
displayed in the instrument cluster.
Calling up the desired speed and
distance
While driving Press the button with the system
switched on.
In the following cases, the stored speed value
is deleted and cannot be called up again:▷When the system is switched off.▷When the ignition is switched off.
While standing
Before leaving the vehicle, secure it
against rolling
Before leaving the vehicle with the engine run‐
ning, engage position P of the automatic trans‐
mission and apply the parking brake. Other‐
wise, the vehicle may begin to roll.◀
The system brought the vehicle to a complete
standstill.
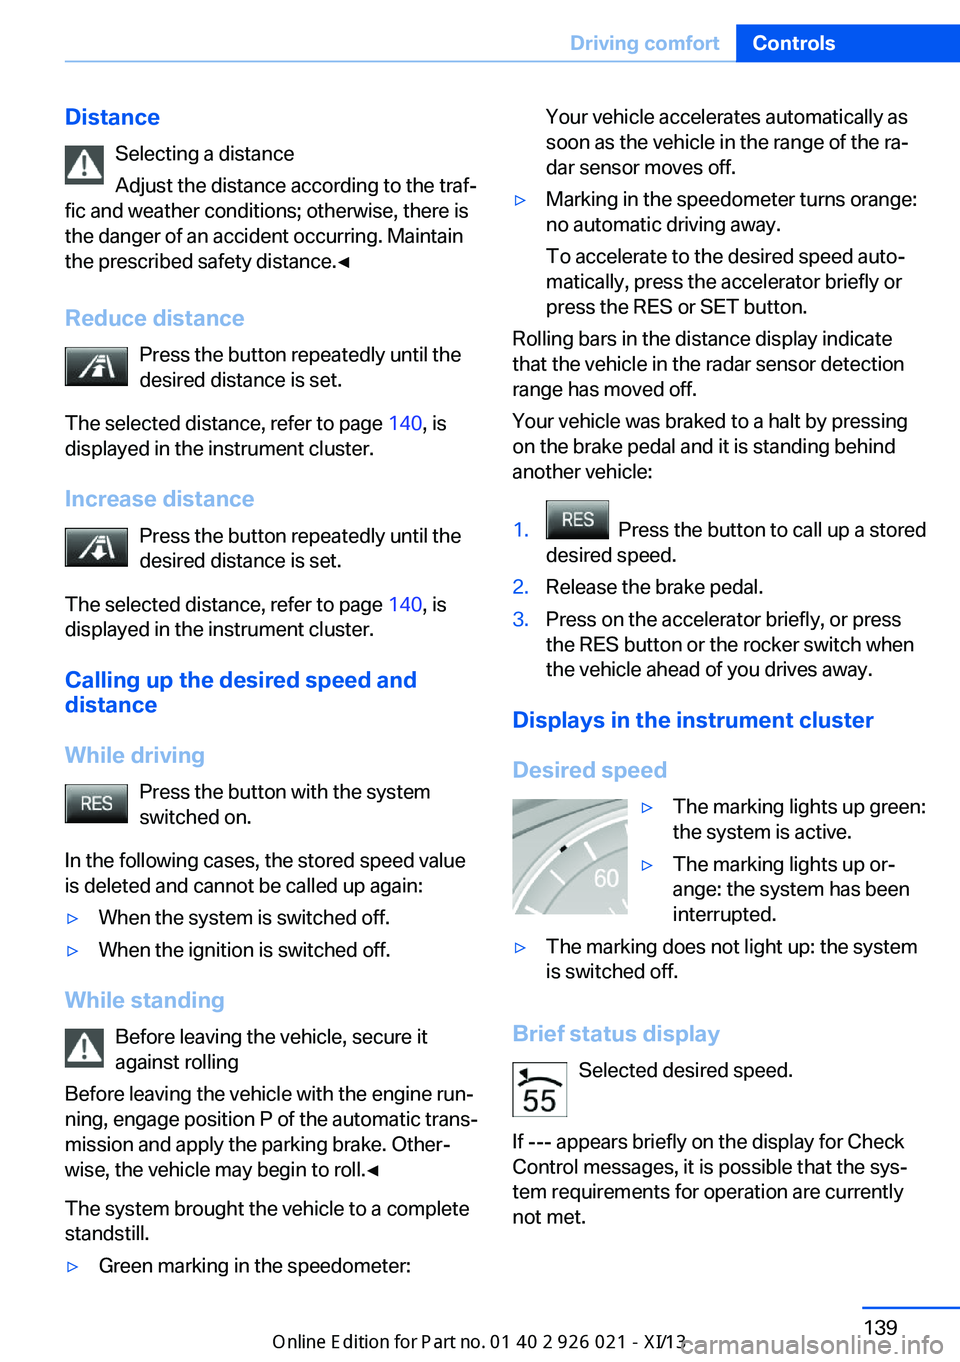
▷Green marking in the speedometer:Your vehicle accelerates automatically as
soon as the vehicle in the range of the ra‐
dar sensor moves off.▷Marking in the speedometer turns orange:
no automatic driving away.
To accelerate to the desired speed auto‐
matically, press the accelerator briefly or
press the RES or SET button.
Rolling bars in the distance display indicate
that the vehicle in the radar sensor detection
range has moved off.
Your vehicle was braked to a halt by pressing
on the brake pedal and it is standing behind
another vehicle:
1. Press the button to call up a stored
desired speed.2.Release the brake pedal.3.Press on the accelerator briefly, or press
the RES button or the rocker switch when
the vehicle ahead of you drives away.
Displays in the instrument cluster
Desired speed
▷The marking lights up green:
the system is active.▷The marking lights up or‐
ange: the system has been
interrupted.▷The marking does not light up: the system
is switched off.
Brief status display
Selected desired speed.
If --- appears briefly on the display for Check
Control messages, it is possible that the sys‐
tem requirements for operation are currently
not met.
Seite 139Driving comfortControls139
Online Edition for Part no. 01 40 2 909 774 - VI/13
Page 149 of 253
▷By the front sensors and the two rear cor‐
ner sensors at approx. 24 in/60 cm.▷By the rear middle sensors at approx.
5 ft/1.50 m.
Notes
Check the traffic situation as well
PDC cannot serve as a substitute for the
driver's personal judgment of the traffic situa‐
tion. Check the traffic situation around the ve‐
hicle with your own eyes. Otherwise, an acci‐
dent could result from road users or objects
located outside of the PDC detection range.
Loud noises from outside and inside the vehi‐ cle may prevent you from hearing the PDC's
signal tone.◀
Avoid driving quickly with PDC
Avoid approaching an object quickly.
Avoid driving away quickly while PDC is not yet
active.
For technical reasons, the system may other‐
wise be too late in issuing a warning.◀
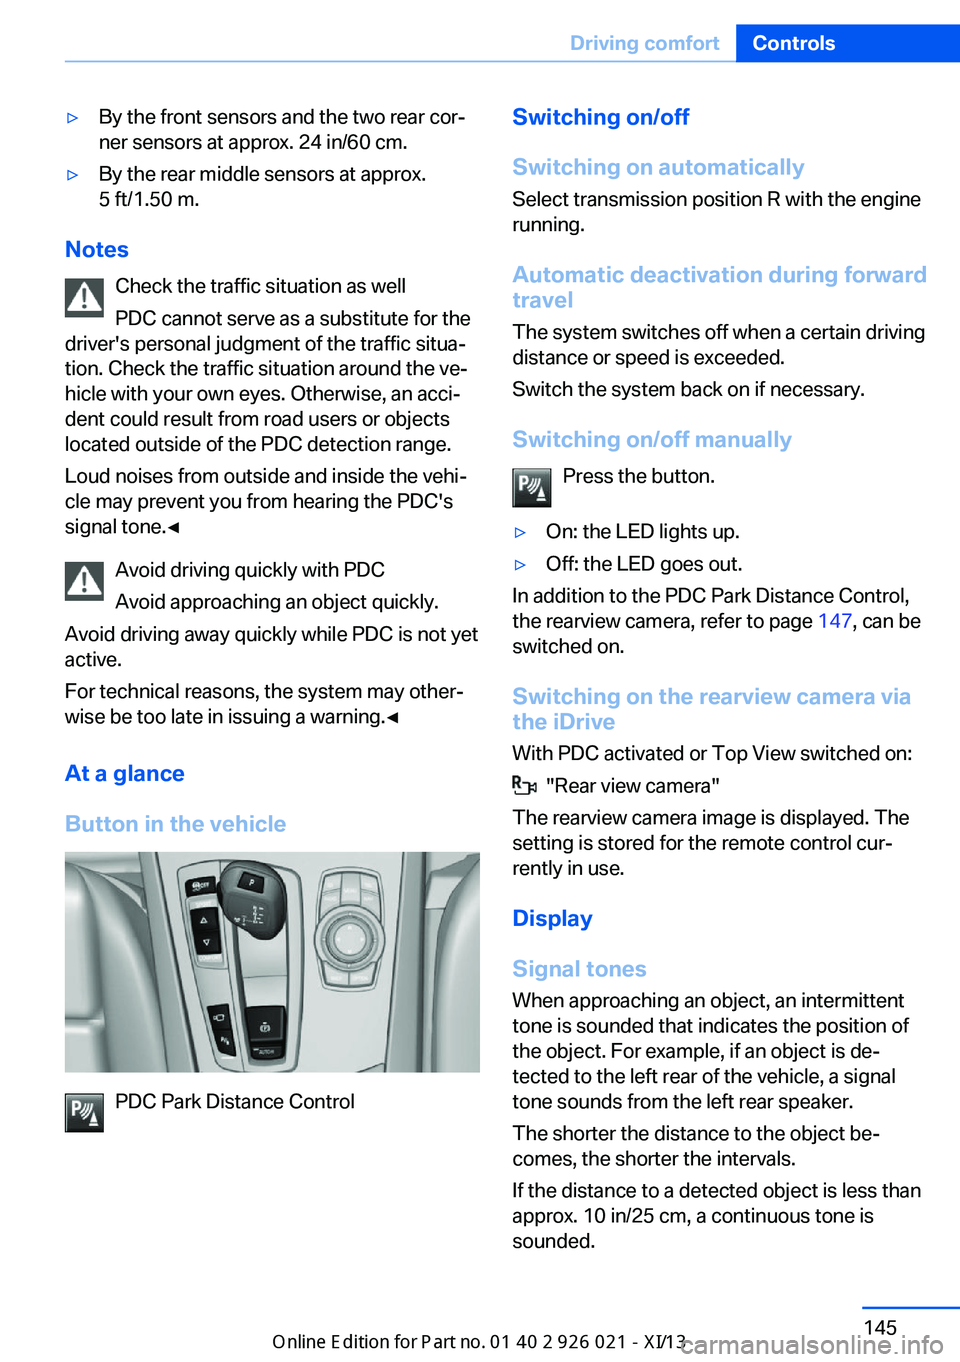
At a glance
Button in the vehicle
PDC Park Distance Control
Switching on/off
Switching on automatically Select transmission position R with the engine
running.
Automatic deactivation during forward travel
The system switches off when a certain driving
distance or speed is exceeded.
Switch the system back on if necessary.
Switching on/off manually Press the button.▷On: the LED lights up.▷Off: the LED goes out.
In addition to the PDC Park Distance Control,
the rearview camera, refer to page 147, can be
switched on.
Switching on the rearview camera viathe iDrive
With PDC activated or Top View switched on:
"Rear view camera"
The rearview camera image is displayed. The
setting is stored for the remote control cur‐
rently in use.
Display
Signal tones When approaching an object, an intermittent
tone is sounded that indicates the position of
the object. For example, if an object is de‐
tected to the left rear of the vehicle, a signal
tone sounds from the left rear speaker.
The shorter the distance to the object be‐
comes, the shorter the intervals.
If the distance to a detected object is less than
approx. 10 in/25 cm, a continuous tone is
sounded.
Seite 145Driving comfortControls145
Online Edition for Part no. 01 40 2 909 774 - VI/13
Page 151 of 253
▷When using high-pressure washers, do not
spray the sensors for long periods and
maintain a distance of at least 12 in/30 cm.
Surround View
The concept Surround View comprises various camera as‐
sistance systems that help the driver when
parking, maneuvering, and at complex exits
and intersections.
▷Rearview camera, refer to page 147▷Side View, refer to page 149.▷Top View, refer to page 151.
Backup camera
The concept
The backup camera provides assistance in
parking and maneuvering backwards. The area
behind the vehicle is shown on the Control
Display.
Hints Check the traffic situation as well
Check the traffic situation around the ve‐
hicle with your own eyes. Otherwise, an acci‐
dent could result from road users or objects lo‐
cated outside the picture area of the backup
camera.◀
At a glance
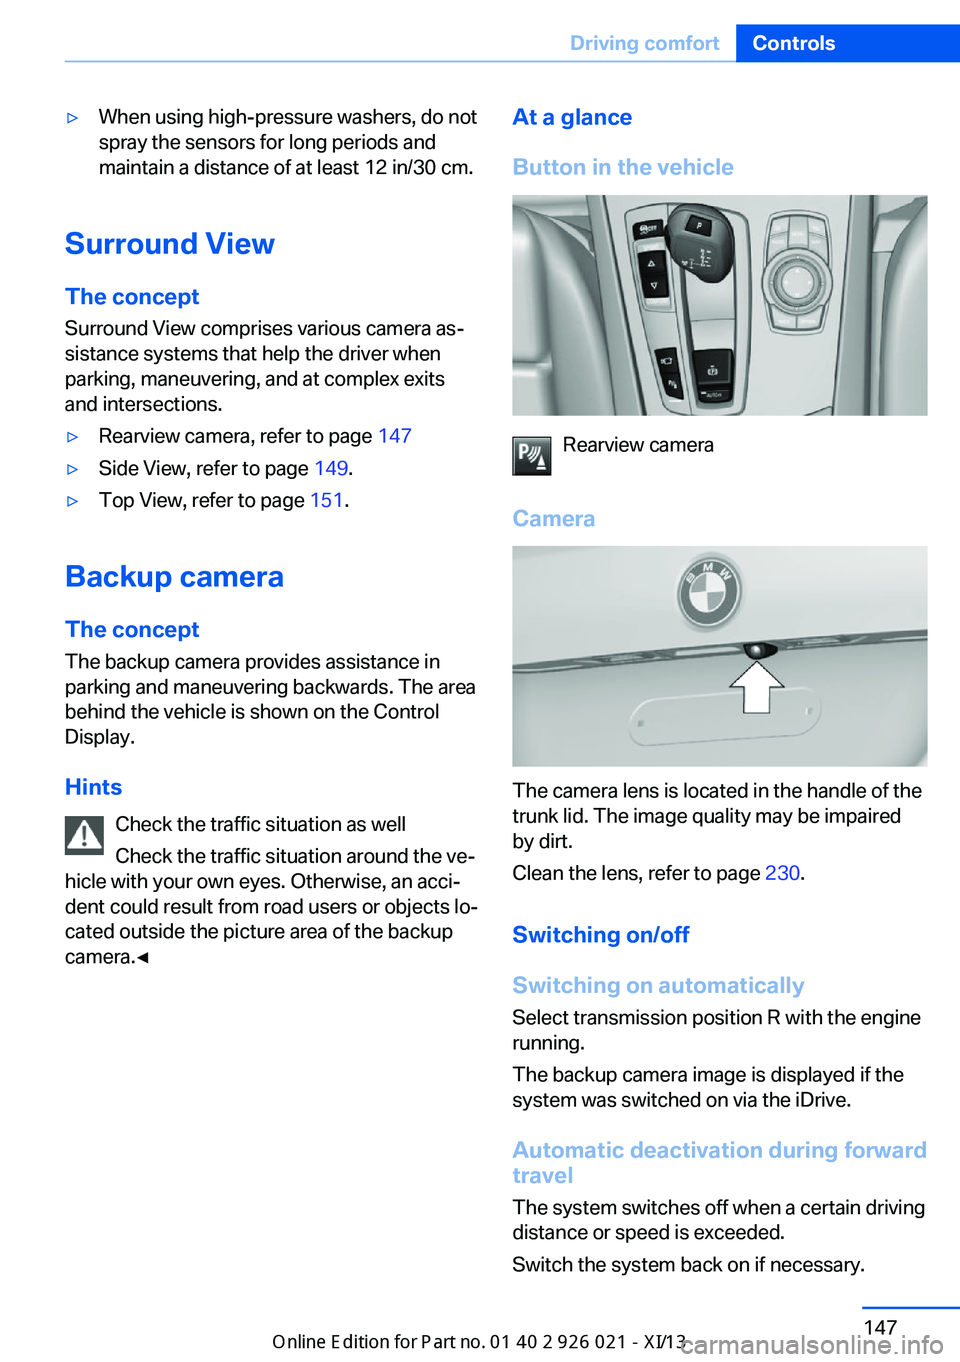
Button in the vehicle
Rearview camera
Camera
The camera lens is located in the handle of the
trunk lid. The image quality may be impaired
by dirt.
Clean the lens, refer to page 230.
Switching on/off
Switching on automatically Select transmission position R with the engine
running.
The backup camera image is displayed if the
system was switched on via the iDrive.
Automatic deactivation during forward
travel
The system switches off when a certain driving
distance or speed is exceeded.
Switch the system back on if necessary.
Seite 147Driving comfortControls147
Online Edition for Part no. 01 40 2 909 774 - VI/13
Page 155 of 253
System limits
The cameras capture a maximum range of
330 ft/100 m.
Top View
The concept Top View assists you in parking and maneu‐
vering. The area around the doors and the road
area around the vehicle are shown on the Con‐
trol Display for this purpose.
General information
The image is captured by two cameras integrated in the exterior mirrors and by the
backup camera.
The range is at least 7 ft/2 m to the side and
rear.
In this way, obstacles up to the height of the
exterior mirrors are detected early.
Notes Check the traffic situation as well
Check the traffic situation around the ve‐
hicle with your own eyes. Otherwise, an acci‐
dent could result from road users or objects lo‐
cated outside the picture area of the
cameras.◀
At a glance
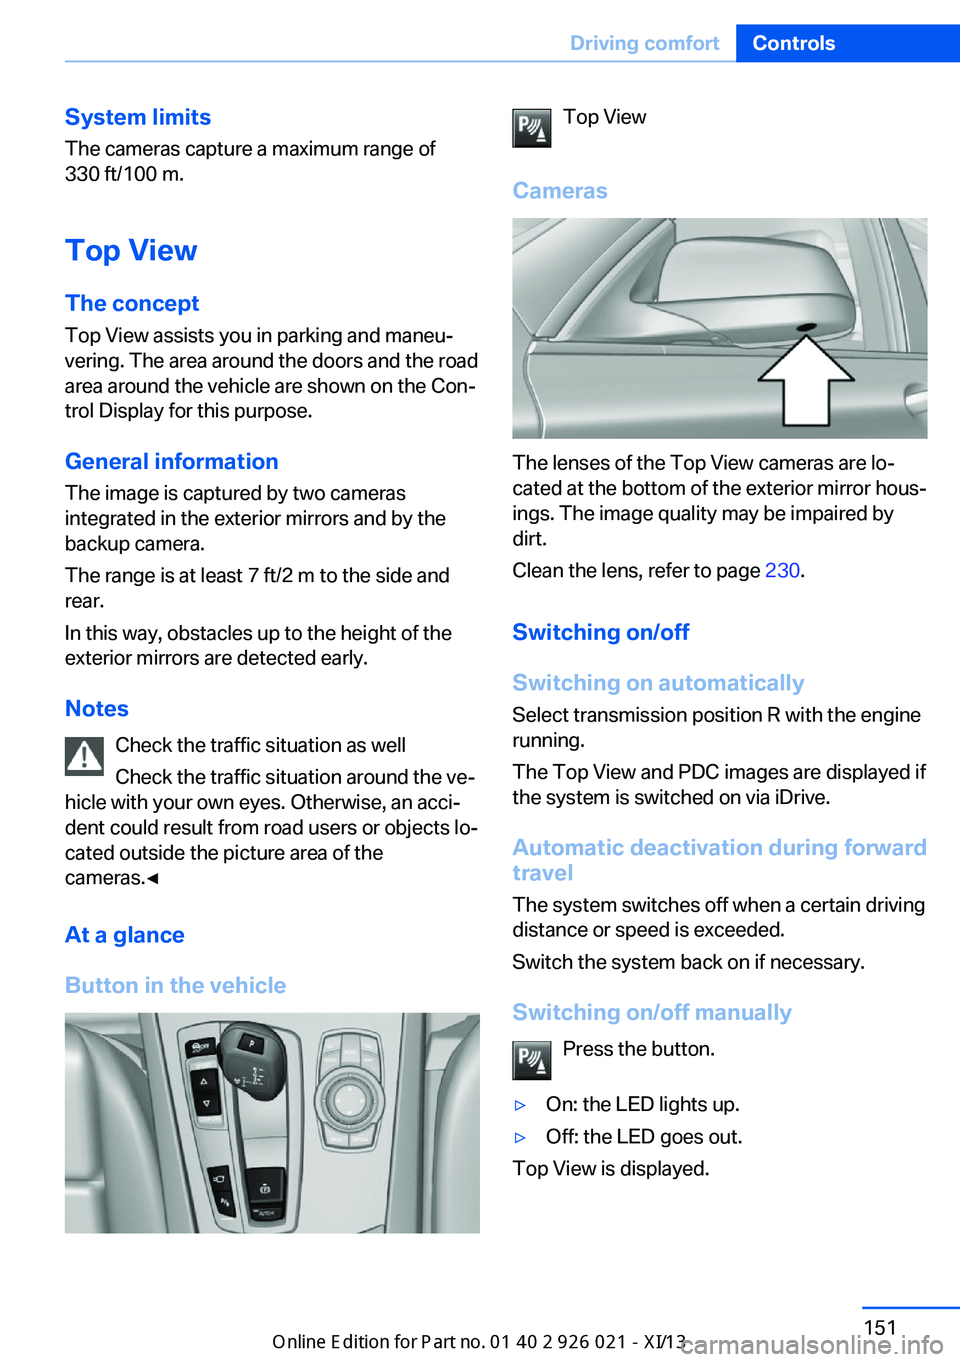
Button in the vehicleTop View
Cameras
The lenses of the Top View cameras are lo‐
cated at the bottom of the exterior mirror hous‐
ings. The image quality may be impaired by
dirt.
Clean the lens, refer to page 230.
Switching on/off
Switching on automatically Select transmission position R with the engine
running.
The Top View and PDC images are displayed if
the system is switched on via iDrive.
Automatic deactivation during forward
travel
The system switches off when a certain driving
distance or speed is exceeded.
Switch the system back on if necessary.
Switching on/off manually Press the button.
▷On: the LED lights up.▷Off: the LED goes out.
Top View is displayed.
Seite 151Driving comfortControls151
Online Edition for Part no. 01 40 2 909 774 - VI/13