display BMW ACTIVE HYBRID 7 2014 F01H Owner's Guide
[x] Cancel search | Manufacturer: BMW, Model Year: 2014, Model line: ACTIVE HYBRID 7, Model: BMW ACTIVE HYBRID 7 2014 F01HPages: 257, PDF Size: 5.44 MB
Page 43 of 257
Importing profiles
Profiles exported via BMW Online can also be
imported via BMW Online.
Profiles stored on a USB device can be im‐
ported via the USB interface.
Existing settings and contacts are overwritten
with the imported profile.1."Settings"2."Profiles"3."Import profile"4.BMW Online: "BMW Online"
USB interface: "USB device"
Using the guest profile
The guest profile is for individual settings that
are saved in none of the three personal pro‐
files.
This can be useful for drivers who are using
the vehicle temporarily and do not have their
own profile.
1."Settings"2."Profiles"3."Guest"
The guest profile cannot be renamed. It is not
assigned to the current remote control.
Display profile list during start
The profile list can be displayed during each
start to select the desired profile.
1."Settings"2."Profiles"3."Options"4."Display user list at startup"Using the remote control
Note Take the remote control with youPeople or animals left unattended in a
parked vehicle can lock the doors from the in‐
side. Always take the remote control with you
when leaving the vehicle so that the vehicle
can then be opened from the outside.◀
Unlocking Press button on the remote control.▷All doors and the trunk lid are unlocked.▷Interior lamps and courtesy lamps are acti‐
vated. This function is not available, if the
interior lamps were switched off manually.▷The welcome lamps are switched on, if this
function was activated.▷Exterior mirrors folded through convenient
closing are folded open.
You can set how the vehicle is to be unlocked.
For Settings, refer to page 48.
Anti-theft protection is switched off.
The alarm system, refer to page 50, is dis‐
armed.
Convenient opening Press and hold this button on the re‐mote control after unlocking.
The windows and the glass sunroof are
opened, as long as the button on the remote
control is pressed.
Locking Locking from the outside
Do not lock the vehicle from the outside
with people inside the car, as the vehicle can‐
not be unlocked from inside without special knowledge.◀
Seite 39Opening and closingControls39
Online Edition for Part no. 01 40 2 956 056 - X/14
Page 44 of 257
Press button on the remote control.
All doors and the trunk lid are locked.
Anti-theft protection is switched on. It pre‐
vents the doors from being unlocked using the
lock buttons or the door openers.
The alarm system, refer to page 50, is armed.
Switching on interior lights and
courtesy lights
Press button on the remote control with
the vehicle locked.
This function is not available, if the interior
lamps were switched off manually.
If the button is pressed again within 10 sec‐
onds after vehicle was locked, the interior mo‐
tion sensor and tilt alarm sensor of the anti-
theft warning system, refer to page 51, are
turned off. After locking, wait 10 seconds be‐
fore pressing the button again.
Panic mode
You can trigger the alarm system if you find
yourself in a dangerous situation.
Press button on the remote control for
at least 3 seconds.
To reel off the alarm: press any button.
Opening the trunk lid Press button on the remote control for
approx. 1 second.
The trunk lid opens, regardless of whether the
vehicle was previously locked or unlocked.
During opening, the trunk lid pivots back and
up. Ensure that adequate clearance is available
before opening.
Depending on the features and the country
version, it is also possible to have door un‐
locked. Create the settings, refer to page 48.
If the doors were not unlocked, the trunk lid is
locked again as soon as it closes.Do not place the remote control in the
cargo area
Take the remote control with you and do not
leave it in the cargo area; otherwise, the re‐
mote control is locked inside the vehicle when
the trunk lid is closed.◀
Switching on the headlight courtesy
delay feature
The headlight courtesy delay feature function
must be set for the remote control button. For
Settings, refer to page 48.
Briefly press the button on the remote
control.
The duration can be set in the Control Display. Malfunction
Remote control detection by the vehicle can
among others be malfunctioning under the fol‐
lowing circumstances:▷Interference of the radio connection from
transmission towers or other equipment
with high transmit power.▷Shielding of the remote control due to
metal objects.▷Interference of the radio connection from
mobile phones or other electronic devices
in direct proximity.
Do not transport the remote control together
with metal objects or electronic devices.
In the case of interference, the vehicle can also
be unlocked and locked from the outside with‐
out remote control, refer to page 41.
For US owners only
The transmitter and receiver units comply with
part 15 of the FCC/Federal Communication
Commission regulations. Operation is gov‐
erned by the following:
FCC ID:
Seite 40ControlsOpening and closing40
Online Edition for Part no. 01 40 2 956 056 - X/14
Page 63 of 257
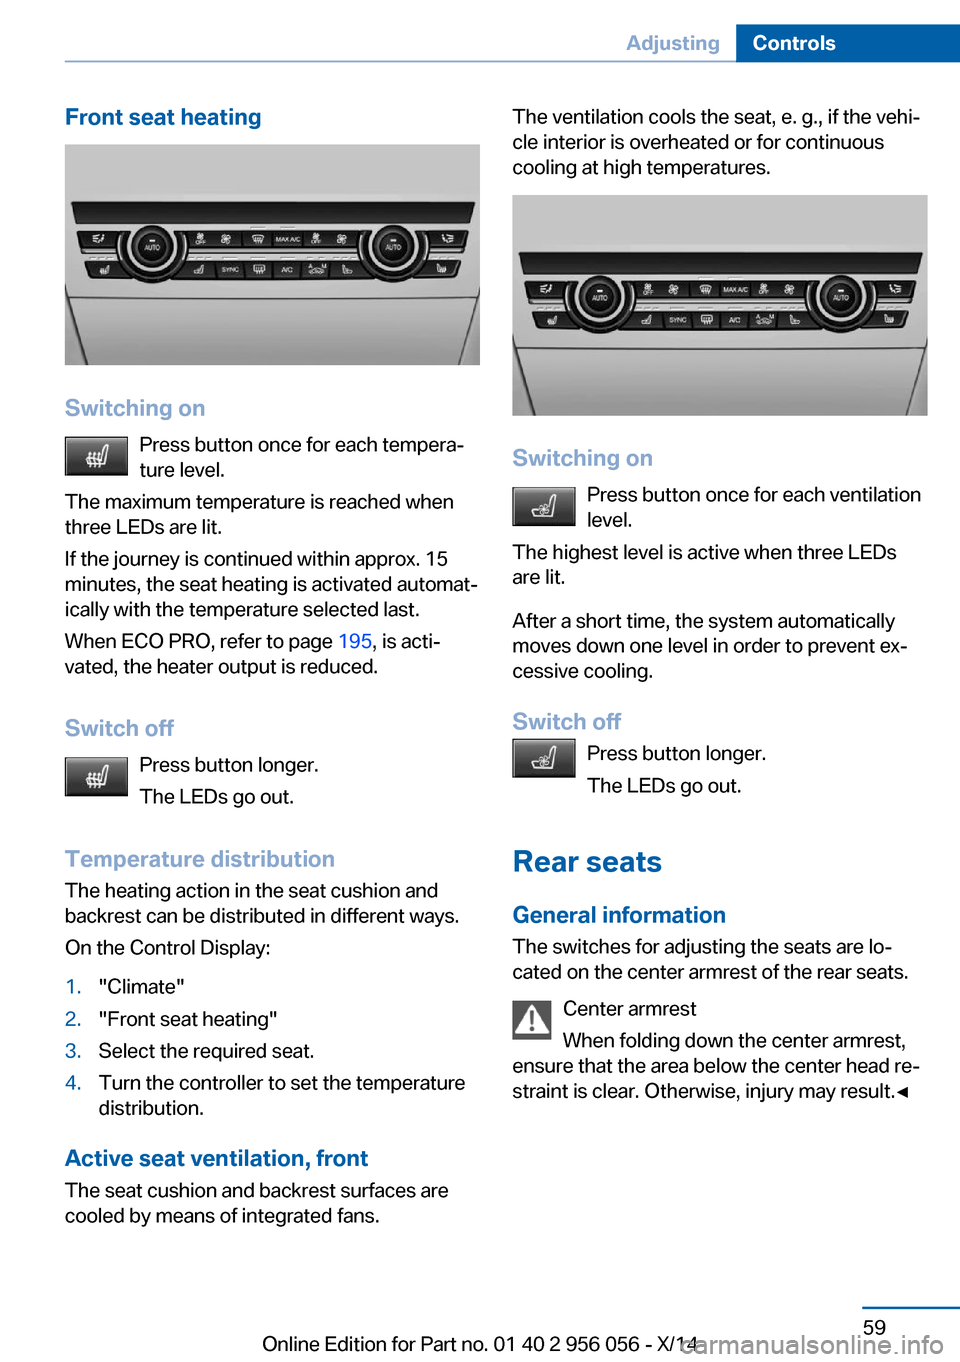
Front seat heating
Switching onPress button once for each tempera‐
ture level.
The maximum temperature is reached when
three LEDs are lit.
If the journey is continued within approx. 15
minutes, the seat heating is activated automat‐
ically with the temperature selected last.
When ECO PRO, refer to page 195, is acti‐
vated, the heater output is reduced.
Switch off Press button longer.
The LEDs go out.
Temperature distribution
The heating action in the seat cushion and
backrest can be distributed in different ways.
On the Control Display:
1."Climate"2."Front seat heating"3.Select the required seat.4.Turn the controller to set the temperature
distribution.
Active seat ventilation, front
The seat cushion and backrest surfaces are
cooled by means of integrated fans.
The ventilation cools the seat, e. g., if the vehi‐
cle interior is overheated or for continuous
cooling at high temperatures.
Switching on
Press button once for each ventilation
level.
The highest level is active when three LEDs
are lit.
After a short time, the system automatically
moves down one level in order to prevent ex‐
cessive cooling.
Switch off Press button longer.
The LEDs go out.
Rear seats General information The switches for adjusting the seats are lo‐
cated on the center armrest of the rear seats.
Center armrest
When folding down the center armrest,
ensure that the area below the center head re‐
straint is clear. Otherwise, injury may result.◀
Seite 59AdjustingControls59
Online Edition for Part no. 01 40 2 956 056 - X/14
Page 66 of 257
Switch offPress button longer.
The LEDs go out.
Temperature distribution
The heating action in the seat cushion and
backrest can be distributed in different ways.
On the Control Display:1."Climate"2."Rear seat heating"3.Select the required seat.4.Turn the controller to set the temperature
distribution.
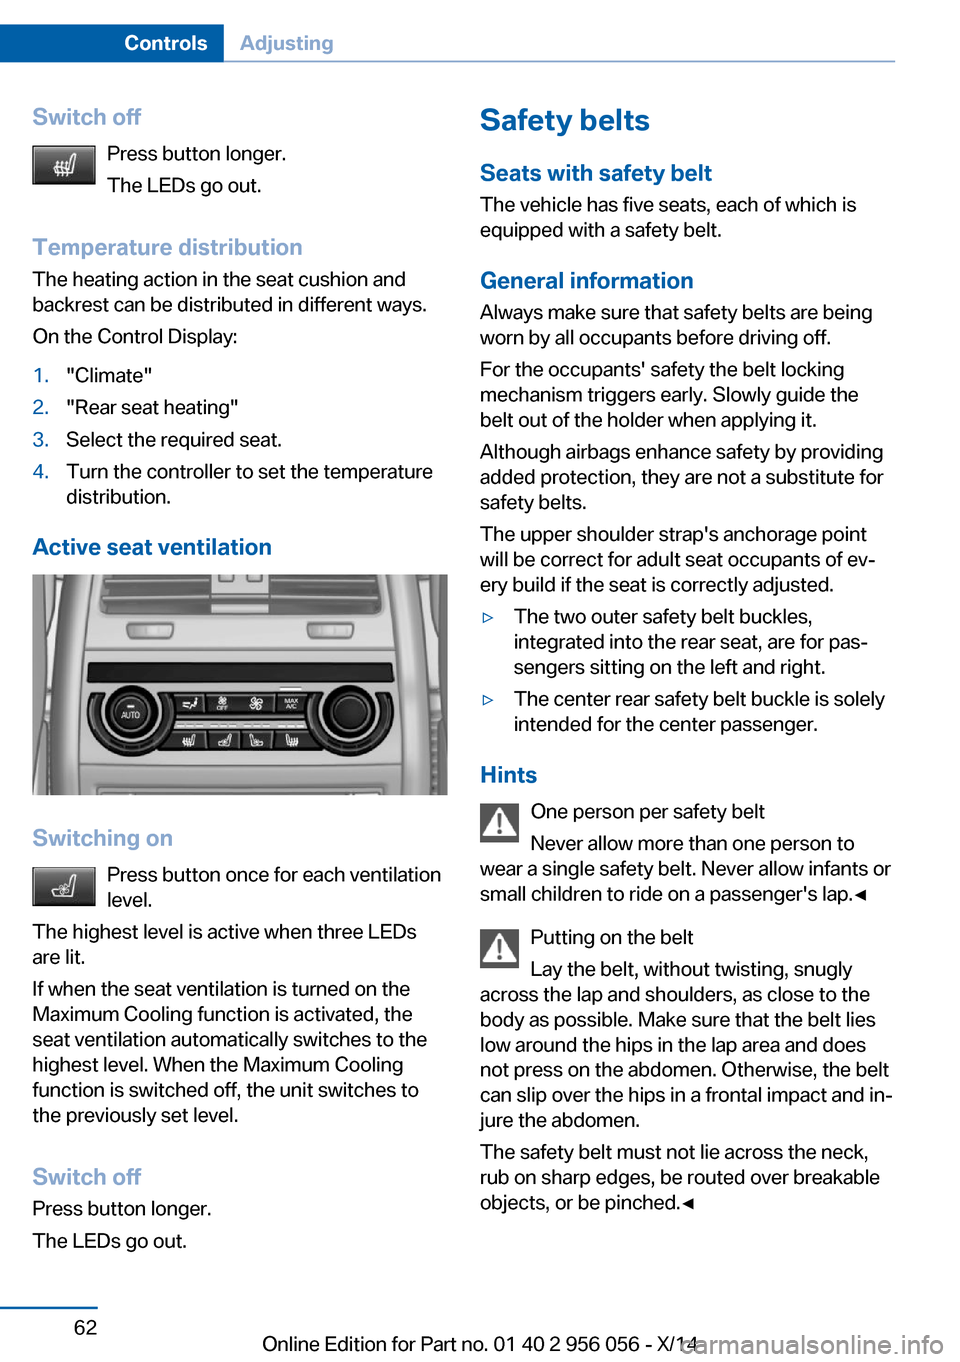
Active seat ventilation
Switching on
Press button once for each ventilation
level.
The highest level is active when three LEDs
are lit.
If when the seat ventilation is turned on the
Maximum Cooling function is activated, the
seat ventilation automatically switches to the
highest level. When the Maximum Cooling
function is switched off, the unit switches to
the previously set level.
Switch off Press button longer.
The LEDs go out.
Safety belts
Seats with safety belt
The vehicle has five seats, each of which is
equipped with a safety belt.
General information
Always make sure that safety belts are being
worn by all occupants before driving off.
For the occupants' safety the belt locking
mechanism triggers early. Slowly guide the
belt out of the holder when applying it.
Although airbags enhance safety by providing
added protection, they are not a substitute for
safety belts.
The upper shoulder strap's anchorage point
will be correct for adult seat occupants of ev‐
ery build if the seat is correctly adjusted.▷The two outer safety belt buckles,
integrated into the rear seat, are for pas‐
sengers sitting on the left and right.▷The center rear safety belt buckle is solely
intended for the center passenger.
Hints
One person per safety belt
Never allow more than one person to
wear a single safety belt. Never allow infants or
small children to ride on a passenger's lap.◀
Putting on the belt
Lay the belt, without twisting, snugly
across the lap and shoulders, as close to the
body as possible. Make sure that the belt lies
low around the hips in the lap area and does
not press on the abdomen. Otherwise, the belt
can slip over the hips in a frontal impact and in‐
jure the abdomen.
The safety belt must not lie across the neck,
rub on sharp edges, be routed over breakable
objects, or be pinched.◀
Seite 62ControlsAdjusting62
Online Edition for Part no. 01 40 2 956 056 - X/14
Page 80 of 257
▷When locking the vehicle, and when the
low beams are activated.▷Shortly before the battery is discharged
completely, so that the engine can still be
started. This function is only available
when the low beams are turned off.▷When opening and closing the driver door,
if the driver's safety belt is unbuckled and
the low beams are turned off.▷While the driver's safety belt is unbuckled
with driver's door open and low beams off.
The low beams reel to parking lights after ap‐
prox. 15 minutes of no use.
When the ignition is switched off automatically
by opening or closing the driver's door, un‐
buckling the driver's safety belt or by the auto‐
matic switching of the low beams to parking
lights, the radio-ready state remains active.
Drive readiness
When drive readiness is activated, the vehicle
is operational. Activated drive readiness is the
equivalent of a running engine in conventional
vehicles. Deactivated engine readiness is
equivalent to switching the ignition off.
Drive readiness in detail
The concept
The following are the different drive readiness
variants:
▷Electric drive readiness, Silent Start, refer
to page 76
The vehicle is powered by the electric mo‐
tor.▷Starting the combustion engine, refer to
page 76
The vehicle is powered by the combustion
engine.Hints
Do not leave the vehicle unattended
Do not leave the vehicle unattended with
drive readiness active; otherwise, it may pose a
risk.◀
Awareness of vehicle reduced when
driven in electric mode
When driving in electric mode, note that due to
the lack of engine noise pedestrians and other traffic might pay less attention to the vehicle
due to missing engine noises. Please take spe‐
cial care when parking or leaving a parking
space.◀
Activating drive readiness1.Close the driver's door.2.Depress the brake pedal.3.Press the Start/Stop button.
Drive readiness is activated:
▷Electric drive readiness, Silent Start or▷Starting the combustion engine.
Electric drive readiness, Silent Start The vehicle is ready for driving without starting
the combustion engine.
Silent Start is possible if the requirements for
Electric driving, refer to page 78, are met.
Display READY indicates drive readi‐
ness.
Starting the combustion engine Enclosed areas
Do not let the engine run in enclosed
areas, since breathing in exhaust fumes may
lead to loss of consciousness and death. The
exhaust gases contain carbon monoxide, an
odorless and colorless but highly toxic gas.◀
Seite 76ControlsDriving76
Online Edition for Part no. 01 40 2 956 056 - X/14
Page 82 of 257
▷High-voltage battery is heavily discharged
or vehicle electrical system is heavily bur‐
dened.▷High stress of the automatic climate con‐
trol in the heating or cooling phase.▷The engine compartment lid is unlocked.▷The vehicle is being optimized for the cur‐
rent driving style, for instance during the
break-in period or after a service appoint‐
ment.▷The hybrid system is malfunctioning.
Safety mode
An automatically stopped combustion engine
does not start independently when:
▷The driver's door is open and neither the
brake nor accelerator pedal are depressed.▷Unlocked hood.
The indicator lights come on. The combustion
engine can only be started via the Start/Stop
button.
Switching off the vehicle during an automatic engine stop
During an automatic engine stop, the vehicle
can be switched off permanently, e.g., when
leaving it.
1.Press the Start/Stop button.▷The ignition is switched off.▷The radio-ready state is activated.▷The Auto Start/Stop function is deacti‐
vated.▷Transmission position P is engaged
automatically.2.Set the parking brake.
Malfunction
The Auto Start/Stop function no longer
switches of the combustion engine automati‐
cally in the event of a malfunction. A message is displayed. It is possible to continue driving.
Have the system checked.
Electric driving: eDRIVE
Requirements Electric driving is possible:▷The high-voltage battery is sufficiently
charged.▷Transmission position D or R is set.▷The drive system is at operating tempera‐
ture.▷The accelerator pedal is only slightly de‐
pressed.▷The driver's door is closed.
Possible up to speed of approx. 35 mph, ap‐
prox. 60 km/h.
Possible cruising range
Depending on the charge of the high-voltage
battery, the vehicle can be driven using electric
power constantly for up to 2-2.5 miles/3-4 km.
CoastingThe combustion engine is automatically stop‐
ped and disengaged from the drive train. This
driving condition is referred to as coasting.
Requirements Coasting is possible:
▷The high-voltage battery is sufficiently
charged.▷Transmission position D or R is set.▷The drive system is at operating tempera‐
ture.▷The driver's door is closed.▷In COMFORT mode: when rolling at
speeds exceeding 35 mph, approx.
60 km/h or when braking at speeds above
50 mph, approx. 80 km/h.▷In ECO PRO: mode, when coasting, with‐
out operating the brake, at speeds below
100 mph, approx. 160 km/h.Seite 78ControlsDriving78
Online Edition for Part no. 01 40 2 956 056 - X/14
Page 83 of 257
After the coasting, the combustion or electric
motor restarts depending on the operating
state.
Driving with combustion
engine: DRIVE
The combustion engine provides the primary
performance to move the vehicle. If necessary,
the high-voltage battery is charged at the
same time.
Automatic start while driving The combustion engine is automatically
started under the following conditions while
driving:▷Transmission position M/S is set.▷The speed for electric driving is exceeded
while accelerating.▷The high-voltage battery has an insuffi‐
cient charge.▷High-voltage battery is completely
charged, e.g., when driving downhill.▷During intense accelerations or on inclines.▷System-related requirement for hybrid
components.▷Adapting to the course of the road when
destination guidance is activated.
Automatic parking while driving
When reducing speed, the combustion engine
is switched off when the conditions for electric
driving, refer to page 78, are met.
Assistance for the
combustion engine
The combustion engine provides the primary
performance to move the vehicle.
The electric motor provides assistance as
needed with additional propulsive power.
ASSIST
During normal vehicle operation, the electric
motor assists the combustion engine, depend‐
ing on the situation.
eBOOST
Accelerating quickly, such as when passing,
requires the maximum available power from
the electric motor. To do this, apply extra force
to the accelerator pedal.
Energy recovery: CHARGEThe hybrid system makes it possible to con‐
vert kinetic energy into electrical power when
braking and coasting. This recovered energy
charges the high-voltage battery. If necessary,
this stored electrical energy is output to the
electric motor.
The following conditions must be met to re‐
cover kinetic energy:▷The vehicle is moving.▷Transmission position D, M/S is set.▷The high-voltage battery is not fully
charged.
Energy recovery displays in the instrument
cluster, refer to page 92.
Parking brake
The concept The parking brake is used to prevent the vehi‐
cle from rolling when it is parked.
Seite 79DrivingControls79
Online Edition for Part no. 01 40 2 956 056 - X/14
Page 84 of 257
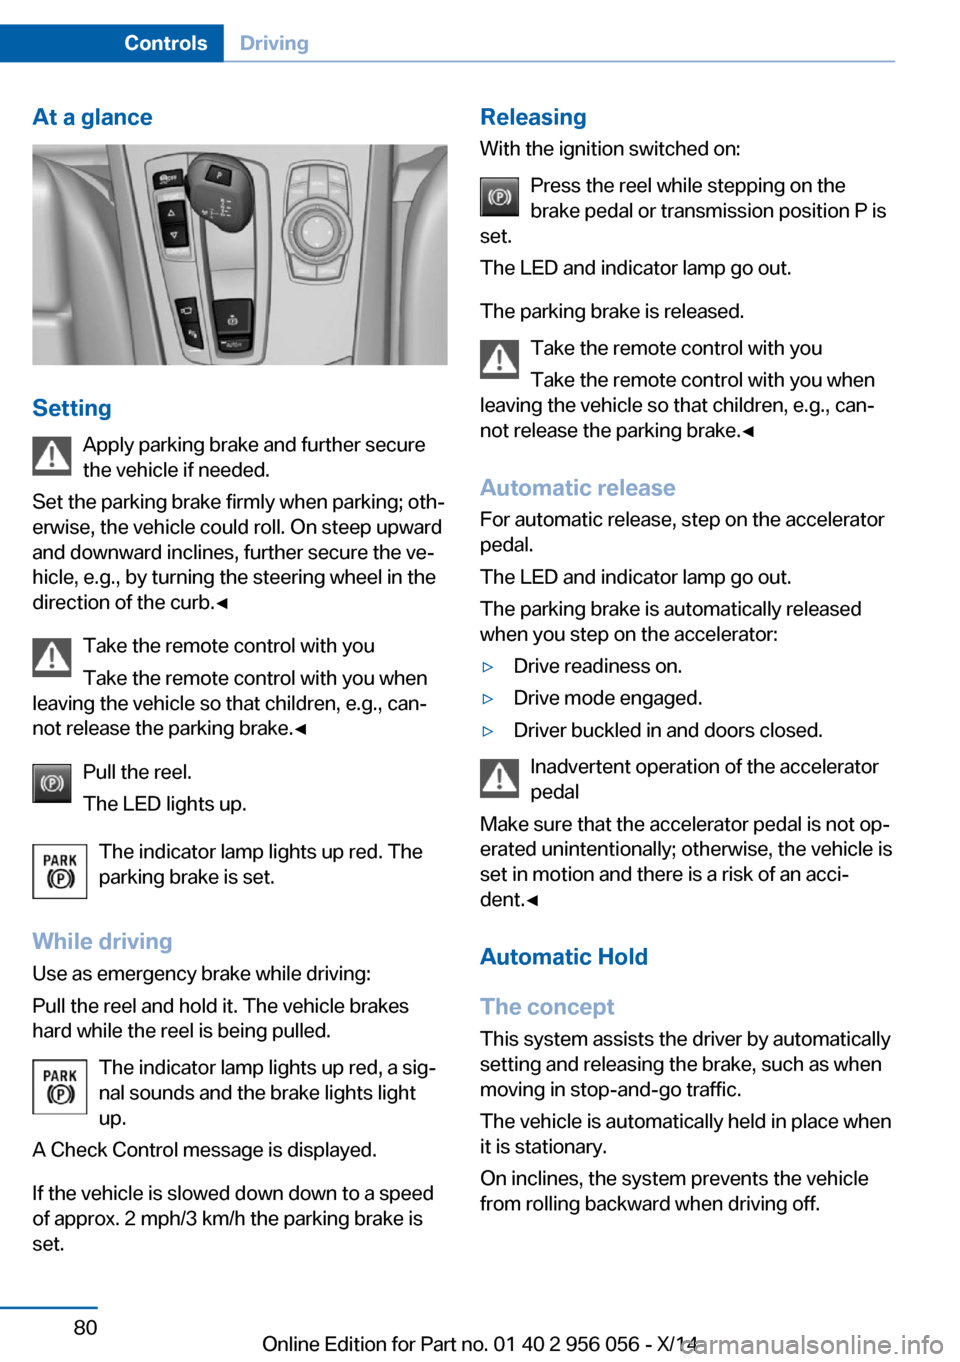
At a glance
SettingApply parking brake and further secure
the vehicle if needed.
Set the parking brake firmly when parking; oth‐
erwise, the vehicle could roll. On steep upward
and downward inclines, further secure the ve‐
hicle, e.g., by turning the steering wheel in the
direction of the curb.◀
Take the remote control with you
Take the remote control with you when
leaving the vehicle so that children, e.g., can‐
not release the parking brake.◀
Pull the reel.
The LED lights up.
The indicator lamp lights up red. The
parking brake is set.
While driving
Use as emergency brake while driving:
Pull the reel and hold it. The vehicle brakes
hard while the reel is being pulled.
The indicator lamp lights up red, a sig‐
nal sounds and the brake lights light
up.
A Check Control message is displayed.
If the vehicle is slowed down down to a speed of approx. 2 mph/3 km/h the parking brake is
set.
Releasing
With the ignition switched on:
Press the reel while stepping on the
brake pedal or transmission position P is
set.
The LED and indicator lamp go out.
The parking brake is released. Take the remote control with you
Take the remote control with you when
leaving the vehicle so that children, e.g., can‐
not release the parking brake.◀
Automatic release For automatic release, step on the accelerator
pedal.
The LED and indicator lamp go out.
The parking brake is automatically released
when you step on the accelerator:▷Drive readiness on.▷Drive mode engaged.▷Driver buckled in and doors closed.
Inadvertent operation of the accelerator
pedal
Make sure that the accelerator pedal is not op‐
erated unintentionally; otherwise, the vehicle is
set in motion and there is a risk of an acci‐
dent.◀
Automatic Hold
The concept This system assists the driver by automatically
setting and releasing the brake, such as when
moving in stop-and-go traffic.
The vehicle is automatically held in place when
it is stationary.
On inclines, the system prevents the vehicle
from rolling backward when driving off.
Seite 80ControlsDriving80
Online Edition for Part no. 01 40 2 956 056 - X/14
Page 87 of 257
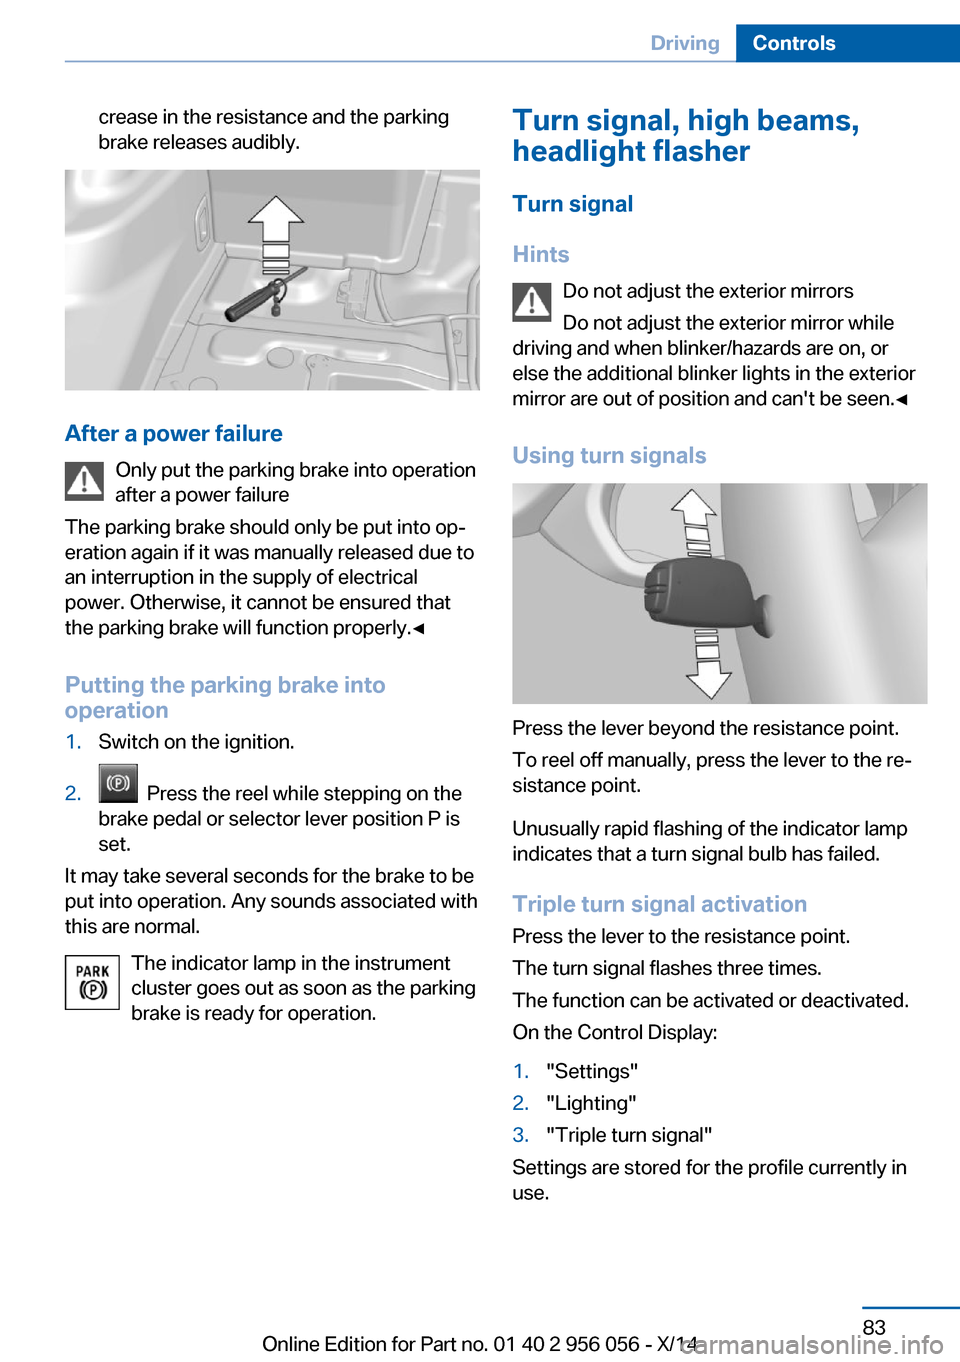
crease in the resistance and the parking
brake releases audibly.
After a power failure
Only put the parking brake into operation
after a power failure
The parking brake should only be put into op‐
eration again if it was manually released due to
an interruption in the supply of electrical
power. Otherwise, it cannot be ensured that
the parking brake will function properly.◀
Putting the parking brake into
operation
1.Switch on the ignition.2. Press the reel while stepping on the
brake pedal or selector lever position P is
set.
It may take several seconds for the brake to be
put into operation. Any sounds associated with
this are normal.
The indicator lamp in the instrument
cluster goes out as soon as the parking
brake is ready for operation.
Turn signal, high beams,
headlight flasher
Turn signal
Hints Do not adjust the exterior mirrors
Do not adjust the exterior mirror while
driving and when blinker/hazards are on, or
else the additional blinker lights in the exterior
mirror are out of position and can't be seen.◀
Using turn signals
Press the lever beyond the resistance point.
To reel off manually, press the lever to the re‐
sistance point.
Unusually rapid flashing of the indicator lamp
indicates that a turn signal bulb has failed.
Triple turn signal activation Press the lever to the resistance point.
The turn signal flashes three times.
The function can be activated or deactivated.
On the Control Display:
1."Settings"2."Lighting"3."Triple turn signal"
Settings are stored for the profile currently in
use.
Seite 83DrivingControls83
Online Edition for Part no. 01 40 2 956 056 - X/14
Page 92 of 257
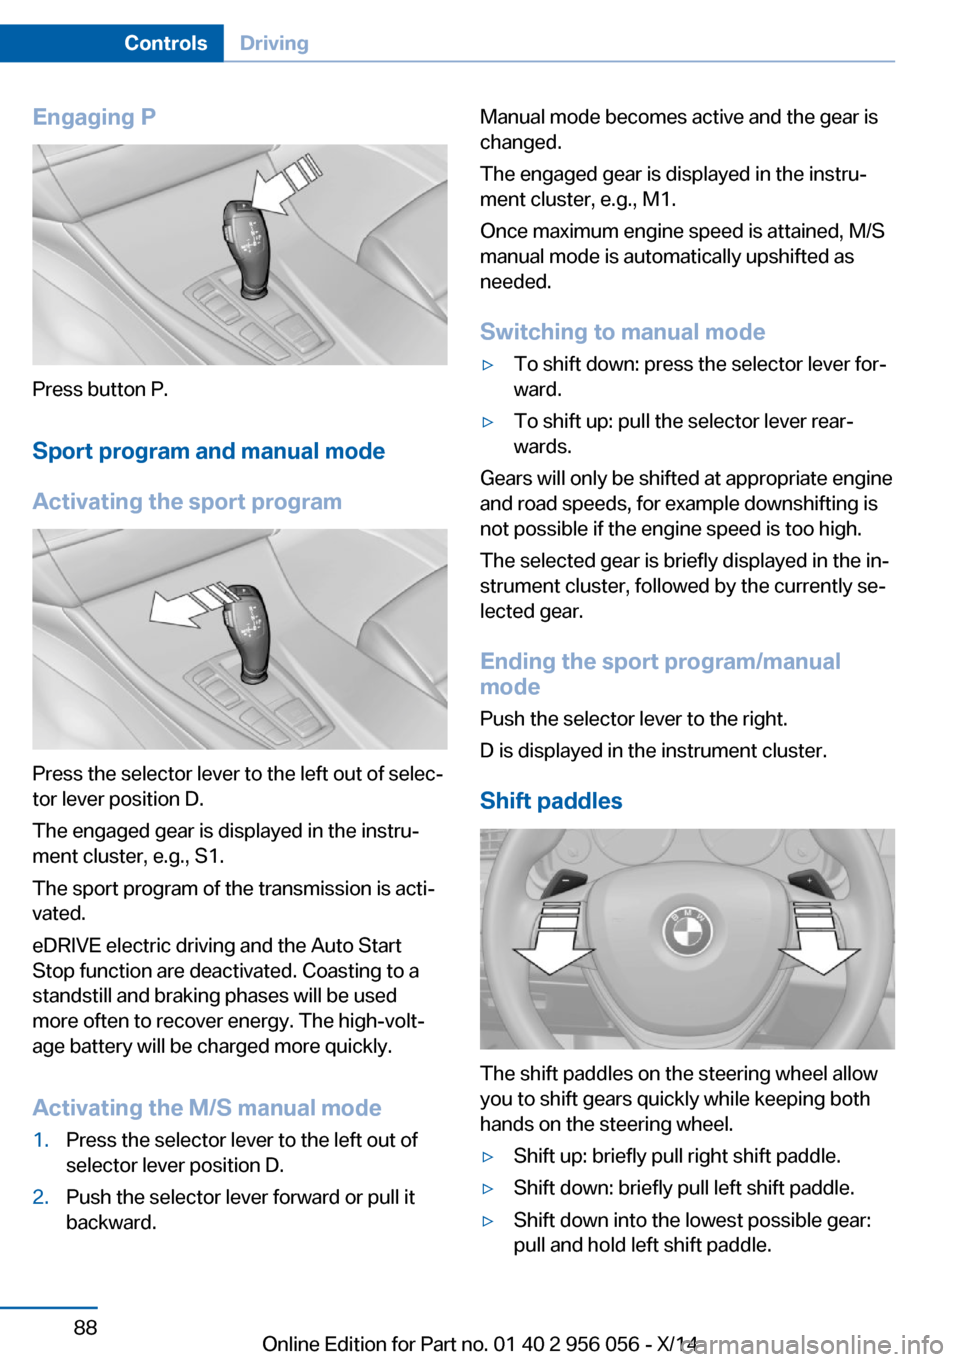
Engaging P
Press button P.Sport program and manual mode
Activating the sport program
Press the selector lever to the left out of selec‐
tor lever position D.
The engaged gear is displayed in the instru‐
ment cluster, e.g., S1.
The sport program of the transmission is acti‐
vated.
eDRIVE electric driving and the Auto Start
Stop function are deactivated. Coasting to a
standstill and braking phases will be used
more often to recover energy. The high-volt‐
age battery will be charged more quickly.
Activating the M/S manual mode
1.Press the selector lever to the left out of
selector lever position D.2.Push the selector lever forward or pull it
backward.Manual mode becomes active and the gear is
changed.
The engaged gear is displayed in the instru‐
ment cluster, e.g., M1.
Once maximum engine speed is attained, M/S
manual mode is automatically upshifted as
needed.
Switching to manual mode▷To shift down: press the selector lever for‐
ward.▷To shift up: pull the selector lever rear‐
wards.
Gears will only be shifted at appropriate engine
and road speeds, for example downshifting is
not possible if the engine speed is too high.
The selected gear is briefly displayed in the in‐
strument cluster, followed by the currently se‐
lected gear.
Ending the sport program/manual
mode
Push the selector lever to the right.
D is displayed in the instrument cluster.
Shift paddles
The shift paddles on the steering wheel allow
you to shift gears quickly while keeping both
hands on the steering wheel.
▷Shift up: briefly pull right shift paddle.▷Shift down: briefly pull left shift paddle.▷Shift down into the lowest possible gear:
pull and hold left shift paddle.Seite 88ControlsDriving88
Online Edition for Part no. 01 40 2 956 056 - X/14