child lock BMW ACTIVE HYBRID 7 2015 F01H Owner's Manual
[x] Cancel search | Manufacturer: BMW, Model Year: 2015, Model line: ACTIVE HYBRID 7, Model: BMW ACTIVE HYBRID 7 2015 F01HPages: 262, PDF Size: 5.34 MB
Page 56 of 262
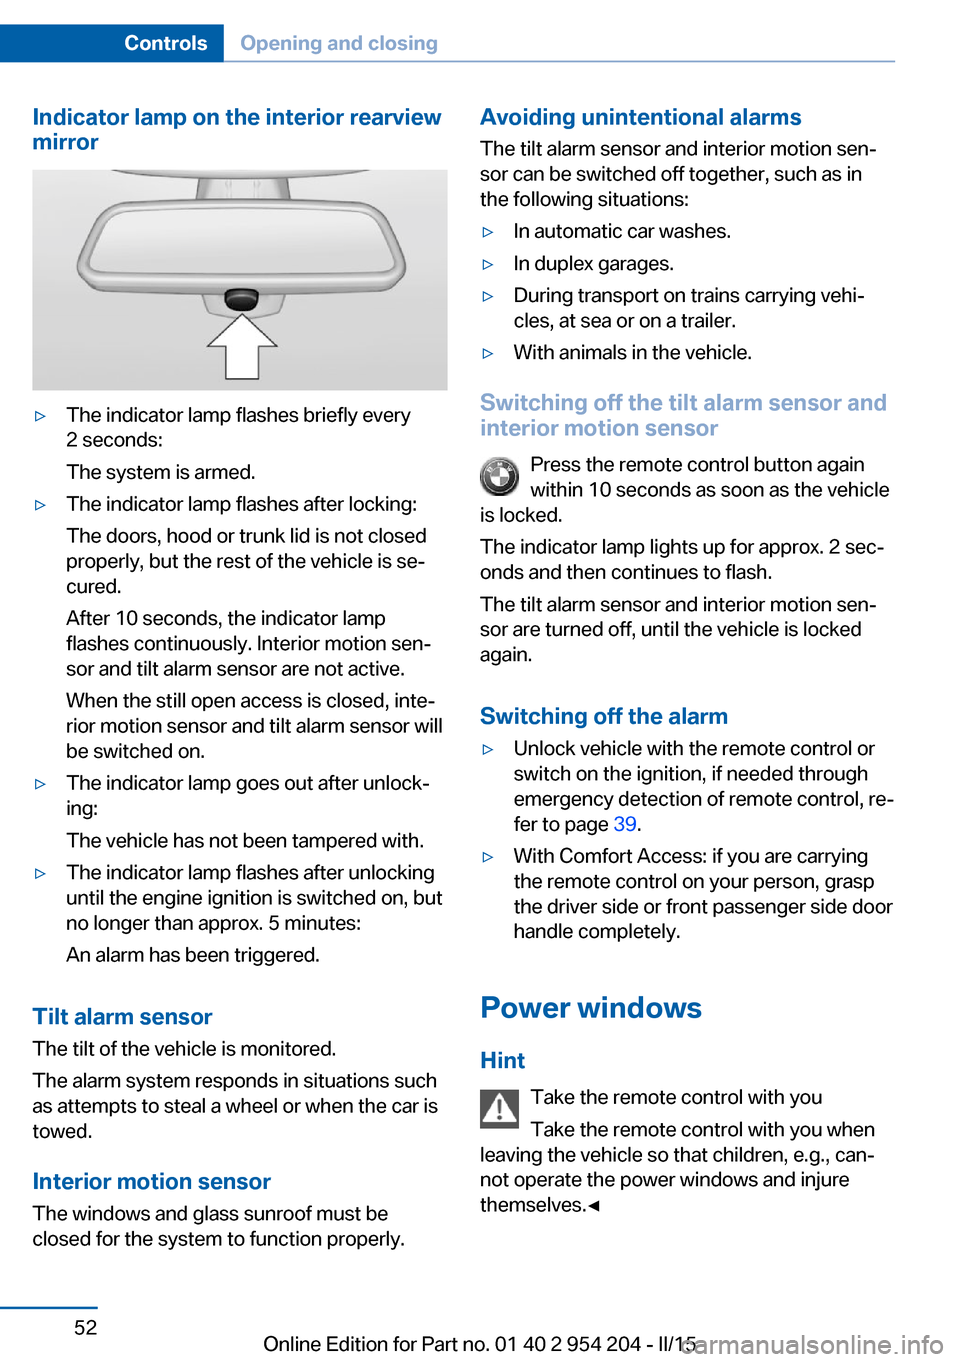
Indicator lamp on the interior rearview
mirror▷The indicator lamp flashes briefly every
2 seconds:
The system is armed.▷The indicator lamp flashes after locking:
The doors, hood or trunk lid is not closed
properly, but the rest of the vehicle is se‐
cured.
After 10 seconds, the indicator lamp
flashes continuously. Interior motion sen‐
sor and tilt alarm sensor are not active.
When the still open access is closed, inte‐
rior motion sensor and tilt alarm sensor will
be switched on.▷The indicator lamp goes out after unlock‐
ing:
The vehicle has not been tampered with.▷The indicator lamp flashes after unlocking
until the engine ignition is switched on, but
no longer than approx. 5 minutes:
An alarm has been triggered.
Tilt alarm sensor The tilt of the vehicle is monitored.
The alarm system responds in situations such
as attempts to steal a wheel or when the car is
towed.
Interior motion sensor The windows and glass sunroof must be
closed for the system to function properly.
Avoiding unintentional alarms
The tilt alarm sensor and interior motion sen‐
sor can be switched off together, such as in
the following situations:▷In automatic car washes.▷In duplex garages.▷During transport on trains carrying vehi‐
cles, at sea or on a trailer.▷With animals in the vehicle.
Switching off the tilt alarm sensor and
interior motion sensor
Press the remote control button again
within 10 seconds as soon as the vehicle
is locked.
The indicator lamp lights up for approx. 2 sec‐
onds and then continues to flash.
The tilt alarm sensor and interior motion sen‐
sor are turned off, until the vehicle is locked again.
Switching off the alarm
▷Unlock vehicle with the remote control or
switch on the ignition, if needed through
emergency detection of remote control, re‐
fer to page 39.▷With Comfort Access: if you are carrying
the remote control on your person, grasp
the driver side or front passenger side door
handle completely.
Power windows
Hint Take the remote control with you
Take the remote control with you when
leaving the vehicle so that children, e.g., can‐
not operate the power windows and injure
themselves.◀
Seite 52ControlsOpening and closing52
Online Edition for Part no. 01 40 2 954 204 - II/15
Page 58 of 262
▷Operation of the roller sunblinds using the
switches in the rear.▷Adjustment of the power rear seats.▷Adjustment of the power head restraints in
the rear.
Switching on and off
Press button.
The LED lights up if the safety func‐
tion is switched on.
Safety switch for rear operation
Press the safety switch when transport‐
ing children in the rear; otherwise, injury may
result if the windows are closed without super‐
vision.◀
Roller sunblinds
General information
The safety switch in the driver's door can be
used to prevent children, e. g., from operating
the roller sunblinds using the switches in the
rear.
Press the safety switch in the driver's door.
The LED lights up if the safety function is
switched on.
If you are no longer able to move the roller sun‐
blinds after having activated them consecu‐
tively a number of times, the system is blocked
for a limited time to prevent overheating. Let
the system cool.
The roller sunblinds cannot be moved at low
interior temperatures.
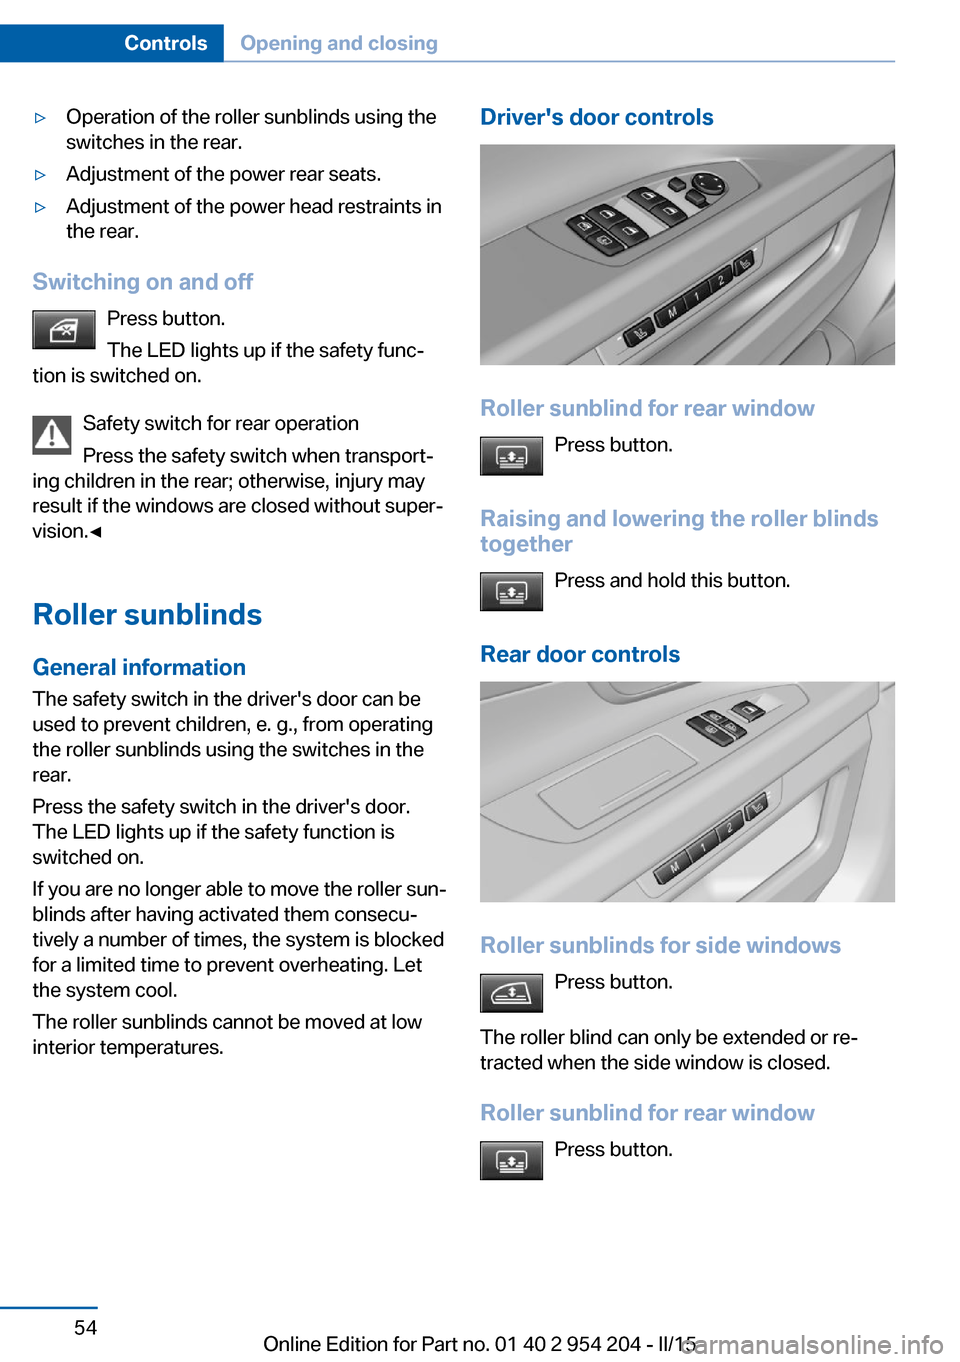
Driver's door controls
Roller sunblind for rear window
Press button.
Raising and lowering the roller blinds
together
Press and hold this button.
Rear door controls
Roller sunblinds for side windows Press button.
The roller blind can only be extended or re‐
tracted when the side window is closed.
Roller sunblind for rear window Press button.
Seite 54ControlsOpening and closing54
Online Edition for Part no. 01 40 2 954 204 - II/15
Page 67 of 262
Switch offPress button longer.
The LEDs go out.
Temperature distribution
The heating action in the seat cushion and
backrest can be distributed in different ways.
On the Control Display:1."Climate"2."Rear seat heating"3.Select the required seat.4.Turn the controller to set the temperature
distribution.
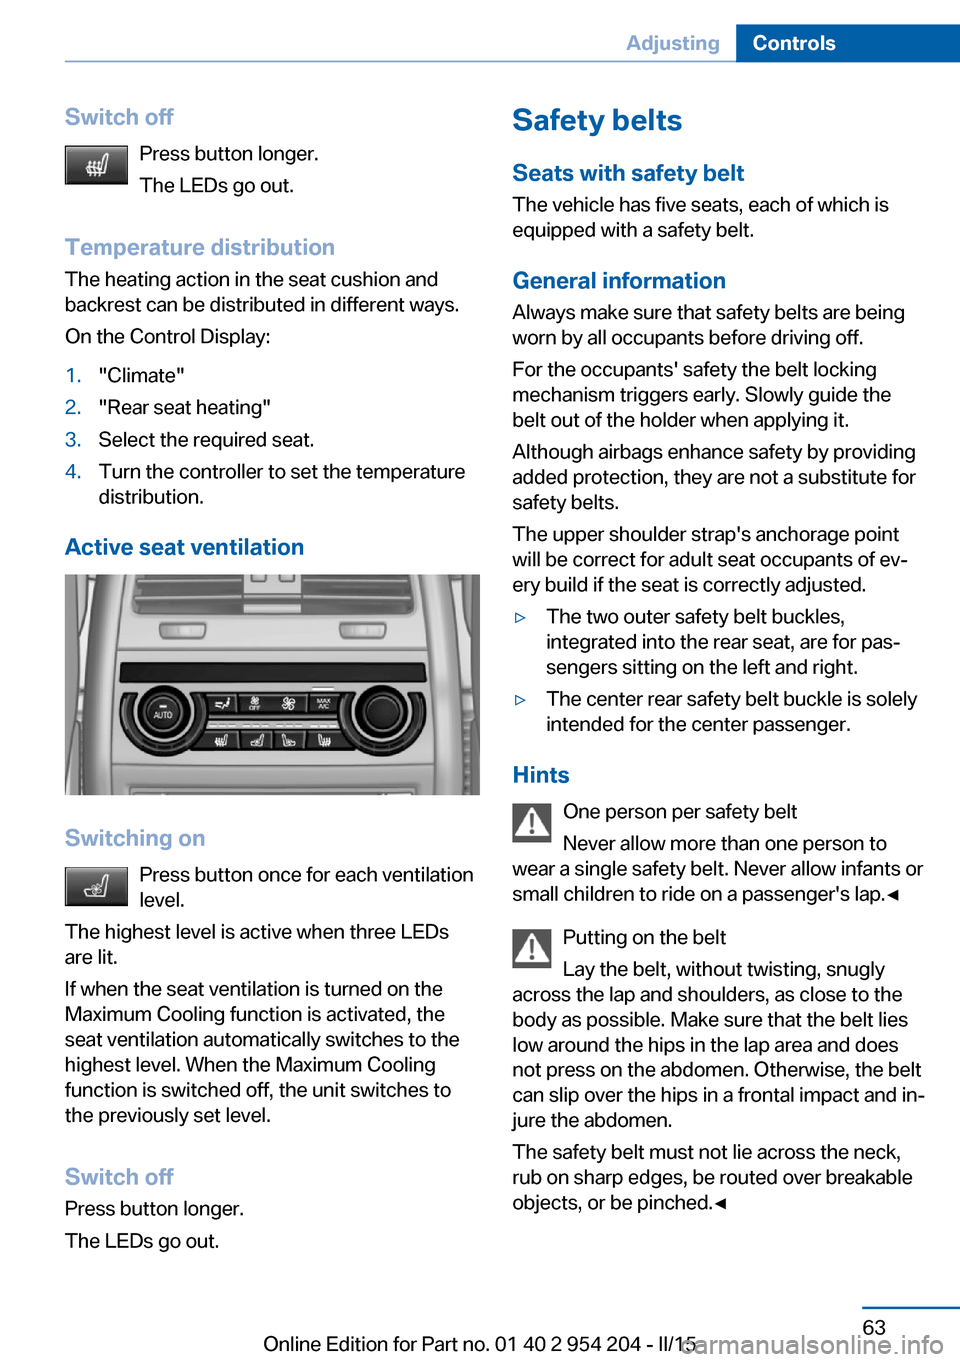
Active seat ventilation
Switching on
Press button once for each ventilation
level.
The highest level is active when three LEDs
are lit.
If when the seat ventilation is turned on the
Maximum Cooling function is activated, the
seat ventilation automatically switches to the
highest level. When the Maximum Cooling
function is switched off, the unit switches to
the previously set level.
Switch off Press button longer.
The LEDs go out.
Safety belts
Seats with safety belt
The vehicle has five seats, each of which is
equipped with a safety belt.
General information
Always make sure that safety belts are being
worn by all occupants before driving off.
For the occupants' safety the belt locking
mechanism triggers early. Slowly guide the
belt out of the holder when applying it.
Although airbags enhance safety by providing
added protection, they are not a substitute for
safety belts.
The upper shoulder strap's anchorage point
will be correct for adult seat occupants of ev‐
ery build if the seat is correctly adjusted.▷The two outer safety belt buckles,
integrated into the rear seat, are for pas‐
sengers sitting on the left and right.▷The center rear safety belt buckle is solely
intended for the center passenger.
Hints
One person per safety belt
Never allow more than one person to
wear a single safety belt. Never allow infants or
small children to ride on a passenger's lap.◀
Putting on the belt
Lay the belt, without twisting, snugly
across the lap and shoulders, as close to the
body as possible. Make sure that the belt lies
low around the hips in the lap area and does
not press on the abdomen. Otherwise, the belt
can slip over the hips in a frontal impact and in‐
jure the abdomen.
The safety belt must not lie across the neck,
rub on sharp edges, be routed over breakable
objects, or be pinched.◀
Seite 63AdjustingControls63
Online Edition for Part no. 01 40 2 954 204 - II/15
Page 76 of 262
Transporting children safelyVehicle features and optionsThis chapter describes all standard, country-
specific and optional features offered with the
series. It also describes features that are not
necessarily available in your car, e. g., due tothe selected options or country versions. This
also applies to safety-related functions and
systems. The respectively applicable country
provisions must be observed when using the
respective features and systems.
The right place for children
Note
Children in the vehicle
Do not leave children unattended in the
vehicle; otherwise, they could endanger them‐
selves and other persons, e.g., by opening the
doors.◀
Children should always be in the rear Accident research shows that the safest place
for children is in the back seat.
Transporting children in the rear
Only transport children younger than
13 years of age or shorter than 5 ft/150 cm in
the rear in child restraint systems provided in
accordance with the age, weight and size of
the child; otherwise, there is an increased risk
of injury in an accident.
Children 13 years of age or older must wear a
safety belt as soon as a suitable child restraint
system can no longer be used due to their age,
weight and size.◀
Children on the front passenger seat
Should it ever be necessary to use a child re‐
straint system in the front passenger seat,
make sure that the front, knee and side airbags
on the front passenger side are deactivated.
Automatic deactivation of front-seat passen‐
ger airbags, refer to page 115.Note
Deactivating the front-seat passenger
airbags
If a child restraint system is used in the front
passenger seat, deactivate the front-seat pas‐
senger airbags; otherwise, there is an in‐
creased risk of injury to the child when the air‐
bags are activated, even with a child restraint
system.◀
Installing child restraint
systems
Hints Manufacturer's information for child re‐straint systems
To select, mount and use child restraint sys‐
tems, observe the information provided by the
system manufacturer; otherwise, the protec‐
tive effect can be lost.◀
Ensuring the stability of the child seat
When installing child restraint systems,
make sure that the child seat is securely fas‐
tened to the backrest of the seat. Angle and
headrest of the backrest might need to be ad‐
justed or possibly be removed. Make sure that
all backrests are securely locked. Otherwise
the stability of the child seat can be affected,
and there is an increased risk of injury becauseSeite 72ControlsTransporting children safely72
Online Edition for Part no. 01 40 2 954 204 - II/15
Page 77 of 262
of unexpected movement of the seat back‐
rest.◀
On the front passenger seat
Deactivating airbags Deactivating the front-seat passenger
airbags
If a child restraint system is used in the front
passenger seat, deactivate the front-seat pas‐
senger airbags; otherwise, there is an in‐
creased risk of injury to the child when the air‐
bags are activated, even with a child restraint
system.◀
After installing a child restraint system in the
front passenger seat, make sure that the front,
knee and side airbags on the front passenger
side are deactivated.
Deactivate the front-seat passenger airbags automatically, refer to page 115.
Seat position and height
Before installing a child restraint system, move
the front passenger seat as far back as possi‐
ble and bring it up to medium height to obtain
the best possible position for the belt and to
offer optimal protection in the event of an acci‐
dent.
If the upper anchorage of the safety belt is lo‐
cated in front of the belt guide of the child seat,
move the passenger seat carefully forward un‐
til the best possible belt guide position is
reached.
Backrest width Backrest width for the child seat
Before installing a child restraint system
in the front passenger seat, the backrest width
must be opened completely. Do not changethe adjustment after this; otherwise, the stabil‐
ity of the child seat will be reduced.◀
Adjustable backrest width: before installing a
child restraint system in the front passenger
seat, open the backrest width completely. Do
not change the backrest width again and do
not call up a memory position.
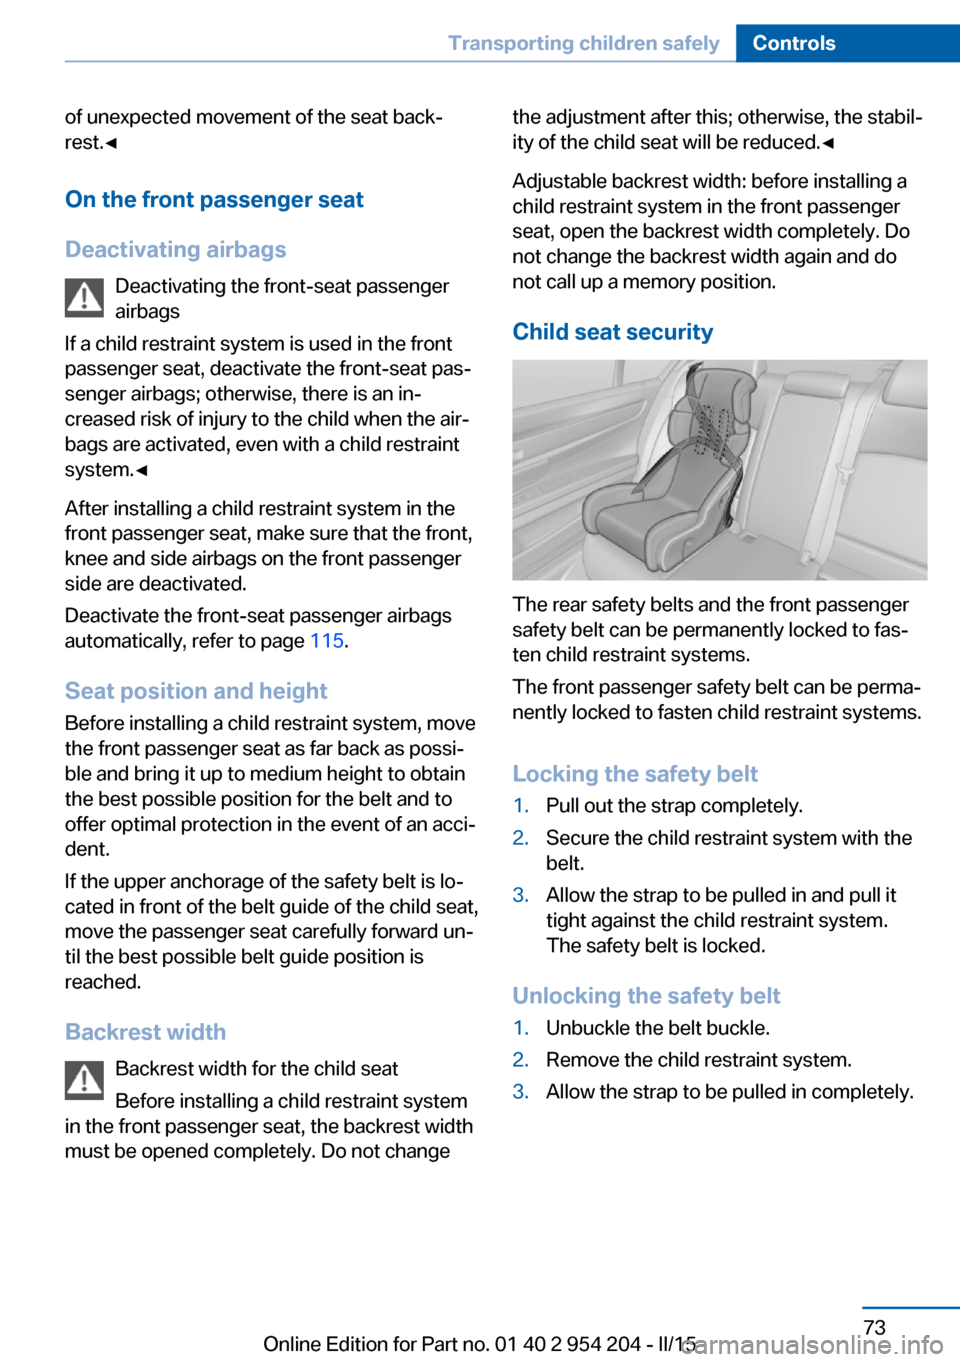
Child seat security
The rear safety belts and the front passenger
safety belt can be permanently locked to fas‐
ten child restraint systems.
The front passenger safety belt can be perma‐
nently locked to fasten child restraint systems.
Locking the safety belt
1.Pull out the strap completely.2.Secure the child restraint system with the
belt.3.Allow the strap to be pulled in and pull it
tight against the child restraint system.
The safety belt is locked.
Unlocking the safety belt
1.Unbuckle the belt buckle.2.Remove the child restraint system.3.Allow the strap to be pulled in completely.Seite 73Transporting children safelyControls73
Online Edition for Part no. 01 40 2 954 204 - II/15
Page 79 of 262
NoteMounting eyelets
Use the mounting eyes only for the up‐
per retaining strap to secure child restraint
systems; otherwise, the mounting eyes could
be damaged.◀
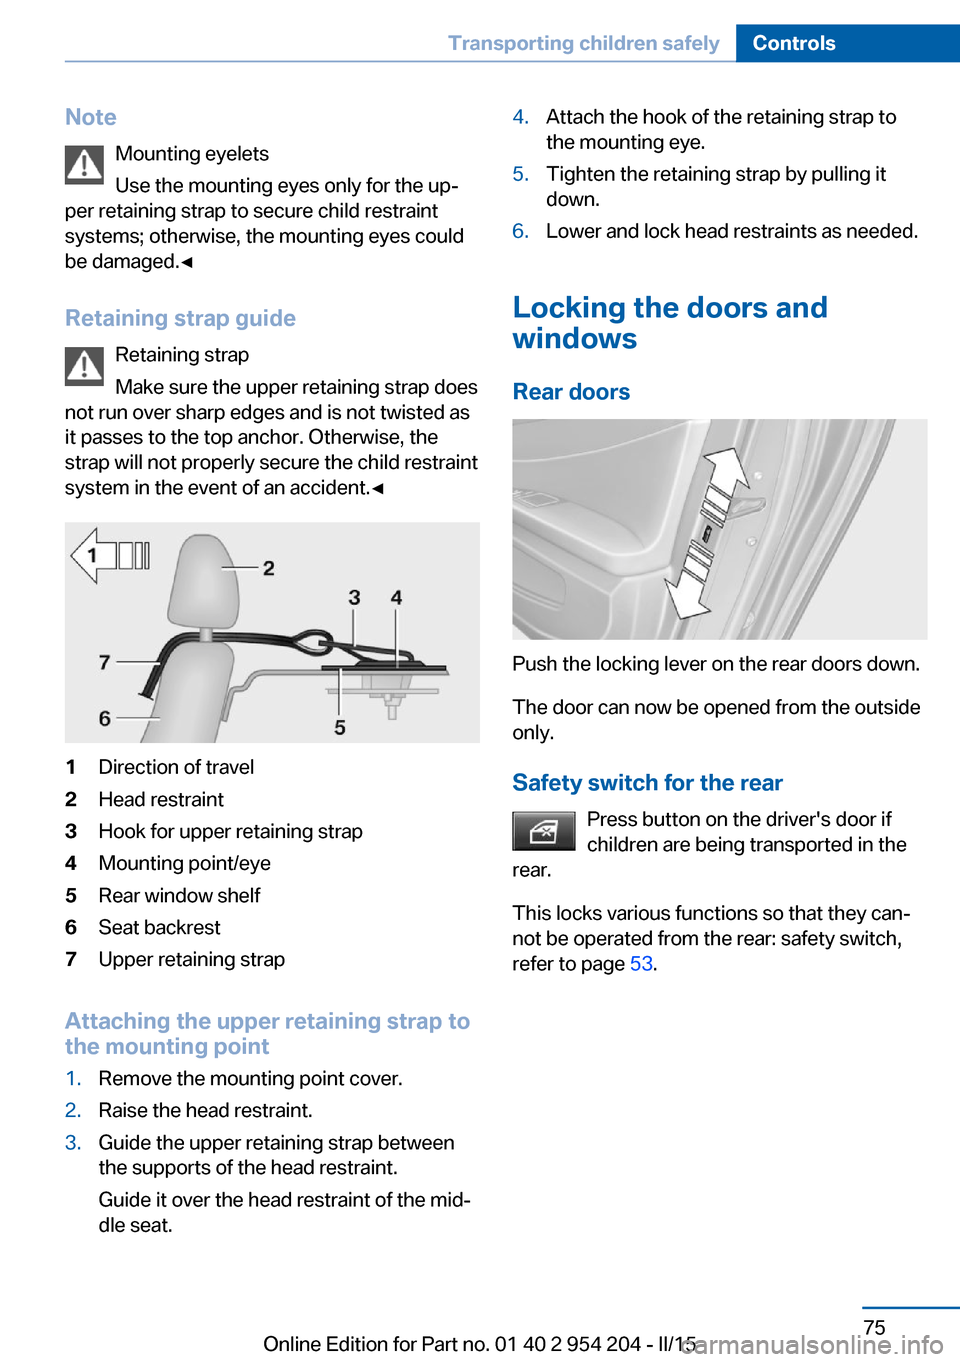
Retaining strap guide Retaining strap
Make sure the upper retaining strap does
not run over sharp edges and is not twisted as
it passes to the top anchor. Otherwise, the
strap will not properly secure the child restraint
system in the event of an accident.◀1Direction of travel2Head restraint3Hook for upper retaining strap4Mounting point/eye5Rear window shelf6Seat backrest7Upper retaining strap
Attaching the upper retaining strap to
the mounting point
1.Remove the mounting point cover.2.Raise the head restraint.3.Guide the upper retaining strap between
the supports of the head restraint.
Guide it over the head restraint of the mid‐
dle seat.4.Attach the hook of the retaining strap to
the mounting eye.5.Tighten the retaining strap by pulling it
down.6.Lower and lock head restraints as needed.
Locking the doors and
windows
Rear doors
Push the locking lever on the rear doors down.
The door can now be opened from the outside
only.
Safety switch for the rear Press button on the driver's door if
children are being transported in the
rear.
This locks various functions so that they can‐
not be operated from the rear: safety switch,
refer to page 53.
Seite 75Transporting children safelyControls75
Online Edition for Part no. 01 40 2 954 204 - II/15
Page 81 of 262
▷When locking the vehicle, and when the
low beams are activated.▷Shortly before the battery is discharged
completely, so that the engine can still be
started. This function is only available
when the low beams are turned off.▷When opening and closing the driver door,
if the driver's safety belt is unbuckled and
the low beams are turned off.▷While the driver's safety belt is unbuckled
with driver's door open and low beams off.
The low beams switch to parking lights after
approx. 15 minutes of no use.
When the ignition is switched off automatically
by opening or closing the driver's door, un‐
buckling the driver's safety belt or by the auto‐
matic switching of the low beams to parking
lights, the radio-ready state remains active.
Drive readiness
When drive readiness is activated, the vehicle
is operational. Activated drive readiness is the
equivalent of a running engine in conventional
vehicles. Deactivated engine readiness is
equivalent to switching the ignition off.
Drive readiness in detail
The concept
The following are the different drive readiness
variants:
▷Electric drive readiness, Silent Start, refer
to page 77
The vehicle is powered by the electric mo‐
tor.▷Starting the combustion engine, refer to
page 78
The vehicle is powered by the combustion
engine.Hints
Awareness of vehicle reduced when
driven in electric mode
When driving in electric mode, note that due to
the lack of engine noise pedestrians and other traffic might pay less attention to the vehicle
due to missing engine noises. Please take spe‐
cial care when parking or leaving a parking
space.◀
Do not leave the vehicle unattended
Do not leave the vehicle unattended with
drive readiness active; otherwise, it may pose a
risk.◀
Take the remote control with you
Take the remote control with you when
leaving the vehicle so that children, e.g., can‐
not start the engine.◀
Apply parking brake and further secure
the vehicle if needed.
Set the parking brake firmly when parking; oth‐
erwise, the vehicle could roll. On steep upward
and downward inclines, further secure the ve‐
hicle, e.g., by turning the steering wheel in the
direction of the curb.◀
Activating drive readiness1.Close the driver's door.2.Depress the brake pedal.3.Press the Start/Stop button.
Drive readiness is activated:
▷Electric drive readiness, Silent Start or▷Starting the combustion engine.
Electric drive readiness, Silent Start The vehicle is ready for driving without starting
the combustion engine.
Silent Start is possible if the requirements for
Electric driving, refer to page 79, are met.
Seite 77DrivingControls77
Online Edition for Part no. 01 40 2 954 204 - II/15
Page 87 of 262
Take the remote control with you
Take the remote control with you when
leaving the vehicle so that children, e.g., can‐
not release the parking brake.◀
Malfunction
In the event of a failure or malfunction of the
parking brake, secure the vehicle against roll‐
ing using a wheel chock, e.g., when leaving it.
Manual release Before releasing, secure the vehicle
against rolling
Before releasing the parking brake manually,
and whenever you park the vehicle with the
parking brake released, ensure that position P
of the Steptronic transmission is set.
Secure the vehicle in a manner appropriate to
the inclination of the road, e.g., with a wheel
chock; otherwise, there is a danger of an acci‐
dent and injuries if the vehicle rolls uninten‐
tionally.◀
The parking brake can be released manually in
the event of a power failure or electrical fault.
Unlocking Have the malfunction corrected
If the parking brake has been released
manually in response to a malfunction, only
technicians can return it to operation.
Have the malfunction corrected by your serv‐
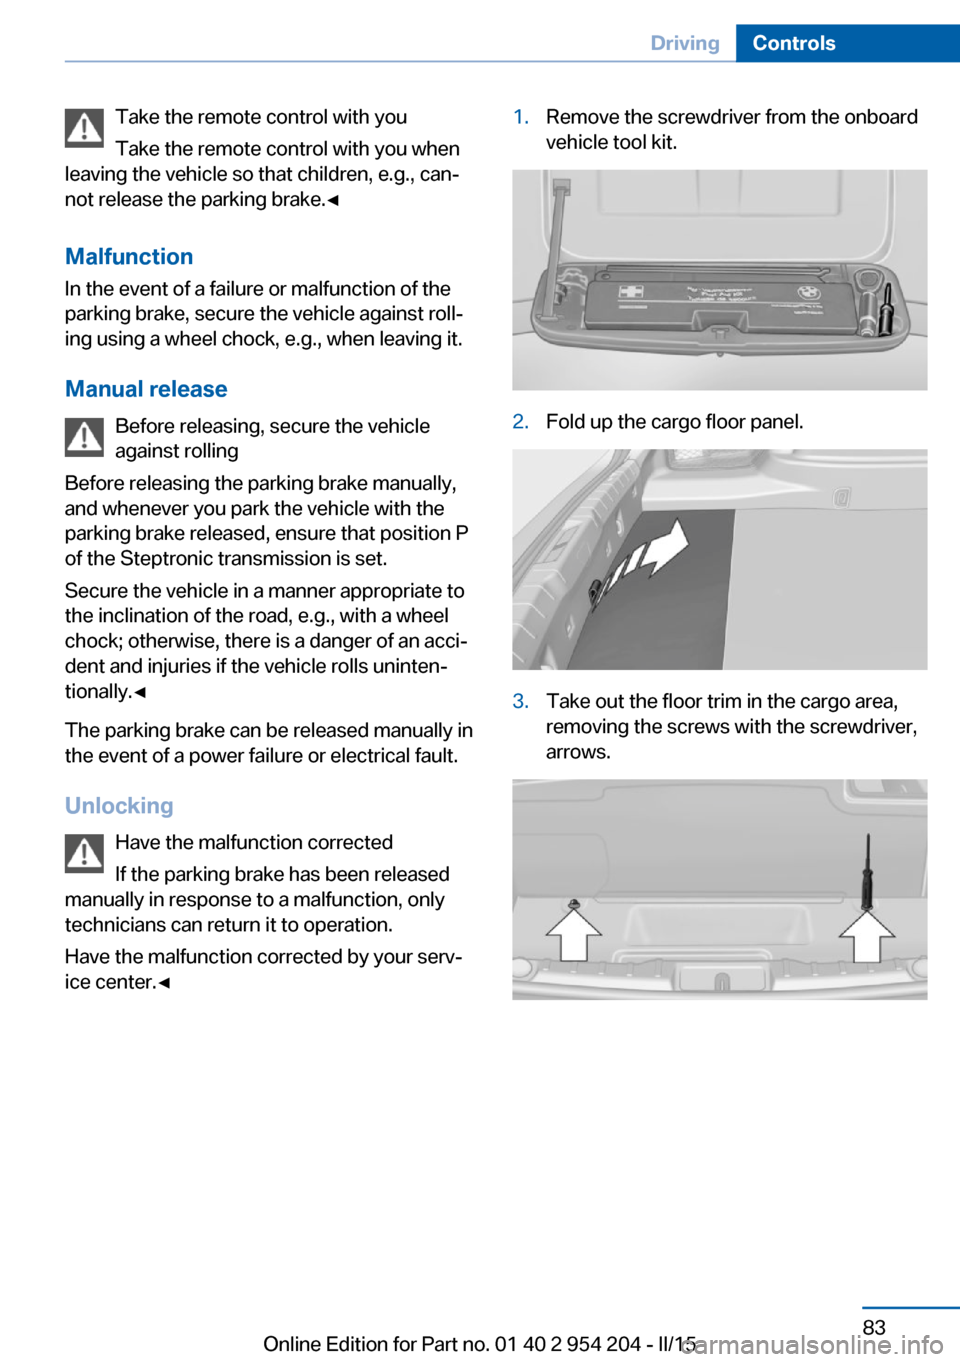
ice center.◀1.Remove the screwdriver from the onboard
vehicle tool kit.2.Fold up the cargo floor panel.3.Take out the floor trim in the cargo area,
removing the screws with the screwdriver,
arrows.Seite 83DrivingControls83
Online Edition for Part no. 01 40 2 954 204 - II/15
Page 251 of 262
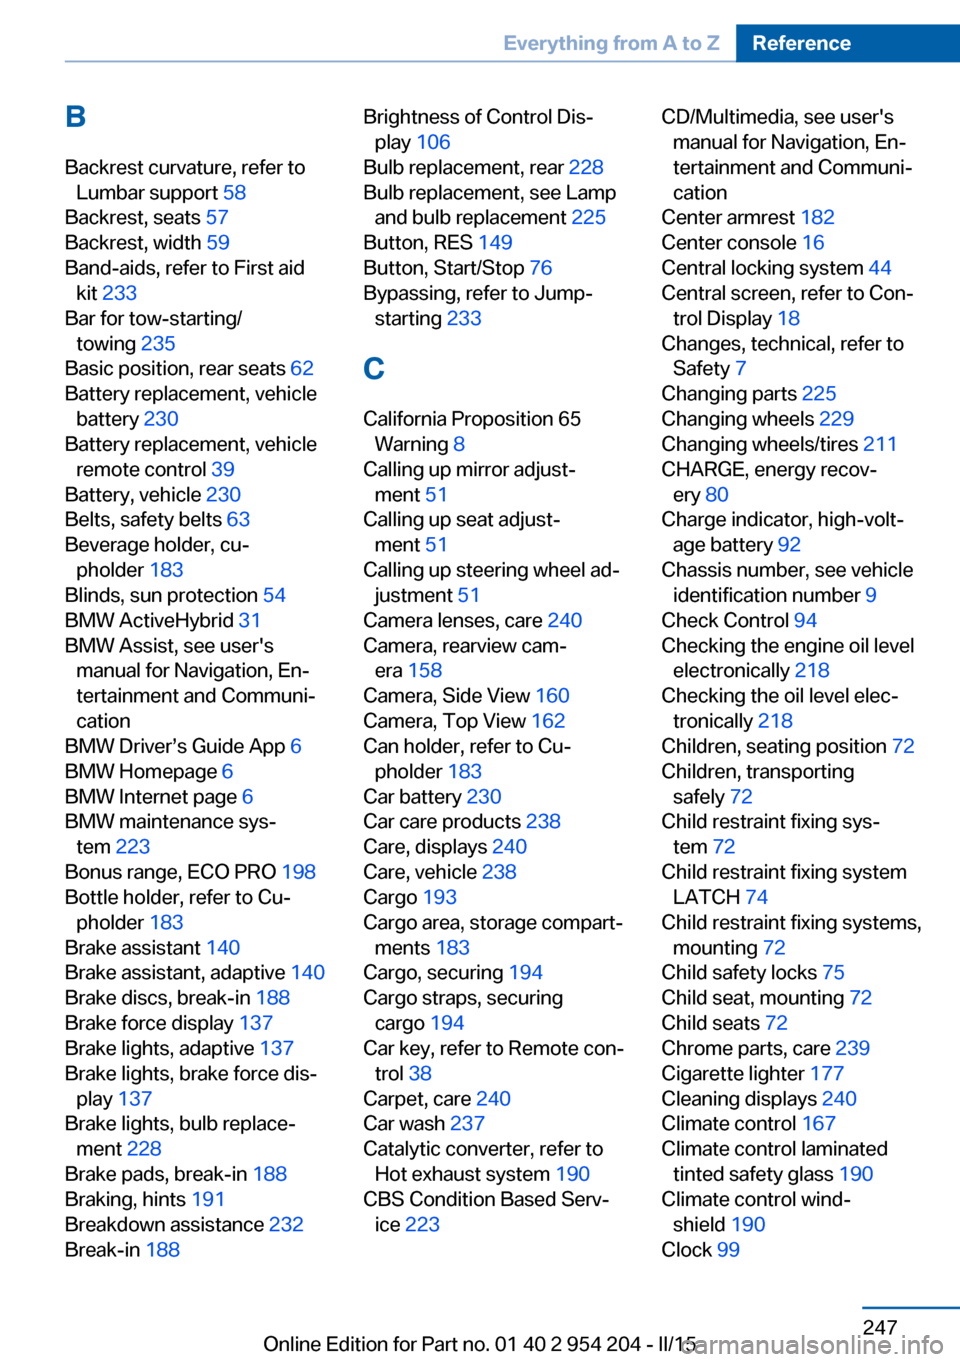
BBackrest curvature, refer to Lumbar support 58
Backrest, seats 57
Backrest, width 59
Band-aids, refer to First aid kit 233
Bar for tow-starting/ towing 235
Basic position, rear seats 62
Battery replacement, vehicle battery 230
Battery replacement, vehicle remote control 39
Battery, vehicle 230
Belts, safety belts 63
Beverage holder, cu‐ pholder 183
Blinds, sun protection 54
BMW ActiveHybrid 31
BMW Assist, see user's manual for Navigation, En‐
tertainment and Communi‐
cation
BMW Driver’s Guide App 6
BMW Homepage 6
BMW Internet page 6
BMW maintenance sys‐ tem 223
Bonus range, ECO PRO 198
Bottle holder, refer to Cu‐ pholder 183
Brake assistant 140
Brake assistant, adaptive 140
Brake discs, break-in 188
Brake force display 137
Brake lights, adaptive 137
Brake lights, brake force dis‐ play 137
Brake lights, bulb replace‐ ment 228
Brake pads, break-in 188
Braking, hints 191
Breakdown assistance 232
Break-in 188 Brightness of Control Dis‐
play 106
Bulb replacement, rear 228
Bulb replacement, see Lamp and bulb replacement 225
Button, RES 149
Button, Start/Stop 76
Bypassing, refer to Jump- starting 233
C
California Proposition 65 Warning 8
Calling up mirror adjust‐ ment 51
Calling up seat adjust‐ ment 51
Calling up steering wheel ad‐ justment 51
Camera lenses, care 240
Camera, rearview cam‐ era 158
Camera, Side View 160
Camera, Top View 162
Can holder, refer to Cu‐ pholder 183
Car battery 230
Car care products 238
Care, displays 240
Care, vehicle 238
Cargo 193
Cargo area, storage compart‐ ments 183
Cargo, securing 194
Cargo straps, securing cargo 194
Car key, refer to Remote con‐ trol 38
Carpet, care 240
Car wash 237
Catalytic converter, refer to Hot exhaust system 190
CBS Condition Based Serv‐ ice 223 CD/Multimedia, see user's
manual for Navigation, En‐
tertainment and Communi‐
cation
Center armrest 182
Center console 16
Central locking system 44
Central screen, refer to Con‐ trol Display 18
Changes, technical, refer to Safety 7
Changing parts 225
Changing wheels 229
Changing wheels/tires 211
CHARGE, energy recov‐ ery 80
Charge indicator, high-volt‐ age battery 92
Chassis number, see vehicle identification number 9
Check Control 94
Checking the engine oil level electronically 218
Checking the oil level elec‐ tronically 218
Children, seating position 72
Children, transporting safely 72
Child restraint fixing sys‐ tem 72
Child restraint fixing system LATCH 74
Child restraint fixing systems, mounting 72
Child safety locks 75
Child seat, mounting 72
Child seats 72
Chrome parts, care 239
Cigarette lighter 177
Cleaning displays 240
Climate control 167
Climate control laminated tinted safety glass 190
Climate control wind‐ shield 190
Clock 99 Seite 247Everything from A to ZReference247
Online Edition for Part no. 01 40 2 954 204 - II/15
Page 255 of 262
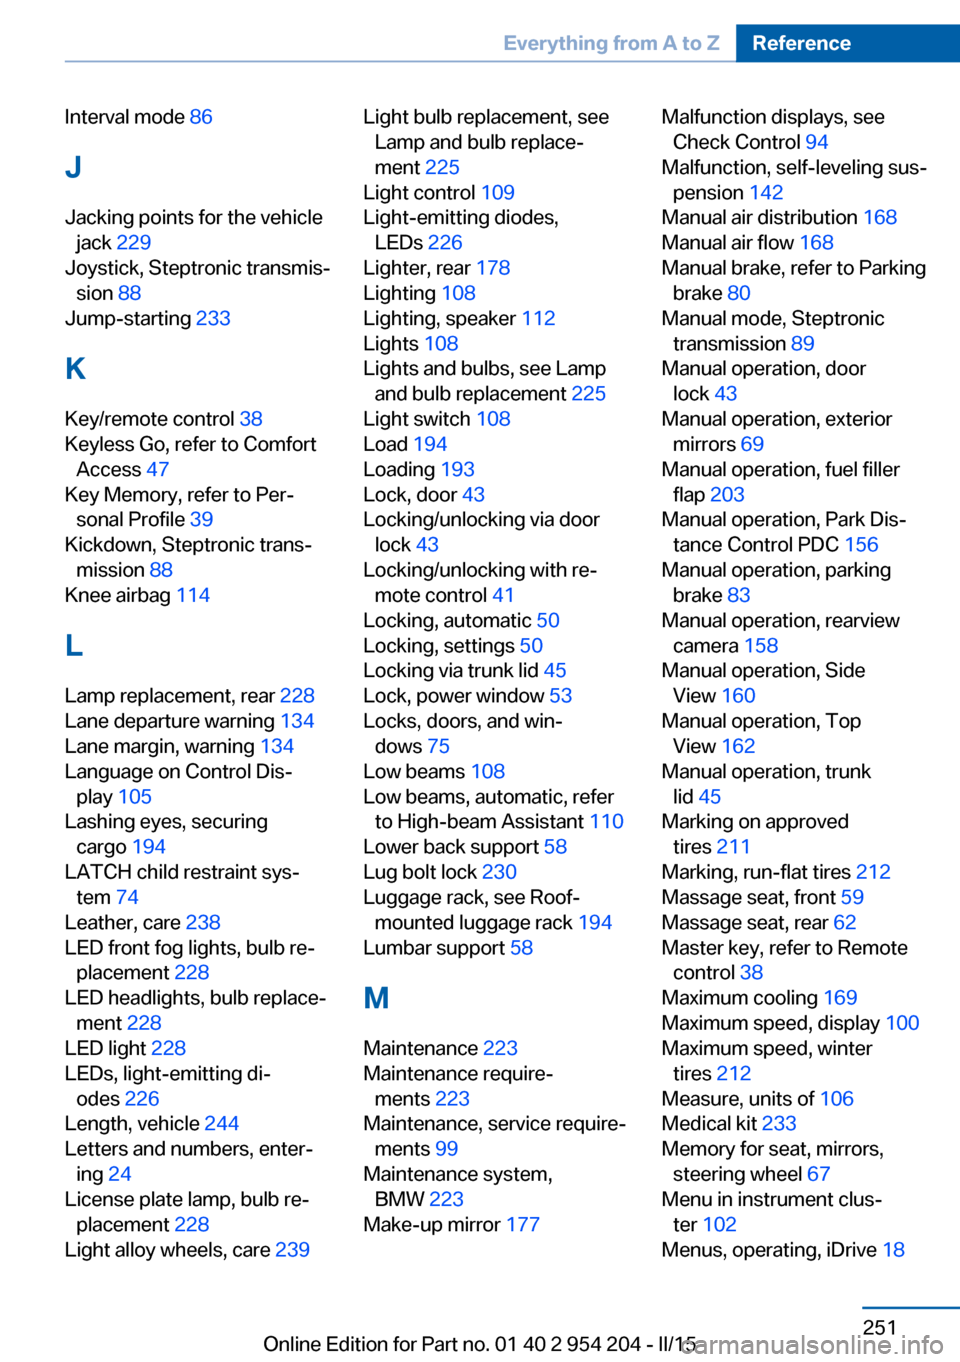
Interval mode 86
J Jacking points for the vehicle jack 229
Joystick, Steptronic transmis‐ sion 88
Jump-starting 233
K
Key/remote control 38
Keyless Go, refer to Comfort Access 47
Key Memory, refer to Per‐ sonal Profile 39
Kickdown, Steptronic trans‐ mission 88
Knee airbag 114
L Lamp replacement, rear 228
Lane departure warning 134
Lane margin, warning 134
Language on Control Dis‐ play 105
Lashing eyes, securing cargo 194
LATCH child restraint sys‐ tem 74
Leather, care 238
LED front fog lights, bulb re‐ placement 228
LED headlights, bulb replace‐ ment 228
LED light 228
LEDs, light-emitting di‐ odes 226
Length, vehicle 244
Letters and numbers, enter‐ ing 24
License plate lamp, bulb re‐ placement 228
Light alloy wheels, care 239 Light bulb replacement, see
Lamp and bulb replace‐
ment 225
Light control 109
Light-emitting diodes, LEDs 226
Lighter, rear 178
Lighting 108
Lighting, speaker 112
Lights 108
Lights and bulbs, see Lamp and bulb replacement 225
Light switch 108
Load 194
Loading 193
Lock, door 43
Locking/unlocking via door lock 43
Locking/unlocking with re‐ mote control 41
Locking, automatic 50
Locking, settings 50
Locking via trunk lid 45
Lock, power window 53
Locks, doors, and win‐ dows 75
Low beams 108
Low beams, automatic, refer to High-beam Assistant 110
Lower back support 58
Lug bolt lock 230
Luggage rack, see Roof- mounted luggage rack 194
Lumbar support 58
M
Maintenance 223
Maintenance require‐ ments 223
Maintenance, service require‐ ments 99
Maintenance system, BMW 223
Make-up mirror 177 Malfunction displays, see
Check Control 94
Malfunction, self-leveling sus‐ pension 142
Manual air distribution 168
Manual air flow 168
Manual brake, refer to Parking brake 80
Manual mode, Steptronic transmission 89
Manual operation, door lock 43
Manual operation, exterior mirrors 69
Manual operation, fuel filler flap 203
Manual operation, Park Dis‐ tance Control PDC 156
Manual operation, parking brake 83
Manual operation, rearview camera 158
Manual operation, Side View 160
Manual operation, Top View 162
Manual operation, trunk lid 45
Marking on approved tires 211
Marking, run-flat tires 212
Massage seat, front 59
Massage seat, rear 62
Master key, refer to Remote control 38
Maximum cooling 169
Maximum speed, display 100
Maximum speed, winter tires 212
Measure, units of 106
Medical kit 233
Memory for seat, mirrors, steering wheel 67
Menu in instrument clus‐ ter 102
Menus, operating, iDrive 18 Seite 251Everything from A to ZReference251
Online Edition for Part no. 01 40 2 954 204 - II/15