brake light BMW ACTIVEHYBRID 5 2012 Owners Manual
[x] Cancel search | Manufacturer: BMW, Model Year: 2012, Model line: ACTIVEHYBRID 5, Model: BMW ACTIVEHYBRID 5 2012Pages: 319, PDF Size: 12.54 MB
Page 64 of 319
DrivingVehicle equipment
All standard, country-specific and optional
equipment that is offered in the model series is
described in this chapter. Therefore, equipment
is also described that is not available in a vehicle,
e. g., because of the selected optional equip‐
ment or country variant. This also applies for
safety-related functions and systems.
Start/Stop button, drive
readiness states
The concept The following ready states can be
attained by pressing the Start/
Stop button:▷Radio ready state on/off.▷Ignition on/off.▷Activating/deactivating drive readiness.
To activate drive readiness, press the brake
pedal.
Switching radio ready state on/off
The radio ready state is activated by pressing
the Start/Stop button in the following situations:
▷When the engine is running.▷When the engine is switched off automati‐
cally using the Auto Start/Stop function and
the brake is not applied.
Some electronic systems/power consumers re‐
main ready for operation.
Radio ready state is switched off automatically:
▷After approx. 8 minutes.▷When the vehicle is locked using the central
locking system.▷Shortly before the battery is discharged
completely, so that the engine can still be
started.
Ignition on
Press the Start/Stop button, and do not press on
the brake pedal at the same time.
All vehicle systems are ready for operation.
Most of the indicator and warning lamps in the
instrument cluster light up for varying lengths of
time.
To save battery power when the engine is off,
switch off the ignition and any unnecessary
electronic systems/power consumers.
The ignition is switched off automatically in the
following situations:
▷When locking the vehicle, if the low beams
are switched on.▷Shortly before the battery is discharged
completely, so that the engine can still be
started.▷If the engine is switched off and the ignition
is switched on, the system automatically
switches to the radio ready state when the
door is opened if the lights are switched off
or the daytime running lights are switched
on.
Ignition off
Press the Start/Stop button again, and do not
press on the brake pedal at the same time.
All indicator lamps in the instrument cluster go
out.
To save battery power when the engine is off,
switch off the ignition and any unnecessary
electronic systems/power consumers.
Seite 64ControlsDriving64
Online Edition for Part no. 01 40 2 900 579 - 03 12 490
Page 67 of 319
▷There are hybrid system faults.
Safety mode
The combustion engine does not start automat‐
ically in the following situations after an auto‐
matic engine stop:
▷When the driver's door is open and neither
the brake nor accelerator pedal are de‐
pressed.▷When the hood is unlocked.
The indicator lamps come on. The combustion
engine can only be started via the Start/Stop
button.
Switching off the vehicle during an
automatic engine stop
During an automatic engine stop, the vehicle
can be switched off permanently, e.g., when
leaving it.
1.Press the Start/Stop button. The ignition is
switched off. The Auto Start/Stop function
is deactivated.
Transmission position P is engaged auto‐
matically.2.Set the parking brake.
Malfunction
The Auto Start/Stop function no longer
switches of the engine automatically in the event
of a malfunction. A message is displayed. It is
possible to continue driving. Have the system
checked.
Electric driving: eDRIVE
Requirements
Electric driving is possible under the following
conditions:
▷The speed does not exceed 35 mph, approx.
60 km/h.▷The high-voltage battery is sufficiently
charged.▷Transmission position D or R is engaged.▷The drive system is at operating tempera‐
ture.▷The accelerator pedal is only slightly de‐
pressed.▷The driver's door is closed.
In addition, the combustion engine is switched
off during braking even below 50 mph, approx.
80 km/h or when coasting below 35 mph, ap‐
prox. 60 km/h.
In ECO PRO mode, already when coasting be‐
low 100 mph, approx. 160 km/h.
Possible cruising range
Depending on the charge of the high-voltage
battery, the vehicle can generally be driven us‐
ing electric power up to 2 miles, approx. 3.5 km.
Driving with the combustion
engine: DRIVE
The combustion engine provides the drive
power to propel the vehicle. The high-voltage
battery is charged at the same time.
Automatic start while driving
The combustion engine is automatically started
under the following conditions while driving:
▷Transmission position M/S is engaged.▷The speed does not exceed 35 mph, approx.
60 km/h.▷The high-voltage battery charge is insuffi‐
cient or it is fully charged, such as when driv‐
ing downhill.▷The required power output is increased,
such as due to the accelerator pedal position
or driving uphill.Seite 67DrivingControls67
Online Edition for Part no. 01 40 2 900 579 - 03 12 490
Page 68 of 319
Automatic stopping while driving
When reducing speed, the combustion engine
is switched off when the conditions for electric
driving, refer to page 67, are met.
Assistance for the
combustion engine
The combustion engine provides the primary
drive power to move the vehicle.
The electric motor provides assistance as
needed with additional propulsive power.
ASSIST
During normal vehicle operation, the electric
motor assists the combustion engine, depend‐
ing on the situation.
eBOOST
Accelerating quickly, such as when passing, re‐
quires the maximum available power from the
electric motor. To do this, apply extra force to
the accelerator pedal.
Energy recovery: CHARGE
The hybrid system makes it possible to convert
kinetic energy into electrical power, such as
when braking. This recovered energy charges
the high voltage battery. If necessary, this stored
power is output to the electric motor.
The following conditions must be met to recover
kinetic energy:▷The vehicle is moving.▷Selector lever position D, M/S is engaged.▷The high-voltage battery is not fully
charged.
Energy recovery displays in the instrument clus‐
ter, refer to page 81.
Parking brake
The concept
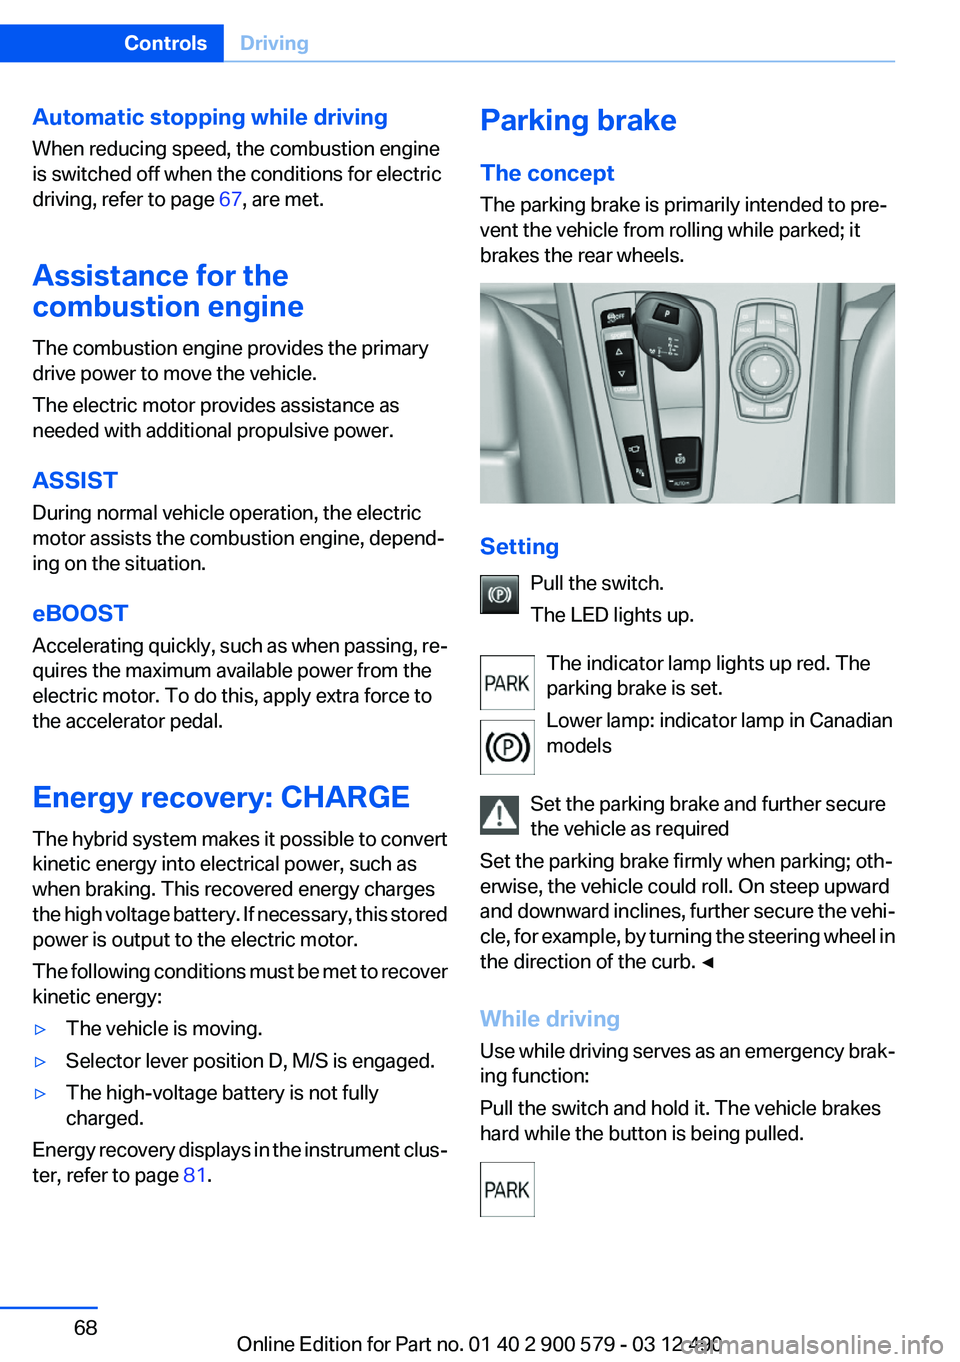
The parking brake is primarily intended to pre‐
vent the vehicle from rolling while parked; it
brakes the rear wheels.
Setting
Pull the switch.
The LED lights up.
The indicator lamp lights up red. The
parking brake is set.
Lower lamp: indicator lamp in Canadian
models
Set the parking brake and further secure
the vehicle as required
Set the parking brake firmly when parking; oth‐
erwise, the vehicle could roll. On steep upward
and downward inclines, further secure the vehi‐
cle, for example, by turning the steering wheel in
the direction of the curb. ◀
While driving
Use while driving serves as an emergency brak‐
ing function:
Pull the switch and hold it. The vehicle brakes
hard while the button is being pulled.
Seite 68ControlsDriving68
Online Edition for Part no. 01 40 2 900 579 - 03 12 490
Page 69 of 319
The indicator lamp lights up red, a signal
sounds and the brake lamps light up.
Lower lamp: indicator lamp in Canadian
models.
If the vehicle is braked to a speed of approx.
2 mph/3 km/h, the parking brake remains set.
Releasing
With the ignition switched on:
Automatic transmission: Press the switch
while the brake is pressed or transmission
position P is engaged.
The LED and indicator lamp go out.
The parking brake is released.
Automatic Release in cars with
automatic transmission
For automatic release, operate the accelerator
pedal.
The LED and indicator lamp go out.
Subject to the following requirements, the park‐
ing brake is automatically released by operation
of the accelerator pedal:▷Drive readiness on.▷Drive position engaged.▷Driver buckled in and doors closed.
Inadvertent operation of the accelerator
pedal
Make sure that the accelerator pedal is not op‐
erated unintentionally; otherwise, the vehicle is
set in motion and there is a risk of an accident. ◀
Automatic Hold
The concept
This system assists the driver by automatically
setting and releasing the brake, such as when
moving in stop-and-go traffic.
The vehicle is automatically held in place when
it is stationary.
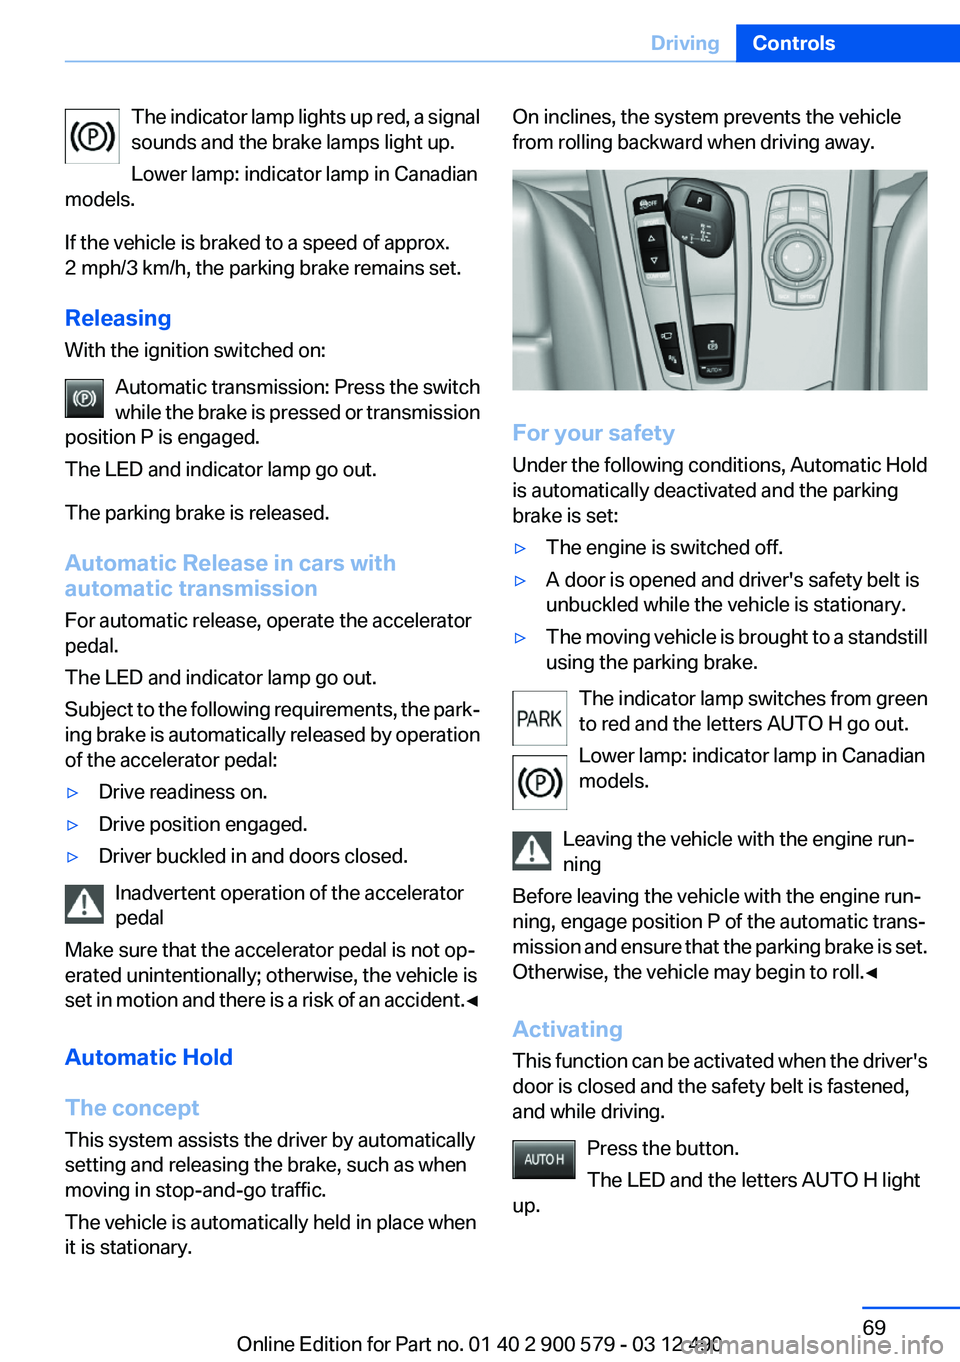
On inclines, the system prevents the vehicle
from rolling backward when driving away.
For your safety
Under the following conditions, Automatic Hold
is automatically deactivated and the parking
brake is set:
▷The engine is switched off.▷A door is opened and driver's safety belt is
unbuckled while the vehicle is stationary.▷The moving vehicle is brought to a standstill
using the parking brake.
The indicator lamp switches from green
to red and the letters AUTO H go out.
Lower lamp: indicator lamp in Canadian
models.
Leaving the vehicle with the engine run‐
ning
Before leaving the vehicle with the engine run‐
ning, engage position P of the automatic trans‐
mission and ensure that the parking brake is set.
Otherwise, the vehicle may begin to roll.◀
Activating
This function can be activated when the driver's
door is closed and the safety belt is fastened,
and while driving.
Press the button.
The LED and the letters AUTO H light
up.
Seite 69DrivingControls69
Online Edition for Part no. 01 40 2 900 579 - 03 12 490
Page 70 of 319
The indicator lamp lights up.
Automatic Hold is activated.
Deactivating Press the button again.
The LED and the letters AUTO H go
out.
Automatic Hold is deactivated.
If the vehicle is being held by Automatic Hold,
press on the brake pedal to deactivate it.
When the parking brake is set manually, Auto‐
matic Hold is deactivated automatically.
Driving
Automatic Hold is activated: the vehicle is auto‐
matically secured against rolling when it stops.
The indicator lamp lights up green.
Step on the accelerator pedal to drive
off.
The brake is released automatically.
The indicator lamp goes out.
Lower lamp: indicator lamp in Canadian models
Before driving into a car wash
Deactivate Automatic Hold; otherwise, the
parking brake will be set when the vehicle is sta‐
tionary and the vehicle will no longer be able to
roll.◀
Parking
The parking brake is automatically set if the en‐
gine is switched off while the vehicle is being
held by Automatic Hold.
The indicator lamp changes from green
to red.
The parking brake is not set if the engine
is switched off while the vehicle is coast‐
ing to a halt. Automatic Hold is deacti‐
vated.
Lower lamp: indicator lamp in Canadian modelsTake the remote control with you
Take the remote control with you when
leaving the vehicle so that children, for example,
cannot release the parking brake.◀
Malfunction
In the event of a failure or malfunction of the
parking brake, secure the vehicle against rolling
using a wheel chock, for example, when leaving
it.
Turn signal, high beams,
headlamp flasher
Turn signal
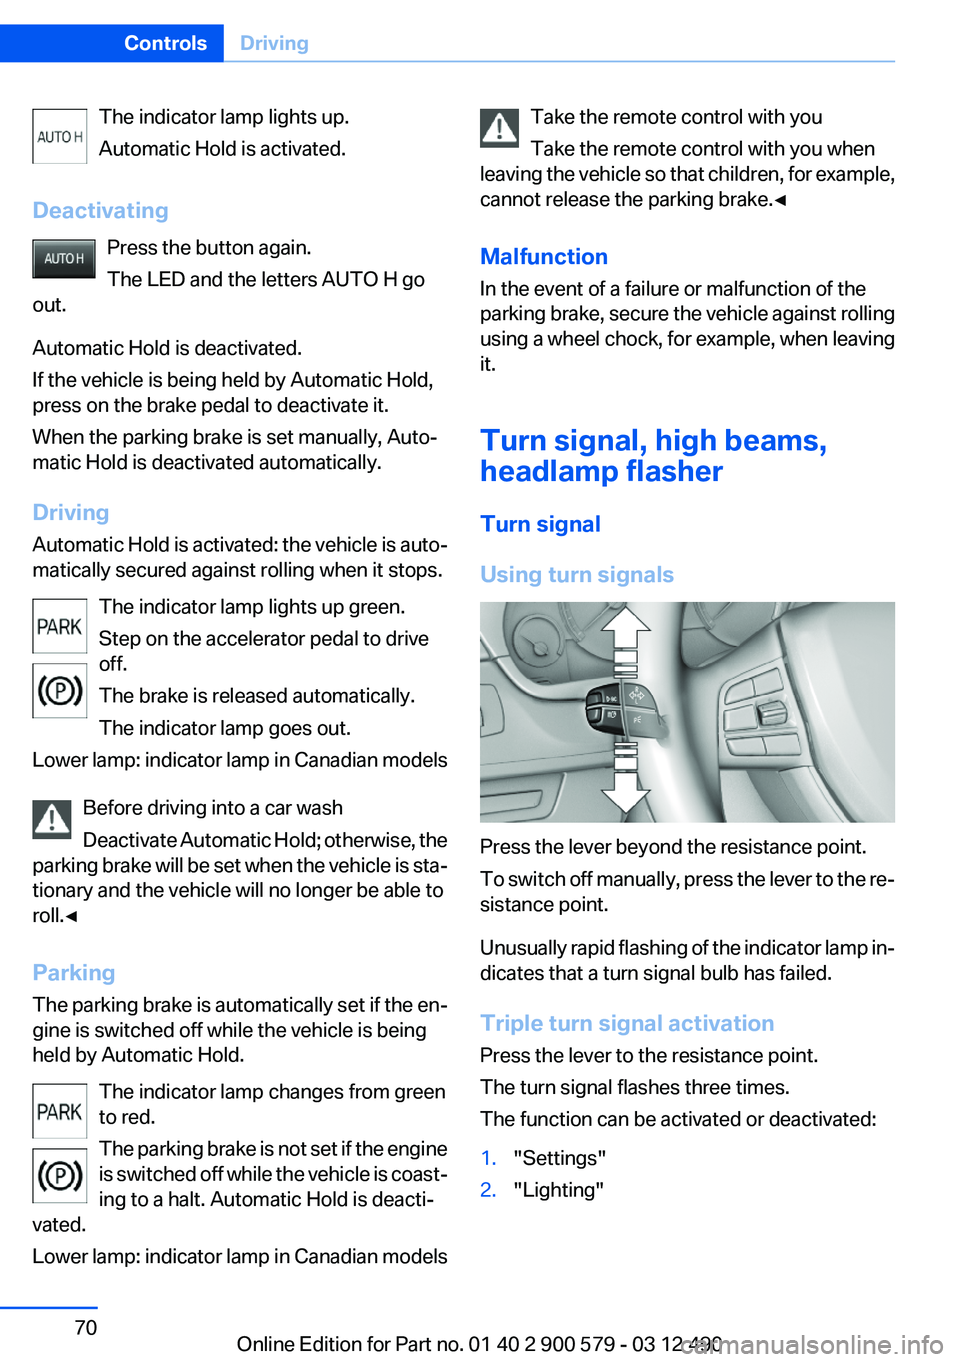
Using turn signals
Press the lever beyond the resistance point.
To switch off manually, press the lever to the re‐
sistance point.
Unusually rapid flashing of the indicator lamp in‐
dicates that a turn signal bulb has failed.
Triple turn signal activation
Press the lever to the resistance point.
The turn signal flashes three times.
The function can be activated or deactivated:
1."Settings"2."Lighting"Seite 70ControlsDriving70
Online Edition for Part no. 01 40 2 900 579 - 03 12 490
Page 78 of 319
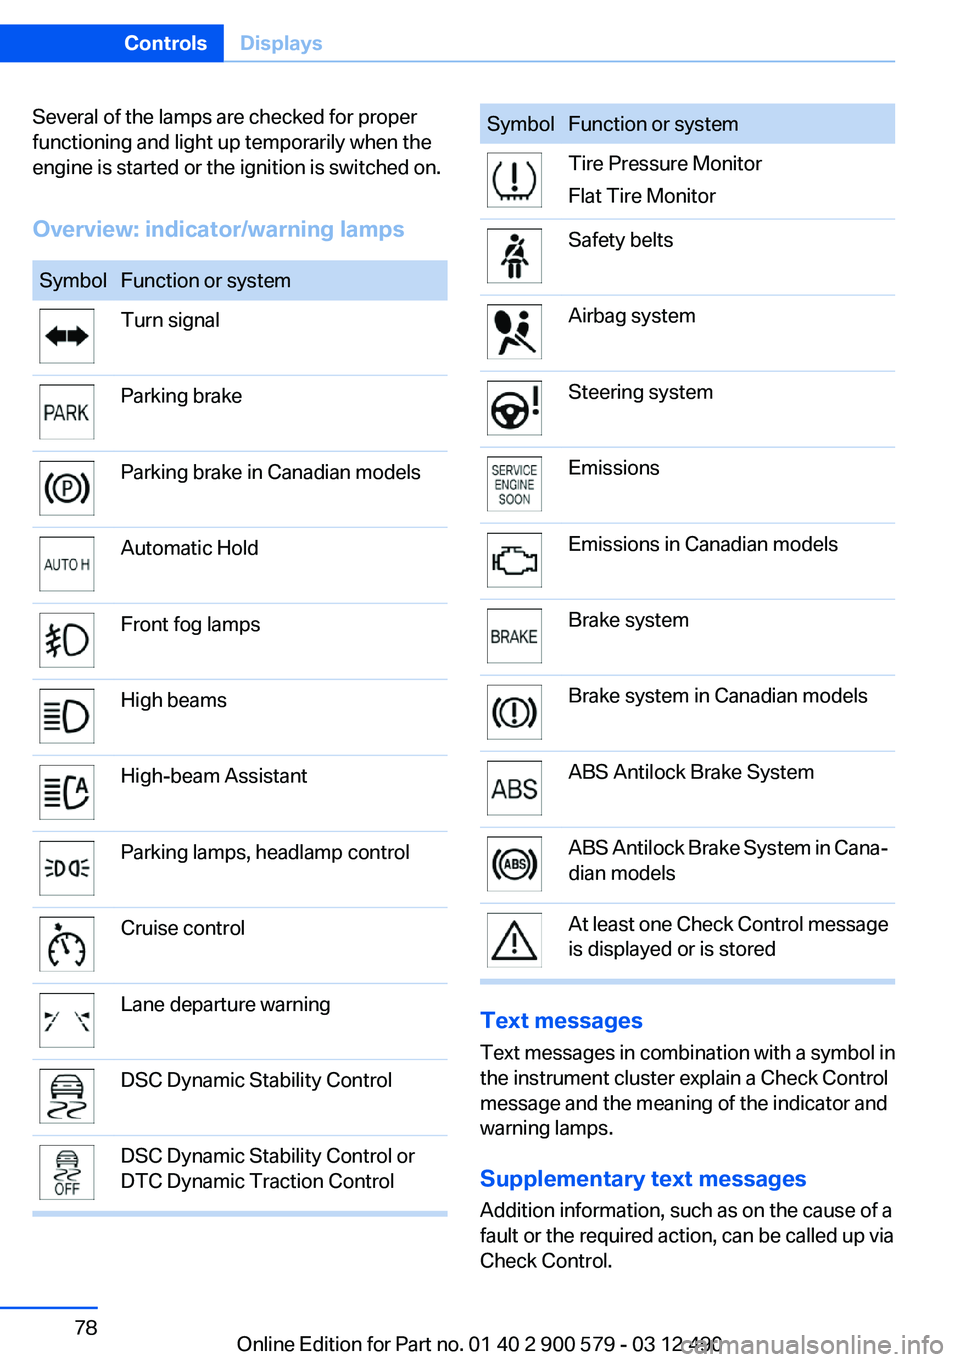
Several of the lamps are checked for proper
functioning and light up temporarily when the
engine is started or the ignition is switched on.
Overview: indicator/warning lampsSymbolFunction or systemTurn signalParking brakeParking brake in Canadian modelsAutomatic HoldFront fog lampsHigh beamsHigh-beam AssistantParking lamps, headlamp controlCruise controlLane departure warningDSC Dynamic Stability ControlDSC Dynamic Stability Control or
DTC Dynamic Traction ControlSymbolFunction or systemTire Pressure Monitor
Flat Tire MonitorSafety beltsAirbag systemSteering systemEmissionsEmissions in Canadian modelsBrake systemBrake system in Canadian modelsABS Antilock Brake SystemABS Antilock Brake System in Cana‐
dian modelsAt least one Check Control message
is displayed or is stored
Text messages
Text messages in combination with a symbol in
the instrument cluster explain a Check Control
message and the meaning of the indicator and
warning lamps.
Supplementary text messages
Addition information, such as on the cause of a
fault or the required action, can be called up via
Check Control.
Seite 78ControlsDisplays78
Online Edition for Part no. 01 40 2 900 579 - 03 12 490
Page 105 of 319
▷When a vehicle is approaching at a speed
much faster than your own.▷In heavy fog, rain or snowfall.▷In tight curves or on narrow lanes.
Radar sensors
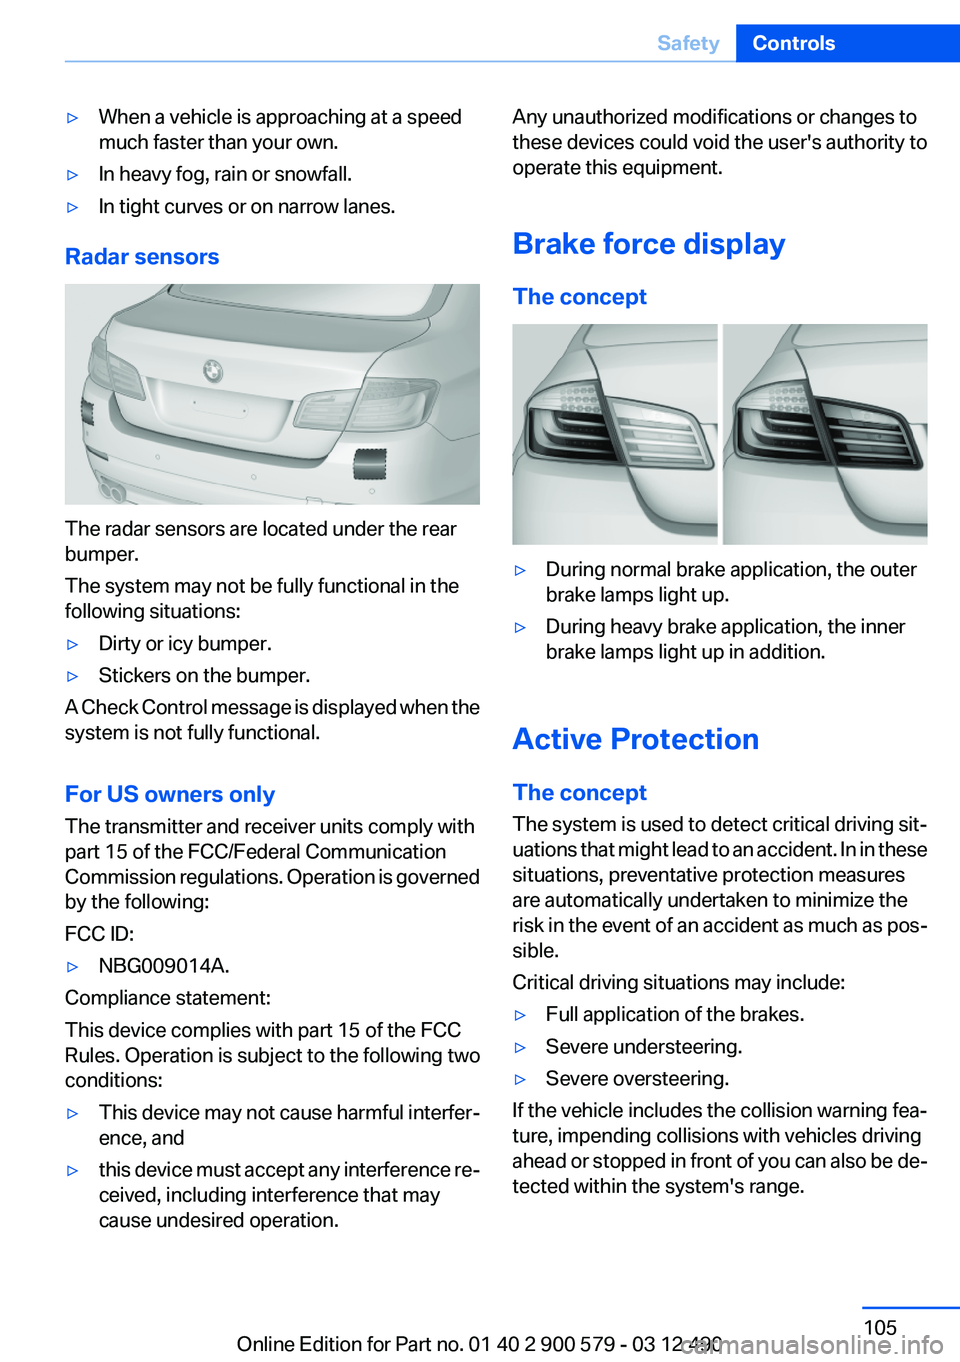
The radar sensors are located under the rear
bumper.
The system may not be fully functional in the
following situations:
▷Dirty or icy bumper.▷Stickers on the bumper.
A Check Control message is displayed when the
system is not fully functional.
For US owners only
The transmitter and receiver units comply with
part 15 of the FCC/Federal Communication
Commission regulations. Operation is governed
by the following:
FCC ID:
▷NBG009014A.
Compliance statement:
This device complies with part 15 of the FCC
Rules. Operation is subject to the following two
conditions:
▷This device may not cause harmful interfer‐
ence, and▷this device must accept any interference re‐
ceived, including interference that may
cause undesired operation.Any unauthorized modifications or changes to
these devices could void the user's authority to
operate this equipment.
Brake force display
The concept▷During normal brake application, the outer
brake lamps light up.▷During heavy brake application, the inner
brake lamps light up in addition.
Active Protection
The concept
The system is used to detect critical driving sit‐
uations that might lead to an accident. In in these
situations, preventative protection measures
are automatically undertaken to minimize the
risk in the event of an accident as much as pos‐
sible.
Critical driving situations may include:
▷Full application of the brakes.▷Severe understeering.▷Severe oversteering.
If the vehicle includes the collision warning fea‐
ture, impending collisions with vehicles driving
ahead or stopped in front of you can also be de‐
tected within the system's range.
Seite 105SafetyControls105
Online Edition for Part no. 01 40 2 900 579 - 03 12 490
Page 107 of 319
Driving stability control systemsVehicle equipment
All standard, country-specific and optional
equipment that is offered in the model series is
described in this chapter. Therefore, equipment
is also described that is not available in a vehicle,
e. g., because of the selected optional equip‐
ment or country variant. This also applies for
safety-related functions and systems.
Antilock Brake System ABS
ABS prevents locking of the wheels during brak‐
ing.
The vehicle remains steerable even during full
brake applications, thus increasing active
safety.
ABS is operational every time you start the en‐
gine.
Brake assistant
When you apply the brakes rapidly, this system
automatically produces the maximum braking
force boost. It thus helps to achieve the shortest
possible braking distance during full braking.
This system utilizes all of the benefits provided
by ABS.
Do not reduce the pressure on the brake pedal
for the duration of the full braking.
Drive-off assistant
This system supports driving away on gradients.
The parking brake is not required.1.Hold the vehicle in place with the foot brake.2.Release the foot brake and drive away with‐
out delay.After the foot brake is released, the vehicle is
held in place for approx. 2 seconds.
Depending on the vehicle load, the vehicle may
roll back slightly.
Driving off without delay
After releasing the foot brake, start driving
without delay, since the drive-off assistant will
not hold the vehicle in place for more than ap‐
prox. 2 seconds and the vehicle will begin rolling
back.◀
DSC Dynamic Stability
Control
The concept
DSC prevents traction loss in the driving wheels
when driving away and accelerating.
DSC also recognizes unstable vehicle condi‐
tions, such as fishtailing or nose-diving. Subject
to physical limits, DSC helps to keep the vehicle
on a steady course by reducing engine speed
and by applying brakes at individual wheels.
Adjust your driving style to the situation
An appropriate driving style is always the
responsibility of the driver.
The laws of physics cannot be repealed, even
with DSC.
Therefore, do not reduce the additional safety
margin by driving in a risky manner.◀
Indicator/warning lamps The indicator lamp flashes: DSC con‐
trols the drive forces and brake forces.
The indicator lamp lights up: DSC has
failed.Seite 107Driving stability control systemsControls107
Online Edition for Part no. 01 40 2 900 579 - 03 12 490
Page 122 of 319
When parking, also take note of the visual and
acoustic information issued by the PDC and the
parking assistant and accelerate or brake ac‐
cordingly.
A component of the parking assistant is the PDC
Park Distance Control, refer to page 114.
Personal responsibility
The parking assistant does not relieve the
driver of responsibility for the vehicle during the
parking procedure.
Watch the parking space and parking procedure
closely and intervene if necessary; otherwise,
there is the danger of an accident.◀
Requirements
For measuring parking spaces▷Maximum speed while driving forward ap‐
prox. 22 mph/35 km/h.▷Maximum distance to row of parked vehi‐
cles: 5 ft/1.5 m.
Suitable parking space
▷Gap between two objects with a minimum
length of approx. 5 ft/1.5 m.▷Minimum length: own vehicle length plus
approx. 4 ft/1.2 m.▷Minimum depth: approx. 5 ft/1.5 m.
For parking procedure
Closed doors.
Switching on
Using the button
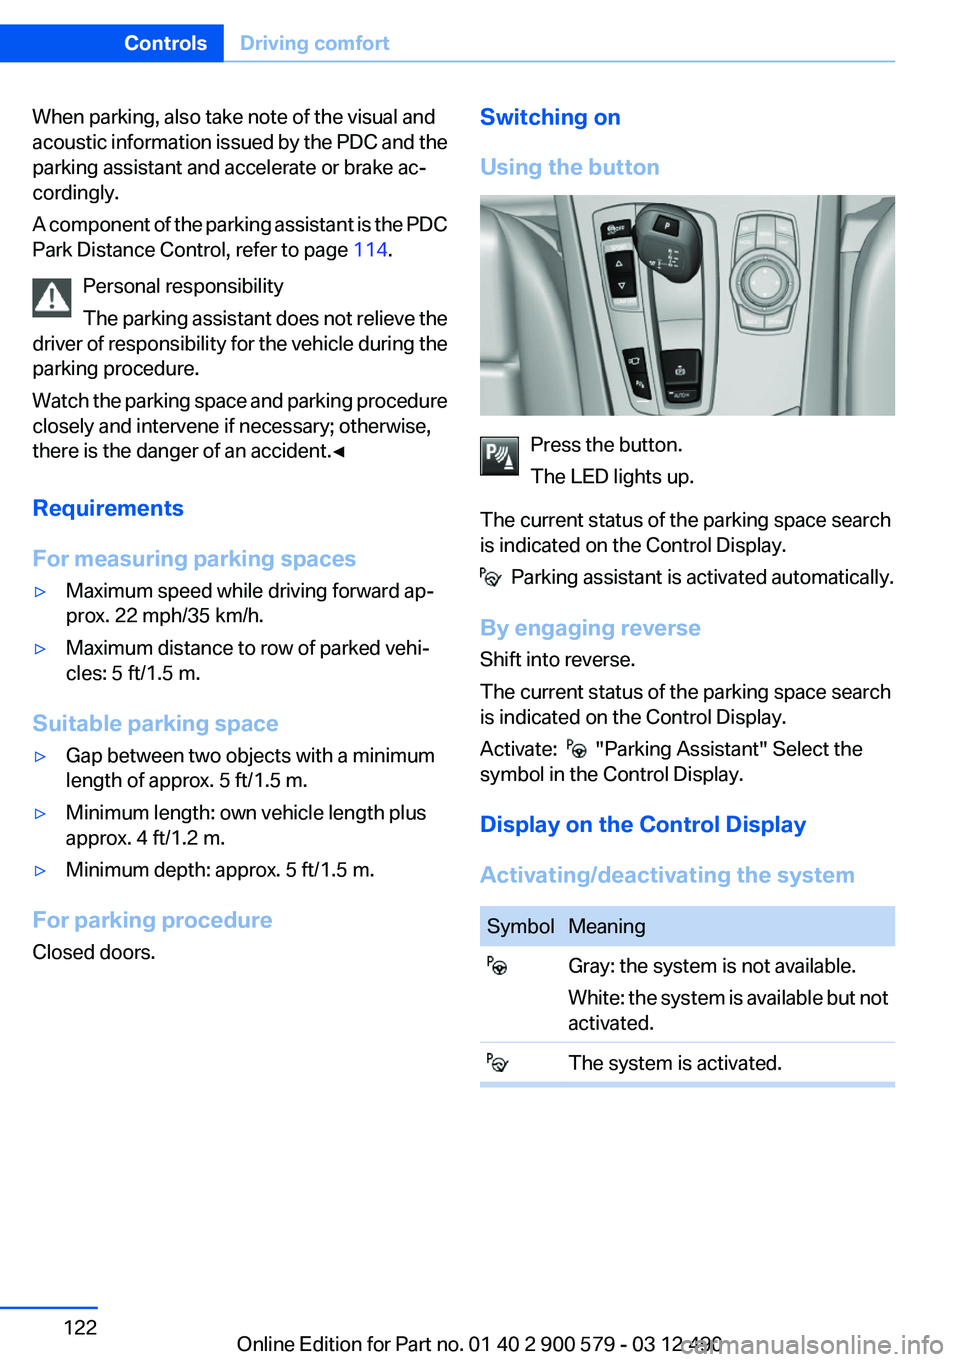
Press the button.
The LED lights up.
The current status of the parking space search
is indicated on the Control Display.
Parking assistant is activated automatically.
By engaging reverse
Shift into reverse.
The current status of the parking space search
is indicated on the Control Display.
Activate:
"Parking Assistant" Select the
symbol in the Control Display.
Display on the Control Display
Activating/deactivating the system
SymbolMeaning Gray: the system is not available.
White: the system is available but not
activated. The system is activated.Seite 122ControlsDriving comfort122
Online Edition for Part no. 01 40 2 900 579 - 03 12 490
Page 155 of 319
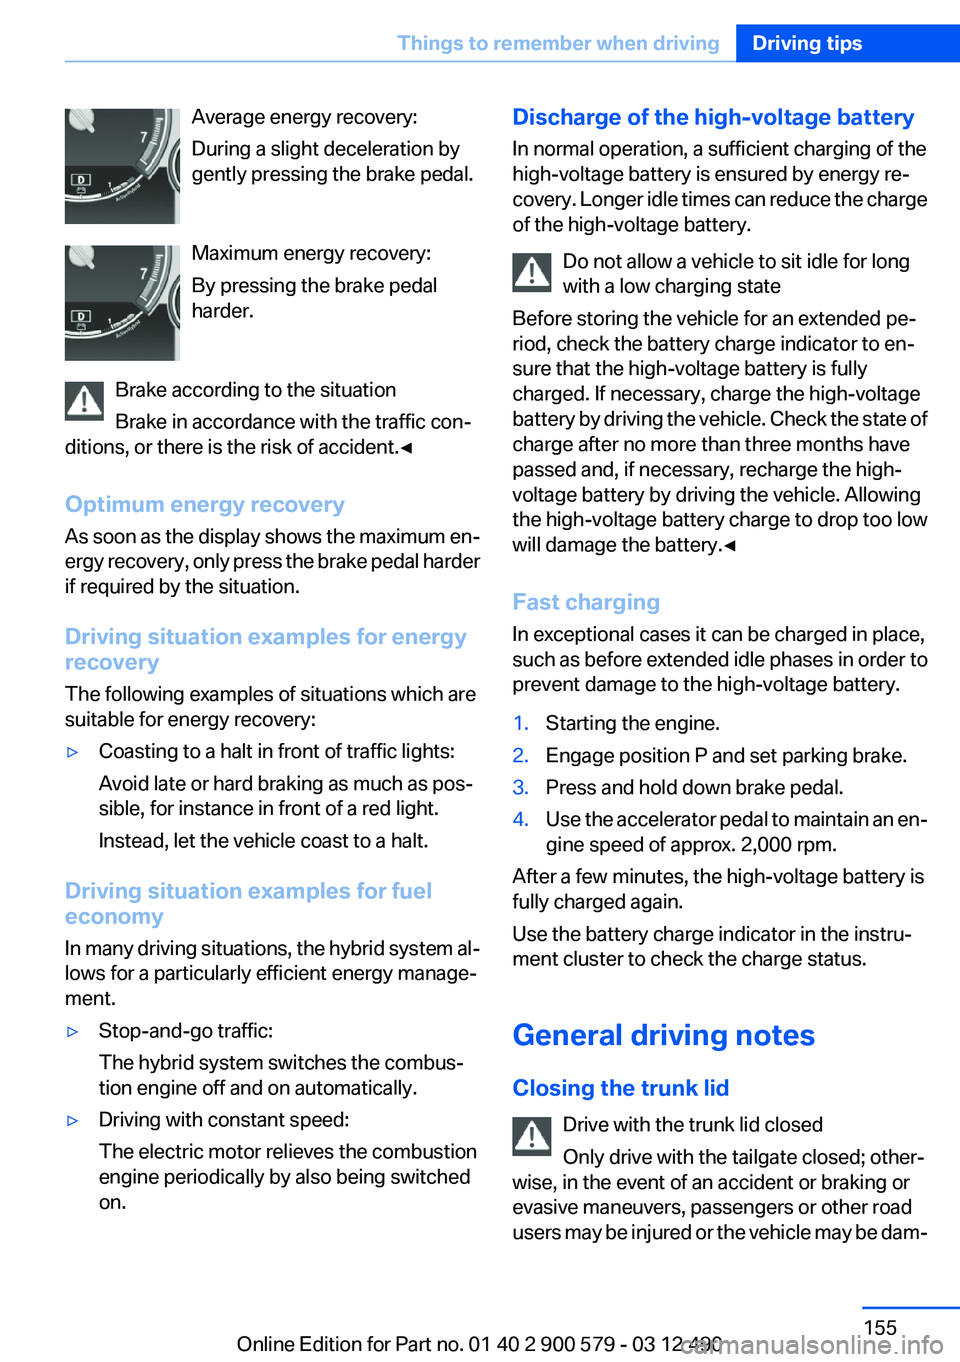
Average energy recovery:
During a slight deceleration by
gently pressing the brake pedal.
Maximum energy recovery:
By pressing the brake pedal
harder.
Brake according to the situation
Brake in accordance with the traffic con‐
ditions, or there is the risk of accident.◀
Optimum energy recovery
As soon as the display shows the maximum en‐
ergy recovery, only press the brake pedal harder
if required by the situation.
Driving situation examples for energy
recovery
The following examples of situations which are
suitable for energy recovery:▷Coasting to a halt in front of traffic lights:
Avoid late or hard braking as much as pos‐
sible, for instance in front of a red light.
Instead, let the vehicle coast to a halt.
Driving situation examples for fuel
economy
In many driving situations, the hybrid system al‐
lows for a particularly efficient energy manage‐
ment.
▷Stop-and-go traffic:
The hybrid system switches the combus‐
tion engine off and on automatically.▷Driving with constant speed:
The electric motor relieves the combustion
engine periodically by also being switched
on.Discharge of the high-voltage battery
In normal operation, a sufficient charging of the
high-voltage battery is ensured by energy re‐
covery. Longer idle times can reduce the charge
of the high-voltage battery.
Do not allow a vehicle to sit idle for long
with a low charging state
Before storing the vehicle for an extended pe‐
riod, check the battery charge indicator to en‐
sure that the high-voltage battery is fully
charged. If necessary, charge the high-voltage
battery by driving the vehicle. Check the state of
charge after no more than three months have
passed and, if necessary, recharge the high-
voltage battery by driving the vehicle. Allowing
the high-voltage battery charge to drop too low
will damage the battery.◀
Fast charging
In exceptional cases it can be charged in place,
such as before extended idle phases in order to
prevent damage to the high-voltage battery.1.Starting the engine.2.Engage position P and set parking brake.3.Press and hold down brake pedal.4.Use the accelerator pedal to maintain an en‐
gine speed of approx. 2,000 rpm.
After a few minutes, the high-voltage battery is
fully charged again.
Use the battery charge indicator in the instru‐
ment cluster to check the charge status.
General driving notes
Closing the trunk lid Drive with the trunk lid closed
Only drive with the tailgate closed; other‐
wise, in the event of an accident or braking or
evasive maneuvers, passengers or other road
users may be injured or the vehicle may be dam‐
Seite 155Things to remember when drivingDriving tips155
Online Edition for Part no. 01 40 2 900 579 - 03 12 490