set clock BMW CONVERTIBLE 1998 Owners Manual
[x] Cancel search | Manufacturer: BMW, Model Year: 1998, Model line: CONVERTIBLE, Model: BMW CONVERTIBLE 1998Pages: 179, PDF Size: 3.51 MB
Page 67 of 179
66
With the different versions you can dis-
play not only the time and the date, but
also information e.g., on economical
driving and warnings on defective sys-
tems.
The following applies to all versions:
The unit will reject implausible entries.
When entering numerical values with
the number entry keys, the numerical
value is increased by one each time the
key is pressed and after each additional
half second with the key held down.
Numbers can be entered in any order.
The entries are saved in the memory by
pressing the SET/RES or SET key.
Any interruption in the power supply,
e.g., when changing the battery, will
result in the loss of all data saved in the
memory. After the power supply is
restored, you will need to re-enter the
time, date and any switch-on times, the
distance or speed warning threshold.
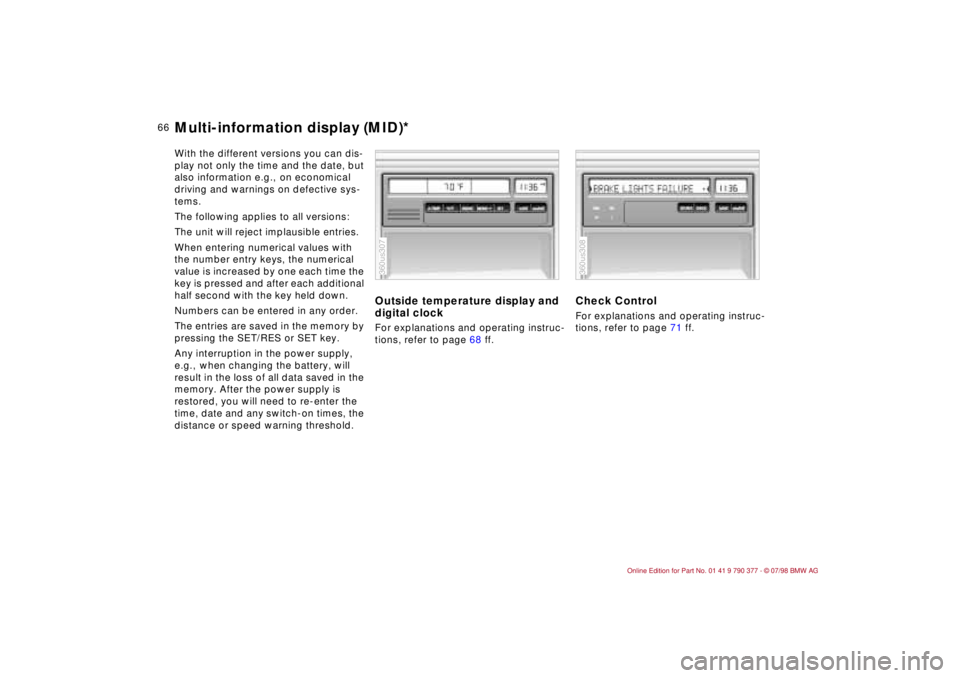
Outside temperature display and
digital clockFor explanations and operating instruc-
tions, refer to page 68 ff.
Check ControlFor explanations and operating instruc-
tions, refer to page 71 ff.
360us307
360us308
Multi-information display (MID)*
Page 69 of 179
68
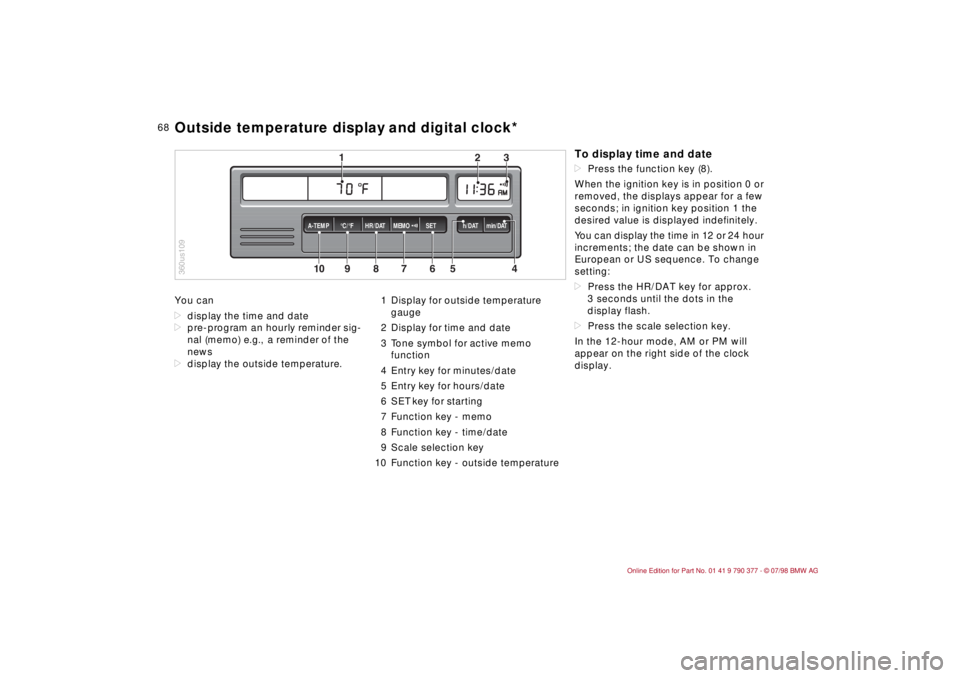
You can
ddisplay the time and date
dpre-program an hourly reminder sig-
nal (memo) e.g., a reminder of the
news
ddisplay the outside temperature.1 Display for outside temperature
gauge
2 Display for time and date
3 Tone symbol for active memo
function
4 Entry key for minutes/date
5 Entry key for hours/date
6 SET key for starting
7 Function key - memo
8 Function key - time/date
9 Scale selection key
10 Function key - outside temperature
10
MEMO
9
8
7
6
5
43
2
1
HR/DAT A-TEMP°C/°F SET h/DAT min/DAT
360us109Outside temperature display and digital clock*
To display time and datedPress the function key (8).
When the ignition key is in position 0 or
removed, the displays appear for a few
seconds; in ignition key position 1 the
desired value is displayed indefinitely.
You can display the time in 12 or 24 hour
increments; the date can be shown in
European or US sequence. To change
setting:
dPress the HR/DAT key for approx.
3 seconds until the dots in the
display flash.
dPress the scale selection key.
In the 12-hour mode, AM or PM will
appear on the right side of the clock
display.
Page 70 of 179
69
At a glanceControls Car careRepairsTechnicalDataIndex
Memo modePress the MEMO key to activate or
deactivate the signal. When MEMO is
active, a tone symbol appears in the
right display. The signal sounds every
hour at the pre-programmed time or
without programming 15 seconds
before each full hour.Outside temperatureData request: Press TEMP key.
If the outside temperature drops below
37.5 5F (+36), a warning signal sounds,
the temperature display automatically
appears and the unit of measure flashes
for 8 seconds.
The warning is repeated whenever the
temperature has increased to 43 5F
(+66) at least once before falling to
37.5 5F (+36) again.a
The temperature warning device
does nothing to alter the fact that sur-
face ice can still form at temperatures
above 37.5 5F (+36), e.g., on bridges
and on shade-covered road surfaces.c
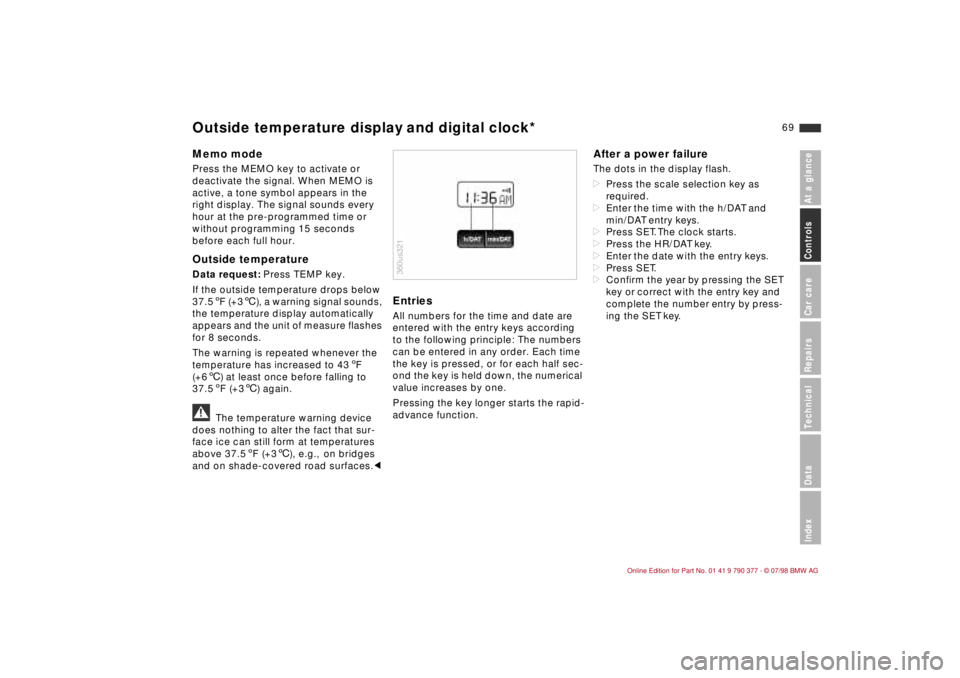
EntriesAll numbers for the time and date are
entered with the entry keys according
to the following principle: The numbers
can be entered in any order. Each time
the key is pressed, or for each half sec-
ond the key is held down, the numerical
value increases by one.
Pressing the key longer starts the rapid-
advance function.
After a power failureThe dots in the display flash.
dPress the scale selection key as
required.
dEnter the time with the h/DAT and
min/DAT entry keys.
dPress SET. The clock starts.
dPress the HR/DAT key.
dEnter the date with the entry keys.
dPress SET.
dConfirm the year by pressing the SET
key or correct with the entry key and
complete the number entry by press-
ing the SET key.
360us321
Outside temperature display and digital clock*
Page 71 of 179
70
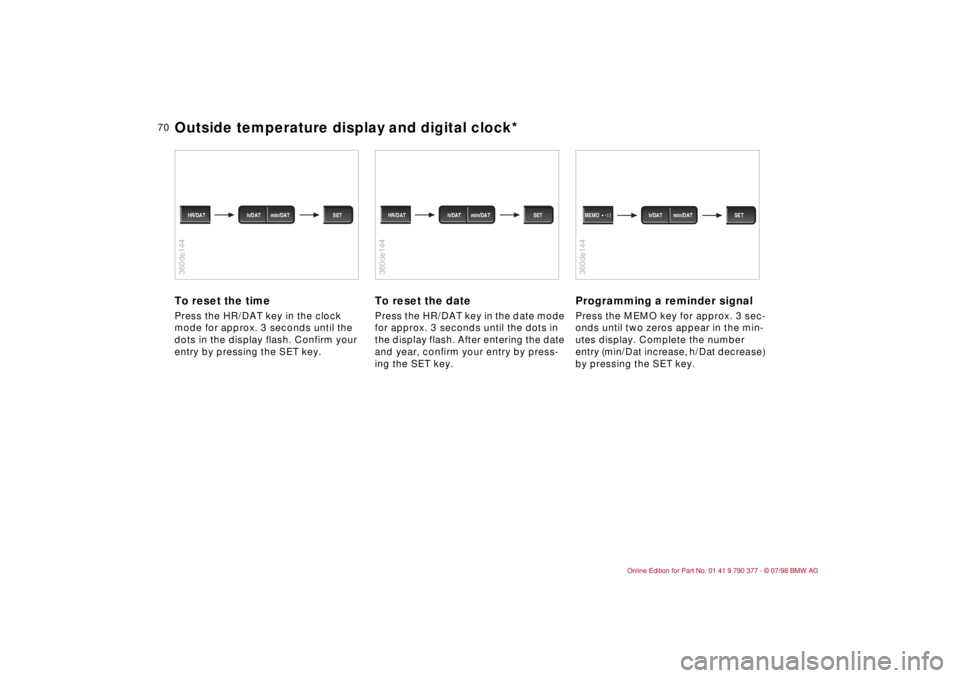
To reset the timePress the HR/DAT key in the clock
mode for approx. 3 seconds until the
dots in the display flash. Confirm your
entry by pressing the SET key.
To reset the datePress the HR/DAT key in the date mode
for approx. 3 seconds until the dots in
the display flash. After entering the date
and year, confirm your entry by press-
ing the SET key.
Programming a reminder signalPress the MEMO key for approx. 3 sec-
onds until two zeros appear in the min-
utes display. Complete the number
entry (min/Dat increase, h/Dat decrease)
by pressing the SET key.
360de144
h/DAT min/DAT HR/DAT SET
360de144
h/DAT min/DAT HR/DAT SET
360de144
h/DAT min/DAT MEMO SET
Outside temperature display and digital clock*
Page 74 of 179
73
At a glanceControls Car careRepairsTechnicalDataIndex
After a power failureThe time display flashes and the follow-
ing appears in the left display: enter
time.
dEnter the time with the entry keys.
dPress the SET/RES key. The clock
starts.
The left display shows: enter date.
dEnter the date with the entry keys.
dPress the SET/RES key.
dConfirm the year by pressing the
SET/RES key or correct it with the
entry key and complete the number
entry by pressing the SET/RES key.
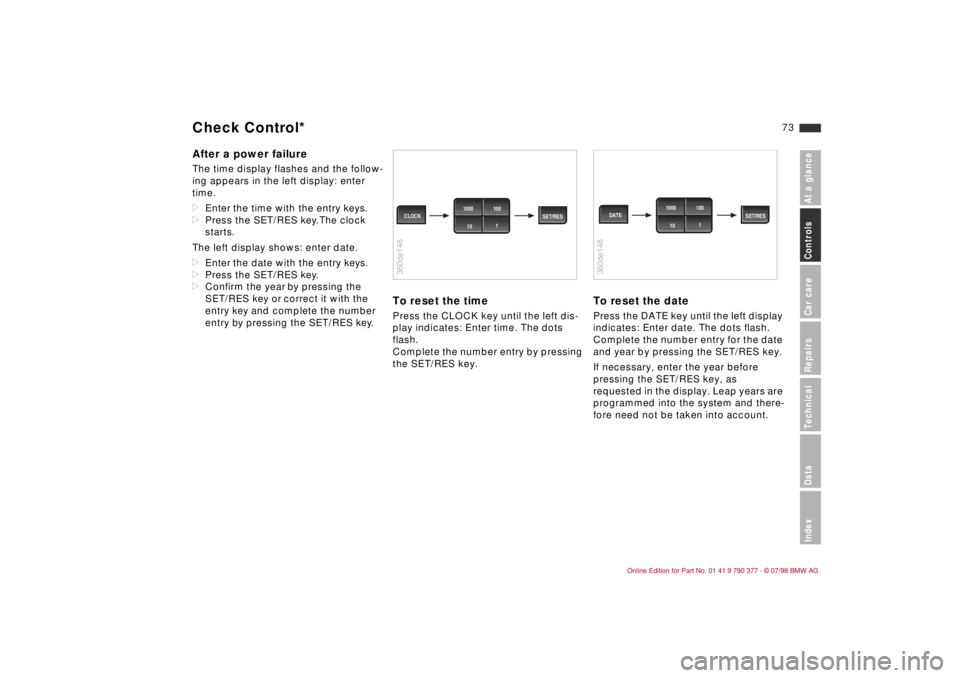
To reset the timePress the CLOCK key until the left dis-
play indicates: Enter time. The dots
flash.
Complete the number entry by pressing
the SET/RES key.
To reset the datePress the DATE key until the left display
indicates: Enter date. The dots flash.
Complete the number entry for the date
and year by pressing the SET/RES key.
If necessary, enter the year before
pressing the SET/RES key, as
requested in the display. Leap years are
programmed into the system and there-
fore need not be taken into account.
360de146
SET/RES CLOCK1000 100
1
10
360de146
SET/RES DATE1000 100
1
10
Check Control*
Page 75 of 179
74
The Check Control uses texts with mes-
sages and warnings to alert the driver
to defective systems. In addition, an
indicator lamp is provided in the instru-
ment cluster. For details and operating
instructions, refer to pages 71, 72.
The outside temperature can also be
displayed.
With the digital clock you can
ddisplay the time and date,
dpre-program an hourly reminder sig-
nal (memo) e.g., a reminder of the
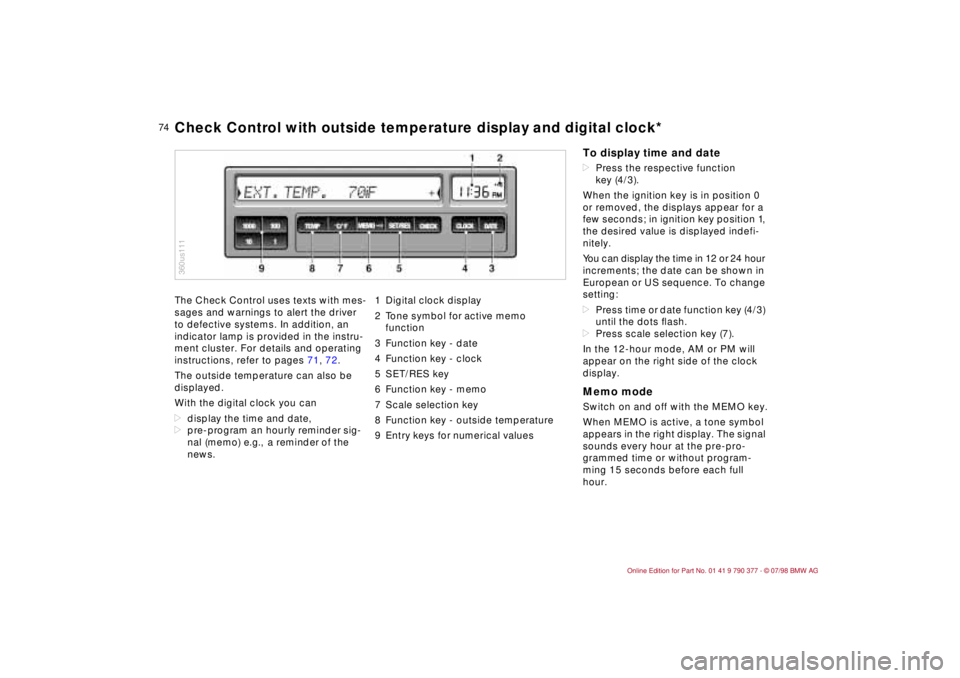
news.1 Digital clock display
2 Tone symbol for active memo
function
3 Function key - date
4 Function key - clock
5 SET/RES key
6 Function key - memo
7 Scale selection key
8 Function key - outside temperature
9 Entry keys for numerical values
360us111Check Control with outside temperature display and digital clock*
To display time and datedPress the respective function
key (4/3).
When the ignition key is in position 0
or removed, the displays appear for a
few seconds; in ignition key position 1,
the desired value is displayed indefi-
nitely.
You can display the time in 12 or 24 hour
increments; the date can be shown in
European or US sequence. To change
setting:
dPress time or date function key (4/3)
until the dots ßash.
dPress scale selection key (7).
In the 12-hour mode, AM or PM will
appear on the right side of the clock
display.Memo modeSwitch on and off with the MEMO key.
When MEMO is active, a tone symbol
appears in the right display. The signal
sounds every hour at the pre-pro-
grammed time or without program-
ming 15 seconds before each full
hour.
Page 76 of 179
75
At a glanceControls Car careRepairsTechnicalDataIndex
Display outside temperaturePress TEMP key.
If the outside temperature drops below
37.5 5F (+36), a warning signal sounds,
the temperature display automatically
appears and flashes for 8 seconds.
The warning is repeated whenever the
temperature has increased to 43 5F
(+66) at least once before falling to
37.5 5F (+36) again.a
The temperature warning device
does nothing to alter the fact that sur-
face ice can still form at temperatures
above 37.5 5F (+36), e.g., on bridges
and on shade-covered road surfaces.c
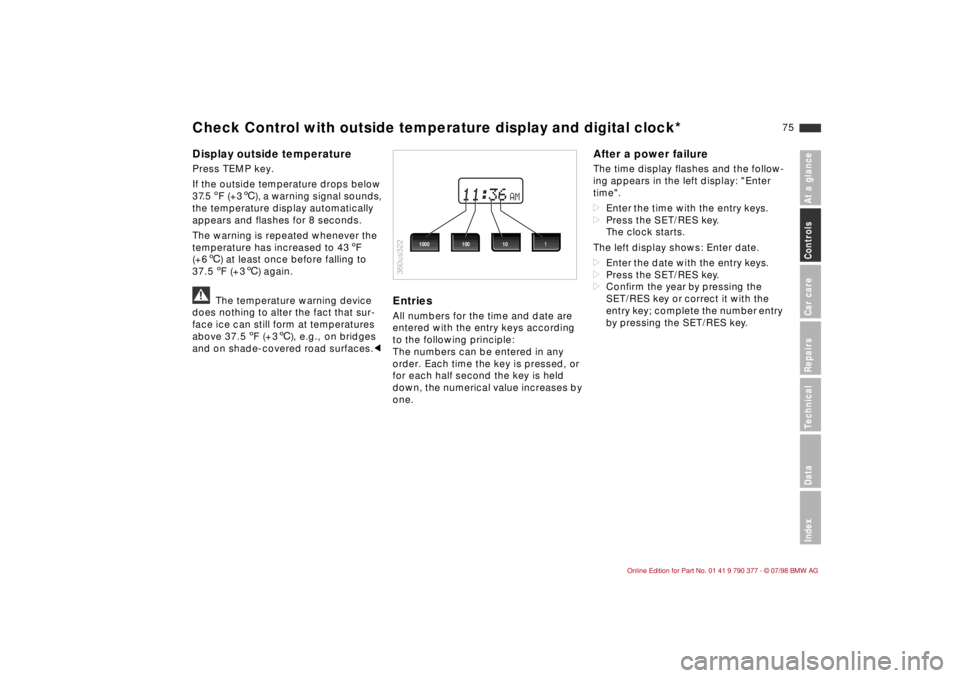
EntriesAll numbers for the time and date are
entered with the entry keys according
to the following principle:
The numbers can be entered in any
order. Each time the key is pressed, or
for each half second the key is held
down, the numerical value increases by
one.
After a power failureThe time display flashes and the follow-
ing appears in the left display: "Enter
time".
dEnter the time with the entry keys.
dPress the SET/RES key.
The clock starts.
The left display shows: Enter date.
dEnter the date with the entry keys.
dPress the SET/RES key.
dConfirm the year by pressing the
SET/RES key or correct it with the
entry key; complete the number entry
by pressing the SET/RES key.
AM
360us322
1000 1001 10
Check Control with outside temperature display and digital clock*
Page 77 of 179
76
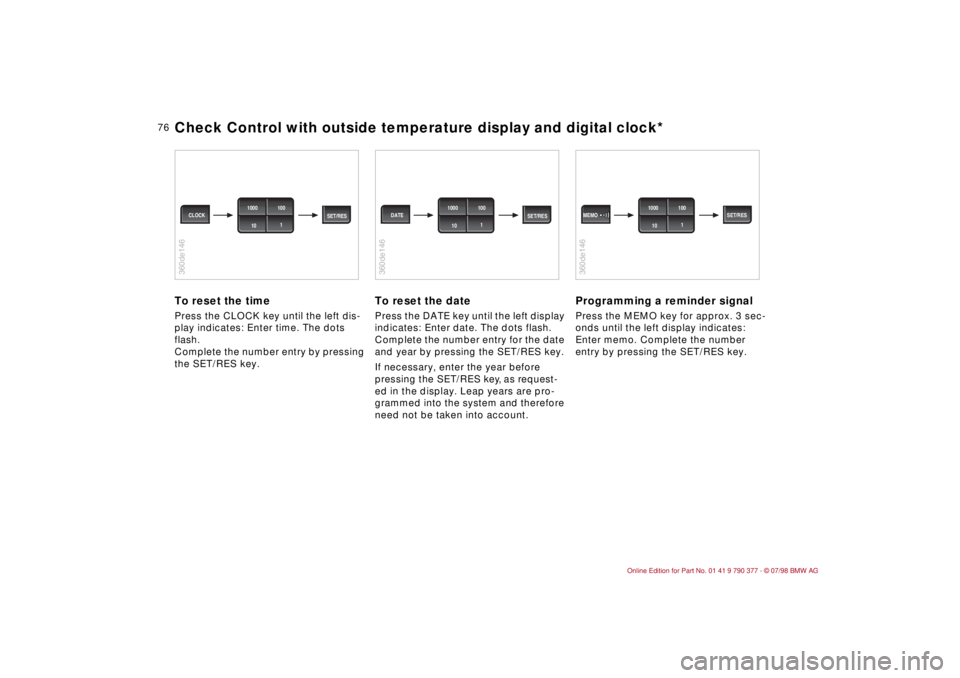
To reset the timePress the CLOCK key until the left dis-
play indicates: Enter time.
The dots
flash.
Complete the number entry by pressing
the SET/RES key.
To reset the datePress the DATE key until the left display
indicates: Enter date.
The dots flash.
Complete the number entry for the date
and year by pressing the SET/RES key.
If necessary, enter the year before
pressing the SET/RES key, as request-
ed in the display. Leap years are pro-
grammed into the system and therefore
need not be taken into account.
Programming a reminder signalPress the MEMO key for approx. 3 sec-
onds until the left display indicates:
Enter memo. Complete the number
entry by pressing the SET/RES key.
360de146
SET/RES CLOCK1000 100
1
10
360de146
SET/RES DATE1000 100
1
10
360de146
1000 100
1
10 MEMO SET/RES
Check Control with outside temperature display and digital clock*
Page 78 of 179
77
At a glanceControls Car careRepairsTechnicalDataIndex
Allows you to select display data for
safe and economical driving.
If your car is equipped with the Check
Control option, texts with information
and warnings are used to alert the
driver to system malfunctions. In addi-
tion, an indicator lamp is provided in the
instrument cluster. For details and
operating instructions, refer to
pages 71 and 72.
With the digital clock you can
ddisplay the time and date,
dpre-program a reminder signal
(memo), e.g., to remind you of news
broadcasts.
Refer to page 74 for information and
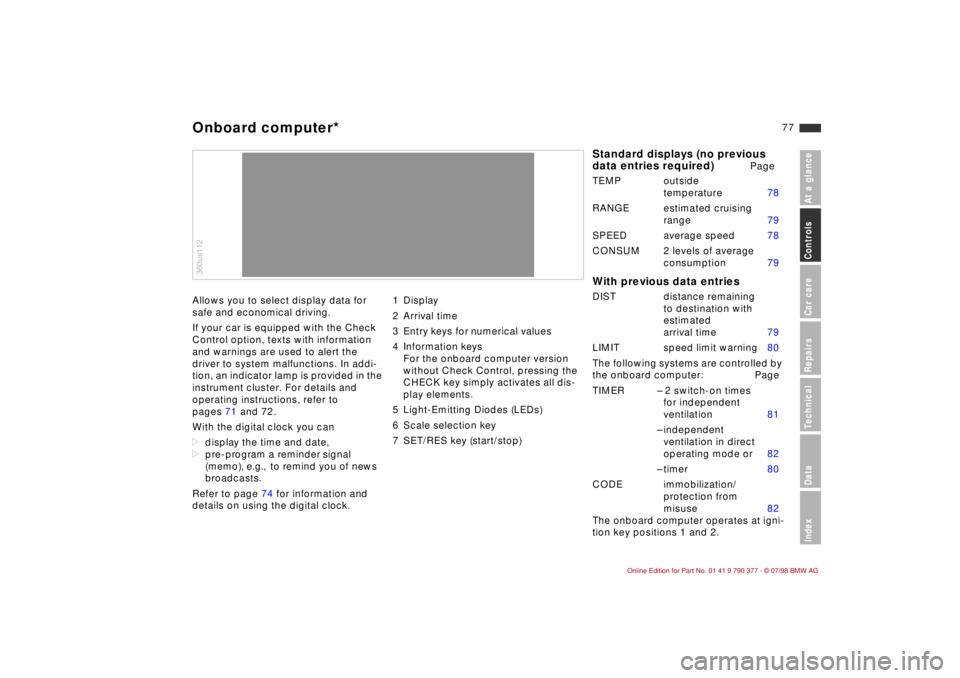
details on using the digital clock.1 Display
2 Arrival time
3 Entry keys for numerical values
4 Information keys
For the onboard computer version
without Check Control, pressing the
CHECK key simply activates all dis-
play elements.
5 Light-Emitting Diodes (LEDs)
6 Scale selection key
7 SET/RES key (start/stop)360us112Onboard computer*
Standard displays (no previous
data entries required)
Page
TEMP outside
temperature 78
RANGE estimated cruising
range 79
SPEED average speed 78
CONSUM 2 levels of average
consumption 79
With previous data entriesDIST distance remaining
to destination with
estimated
arrival time 79
LIMIT speed limit warning 80
The following systems are controlled by
the onboard computer: Page
TIMER Ð 2 switch-on times
for independent
ventilation 81
Ð independent
ventilation in direct
operating mode or 82
Ð timer 80
CODE immobilization/
protection from
misuse 82
The onboard computer operates at igni-
tion key positions 1 and 2.
Page 82 of 179
81
At a glanceControls Car careRepairsTechnicalDataIndex
To stop:
When the time is displayed:
dPress the SET/RES key.
If other information is displayed:
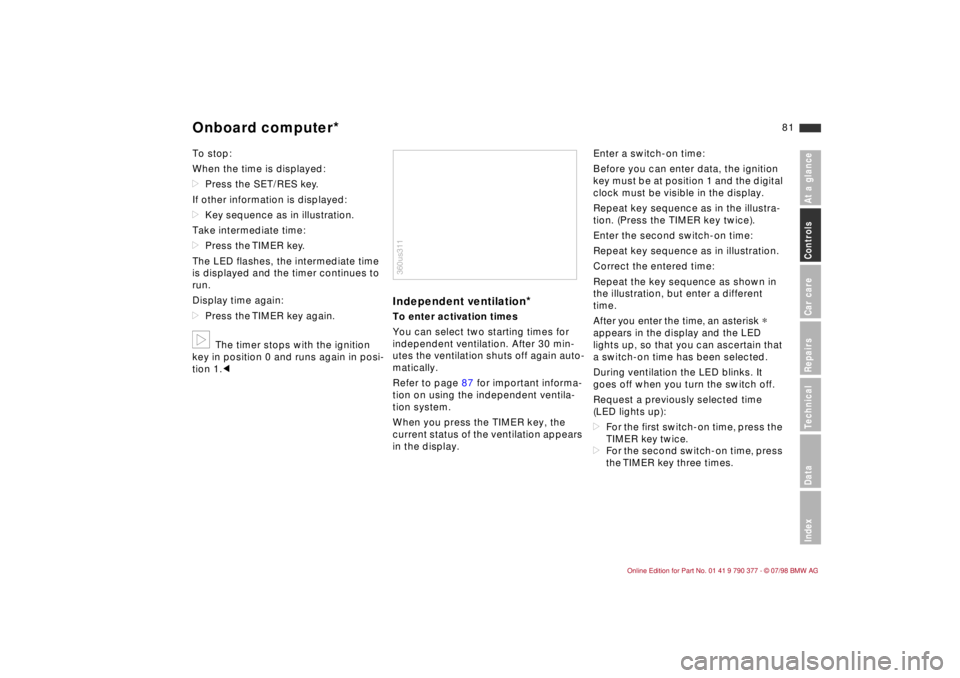
dKey sequence as in illustration.
Take intermediate time:
dPress the TIMER key.
The LED flashes, the intermediate time
is displayed and the timer continues to
run.
Display time again:
dPress the TIMER key again.b
The timer stops with the ignition
key in position 0 and runs again in posi-
tion 1.c
Independent ventilation
*
To enter activation times
You can select two starting times for
independent ventilation. After 30 min-
utes the ventilation shuts off again auto-
matically.
Refer to page 87 for important informa-
tion on using the independent ventila-
tion system.
When you press the TIMER key, the
current status of the ventilation appears
in the display.Enter a switch-on time:
Before you can enter data, the ignition
key must be at position 1 and the digital
clock must be visible in the display.
Repeat key sequence as in the illustra-
tion. (Press the TIMER key twice).
Enter the second switch-on time:
Repeat key sequence as in illustration.
Correct the entered time:
Repeat the key sequence as shown in
the illustration, but enter a different
time.
After you enter the time, an asterisk
*
appears in the display and the LED
lights up, so that you can ascertain that
a switch-on time has been selected.
During ventilation the LED blinks. It
goes off when you turn the switch off.
Request a previously selected time
(LED lights up):
dFor the first switch-on time, press the
TIMER key twice.
dFor the second switch-on time, press
the TIMER key three times.
360us311
Onboard computer*