air conditioning BMW I8 2015 I12 Owner's Manual
[x] Cancel search | Manufacturer: BMW, Model Year: 2015, Model line: I8, Model: BMW I8 2015 I12Pages: 224, PDF Size: 12.46 MB
Page 48 of 224
gine. For this purpose, the electric motor is
supplied by the high-voltage battery.
Electric driving: ePOWER
Under certain conditions, refer to page 64,
the vehicle is powered only by the electric mo‐
tor.
Variable drive configuration
The electric motor drives the front axle and the
combustion engine the rear axle. Depending
on the operating condition, the vehicle has the
options of front-wheel drive, rear-wheel drive
or bundled for four-wheel drive.
Follow instructions for electric driving eDRIVE, refer to page 64, driving with the combustion
engine DRIVE, refer to page 65, and driving
stability, refer to page 109.
Acoustic pedestrian protection
Depending on the country variant, the system
generates continuous driving noise, refer to
page 65, during electric driving up to approx.
20 mph/30 km/h.
Driving with the combustion engine: POWER
The combustion engine provides the perform‐
ance to move the vehicle. If necessary, the
high-voltage battery is charged at the same
time.
The hybrid system always starts the combus‐
tion engine automatically.
Energy recovery: CHARGE
The high-voltage battery is charged while driv‐
ing through energy recovery.
The electric motor acts as a generator and
converts the kinetic energy of the vehicle into
electric current.
Charging can take place in various situations
while the vehicle is in motion:▷When the vehicle is rolling if the accelera‐
tor pedal is not pressed.▷During vehicle braking.
When exerting gentle pressure on the brakes,
the vehicle is only braked by the electric motor.
When the brake pedal is depressed further, the
brake system is activated additionally. This is
why only part of the brake energy is used to
charge the high-voltage battery when exerting
firm pressure on the brake.
The mark in the instrument cluster is located
within the CHARGE range.
Sensible driving and early speed reduction are
important to make full use of the energy recov‐
ery feature.
Display The eDRIVE displays, refer to page 75, pro‐
vide information about the current state of the
drive and visualize the system's use in a dia‐
gram.
Energy-saving driving To save energy while driving, read the follow‐
ing information:
Before driving eDRIVE allows using the air conditioner even
before driving off. The stationary climate con‐
trol, refer to page 127, provides more range
than full air conditioning while driving.
Parked car ventilation during the charging
process can provide maximum range when
driving off.
During driving
▷General driving tips, refer to page 144, for
increasing the range.▷Use the eDRIVE system efficiently, refer to
page 138, for an optimized driving style.▷ECO PRO mode, refer to page 145, for in‐
creasing the range.Seite 32At a glanceBMW eDRIVE32
Online Edition for Part no. 01 40 2 960 891 - II/15
Page 144 of 224
With the BMW i Remote App, refer to
page 128, the standing air conditioning can be
switched on.
The system switches off automatically after a
certain period of time.
If stationary climate control is used during the
charging process, less air conditioning ca‐
pacity will be required while driving. This opti‐
mizes the range.
Functional requirements▷When the departure time is preselected:
depends on internal, external and set tem‐
perature.▷Direct operation via iDrive: any external
temperature.▷Charging cable connected or high-voltage
battery sufficiently charged.▷Motor switched off and/or drive readiness
deactivated.▷The vents are open to allow air to flow out.
Switching on/off directly
On the Control Display:
1."Settings"2."Climate"3."Activate comfort climate control"
The symbol on the automatic climate con‐
trol flashes if the stationary climate control is
switched on.
Activate climate control at departuretime
The reel-on time is automatically determined
based on the temperature. The system
promptly switches on before the selected de‐
parture time.
On the Control Display:
1."Settings"2."Departure time"3."Departure 1:"4."Precondition for departure time"5.Set and activate Desired departure time,
refer to page 156.
The symbol on the automatic climate con‐
trol lights up when the departure time is acti‐
vated.
The symbol on the automatic climate con‐
trol flashes when the stationary climate control
has been switched on.
If drive readiness is switched off, changes can
be made on the Control Display. Departure
time can only be changed once. Scheduled de‐
parture times are not adjusted. Settings for cli‐
mate control and charging operation are also
applied for scheduled departure times.
Activating with BMW i Remote App
Using the BMW i Remote App, the system can
be directly switched on or via a preset depar‐
ture time.
Seite 128ControlsClimate control128
Online Edition for Part no. 01 40 2 960 891 - II/15
Page 160 of 224
Increase rangeGeneral informationThe vehicle contains comprehensive technolo‐
gies for reducing the energy consumption and
for maximizing the range.
The range depends on a number of different
factors.
The implementation of certain measures, driv‐
ing style and regular maintenance can increase
range and thereby also reduce the environ‐
mental impact.
Remove unnecessary cargo
Additional weight increases fuel consumption.
Remove attached parts
following use
Attached parts on the vehicle impair the aero‐
dynamics and increase the energy consump‐
tion.
Closing the windows
Open windows increase air resistance and
therefore lead to greater fuel consumption.
Tires General information Tires can affect energy consumption in various
ways, for instance energy consumption can be
influenced by tire size.Check the tire inflation pressure
regularly
Check and, if needed, correct the tire inflationpressure at least twice a month and before
starting on a long trip.
Low tire inflation pressure increases rolling re‐
sistance and thus raises energy consumption
and tire wear.
Standing air conditioning Run advance climate control, refer to
page 127, in the vehicle during charging if pos‐
sible before driving off.
Heating and cooling operations are very en‐
ergy intensive and substantially reduce the
electric range.
Look well ahead when
driving
Avoid unnecessary acceleration and braking.
By maintaining a suitable distance to the vehi‐
cle driving ahead of you.
Driving smoothly and proactively reduces fuel
consumption.
Longer braking procedures result in more effi‐
cient charging of the high-voltage battery via
energy recovery from braking.
Use coasting
When approaching a red light, take your foot
off the accelerator and let the vehicle coast to
a halt.Seite 144Driving tipsIncrease range144
Online Edition for Part no. 01 40 2 960 891 - II/15
Page 170 of 224
4.Connect either a Level 1 or Level 2 charg‐
ing cable to the household socket or the
port on the charging station.5.Open charging port flap.6.Connect charging cable to the vehicle, re‐
fer to page 152.
At high temperatures, initially the high-voltage
battery is cooled. The charging process can be
started with a delay.
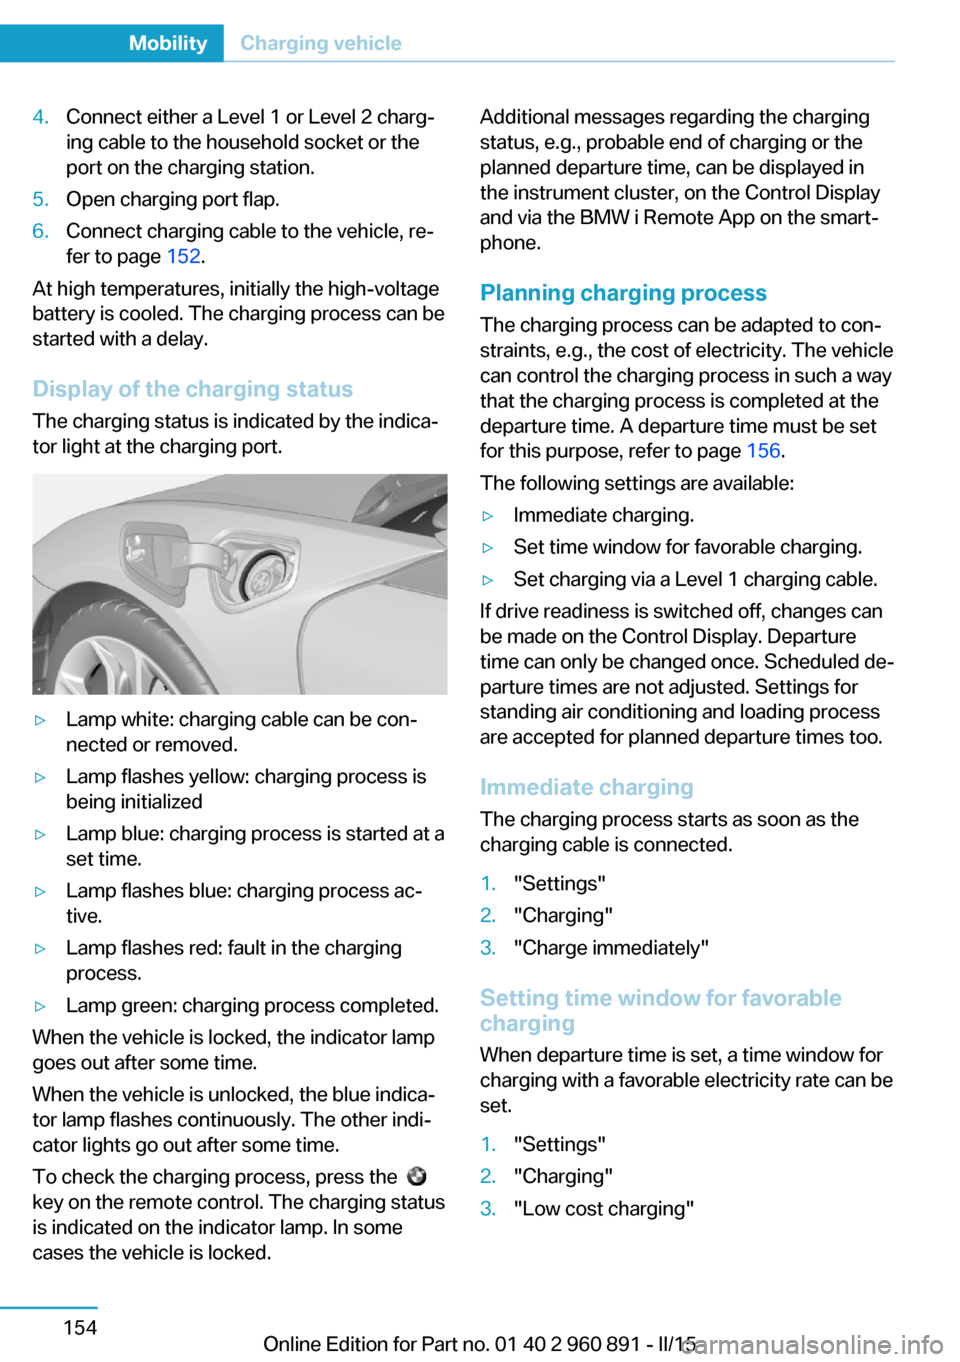
Display of the charging status
The charging status is indicated by the indica‐
tor light at the charging port.
▷Lamp white: charging cable can be con‐
nected or removed.▷Lamp flashes yellow: charging process is
being initialized▷Lamp blue: charging process is started at a
set time.▷Lamp flashes blue: charging process ac‐
tive.▷Lamp flashes red: fault in the charging
process.▷Lamp green: charging process completed.
When the vehicle is locked, the indicator lamp
goes out after some time.
When the vehicle is unlocked, the blue indica‐
tor lamp flashes continuously. The other indi‐
cator lights go out after some time.
To check the charging process, press the
key on the remote control. The charging status
is indicated on the indicator lamp. In some
cases the vehicle is locked.
Additional messages regarding the charging
status, e.g., probable end of charging or the
planned departure time, can be displayed in
the instrument cluster, on the Control Display
and via the BMW i Remote App on the smart‐
phone.
Planning charging process The charging process can be adapted to con‐
straints, e.g., the cost of electricity. The vehicle
can control the charging process in such a way
that the charging process is completed at the
departure time. A departure time must be set
for this purpose, refer to page 156.
The following settings are available:▷Immediate charging.▷Set time window for favorable charging.▷Set charging via a Level 1 charging cable.
If drive readiness is switched off, changes can
be made on the Control Display. Departure
time can only be changed once. Scheduled de‐
parture times are not adjusted. Settings for
standing air conditioning and loading process
are accepted for planned departure times too.
Immediate chargingThe charging process starts as soon as the
charging cable is connected.
1."Settings"2."Charging"3."Charge immediately"
Setting time window for favorable
charging
When departure time is set, a time window for
charging with a favorable electricity rate can be
set.
1."Settings"2."Charging"3."Low cost charging"Seite 154MobilityCharging vehicle154
Online Edition for Part no. 01 40 2 960 891 - II/15
Page 220 of 224
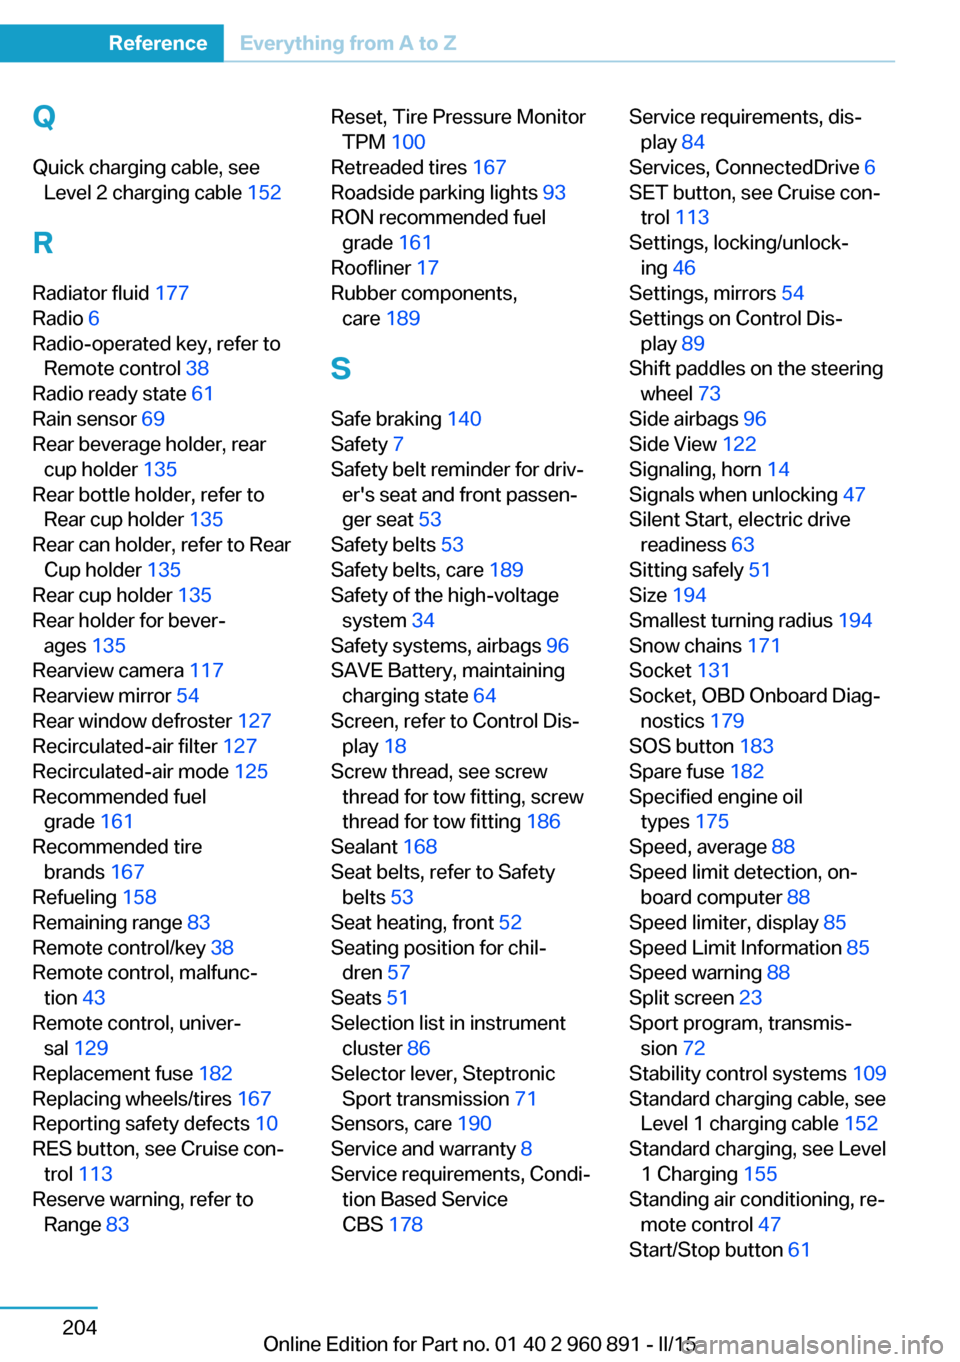
QQuick charging cable, see Level 2 charging cable 152
R Radiator fluid 177
Radio 6
Radio-operated key, refer to Remote control 38
Radio ready state 61
Rain sensor 69
Rear beverage holder, rear cup holder 135
Rear bottle holder, refer to Rear cup holder 135
Rear can holder, refer to Rear Cup holder 135
Rear cup holder 135
Rear holder for bever‐ ages 135
Rearview camera 117
Rearview mirror 54
Rear window defroster 127
Recirculated-air filter 127
Recirculated-air mode 125
Recommended fuel grade 161
Recommended tire brands 167
Refueling 158
Remaining range 83
Remote control/key 38
Remote control, malfunc‐ tion 43
Remote control, univer‐ sal 129
Replacement fuse 182
Replacing wheels/tires 167
Reporting safety defects 10
RES button, see Cruise con‐ trol 113
Reserve warning, refer to Range 83 Reset, Tire Pressure Monitor
TPM 100
Retreaded tires 167
Roadside parking lights 93
RON recommended fuel grade 161
Roofliner 17
Rubber components, care 189
S
Safe braking 140
Safety 7
Safety belt reminder for driv‐ er's seat and front passen‐
ger seat 53
Safety belts 53
Safety belts, care 189
Safety of the high-voltage system 34
Safety systems, airbags 96
SAVE Battery, maintaining charging state 64
Screen, refer to Control Dis‐ play 18
Screw thread, see screw thread for tow fitting, screw
thread for tow fitting 186
Sealant 168
Seat belts, refer to Safety belts 53
Seat heating, front 52
Seating position for chil‐ dren 57
Seats 51
Selection list in instrument cluster 86
Selector lever, Steptronic Sport transmission 71
Sensors, care 190
Service and warranty 8
Service requirements, Condi‐ tion Based Service
CBS 178 Service requirements, dis‐
play 84
Services, ConnectedDrive 6
SET button, see Cruise con‐ trol 113
Settings, locking/unlock‐ ing 46
Settings, mirrors 54
Settings on Control Dis‐ play 89
Shift paddles on the steering wheel 73
Side airbags 96
Side View 122
Signaling, horn 14
Signals when unlocking 47
Silent Start, electric drive readiness 63
Sitting safely 51
Size 194
Smallest turning radius 194
Snow chains 171
Socket 131
Socket, OBD Onboard Diag‐ nostics 179
SOS button 183
Spare fuse 182
Specified engine oil types 175
Speed, average 88
Speed limit detection, on- board computer 88
Speed limiter, display 85
Speed Limit Information 85
Speed warning 88
Split screen 23
Sport program, transmis‐ sion 72
Stability control systems 109
Standard charging cable, see Level 1 charging cable 152
Standard charging, see Level 1 Charging 155
Standing air conditioning, re‐ mote control 47
Start/Stop button 61 Seite 204ReferenceEverything from A to Z204
Online Edition for Part no. 01 40 2 960 891 - II/15