window BMW M3 CONVERTIBLE 2002 E46 User Guide
[x] Cancel search | Manufacturer: BMW, Model Year: 2002, Model line: M3 CONVERTIBLE, Model: BMW M3 CONVERTIBLE 2002 E46Pages: 159, PDF Size: 2.19 MB
Page 91 of 159
91n
OverviewControlsMaintenanceRepairsDataIndex
Automatic climate control
*
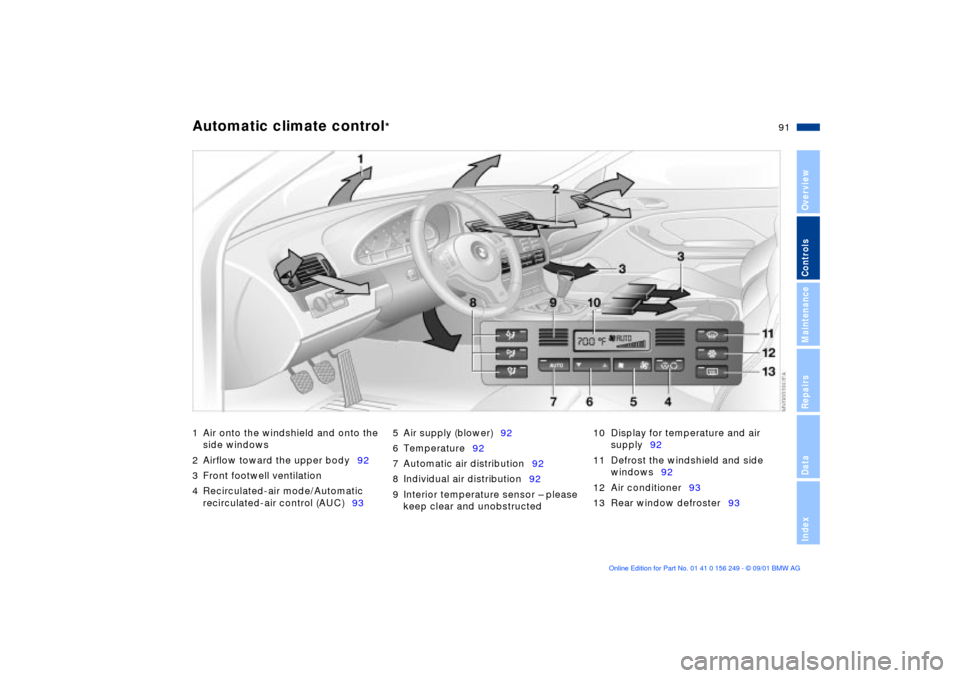
1 Air onto the windshield and onto the
side windows
2 Airflow toward the upper body92
3 Front footwell ventilation
4 Recirculated-air mode/Automatic
recirculated-air control (AUC)935 Air supply (blower)92
6 Temperature92
7 Automatic air distribution92
8 Individual air distribution92
9 Interior temperature sensor Ð please
keep clear and unobstructed10 Display for temperature and air
supply92
11 Defrost the windshield and side
windows92
12 Air conditioner93
13 Rear window defroster93
Page 92 of 159
92n
Automatic climate control
*
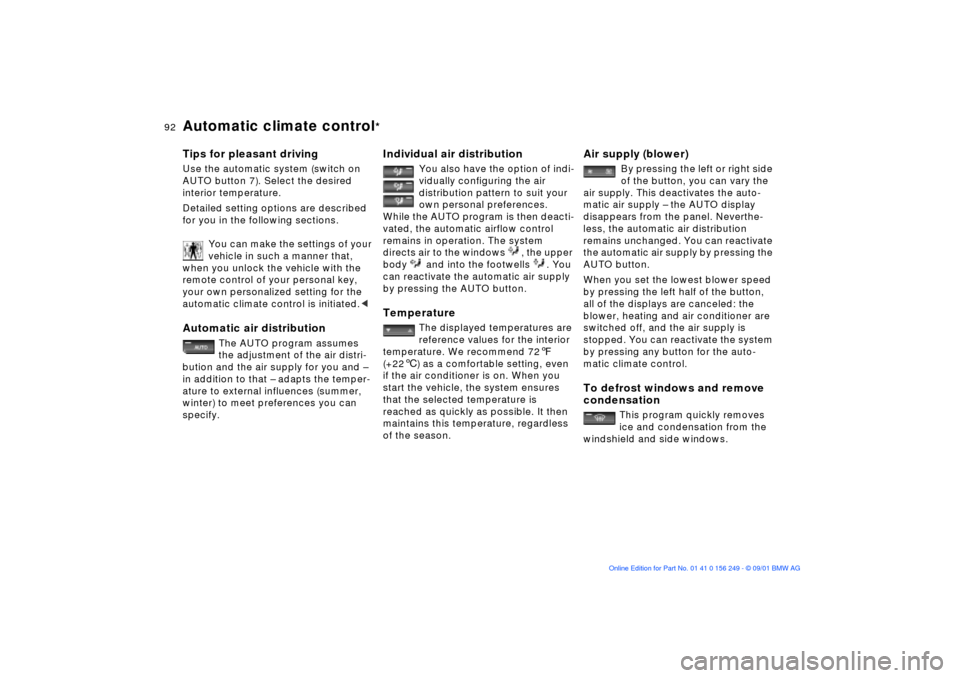
Tips for pleasant drivingUse the automatic system (switch on
AUTO button 7). Select the desired
interior temperature.
Detailed setting options are described
for you in the following sections.
You can make the settings of your
vehicle in such a manner that,
when you unlock the vehicle with the
remote control of your personal key,
your own personalized setting for the
automatic climate control is initiated.
the adjustment of the air distri-
bution and the air supply for you and Ð
in addition to that Ð adapts the temper-
ature to external influences (summer,
winter) to meet preferences you can
specify.
Individual air distribution
You also have the option of indi-
vidually configuring the air
distribution pattern to suit your
own personal preferences.
While the AUTO program is then deacti-
vated, the automatic airflow control
remains in operation. The system
directs air to the windows , the upper
body and into the footwells . You
can reactivate the automatic air supply
by pressing the AUTO button.
Temperature
The displayed temperatures are
reference values for the interior
temperature. We recommend 727
(+226) as a comfortable setting, even
if the air conditioner is on. When you
start the vehicle, the system ensures
that the selected temperature is
reached as quickly as possible. It then
maintains this temperature, regardless
of the season.
Air supply (blower)
By pressing the left or right side
of the button, you can vary the
air supply. This deactivates the auto-
matic air supply Ð the AUTO display
disappears from the panel. Neverthe-
less, the automatic air distribution
remains unchanged. You can reactivate
the automatic air supply by pressing the
AUTO button.
When you set the lowest blower speed
by pressing the left half of the button,
all of the displays are canceled: the
blower, heating and air conditioner are
switched off, and the air supply is
stopped. You can reactivate the system
by pressing any button for the auto-
matic climate control.
To defrost windows and remove
condensation
This program quickly removes
ice and condensation from the
windshield and side windows.
Page 93 of 159
93n
OverviewControlsMaintenanceRepairsDataIndex
Automatic climate control
*
Air conditioner
The air is cooled and dehumidi-
fied and Ð depending on the
temperature setting Ð rewarmed when
the air conditioner system is switched
on.
Depending on the weather, the wind-
shield may fog over briefly when the
engine is started.
Window mist will be reduced by
switching on the air conditioner.
Condensation forms in the air
conditioner system during opera-
tion, which then exits under the vehicle.
Traces of condensed water of this kind
are thus normal.<
Automatic recirculated-air control
(AUC)
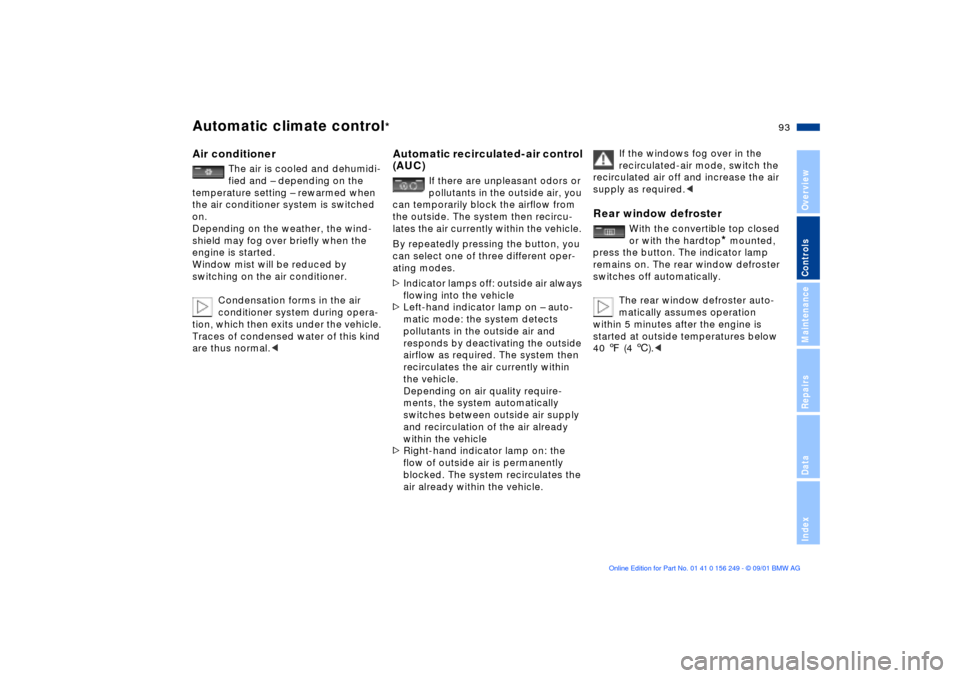
If there are unpleasant odors or
pollutants in the outside air, you
can temporarily block the airflow from
the outside. The system then recircu-
lates the air currently within the vehicle.
By repeatedly pressing the button, you
can select one of three different oper-
ating modes.
>Indicator lamps off: outside air always
flowing into the vehicle
>Left-hand indicator lamp on Ð auto-
matic mode: the system detects
pollutants in the outside air and
responds by deactivating the outside
airflow as required. The system then
recirculates the air currently within
the vehicle.
Depending on air quality require-
ments, the system automatically
switches between outside air supply
and recirculation of the air already
within the vehicle
>Right-hand indicator lamp on: the
flow of outside air is permanently
blocked. The system recirculates the
air already within the vehicle.
If the windows fog over in the
recirculated-air mode, switch the
recirculated air off and increase the air
supply as required.<
Rear window defroster
With the convertible top closed
or with the hardtop
* mounted,
press the button. The indicator lamp
remains on. The rear window defroster
switches off automatically.
The rear window defroster auto-
matically assumes operation
within 5 minutes after the engine is
started at outside temperatures below
40 7 (4 6).<
Page 107 of 159
107n
OverviewControlsMaintenanceRepairsDataIndex
Hardtop
*
Two people are required for installation
or removal. Work with extreme caution
in order to avoid paint damage and
damage to the body or hardtop.
To facilitate hardtop installation or
removal, you can obtain a specially
designed hardtop lift
* or hardtop rack
*
at your BMW center.
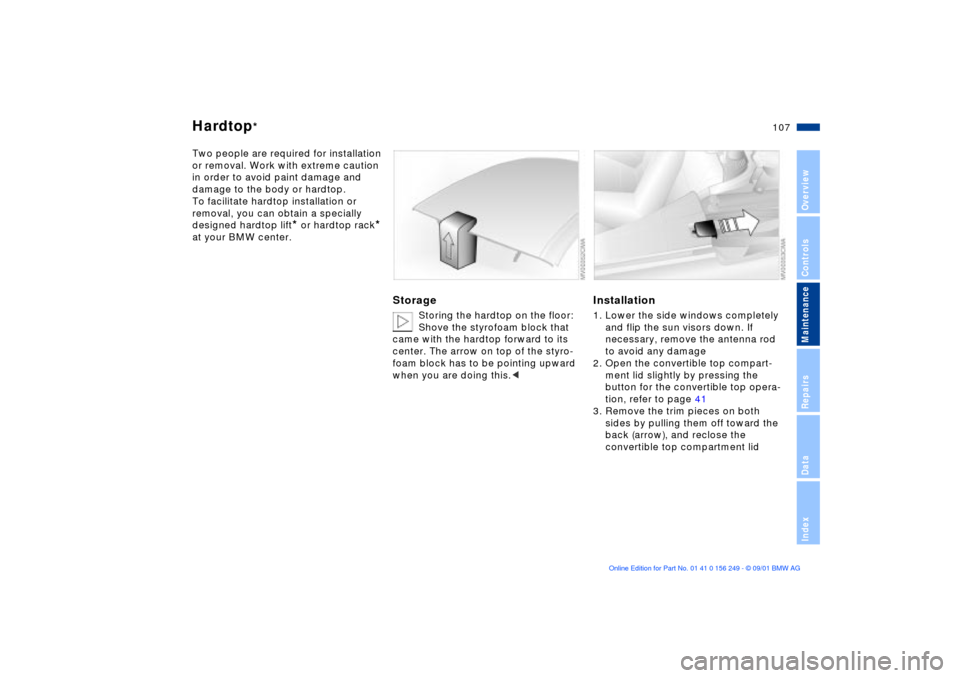
Storage
Storing the hardtop on the floor:
Shove the styrofoam block that
came with the hardtop forward to its
center. The arrow on top of the styro-
foam block has to be pointing upward
when you are doing this.<
Installation1. Lower the side windows completely
and flip the sun visors down. If
necessary, remove the antenna rod
to avoid any damage
2. Open the convertible top compart-
ment lid slightly by pressing the
button for the convertible top opera-
tion, refer to page 41
3. Remove the trim pieces on both
sides by pulling them off toward the
back (arrow), and reclose the
convertible top compartment lid
Page 140 of 159
140n
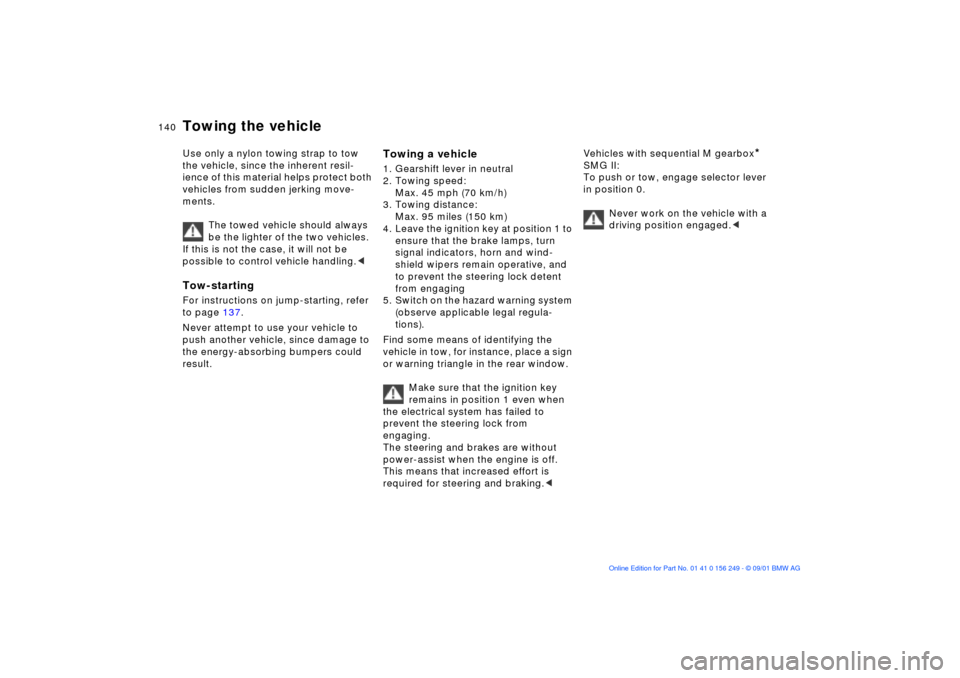
Towing the vehicleUse only a nylon towing strap to tow
the vehicle, since the inherent resil-
ience of this material helps protect both
vehicles from sudden jerking move-
ments.
The towed vehicle should always
be the lighter of the two vehicles.
If this is not the case, it will not be
possible to control vehicle handling.
Never attempt to use your vehicle to
push another vehicle, since damage to
the energy-absorbing bumpers could
result.
Towing a vehicle1. Gearshift lever in neutral
2. Towing speed:
Max. 45 mph (70 km/h)
3. Towing distance:
Max. 95 miles (150 km)
4. Leave the ignition key at position 1 to
ensure that the brake lamps, turn
signal indicators, horn and wind-
shield wipers remain operative, and
to prevent the steering lock detent
from engaging
5. Switch on the hazard warning system
(observe applicable legal regula-
tions).
Find some means of identifying the
vehicle in tow, for instance, place a sign
or warning triangle in the rear window.
Make sure that the ignition key
remains in position 1 even when
the electrical system has failed to
prevent the steering lock from
engaging.
The steering and brakes are without
power-assist when the engine is off.
This means that increased effort is
required for steering and braking.c
Vehicles with sequential M gearbox
*
SMG II:
To push or tow, engage selector lever
in position 0.
Never work on the vehicle with a
driving position engaged.c
Page 151 of 159
Everything from A to Z
151n
OverviewControlsMaintenanceRepairsDataIndex
Car wash systems, refer to
the "Caring for your
vehicle" manual
Cargo loading100
CBC (Cornering Brake
Control)105
Cellular phone96
hands-free system96
speaker96
Center (high-mount) brake
lamp131
Center armrest96
Central locking system28
Check Control77
Checking engine coolant
level118t
Checking engine oil
level116t
Child Seat Safety57
Child-restraint systems54
Cigarette lighter97
Clean the headlamps72
Cleaning windshield72
Clock77
also refer to the "Radio
Owner's Manual" or to the
"Onboard Computer
Owner's Manual" Cockpit14
Coin box96
Combination switch70
Compression ratio144
Computer
also refer to the "Onboard
Computer Owner's
Manual"78
Configure personal settings,
Vehicle Memory, Key
Memory60
Connecting electrical
appliances97
Connecting vacuum
cleaner97
Consumption display76
Consumption, fuel79
Control elements14
Convertible top
electrical
malfunction42t
Coolant118, 147
Coolant temperature
gauge76
Cooling system,
capacities147
Copyright4 Cornering Brake Control
(CBC)105
Correct sitting position44
Cruise control73
Cruising range79
Cup holder, refer to
beverage holder96
Curb weight146
D
Dashboard
lighting86
Data
dimensions145
engine144
technical144
weights146
Daytime driving lamps85
Deep water105
Defroster, rear window89
Defrosting the windows92
Digital clock77
also refer to the "Radio
Owner's Manual"
Dimensions145 Dimming inside rearview
mirror51
Dipstick, engine oil116
Disc brakes106
Displacement144
Display lighting86
Displays15
Distance warning80
Door key28
Door mirror50
Doors
electrical
malfunction29t
manual operation29t
remote control30
unlocking and locking29
Draft-free ventilation90, 94
Driving lamps85
Driving notes
aquaplaning105
brakes105
disc brakes106
in general105
DSC (Dynamic Stability
Control)81
Dynamic Stability Control
(DSC)81
indicator lamp19
Page 152 of 159
Everything from A to ZE
Electric power windows39
Electrical accessories,
failure136t
Electrical malfunction
convertible top42t
doors29t
fuel filler door22t
luggage compartment
lid34t
Electrical outlet97
Emergency release of
luggage compartment lid
from luggage
compartment's interior35
Engine
coolant118
coolant, capacity147
data144
displacement144
output144
starting61t
torque144
Engine compartment114
Engine coolant,
adding118t Engine oil
add116t
capacity147
consumption116
for low ambient
temperatures117
oil dip stick116
pressure17
quality117
temperature75
types117
viscosity117
Engine oil level
checking114t
indicator lamp19
Engine speed144
Entering the rear of the
vehicle47
Entry toward rear47
Eyelets, towing139t
F
Failure messages77
Filling capacities147
Filling the washer
reservoir115t
First-aid kit22 Flat tire109
repairing132
Flat Tire Monitor82
indicator lamp17, 19
Fog lamps86
bulb replacement129t
Follow me home lamps85
Footbrake, refer to brake
system106
Front fog lamps86
Front head restraints46
Front seat adjusting44
Fuel24
consumption display76
gauge76
preparation144
Fuel consumption79
Fuel filler door22
electrical
malfunction22t
manual operation22t
Fuel gauge76
Fuel quality24
Fuel tank capacity147
Fuses, replacing136t G
Gas gauge76
Gasoline24
Gearshift lever63
Glove compartment95
Grilles88, 91
Gross vehicle weight146
H
Handbrake63
Hardtop106
Hazard warning flashers14
Hazard warning triangle22
Head restraints46
adjusting46
Headlamp cleaning
system114, 115
Headlamp covers,
care127t
Headlamp flasher86
Headlamp washer system,
capacities147
Heated mirror50
Heated seats49
Heater and
ventilation88, 91
Heavy loads100
Page 154 of 159
Everything from A to ZM
M Engine dynamics
control84
M Mobility system132
M+S-tires112
Maintenance76, 120
Malfunction displays77
Manual operation
convertible top42t
doors29t
fuel filler door22
luggage compartment
lid34t
Manual transmission63
Master key28
MFL (Multifunction steering
wheel21
MFL (Multifunction steering
wheel)21
Microfilter90, 94
Mirror50
inside rearview51
outside50
Mirror memory48 Mirrors
adjusting50
automatic curb
monitor51
heating50
Mobility system132
Modifications,
technical10, 121
Mounting the roof rack106
Multifunction steering wheel
(MFL)21
O
OBD interface socket122
Odometer75
Oil
additives117
capacity147
consumption116
oil dipstick116
quality117
types117
viscosity117
Oil change intervals, refer to
the Service and Warranty
Information Booklet (US
models) or the Warranty
and Service Guide Booklet
(Canadian models) Oil dipstick116
Oil filter change147
Oil level
checking116t
indicator lamp19
Oil pressure, indicator
lamp17
OILSERVICE76
Onboard Computer
also refer to the "Owner's
Manual for Onboard
Computer"
Onboard tool kit126t
Opening and closing
from inside33
via the door lock29
via the remote control30
Operating vehicle at low
ambient
temperatures117
Outlets, ventilation88, 91
Output, engine144
Outside temperature
display78 P
Paintwork, care, refer to the
"Caring for your vehicle"
manual
Park Distance Control
(PDC)80
Parking brake63
Parking help80
Parking lamps85
bulb replacement127t
PDC (Park Distance
Control)80
Pollen filter90, 94
Power windows39
Prevent accidental alarm38
R
Radiator147
Rain sensor71
Reading lamps87
Rear entry aid47
Rear head restraints46
Rear window
defroster89, 93
Rearview mirror50
Recirculated-air
mode89, 93
Reclining seat44
Page 155 of 159
Everything from A to Z
155n
OverviewControlsMaintenanceRepairsDataIndex
Refueling22
Releasing
fuel filler door following an
electrical
malfunction22t
Remote control30
Removing condensation
from the windows92
Replace windshield wiper
blades126t
Replacement key28
Replacing bulbs126t
Reporting safety defects11
Restraint system54
Rims111
Rollover protection
system58
indicator lamp20
lowering58t
Roof load capacity146
Roof-mounted luggage
rack101 S
Safety belts47, 48
Safety buttons33
Seat adjustment
lumbar support45
thigh support45
Seat heating49
Seat memory48
Seat-integrated safety belts
(SGS)47
Seats
adjusting44, 45
Secure glove compartment
and luggage compartment
separately34
Securing cargo100
Securing cargo in luggage
compartment101
Sequential M gearbox
SMG II64
Service and Warranty
Information Booklet120
Service Interval
Display76, 120
Set clock77
Set interior temperature92
SGS (Seat-integrated safety
belts)47 Side airbags52
Side impact Head Protection
System52
Side turn signals
bulb replacement128t
Ski bag98
Snow chains112
Spare key28
Speedometer15
Sport-mode
identification84
Standing lamps86
Starting problems62t
Steering lock61
Steering wheel with
multifunction buttons21
Steering wheel,
adjusting50
Stopping the vehicle62
Storage areas96
Storage compartments96
Stowing cargo100
Stroke144
Summer tires111
Switching off the engine62
Symbols, used8 T
Tachometer75
Tail lamps129
bulb replacement129t
Tank capacity147
Technical data144
Technical
modifications10, 121
Telephone hookup96
Temperature display
ice warning78
interior temperature92
outside temperature78
Temperature gauge
engine coolant76
Temperature
layering90, 94
Temperature, adjusting89
Thigh support, adjusting45
Third brake lamp131
Tilt alarm sensor38
deactivate31
remote control31
Tire inflation
pressures24, 25, 109
Tire wear indicator109
Page 156 of 159
Everything from A to ZTires
marking111
profile109
replacing110
Tires and wheels111
Tools126t
Torque144
Towing eyelets139t
Towing the vehicle139t
Track145
Transmission63
Transporting children
safely54
Tread depth, tires109
Trip odometer75
Trunk lid, refer to luggage
compartment lid34
Turn signal indicator70
bulb replacement128t
indicator lamp20
Turning radius145 U
Uniform Tire Quality
Grading110
Upholstery material, refer to
the "Caring for your
vehicle" manual
Used batteries136t
V
Vehicle battery136
Vehicle Memory60
Vehicle weight146
Ventilation88, 91
draftfree90, 94
Ventilation while parked,
refer to the "Onboard
Computer Owner's
Manual"
W
Warning lamps17
Warning messages77
Warranty and Service
Guide120
Washing your vehicle, refer
to the "Caring for your
vehicle" manual
Water on roadways105
Wear indicator in the
tires109 Weights146
Wheel and tire
combinations111
Wheelbase145
Wheelslip control, refer to
DSC81
Width145
Windows, convenience
operation29
Windshield washer reservoir,
capacities147
Windshield wiper71
Winter tires112
Wiper system71
Work in the engine
compartment113t
X
Xenon lamps127