check engine BMW M3 CONVERTIBLE 2004 E46 User Guide
[x] Cancel search | Manufacturer: BMW, Model Year: 2004, Model line: M3 CONVERTIBLE, Model: BMW M3 CONVERTIBLE 2004 E46Pages: 174, PDF Size: 2.67 MB
Page 125 of 174
125
1Filler neck for windshield and head-
lamp washer cleaning system126
2Coolant expansion tank128
3Auxiliary terminal for jump-starting –
positive terminal147
4Engine oil filler neck127
5Expansion tank for SMG Drivelogic
hydraulic unit – checking and possi-
ble refilling by your BMW center70
6Engine oil dipstick126
7Filler neck for brake fluid129Engine compartment essentials
OverviewControlsMaintenanceRepairsDataIndex
Page 126 of 174
126
Washer fluidsHeadlamp* and windshield
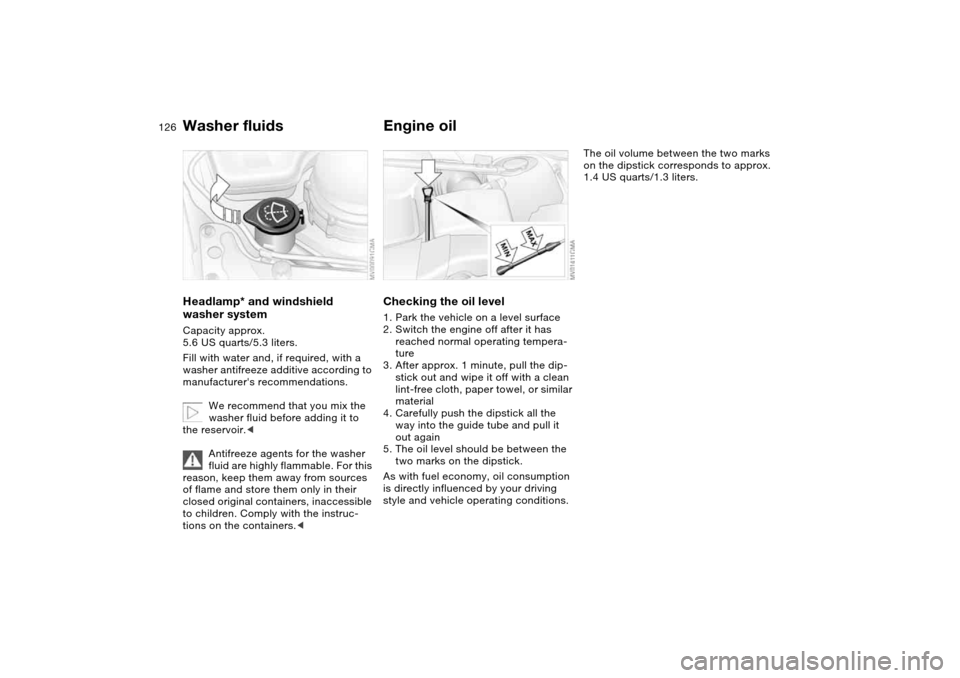
washer systemCapacity approx.
5.6 US quarts/5.3 liters.
Fill with water and, if required, with a
washer antifreeze additive according to
manufacturer's recommendations.
We recommend that you mix the
washer fluid before adding it to
the reservoir.<
Antifreeze agents for the washer
fluid are highly flammable. For this
reason, keep them away from sources
of flame and store them only in their
closed original containers, inaccessible
to children. Comply with the instruc-
tions on the containers.<
Engine oilChecking the oil level1. Park the vehicle on a level surface
2. Switch the engine off after it has
reached normal operating tempera-
ture
3. After approx. 1 minute, pull the dip-
stick out and wipe it off with a clean
lint-free cloth, paper towel, or similar
material
4. Carefully push the dipstick all the
way into the guide tube and pull it
out again
5. The oil level should be between the
two marks on the dipstick.
As with fuel economy, oil consumption
is directly influenced by your driving
style and vehicle operating conditions.
The oil volume between the two marks
on the dipstick corresponds to approx.
1.4 US quarts/1.3 liters.
Page 127 of 174
127
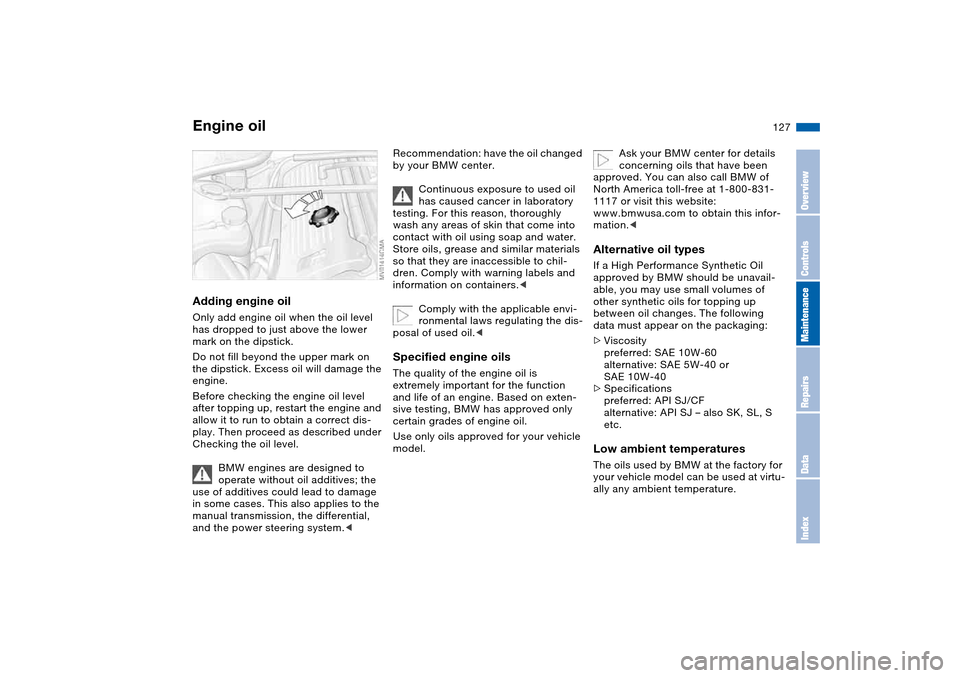
Adding engine oilOnly add engine oil when the oil level
has dropped to just above the lower
mark on the dipstick.
Do not fill beyond the upper mark on
the dipstick. Excess oil will damage the
engine.
Before checking the engine oil level
after topping up, restart the engine and
allow it to run to obtain a correct dis-
play. Then proceed as described under
Checking the oil level.
BMW engines are designed to
operate without oil additives; the
use of additives could lead to damage
in some cases. This also applies to the
manual transmission, the differential,
and the power steering system.<
Recommendation: have the oil changed
by your BMW center.
Continuous exposure to used oil
has caused cancer in laboratory
testing. For this reason, thoroughly
wash any areas of skin that come into
contact with oil using soap and water.
Store oils, grease and similar materials
so that they are inaccessible to chil-
dren. Comply with warning labels and
information on containers.<
Comply with the applicable envi-
ronmental laws regulating the dis-
posal of used oil.
and life of an engine. Based on exten-
sive testing, BMW has approved only
certain grades of engine oil.
Use only oils approved for your vehicle
model.
Ask your BMW center for details
concerning oils that have been
approved. You can also call BMW of
North America toll-free at 1-800-831-
1117 or visit this website:
www.bmwusa.com to obtain this infor-
mation.<
Alternative oil typesIf a High Performance Synthetic Oil
approved by BMW should be unavail-
able, you may use small volumes of
other synthetic oils for topping up
between oil changes. The following
data must appear on the packaging:
>Viscosity
preferred: SAE 10W-60
alternative: SAE 5W-40 or
SAE 10W-40
>Specifications
preferred: API SJ/CF
alternative: API SJ – also SK, SL, S
etc.Low ambient temperaturesThe oils used by BMW at the factory for
your vehicle model can be used at virtu-
ally any ambient temperature.
Engine oil
OverviewControlsMaintenanceRepairsDataIndex
Page 128 of 174
128
However, if the vehicle is exposed to
temperatures below –47/–206 for
extended periods, please have your
BMW center recommend a suitable oil.
Coolant
Do not add coolant to the cooling
system when the engine is hot. If
you attempt to do so, escaping coolant
can cause burns.
Antifreeze and anti-corrosion agents
are hazardous to health. You should
always store them in their closed origi-
nal containers and in a location inac-
cessible to children. Antifreeze and
anti-corrosion agents are inflammable.
For this reason, do not spill them on hot
engine parts. They could ignite and
cause burns. Comply with the instruc-
tions on the containers.<
Comply with the applicable envi-
ronmental laws regulating the dis-
posal of antifreeze agents with corro-
sion inhibitor.<
Checking coolant level and
adding coolant Check the coolant level when the
engine is cold, approx. 687/+206.
1. Open the cap for the expansion tank
by turning it slightly counterclock-
wise to allow accumulated pressure
to escape. Then open
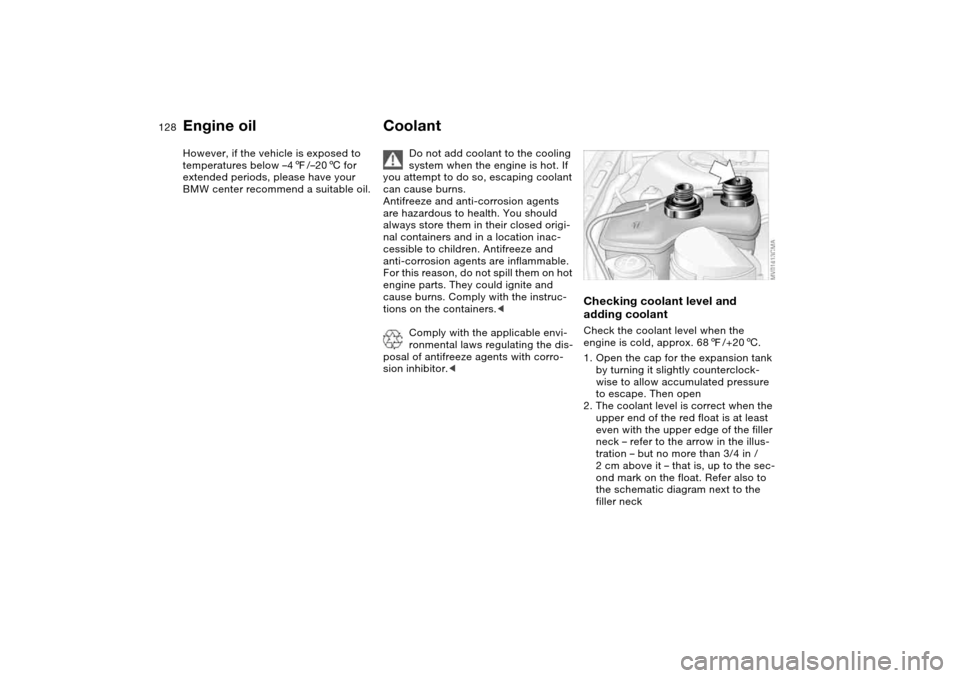
2. The coolant level is correct when the
upper end of the red float is at least
even with the upper edge of the filler
neck – refer to the arrow in the illus-
tration – but no more than 3/4 in /
2 cm above it – that is, up to the sec-
ond mark on the float. Refer also to
the schematic diagram next to the
filler neck
Engine oil
Page 130 of 174
130Maintenance
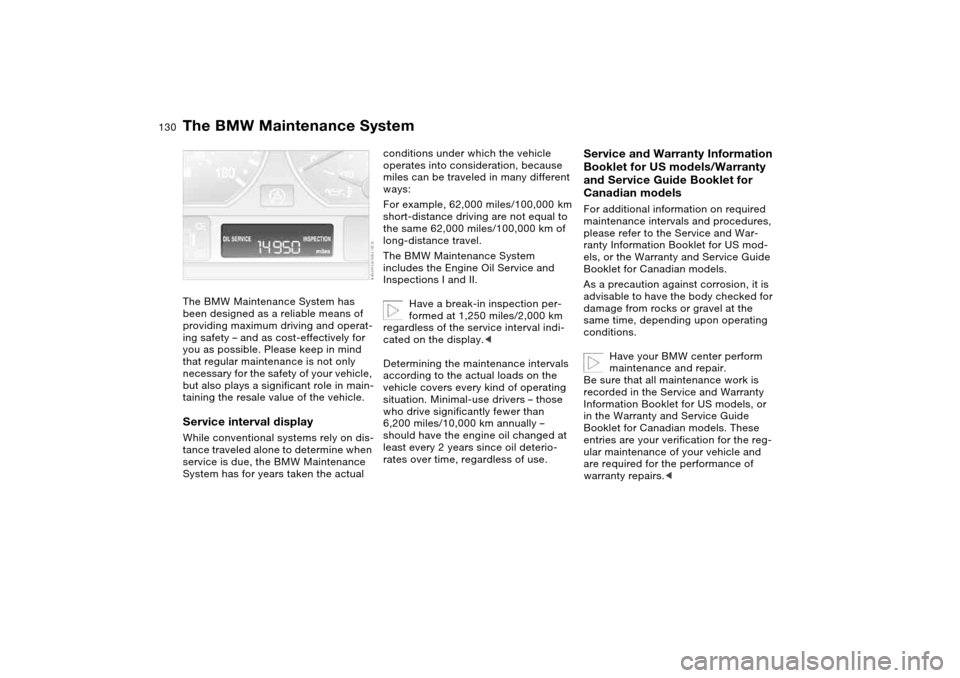
The BMW Maintenance SystemThe BMW Maintenance System has
been designed as a reliable means of
providing maximum driving and operat-
ing safety – and as cost-effectively for
you as possible. Please keep in mind
that regular maintenance is not only
necessary for the safety of your vehicle,
but also plays a significant role in main-
taining the resale value of the vehicle.Service interval displayWhile conventional systems rely on dis-
tance traveled alone to determine when
service is due, the BMW Maintenance
System has for years taken the actual
conditions under which the vehicle
operates into consideration, because
miles can be traveled in many different
ways:
For example, 62,000 miles/100,000 km
short-distance driving are not equal to
the same 62,000 miles/100,000 km of
long-distance travel.
The BMW Maintenance System
includes the Engine Oil Service and
Inspections I and II.
Have a break-in inspection per-
formed at 1,250 miles/2,000 km
regardless of the service interval indi-
cated on the display.<
Determining the maintenance intervals
according to the actual loads on the
vehicle covers every kind of operating
situation. Minimal-use drivers – those
who drive significantly fewer than
6,200 miles/10,000 km annually –
should have the engine oil changed at
least every 2 years since oil deterio-
rates over time, regardless of use.
Service and Warranty Information
Booklet for US models/Warranty
and Service Guide Booklet for
Canadian modelsFor additional information on required
maintenance intervals and procedures,
please refer to the Service and War-
ranty Information Booklet for US mod-
els, or the Warranty and Service Guide
Booklet for Canadian models.
As a precaution against corrosion, it is
advisable to have the body checked for
damage from rocks or gravel at the
same time, depending upon operating
conditions.
Have your BMW center perform
maintenance and repair.
Be sure that all maintenance work is
recorded in the Service and Warranty
Information Booklet for US models, or
in the Warranty and Service Guide
Booklet for Canadian models. These
entries are your verification for the reg-
ular maintenance of your vehicle and
are required for the performance of
warranty repairs.<
Page 132 of 174
132Laws and regulations
California Proposition 65 warningCalifornia laws require us to state the
following warning:
Engine exhaust and a wide variety
of automobile components and
parts, including components found in
the interior furnishings in a vehicle, con-
tain or emit chemicals known to the
State of California to cause cancer and
birth defects and reproductive harm. In
addition, certain fluids contained in
vehicles and certain products of com-
ponent wear contain or emit chemicals
known to the State of California to
cause cancer and birth defects or other
reproductive harm.
Battery posts, terminals and related
accessories contain lead and lead com-
pounds. Wash your hands after hand-
ling.
Used engine oil contains chemicals that
have caused cancer in laboratory ani-
mals. Always protect your skin by
washing thoroughly with soap and
water.<
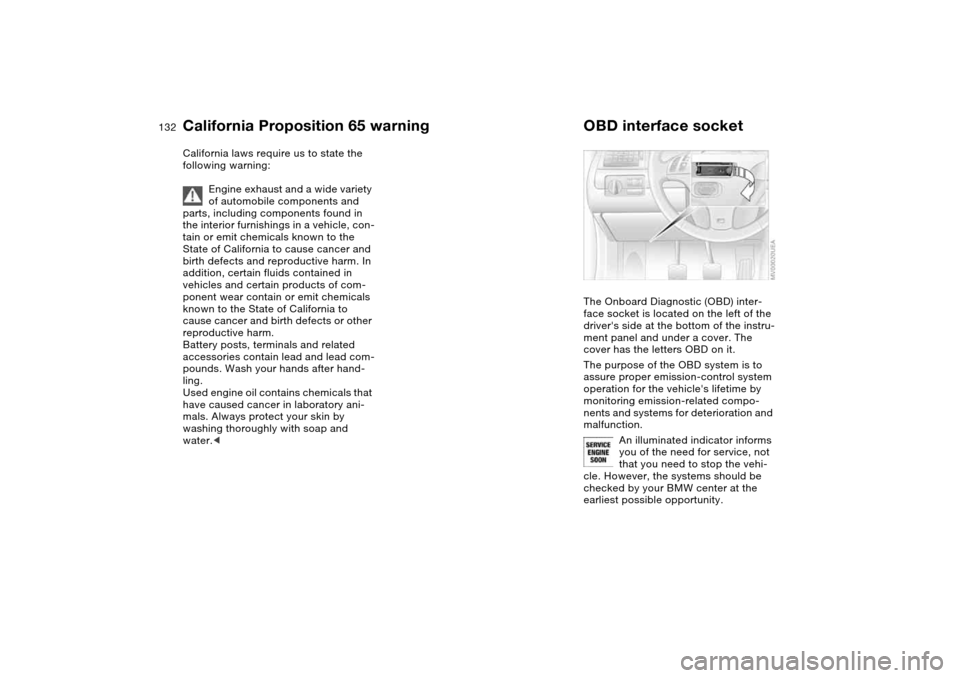
OBD interface socketThe Onboard Diagnostic (OBD) inter-
face socket is located on the left of the
driver's side at the bottom of the instru-
ment panel and under a cover. The
cover has the letters OBD on it.
The purpose of the OBD system is to
assure proper emission-control system
operation for the vehicle's lifetime by
monitoring emission-related compo-
nents and systems for deterioration and
malfunction.
An illuminated indicator informs
you of the need for service, not
that you need to stop the vehi-
cle. However, the systems should be
checked by your BMW center at the
earliest possible opportunity.
Page 147 of 174
147
Jump-startingWhen your battery is discharged, you
can use two jumper cables to start your
vehicle with power from the battery in a
second vehicle. You can also use the
same method to help start another
vehicle. Use only jumper cables with
fully insulated handles on the terminal
clamps.
Do not touch high-voltage wiring
and cables on a running engine.
Contact with components carrying high
voltage can be harmful or fatal.
Carefully observe the following instruc-
tions to avoid personal injury and/or
damage to one or both vehicles.
approximately the same capacity –
measured in Ah. This information is
provided on the battery
2. Stop the engine of the support vehi-
cle
3. Switch off all electrical components
in both vehicles.
Make absolutely certain that there
is no contact between the body-
work of the two vehicles, otherwise
there is a short circuit hazard.<
Connecting the jumper cables
Always adhere to this sequence
when connecting jumper cables;
failure to observe this procedure can
lead to sparks at the battery terminals
and pose an injury hazard.<
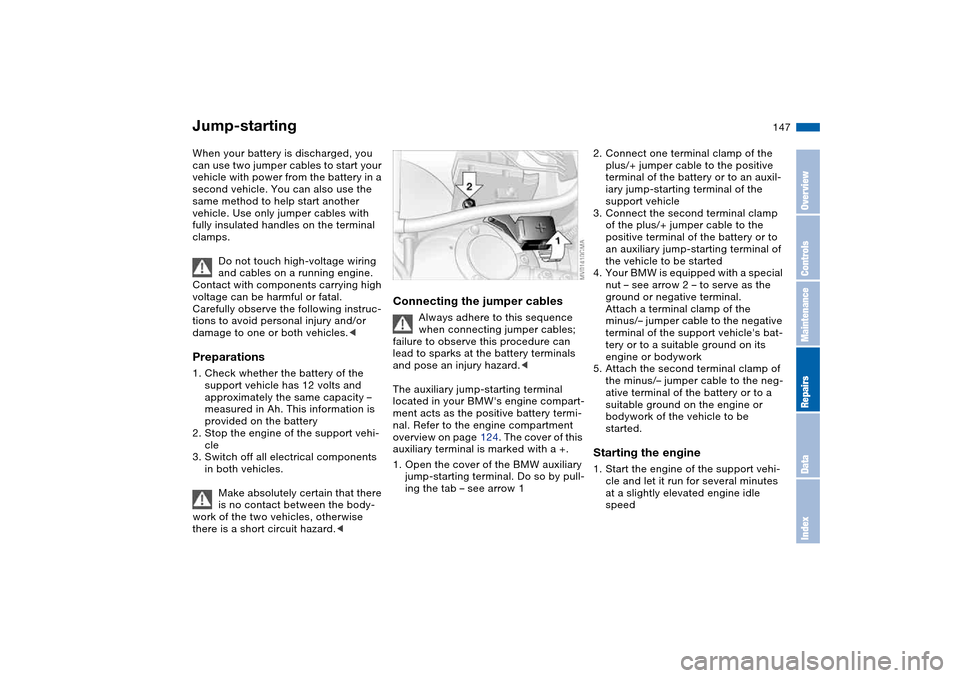
The auxiliary jump-starting terminal
located in your BMW's engine compart-
ment acts as the positive battery termi-
nal. Refer to the engine compartment
overview on page 124. The cover of this
auxiliary terminal is marked with a +.
1. Open the cover of the BMW auxiliary
jump-starting terminal. Do so by pull-
ing the tab – see arrow 1
2. Connect one terminal clamp of the
plus/+ jumper cable to the positive
terminal of the battery or to an auxil-
iary jump-starting terminal of the
support vehicle
3. Connect the second terminal clamp
of the plus/+ jumper cable to the
positive terminal of the battery or to
an auxiliary jump-starting terminal of
the vehicle to be started
4. Your BMW is equipped with a special
nut – see arrow 2 – to serve as the
ground or negative terminal.
Attach a terminal clamp of the
minus/– jumper cable to the negative
terminal of the support vehicle's bat-
tery or to a suitable ground on its
engine or bodywork
5. Attach the second terminal clamp of
the minus/– jumper cable to the neg-
ative terminal of the battery or to a
suitable ground on the engine or
bodywork of the vehicle to be
started.Starting the engine1. Start the engine of the support vehi-
cle and let it run for several minutes
at a slightly elevated engine idle
speed
OverviewControlsMaintenanceRepairsDataIndex
Page 157 of 174
157
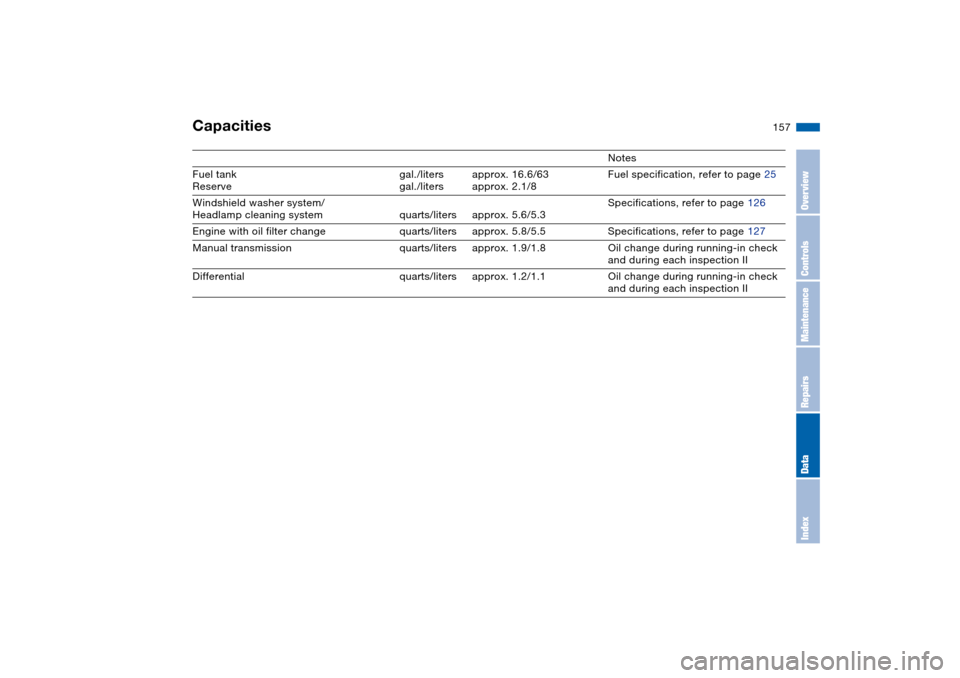
Capacities
Notes
Fuel tank
Reservegal./liters
gal./litersapprox. 16.6/63
approx. 2.1/8Fuel specification, refer to page 25
Windshield washer system/
Headlamp cleaning system quarts/liters approx. 5.6/5.3Specifications, refer to page 126
Engine with oil filter change quarts/liters approx. 5.8/5.5 Specifications, refer to page 127
Manual transmission quarts/liters approx. 1.9/1.8 Oil change during running-in check
and during each inspection II
Differential quarts/liters approx. 1.2/1.1 Oil change during running-in check
and during each inspection II
OverviewControlsMaintenanceRepairsDataIndex
Page 161 of 174
Everything from A to Z
161
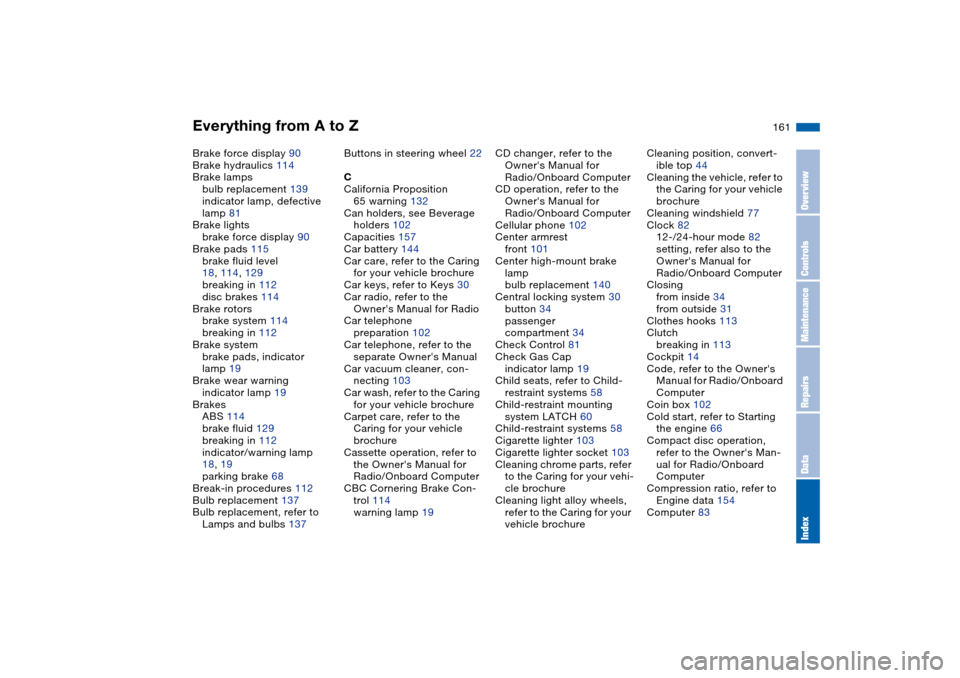
Brake force display 90
Brake hydraulics 114
Brake lamps
bulb replacement 139
indicator lamp, defective
lamp 81
Brake lights
brake force display 90
Brake pads 115
brake fluid level
18, 114, 129
breaking in 112
disc brakes 114
Brake rotors
brake system 114
breaking in 112
Brake system
brake pads, indicator
lamp 19
Brake wear warning
indicator lamp 19
Brakes
ABS 114
brake fluid 129
breaking in 112
indicator/warning lamp
18, 19
parking brake 68
Break-in procedures 112
Bulb replacement 137
Bulb replacement, refer to
Lamps and bulbs 137Buttons in steering wheel 22
C
California Proposition
65 warning 132
Can holders, see Beverage
holders 102
Capacities 157
Car battery 144
Car care, refer to the Caring
for your vehicle brochure
Car keys, refer to Keys 30
Car radio, refer to the
Owner's Manual for Radio
Car telephone
preparation 102
Car telephone, refer to the
separate Owner's Manual
Car vacuum cleaner, con-
necting 103
Car wash, refer to the Caring
for your vehicle brochure
Carpet care, refer to the
Caring for your vehicle
brochure
Cassette operation, refer to
the Owner's Manual for
Radio/Onboard Computer
CBC Cornering Brake Con-
trol 114
warning lamp 19CD changer, refer to the
Owner's Manual for
Radio/Onboard Computer
CD operation, refer to the
Owner's Manual for
Radio/Onboard Computer
Cellular phone 102
Center armrest
front 101
Center high-mount brake
lamp
bulb replacement 140
Central locking system 30
button 34
passenger
compartment 34
Check Control 81
Check Gas Cap
indicator lamp 19
Child seats, refer to Child-
restraint systems 58
Child-restraint mounting
system LATCH 60
Child-restraint systems 58
Cigarette lighter 103
Cigarette lighter socket 103
Cleaning chrome parts, refer
to the Caring for your vehi-
cle brochure
Cleaning light alloy wheels,
refer to the Caring for your
vehicle brochureCleaning position, convert-
ible top 44
Cleaning the vehicle, refer to
the Caring for your vehicle
brochure
Cleaning windshield 77
Clock 82
12-/24-hour mode 82
setting, refer also to the
Owner's Manual for
Radio/Onboard Computer
Closing
from inside 34
from outside 31
Clothes hooks 113
Clutch
breaking in 113
Cockpit 14
Code, refer to the Owner's
Manual for Radio/Onboard
Computer
Coin box 102
Cold start, refer to Starting
the engine 66
Compact disc operation,
refer to the Owner's Man-
ual for Radio/Onboard
Computer
Compression ratio, refer to
Engine data 154
Computer 83
OverviewControlsMaintenanceRepairsDataIndex
Page 163 of 174
Everything from A to Z
163
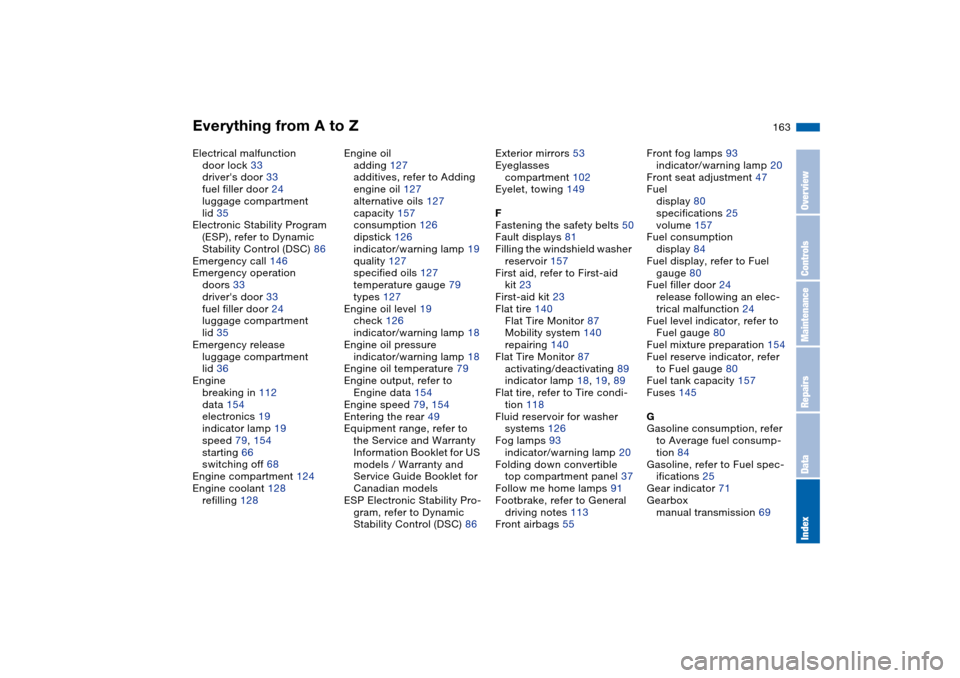
Electrical malfunction
door lock 33
driver's door 33
fuel filler door 24
luggage compartment
lid 35
Electronic Stability Program
(ESP), refer to Dynamic
Stability Control (DSC) 86
Emergency call 146
Emergency operation
doors 33
driver's door 33
fuel filler door 24
luggage compartment
lid 35
Emergency release
luggage compartment
lid 36
Engine
breaking in 112
data 154
electronics 19
indicator lamp 19
speed 79, 154
starting 66
switching off 68
Engine compartment 124
Engine coolant 128
refilling 128Engine oil
adding 127
additives, refer to Adding
engine oil 127
alternative oils 127
capacity 157
consumption 126
dipstick 126
indicator/warning lamp 19
quality 127
specified oils 127
temperature gauge 79
types 127
Engine oil level 19
check 126
indicator/warning lamp 18
Engine oil pressure
indicator/warning lamp 18
Engine oil temperature 79
Engine output, refer to
Engine data 154
Engine speed 79, 154
Entering the rear 49
Equipment range, refer to
the Service and Warranty
Information Booklet for US
models / Warranty and
Service Guide Booklet for
Canadian models
ESP Electronic Stability Pro-
gram, refer to Dynamic
Stability Control (DSC) 86Exterior mirrors 53
Eyeglasses
compartment 102
Eyelet, towing 149
F
Fastening the safety belts 50
Fault displays 81
Filling the windshield washer
reservoir 157
First aid, refer to First-aid
kit 23
First-aid kit 23
Flat tire 140
Flat Tire Monitor 87
Mobility system 140
repairing 140
Flat Tire Monitor 87
activating/deactivating 89
indicator lamp 18, 19, 89
Flat tire, refer to Tire condi-
tion 118
Fluid reservoir for washer
systems 126
Fog lamps 93
indicator/warning lamp 20
Folding down convertible
top compartment panel 37
Follow me home lamps 91
Footbrake, refer to General
driving notes 113
Front airbags 55Front fog lamps 93
indicator/warning lamp 20
Front seat adjustment 47
Fuel
display 80
specifications 25
volume 157
Fuel consumption
display 84
Fuel display, refer to Fuel
gauge 80
Fuel filler door 24
release following an elec-
trical malfunction 24
Fuel level indicator, refer to
Fuel gauge 80
Fuel mixture preparation 154
Fuel reserve indicator, refer
to Fuel gauge 80
Fuel tank capacity 157
Fuses 145
G
Gasoline consumption, refer
to Average fuel consump-
tion 84
Gasoline, refer to Fuel spec-
ifications 25
Gear indicator 71
Gearbox
manual transmission 69
OverviewControlsMaintenanceRepairsDataIndex