BMW M3 COUPE 2001 E46 Owners Manual
Manufacturer: BMW, Model Year: 2001, Model line: M3 COUPE, Model: BMW M3 COUPE 2001 E46Pages: 183, PDF Size: 1.65 MB
Page 91 of 183
91n
IndexDataTechnologyRepairsCar careControlsOverview
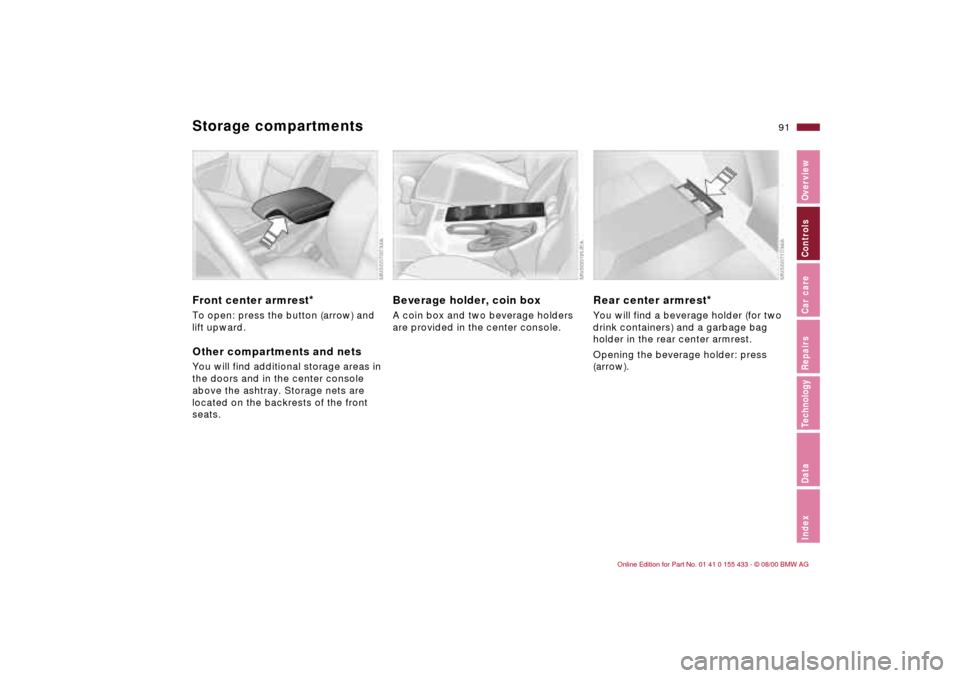
Storage compartments Front center armrest
*
To open: press the button (arrow) and
lift upward.Other compartments and netsYou will find additional storage areas in
the doors and in the center console
above the ashtray. Storage nets are
located on the backrests of the front
seats.
Beverage holder, coin box A coin box and two beverage holders
are provided in the center console.
Rear center armrest
*
You will find a beverage holder (for two
drink containers) and a garbage bag
holder in the rear center armrest.
Opening the beverage holder: press
(arrow).
Page 92 of 183
92n
Storage compartments Cellular phone
*
Ashtray, front
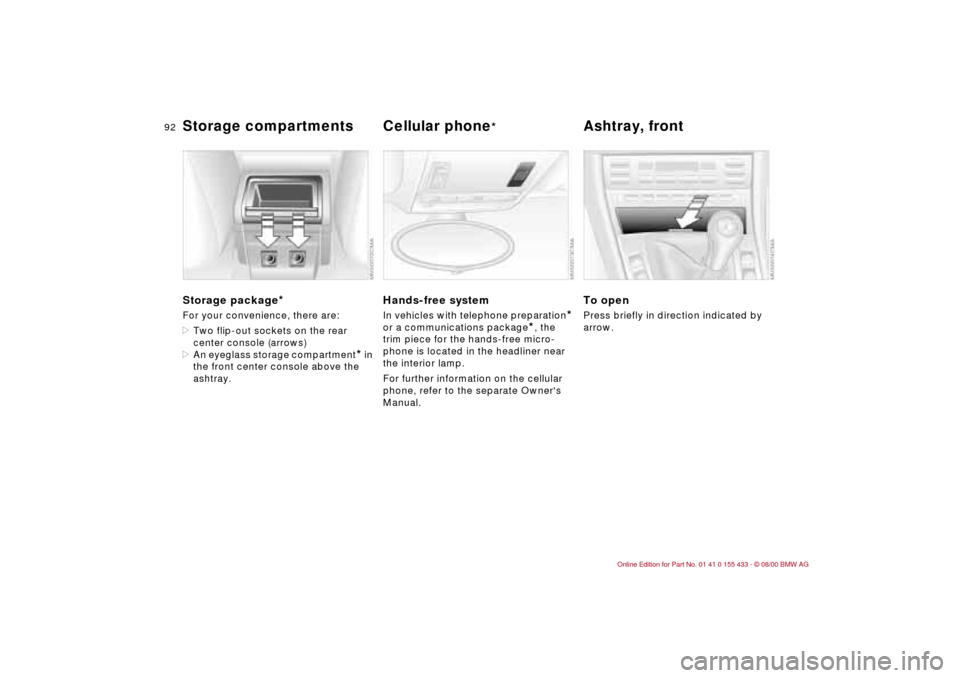
Storage package
*
For your convenience, there are:
>Two flip-out sockets on the rear
center console (arrows)
>An eyeglass storage compartment
* in
the front center console above the
ashtray.
Hands-free systemIn vehicles with telephone preparation
*
or a communications package
*, the
trim piece for the hands-free micro-
phone is located in the headliner near
the interior lamp.
For further information on the cellular
phone, refer to the separate Owner's
Manual.
To openPress briefly in direction indicated by
arrow.
Page 93 of 183
93n
IndexDataTechnologyRepairsCar careControlsOverview
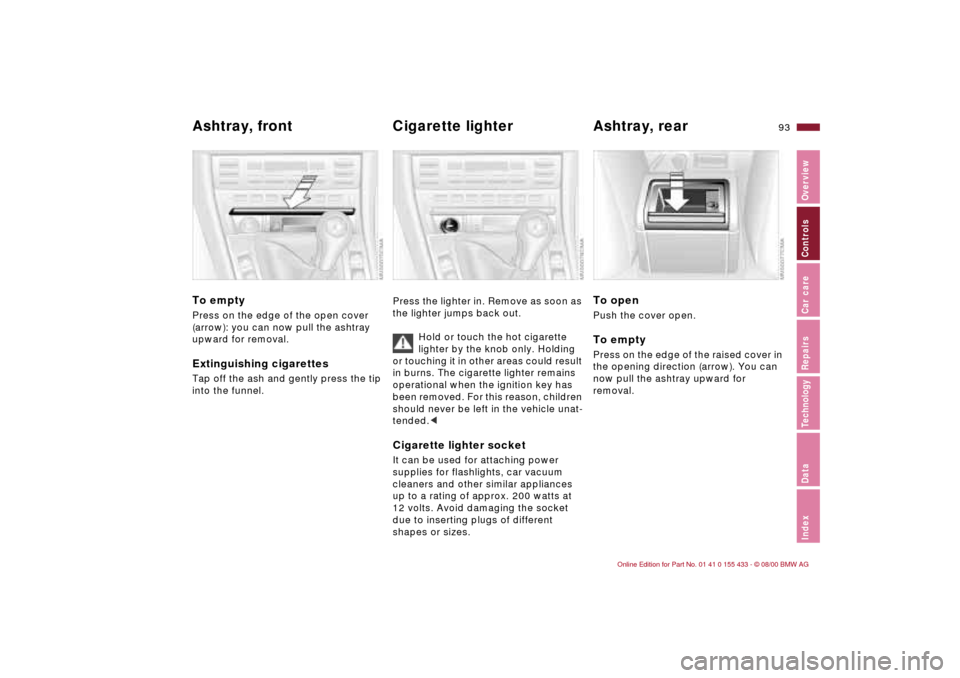
Ashtray, front Cigarette lighter Ashtray, rear To emptyPress on the edge of the open cover
(arrow): you can now pull the ashtray
upward for removal.Extinguishing cigarettesTap off the ash and gently press the tip
into the funnel.
Press the lighter in. Remove as soon as
the lighter jumps back out.
Hold or touch the hot cigarette
lighter by the knob only. Holding
or touching it in other areas could result
in burns. The cigarette lighter remains
operational when the ignition key has
been removed. For this reason, children
should never be left in the vehicle unat-
tended.< Cigarette lighter socketIt can be used for attaching power
supplies for flashlights, car vacuum
cleaners and other similar appliances
up to a rating of approx. 200 watts at
12 volts. Avoid damaging the socket
due to inserting plugs of different
shapes or sizes.
To openPush the cover open.To emptyPress on the edge of the raised cover in
the opening direction (arrow). You can
now pull the ashtray upward for
removal.
Page 94 of 183
94n
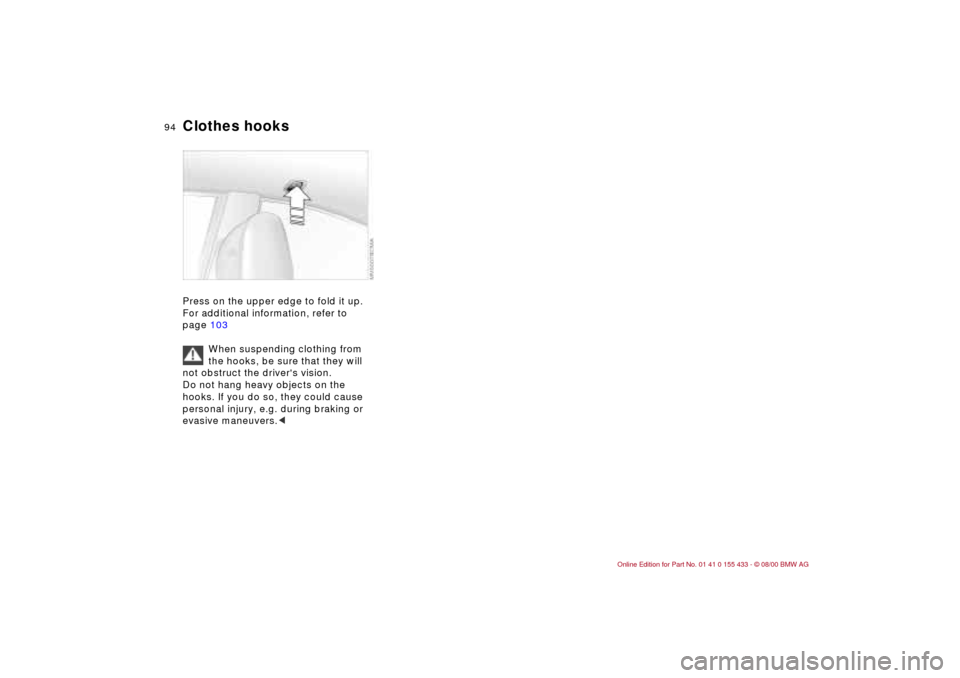
Clothes hooks Press on the upper edge to fold it up.
For additional information, refer to
page 103
When suspending clothing from
the hooks, be sure that they will
not obstruct the driver's vision.
Do not hang heavy objects on the
hooks. If you do so, they could cause
personal injury, e.g. during braking or
evasive maneuvers.<
Page 95 of 183
95n
IndexDataTechnologyRepairsCar careControlsOverview
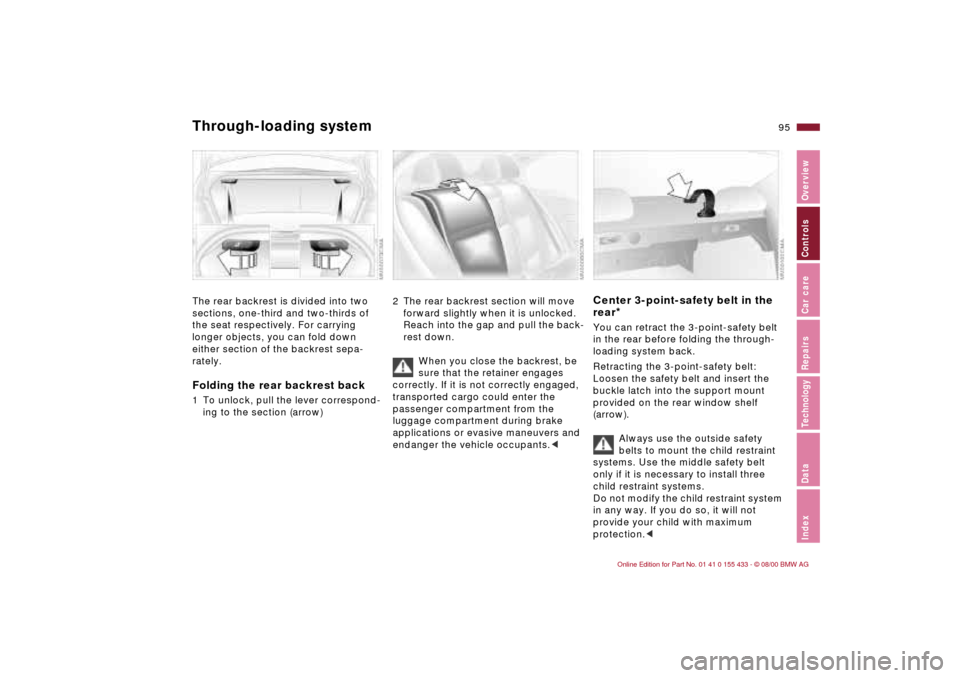
Through-loading systemThe rear backrest is divided into two
sections, one-third and two-thirds of
the seat respectively. For carrying
longer objects, you can fold down
either section of the backrest sepa-
rately.Folding the rear backrest back1 To unlock, pull the lever correspond-
ing to the section (arrow)
2 The rear backrest section will move
forward slightly when it is unlocked.
Reach into the gap and pull the back-
rest down.
When you close the backrest, be
sure that the retainer engages
correctly. If it is not correctly engaged,
transported cargo could enter the
passenger compartment from the
luggage compartment during brake
applications or evasive maneuvers and
endanger the vehicle occupants.<
Center 3-point-safety belt in the
rear
*
You can retract the 3-point-safety belt
in the rear before folding the through-
loading system back.
Retracting the 3-point-safety belt:
Loosen the safety belt and insert the
buckle latch into the support mount
provided on the rear window shelf
(arrow).
Always use the outside safety
belts to mount the child restraint
systems. Use the middle safety belt
only if it is necessary to install three
child restraint systems.
Do not modify the child restraint system
in any way. If you do so, it will not
provide your child with maximum
protection.<
Page 96 of 183
96n
Ski bag
*
The ski bag allows the safe and clean
transport of up to 4 pairs of standard
skis or up to two snowboards.
The length of the ski bag and the addi-
tional space provided in the luggage
compartment make it possible to carry
skis up to 6.8 ft long (2.1 0 meters).
Because of the tapered shape of the ski
bag, it can only accommodate two pairs
of skis 6.8 ft long (2.1 0 meters).
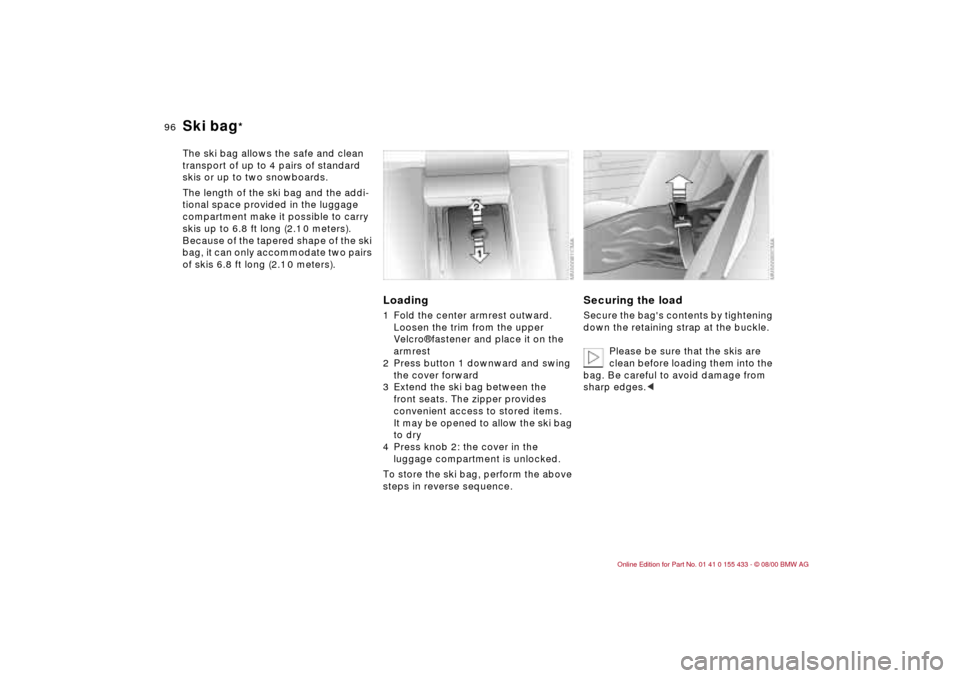
Loading1 Fold the center armrest outward.
Loosen the trim from the upper
Velcro¨ fastener and place it on the
armrest
2 Press button 1 downward and swing
the cover forward
3 Extend the ski bag between the
front seats. The zipper provides
convenient access to stored items.
It may be opened to allow the ski bag
to dry
4 Press knob 2: the cover in the
luggage compartment is unlocked.
To store the ski bag, perform the above
steps in reverse sequence.
Securing the loadSecure the bag's contents by tightening
down the retaining strap at the buckle.
Please be sure that the skis are
clean before loading them into the
bag. Be careful to avoid damage from
sharp edges.<
Page 97 of 183
97n
IndexDataTechnologyRepairsCar careControlsOverview
Cargo loading
Always position and secure the
load correctly. If you do not, it
can endanger the passengers during
braking or evasive maneuvers.
Do not exceed the permissible gross
weight and axle load (refer to
page 168), otherwise the vehicle's
operating safety is no longer assured
and you are in violation of the law.
Do not stow heavy or hard objects in
the passenger compartment without
first securing them. Otherwise they
would be thrown around during braking
and evasive maneuvers and endanger
the occupants.<
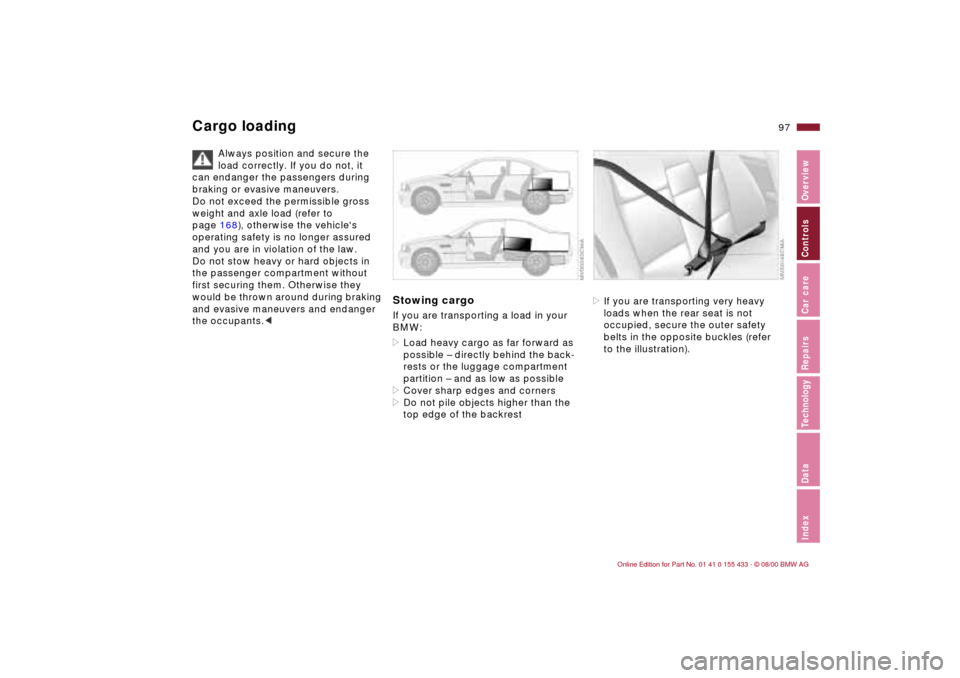
Stowing cargo If you are transporting a load in your
BMW:
>Load heavy cargo as far forward as
possible Ð directly behind the back-
rests or the luggage compartment
partition Ð and as low as possible
>Cover sharp edges and corners
>Do not pile objects higher than the
top edge of the backrest
>If you are transporting very heavy
loads when the rear seat is not
occupied, secure the outer safety
belts in the opposite buckles (refer
to the illustration).
Page 98 of 183
98n
Cargo loading Roof-mounted luggage rack
*
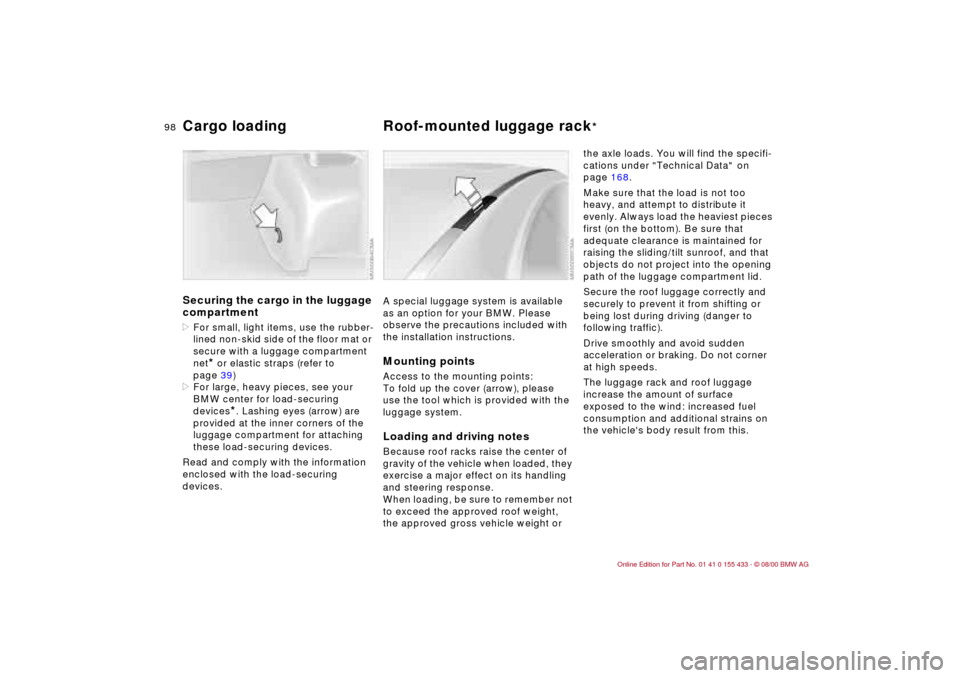
Securing the cargo in the luggage
compartment >For small, light items, use the rubber-
lined non-skid side of the floor mat or
secure with a luggage compartment
net
* or elastic straps (refer to
page 39)
>For large, heavy pieces, see your
BMW center for load-securing
devices
*. Lashing eyes (arrow) are
provided at the inner corners of the
luggage compartment for attaching
these load-securing devices.
Read and comply with the information
enclosed with the load-securing
devices.
A special luggage system is available
as an option for your BMW. Please
observe the precautions included with
the installation instructions.Mounting pointsAccess to the mounting points:
To fold up the cover (arrow), please
use the tool which is provided with the
luggage system.Loading and driving notesBecause roof racks raise the center of
gravity of the vehicle when loaded, they
exercise a major effect on its handling
and steering response.
When loading, be sure to remember not
to exceed the approved roof weight,
the approved gross vehicle weight or
the axle loads. You will find the specifi-
cations under "Technical Data" on
page 168.
Make sure that the load is not too
heavy, and attempt to distribute it
evenly. Always load the heaviest pieces
first (on the bottom). Be sure that
adequate clearance is maintained for
raising the sliding/tilt sunroof, and that
objects do not project into the opening
path of the luggage compartment lid.
Secure the roof luggage correctly and
securely to prevent it from shifting or
being lost during driving (danger to
following traffic).
Drive smoothly and avoid sudden
acceleration or braking. Do not corner
at high speeds.
The luggage rack and roof luggage
increase the amount of surface
exposed to the wind: increased fuel
consumption and additional strains on
the vehicle's body result from this.
Page 99 of 183
99n
IndexDataTechnologyRepairsCar careControlsOverview
Page 100 of 183
100n