BMW M3 COUPE 2001 E46 Service Manual
Manufacturer: BMW, Model Year: 2001, Model line: M3 COUPE, Model: BMW M3 COUPE 2001 E46Pages: 183, PDF Size: 1.65 MB
Page 41 of 183
41n
IndexDataTechnologyRepairsCar careControlsOverview
Alarm system
*
>If the indicator lamp flashes for
10 seconds when the system is
disarmed: an attempted entry has
been detected in the period since the
system was armed.
Following triggering of an alarm, the
indicator lamp will flash continuously.Avoiding unintentional alarms The tilt alarm sensor and interior motion
sensor may be switched off at the same
time. You can do this to prevent a false
alarm from being triggered (in garages
with elevator ramps, for instance), or
when the vehicle is transported by
trailer or train:
Lock the vehicle twice (= setting the
alarm). Press button 2 on the remote
control twice in succession or lock the
vehicle twice with the key. Refer to
page 34.
The indicator lamp lights up briefly and
then flashes continuously. The tilt alarm
sensor and the interior motion sensor
are deactivated as long as the system is
armed.
Reset the alarm to reactivate the tilt
sensor alarm system and the interior
motion sensor.
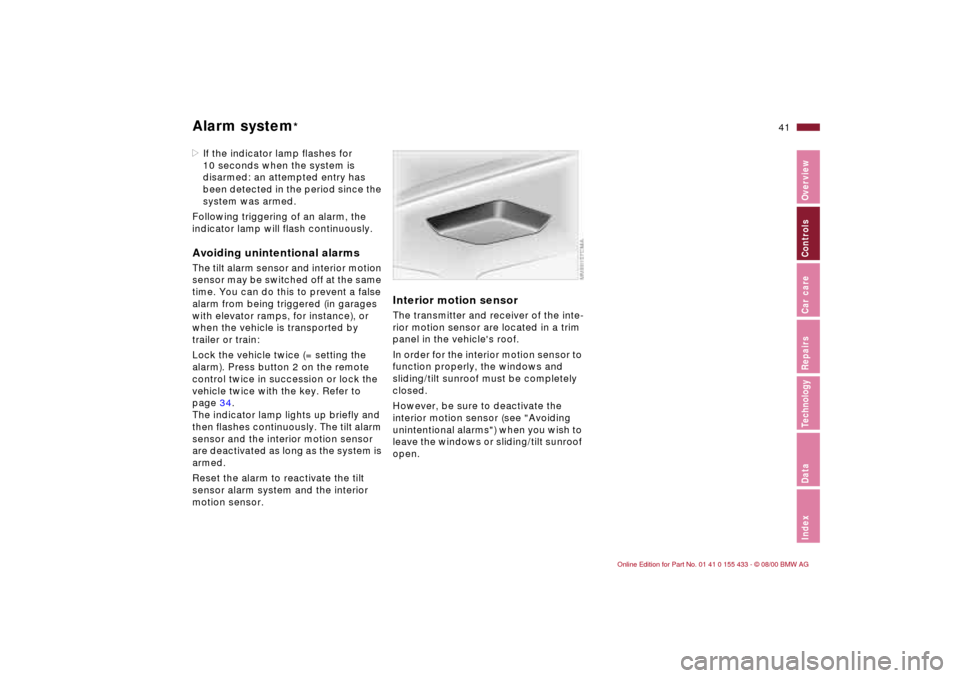
Interior motion sensorThe transmitter and receiver of the inte-
rior motion sensor are located in a trim
panel in the vehicle's roof.
In order for the interior motion sensor to
function properly, the windows and
sliding/tilt sunroof must be completely
closed.
However, be sure to deactivate the
interior motion sensor (see "Avoiding
unintentional alarms") when you wish to
leave the windows or sliding/tilt sunroof
open.
Page 42 of 183
42n
Electric power windowsTo open and close windowsFrom ignition key position 1.
After the ignition has been switched off:
You can still operate the electric power
windows for up to 15 minutes, as long
as no door is opened during that time.
To open:
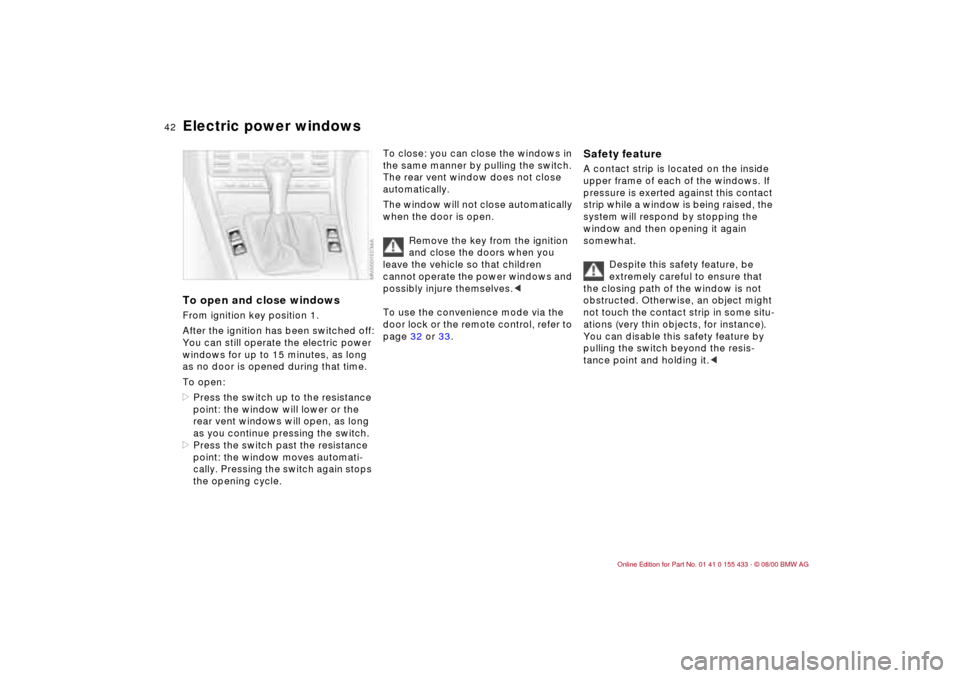
>Press the switch up to the resistance
point: the window will lower or the
rear vent windows will open, as long
as you continue pressing the switch.
>Press the switch past the resistance
point: the window moves automati-
cally. Pressing the switch again stops
the opening cycle.
To close: you can close the windows in
the same manner by pulling the switch.
The rear vent window does not close
automatically.
The window will not close automatically
when the door is open.
Remove the key from the ignition
and close the doors when you
leave the vehicle so that children
cannot operate the power windows and
possibly injure themselves.<
To use the convenience mode via the
door lock or the remote control, refer to
page 32 or 33.
Safety feature A contact strip is located on the inside
upper frame of each of the windows. If
pressure is exerted against this contact
strip while a window is being raised, the
system will respond by stopping the
window and then opening it again
somewhat.
Despite this safety feature, be
extremely careful to ensure that
the closing path of the window is not
obstructed. Otherwise, an object might
not touch the contact strip in some situ-
ations (very thin objects, for instance).
You can disable this safety feature by
pulling the switch beyond the resis-
tance point and holding it.<
Page 43 of 183
43n
IndexDataTechnologyRepairsCar careControlsOverview
Sliding/tilt sunroof
*
To prevent injuries, exercise care
when closing the sliding/tilt
sunroof and keep it in your field of
vision until it is shut.
Remove the key from the ignition and
close the doors when you leave the
vehicle so that children cannot operate
the sunroof and possibly injure them-
selves.<
A vacuum or a draft in the passenger
compartment can be avoided when the
roof is opened or raised by keeping the
vent outlets on the instrument panel
open and possibly increasing the air
supply. Refer to page 87.
If the sunroof is completely open, air
disturbances may be caused in the
vehicle when you are driving at higher
speeds. Close the roof as far as neces-
sary until this natural phenomenon
ceases.
Lifting Ð opening Ð closingFrom ignition key position 1.
After turning the ignition off, you can
operate the sunroof for up to
15 minutes, as long as no door is
opened during that time.
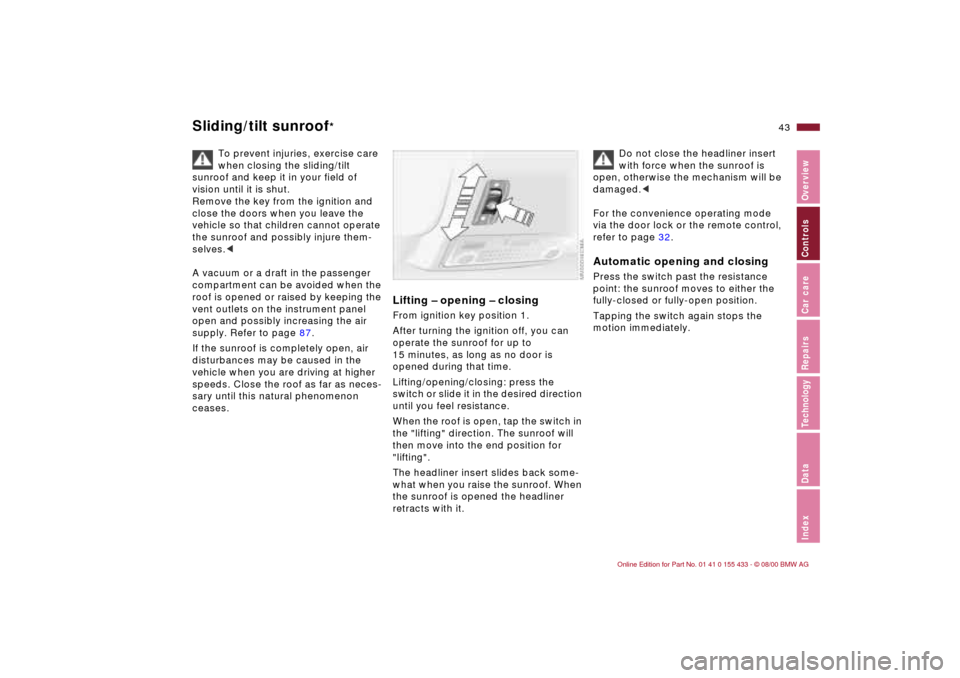
Lifting/opening/closing: press the
switch or slide it in the desired direction
until you feel resistance.
When the roof is open, tap the switch in
the "lifting" direction. The sunroof will
then move into the end position for
"lifting".
The headliner insert slides back some-
what when you raise the sunroof. When
the sunroof is opened the headliner
retracts with it.
Do not close the headliner insert
with force when the sunroof is
open, otherwise the mechanism will be
damaged.<
For the convenience operating mode
via the door lock or the remote control,
refer to page 32.
Automatic opening and closingPress the switch past the resistance
point: the sunroof moves to either the
fully-closed or fully-open position.
Tapping the switch again stops the
motion immediately.
Page 44 of 183
44n
Sliding/tilt sunroof
*
Safety featureIf the sliding/tilt sunroof encounters
resistance at a point roughly past the
middle of its travel when it is closing,
the closing cycle is interrupted and the
sunroof will open again slightly.
Despite this safety feature, be
extremely careful to ensure that
the closing path of the roof is not
obstructed. Otherwise, triggering the
closing-force limitation may not be
ensured in some situations (with very
thin objects, for instance).
You can override this safety feature by
pressing the switch beyond the resis-
tance point and holding it.<
Power loss or malfunctionIn the event of an electrical malfunction,
the sliding/tilt sunroof can be operated
manually. Refer to page 153.
Page 45 of 183
45n
IndexDataTechnologyRepairsCar careControlsOverview
For maximum safety when adjusting the
seat position, please observe the
following:
Never try to adjust your seat while
operating the vehicle. The seat
could respond with unexpected move-
ment, and the ensuing loss of vehicle
control could lead to an accident.
Be sure that the safety belt remains
firmly against your body at all times. In
the event of a frontal impact, a loose lap
belt could slide over the hips, leading to
abdominal injury. In addition, the safety
belt's restraint effectiveness is reduced
if the belt is worn loosely.
Never ride with the backrest reclined to
an extreme angle (especially important
for the front passenger to remember). If
you do so, there is a risk that you will
slide under the safety belt in an acci-
dent, thus reducing the protection
provided by the safety belt.<
Correct sitting posture To reduce strain on your spinal column,
sit all the way back in the seat and rest
your back fully against the backrest.
The ideal sitting posture is achieved
with your head extending from your
spine in a straight line.
For long-distance driving, you may wish
to increase the backrest tilt-angle
slightly to reduce muscular tension. You
should be able to grasp the steering
wheel at its highest point with your
arms slightly bent.
After a seat adjustment, adjust the
height of the safety belt also. Refer to
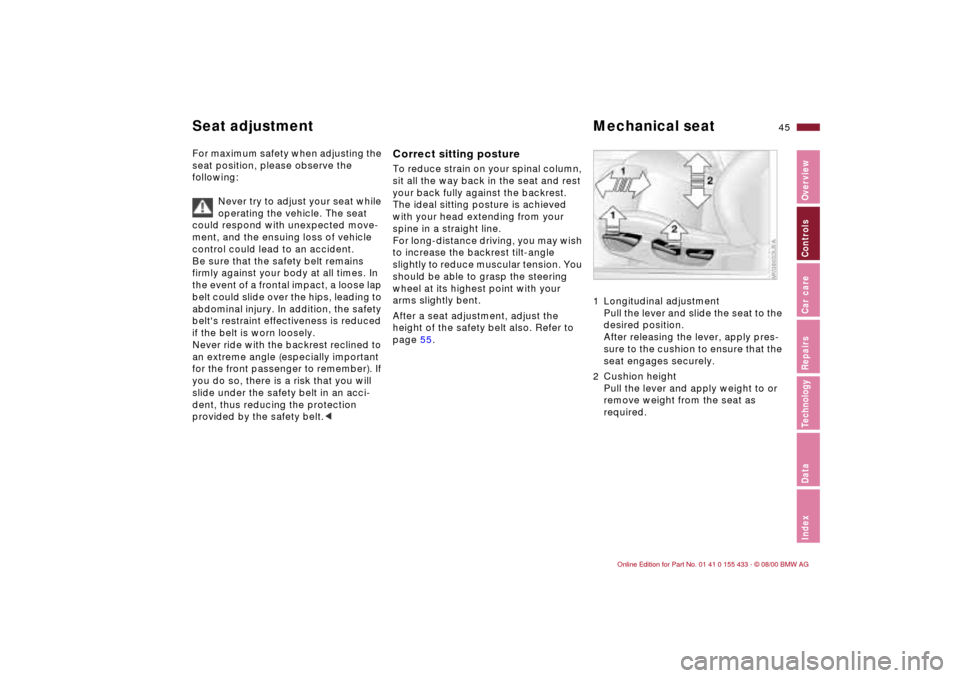
page 55. 1 Longitudinal adjustment
Pull the lever and slide the seat to the
desired position.
After releasing the lever, apply pres-
sure to the cushion to ensure that the
seat engages securely.
2 Cushion height
Pull the lever and apply weight to or
remove weight from the seat as
required.
Seat adjustment Mechanical seat
Page 46 of 183
46n
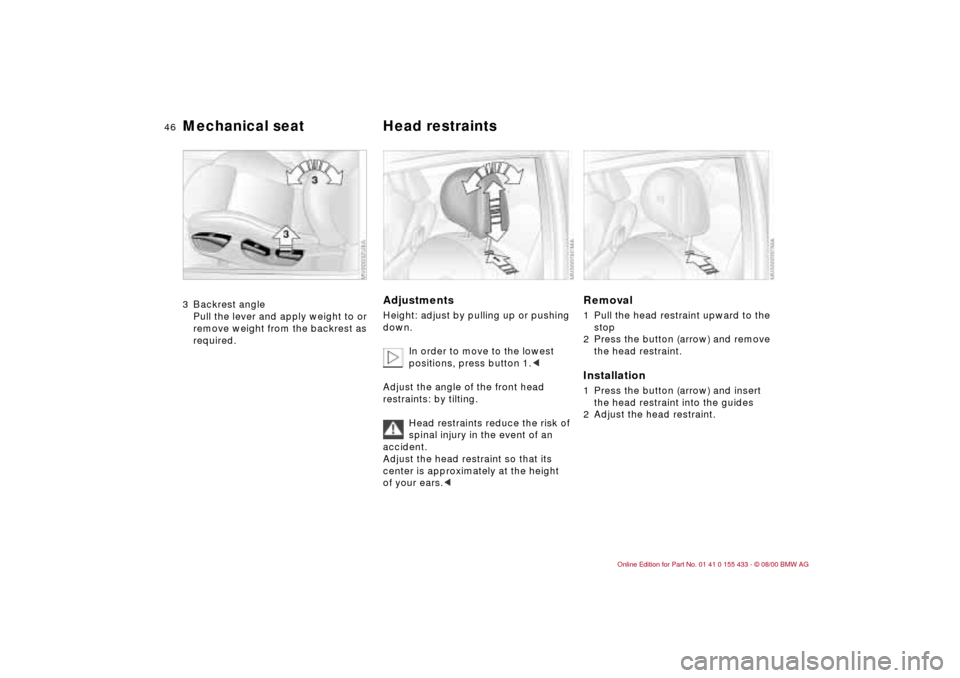
Mechanical seat Head restraints3 Backrest angle
Pull the lever and apply weight to or
remove weight from the backrest as
required.
Adjustments Height: adjust by pulling up or pushing
down.
In order to move to the lowest
positions, press button 1.<
Adjust the angle of the front head
restraints: by tilting.
Head restraints reduce the risk of
spinal injury in the event of an
accident.
Adjust the head restraint so that its
center is approximately at the height
of your ears.<
Removal1 Pull the head restraint upward to the
stop
2 Press the button (arrow) and remove
the head restraint.Installation1 Press the button (arrow) and insert
the head restraint into the guides
2 Adjust the head restraint.
Page 47 of 183
47n
IndexDataTechnologyRepairsCar careControlsOverview
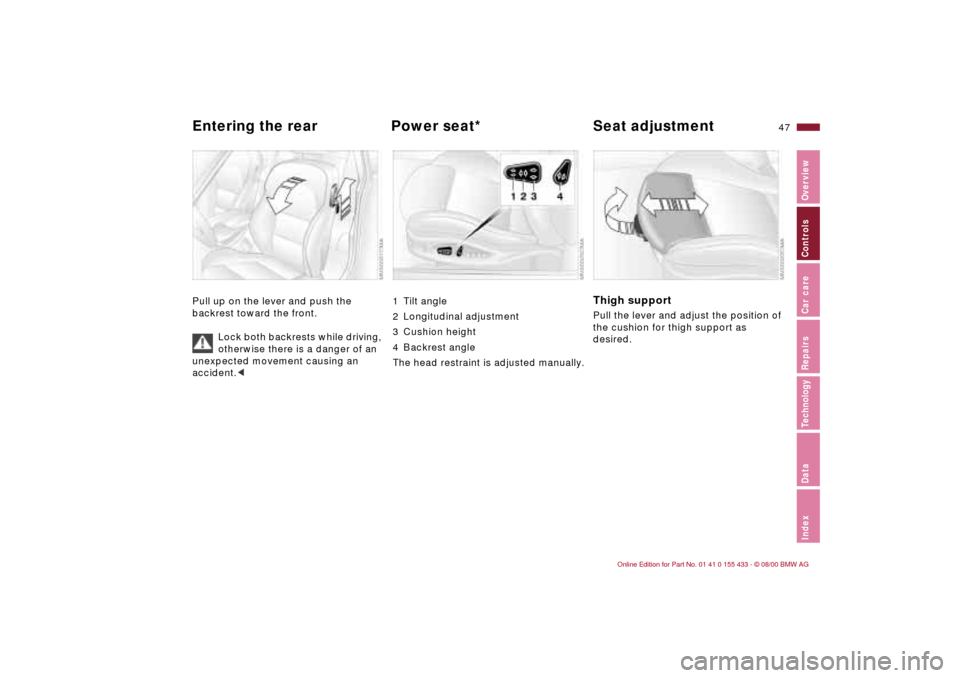
Entering the rear Power seat* Seat adjustmentPull up on the lever and push the
backrest toward the front.
Lock both backrests while driving,
otherwise there is a danger of an
unexpected movement causing an
accident.<
1 Tilt angle
2 Longitudinal adjustment
3 Cushion height
4 Backrest angle
The head restraint is adjusted manually.
Thigh support Pull the lever and adjust the position of
the cushion for thigh support as
desired.
Page 48 of 183
48n
Seat adjustmentLumbar support
*
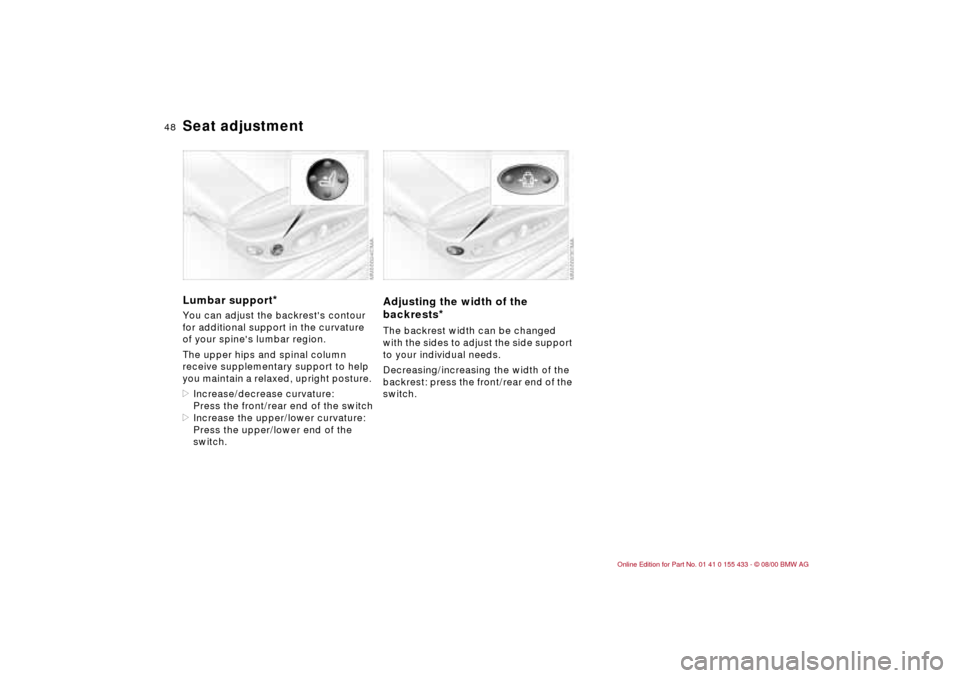
You can adjust the backrest's contour
for additional support in the curvature
of your spine's lumbar region.
The upper hips and spinal column
receive supplementary support to help
you maintain a relaxed, upright posture.
>Increase/decrease curvature:
Press the front/rear end of the switch
>Increase the upper/lower curvature:
Press the upper/lower end of the
switch.
Adjusting the width of the
backrests
*
The backrest width can be changed
with the sides to adjust the side support
to your individual needs.
Decreasing/increasing the width of the
backrest: press the front/rear end of the
switch.
Page 49 of 183
49n
IndexDataTechnologyRepairsCar careControlsOverview
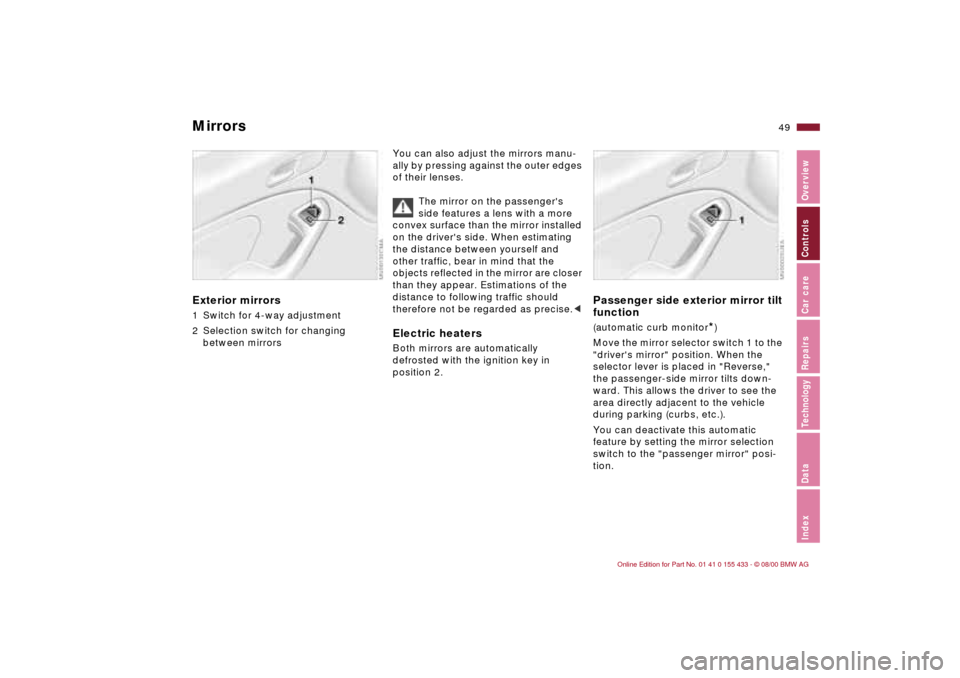
Mirrors Exterior mirrors1 Switch for 4-way adjustment
2 Selection switch for changing
between mirrors
You can also adjust the mirrors manu-
ally by pressing against the outer edges
of their lenses.
The mirror on the passenger's
side features a lens with a more
convex surface than the mirror installed
on the driver's side. When estimating
the distance between yourself and
other traffic, bear in mind that the
objects reflected in the mirror are closer
than they appear. Estimations of the
distance to following traffic should
therefore not be regarded as precise.< Electric heatersBoth mirrors are automatically
defrosted with the ignition key in
position 2.
Passenger side exterior mirror tilt
function(automatic curb monitor
*)
Move the mirror selector switch 1 to the
"driver's mirror" position. When the
selector lever is placed in "Reverse,"
the passenger-side mirror tilts down-
ward. This allows the driver to see the
area directly adjacent to the vehicle
during parking (curbs, etc.).
You can deactivate this automatic
feature by setting the mirror selection
switch to the "passenger mirror" posi-
tion.
Page 50 of 183
50n
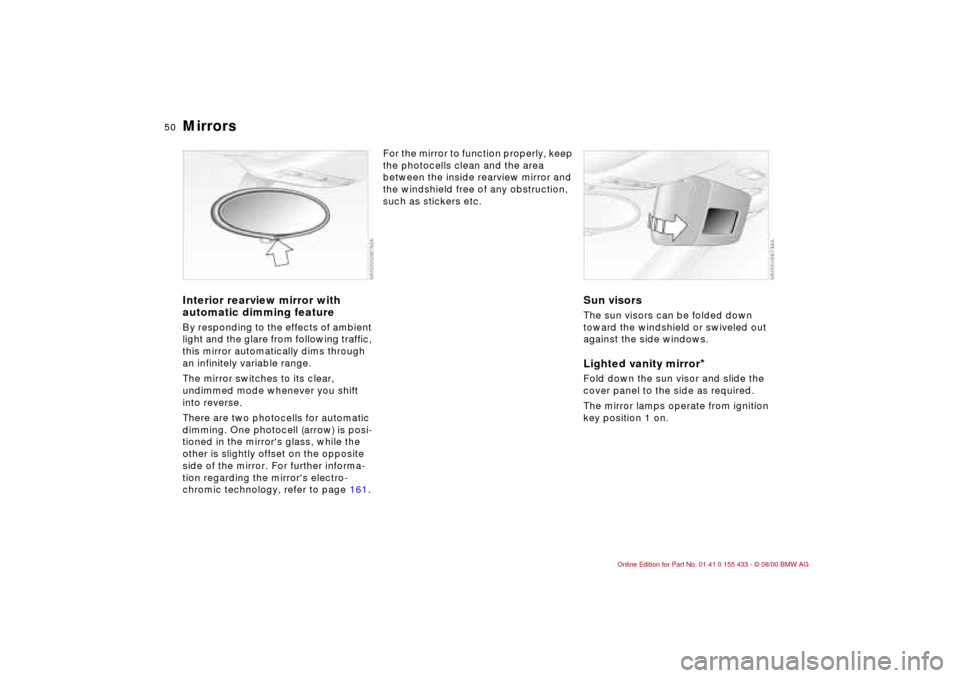
MirrorsInterior rearview mirror with
automatic dimming featureBy responding to the effects of ambient
light and the glare from following traffic,
this mirror automatically dims through
an infinitely variable range.
The mirror switches to its clear,
undimmed mode whenever you shift
into reverse.
There are two photocells for automatic
dimming. One photocell (arrow) is posi-
tioned in the mirror's glass, while the
other is slightly offset on the opposite
side of the mirror. For further informa-
tion regarding the mirror's electro-
chromic technology, refer to page 161.
For the mirror to function properly, keep
the photocells clean and the area
between the inside rearview mirror and
the windshield free of any obstruction,
such as stickers etc.
Sun visorsThe sun visors can be folded down
toward the windshield or swiveled out
against the side windows.Lighted vanity mirror
*
Fold down the sun visor and slide the
cover panel to the side as required.
The mirror lamps operate from ignition
key position 1 on.