tow BMW M3 COUPE 2001 E46 Owner's Manual
[x] Cancel search | Manufacturer: BMW, Model Year: 2001, Model line: M3 COUPE, Model: BMW M3 COUPE 2001 E46Pages: 183, PDF Size: 1.65 MB
Page 3 of 183

We are pleased you have decided on a BMW M3.
Thorough familiarity with your vehicle will provide you with enhanced control and
security when you drive it. We therefore have this request:
Please read the information summarized for you in this Owner's Manual, before
starting off in your new BMW M3. It contains important instructions for operating
your vehicle that will allow you to get the most out of your BMW M3's technologi-
cally advanced qualities. In addition, you will find information on maintenance and
care, there to ensure operating and driving safety, as well as to maintain the best
possible value of your vehicle.
BMW M also makes a decisive contribution toward greater safety in traffic through
its BMW driver training.
This Owner's Manual should be considered a permanent part of this vehicle. It
should stay with the vehicle when sold to provide the next owner with important
operating, safety and maintenance information.
This manual is supplemented by a Service and Warranty Information Booklet
(US models) or a Warranty and Service Guide Booklet (Canadian models).
We recommend that you read this publication thoroughly.
Your BMW M3 is covered by the following warranties:
Ð New Vehicle Limited Warranty
Ð Limited Warranty Rust Perforation
Ð Federal Emissions System Defect Warranty
Ð Federal Emissions Performance Warranty
Ð California Emission Control System Limited Warranty
Detailed information about these warranties is listed in the Service and Warranty
Information Booklet (US models) or in the Warranty and Service Guide Booklet
(Canadian models).
We wish you an enjoyable driving experience.
BMW M
Preface
Page 12 of 183
Contents
Owner service procedures
Advanced technology
Technical data
Replacement procedures:
Onboard tool kit138
Windshield wiper blades138
Lamps and bulbs138
Repairing a flat tire145
Battery148
Fuses151
Microfilter/Activated charcoal
filter152
In case of
electrical malfunction:
Fuel filler door152
Sliding/tilt sunroof153
Giving and receiving
assistance:
Jump-starting154
Towing155Airbags158
Radio reception158
Dynamic Stability Control
(DSC)159
Safety belt tensioner159
M3 Engine concept160
Rain sensor160
Interior rearview mirror with
automatic dimming
feature161
Self-diagnostics162
Xenon lamps163Engine data166
Dimensions167
Weights168
Capacities169
Electrical system170
Drive belts170
Page 40 of 183
40n
Alarm system
*
The conceptThe vehicle alarm system responds:
>When a door, the hood or the
luggage compartment lid is opened.
>To movement inside the vehicle (inte-
rior motion sensor).
>Altering the angle of the vehicle tilt
sensor, e. g. as would occur while
attempting to steal the wheels or tow
the vehicle (tilt sensor alarm system).
>To interruption of battery voltage.
The system responds to unauthorized
vehicle entry and attempted theft by
simultaneously activating the following:
>Sounding an acoustical alarm for
30 seconds.
>Activating the hazard warning
flashers for approx. five minutes.
>Flashing the high beams on and off in
rhythm with the hazard warning
flashers.
To activate and deactivate the
alarm systemWhen the vehicle is locked or unlocked
by using a key or the remote control,
the alarm system is also simultaneously
armed or disarmed.
The interior motion sensor and the
alarm system tilt sensor are activated
approx. 30 seconds after the last door
has been locked.
If the alarm system has been armed
correctly, the hazard warning flashers
flash once.
You can have a signal set as
acknowledgment for both setting
and deactivating the alarm.<
You can also open the luggage
compartment lid when the system is
armed by pressing button 3 of the
remote control (refer to page 34). When
it is closed, the lid is once again
secured.
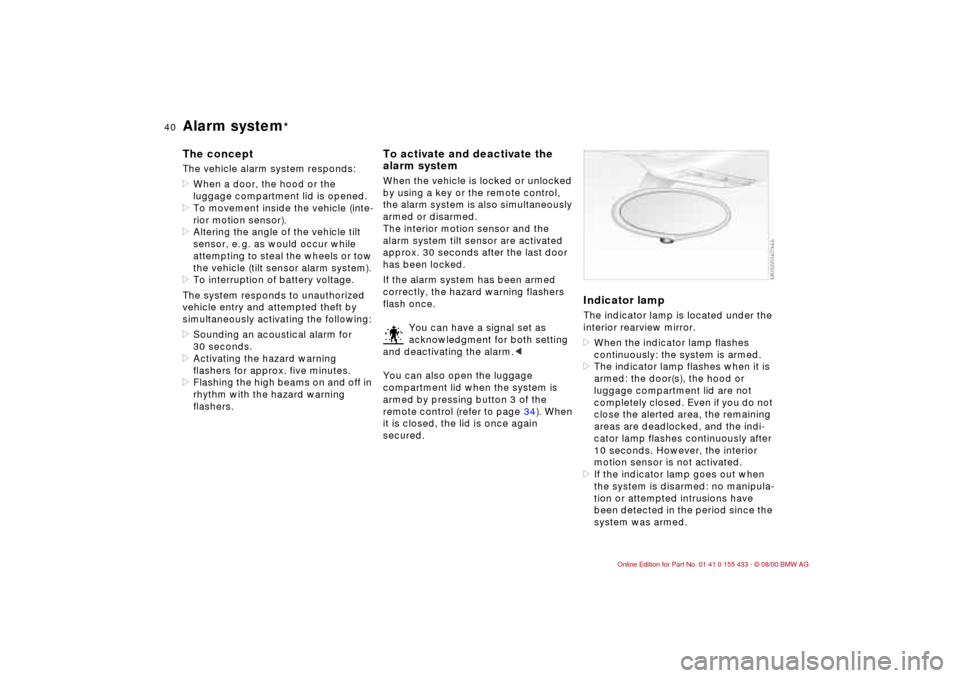
Indicator lampThe indicator lamp is located under the
interior rearview mirror.
>When the indicator lamp flashes
continuously: the system is armed.
>The indicator lamp flashes when it is
armed: the door(s), the hood or
luggage compartment lid are not
completely closed. Even if you do not
close the alerted area, the remaining
areas are deadlocked, and the indi-
cator lamp flashes continuously after
10 seconds. However, the interior
motion sensor is not activated.
>If the indicator lamp goes out when
the system is disarmed: no manipula-
tion or attempted intrusions have
been detected in the period since the
system was armed.
Page 47 of 183
47n
IndexDataTechnologyRepairsCar careControlsOverview
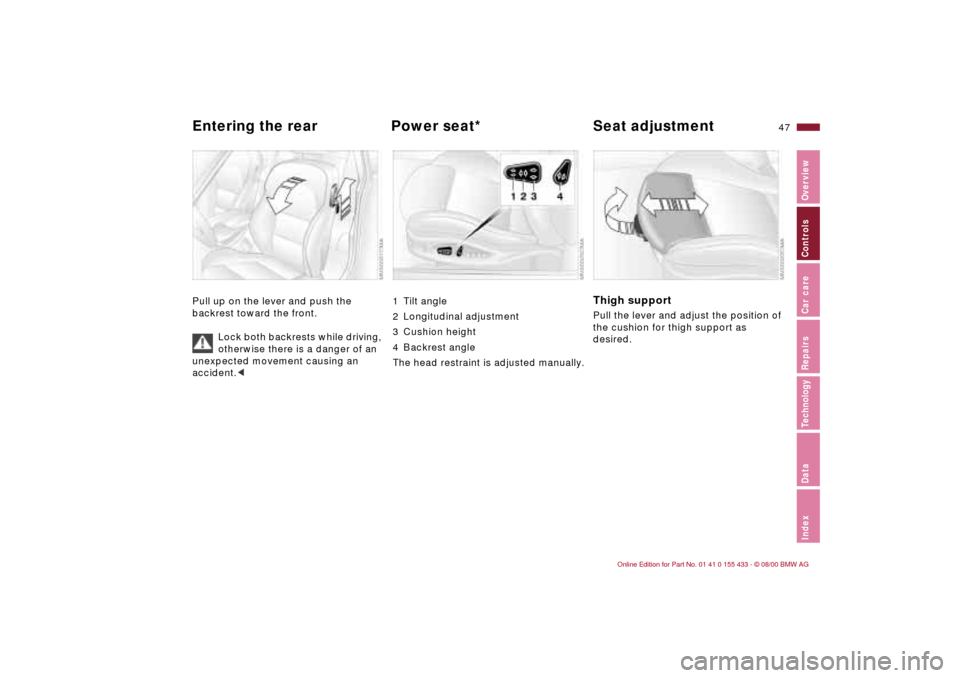
Entering the rear Power seat* Seat adjustmentPull up on the lever and push the
backrest toward the front.
Lock both backrests while driving,
otherwise there is a danger of an
unexpected movement causing an
accident.<
1 Tilt angle
2 Longitudinal adjustment
3 Cushion height
4 Backrest angle
The head restraint is adjusted manually.
Thigh support Pull the lever and adjust the position of
the cushion for thigh support as
desired.
Page 50 of 183
50n
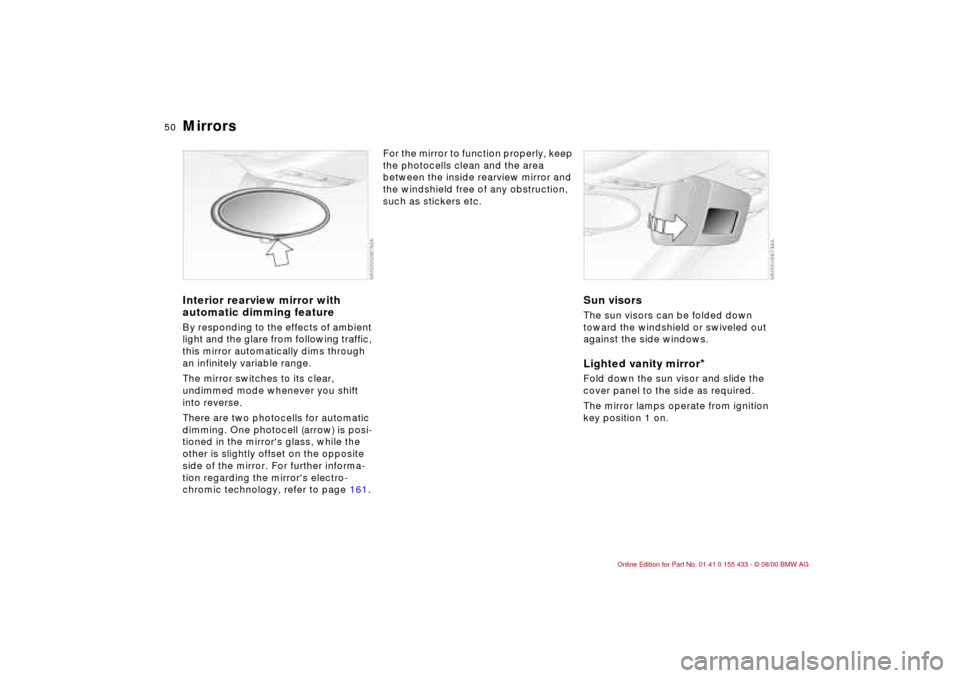
MirrorsInterior rearview mirror with
automatic dimming featureBy responding to the effects of ambient
light and the glare from following traffic,
this mirror automatically dims through
an infinitely variable range.
The mirror switches to its clear,
undimmed mode whenever you shift
into reverse.
There are two photocells for automatic
dimming. One photocell (arrow) is posi-
tioned in the mirror's glass, while the
other is slightly offset on the opposite
side of the mirror. For further informa-
tion regarding the mirror's electro-
chromic technology, refer to page 161.
For the mirror to function properly, keep
the photocells clean and the area
between the inside rearview mirror and
the windshield free of any obstruction,
such as stickers etc.
Sun visorsThe sun visors can be folded down
toward the windshield or swiveled out
against the side windows.Lighted vanity mirror
*
Fold down the sun visor and slide the
cover panel to the side as required.
The mirror lamps operate from ignition
key position 1 on.
Page 60 of 183
60n
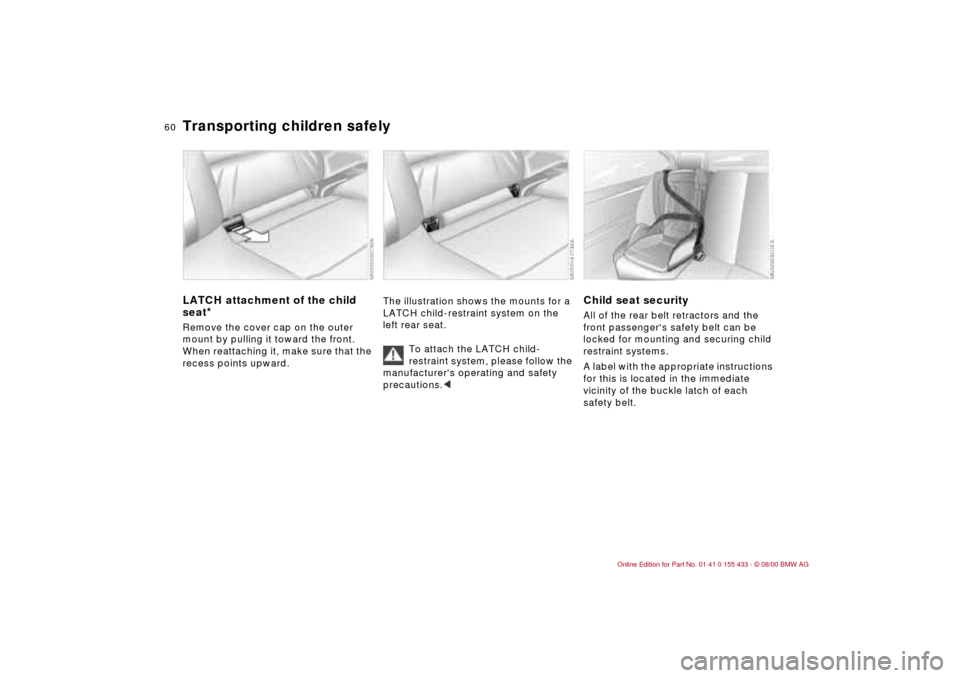
Transporting children safelyLATCH attachment of the child
seat
*
Remove the cover cap on the outer
mount by pulling it toward the front.
When reattaching it, make sure that the
recess points upward.
The illustration shows the mounts for a
LATCH child-restraint system on the
left rear seat.
To attach the LATCH child-
restraint system, please follow the
manufacturer's operating and safety
precautions.<< < <
Child seat securityAll of the rear belt retractors and the
front passenger's safety belt can be
locked for mounting and securing child
restraint systems.
A label with the appropriate instructions
for this is located in the immediate
vicinity of the buckle latch of each
safety belt.
Page 75 of 183
75n
IndexDataTechnologyRepairsCar careControlsOverview
The conceptThe PDC assists you when you back
into a parking space. A signal warns
you of the distance to an obstacle. To
do this, four ultrasonic sensors in the
rear bumper measure the distance to
the nearest object. The range for the
sensors located at both rear corners
ends approx. 2 ft (60 cm) behind the
bumpers. The range for the two middle
sensors is slightly less than 4.9 ft
(1.50 meters).
The system is activated automatically
about one second after you engage
reverse with the ignition key in posi-
tion 2. PDC is deactivated when you
shift back out of reverse.
Acoustic signalsThe distance to the nearest object is
indicated by a tone sounding at various
intervals. As the distance between
vehicle and object decreases, the inter-
vals between the tones become
shorter. A continuous tone indicates the
presence of an object less than 1 ft.
(30 cm) away.
The warning signal is canceled after
approx. three seconds if the distance to
the obstacle remains constant during
this time (if you are moving parallel to a
wall, for instance).
System malfunctions will be indicated
by a continuous high-pitched tone
when the system is activated the first
time. Please have your BMW center
resolve the problem.The PDC does not remove the
driver's personal responsibility for
evaluating the distance between the
vehicle and any obstacles. Even when
sensors are involved, there is a blind
spot in which objects cannot be
detected. This applies especially in
those cases where the system
approaches the physical limits of ultra-
sonic measurement, as occurs with tow
bars and trailer couplings, and in the
vicinity of thin and painted objects.
Certain sources of sound, such as a
loud radio, could drown the PDC signal
tone.<
Keep the sensors clean and free
of ice or snow in order to ensure
that they continue to operate effec-
tively.
Do not apply high pressure spray to the
sensors for a prolonged period of time.
Always maintain a distance of more
than 4 in (10 cm). <
Park Distance Control (PDC)
*
Page 85 of 183
85n
IndexDataTechnologyRepairsCar careControlsOverview
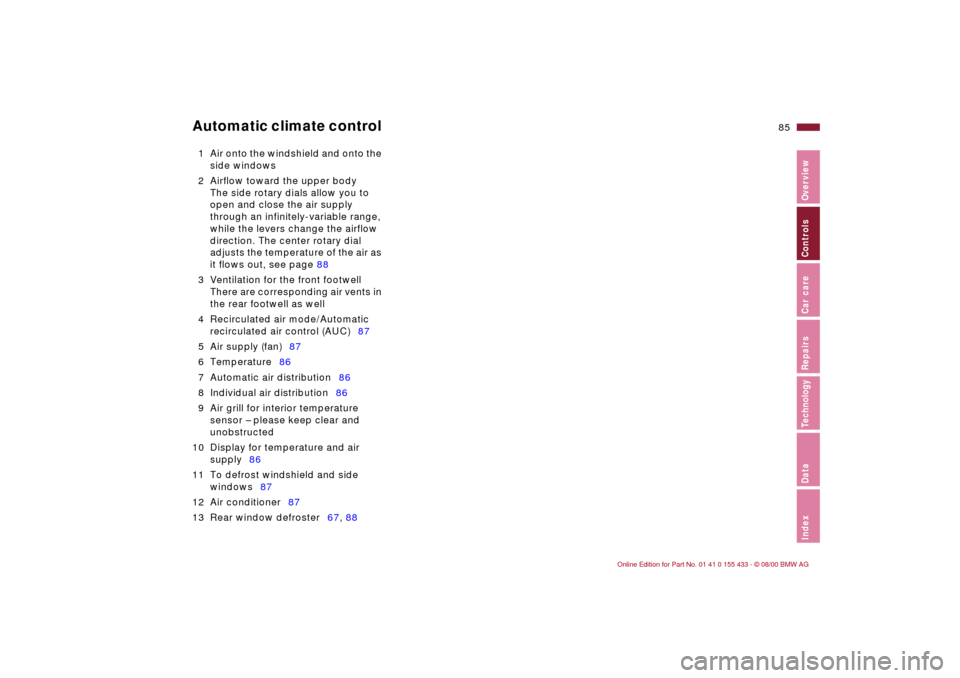
Automatic climate control 1 Air onto the windshield and onto the
side windows
2 Airflow toward the upper body
The side rotary dials allow you to
open and close the air supply
through an infinitely-variable range,
while the levers change the airflow
direction. The center rotary dial
adjusts the temperature of the air as
it flows out, see page 88
3 Ventilation for the front footwell
There are corresponding air vents in
the rear footwell as well
4 Recirculated air mode/Automatic
recirculated air control (AUC)87
5 Air supply (fan)87
6 Temperature86
7 Automatic air distribution86
8 Individual air distribution86
9 Air grill for interior temperature
sensor Ð please keep clear and
unobstructed
10 Display for temperature and air
supply86
11 To defrost windshield and side
windows87
12 Air conditioner87
13 Rear window defroster67, 88
Page 86 of 183
86n
Automatic climate controlTips for pleasant drivingUse the automatic system (switch on
AUTO Ð button 7).
>Select an interior temperature that is
comfortable for you, e. g. 72 7
(+22 6)
>Whenever the outside temperature is
above 41 7 (+5 6), you can also
use the air conditioner 12. This will
dry the air as well as preventing
condensation on the window
surfaces Ð if there are passengers
with damp clothing, for example
>Set the outlets 2 so that the air flows
past you and is not directed straight
at you
>Set the rotary dial between the air
outlets 2 for the upper body to a
medium position, since air that is
somewhat cooler promotes driving
without fatigue.
Detailed setting options are described
for you in the following sections.
Your vehicle is set in such a
manner that, when you unlock the
vehicle with your individualized remote
control, your own personalized setting
for the automatic climate control is initi-
ated.<
Automatic air distribution
The automatic program will take
over
>automatically distributing the air
supply to the vents, as well as
>automatically adjusting the amount of
incoming air.
It will adapt to the settings you have
made for the temperature desired in the
passenger compartment Ð taking
outside influences into account
(summer, winter) Ð and will provide you
with a comfortable climate in the
vehicle at any time of the year.
>Select an interior temperature that is
comfortable for you e. g. 72 7
(+22 6). The temperature selected
and AUTO for air supply will
appear in the display 10. Refer to the
overview on page 84
>Open up the vents for the upper body
>Switch on the air conditioner in warm
weather. The maximum cooling
capacity is achieved when you set
rotary dial 3 (refer to page 88) to cold.
Individual air distribution
You can cancel the AUTO
program by selecting specific
distribution patterns to suit your
own individual requirements.
You can direct air to flow onto the
windows , toward the upper body
and into the footwell .
Temperature
The figures in the display
provide a general indication of
interior temperature. We recommend
72 7 (+22 6) as a comfortable setting,
even if the air conditioner is on. When
you start the vehicle, the system
ensures that the selected temperature
is reached as quickly as possible. It
then maintains this temperature,
regardless of the season.
Set rotary dial 3 (refer to "Draft-free
ventilation" on page 88) to a medium
setting, since air that is somewhat
cooler promotes driving without fatigue.
You can use this setting for mixing air to
make minor comfort modifications.
You can set uncontrolled heater
output up to 90 7 (+32 6). The
air conditioner is at full cooling output
at 60 7 (+16 6).<
Page 97 of 183
97n
IndexDataTechnologyRepairsCar careControlsOverview
Cargo loading
Always position and secure the
load correctly. If you do not, it
can endanger the passengers during
braking or evasive maneuvers.
Do not exceed the permissible gross
weight and axle load (refer to
page 168), otherwise the vehicle's
operating safety is no longer assured
and you are in violation of the law.
Do not stow heavy or hard objects in
the passenger compartment without
first securing them. Otherwise they
would be thrown around during braking
and evasive maneuvers and endanger
the occupants.<
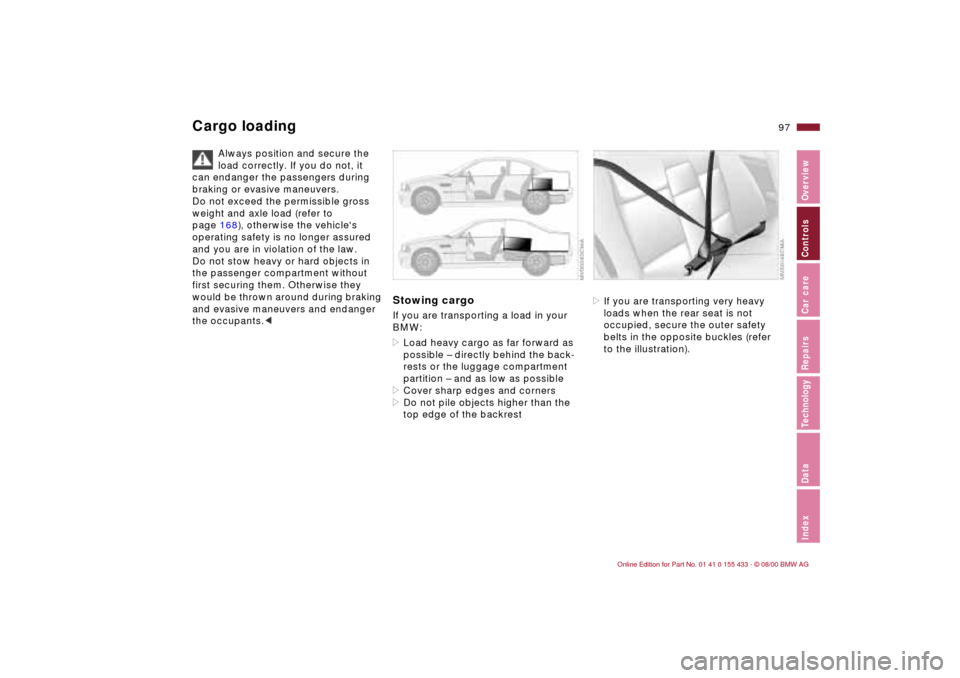
Stowing cargo If you are transporting a load in your
BMW:
>Load heavy cargo as far forward as
possible Ð directly behind the back-
rests or the luggage compartment
partition Ð and as low as possible
>Cover sharp edges and corners
>Do not pile objects higher than the
top edge of the backrest
>If you are transporting very heavy
loads when the rear seat is not
occupied, secure the outer safety
belts in the opposite buckles (refer
to the illustration).